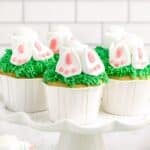
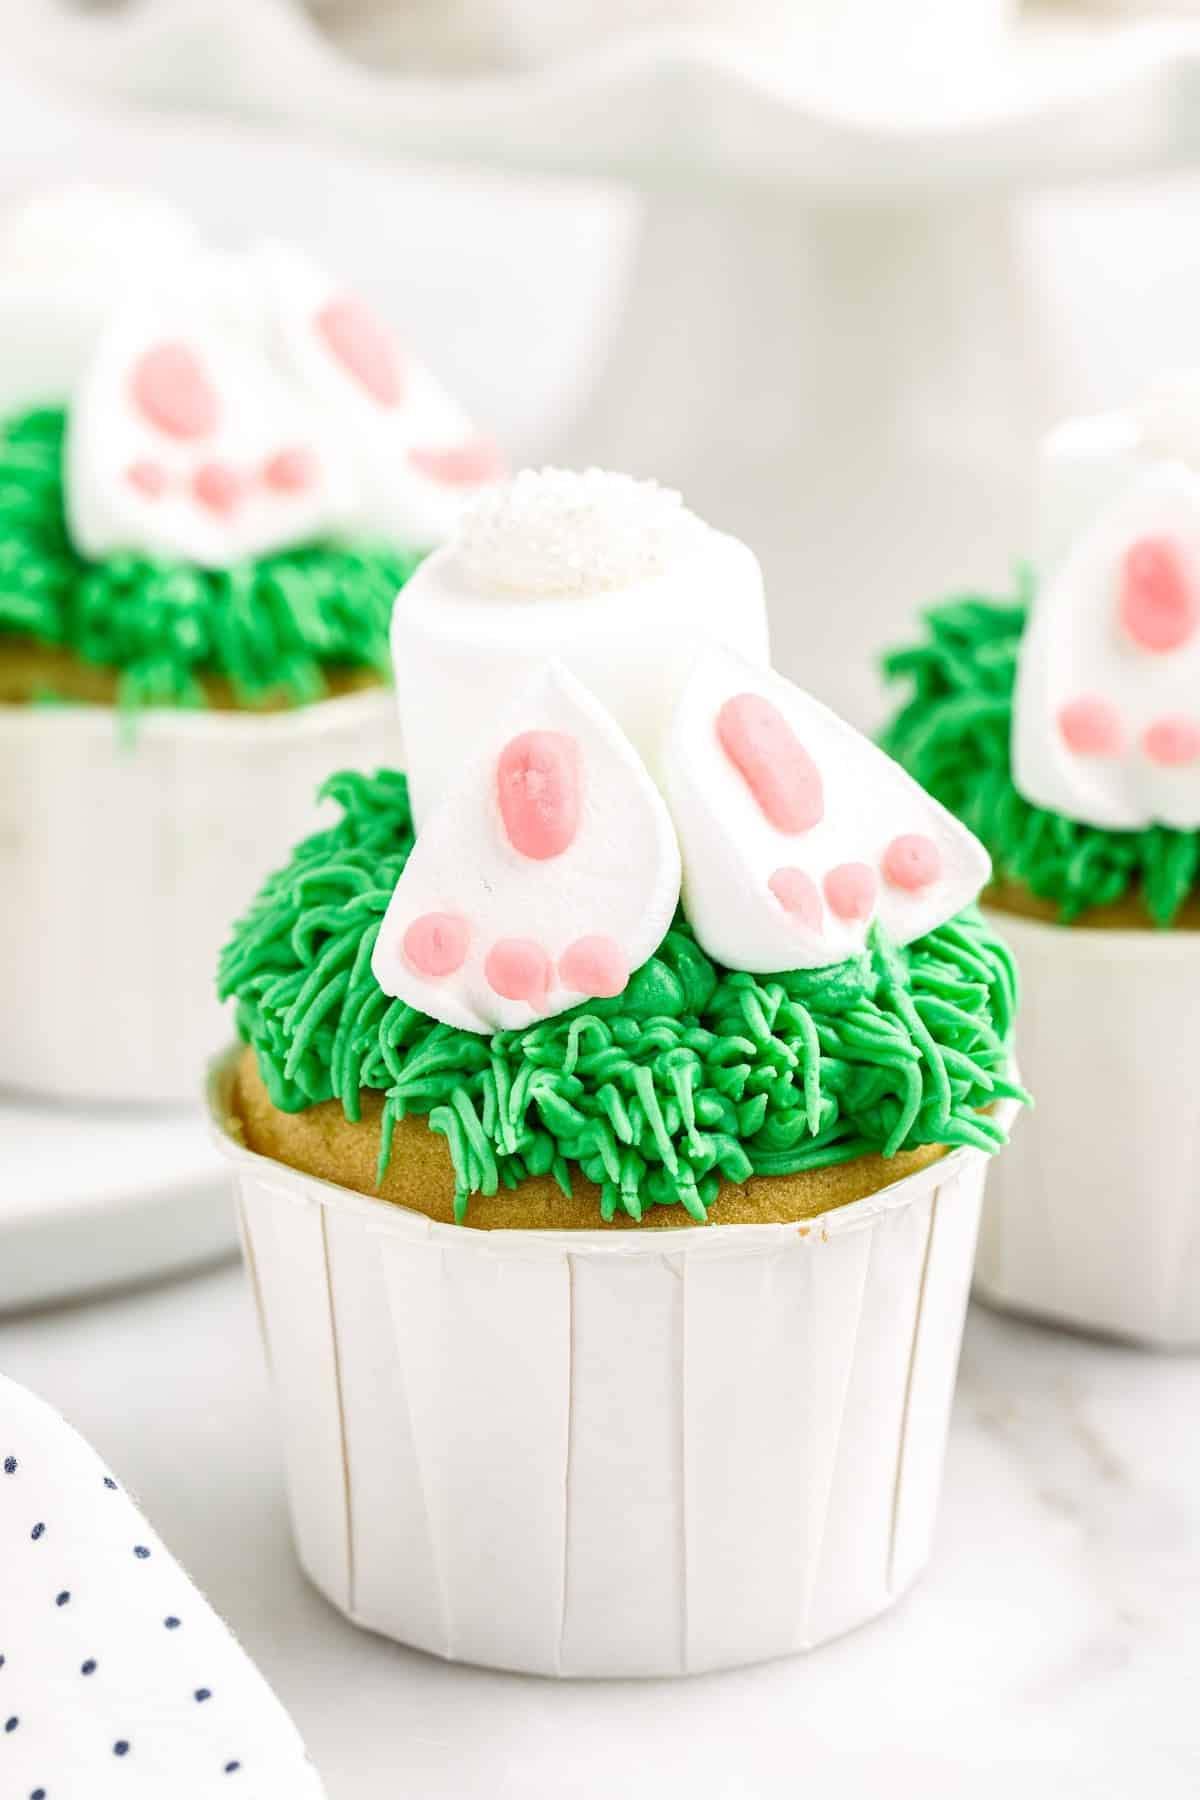
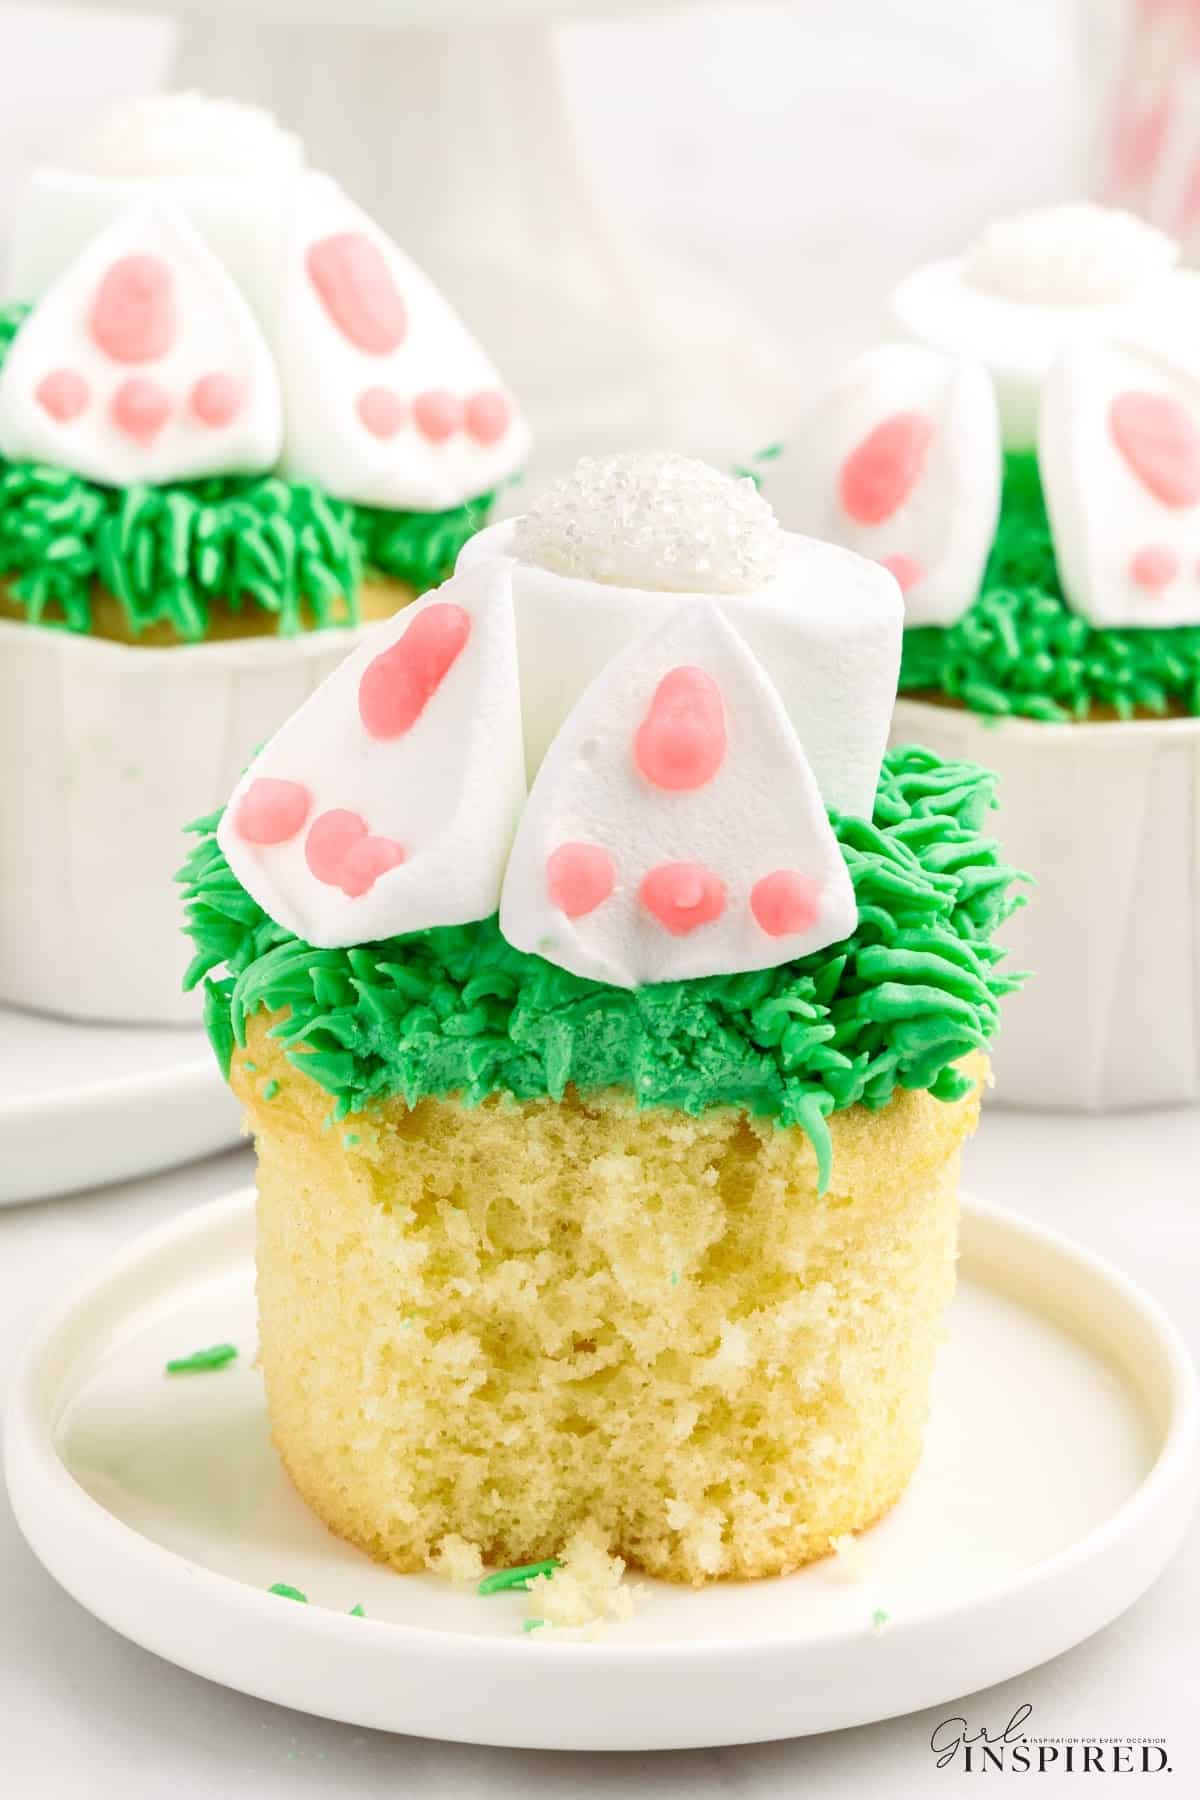
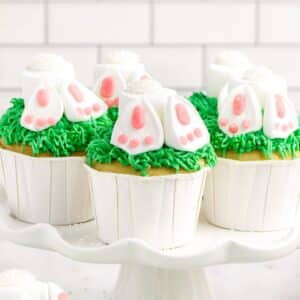
These Easter Bunny Butt Cupcakes are the perfect Easter and spring dessert and are easy to make if you aren’t a seasoned decorator. They use some strategic cutting of marshmallows and tubes of pre-made frosting for the quickest and cutest fun Easter cupcake!

With a new season just around the corner, it’s time to start making desserts that are full of fun and color. If you are planning an Easter egg hunt, children’s Easter party, or just want to dress up your holiday sweet treat table, try our bunny bum cupcakes or bird nest cupcakes for the ultimate festivity.
Also, if you have little ones around, they will definitely want to pitch in to help, which makes for a fun day in the kitchen.
If you are interested in learning more about simple cake decorating techniques, I wrote a whole post that is a great place to get started as a beginner.
🐰 Ingredients:
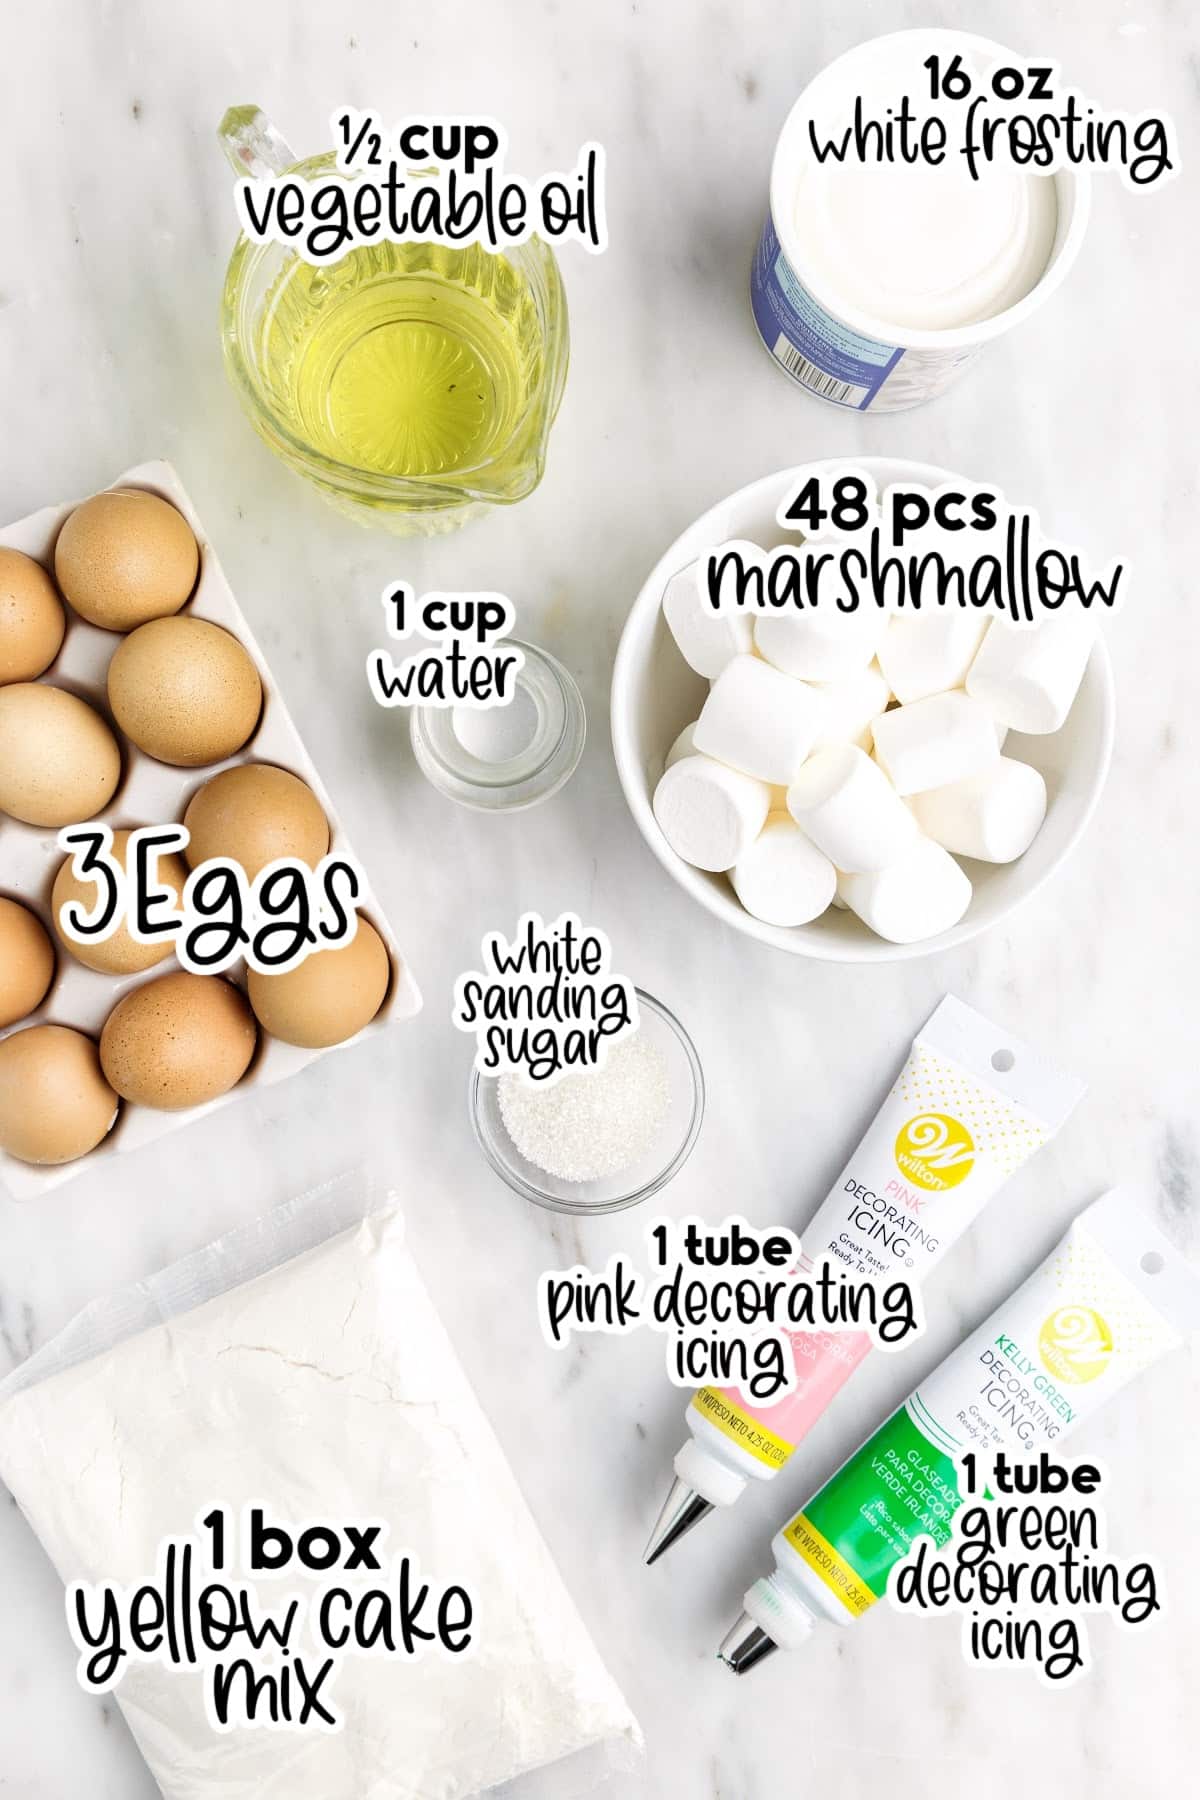
- Yellow cake mix – your favorite boxed cake mix will do the trick
- Eggs, water, and vegetable oil – room temperature ingredients mix together the most evenly; we’re simply using the additional ingredients listed on the box of cake mix.
- Green decorator’s icing – or dye your own icing by using gel green food coloring
- Large Marshmallows – be sure to grab the standard size, these are perfect for the feet and bunny tail
- White frosting – you can buy this or use homemade
- White sanding sugar or sugar crystal sprinkles – you can also use white sprinkles
- Pink decorator icing
For a full list of ingredients and their measurements, 📋 please view my printable recipe card at the bottom of the post.
Equipment Needed:
- Piping bag if you are making your own frosting
Substitutions and Variations
- You could swap the yellow cake mix for white, or another flavor if you choose. Chocolate cupcakes give a “dirt” look and the green really pops! Also, if you are short on time you can use store bought cupcakes. If they are already iced, just use a flat decorating spatula to scrape off the top of each cupcake. For cupcakes from scratch, use my white cupcake recipe, it’s delicious!
- Some people like using shredded coconut to cover the bunny butt and feet for a furry look.
- Toy around with the decorative toppings to make them as cute as you can!
- Glossy white mountain frosting, cream cheese buttercream, marshmallow cream frosting, or a standard American buttercream will all work instead of store bought frosting.
🔪 Instructions:
PREP: Preheat the oven to 350 degrees.
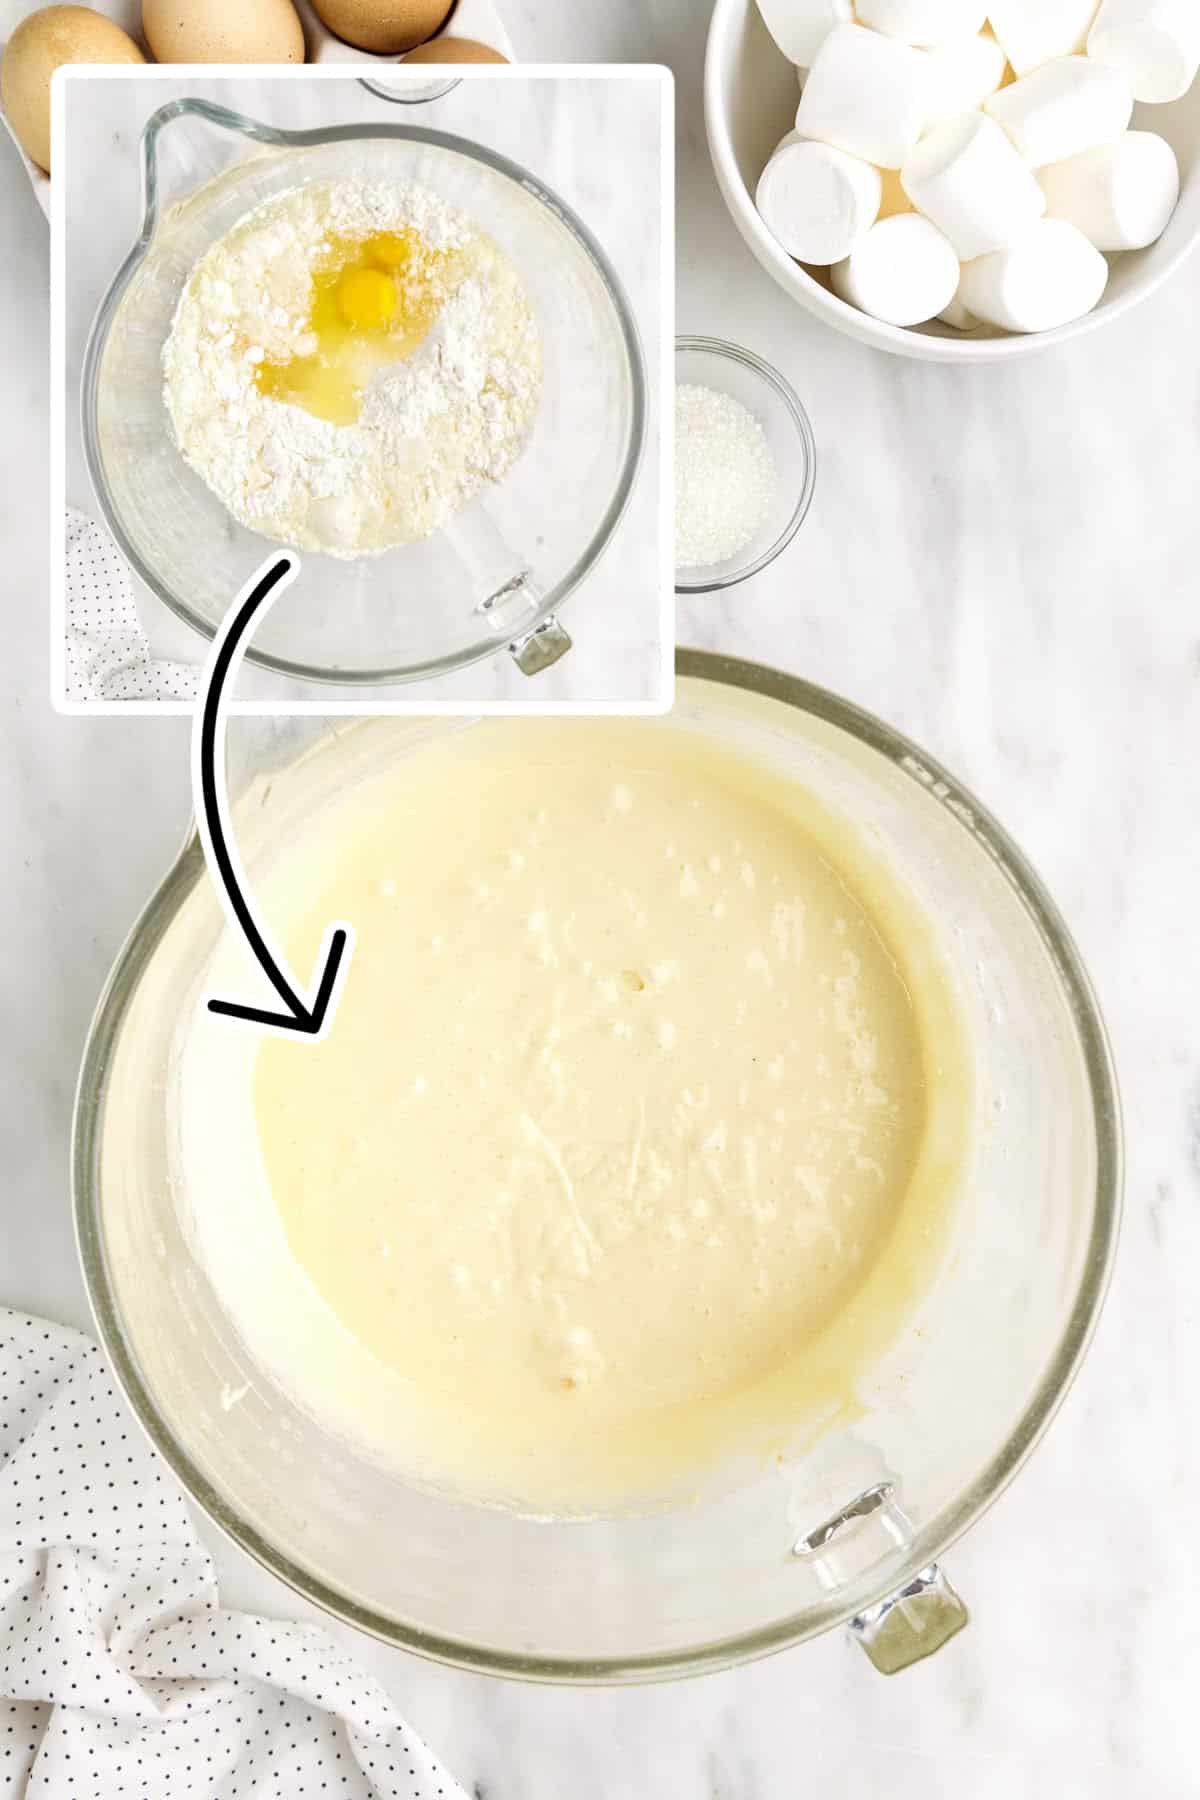
Step 1: In a medium bowl, combine the yellow cake mix, eggs, water, and oil. Mix using an electric mixer or stand mixer until the ingredients are well combined.
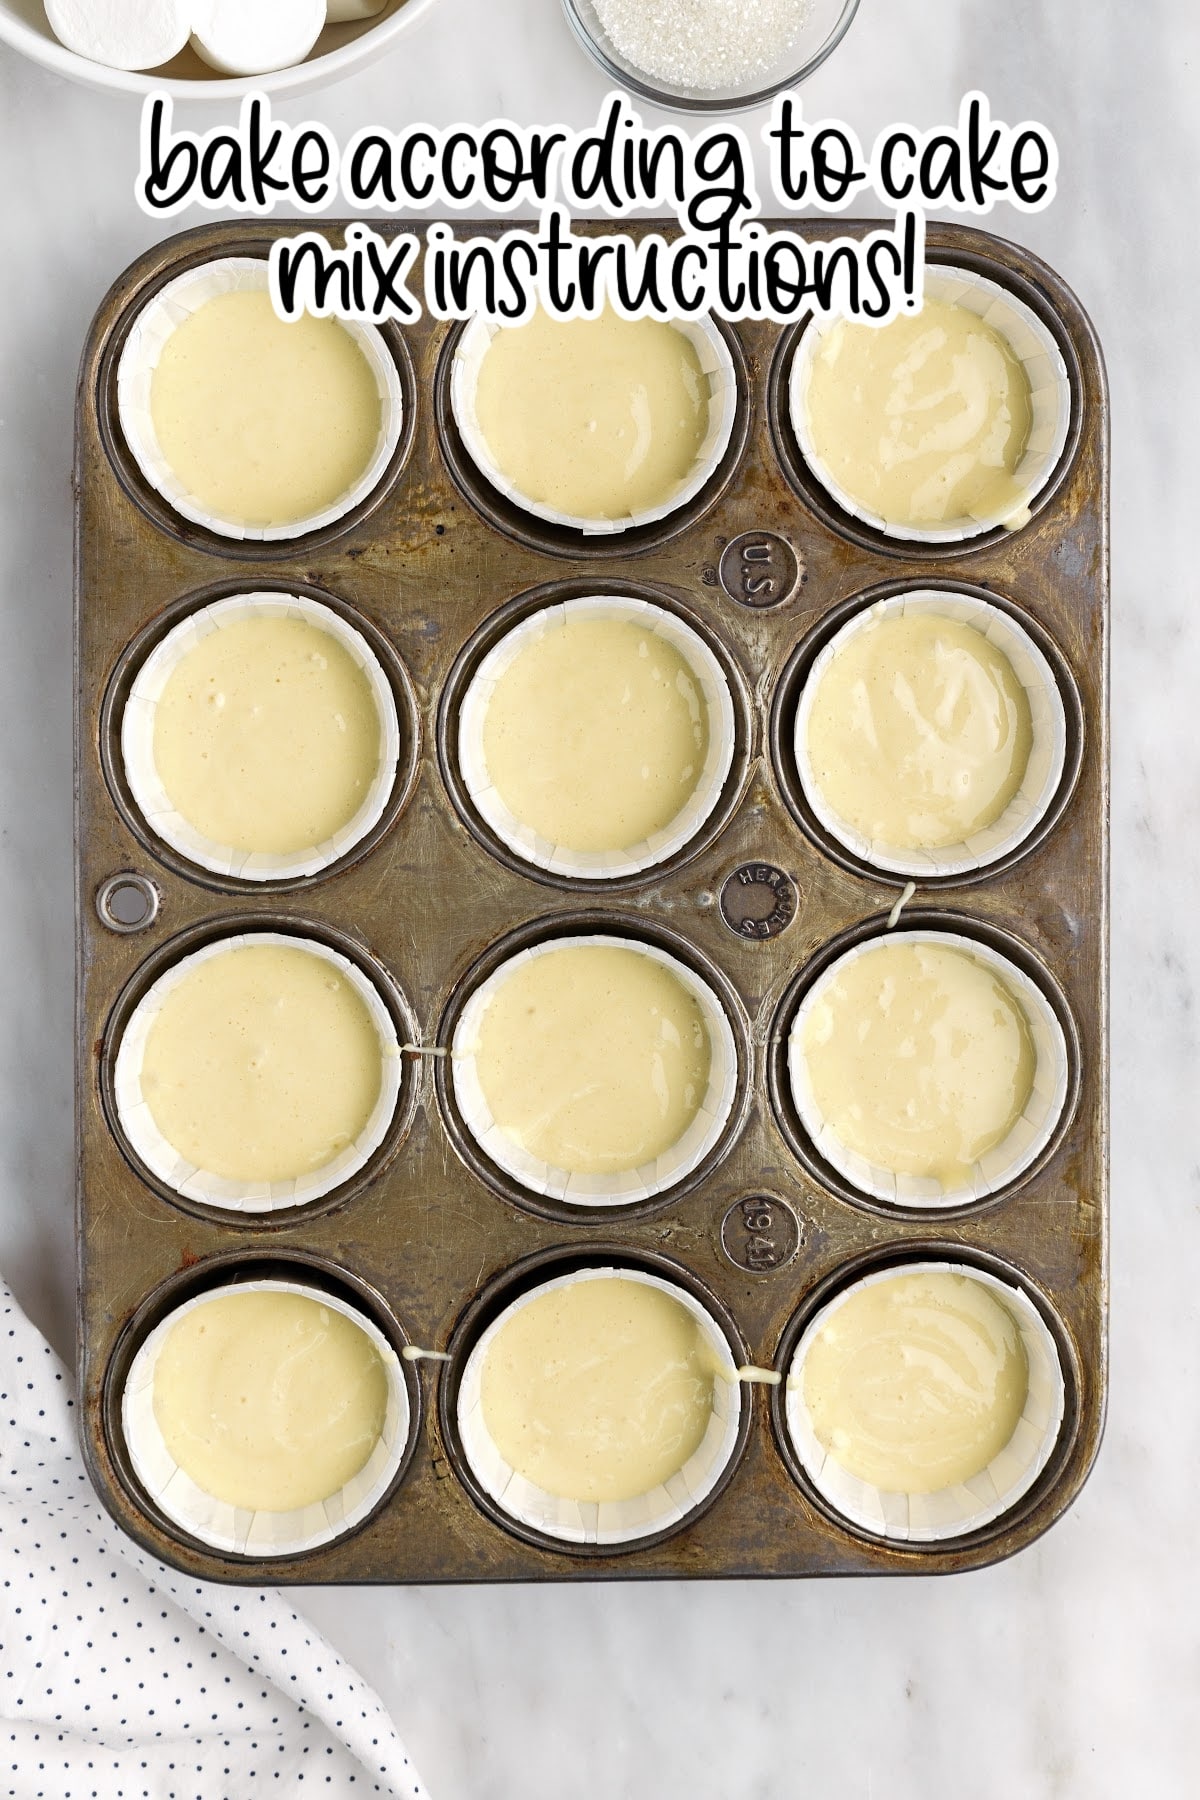
Step 2: Next step, prep your cupcake pan by placing paper or silicone cupcake liners into the muffin cups and pouring in the batter to each, about ⅔ of the way full.
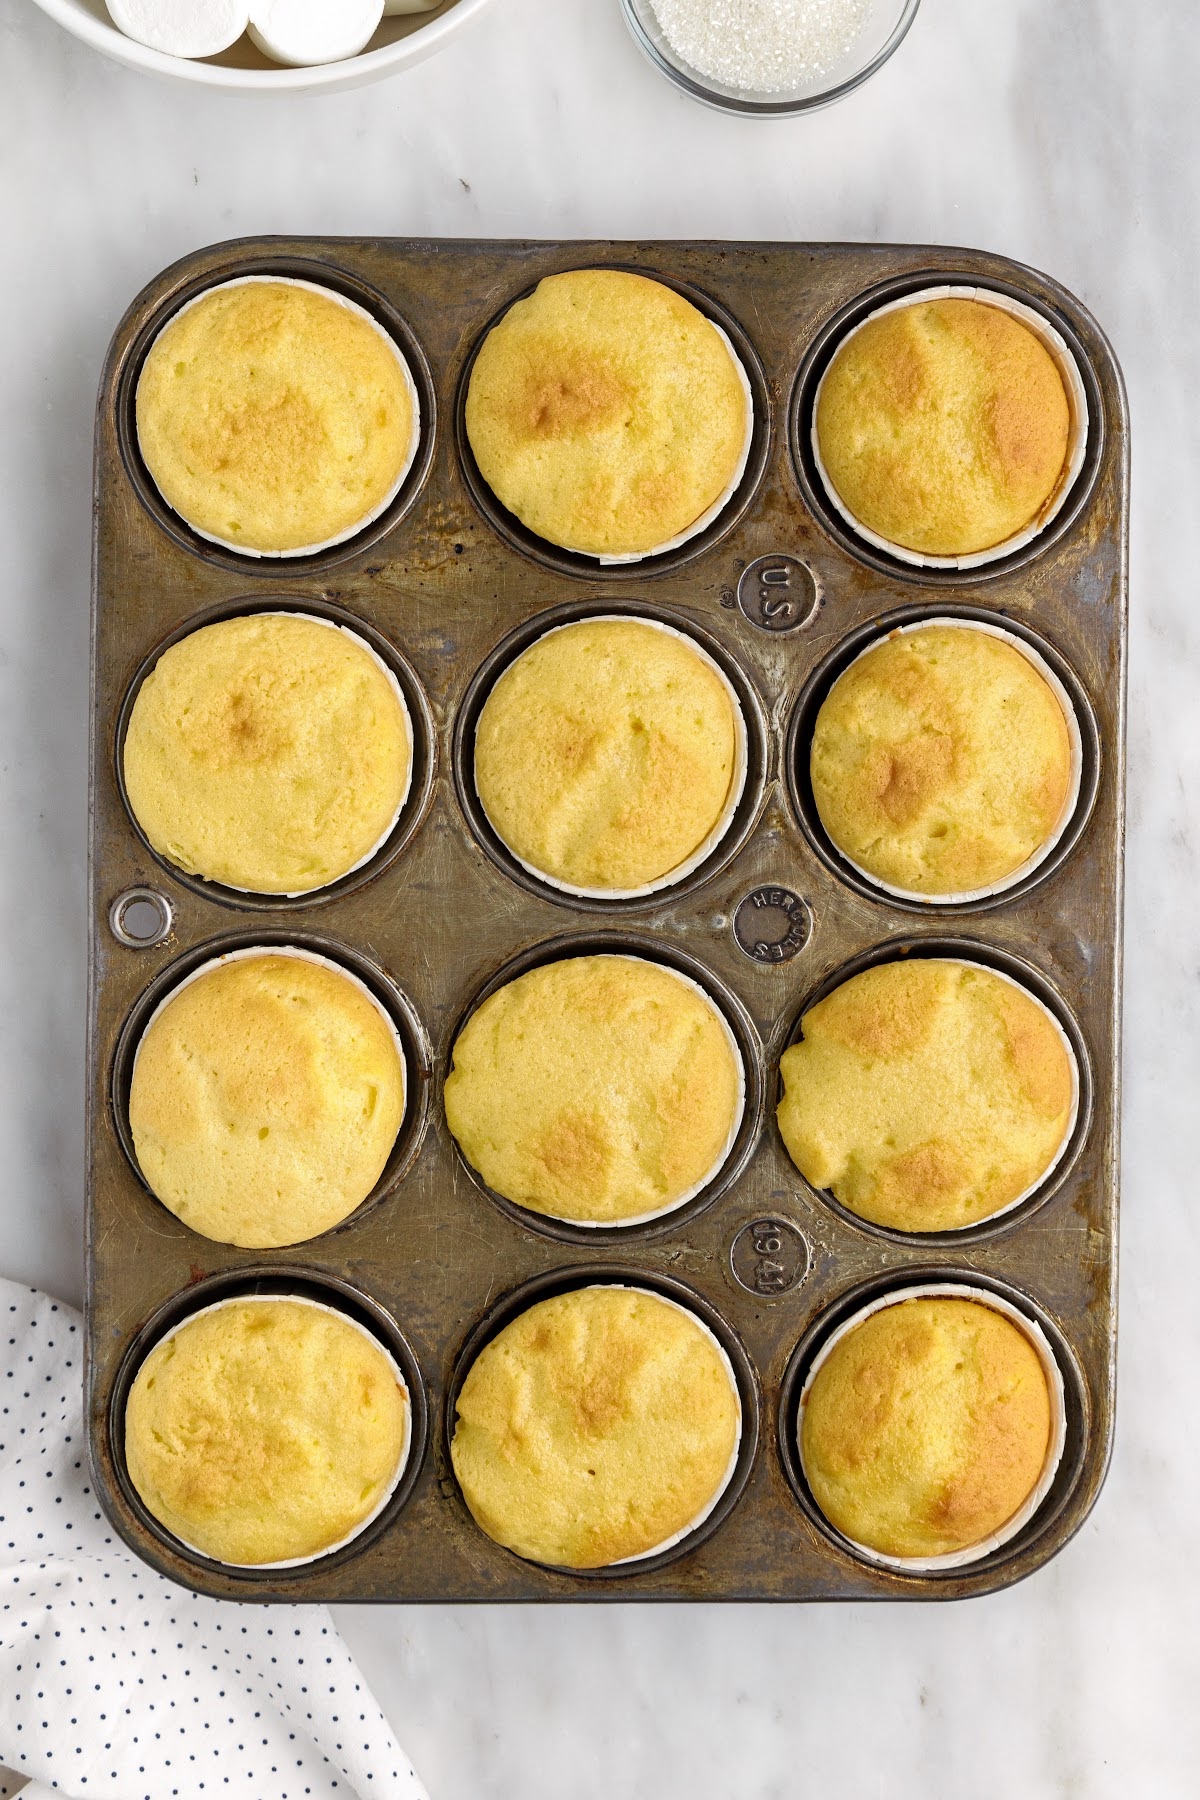
Step 3: Bake in the oven according to the instructions on the box, which should be about 15 minutes at 350 degrees. Once they are done, transfer to a wire rack or cookie sheet to allow them to cool completely before decorating.

Step 4: Attach the tip (#233) to the icing tube, or place it in a pastry bag with green frosting. Hold the tip close to the top of the cupcake, squeezing gently, then quickly pulling upward until the top of the cupcake is covered in “grass” strands.
Pro Tip: Ensure your cupcakes are FULLY cooled before decorating!

Step 5: Cut off ⅓ of a marshmallow (or leave it whole if you like that look better).
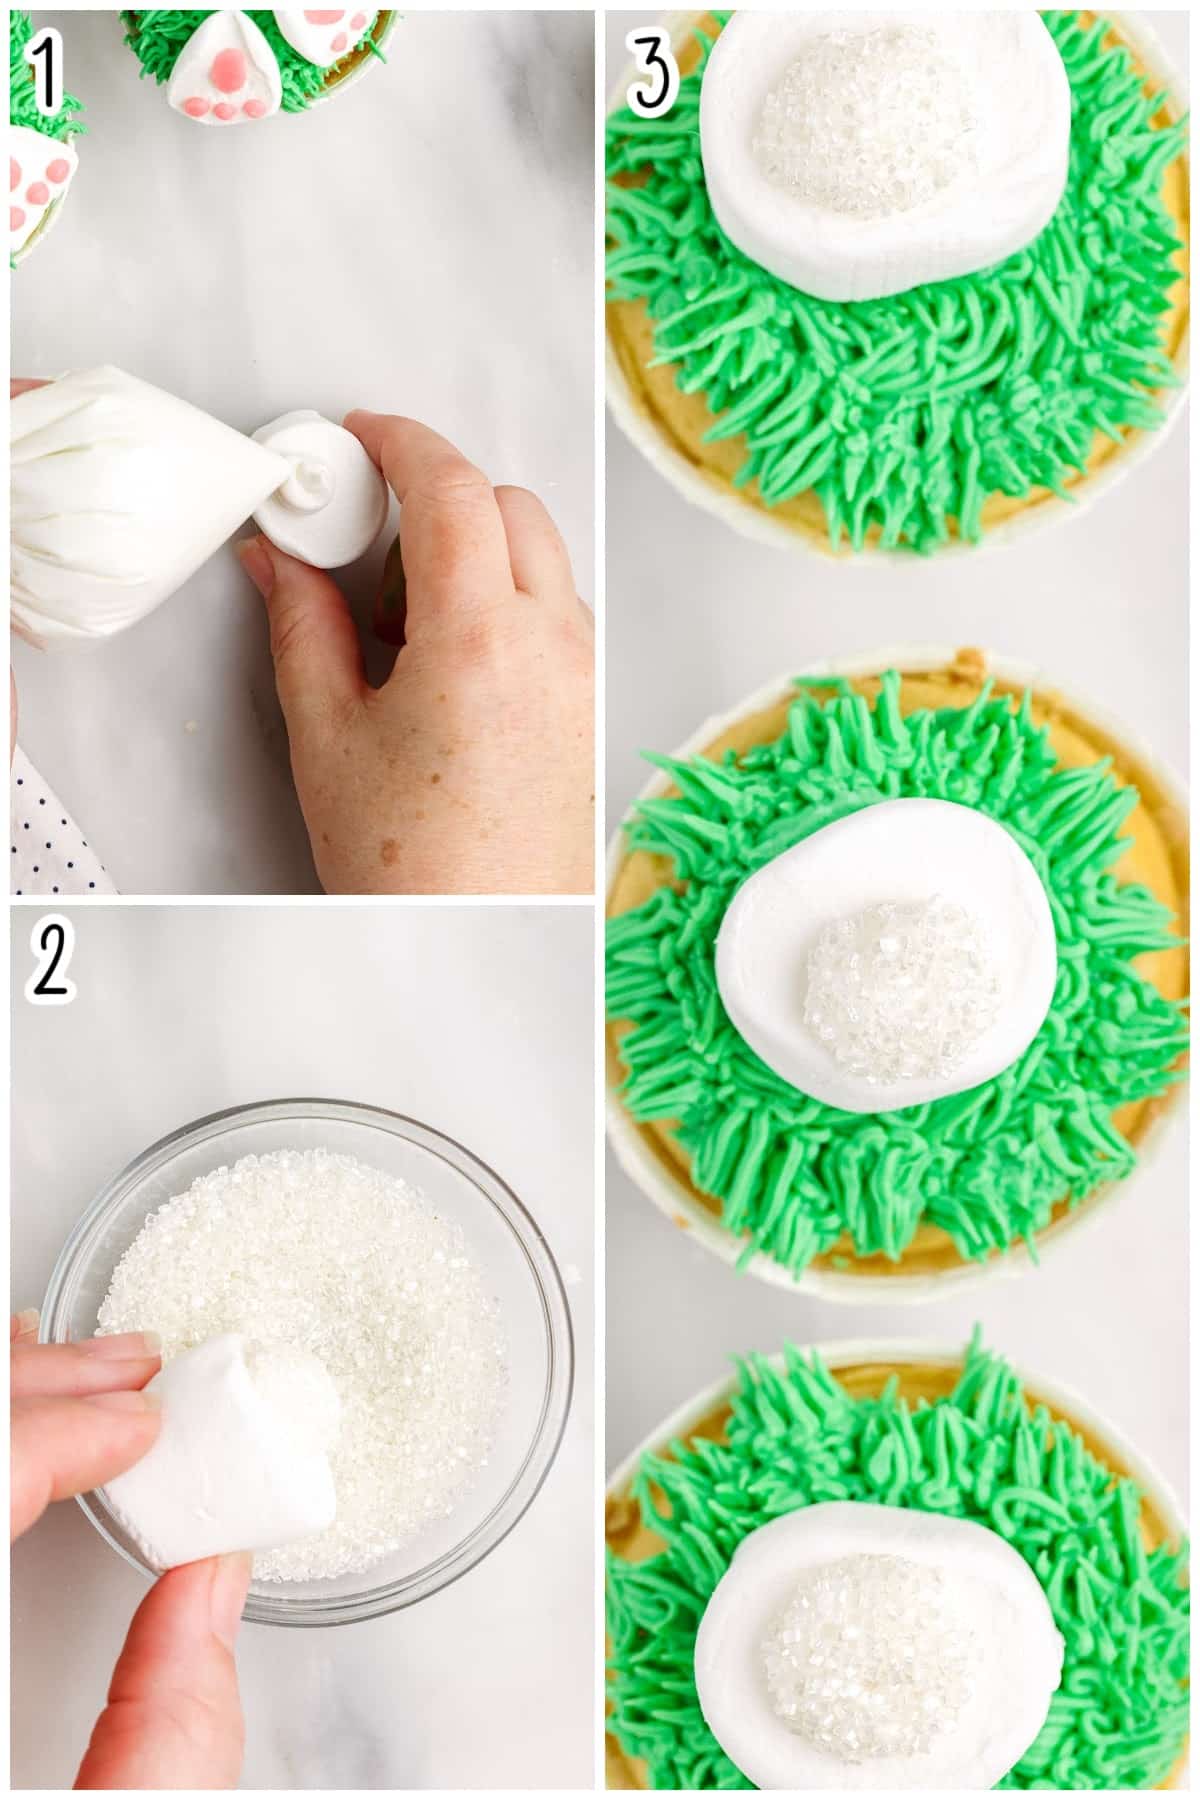
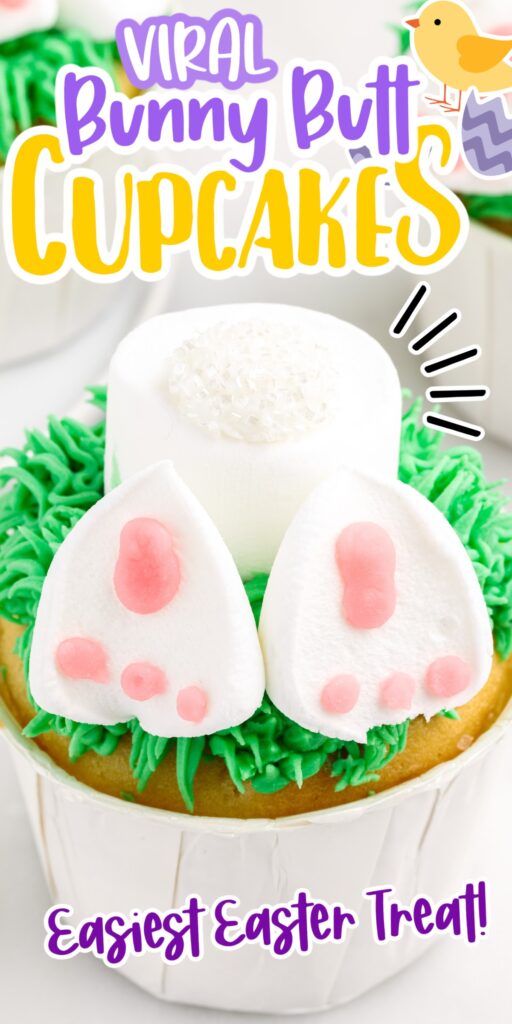
Step 6: On the end that has not been sliced, add a dollop of white icing, then dip it into a small bowl with the sugar or sprinkles for a glimmering look. Place the cut end down onto the frosted green grass.
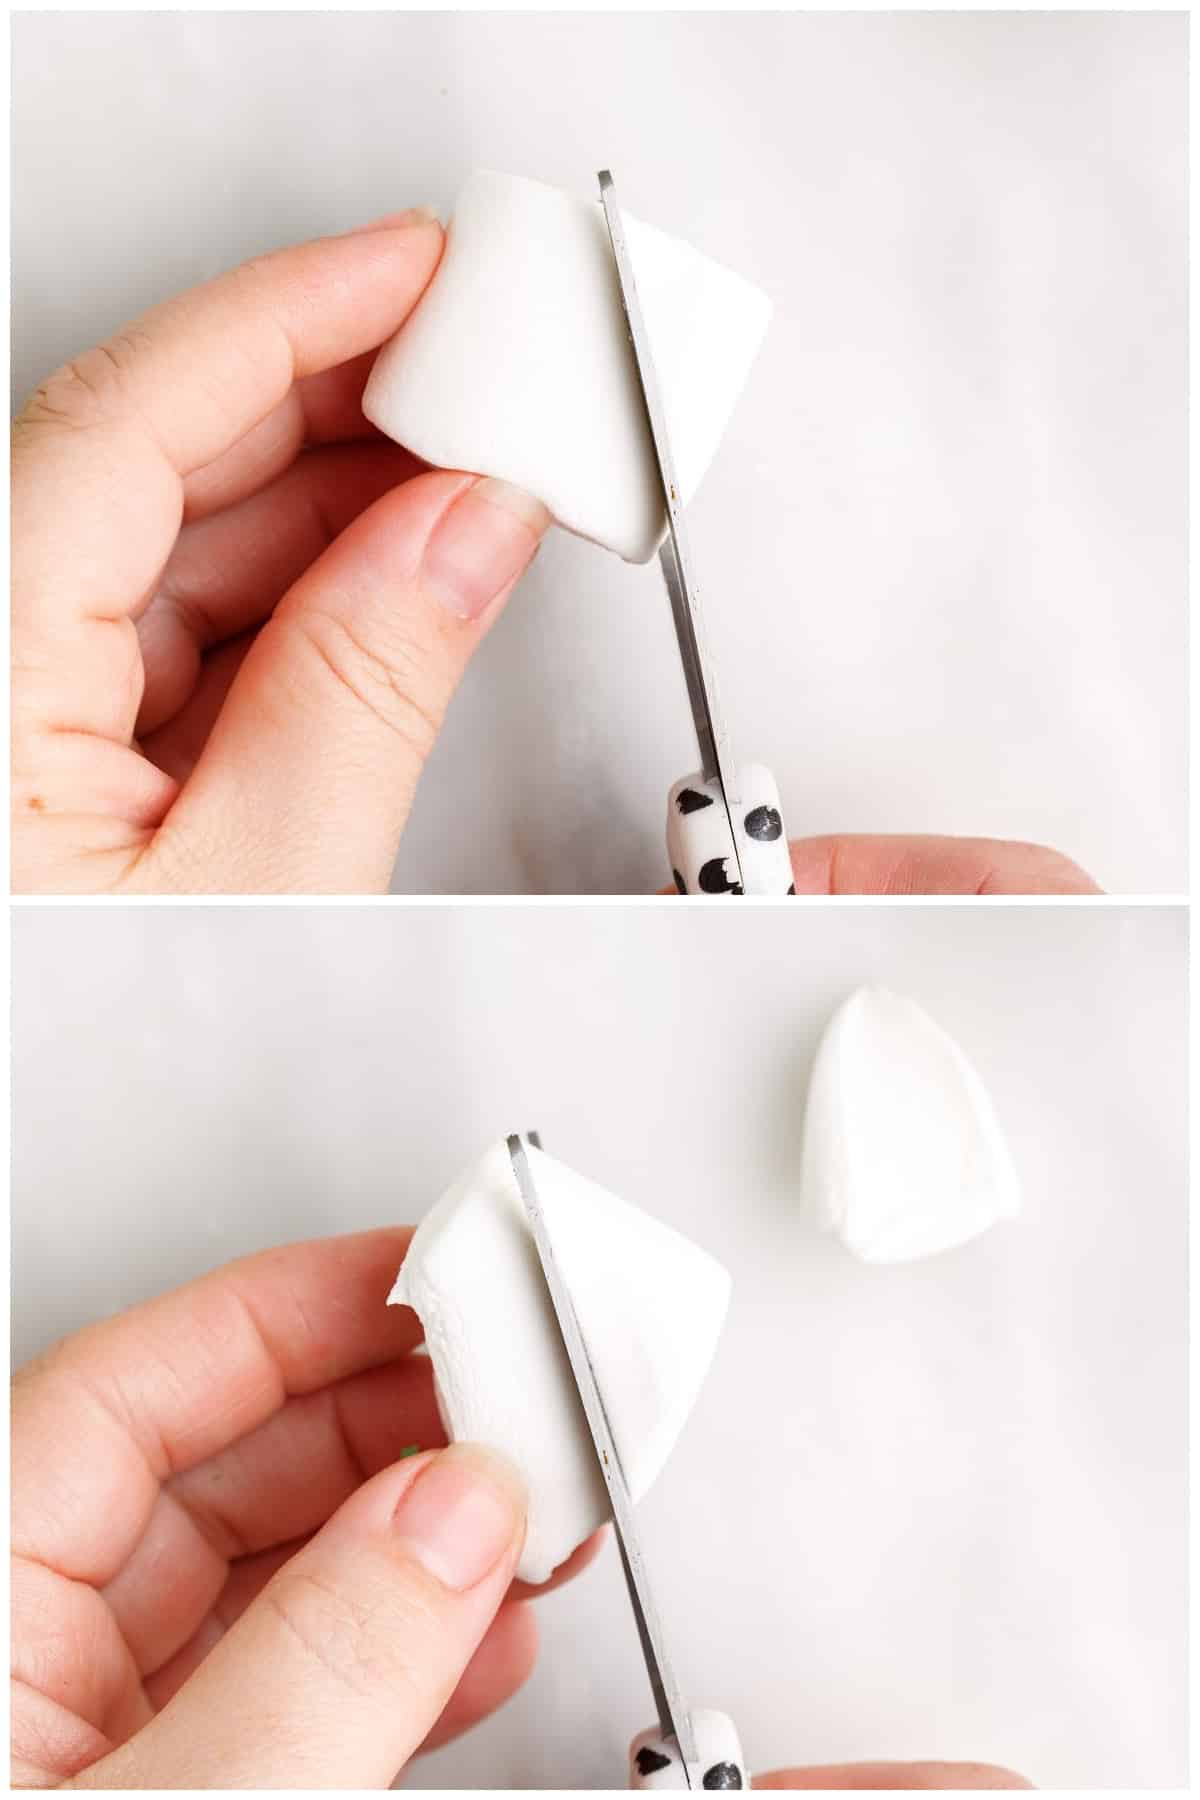
Step 7: Cut the marshmallow diagonally to make two triangular pieces, these are the little feet for the bunny.
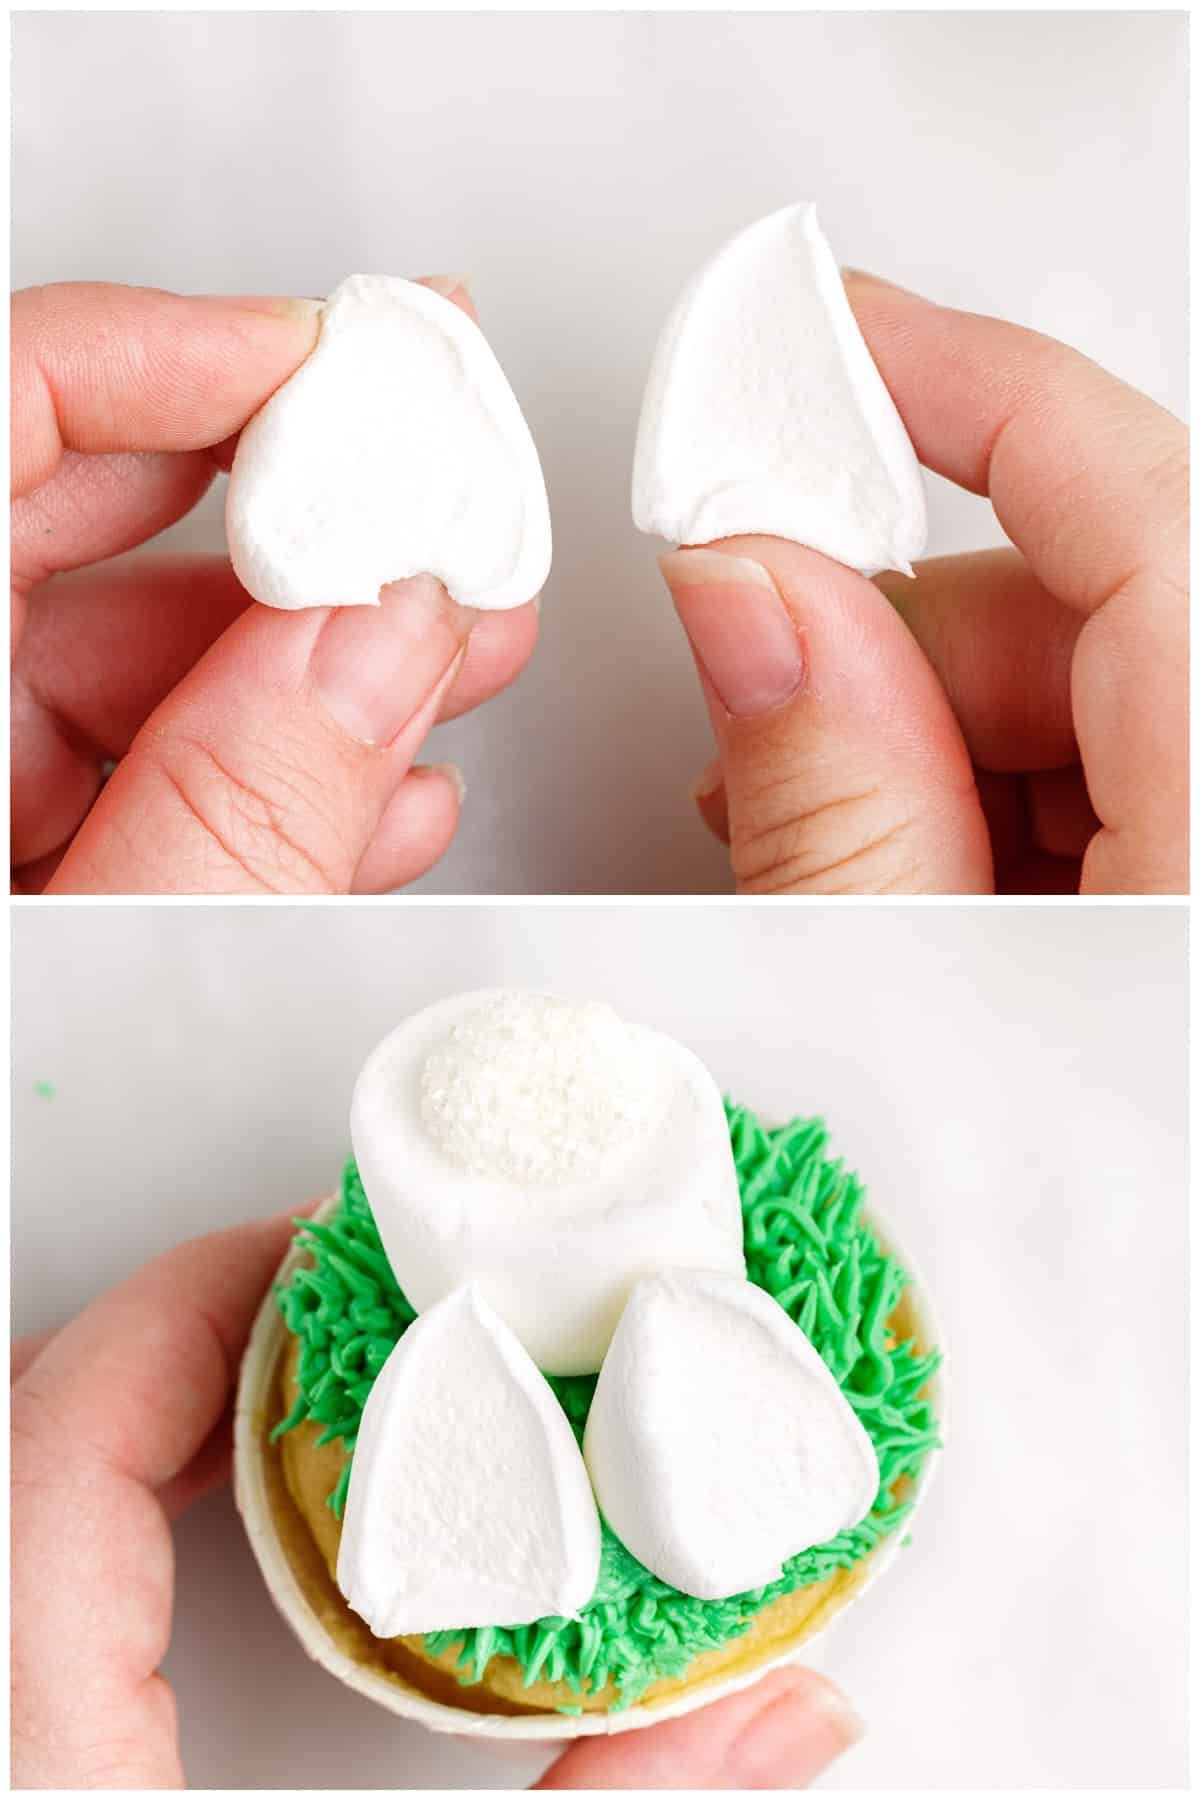
Step 8: Place each bunny foot on the grass with the cut side down.
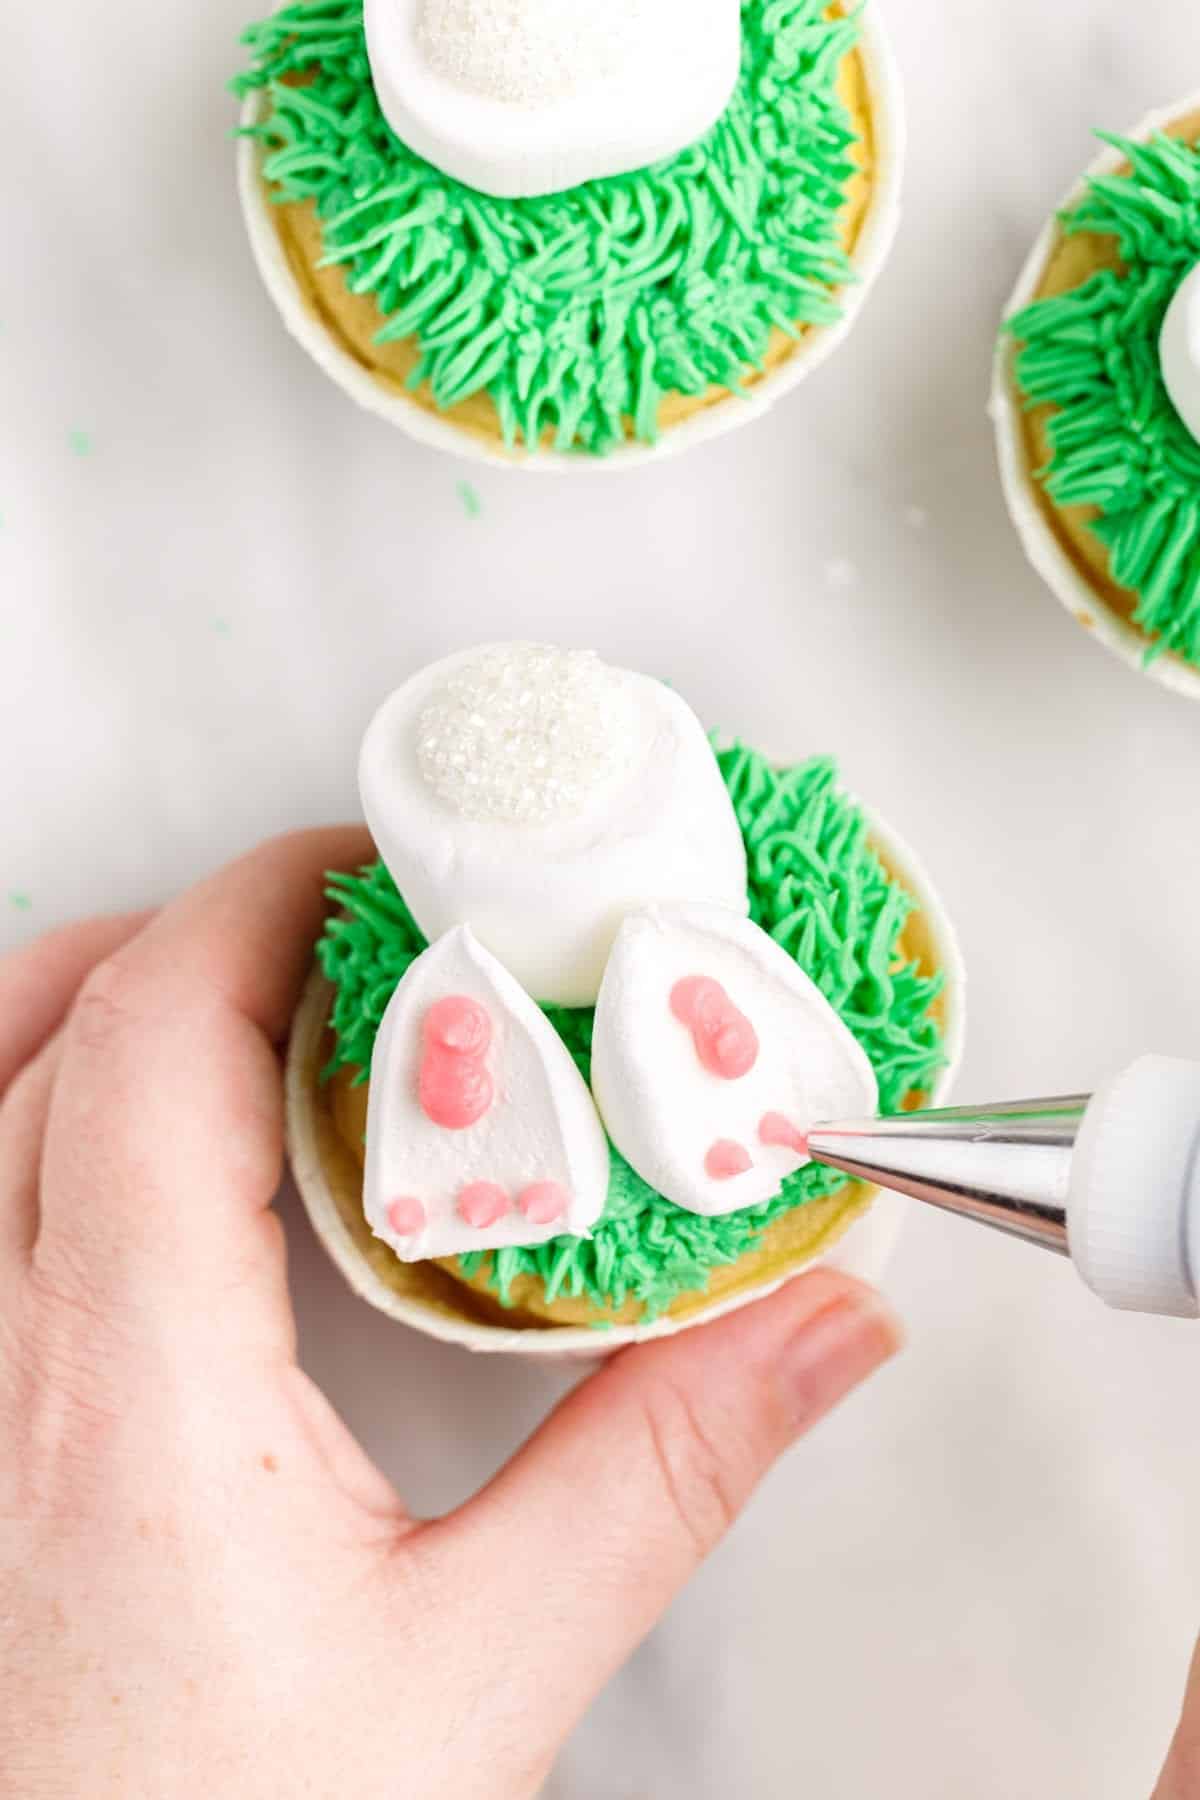
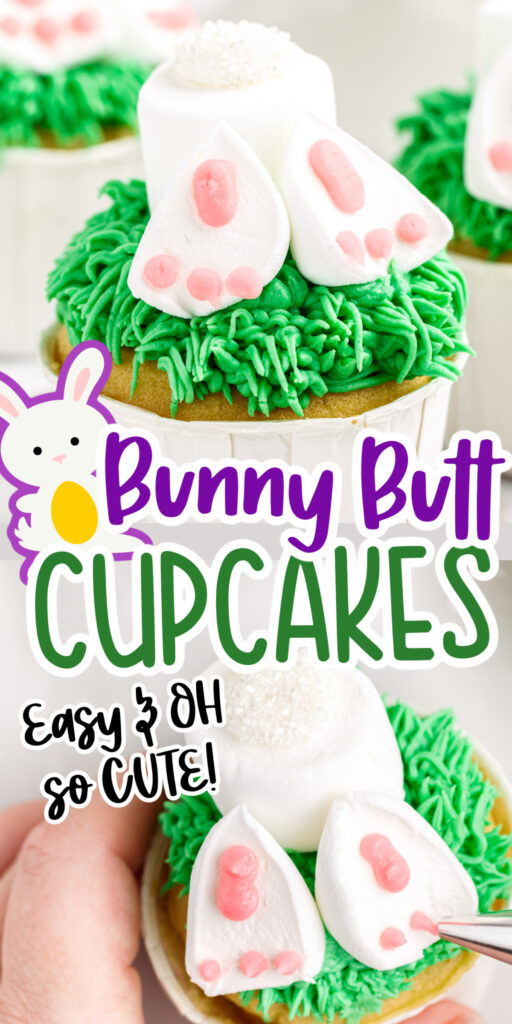
Step 9: Pipe the pads onto the feet using a small round piping tip and pink frosting or icing.
Step 10: Repeat each of these steps for all of the bunny butt cupcakes.
GARNISH/SLICE/SERVE: Serve these Bunny Cupcakes just after decorating and enjoy!

Recipe Tips for Making Easy Bunny Bum Cupcakes Like a Pro
- If you don’t want to use the icing that comes in a tube, you can use buttercream or any other recipe that holds its shape. This strawberry marshmallow frosting would be perfect, too!
- You can also tint your own icing by using gel food coloring.
- Is the icing too thin? Add a bit more confectioners’ sugar (powdered sugar) to thicken it up.
- Don’t have piping bags? Use a regular plastic bag and snip the corner to add the piping tip.
- Store any remaining frosting made with butter in the refrigerator if you plan to decorate more cake or cupcakes in the future.
- Another way to make the bunny feet is by melting white candy melts or white chocolate chips and piping it into shapes on a parchment paper lined baking sheet or a piece of wax paper. Then go back with (melted) pink candy melts to add the pads to each one. Once the chocolate has set you can add to the top of each frosted cupcake.
Recipe FAQs
You can store these cupcakes at room temperature on the counter for up to a week in an airtight container.
I recommend freezing the cooled cupcakes in a single layer, then let them thaw before decorating. You could freeze them after decorating, but depending on your freezer storage situation, they may get squished.
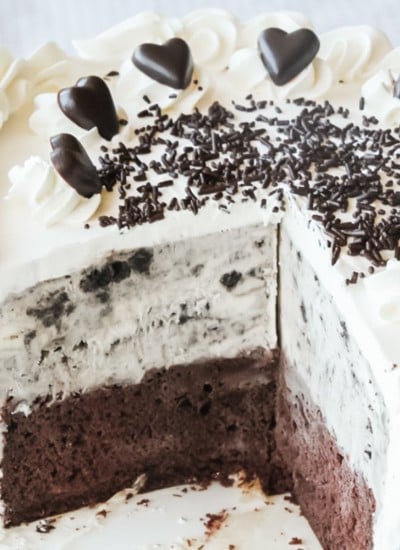
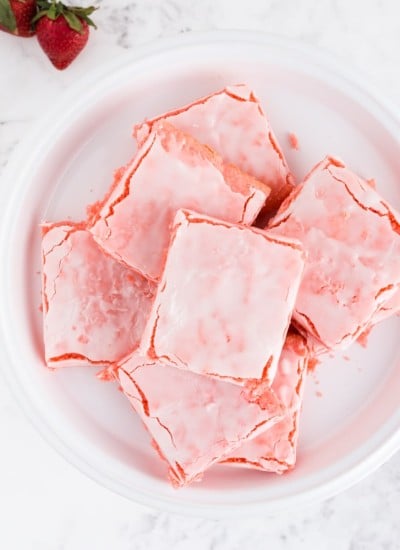
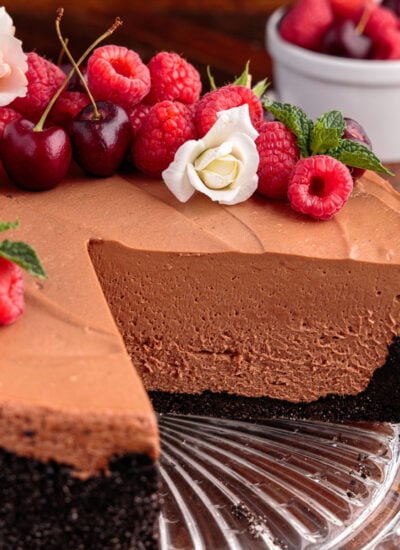
More Tasty Dessert Recipes
If you tried this Bunny Butt Cupcake tutorial or any other recipe on my website, please leave a 🌟 star rating and let me know how you liked it in the 📝 comments below.
Bunny Butt Cupcakes
Ingredients
Yellow Cupcake Ingredients:
- 1 package yellow cake mix
- 3 large eggs
- 1 cup water
- ½ cup vegetable oil
Bunny Butt Decoration Ingredients:
- 1 tube green decorators icing
- 48 standard size marshmallows
- 1 – 16 oz. tub white frosting
- White sanding sugar or sugar crystal sprinkles
- 1 tube pink decorators icing
Instructions
- Prepare cupcakes – In a mixing bowl, combine cake mix, eggs, water, and oil.. Beat with a hand mixer or the standing mixer for 2-3 minutes until fluffy and well combined.
- Line a muffin tin with cupcake liners and fill each liner ⅔ of the way full. Bake according to the cake mix package instructions (approximately 15 minutes at 350°F.)
- Allow cupcakes to cool completely.
- Use grass piping tip #233 attached to the green tube of icing or a piping bag fitted with the tip to pipe a mound of grass on the top of each cupcake. Hold the tip close to the cupcake and squeeze icing while pulling quickly outward and releasing pressure to make the grass strands.
- Cut about ⅓ off of the end of one standard marshmallow to make the bunny butt. (You can also just leave it whole.)
- On the intact end of the marshmallow, place a dollop of white icing and dip into the sanding sugar to make a sparkly bunny tail. Press the cut end of the marshmallow into the grass on the cupcake.
- Take a second marshmallow and snip on the diagonal to cut off two triangular shaped marshmallow pieces – these will be the two feet – the cut side of each piece will be the bottoms of the feet.
- Place the feet into the grass up against the bunny butt.
- Use a small round piping tip attached to the pink tube of icing to pipe the pads of the feet. If the dots of icing come to little points, just wait for them to set up a bit (about 5-10 minutes) and then gently press the pad of your finger against the point to flatten it.
- Repeat for the remaining cupcakes.
Would you like to save this?
Notes
-
- If you don’t want to use the icing that comes in a tube, you can use buttercream or any other recipe that holds its shape. This strawberry marshmallow frosting would be perfect, too!
-
- You can also tint your own icing by using gel food coloring.
-
- Is the icing too thin? Add a bit more confectioner’s sugar (powdered sugar) to thicken it up.
-
- Don’t have piping bags? Use a regular plastic bag and snip the corner to add the piping tip.
-
- Store any remaining frosting that has been made with butter in the refrigerator if you plan to decorate more cake or cupcakes in the future.
-
- Another way to make the bunny feet is by melting white candy melts or white chocolate chips and piping it into shapes on a parchment paper lined baking sheet or a piece of wax paper. Then go back with (melted) pink candy melts to add the pads to each one. Once the chocolate has set you can add to the to the top of each frosted cupcake.
Nutrition
Make this recipe?
Share it with me on Instagram @girlinspired1 and follow on Pinterest for more!


Leave A Reply!