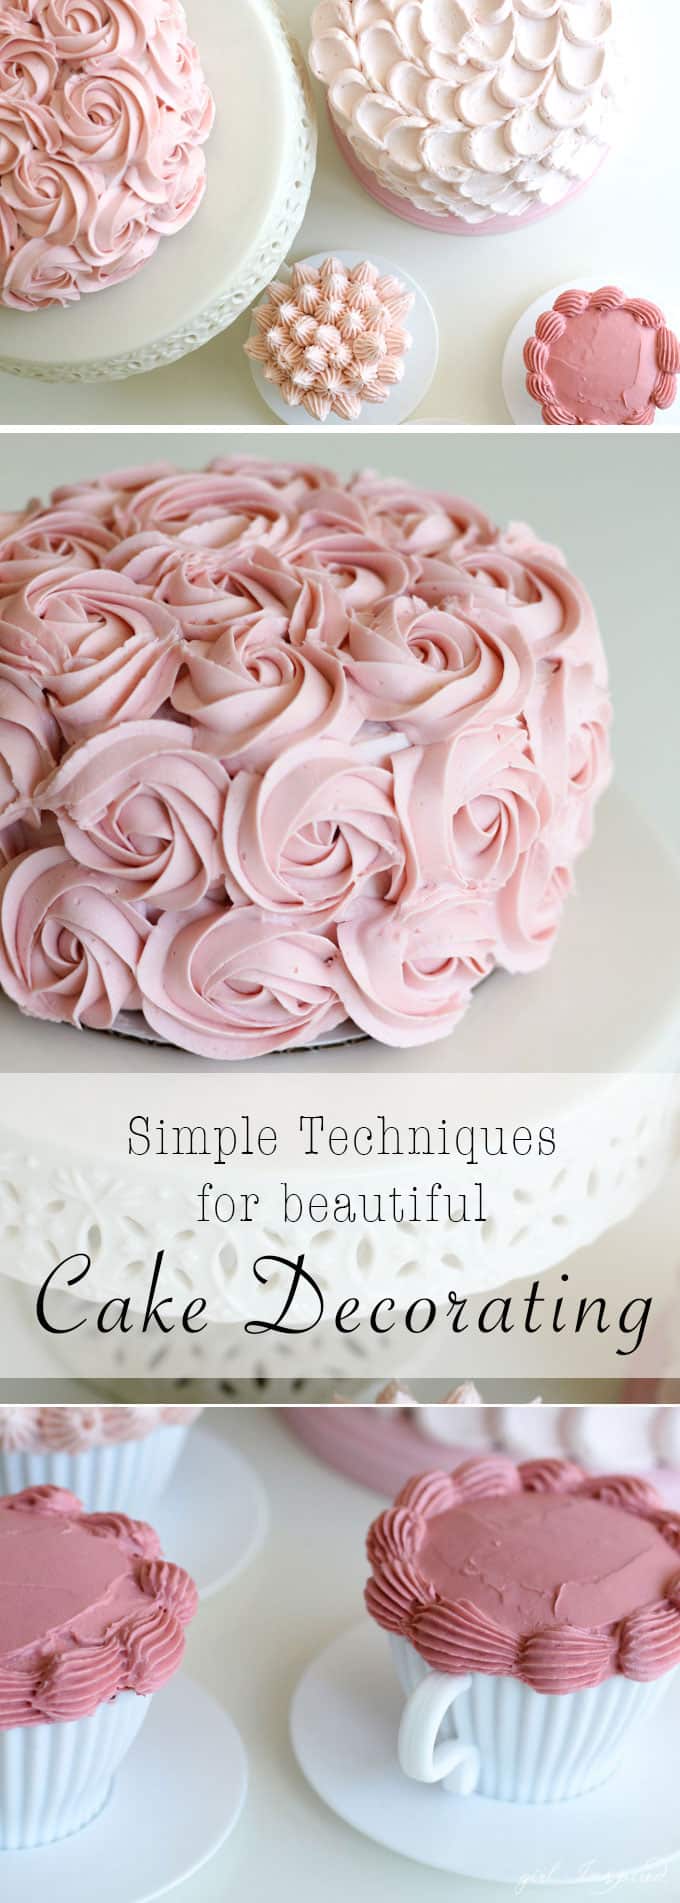
 Happy New Year! My kids are back in school, the holiday decorations are packed away, and my house is in complete disarray as we have turned our attention back to finishing the floor installation project. Remodeling gets exhausting, I tell ya! But we just keep going back for more! Anyhow, I have a few projects and posts that I didn’t want to get buried in the holiday jumble, so I’m looking forward to finally sharing these with you. If this is your year to develop your cake-decorating skills, I have a few simple tips to get you started! Grab a cake and some basic supplies and learn these four simple cake decorating techniques! Surprise someone this Valentine’s Day with your awesome new skills!
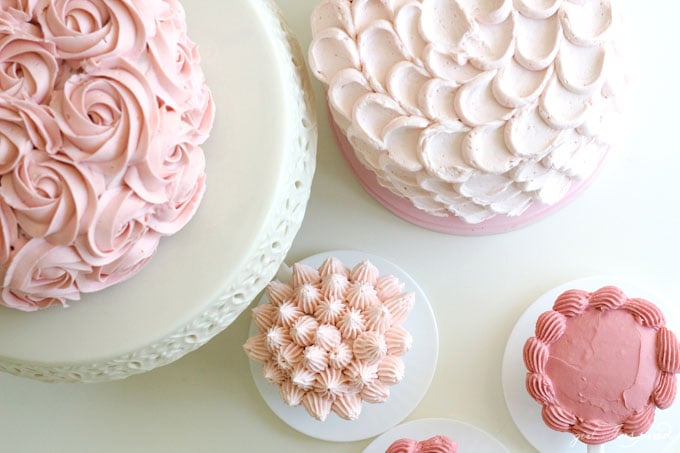
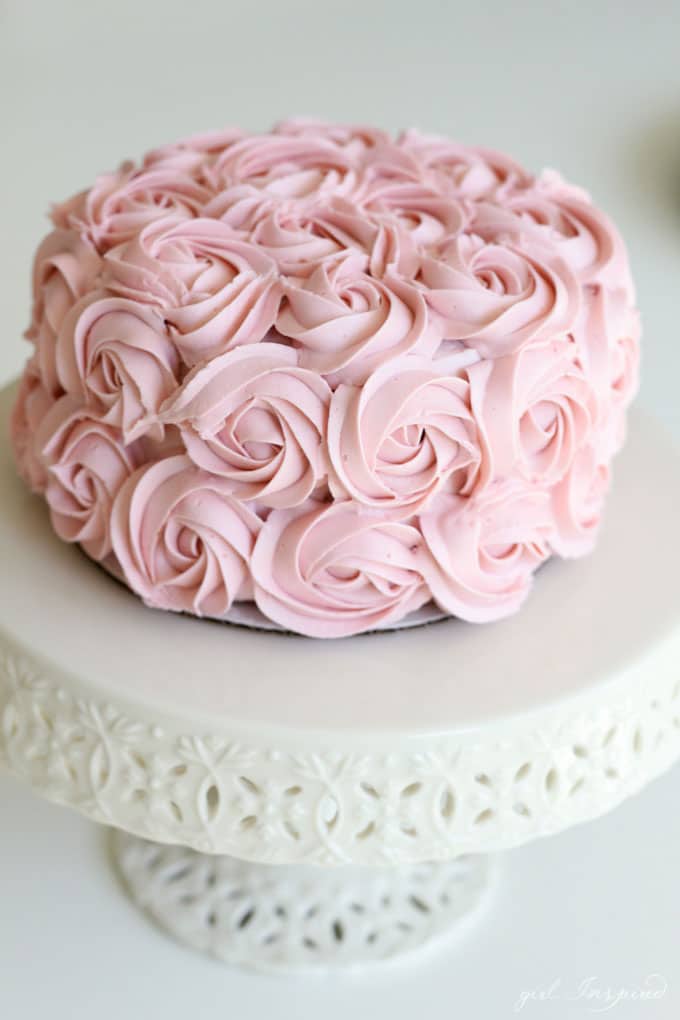
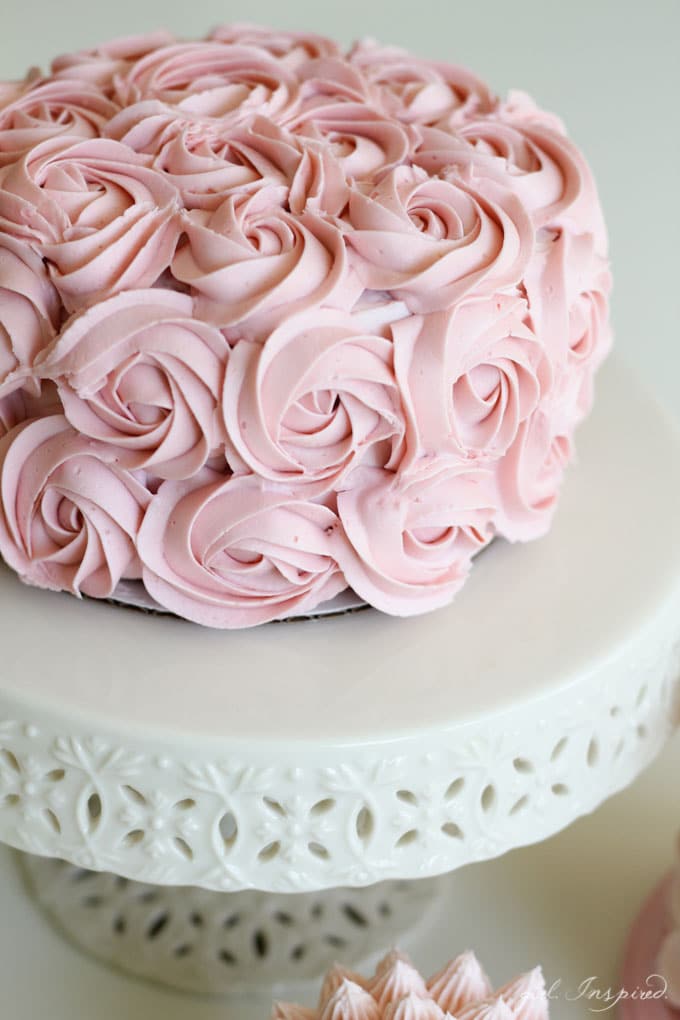
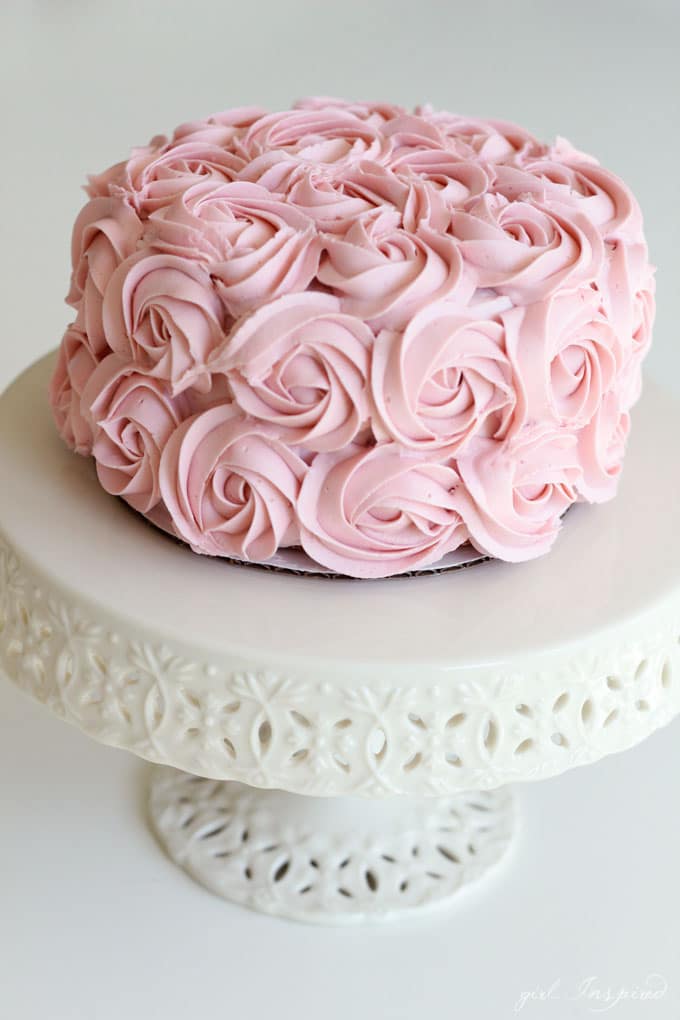
Technique #1: The Rose Cake
Supplies:
6-inch cake pan
Wilton Decorator Icing (3-4 Cups)
18″ decorating bags, large coupler set, and piping Tip #1M
Wilton “Rose Petal” icing color
cake mix/ingredients
Bake cake in 6-inch pans and level the top off of each layer. One batch of batter will make two 3-inch layers. Tint several cups of icing to desired shade of color. Slice the tops of the cake layers off with a bread knife and stack them, filling between each layer with an even coat of icing. Spread a thin layer of icing, typically called a crumb coating, over the entire cake and place in the freezer for 15-20 minutes before continuing. This will allow the icing to firm up so that the crumbs do not get dragged into the icing when you continue to decorate your cake.
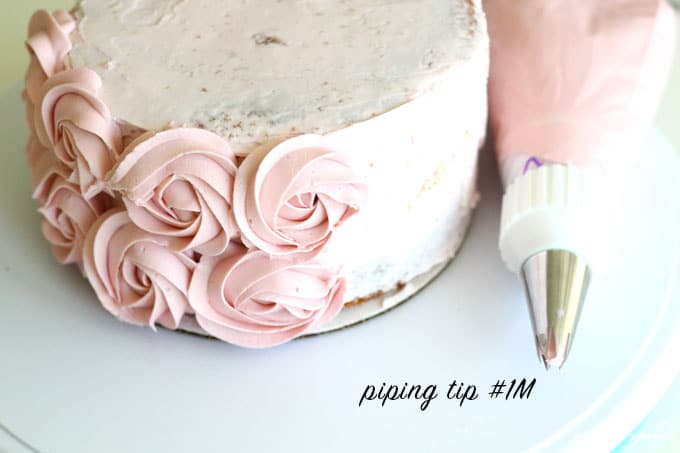
Fit a large piping bag with a large coupler set and Tip #1M. Fill with remaining tinted icing. (You can coat your cake with another thin layer of icing before piping the roses if you’d like. Since my cake was light in color, I did not.) Cover the cake by piping swirled roses over the entire thing. These are simple to make. Hold the piping bag and position the tip where you would like the center of the first rose. Squeeze the icing while swirling the tip in a counter-clockwise direction until you have formed approximately a 2 or 3-inch rose. You can make these any size, really, they should just be uniform across the cake.

Continue piping roses over the entire cake. Fill in any gaps with small swirls – they’ll blend right in. You can find more detailed information and tips for making a Swirled Rose Cake.
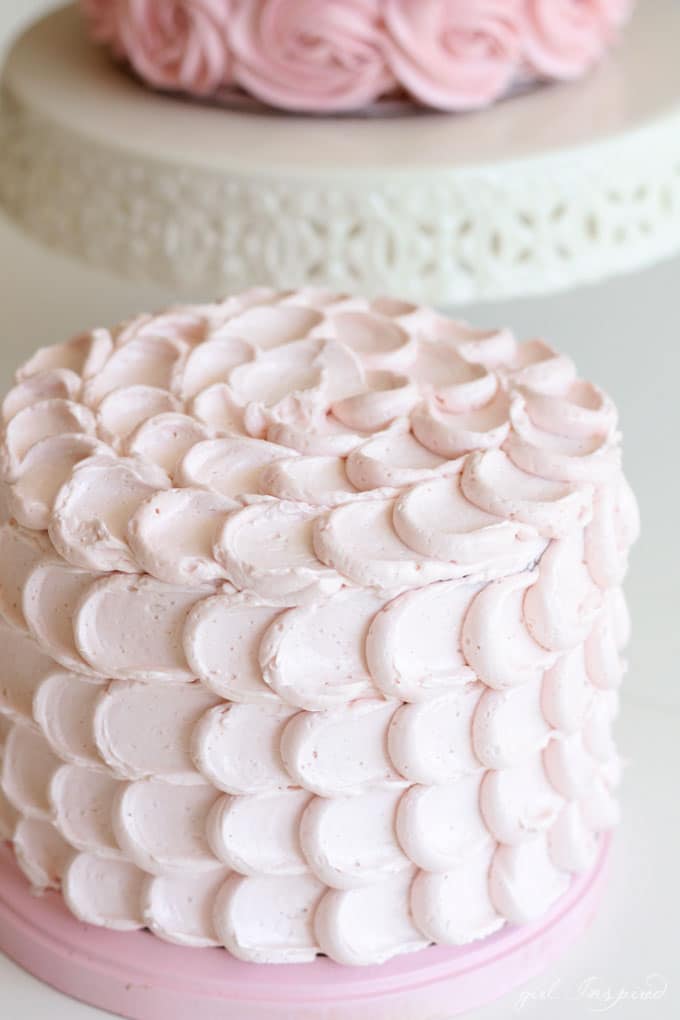 Technique #2: The Pulled Dot Cake
Supplies:
Wilton Easy Layers Cake Pan Set (or 6-inch cake pans)
1 recipe of Swiss Meringue Buttercream (or other icing suitable for cake decorating)
18″ decorating bags, large coupler set, and piping Tip #1A
Lemon Layer Cake (or other layer cake of desired flavor)
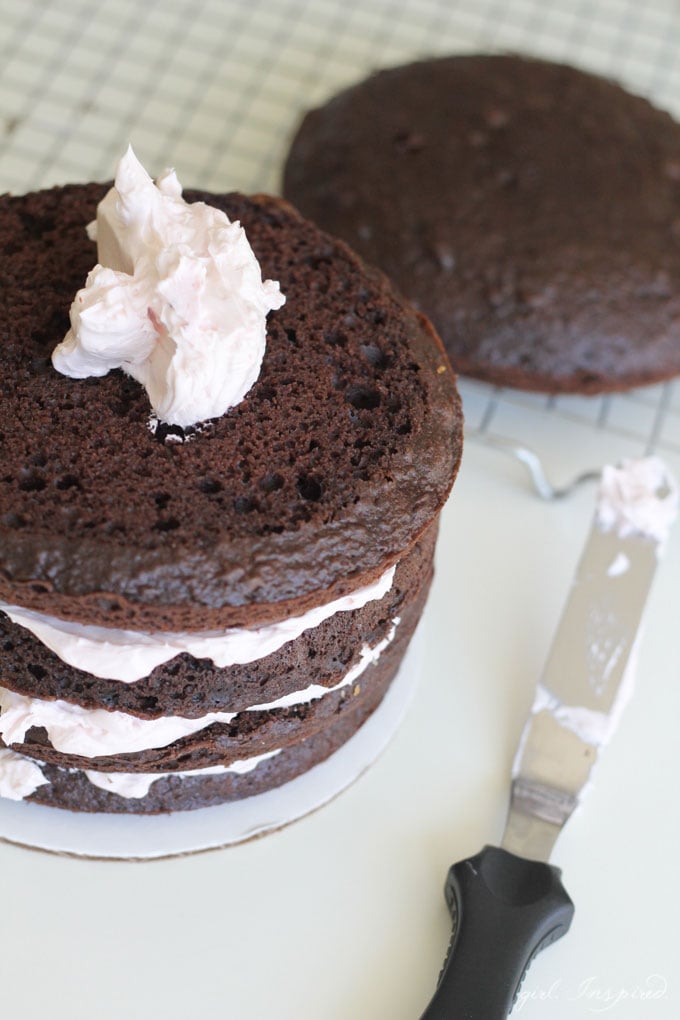 Bake, level, stack, and fill your cakes as described above for The Rose Cake.
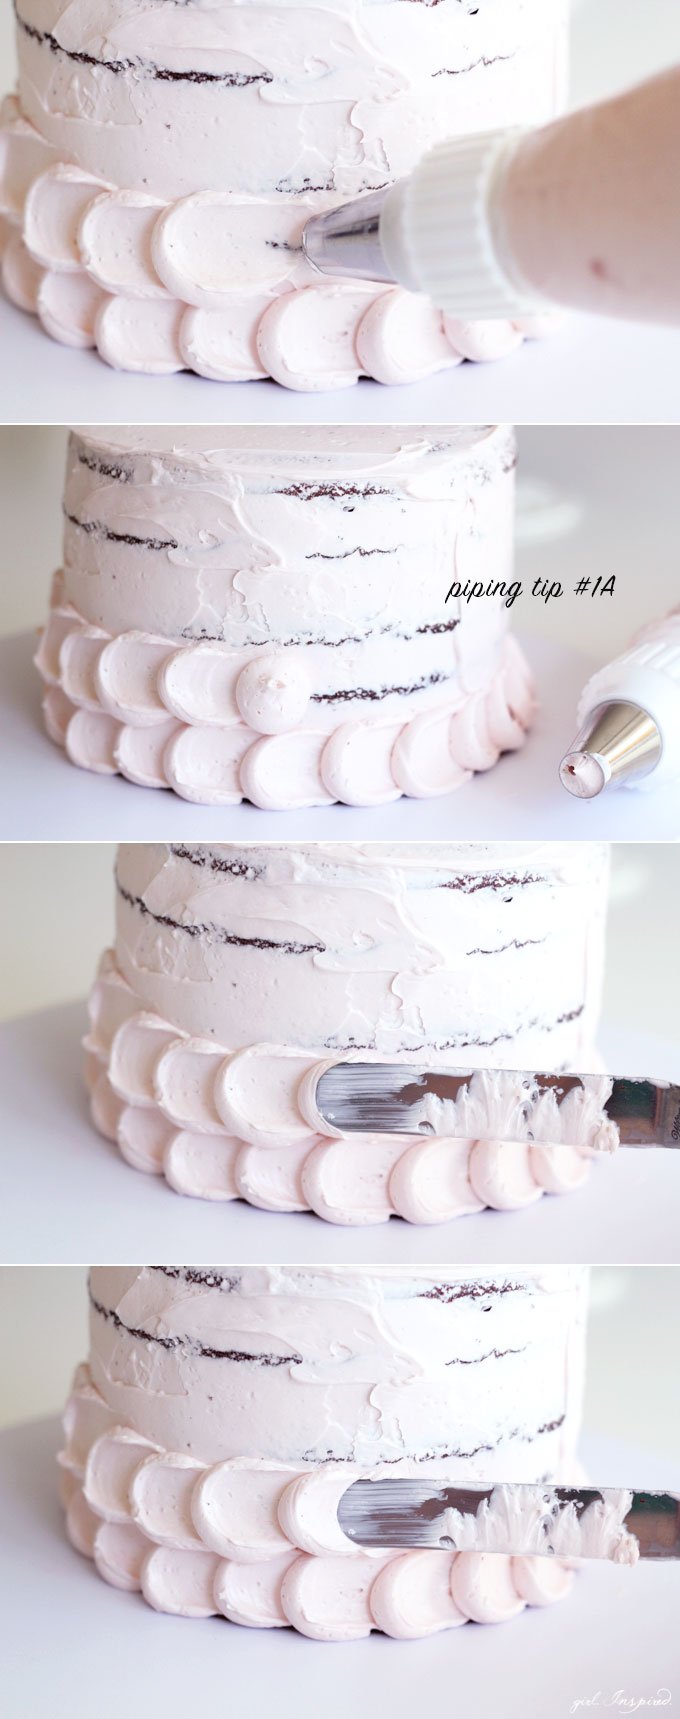 This cake takes a little time, but it’s also quite simple. Starting at the base of the cake, pipe a nickel sized dot using Tip #1A. Use a small icing spatula to drag the dot to the right. Pipe a second dot over the “tail” of the dragged dot. Drag the spatula again over this dot. Continue to pipe and drag subsequent dots in horizontal lines over the entire cake. Work in circles around the top of the cake.
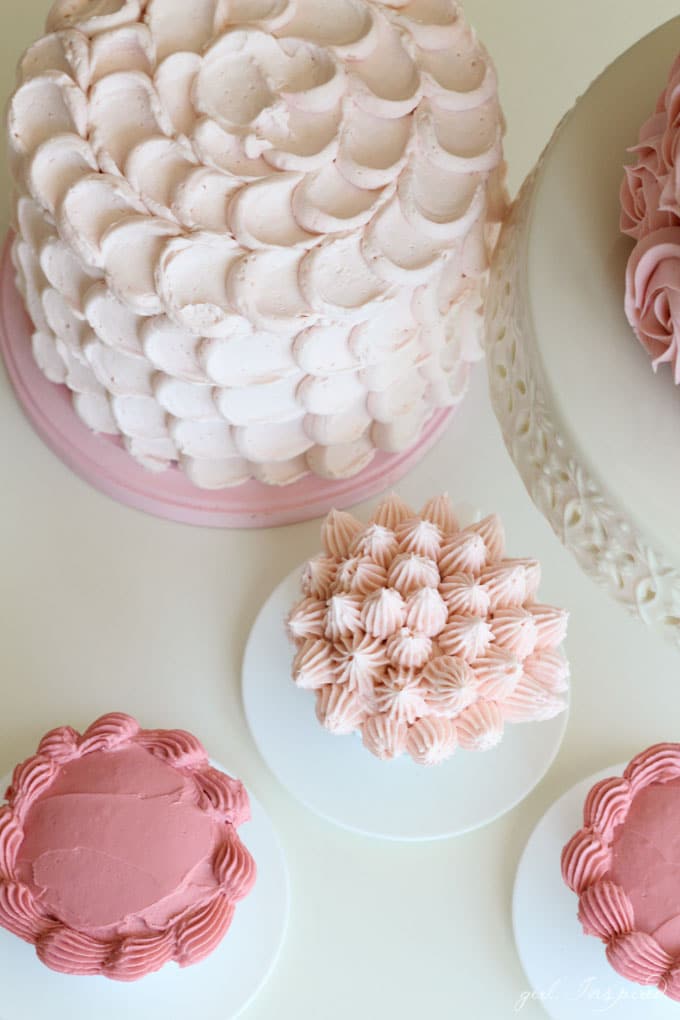
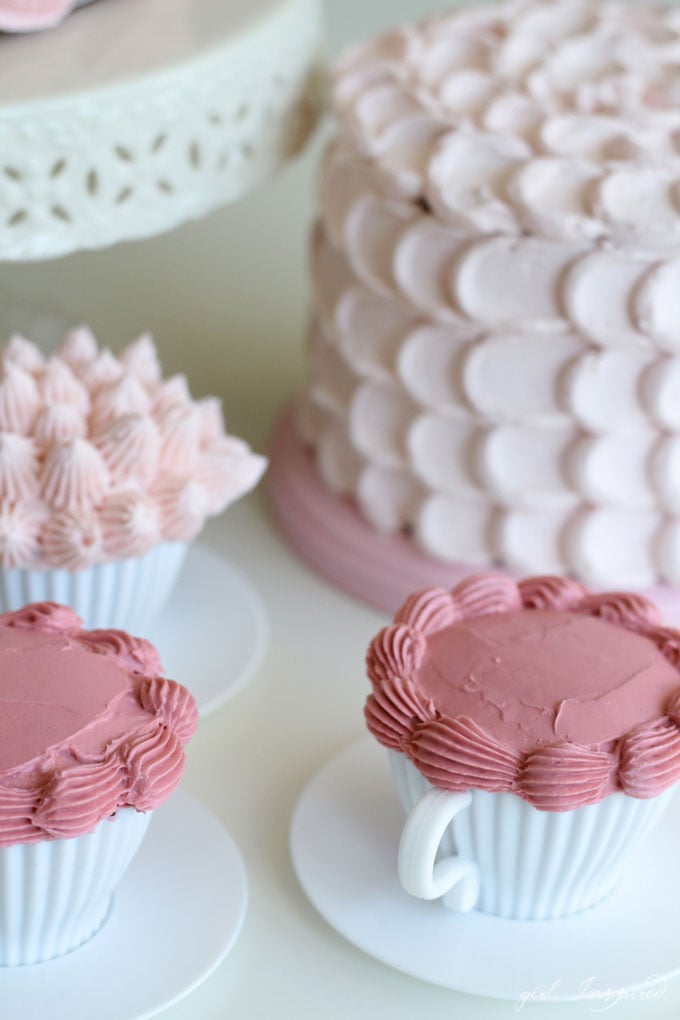 Technique #3: Cupcakes with a Decorative Shell Border
Supplies:
“Tea cup silicone cupcake holders” (affil)
White Cupcake Recipe
Wilton Decorator Icing (3-4 Cups)
Wilton “Rose Petal” icing color
18″ decorating bags, large coupler set, and piping Tip #4B
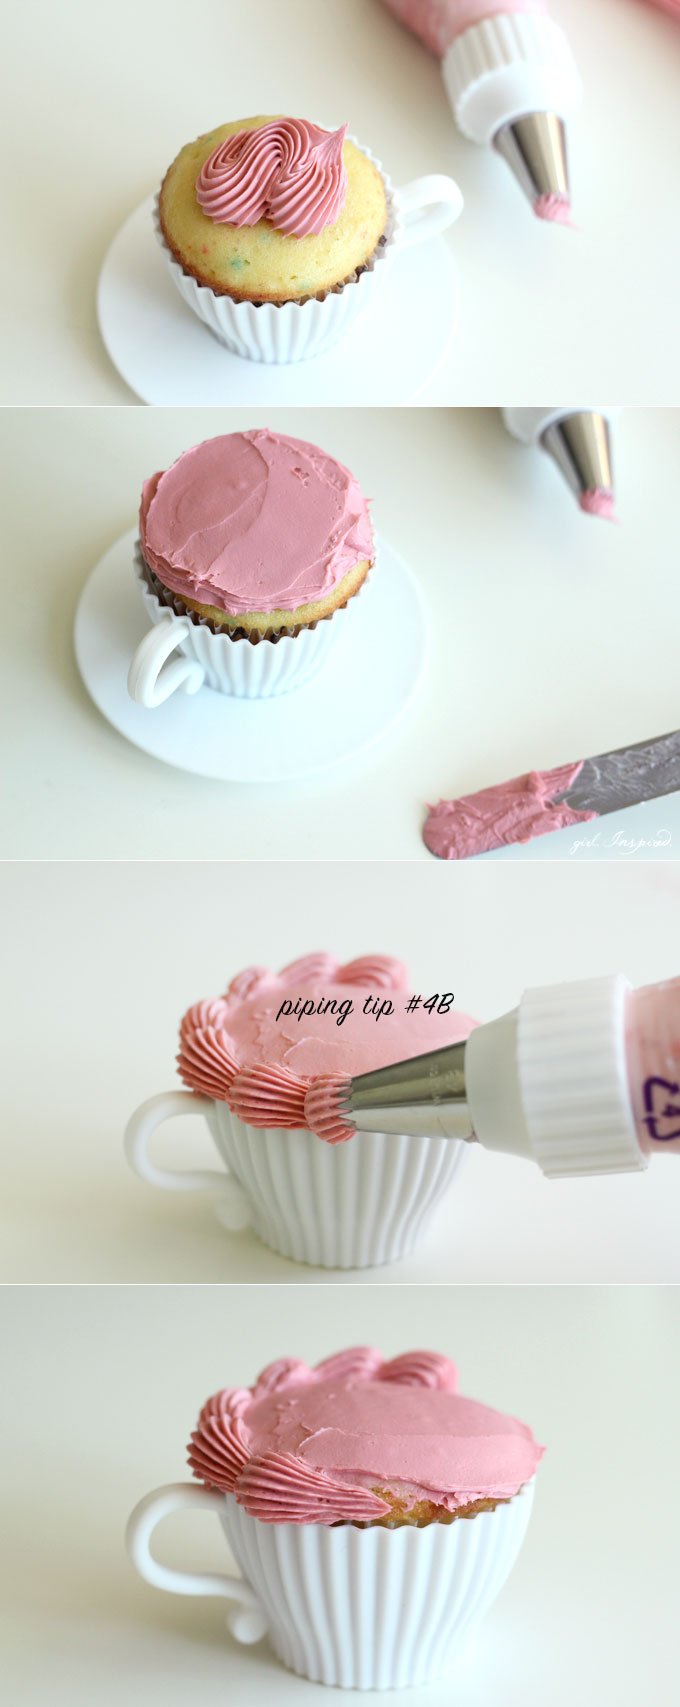 Fit your piping bag with the large coupler set and Tip #4B. Squeeze a small amount of icing onto the top of the cupcake and spread evenly. Working around the top edge/side of the cupcake, pipe a shell border. You will want to work on the side of the cupcake versus the top of the cupcake for the best result. Lightly squeeze the icing to form a bead, then drag your piping bag to the right while releasing pressure on the bag to form a tail. Overlap your next bead on the tail of the previous one. Continue around the border of the cupcake.
Technique #4: Cupcakes with Piped Peaks
Supplies:
Easy Chocolate Cupcakes (or another flavor)
Wilton Decorator Icing (3-4 Cups)
Wilton “Rose Petal” icing color
18″ decorating bags, large coupler set, and piping Tip #4B
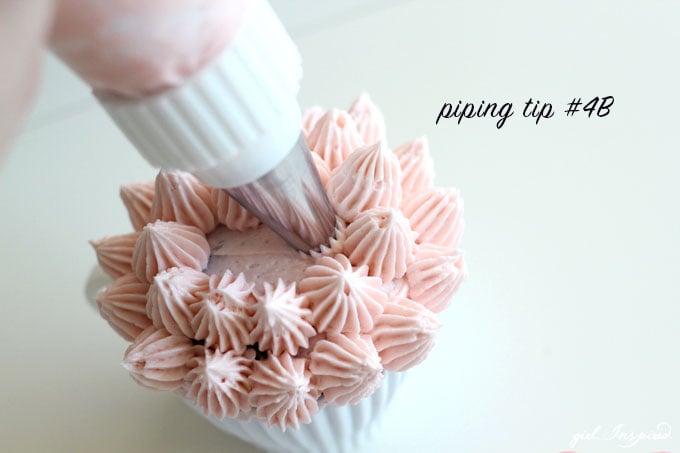
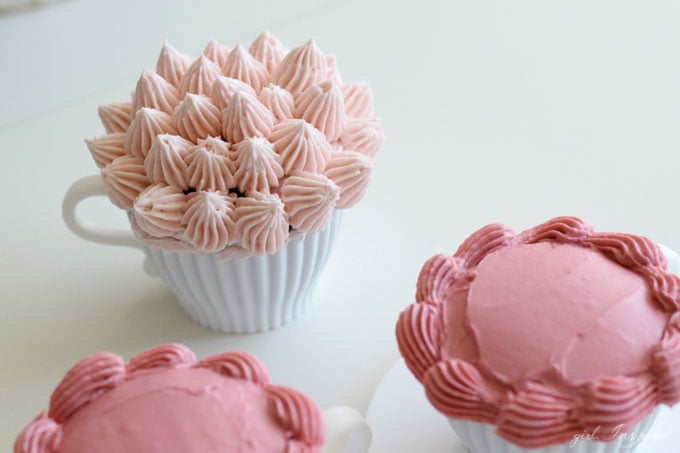
This technique is especially easy and lots of fun. It gives a unique look to your goodies. Spread a thin layer of frosting over the top of the cupcake. Then, use piping tip #4B to cover the treat with piped peaks. Hold the piping bag perpendicular to the cake. Squeeze a small amount of frosting, then release and lift straight up to create a peak. Continue to cover the cupcake.



Comments & Reviews
Jill says
I love the pulled dot cake method but was wondering what you do when you come to the end of the row. How do you finish it, there’s no room to pull the last dot because it would butt up to the first one correct??
Stefanie says
This is a great question, Jill! When I went to Wilton headquarters (gosh, that was a lot of years ago now) I actually asked this exact question because it always baffled me. They taught to swipe the last row up and then have that whole column go up. So it makes a vertical line on that one section. That was the “official” how-to. I personally would probably just make a dot and tamp it flat with the pad of my finger. lol.
Rachel says
Thank you so very much 💗 your instructions are wonderful.
Renee Strodder says
Hi they’re beautiful can’t wait to to make them, where could I find the beautiful teacups?
Bonnie says
Oh how I love a great tutorial. Thank you so much:)
Zineb - WithEyestoEat says
That’s beautiful, I’ll try the rose cake for sure ! Thank you 🙂
patty says
beautiful! What shade of rose did you use to tint the icing on the large cake?
girlinspired says
Hi Patty – I used just a tiny smidge of Wilton “Rose Petal” icing color for the taller cake and then just added more of the same color for the darker colors.
Christie says
You are AMAZINGLY talented at decorating cakes (along with sewing!). These are beautiful!
ali says
Nice.