I’ve had some requests recently for sewing basics so today I’d like to discuss how to sew a gathering stitch. Learning how to gather fabric is a basic sewing technique, and essential for garment sewing, but it can be challenging when you are first learning.
I would LOVE IT if you would take a few minutes to leave a comment with any sewing basics that you’d like to see here on the blog. It will obviously take some time to create a good pool of basics, but it will help to know what your interests are!
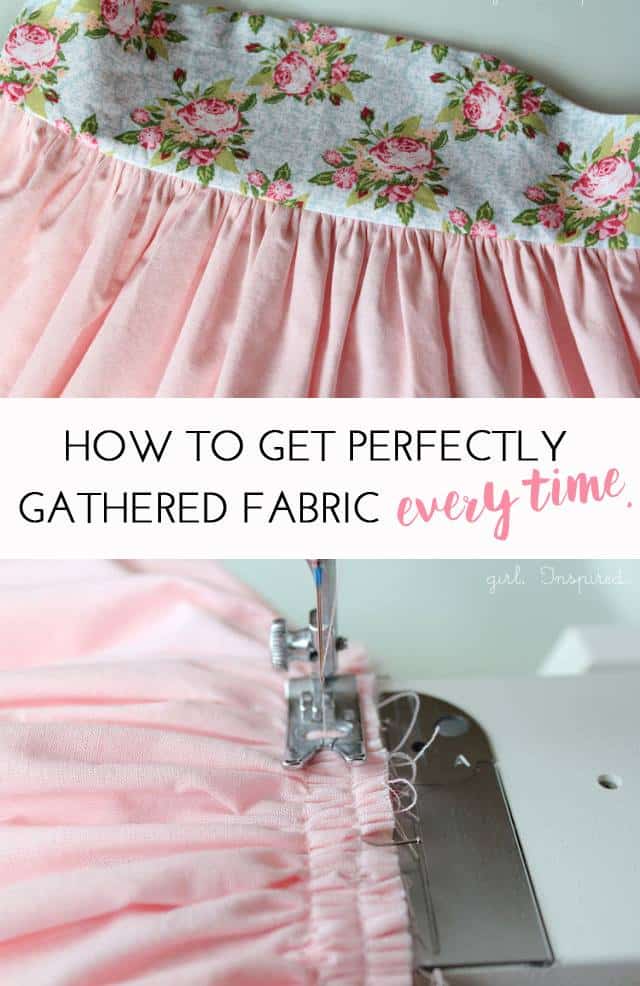
Clearly, I like a lot of ruffling to accompany “my style.” And while it may be old hat to many of you, gathering and stitching fabric can be an intimidating process for others – I know it definitely was for me when I started sewing garments! I’m going to show you the process of gathering a skirt to join it to a bodice that will give you the cleanest results with (hopefully!) the least amount of frustration and/or mess. The trick is this: sew two lines of gathering stitches, press and steam your gathers, and pin a lot!! Incorporate those three things and you’ll be good! Ready?
Prepare your skirt pieces so that they’re ready to attach to the bodice. First, you’ll sew two parallel rows of long (gathering) stitches around the top of the skirt. (Stitch length long, tension loose.)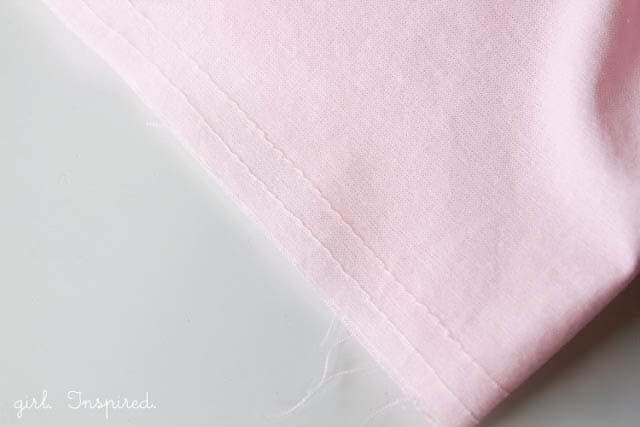
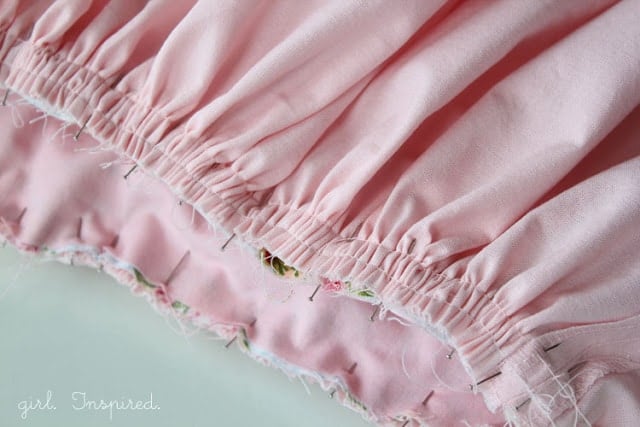
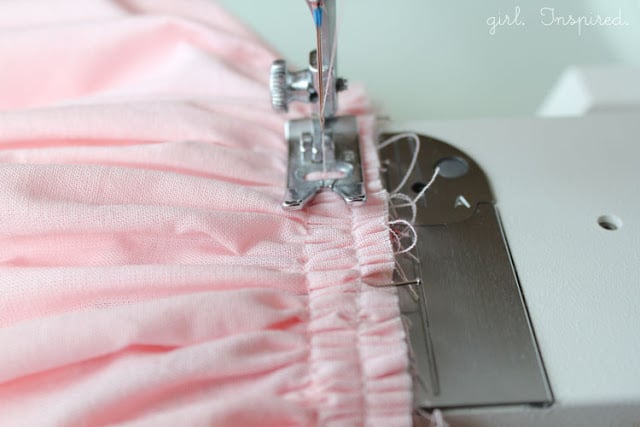
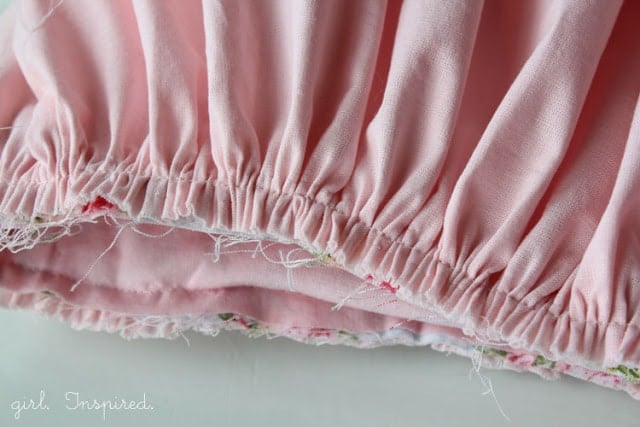
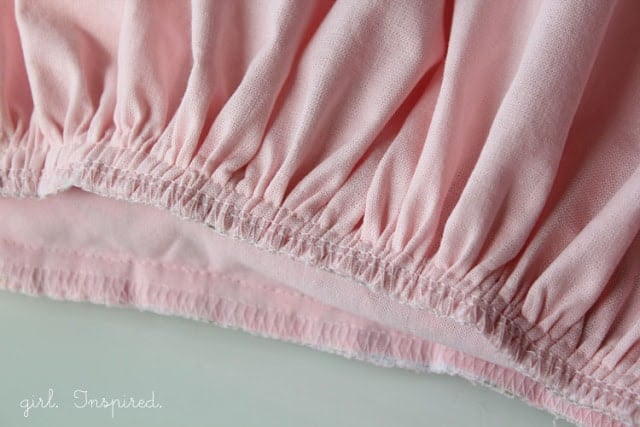
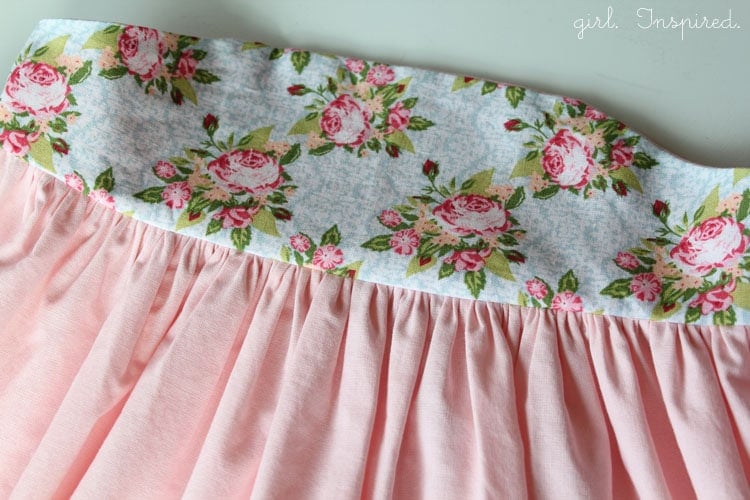
Use this gathering technique for perfect ruffles added to anything! It’s not necessarily limited to attaching a gathered skirt to bodice. You would use this technique if you’re gathering a skirt to add it to a waistband or to add a ruffle to the bottom of your garment.
SO!! Is this how you do a gathering stitch?? Is this Sewing Basics tutorial helpful? What other Sewing Basics would you like to see on the Girl. Inspired. blog??
Popular Sewing Basics & Tutorials
You might also enjoy these other sewing basics and project ideas!



Comments & Reviews
Charity says
Thanks. My tension has been high this whole time. No wonder it never worked. I’m gonna try that next time.
BJ says
Always used one row of stitching to gather if I didn’t want to put my ruffling foot on…can see how this would make nice and neat gathering….SWEET:)
marilyn raphael says
Very Nice. I use a similar divide and pin method, with a wide zig-zag over a thread of knit cro sheen. I can full that stuff to my heart’s content , and the heavy thread never breaks! The slick heavy thread slides out very easily after the gathered fabric is attatched. 😉
Dee says
This is definitely the tried and true method and works great! The reader’s comments are helpful too. I have not tried out the floss method. What I do now is use a ruffler foot. I have sewn many “tiered” skirts and I can’t say enough about it; it works very well. I actually use an old Kenmore (the kind with the pattern discs!) and set it up with the ruffler foot and do a bit of an assembly line with it (I have my Janome set up for the actual sewing)- there are three rows of gathers in my daughter’s favorite skirt! Happy gathering!
Elizabeth says
I never thought to steam my gathers. Tried it and it worked great, it was almost like the steamed “relaxed” the fabric and thread making it easier to pull and gather. Thanks for the tip!
Alice says
Thank you. I have been sewing for a while but never thought to sew between the two gathering rows. A great idea.
Dee says
All very good tips for gathering ruffles. I have a drapery workroom and used to make custom clothing. Although ruffles aren’t currently requested frequently, I generally zigzag over dental floss (long, wide stitches, standard tension). It’s much easier to work with on heavy fabrics or on large items, such as dust skirts. Then stitch an additional row (straight stitches, long & loose) slightly beyond the stitching line. Gather up both rows. This helps hold the fabric flat while stitching, as described in previous comments. Stitch between this row and the zigzag row, on the seam line, to join pieces together. Remove this row after final stitching is done, and remove the floss, which will pull out easily, and may be reused. The zigzag stitches can be left in the fabric.
To cut clothing pieces faster, if you are making more than one item from the same pattern, simply stack the fabrics and cut multiples at the same time. If one fabric is a stripe or plaid, place that one on the top, so you can match patterns accurately at the seams. Also, the stitching will go faster if you complete ‘step 1’ on both items, then move on to ‘step 2’, etc. This is great if both fabrics can be stitched using the same thread. It saves time switching from one machine to another (standard to serger or hemmer), or from one foot to another (straight to zipper or cording, etc).
Although different sizes can’t be cut at the same time, you can still sew multiple items in stages. This is helpful when making clothing for a group (bridesmaids, siblings), and insures uniformity.
Tari says
Beautiful. Excellent tutorial
Helen says
Wow! That is beautiful. Beautiful fabrics too…
There are also cute free sewing patterns here:
http://www.sewing-patterns.org/blog
Karen says
Thank you! Your way of gathering was how I was taught in school ! So often I
see what some are referring to as gathering, when it is really pleating. There is a big
difference!! Maybe you can have a tutorial showing the difference 🙂
This is my first time reading your blog, really enjoying it!
RESI says
Am I to actually put the iron down on top of the gathers? Please help. 😉
girlinspired says
Hi there! I think it depends on the fabric you’re using and how you want the finished garment to look. If you’re using something like silk or a polyester, you may not want to actually press the iron down on the fabric, but a knit or a cotton, you would. You don’t have to, even the steam helps the fabric lay out smoothly and gather up without curling over on top of itself. If you do put the iron down on top of the gathers, it will press lines into the fabric – test how it looks on some gathered scraps before deciding how to finish your actual garment/project – it’s your own personal preference. Hope that helps!
RESI says
Thanks. I’m not avoiding projects with gathers anymore!
Charmaine says
Thank you so much for this tutorial, I have done a lot of sewing and still do as it is my passion. I have never been that happy about my gathers, but I understand your tutorial and can just picture it working out just as it should. So thanks for sharing your knowledge and experience. I would love to follow you blogs.
Kind Regards
Charms
Monika Weidenbach says
All I can say is Thank YOU Thank YOU!!
inkypinkie says
I would love to see either tips on purchasing a sewing machine OR alternatively on how to hand sew. Particularly rips on heavy-weight wool coats. 🙂
inkypinkie says
I love your blog! It is very inspirational to me since I am very very very very very new at this sewing stuff.
Jessica Powers says
This is great – my friend is making a basic skirt for me this week and it’s gathered, so I texted her to check out your tutorial. Me, I just play with her kids and buy the fabric, but I would be interested in seeing a post on tools from you – I know that sergig. 2014 is going to be my official ‘learn to use a sewing machine’ (rather than have bobbins fly off when I look at one!). It’d be really useful to know what items you have on hand? It always seems that when taking on a new craft one can go overboard and get sold a lot of ‘helpful’ things that actually never get used, and other things that are seemingly good for one thing are also great for other things too.