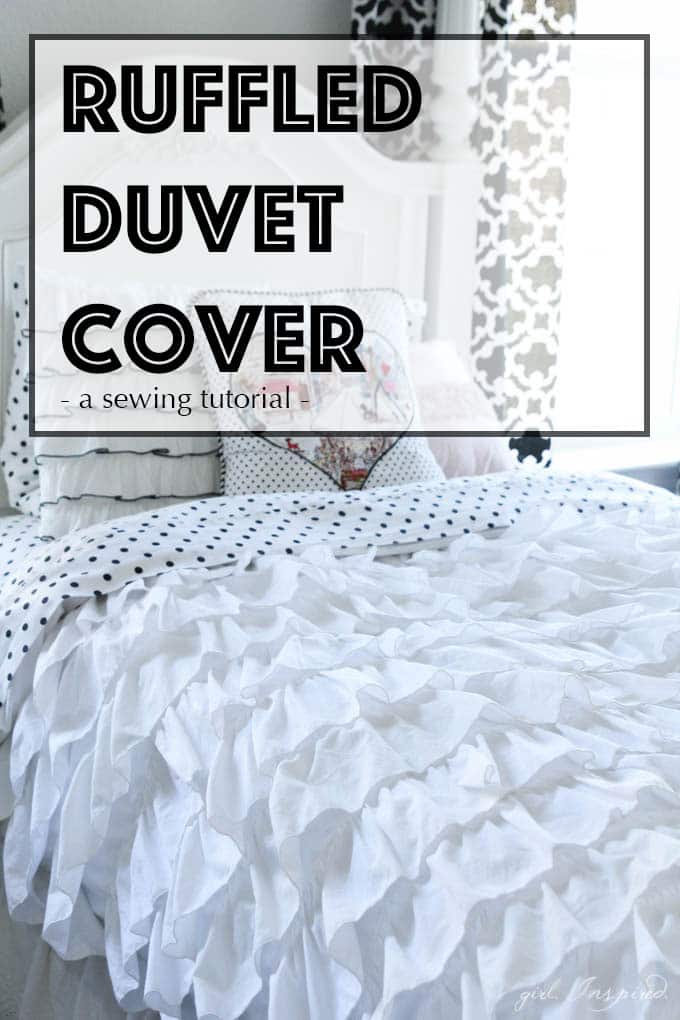
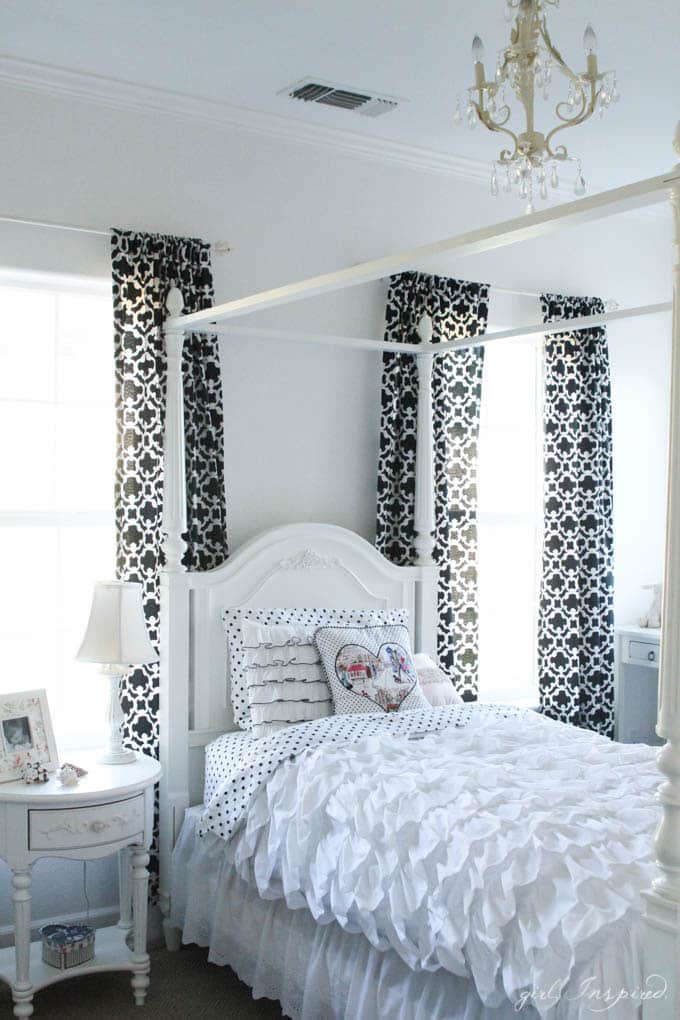
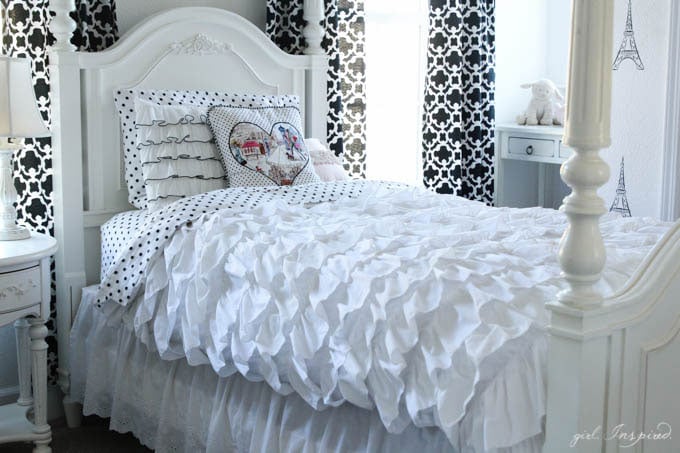
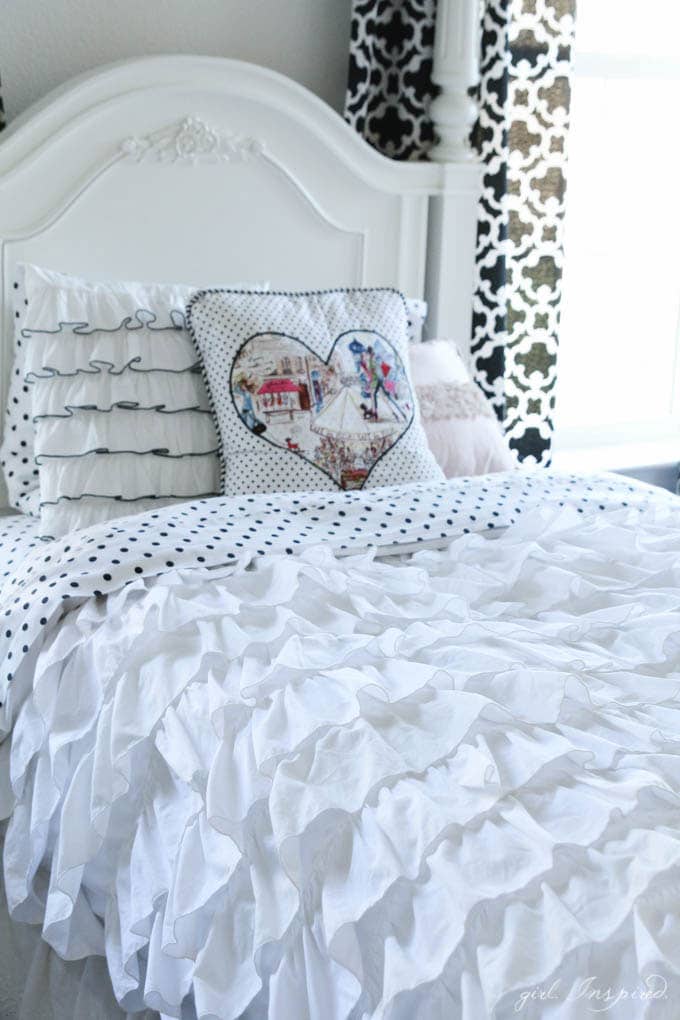
Years ago – so many years ago – I bought a plain white duvet cover from Target, along with some white muslin from the fabric store. I wanted to make a ruffled duvet cover for Olivia’s bed; I just needed the time and a clean floor to lay everything out and figure out how to do it. Several years and about three room shuffles later, I finally prioritized this duvet cover and it turned out so lovely! I guess needing to finish off Olivia’s bedroom for the house listing finally gave me the push I needed.
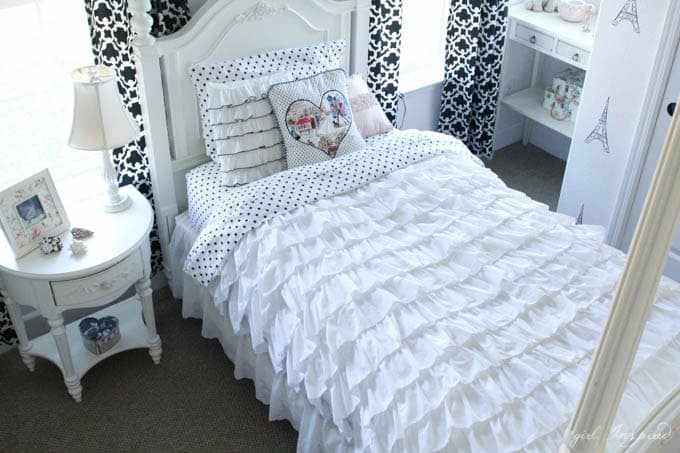
 Sewing a ruffled duvet cover this way is not actually very difficult – it just takes time. Using a serger is strongly recommended. Basically, I took a pre-made white duvet cover and cut open the side and top seams so that I could attach the rows of ruffles onto the duvet top. You could seam rip those seams, but it’s a lot quicker to just slice the stitches off and you only end up losing maybe 1″ total width and height from the finished duvet once you’ve sewn it back together.
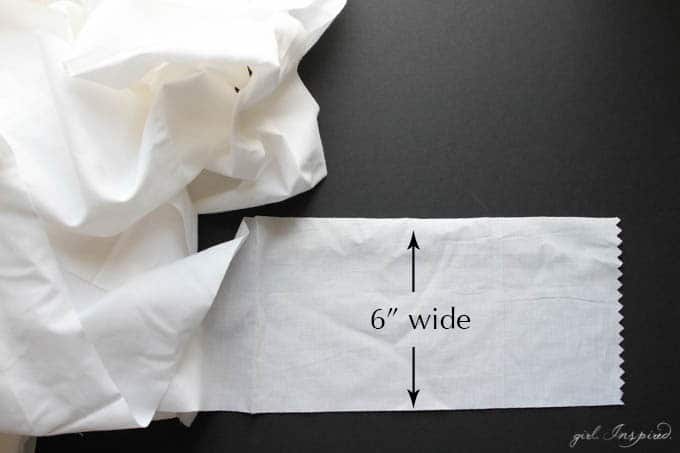
Next, you’re going to prepare your ruffles. I cut mine 6″ wide. Why 6″? Because that’s the width of my long quilting ruler so it made quick work of it. I used white cotton muslin. It’s inexpensive and is often available in widths up to 120″! If you can cut strips over 100″ long, you will be able to ruffle them and still have them stretch across the width of the duvet cover. My twin duvet cover was 61″ wide and 84″ long. I ended up using 18 strips to cover the duvet from top to bottom, with about a 1 ½″ overlap between ruffles – I’ll show this in a little more detail in a minute. The first thing you’ll want to do is cut 1 strip from selvage to selvage and then play around with it to see how far across the piece will stretch once it’s ruffled.
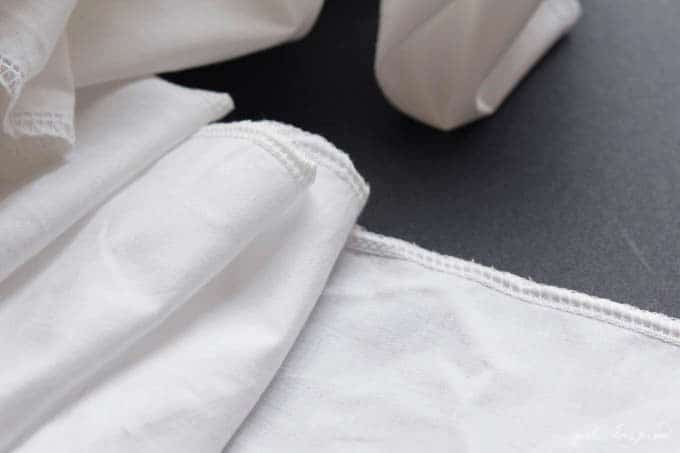
For each strip, we’re going to finish the raw “top edge”, which will allow us to simply sew it right down on the duvet cover without the edges fraying. The easiest way to do this is to serge it with a 4-Thread Overlock stitch.
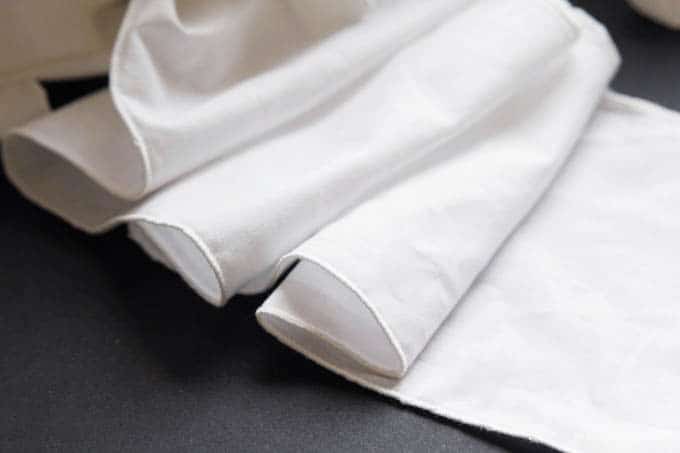
The “bottom edge” of each strip will have a rolled edge. Set up your serger to do a 3-Thread Overlock Rolled edge and you’ll be done in no time! Once your strip is prepared with one edge overlocked and the other rolled, it’s time to ruffle. There are several ways you can ruffle your strips and you can read about some of these options in this post on How to Sew a Ruffle. I ended up using a very loose ruffle so that I could get my 108″ strips ruffled down to about 70″ long. I was able to simply adjust the stitch length and tension using my regular sewing machine to achieve easy, loose ruffles. Ruffle ALL your strips along the “top edge”, the edge with a 4-Thread Overlock, not rolled. NOTE: You may need to join more than one strip together to create a ruffled piece long enough to stretch across your duvet width. If this is the case, join the multiple strips together (at their short edges) before serging the top edge, rolling the bottom edge, and ruffling the strip. Then, you can just perform the stitching on one never-ending strip all as one. After the long strip has been prepped, measure and cut it into sections that will fit the width of the duvet cover (leave a few inches overhang on each strip).
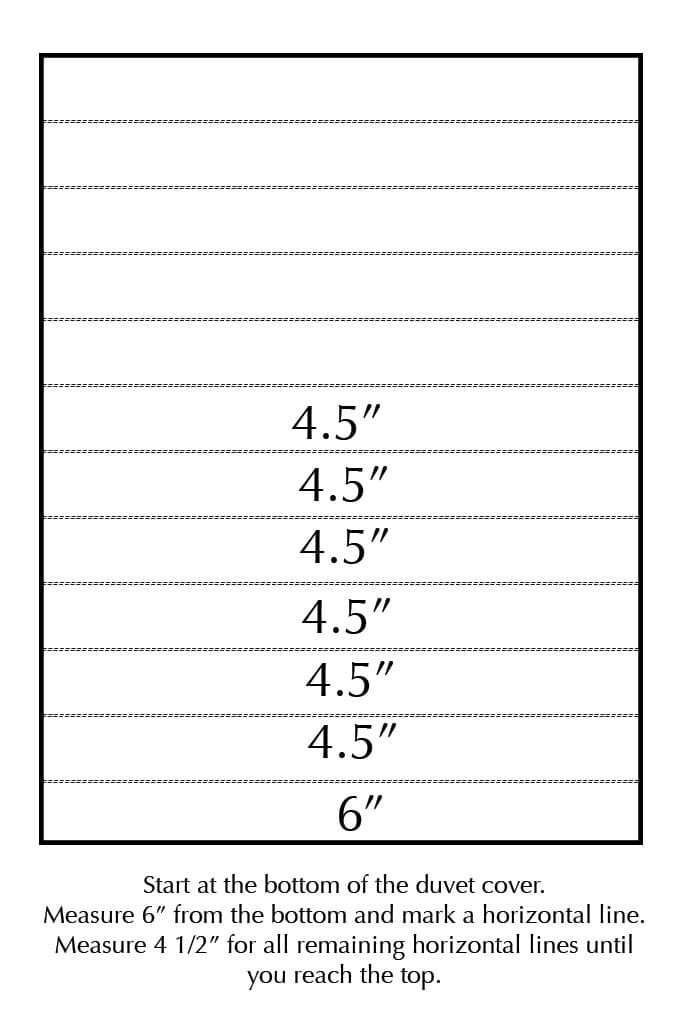
Now, it’s time to sew the ruffles to the duvet cover. Spread your opened up duvet cover out on the floor or a large, clean surface. (Ok, ok, this is the real reason it took me so many years to do this project, it required extensive mopping as a precursor and I had a hard time getting around to the deep cleaning.) Use a ruler and disappearing ink fabric marker to carefully mark a horizontal line exactly 6″ up from the bottom edge of the duvet cover – working on the right side of the duvet. Mark another horizontal line 4 ½″ above the first line. Continue marking lines every 4 ½″ to the top. You may want to work in sections if your marker fades quickly or you don’t think you’ll be able to complete the ruffle sewing all at one time. Now, pin or simply hold in place the first ruffle on that 6″ line. The serged, ruffled edge should align with the marked line and the rolled edge should lay facing down. You’re sewing the ruffle right side up on top of the duvet cover right side up. Sew it down using a ¼″ seam. Use your marked line as a guide to make sure your ruffle is sewn on straight. Continue sewing subsequent ruffles. There will be about an inch of overlap for each ruffle on top of the next.
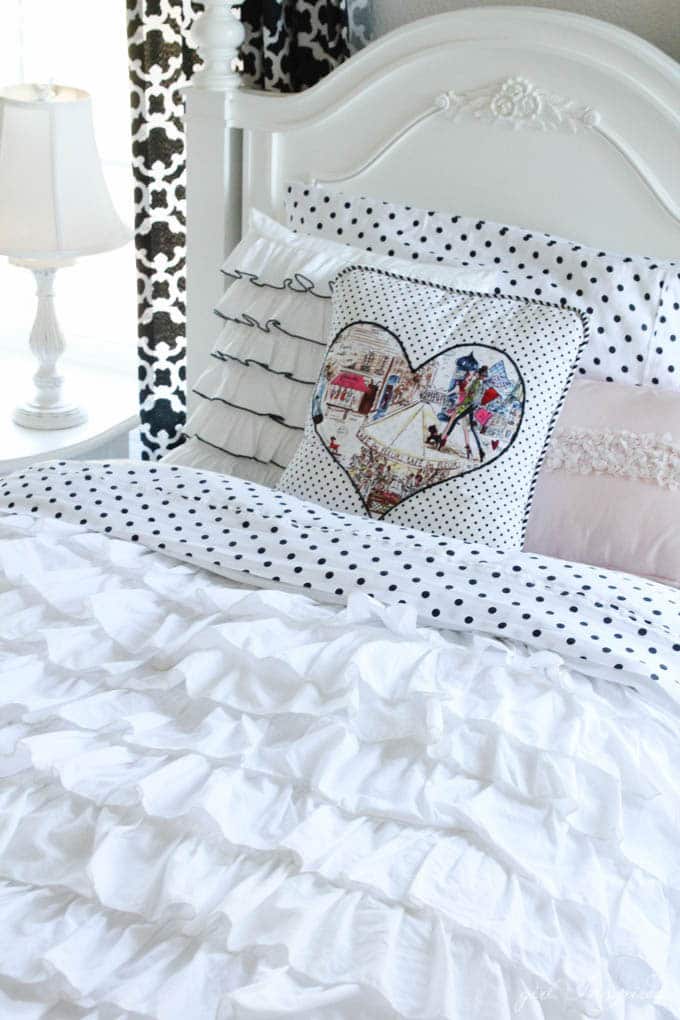
Once you’ve reached the top (the math may not work out perfectly – no problem, either stop with a little extra space at the top, or chop your last ruffle to a shorter width), you just need to sew the duvet cover back together to finish! I like to serge (or baste) the ruffles to the sides of the duvet cover so that they all lay flat and don’t get tangled up in the side seams. Once the ruffles are basted along the sides, just match the duvet cover front and back, right sides together and sew around the sides and top using a ¼″ – ½″ seam. You can also serge the seams for a neat finish on the inside of the duvet cover. Now flip the cover right sides out, spread your duvet into the cover, and fluff it over the bed!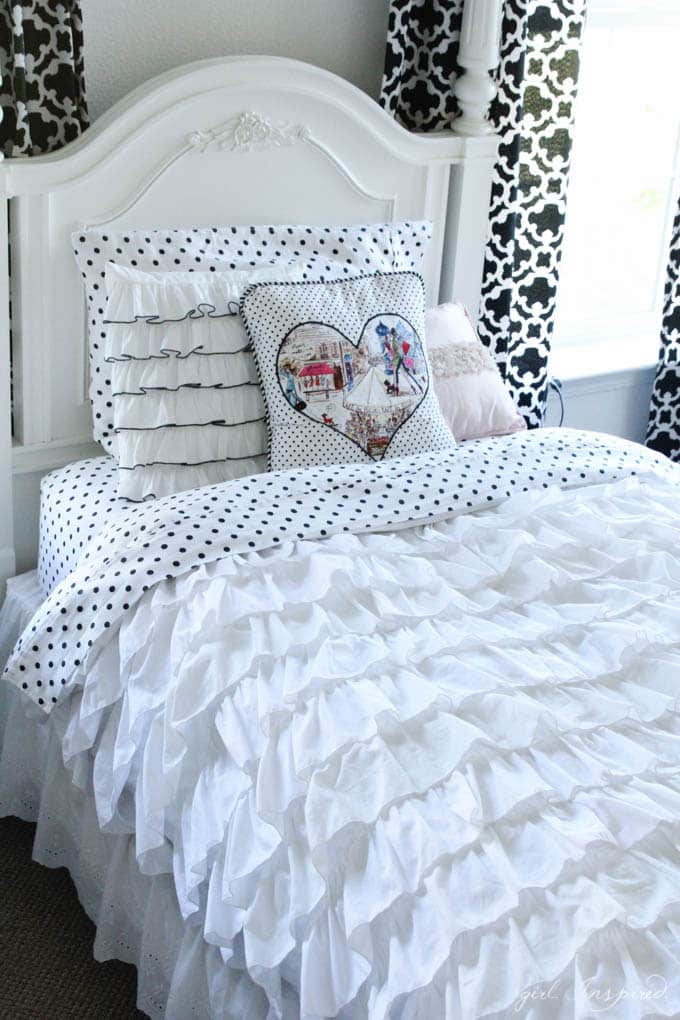
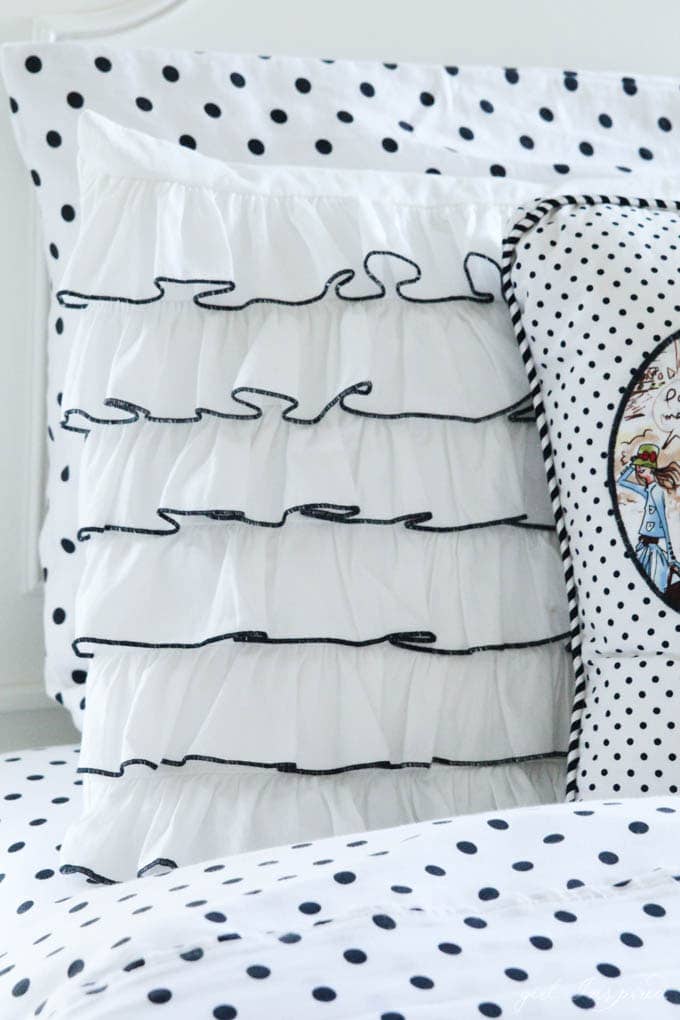
I think it would be SO pretty to do a whole duvet cover with a contrasting thread rolled edge!

I’ll be back soon with a full tour of Olivia’s bedroom!


Comments & Reviews
kirstin @ kojo says
Um, I love this so much! Gorgeous Stef!
Stepper says
Love it!
MPaula says
Yowsa! I love this ruffled cover and I know my cat will too. It is a lot easier than the one I was thinking of making. Thanks.
Charity says
I love the way this duvet cover came out! I really like the idea of doing the whole thing with contrasting rolled edges too.