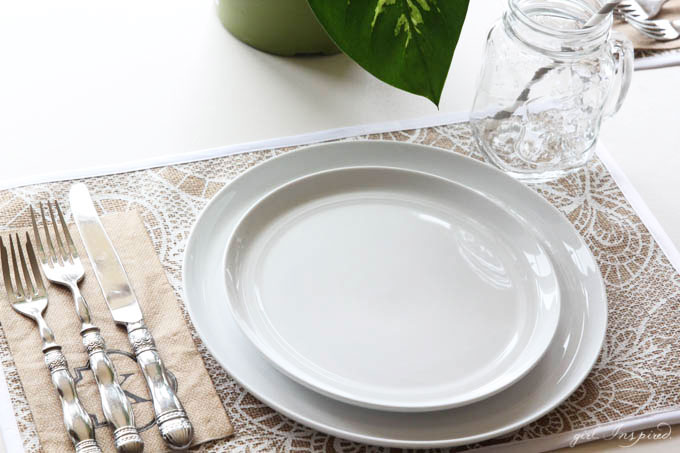
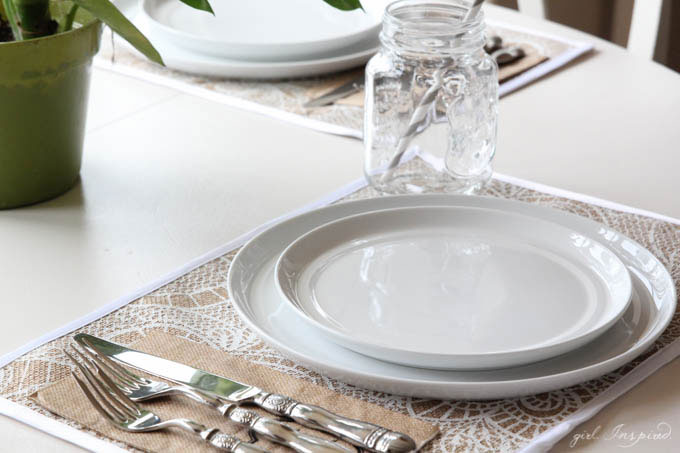
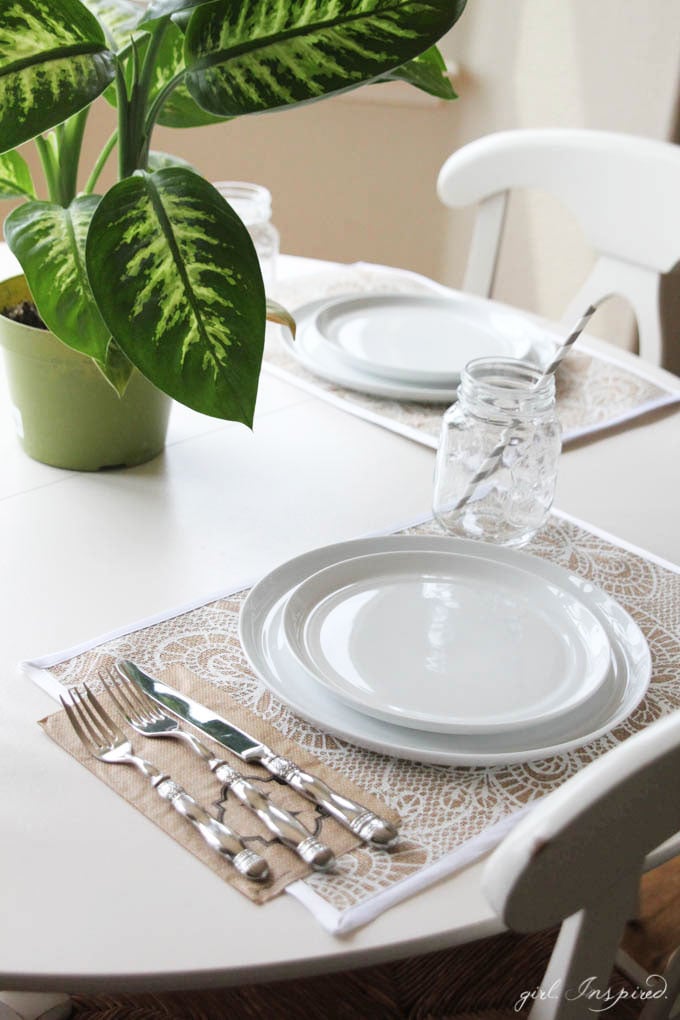
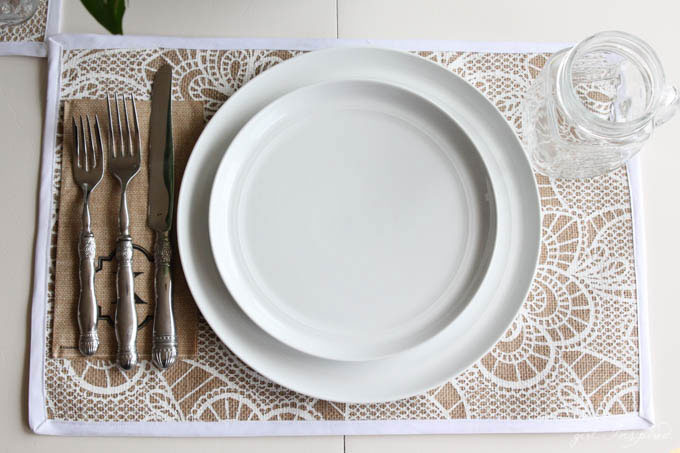
Placemats are a quick way to add some color, mood, and fun to your table. I love the natural look of burlap and I’d like to add more accent pieces to my home. Last summer, I created a super dreamy outdoor tea party setup by hanging a tulle tent around an antique trunk draped with a polka dot and pom pom burlap tablecloth and topped with miniature China, tea, and petite treats. The girls loooooved this tea party and thinking about the magic that we’ve had under our big oak tree pulls at my heartstrings as we pack up to move from here. NEVERTHELESS, this year I’ve noticed tons of other printed burlaps stocked in my Jo-Anns store. Polka dots, damask, metallics, yum! I found this beautiful white lace printed burlap and thought it would make some bright, pretty placemats that I can take with me wherever we go!
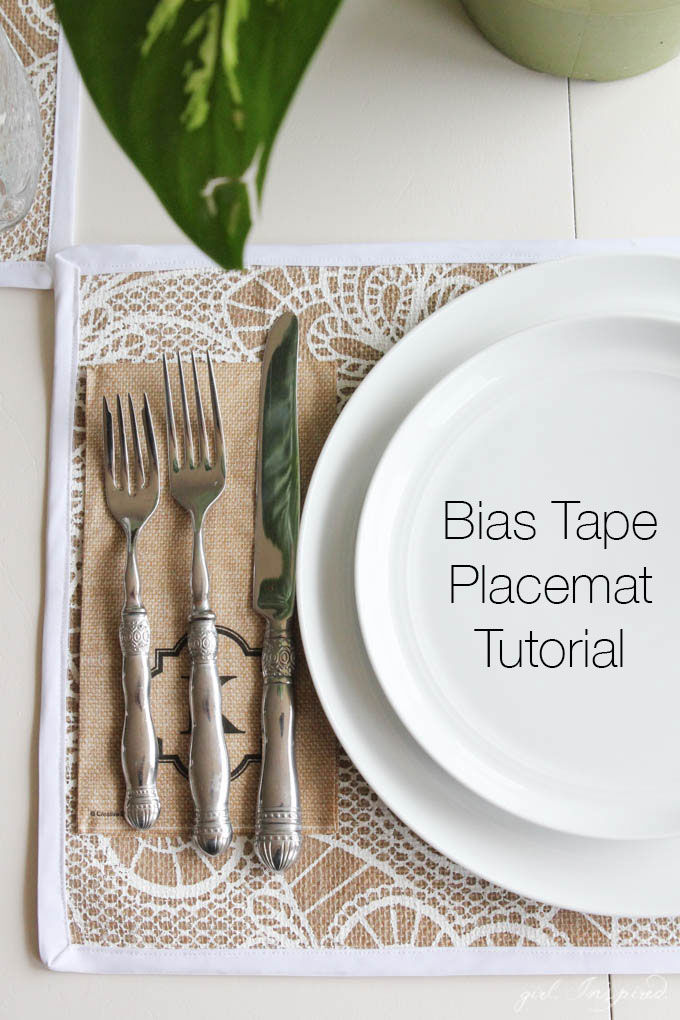 Sewing a strip of bias tape around the edges of a rectangle or circle of burlap is fairly simple, but there are a few key steps to getting neat, mitered corners and joining the two ends nicely. Today, I’m going to guide you through a bias tape placemat tutorial so that you can sew a stack for your table!
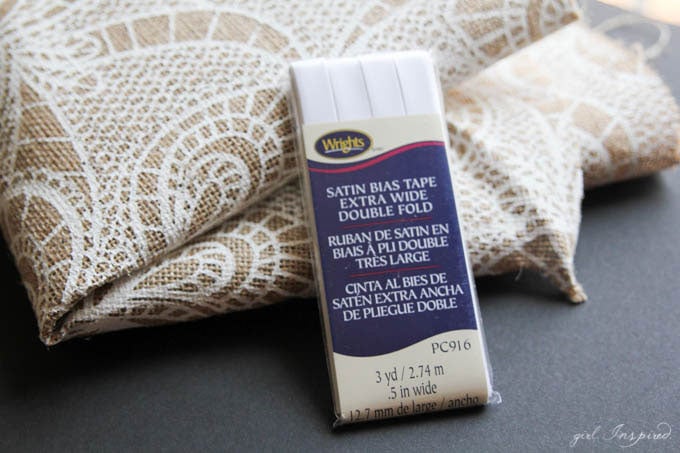
For this project, you will need burlap and extra wide double fold bias tape. One placemat requires an 18″ x 12″ rectangle of burlap and 2 yards of bias tape. This “Satin” bias tape looks really classy for this placemat project; you can use any kind or any color – just be sure it’s Extra Wide Double Fold bias tape!
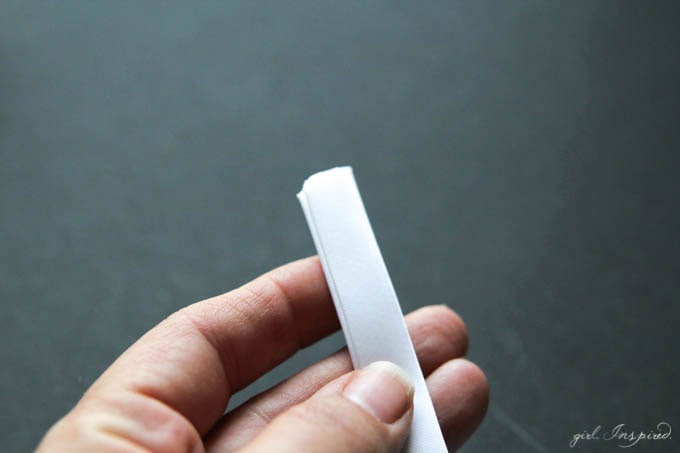
Once you have cut your burlap to size (and really, you can make them any size) – let’s take a closer look at the bias tape. In the package, it comes neatly folded. If you look at both sides, you will notice that the one side is wider than the other side. It’s important to take note of this because you will need to align the wider side with the back of the fabric so that when you wrap the narrower side over to the front and edge stitch – the stitches will catch the bias tape on the back. Let’s take a closer look:
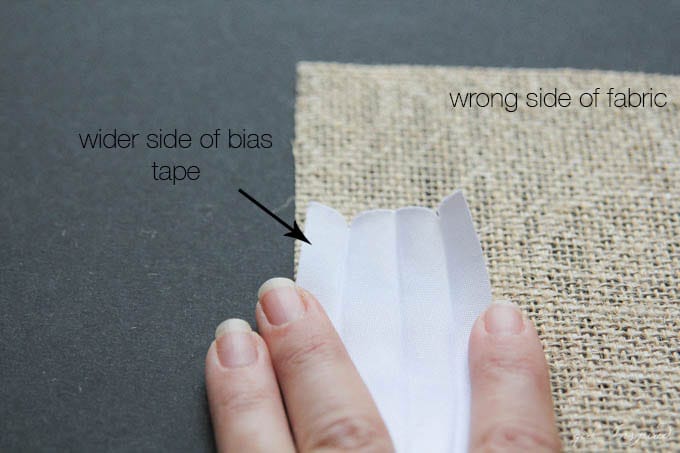
Unfold the bias tape and you will see four sections. Line up the edge of the wider side, right side down, with the raw edge of the back/wrong side of the burlap placemat.
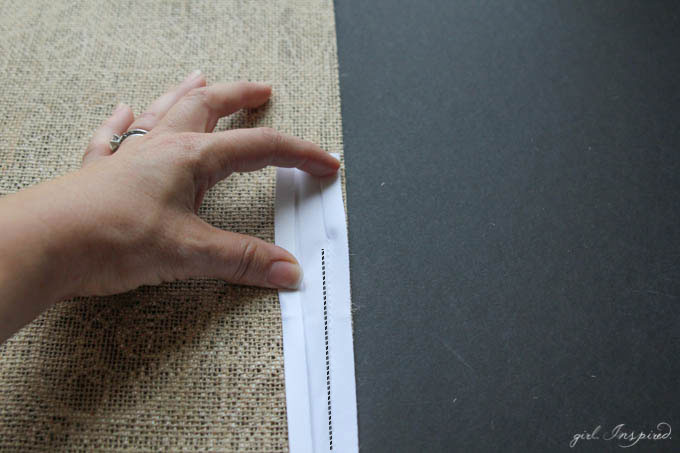
It’s time to baste the bias tape around the back of the placemat. Begin in the center of a side of the placemat (this allows room for joining the edges later without running into the corners). Leave an unsewn tail of bias tape loose at the beginning – approximately 3-4 inches (more than shown in the picture above). Begin stitching in that first fold from the raw edge, about ½″ seam allowance. You can use a basting stitch.
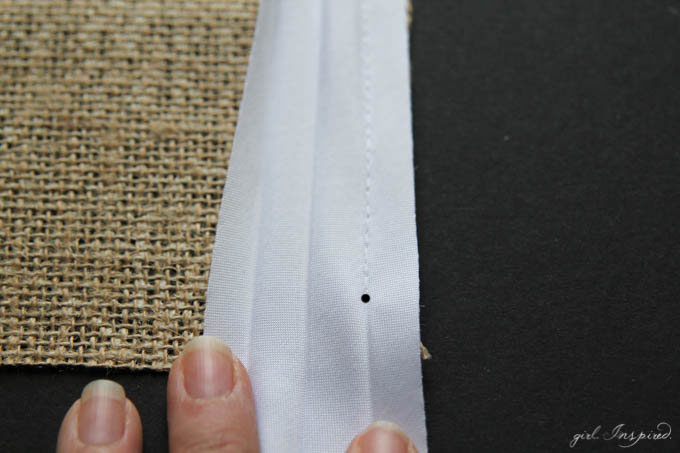
Continue stitching until you are ½″ from the bottom edge of the placemat. Backstitch and cut your threads. Do not cut off the bias tape.
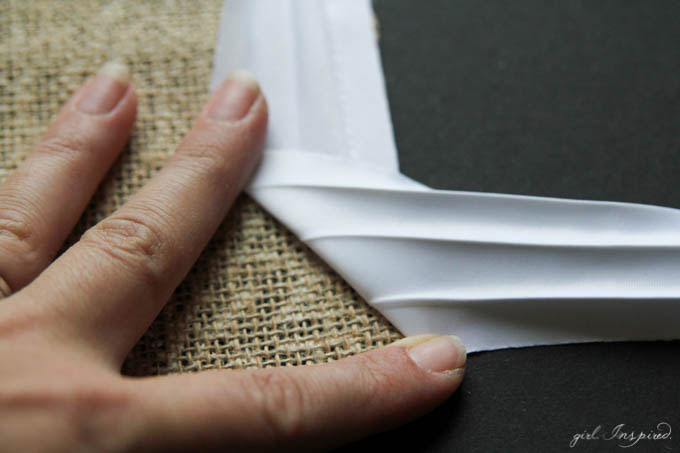
Remove the placemat from the machine and fold up the additional bias tape at an angle out to your right. The bias tape will be perpendicular to the line you’ve just stitched and the bottom edge of the angled out bias tape will line up with the bottom of the placemat.
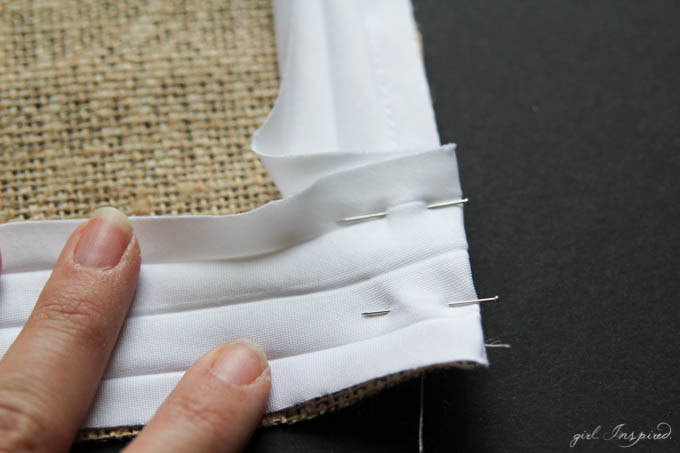
Keeping that diagonal fold in place, fold the bias tape back over itself so that the fold is lined up with side of the placemat, as shown above. Pin in place.
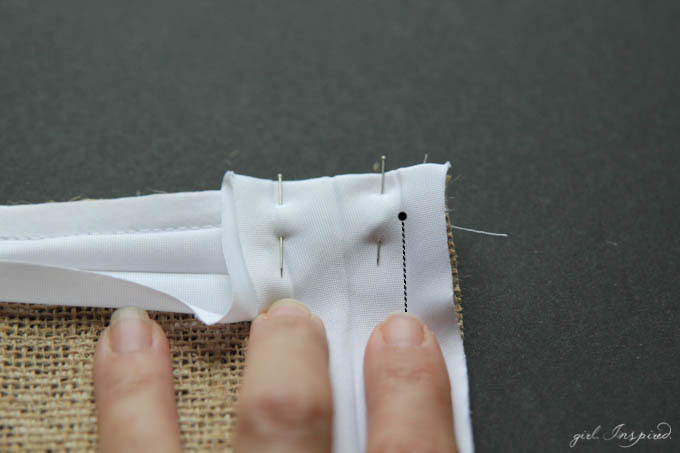
Now turn the placemat so that you can continue basting on the bias tape. Begin your stitch ½″ from the top so that your ending stitching from side 1 and your beginning stitch on side 2 butt up against each other, but do not cross each other. Continue stitching down the side. Continue these steps as you get to each corner.
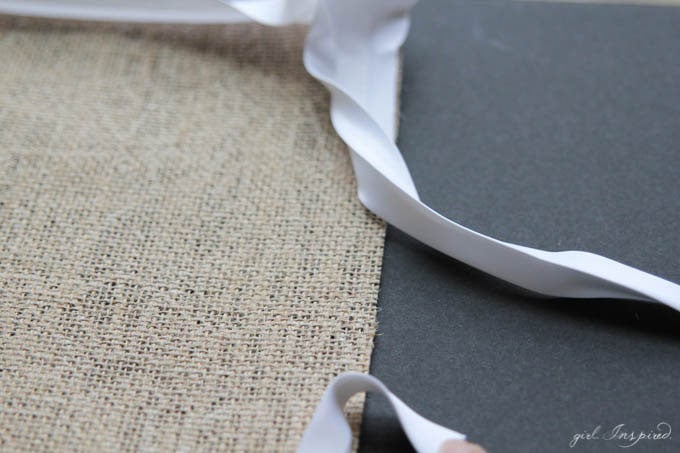
Once you get back to the side you began on, stop stitching about 4 inches above the beginning. Leave a 3-4 inch tail of bias tape and trim off any excess.

Now it’s time to make a neatly joined edge. Spread the two tails of bias tape in the direction they’re aiming so that they overlap one another. Be sure they’re lined up with the raw edge of the placemat and that there is no extra slack in either tail. Mark with a disappearing fabric marker where you would like the two tails to connect (in the center of the gap). Mark the spot on both layers of bias tape.
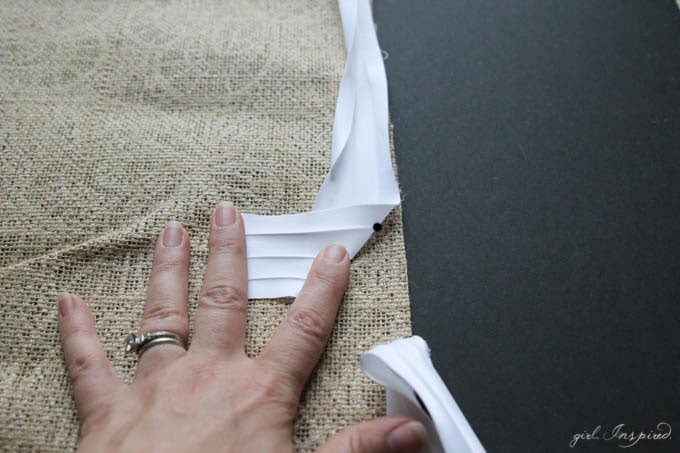 Temporarily fold down the bottom tail out of the way. Fold the top tail to the left as shown. Notice the diagonal line of the fold intersects that marked dot.
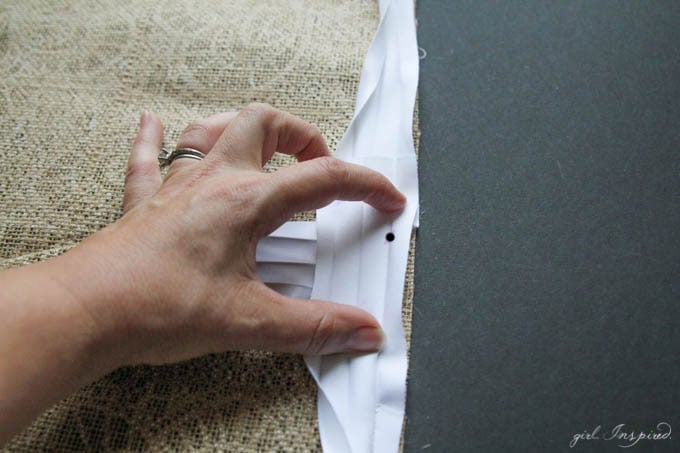 Smooth the bottom tail up to match up the dots – the bias tape will now be right sides together. Place a pin in the dot (through both layers of bias tape, but not the burlap) to hold them together.
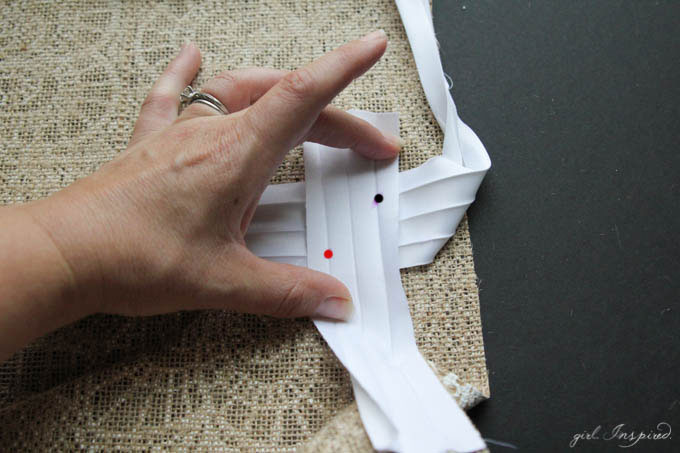 Make a second dot where the fold line on the far left side (bottom tail) and bottom line (top tail) intersect (shown in red in the picture above). Mark both layers and place a pin.
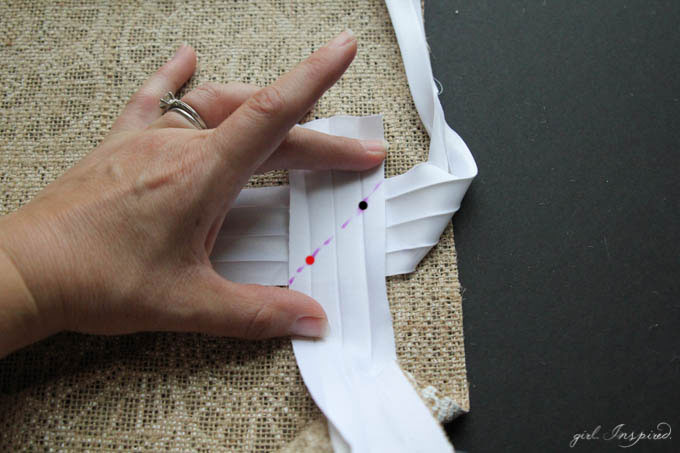 Draw a diagonal line through the two dots and extending to the edges of the bias tape. Place pins along the line.

Now pull your bias tape away from the burlap so that you can stitch it together. Stitch along the marked line.
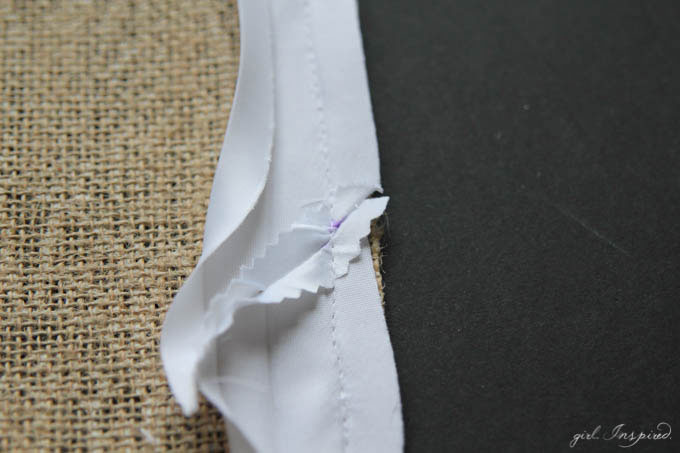
Trim the excess bias tape and press open the fold. Now position the joined bias tape along the raw edge and connect your beginning and ending stitches to complete the basting of the bias tape.
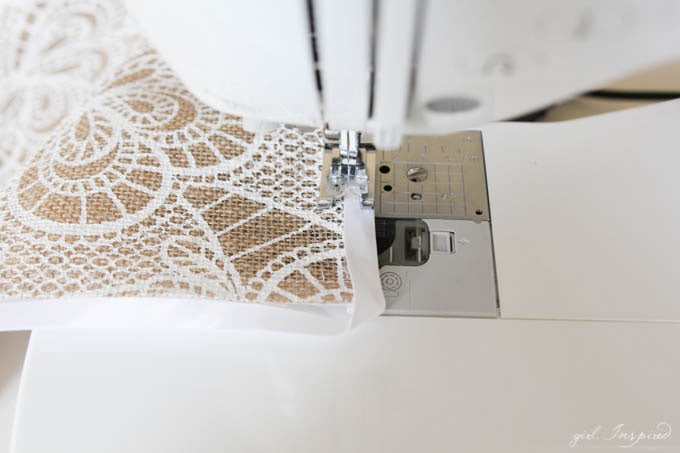
Now for the final step! Refold your bias tape on its original fold lines. Time to turn it to the front of the place mat. If you have trouble folding the bias tape all the way to the front and covering the basting stitches, simply trim down the seam allowance a bit. Turn one side to the front at a time. You can pin it if you’d like, but I just fold it as I go. Stitch close to the inside edge of the bias tape to secure the front and catch the bias tape in the back! Stitch down until you’re a couple inches from the corner.
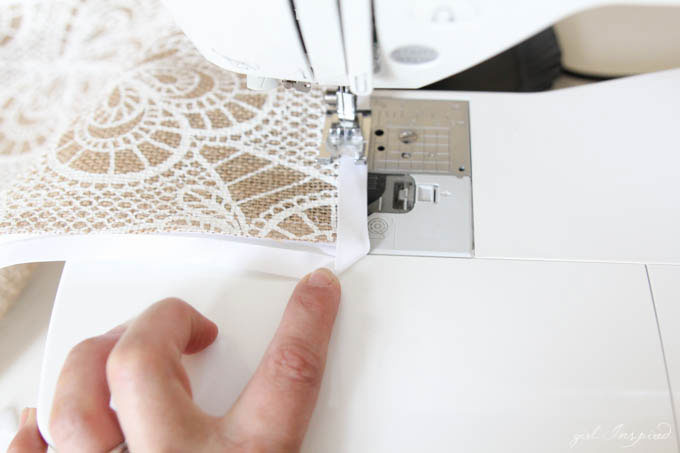
To make beautiful mitered corners, fold the corner around so that you have the bias tape fully to the front along the side you’re stitching on.
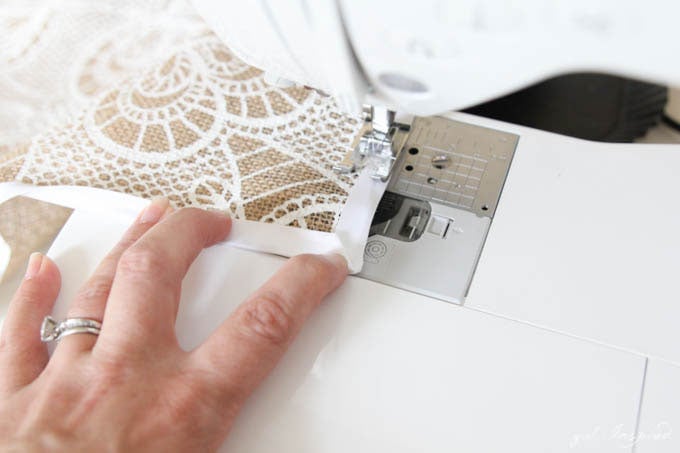
Then, fold up the other side – adjust the corner so that the two pieces of bias tape meet and form a 90 degree angle. Finger press the bias tape in place. Hold it as you stitch, approaching the corner. Once your needle sews one stitch through that bottom portion of the corner, leave you needle down in the bias tape, lift the presser foot, and pivot the placemat. Lower the presser foot back down and continue stitching down the next side. That’s it!
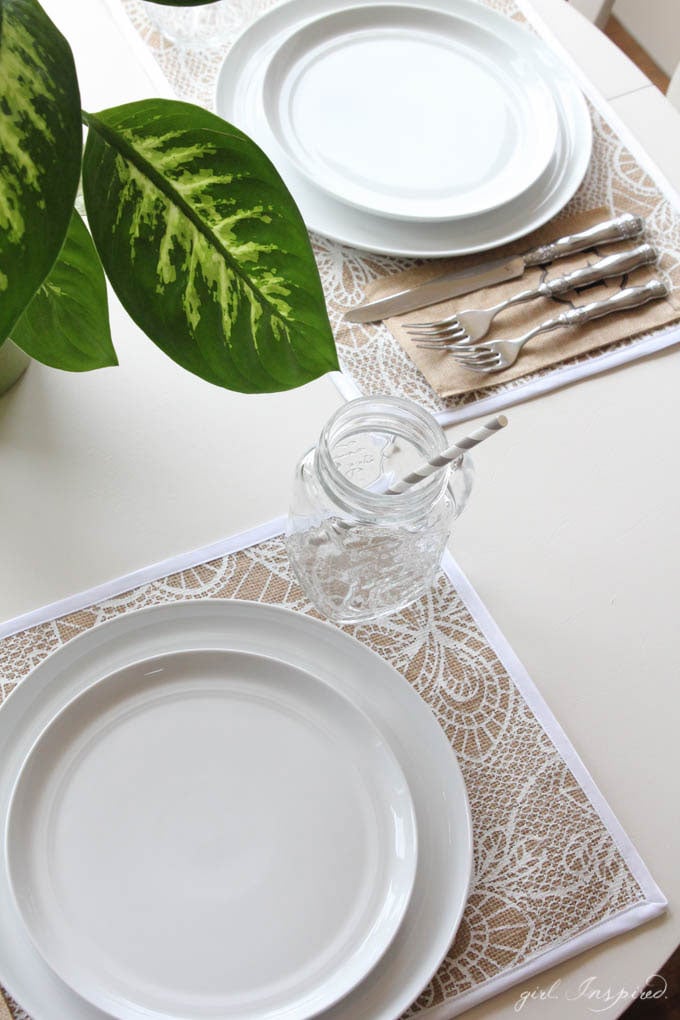
Wouldn’t these be so pretty on your outdoor tables this summer? I just love the printed burlap! And I would LOVE to hear what projects you’ve been working on!


Comments & Reviews
Carri P says
I only do basic stitching and mostly with paper crafts but I saw this on Joann’s blog and really think I may
try this sometime soon. Thanks for the step by step! Great tutorial!!!
Elizabeth says
I would love to make these mats. Is that stenciled burlap/how does it wash? need more practice on my binding thanks for the tutorial (bias tape). Every time I try to do this I catch a little of the under tape when I sew down . Rip,rip,rip as I am to close to the fold yet sometimes I am to far away and when I fold the tape back I find a hole where I should have sewn???
Anne Weaver says
Gorgeous!! I’ve got a Craft Gossip post scheduled for this evening that links to your tutorial: http://sewing.craftgossip.com/?p=82719 –Anne