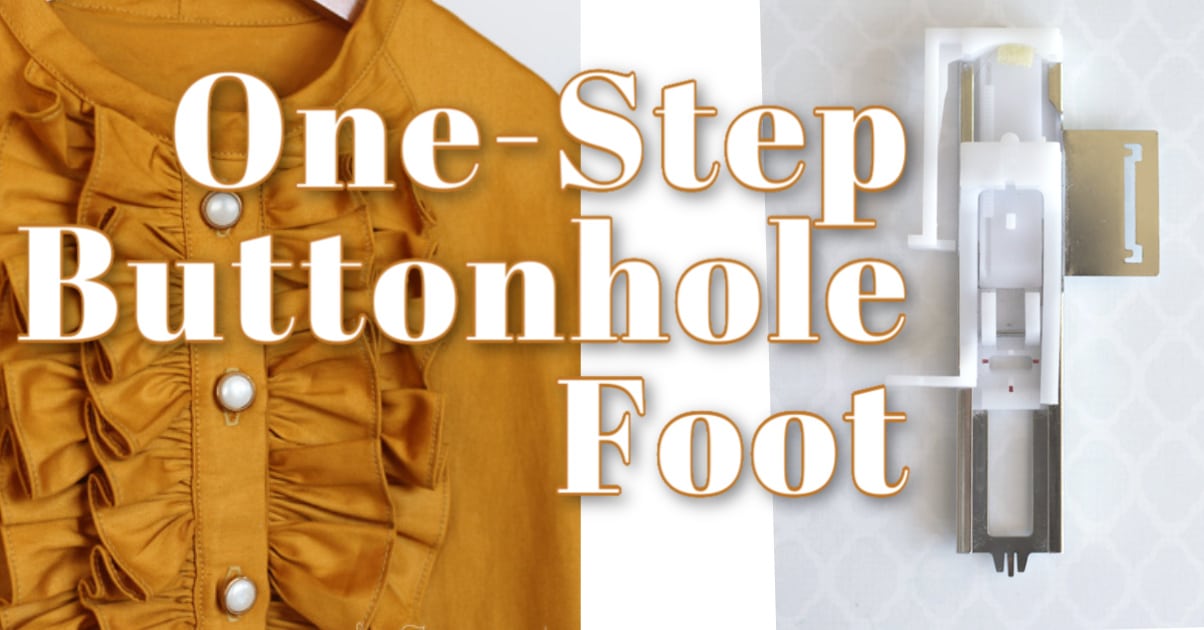
When your garment sewing branches out beyond clothes with elastic, learning to sew buttonholes is a must! I think buttonholes are an intimidating sewing step for most people, but as with most things, you will get more comfortable with them the more you practice! Today is a great day to learn how to use the one-step buttonhole foot for your sewing machine.

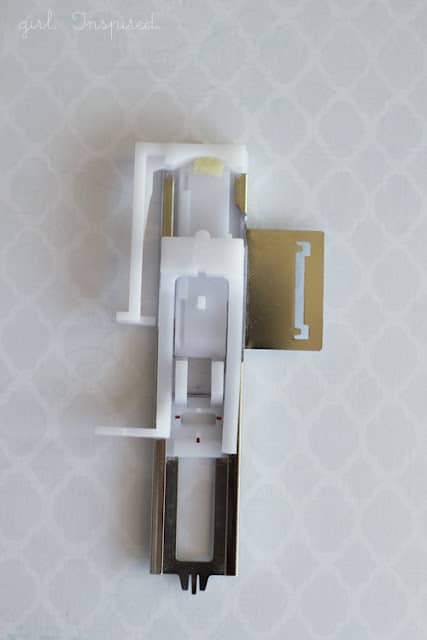
When I purchased a new sewing machine a few years ago, a Singer Quantum Stylus 9960, it came with an automatic 1-step buttonhole function and a special Buttonhole Foot attachment. This thing is awesome!!! Today, I wanted to share with you a video tutorial for using this Buttonhole Foot.

Obviously, you will need to have a machine that accommodates this feature in order to use one. We will discuss alternate buttonhole methods another time.

Important Things to Remember:
- Replace regular sewing foot with the Buttonhole Foot
- Place button in the foot to set buttonhole length – be sure you use the same button that you will be using on your garment
- Pull down the sensor lever on your machine before you begin
- Select buttonhole style on the machine
- Place needle thread through the stitching window so that it is out of the way
- Monitor the buttonhole as it’s stitching to ensure the fabric is being guided fluidly
- If the buttonhole does not sew correctly, you CAN carefully rip out the stitches with a seam ripper BEFORE you cut the buttonhole open!
- If you are using a thin or knit material, be sure to add interfacing to the wrong side of the fabric before you attempt to sew a buttonhole
- Test your finished buttonhole size on scrap fabric to make sure you space your buttonholes correctly on the garment
- Use disappearing ink to mark the start of the buttonhole – align this mark in the center of the window on the buttonhole foot. (Some machines/models may stitch the buttonhole from the ending mark instead of the starting point – be sure you adjust for YOUR machine).
I know that buttonholes can be scary, but I think you’ll find that a Buttonhole Foot makes things a whole lot easier!! You can do it!!! Happy Sewing!
You can find my first video tutorial, How To Sew a Rolled Hem, here. If you find these video tutorials helpful, will you let me know? What else would you like to see in action??


Comments & Reviews
Lisa says
thank you!! just got a new machine with this foot and could not figure it out going by book. I was not pulling the sensor lever down that far but did not know til your video. Thanks!
girlinspired says
I’m so glad it helped, Lisa! It’s a good one to be able to use!!!
Jessica at Me Sew Crazy says
This is so amazing Stef, I am always so inspired when I see your work. You never cease to blow me away!
Misty says
Great video. Thank you! I love the shirt in the picture. Do you have a pattern for that?
Crafting in Kansas says
Thank you for the video! Is the start of the buttonhole that you mark generally the center of the buttonhole?
Charity says
I also have the Singer Quantum Stylist 9960, but I’m having a lot of problems with my buttonhole lever right now… I have to hold it forward to start the buttonhole, then push it forward again every time it reaches the start line. I think I’m missing a spring or something.
samanthasmom says
When I am looking at website that sells “boutique” patterns, and all I see are patterns where the designer has avoided buttonholes on all of her patterns, I click away. While I often make a garment that uses elastic or opt for buttons and loops when it’s an obvious design feature, a designer who never sees that a buttonhole and an attractive button is the best choice for allowing access for dressing, is a designer who has not conquered sewing skills well enough to be designing a pattern and writing instructions for others – at least not for pay. There is one boutique, which shall remain nameless, which uses over-sized buttons and loops on the back of any dress which isn’t elasticized. While it may be her “signature”, it tells me she is afraid of buttonholes and also unable to make loops small enough for a more traditional size button. Because she never does.
I love that you posted this tutorial. You are one of the most creative voices in the world of sewing blogging. Recognizing that sometimes one has to stop and learn the basics to be able to do the wildly wonderful is a great lesson to teach.
Shaffer Sisters says
The first time I used a one step button hole I accidentally bought two significantly different sized buttons but made all the holes the same size. The terrible thing is that I didn’t even notice until I got my blouse back and my teacher marked me down on my buttons, looked at her notes and almost died. Since that point I measure every button to make sure it is the same.
This tutorial is great for first time button hole users. We are loving what you are creating for PR&P
With Love, Scary