
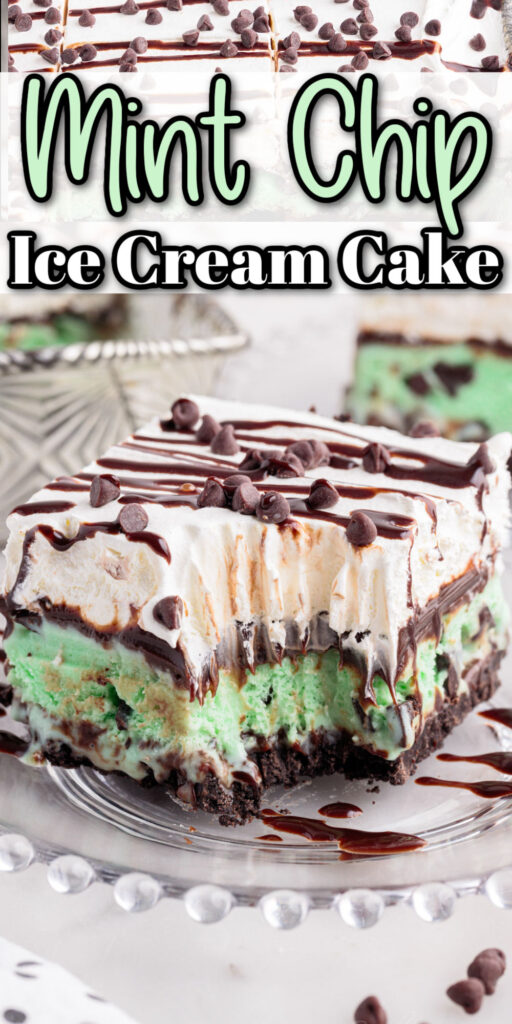
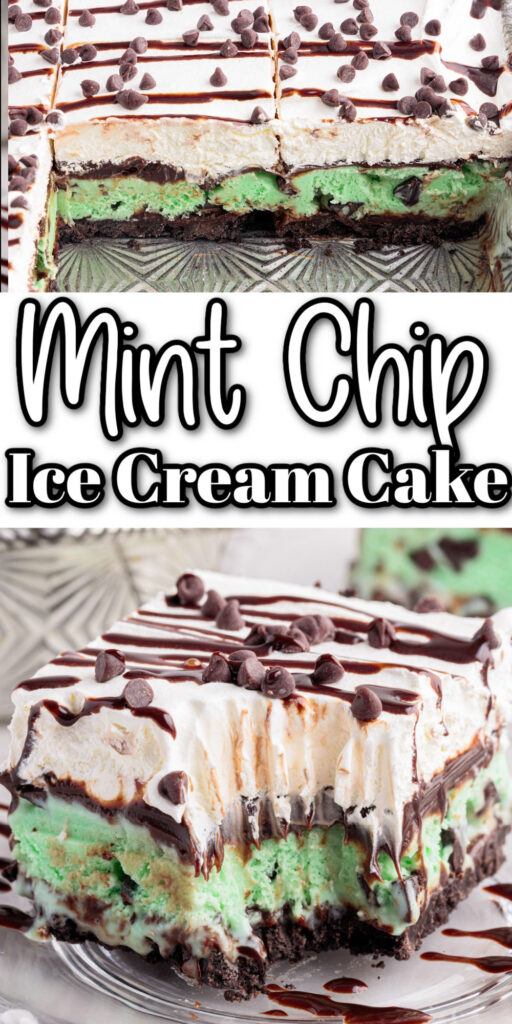

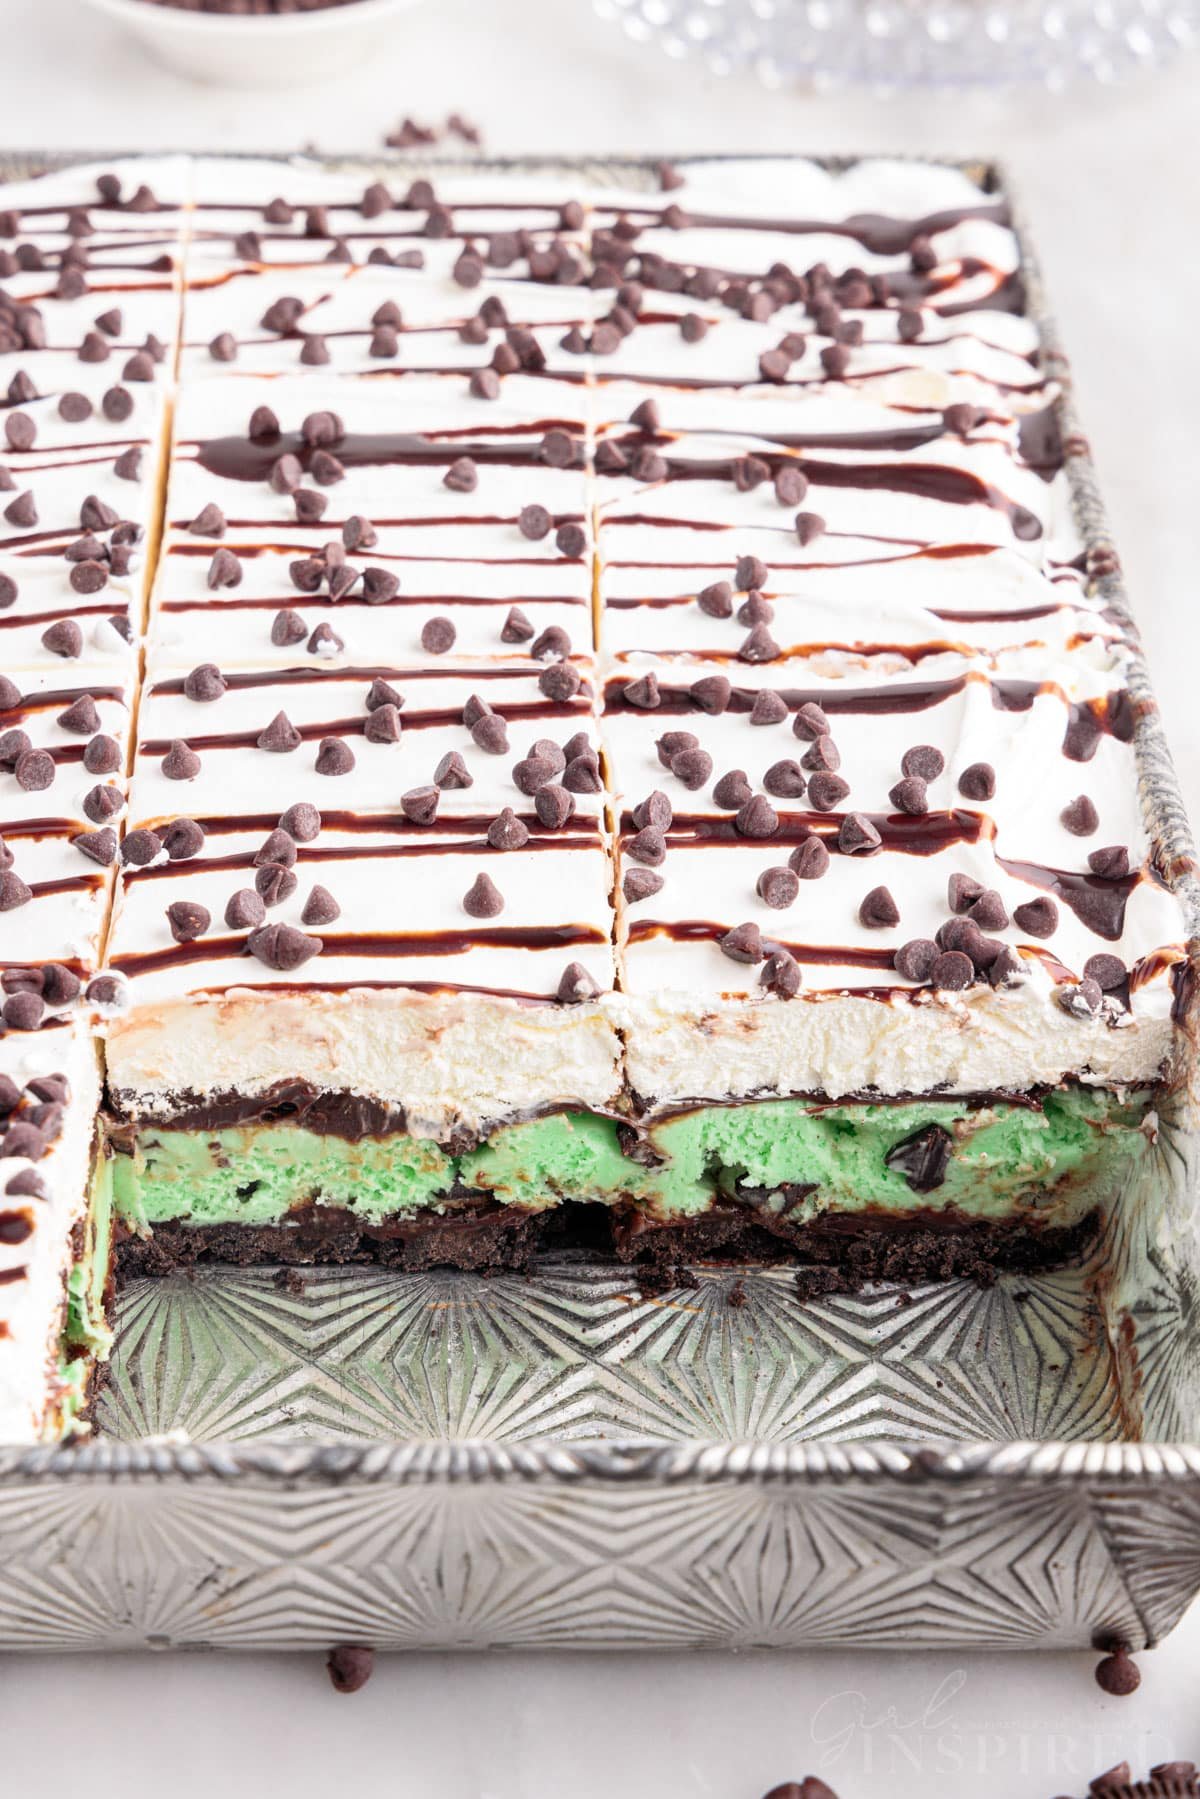
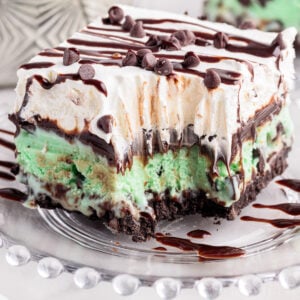
This mint chocolate chip ice cream cake is perfect for celebrations! A creamy layer of ice cream is stacked on a chocolate crust, layered with hot fudge, and finished off with a whipped topping! Everything is assembled in a single pan, making this no bake ice cream cake a cinch to put together.
We use an Oreo cookie base for this delicious dessert, so there is not need to bake an actual cake. Sandwich store-bought mint chip ice cream between layers of hot fudge and then top everything with whipped cream and some chocolate garnish. If you are fan of chocolate chip deserts, please try our Chocolate Chip Cake recipe, it is loaded with mini chocolate chips and full of flavor in each bite.
If you love mint ice cream, you will probably go crazy for my mint fudge recipe! These treats are a fun way to celebrate St. Patrick’s Day because of the vibrant green color!
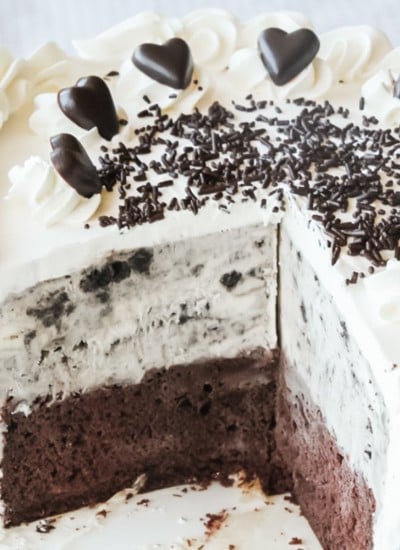
You can also make chocolate mint truffles and chocolate mint muffins that are great for any occasion! If you find out you love making ice cream cakes and desserts, be sure to try my Oreo ice cream cake and this peanut butter chocolate ice cream pie.
Jump to:
Why You’ll Love Homemade Mint Chip Ice Cream Cake
- Simple store-bought ingredients and budget-friendly to make.
- Great for special occasions.
- No Bake because we use an Oreo cookie crust rather than a cake base.
- No ice cream maker is needed!
- The best ice cream cake for those who love the mint/chocolate combo.
🍦 Ingredients:
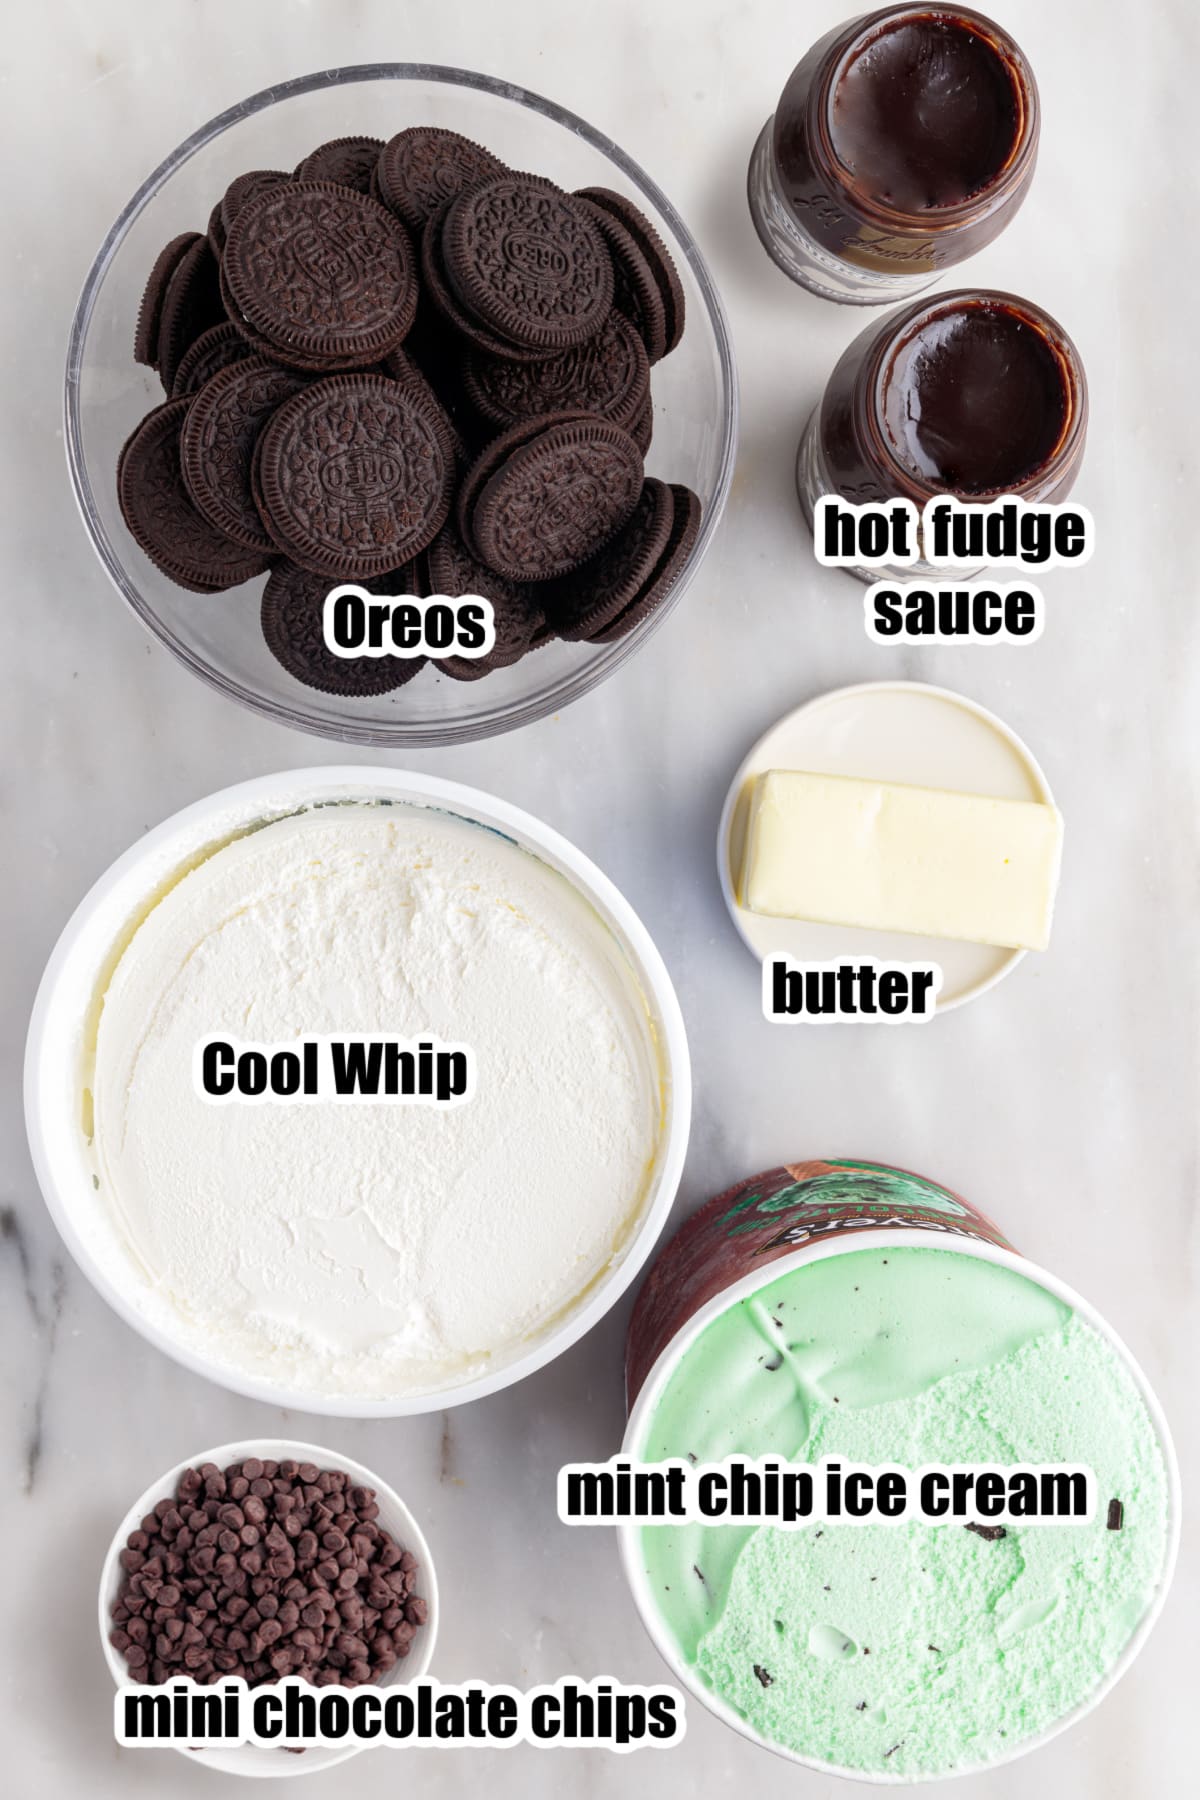
- Oreo cookies – these will form the cookie crumble base of the cake.
- butter – we melt the butter to put together the oreo cookie crumbles – when the butter solidifies, it “glues” together the cookie crumbs.
- mint chip ice cream – use your favorite brand! you’ll need a full ½ gallon tub
- hot fudge sauce – make your own! Or use store-bought! Whichever flavor you prefer.
- Cool Whip – this is a readily available, super handy whipped topping, it works well here because the ice cream cake obviously needs to stay frozen, and Cool Whip freezes and thaws without the texture changing.
- mini chocolate chips for garnish on top of the cake – you can also use chocolate jimmies/sprinkles, chocolate shavings, chopped Andes mints, or whatever you’d like!
For a complete list of ingredients and their measurements, please refer to the printable recipe card 📋 at the bottom of the post.
Variations and Substitutions:
- Some like to use Mint Oreos for the crust layer.
- If you’d like to make a homemade ice cream cake with an actual chocolate cake layer, use any half recipe for chocolate cake, bake in the 9×13 pan, and then cool and freeze the cake layer before continuing with this recipe – spread the hot fudge and then the softened ice cream onto a frozen cake layer.
- Go with homemade hot fudge instead of store-bought. Chocolate syrup is too thin and cannot be substituted.
- Instead of store-bought ice cream, you can make your own!
- We are using a 9×13 baking pan but you could also use a springform pan or a round cake pan (you will need to use a deeper cake pan or adjust the proportions.)
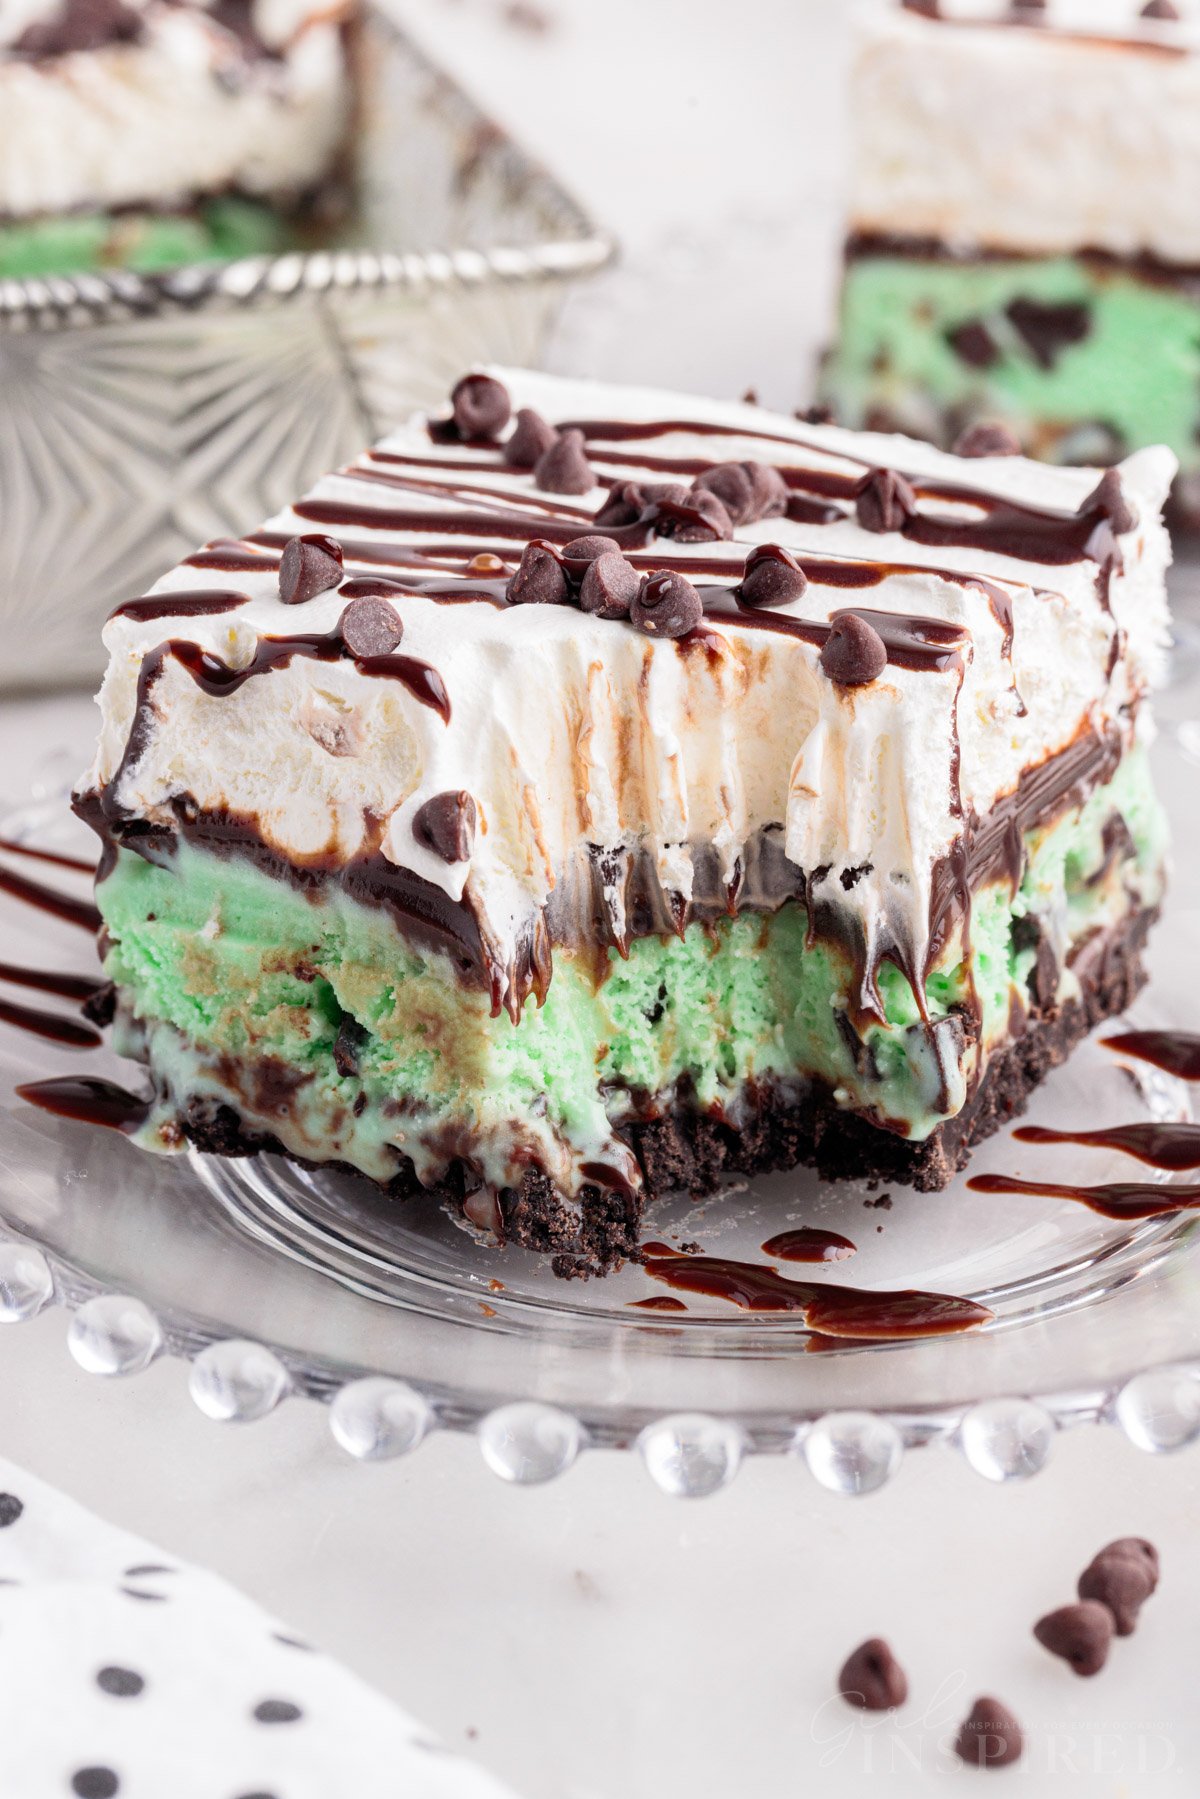
- When serving, we sliced the mint chocolate cake into squares, but you could also use an ice cream scoop. A flat ice cream scoop might work best to get down into the cookie base and cut it.
📋Instructions:
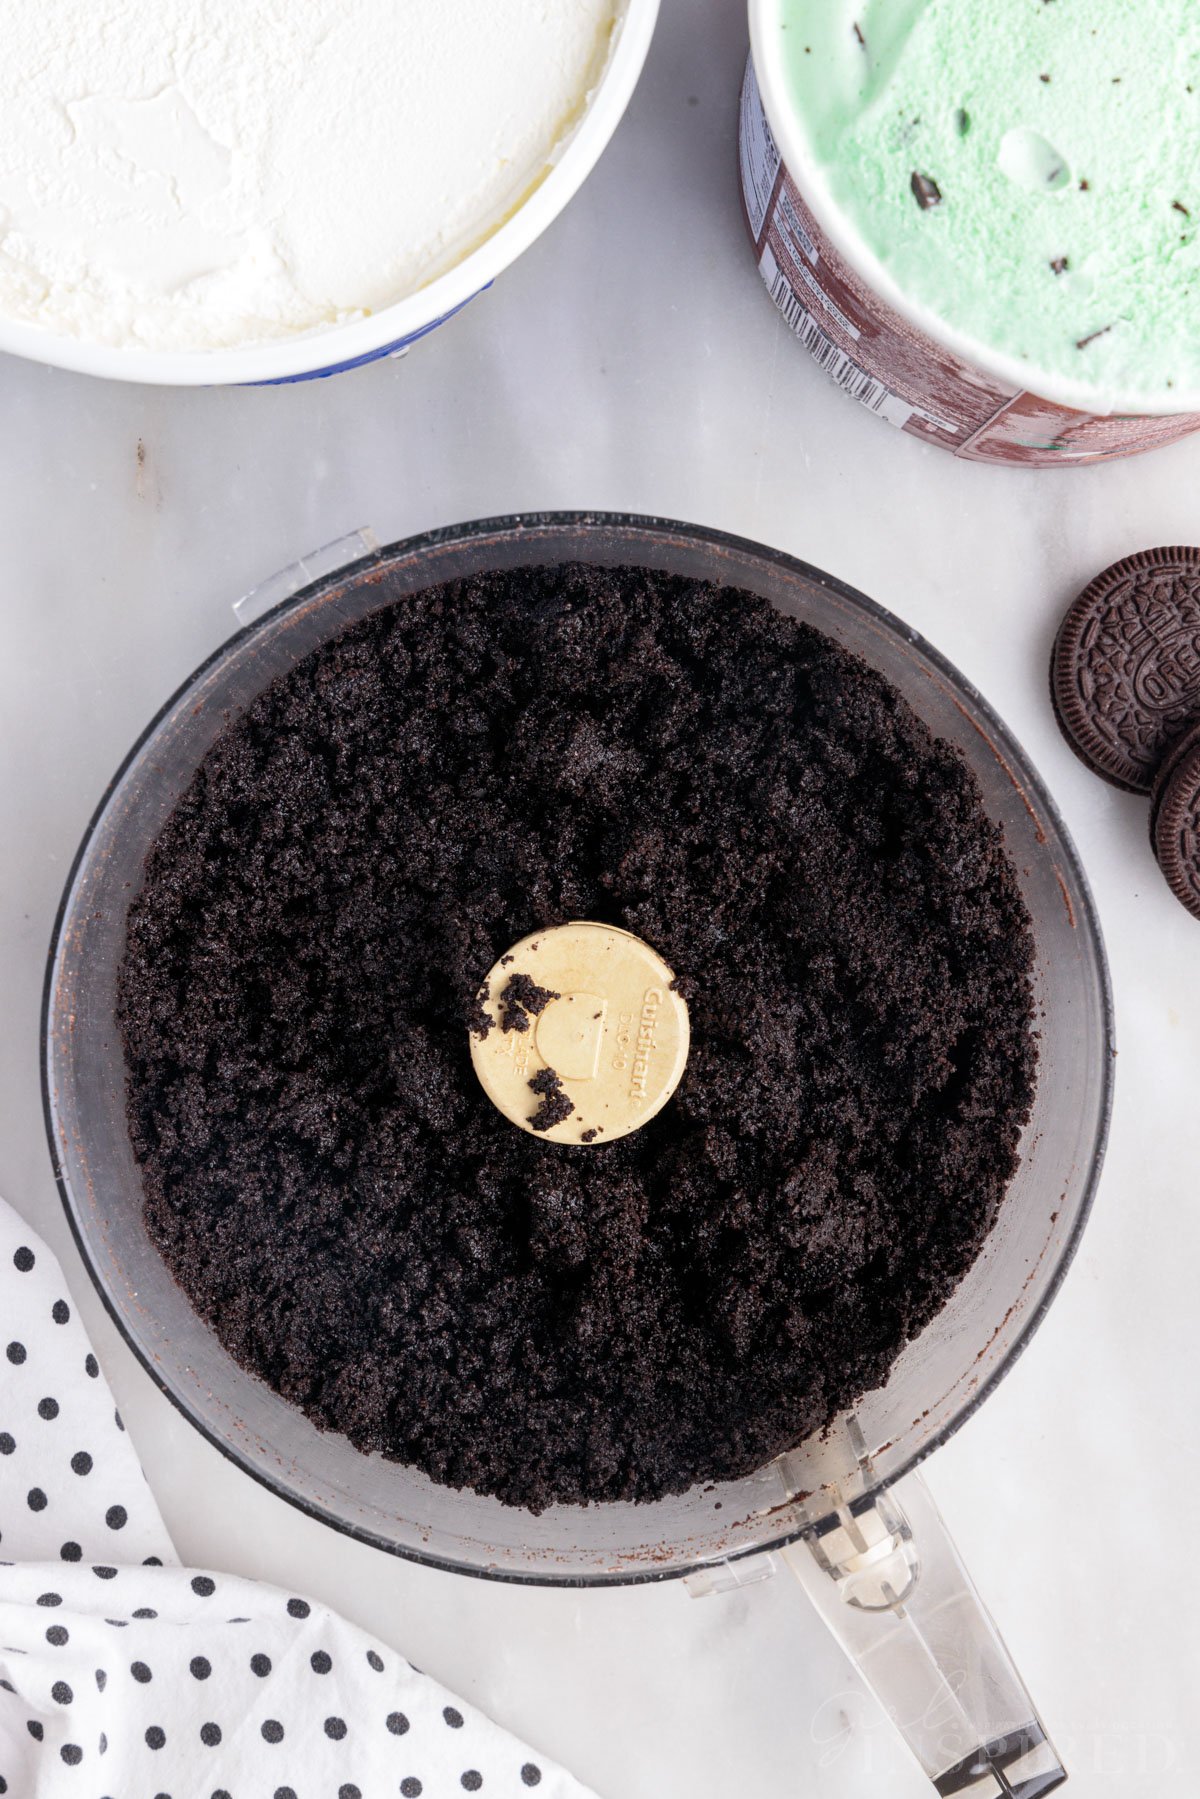
Step 1: Add the Oreos to a food processor and pulse until they are fine crumbs. Pour in the melted butter and pulse again until the ingredients are combined.
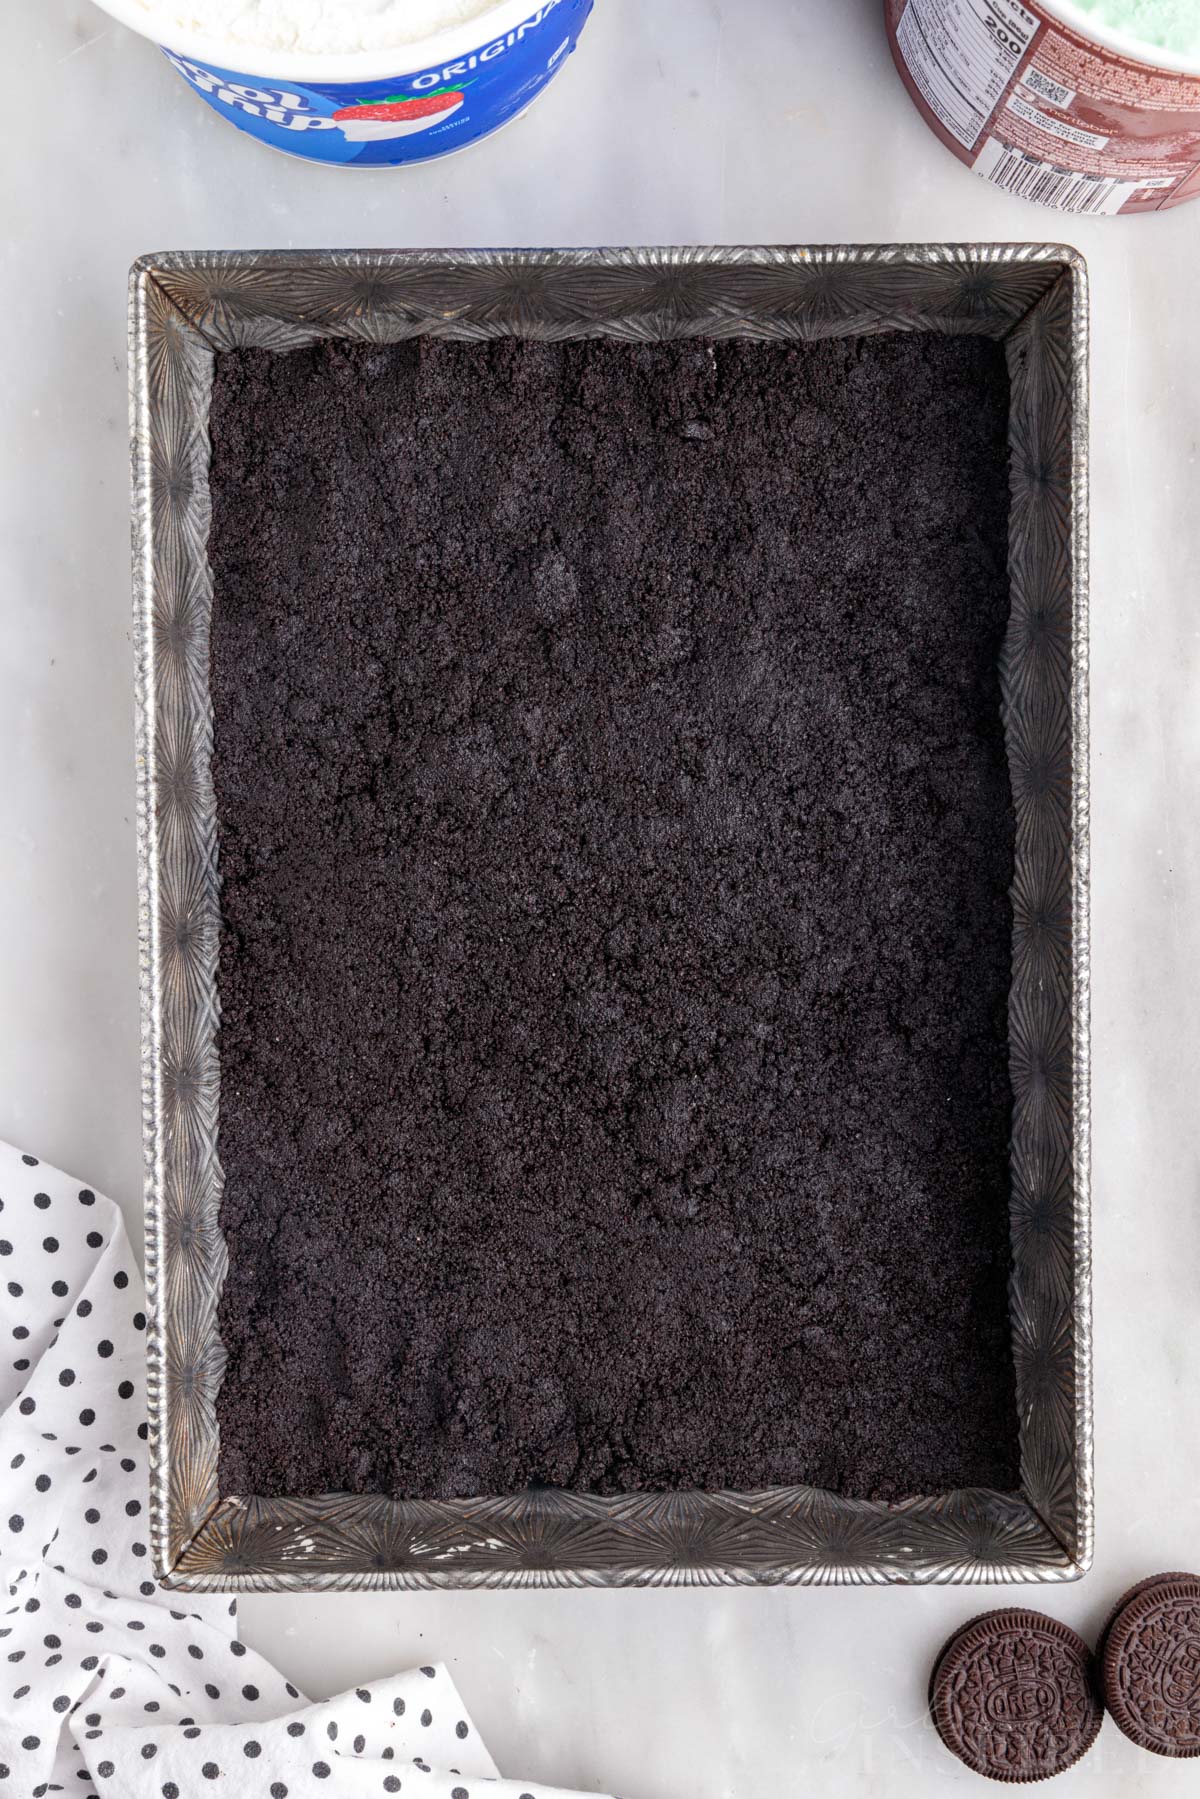
Step 2: Press the cookie crumble into the bottom of the cake pan and freeze for 10 minutes.
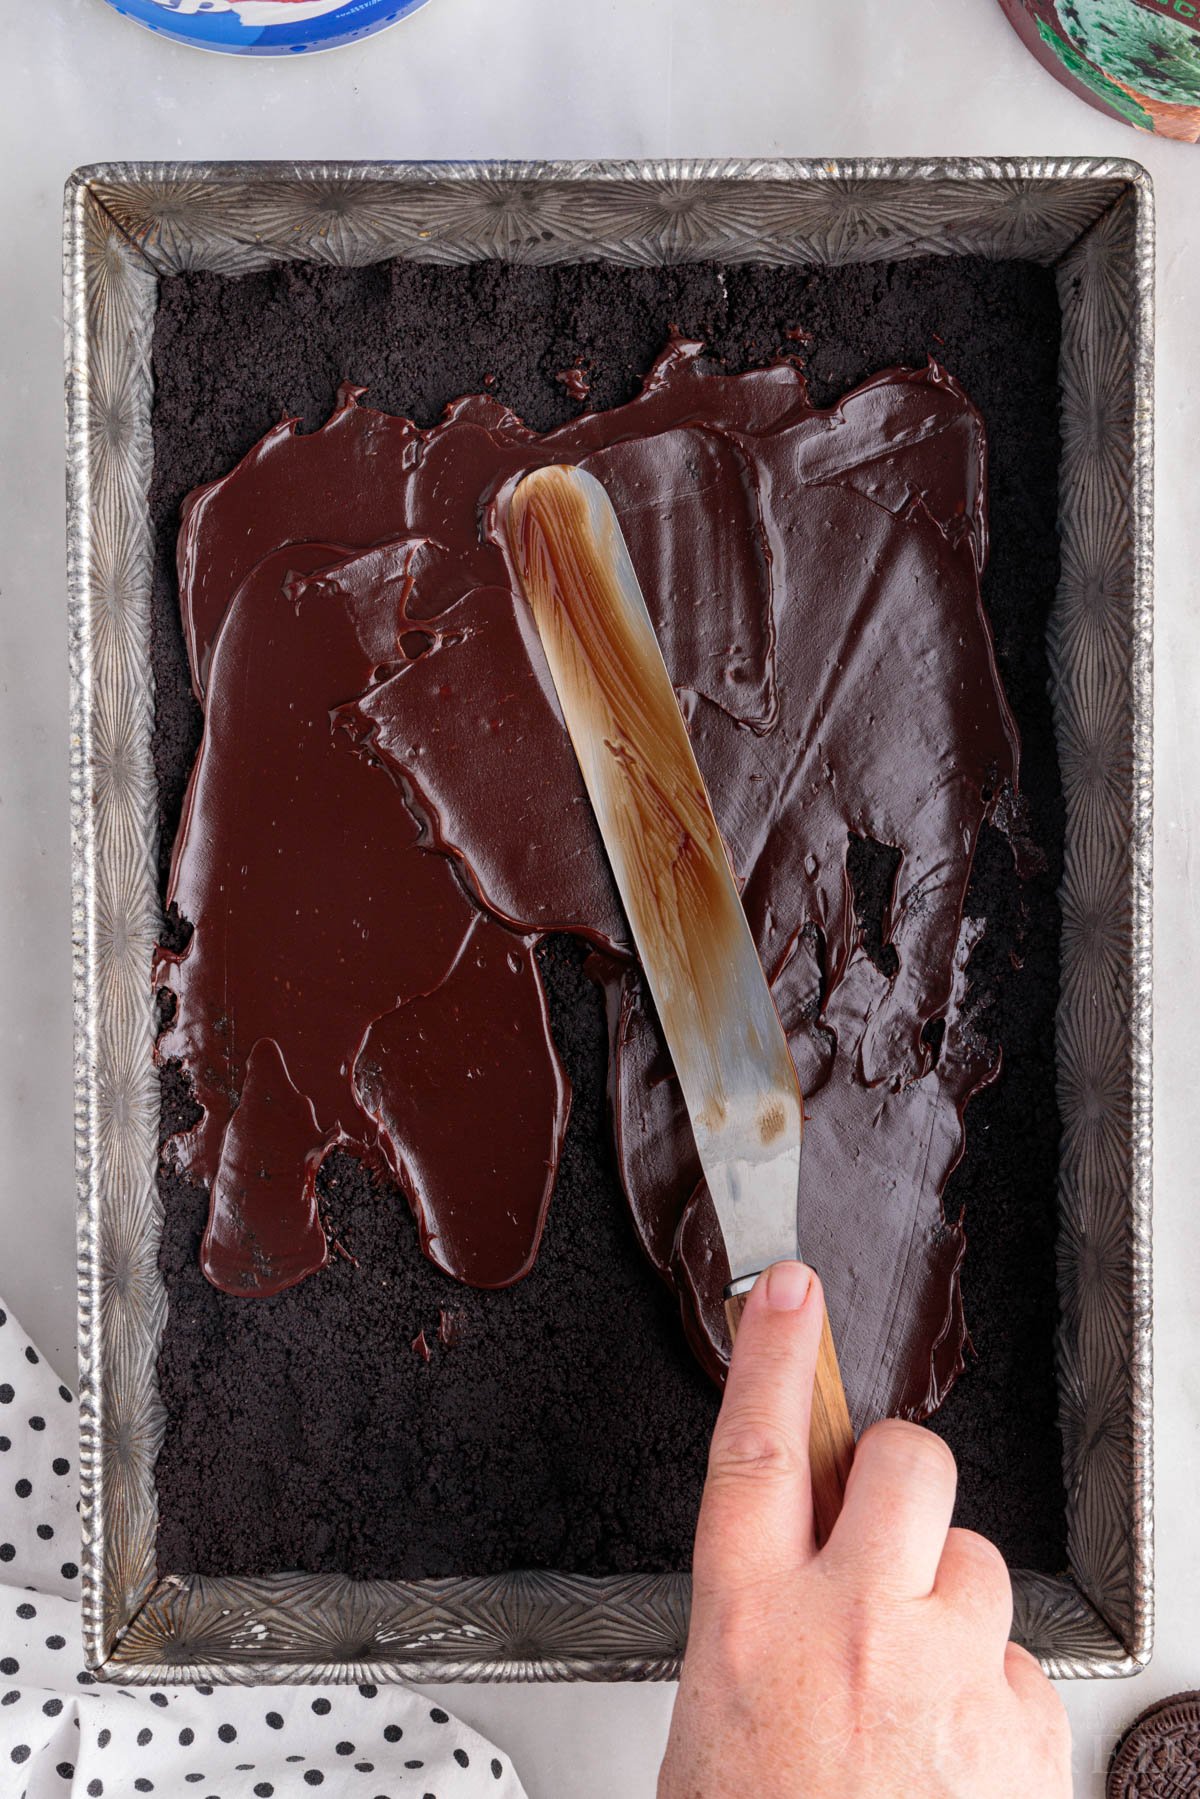
Step 3: Use an offset spatula to gently spread one container of hot fudge over the cookie crust. It may help to dollop the hot fudge all over the crust so that you don’t have to spread it as much.
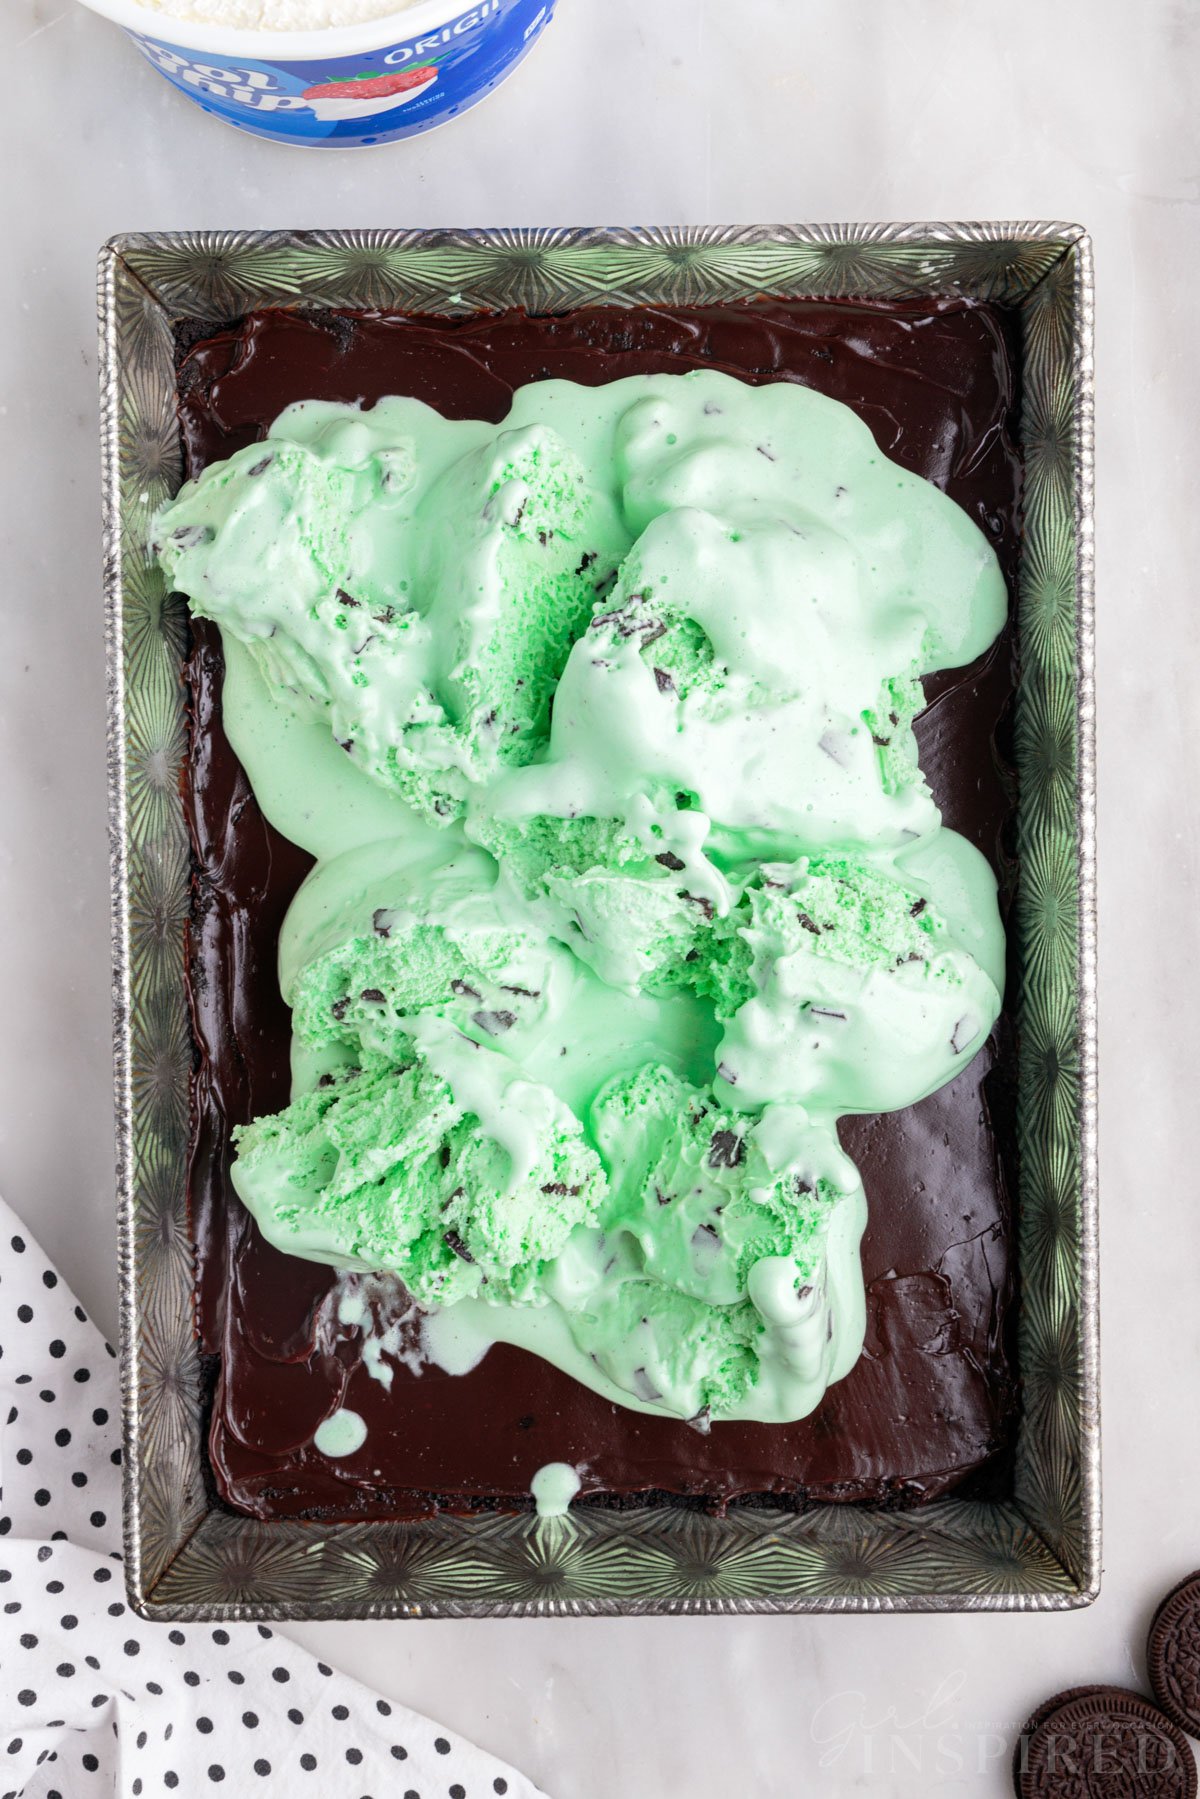
Step 4: Mound the softened ice cream over the fudge layer and spread it into a smooth, even layer. Freeze for 2 hours to allow the ice cream layer to harden.
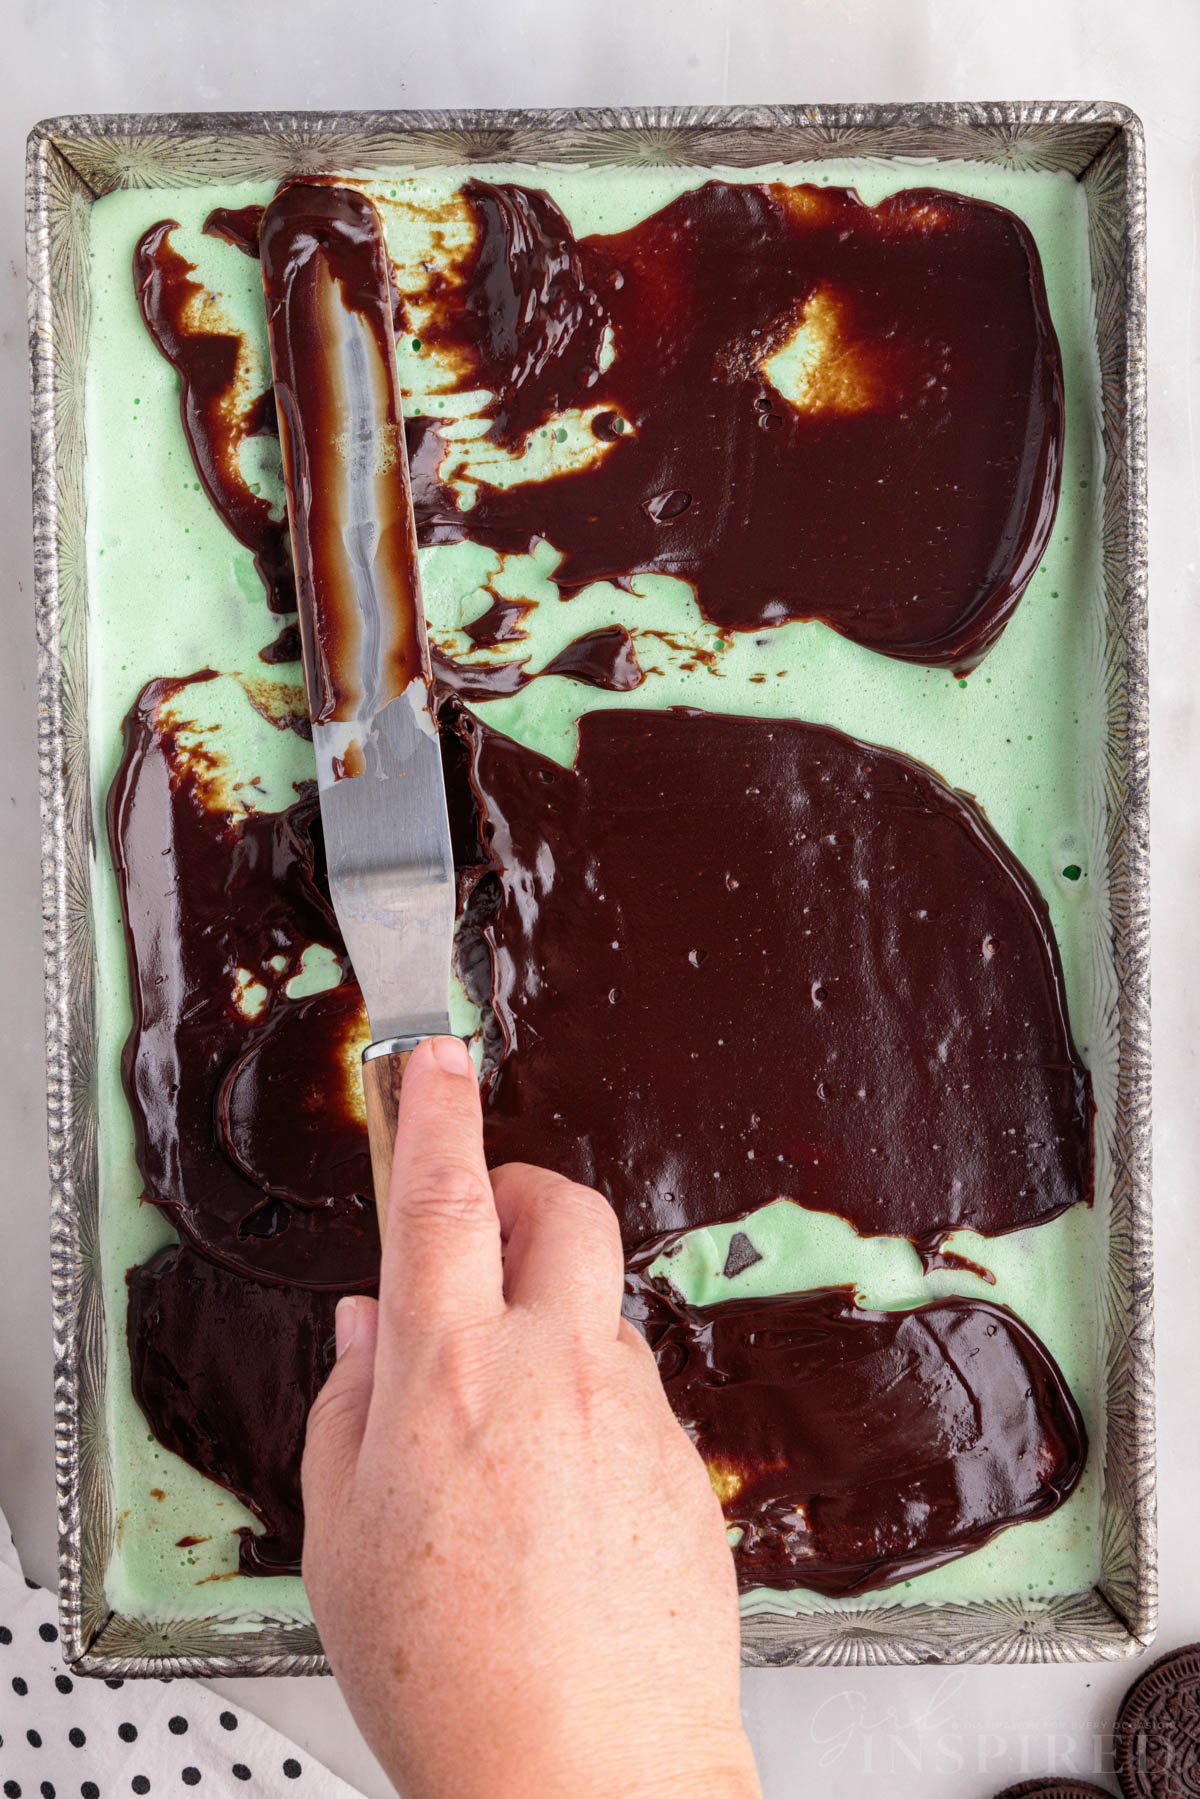
Step 5: Spread the second jar of hot fudge sauce over the frozen mint chip ice cream.
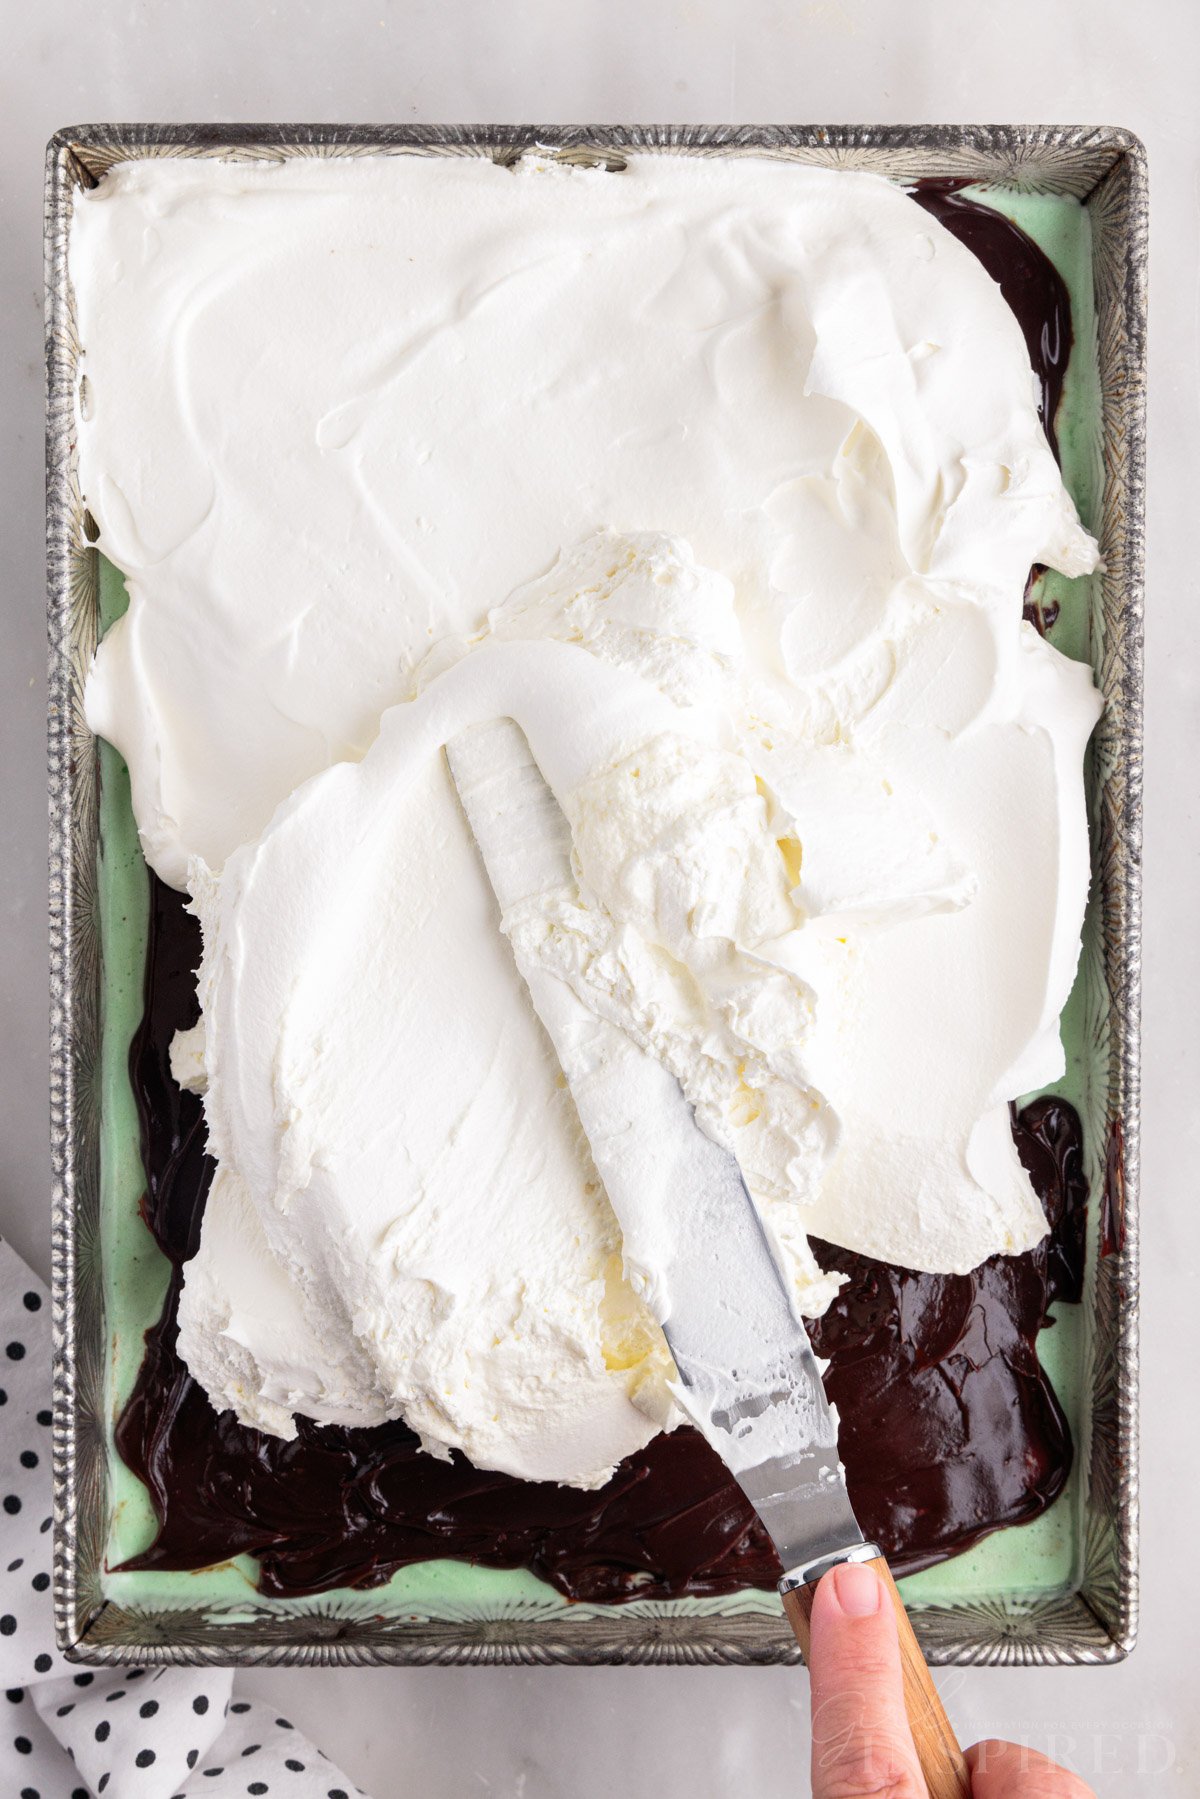
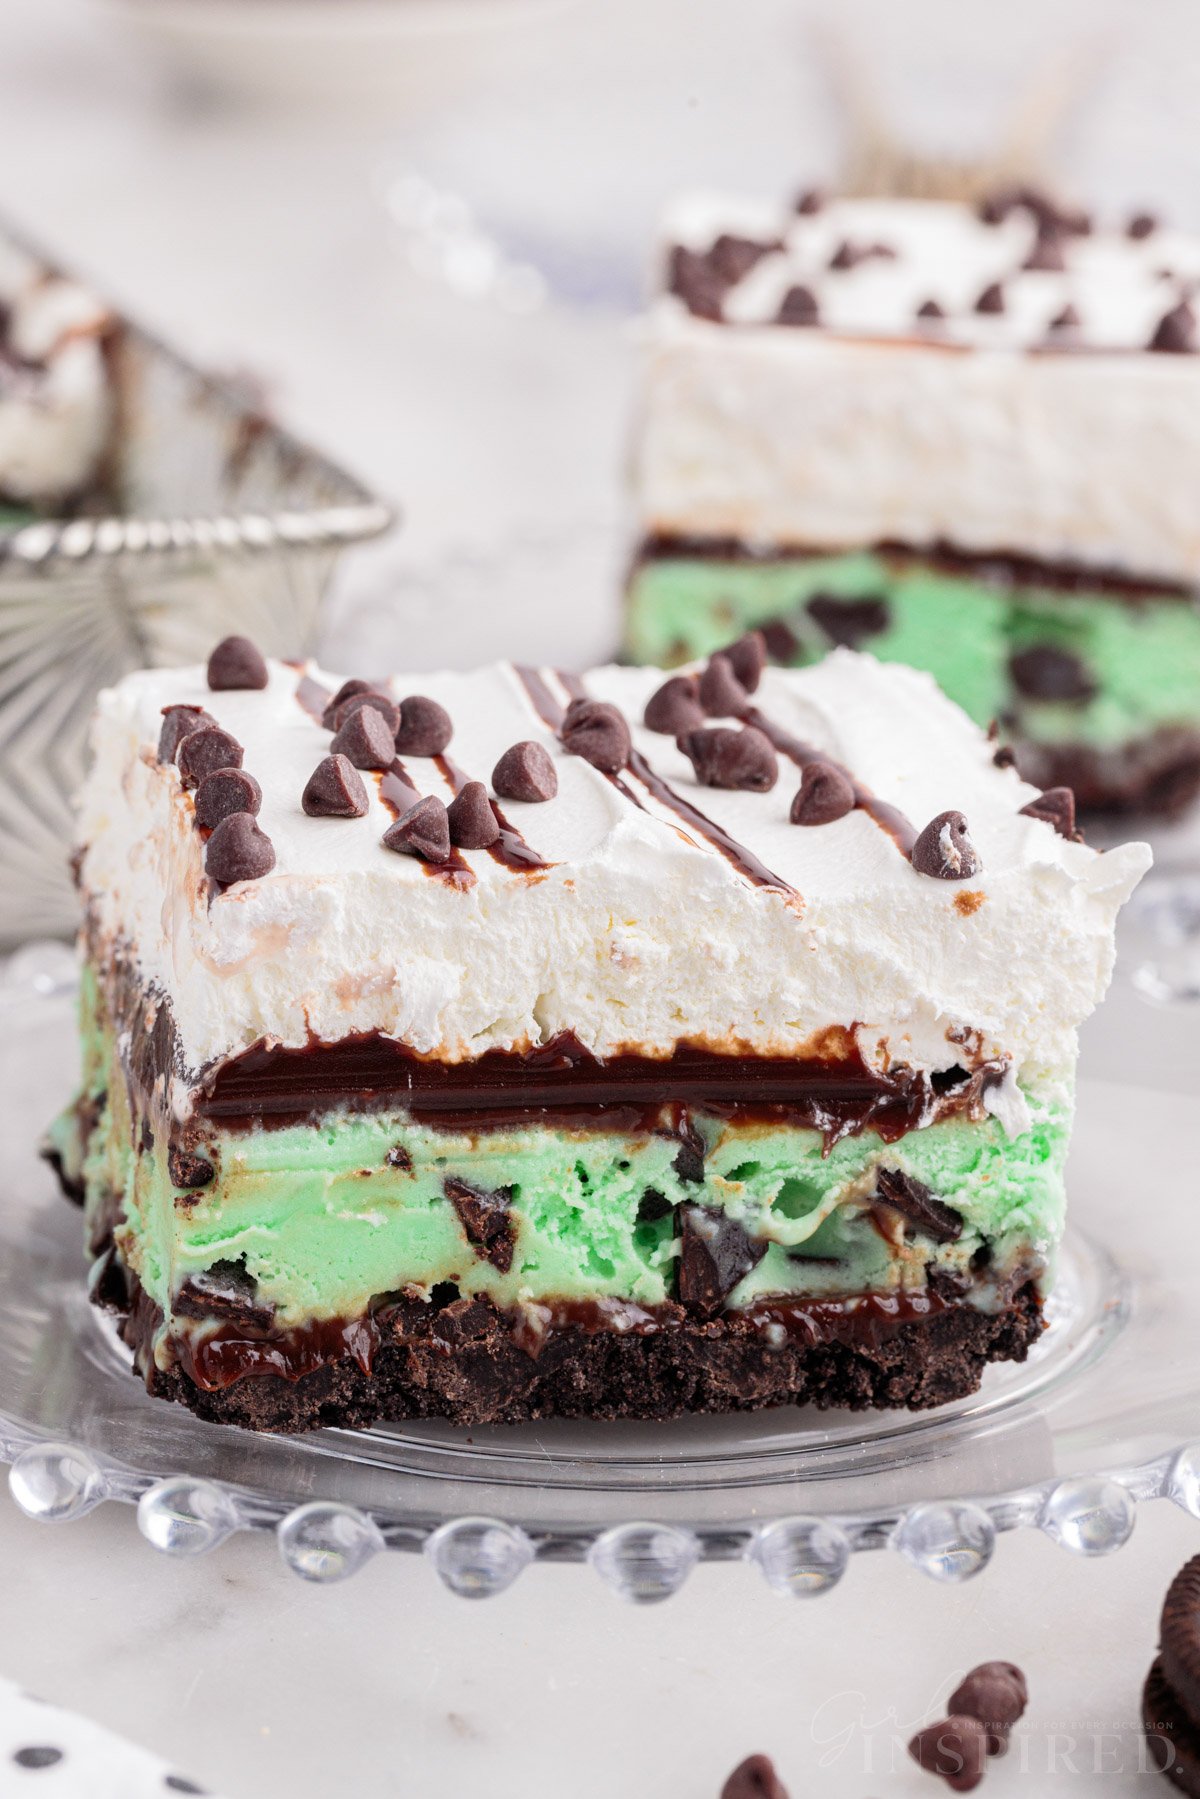
Step 6: Top the whole cake with a thick pillowy layer of Cool Whip.
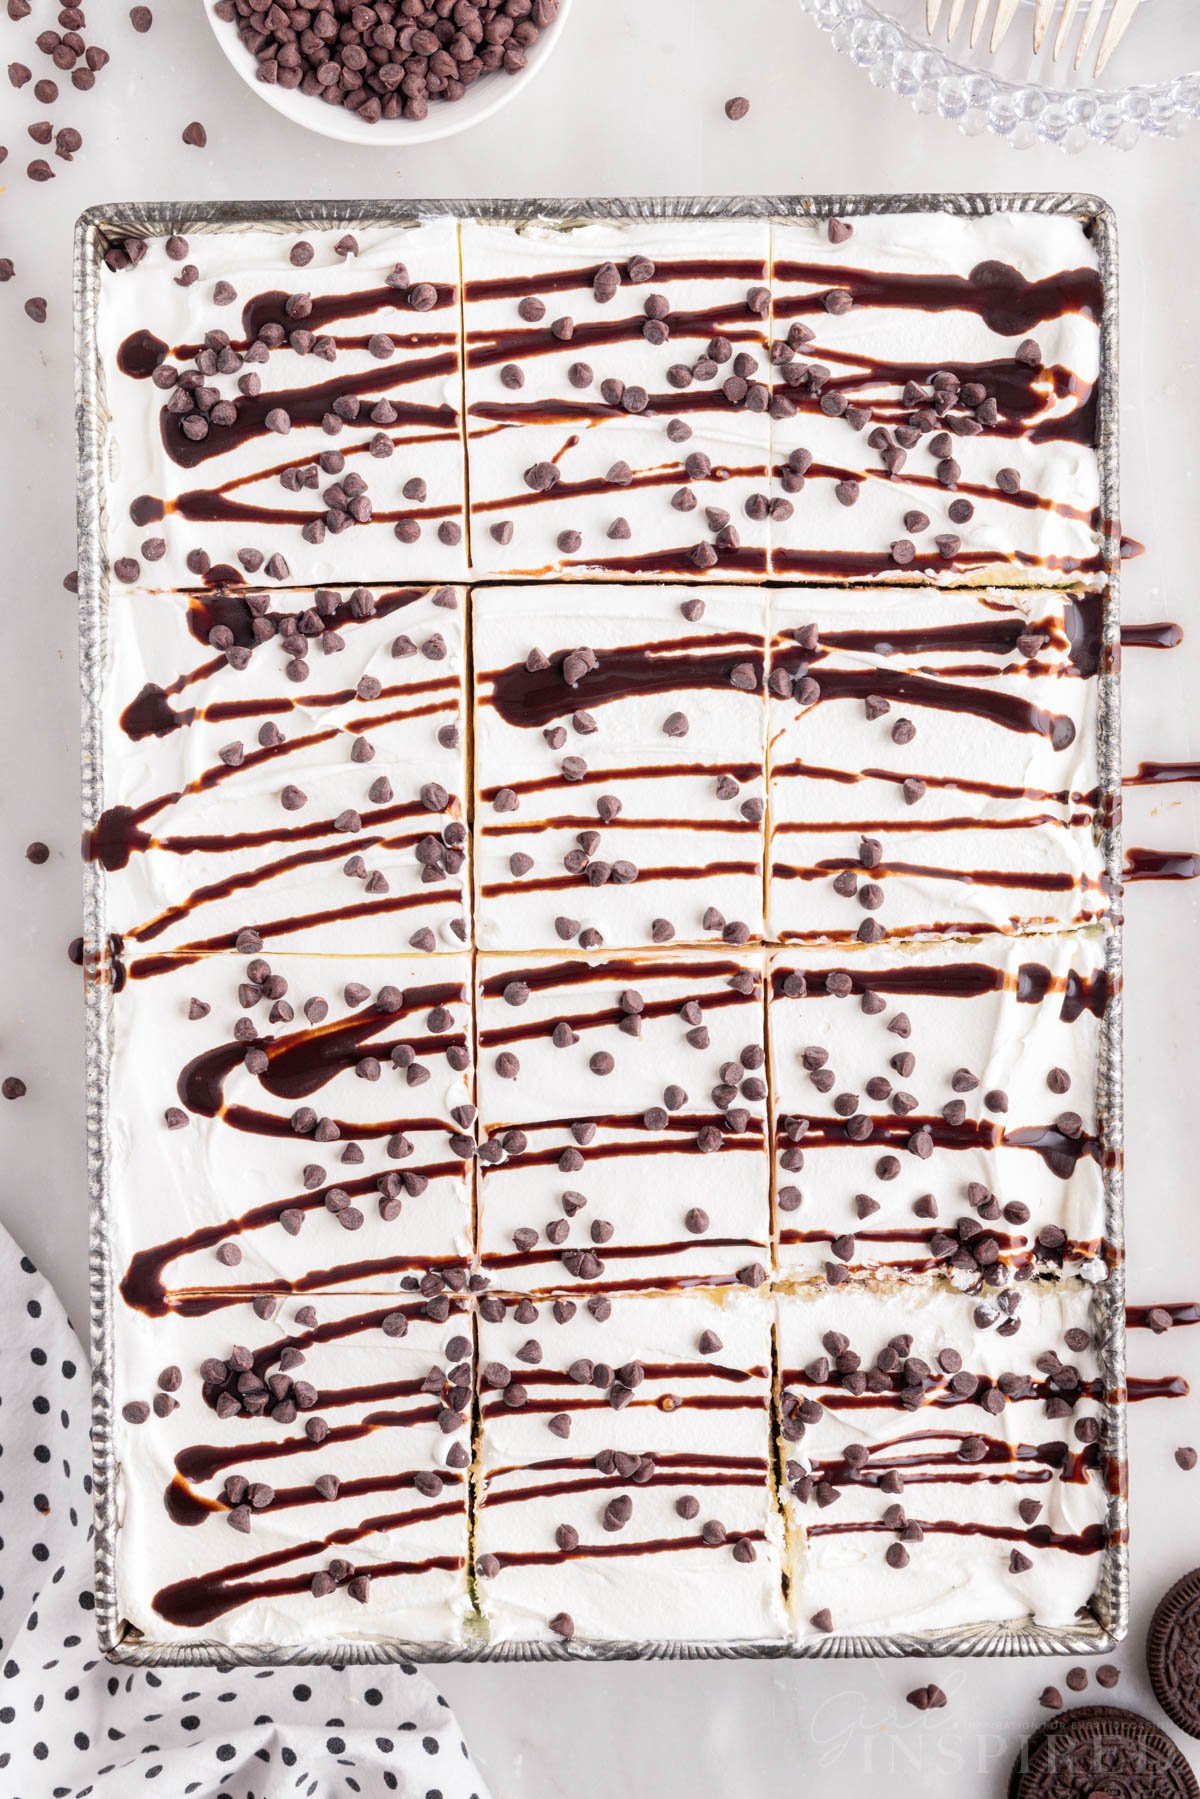
Step 7: Drizzle more hot fudge over the finished mint chip ice cream cake and sprinkle with mini chocolate chips or desired toppings.
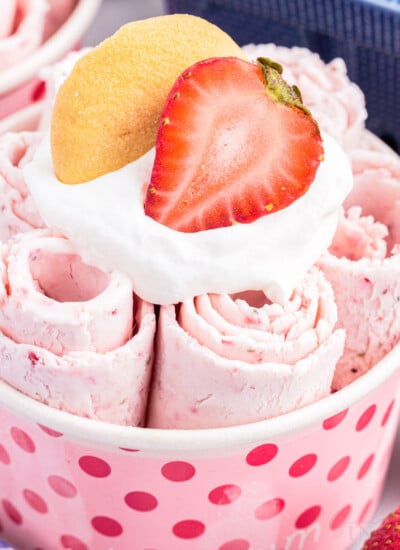
Looking for more ice cream treats to make? Try our rolled ice cream or our deep fried ice cream.
Tips for Making Mint Chocolate Chip Ice Cream Cake
- Topping Ideas: Crushed Oreos, chocolate syrup, Andes mints, mini chocolate chips, or Magic Shell.
- The hot fudge sauce is fairly thick but will thin a little if heated. The second layer of fudge on the ice cream layer needs to be cold or else it will melt the ice cream.
- Be sure the ice cream layer is fully frozen before adding the hot fudge.
- Cool Whip holds up better in the freezer than using homemade whipped cream.
- To make slicing easier, dip a sharp knife in hot water and go around the edges of the cake before cutting it into squares.
Fun Fact
The flavor mint chocolate chip wasn’t invented until 1973! It was actually created by a college student in England.
Recipe FAQs
Cover tightly with plastic wrap and freeze for up to 1 month.
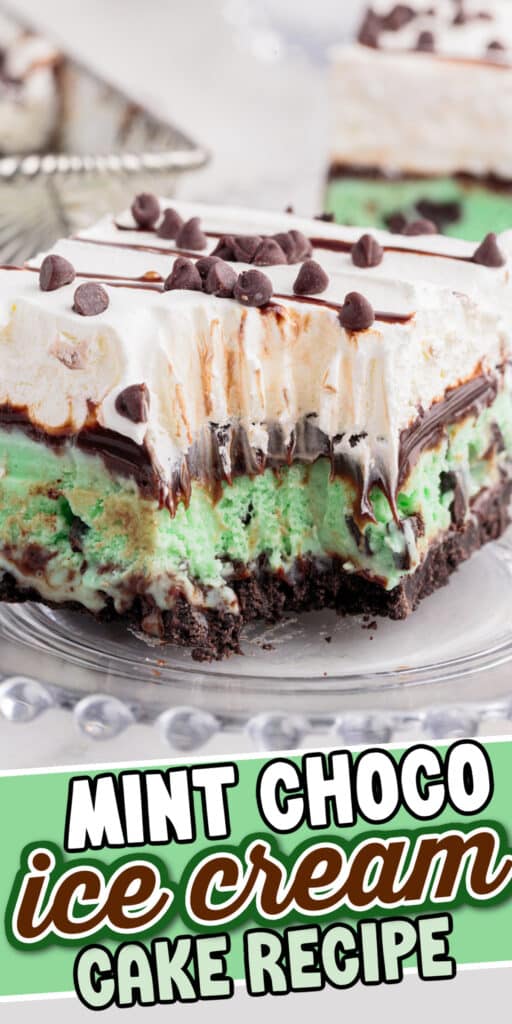
Mint ice cream is typically a pale green color, although the exact shade may vary depending on the specific type of mint used and the amount of flavoring used in the recipe. Some brands may use food coloring to enhance the green color of the ice cream. The natural color of some mint flavorings is usually enough to give the ice cream a pale green color.
Mint ice cream can also resemble vanilla if the oils and extracts that are used are clear.
More Ice Cream Treats to Try
If you try this Mint Chocolate Chip Ice Cream Cake or any other recipe on my website, please leave a 🌟 star rating and let me know how you liked it in the 📝 comments below.
Mint Chocolate Chip Ice Cream Cake
Ingredients
- 14.3 ounces classic Oreo cookies
- 6 tablespoons butter melted
- 1.5 quarts mint chocolate chip ice cream
- 2 – 11.75 oz. jars hot fudge sauce
- 16 oz. Cool Whip
- ½ cup mini chocolate chips for garnish optional
Instructions
- Set ice cream on the counter for about 20 minutes before preparing ice cream cake (giving it time to soften.)
- In the bowl of a food processor, chop the Oreo cookies until they are fine crumbs. Add melted butter and pulse several times until the cookie crumb mixture is evenly combined.
- Press cookie crumbs into a 9×13 baking dish and place in the freezer for 10 minutes to harden.
- Spread one jar of the hot fudge sauce across the chilled cookie crust. Chill in the freezer for another 10 minutes.
- Spread the ice cream into the pan. Press it gently with a spatula to smooth it out as much as possible. The ice cream will become very soft, but try to prevent it from melting all the way.
- Once the ice cream has been spread smooth, return the pan to the freezer and freeze for at least 2 hours more.
- Spread the remaining jar of hot fudge sauce over the frozen ice cream cake. (You can reserve a few tablespoons to drizzle over the top if you wish.) Top with thawed Cool Whip.
- Garnish with a chocolate drive and mini chocolate chips.
- Serve immediately or keep frozen until ready to serve.
Would you like to save this?
Notes
Cover tightly with plastic wrap and keep frozen for up to 1 month. Notes: The hot fudge sauce is fairly thick – it will become thinner if you heat it, but the second layer of hot fudge (over the ice cream layer) should be put on cold or it will melt the ice cream. Be sure that the ice cream layer is frozen solid before spreading the hot fudge over. Alternately, one or both jars can just be added over the crust and before the ice cream layer. You can make a homemade hot fudge sauce for this cake. Chocolate syrup is too thin for this recipe. Cool Whip will hold up better in the freezer than using fresh whipped cream. You can top the cake with chocolate sprinkles, chopped-up Oreos, or even Andes mints.
Nutrition
Make this recipe?
Share it with me on Instagram @girlinspired1 and follow on Pinterest for more!


Comments & Reviews
IamDivine says
I used andes mints crushed up on the layers of hot fudge and on top, DELICIOUS!
Judith anderson says
Sounds like a grezt recipe using it tomorrow for my son’s birthday . Can i substitute margarine for the butter
girlinspired says
Hi Judith! Yes, I think you can substitute margarine 1:1 for the butter in the crust. Should work just fine! Let me know how it turns out, happy birthday to your son!