
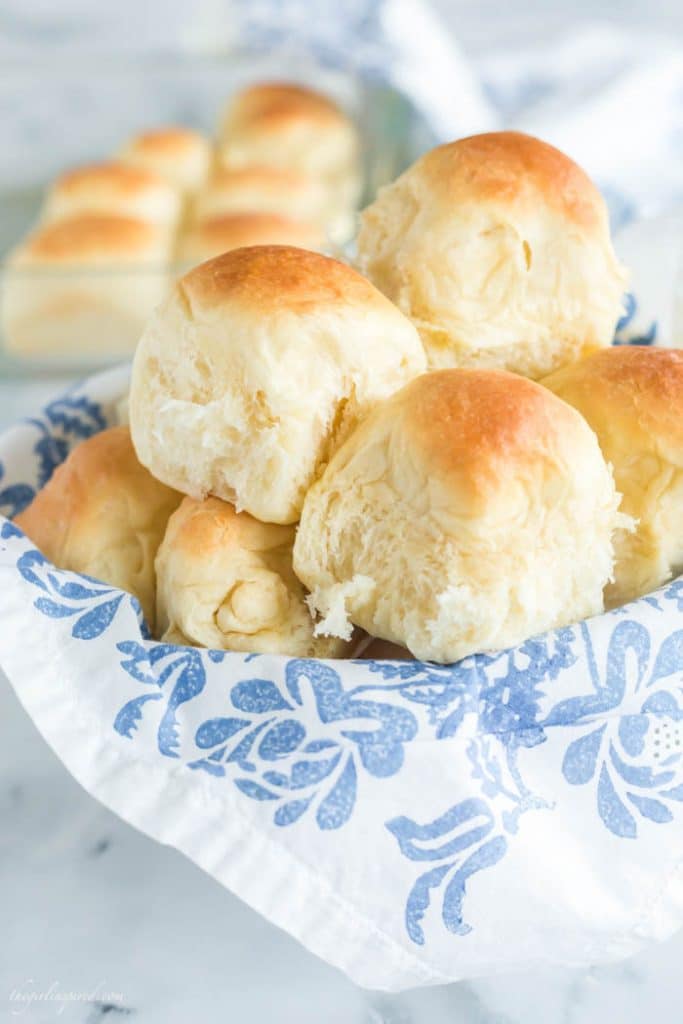

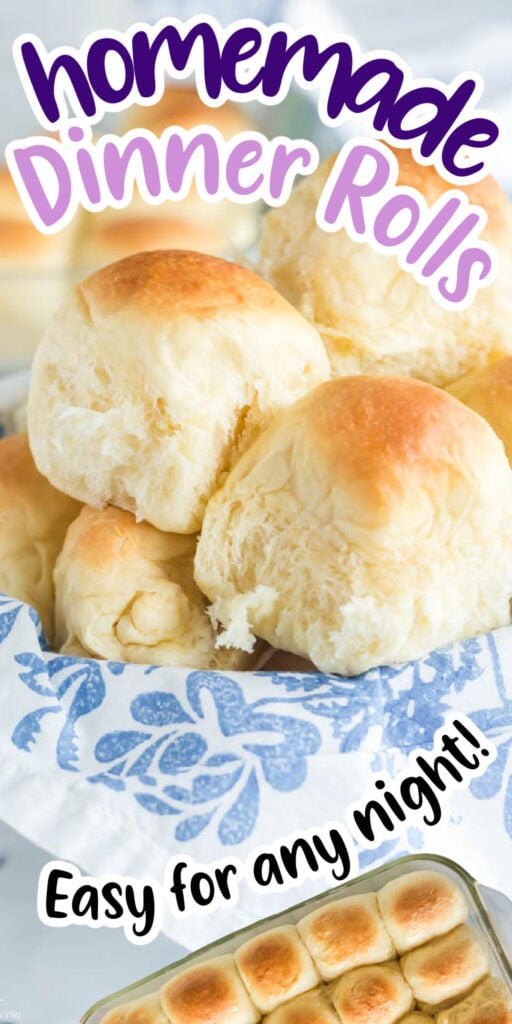
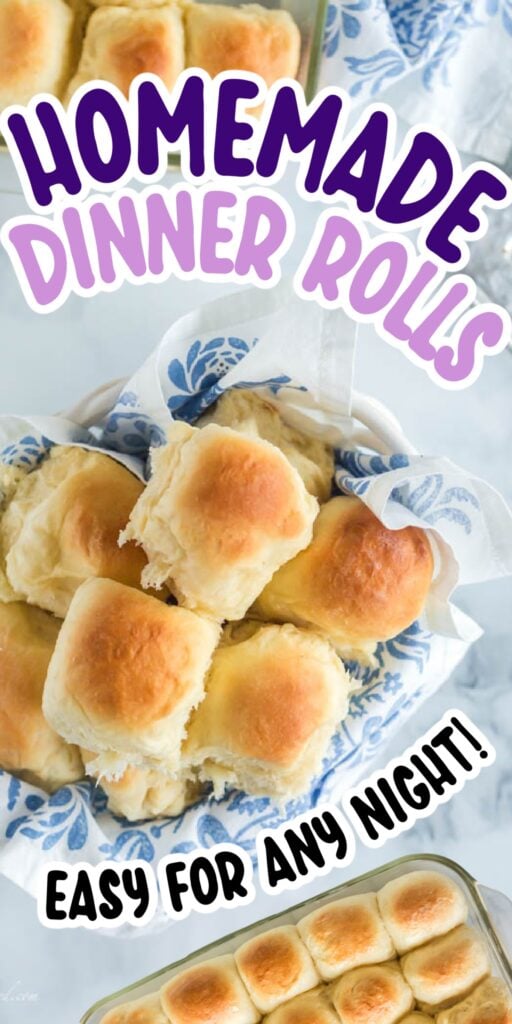
Sweet homemade dinner rolls are pillowy soft, buttery, and even beginners can make them. They can be made with or without a bread machine, use simple ingredients, and come out perfect every single time.
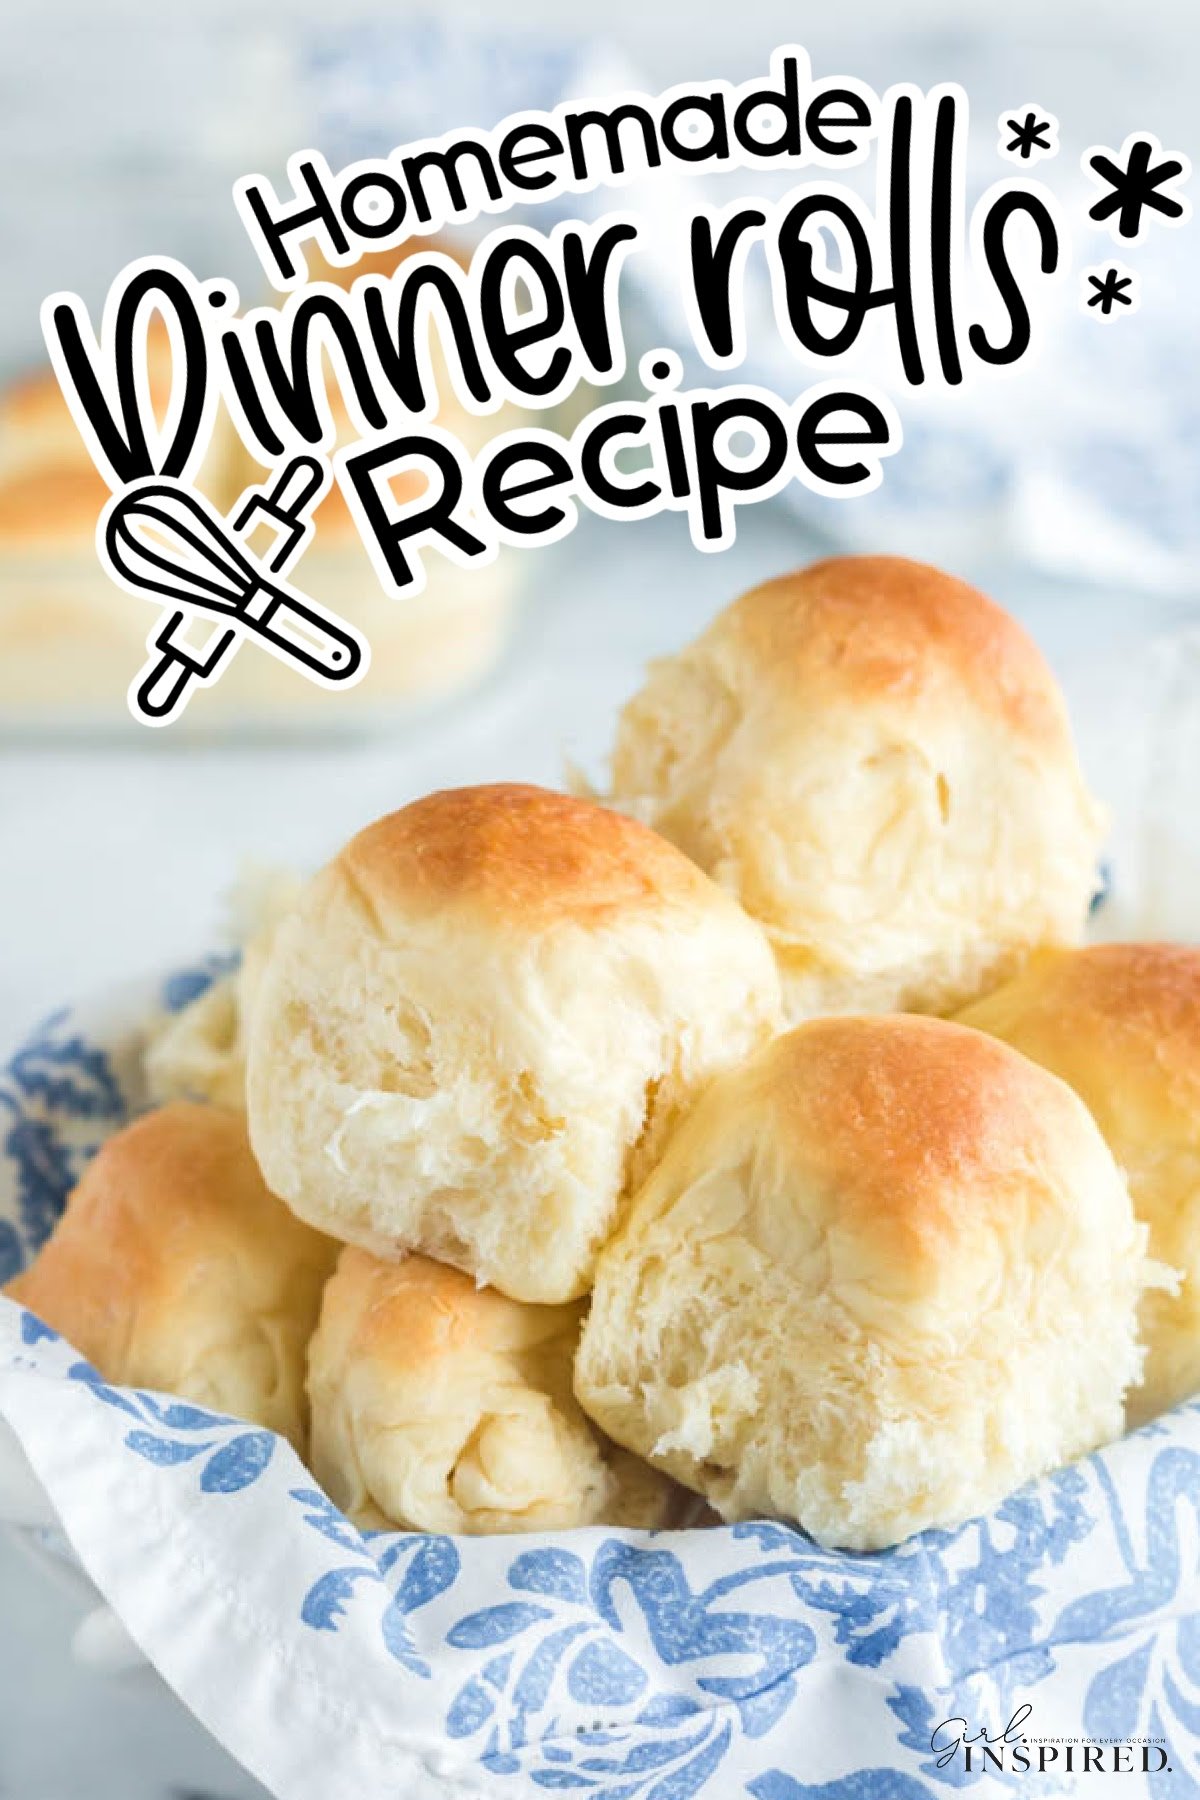
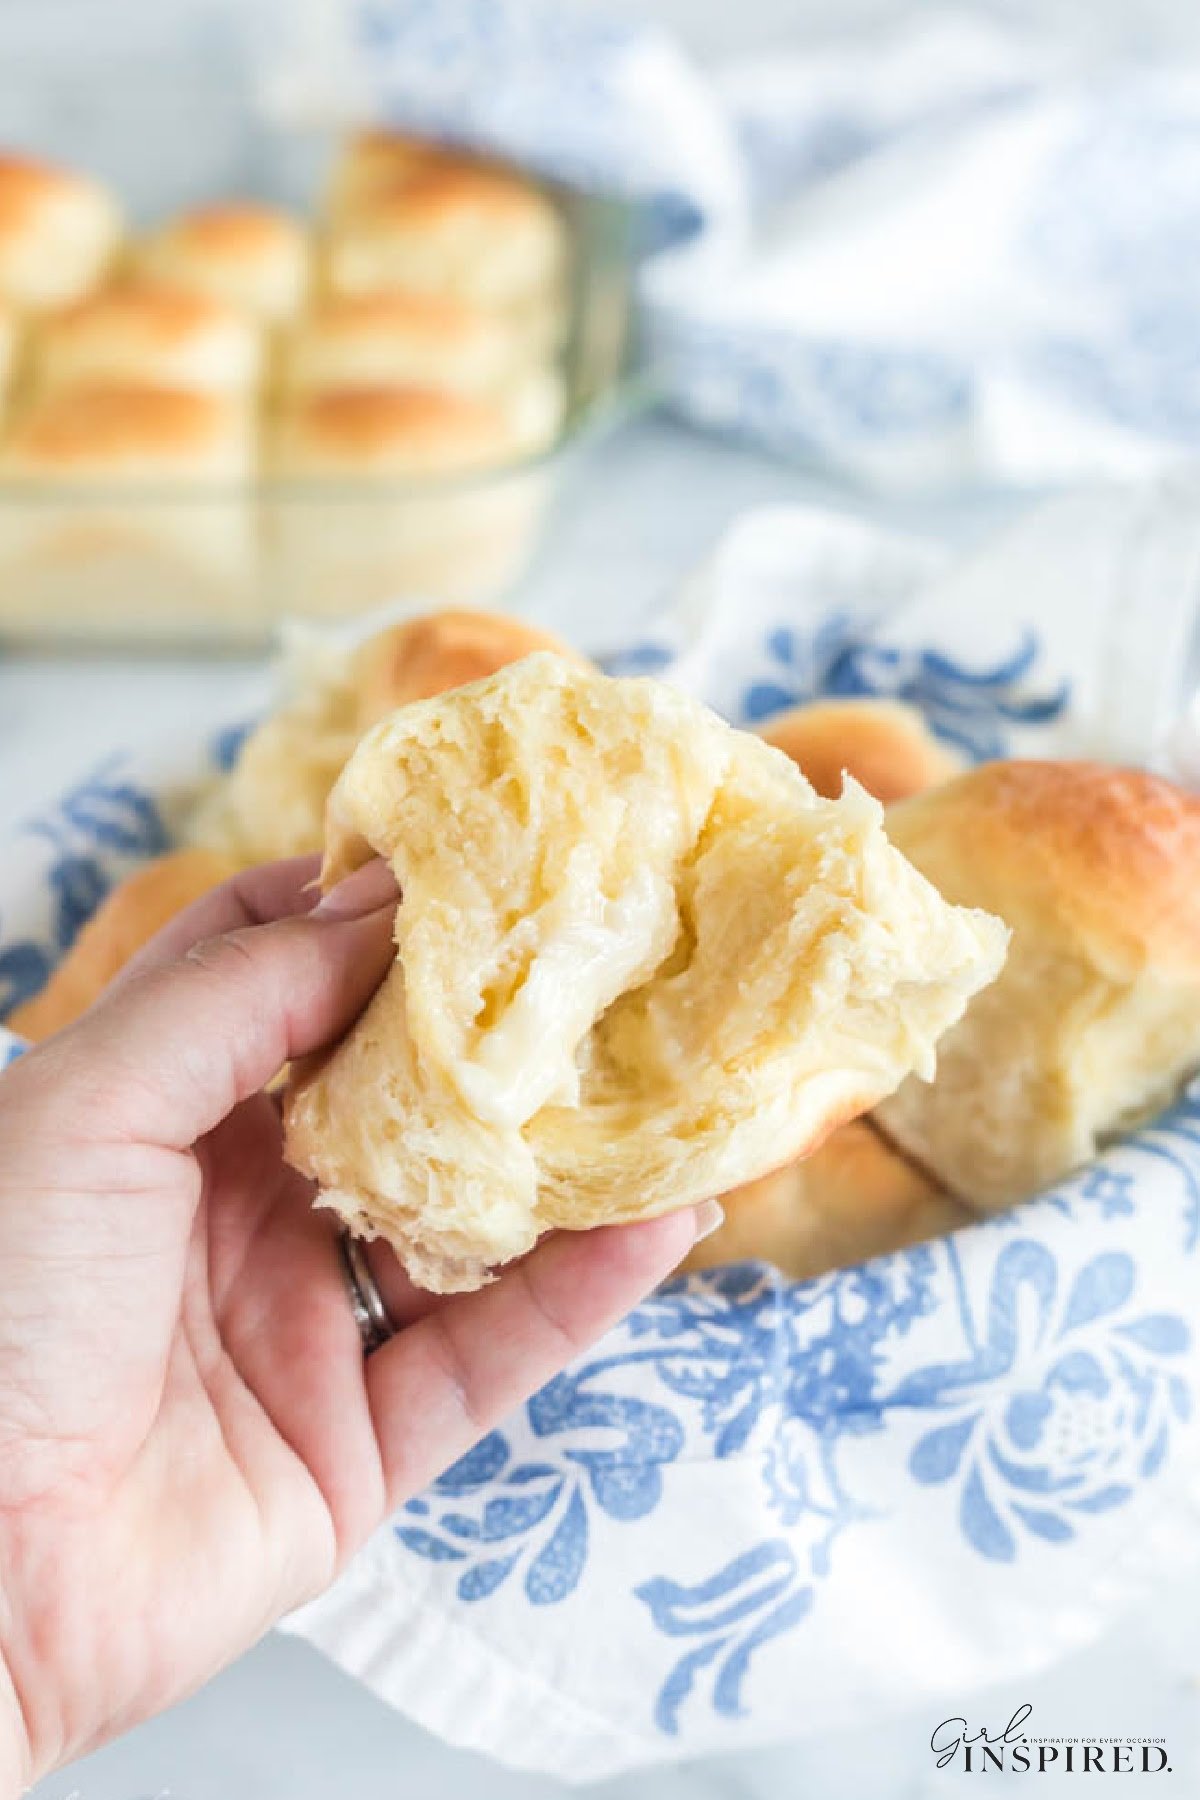
I can say with complete confidence that these sweet rolls are the best homemade dinner rolls that will ever pass your lips. Sweet, buttery, moist dinner rolls – there’s no comparison. Some of my most vivid memories of Thanksgiving are of my granny sitting at her kitchen table, shaping balls of dough into rolls for our dinner. My cousin and sister and I would try to sneak bits of dough to eat and Granny would playfully banish us from the room. Everyone loved her soft dinner rolls. After Granny passed away, my aunt and mom took over bringing piles of rolls to our holiday gatherings, and now, even for our smaller family celebrations, someone always makes the bread rolls.
Once you try your hand making these, try a batch of Dutch oven bread, pull apart garlic bread or my favorite popover recipe. The fluffy texture of these rolls may remind you of Hawaiian rolls, which means you can use them to make Sausage Egg and Cheese Breakfast Sliders or Roast Beef Sliders.
Jump to:
🥐 Ingredients:
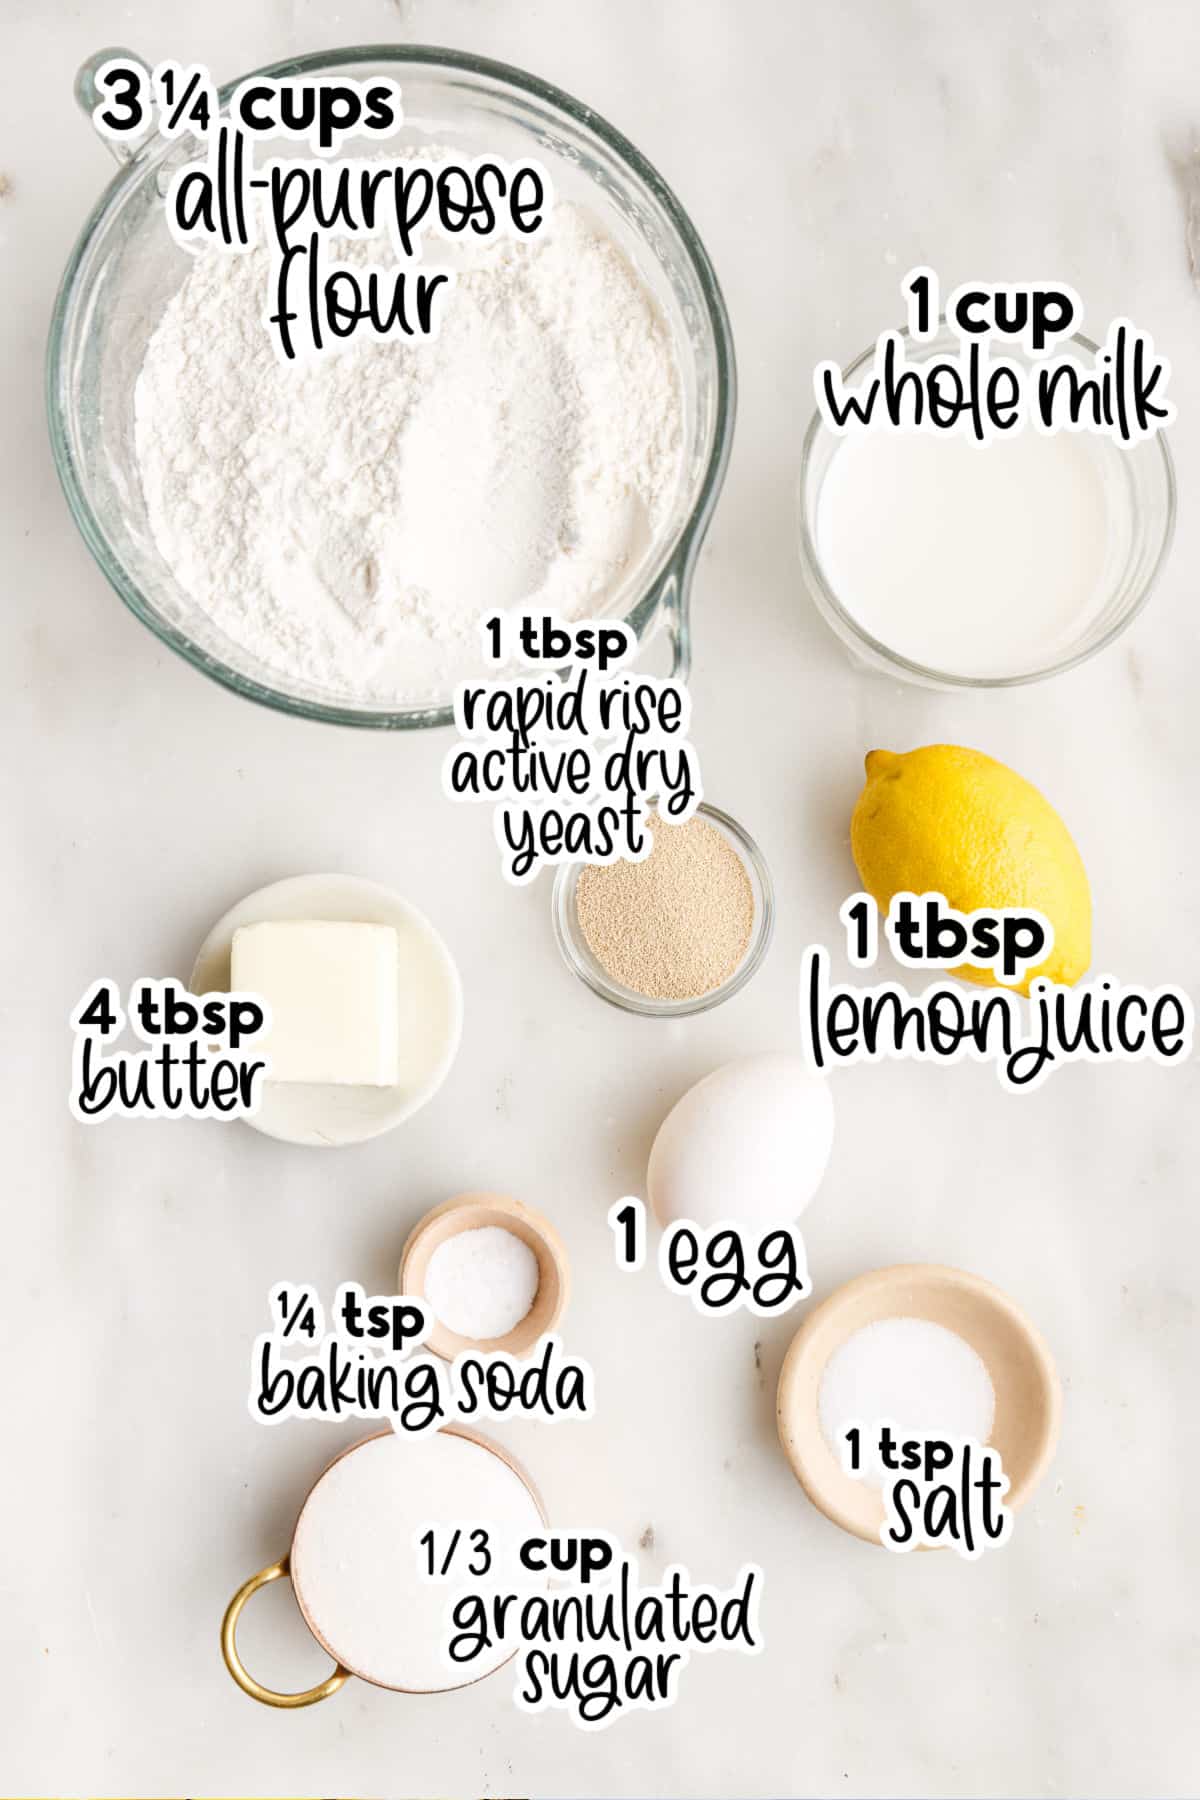
- whole milk and lemon juice – we are essentially making buttermilk.
- large egg and butter – soften the butter at room temperature and let the egg come to room temperature.
- all-purpose flour – spoon the flour into a measuring cup then level off with a butter knife for the most accurate measurement.
- granulated sugar – makes the yeast dough sweet and actually feeds the yeast during the bread making process.
- salt and baking soda
- Rapid Rise active dry yeast – this is instant yeast and allows us to make the bread faster.
For a full list of ingredients and their measurements, 📋 please view my printable recipe card at the bottom of the post.
Optional Garnish:
Dinner rolls can be served with any main course meal. Slather with butter and enjoy!
Equipment Needed:
I make my roll dough in a bread maker. Do you have one? Bread makers really make the process easy, but you don’t have to use one. My bread maker is an older version of this one: Breadman Programmable Bread Maker (aff). Not too fancy and it works just fine for my occasional bread maker needs. It takes a little more work, but you can hand mix the dough instead. I’ll provide instructions for both methods. Let’s get baking!
You can also make these dinner yeast rolls without a bread machine.
Substitutions and Variations
- Milk: You can use buttermilk instead of the sour milk mixture.
- Flour: Bread flour can be used in place of the all purpose if that’s what you have. We have also used a whole wheat flour and all purpose flour mixture.
- Make-ahead options: once the yeast bread has risen and you have shaped the rolls, cover them tightly and refrigerate for up to 24 hours. Remove from the fridge, allow them to rise on the counter 1-2 hours before baking. You can also freeze the dough balls, then let them thaw and rise for about 5 hours before cooking. This is great if you need them on the holiday table and don’t want to go through the process all at once. You can also make and bake the rolls, cool completely, wrap well with two layers of plastic wrap and freeze for up to one month. Thaw at room temperature.
- Cheesy: Add your favorite cheese (about a cup) like cheddar or shredded mozzarella.
- Fresh herbs: mix in 1-2 tablespoons or rosemary and/or thyme.
🔪 Instructions:
PREP: Bring all ingredients to room temperature.
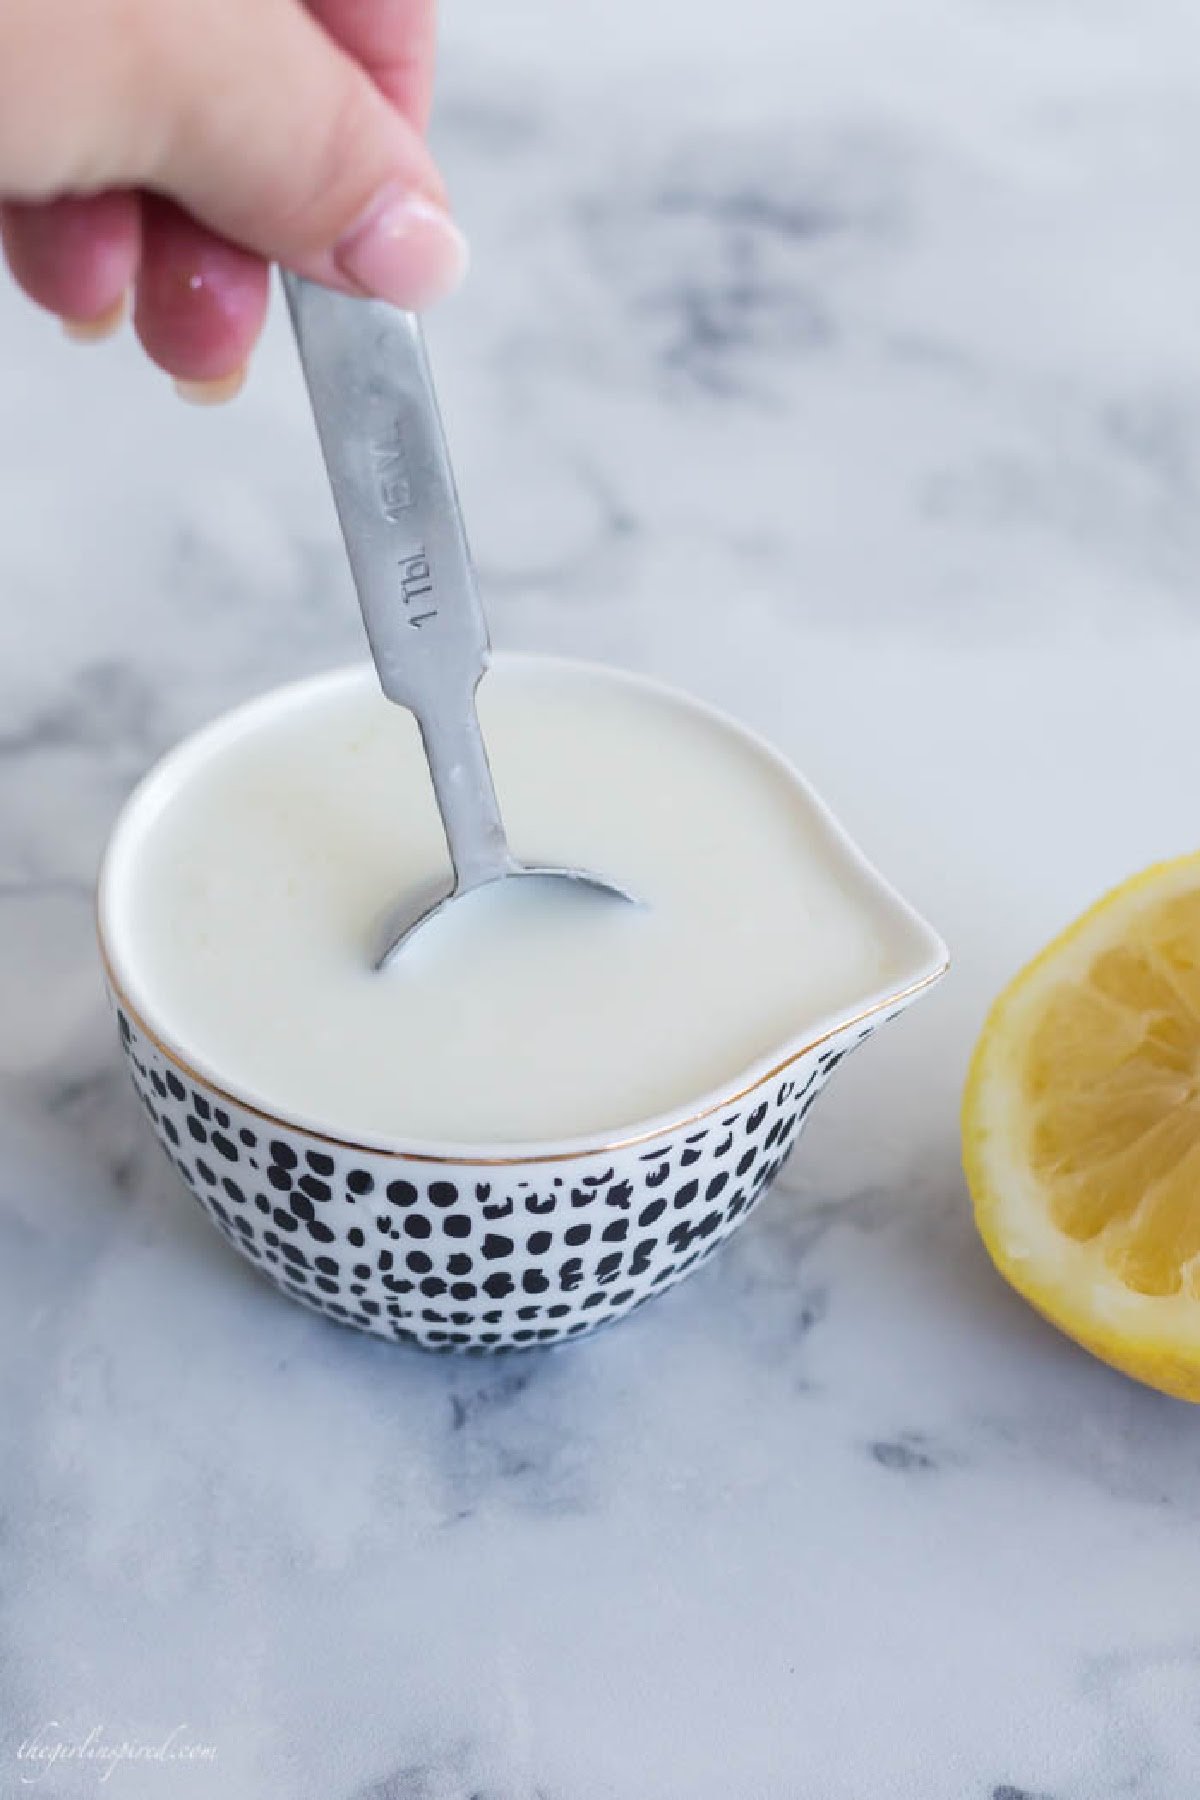
Step 1: In a small bowl, stir the lemon juice into the milk and set aside for 5-10 minutes.
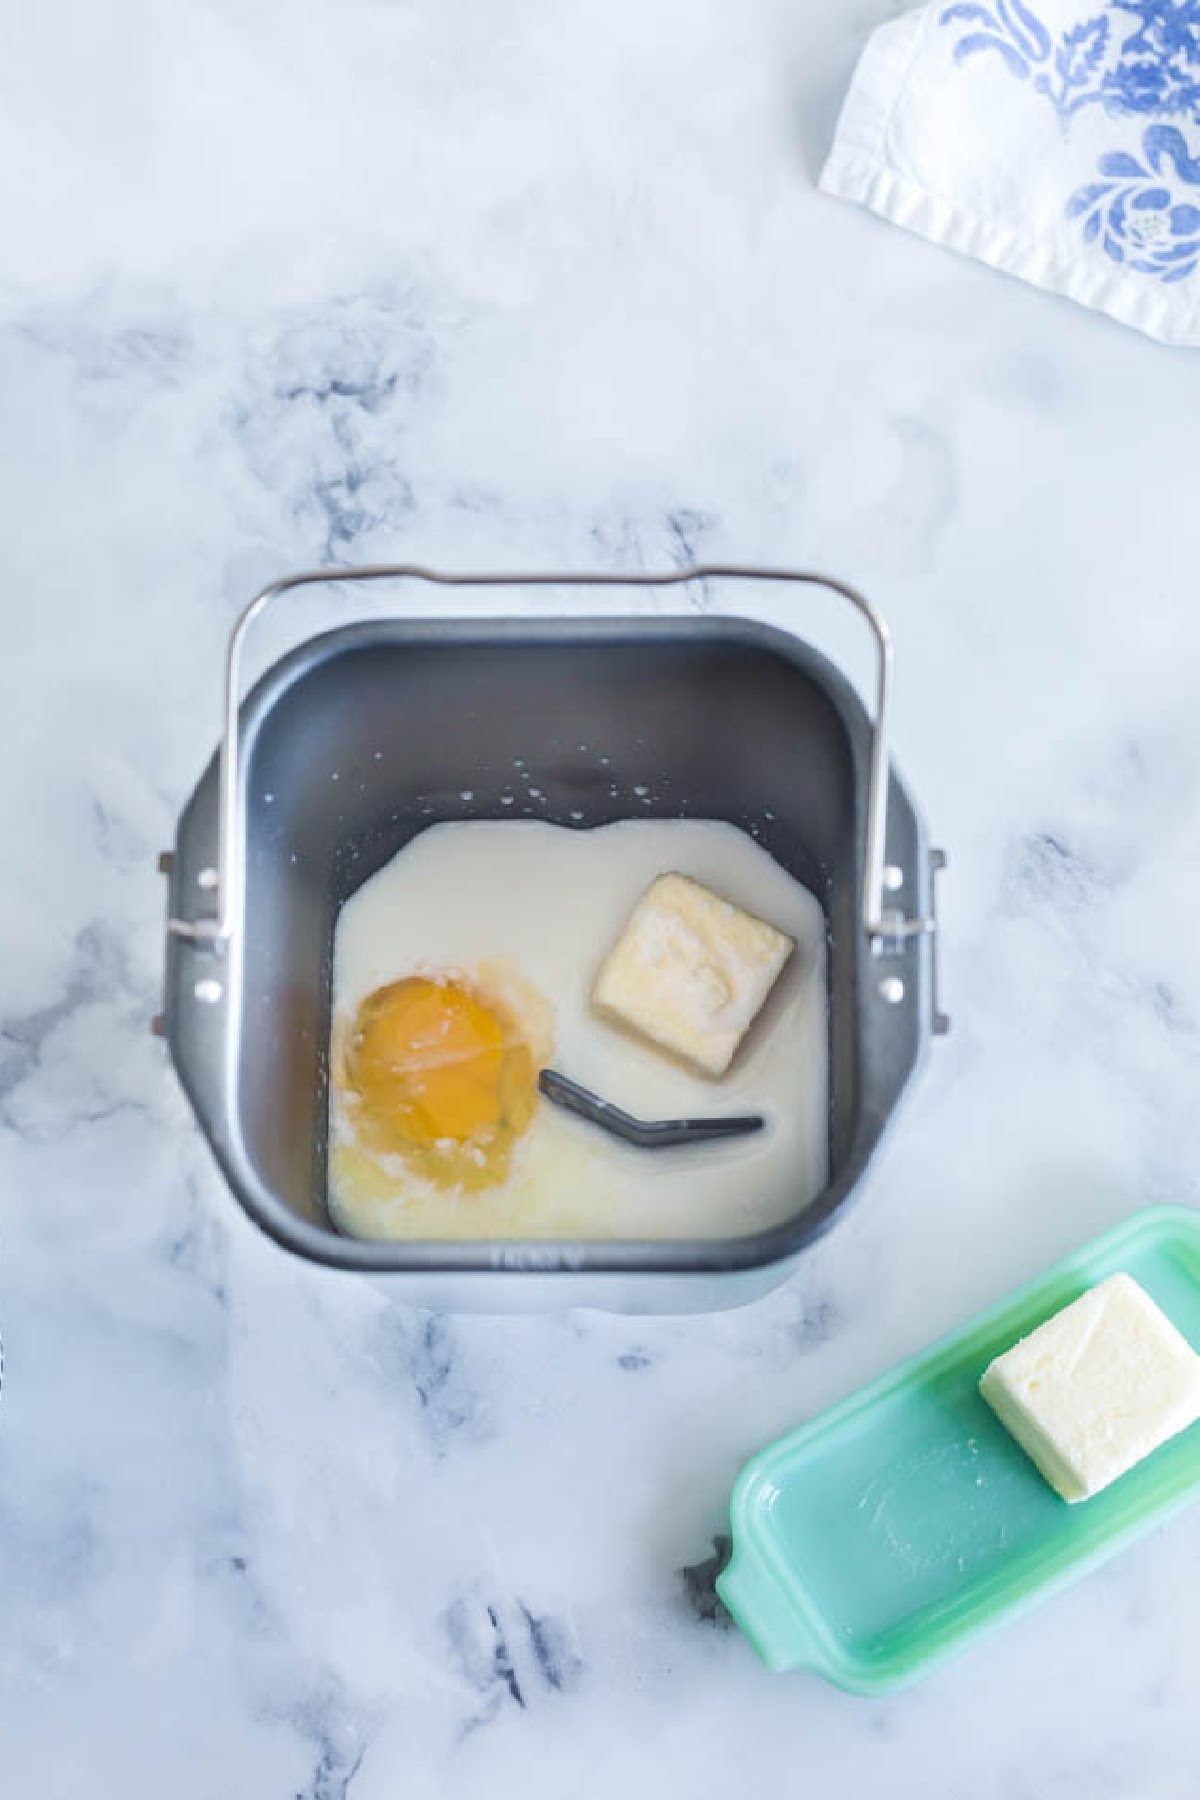
Step 2: Pour the sour milk, softened butter, and egg into the pan of a bread machine. Add the salt, baking soda, sugar, and flour so it completely covers the wet ingredients.
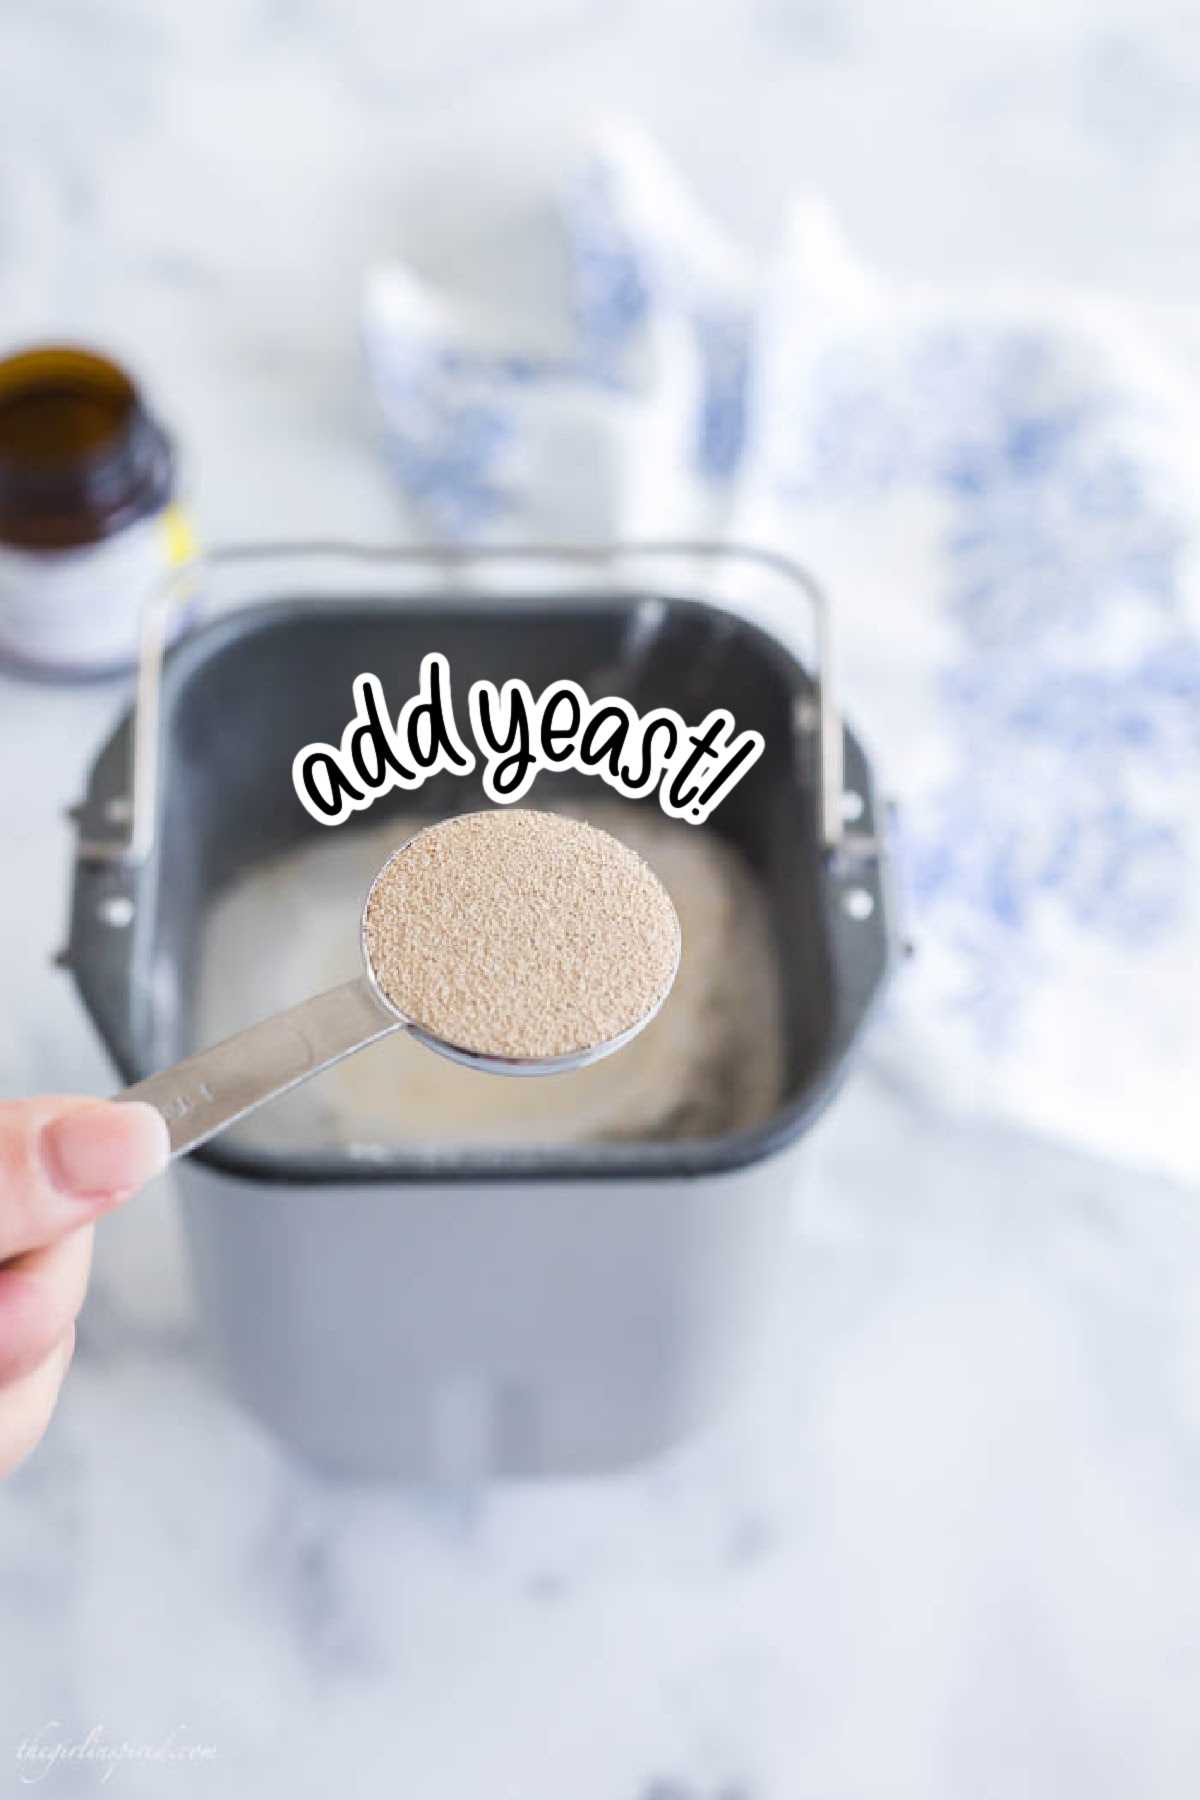
Step 3: Pour in the yeast.
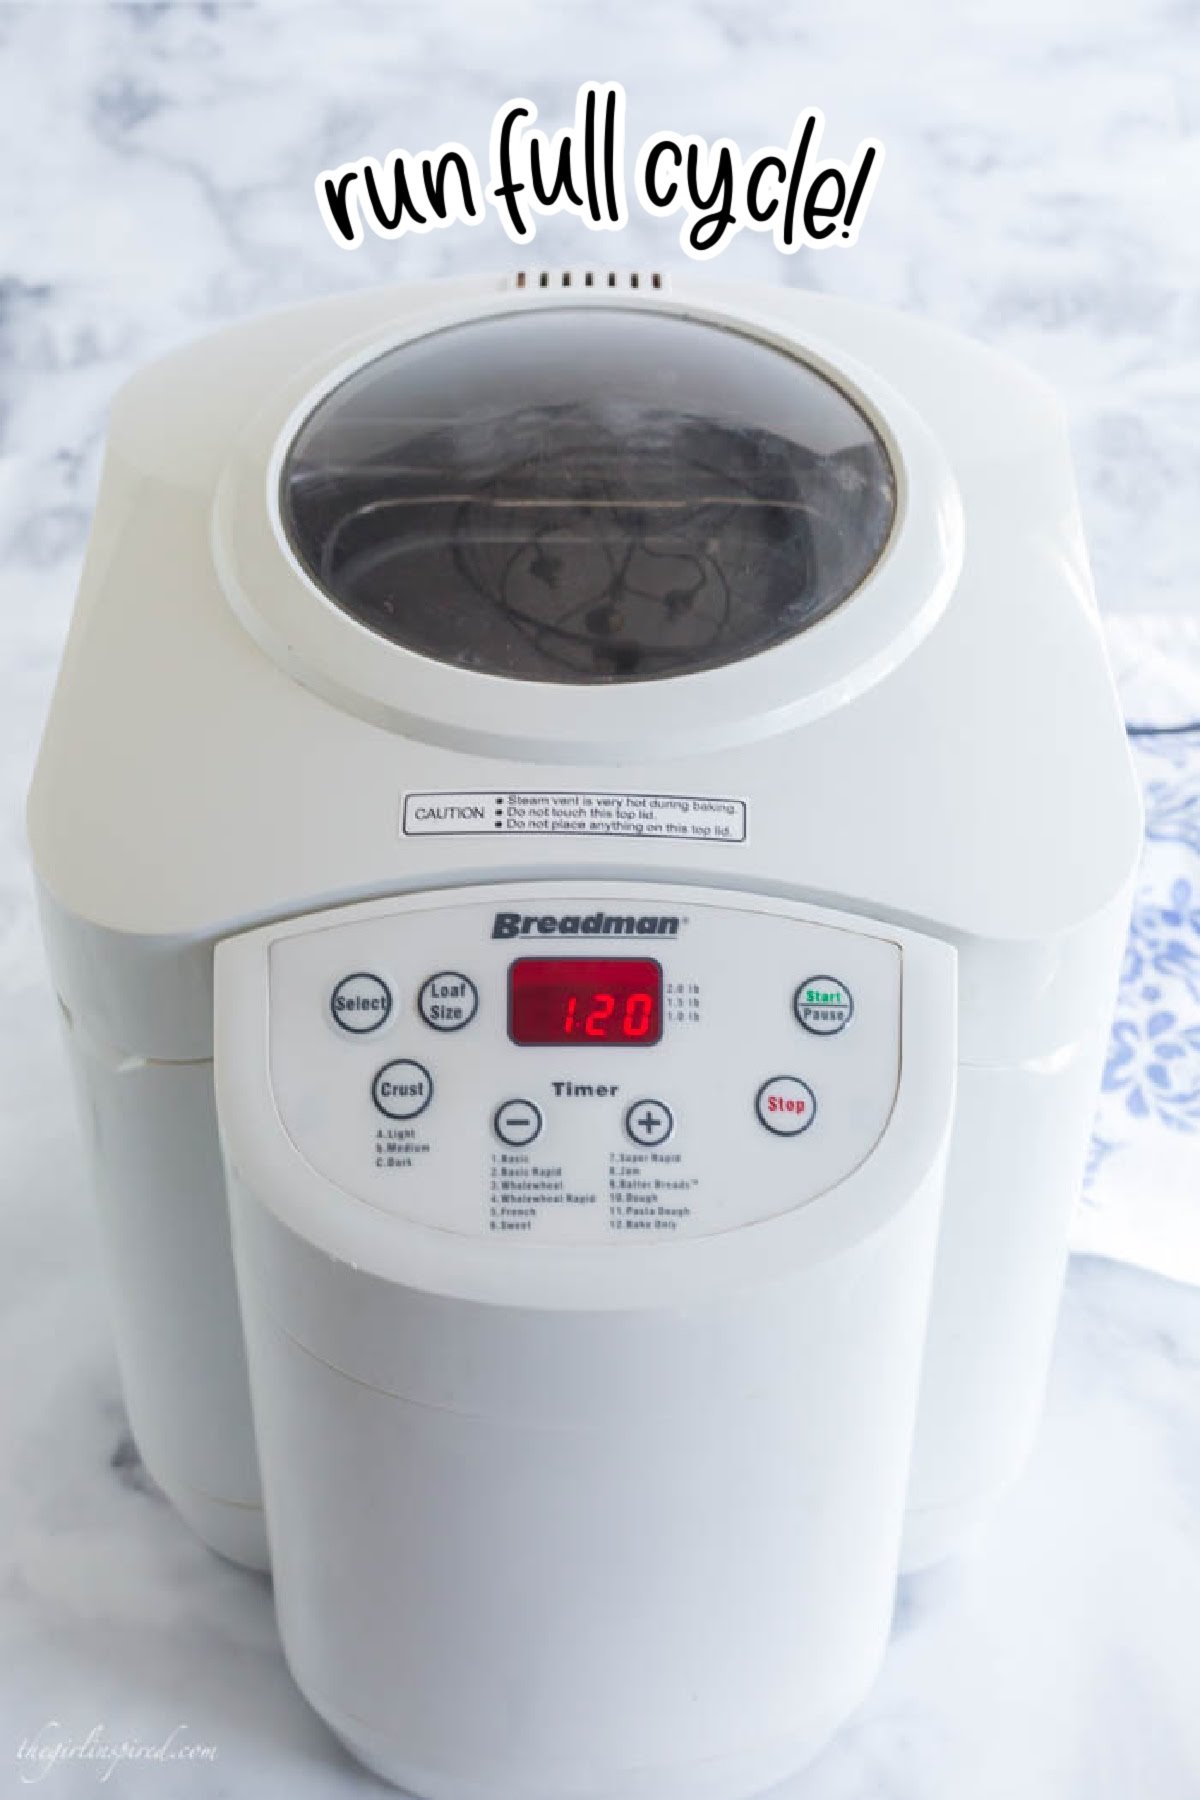
Step 4: Sit the pan into the bread machine and program to run the DOUGH cycle.
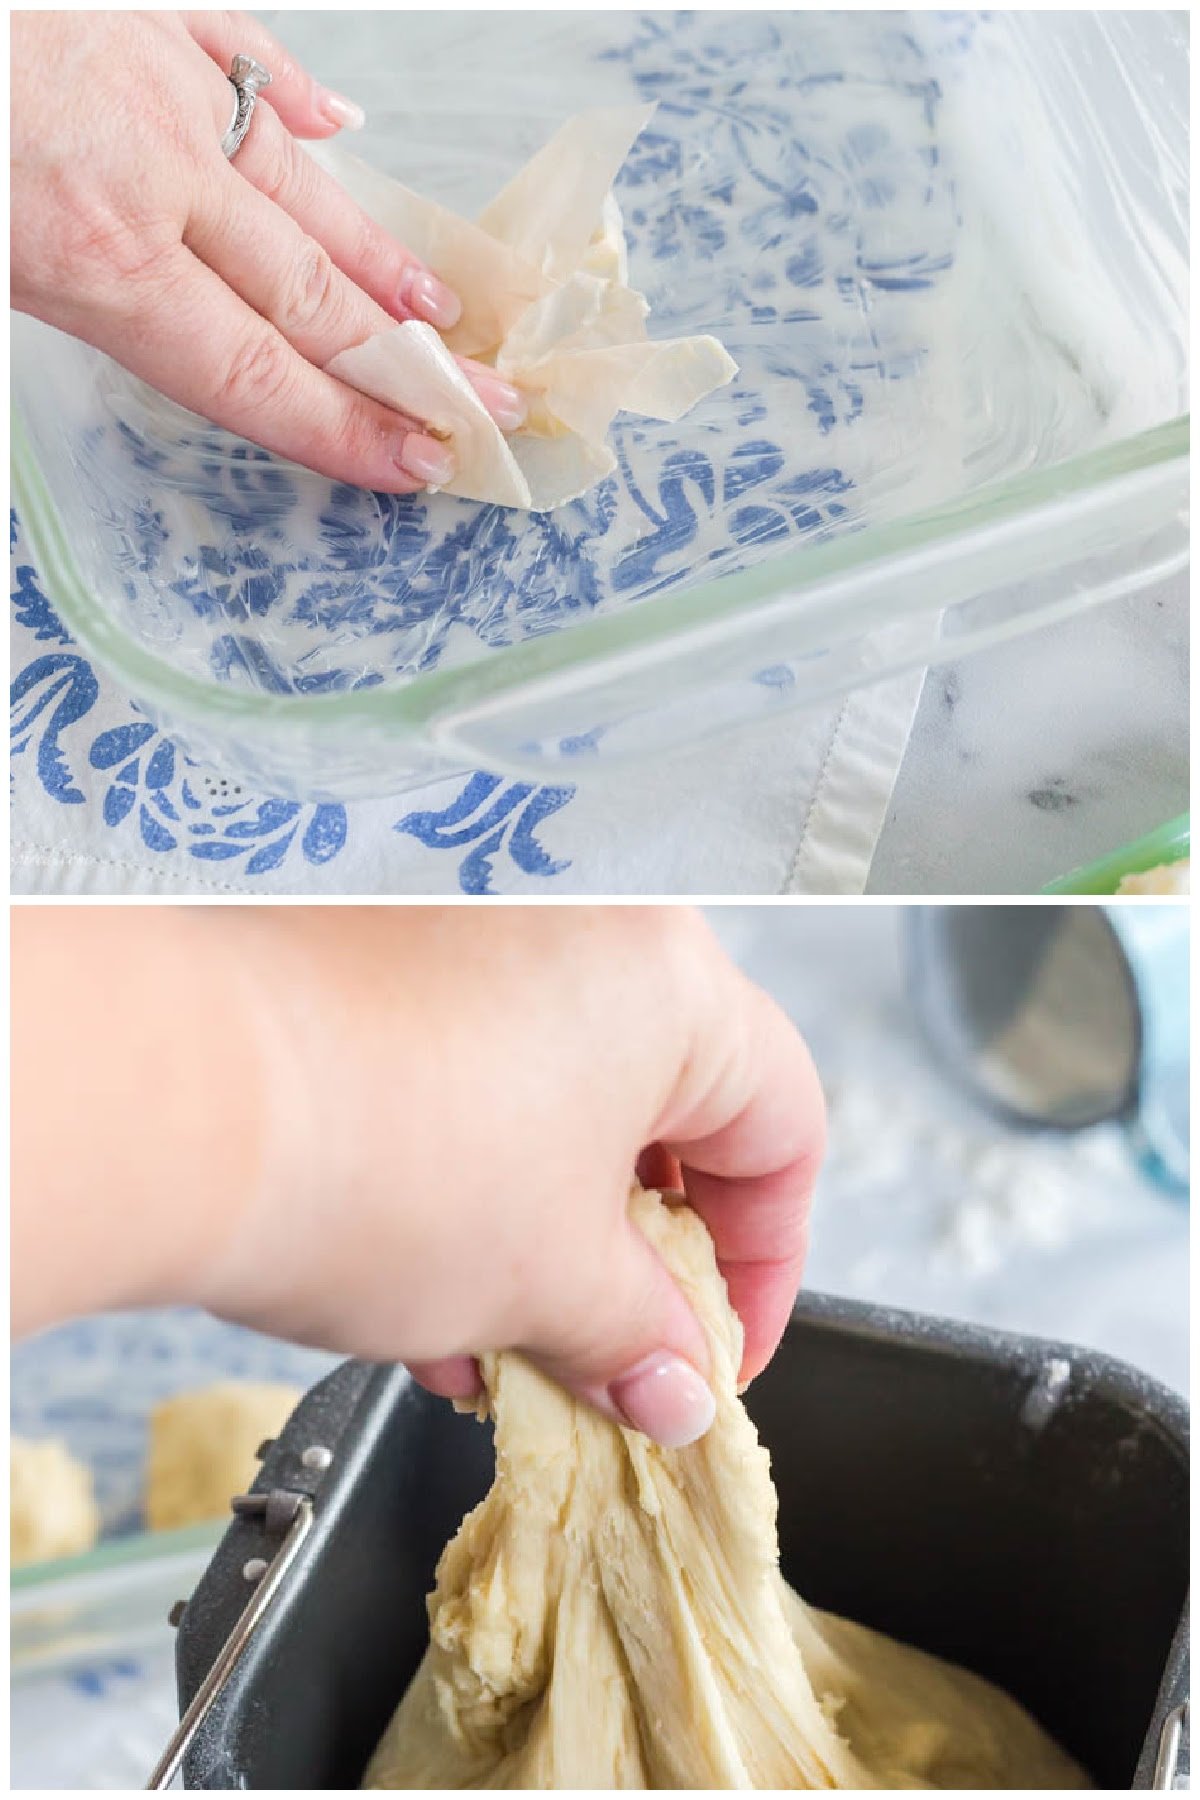
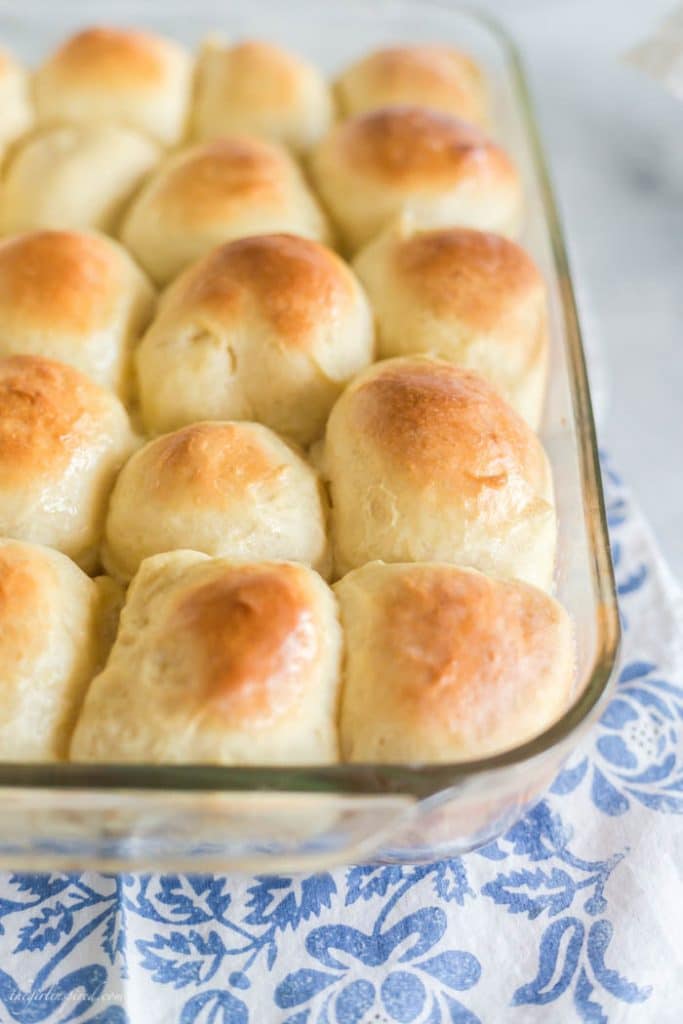
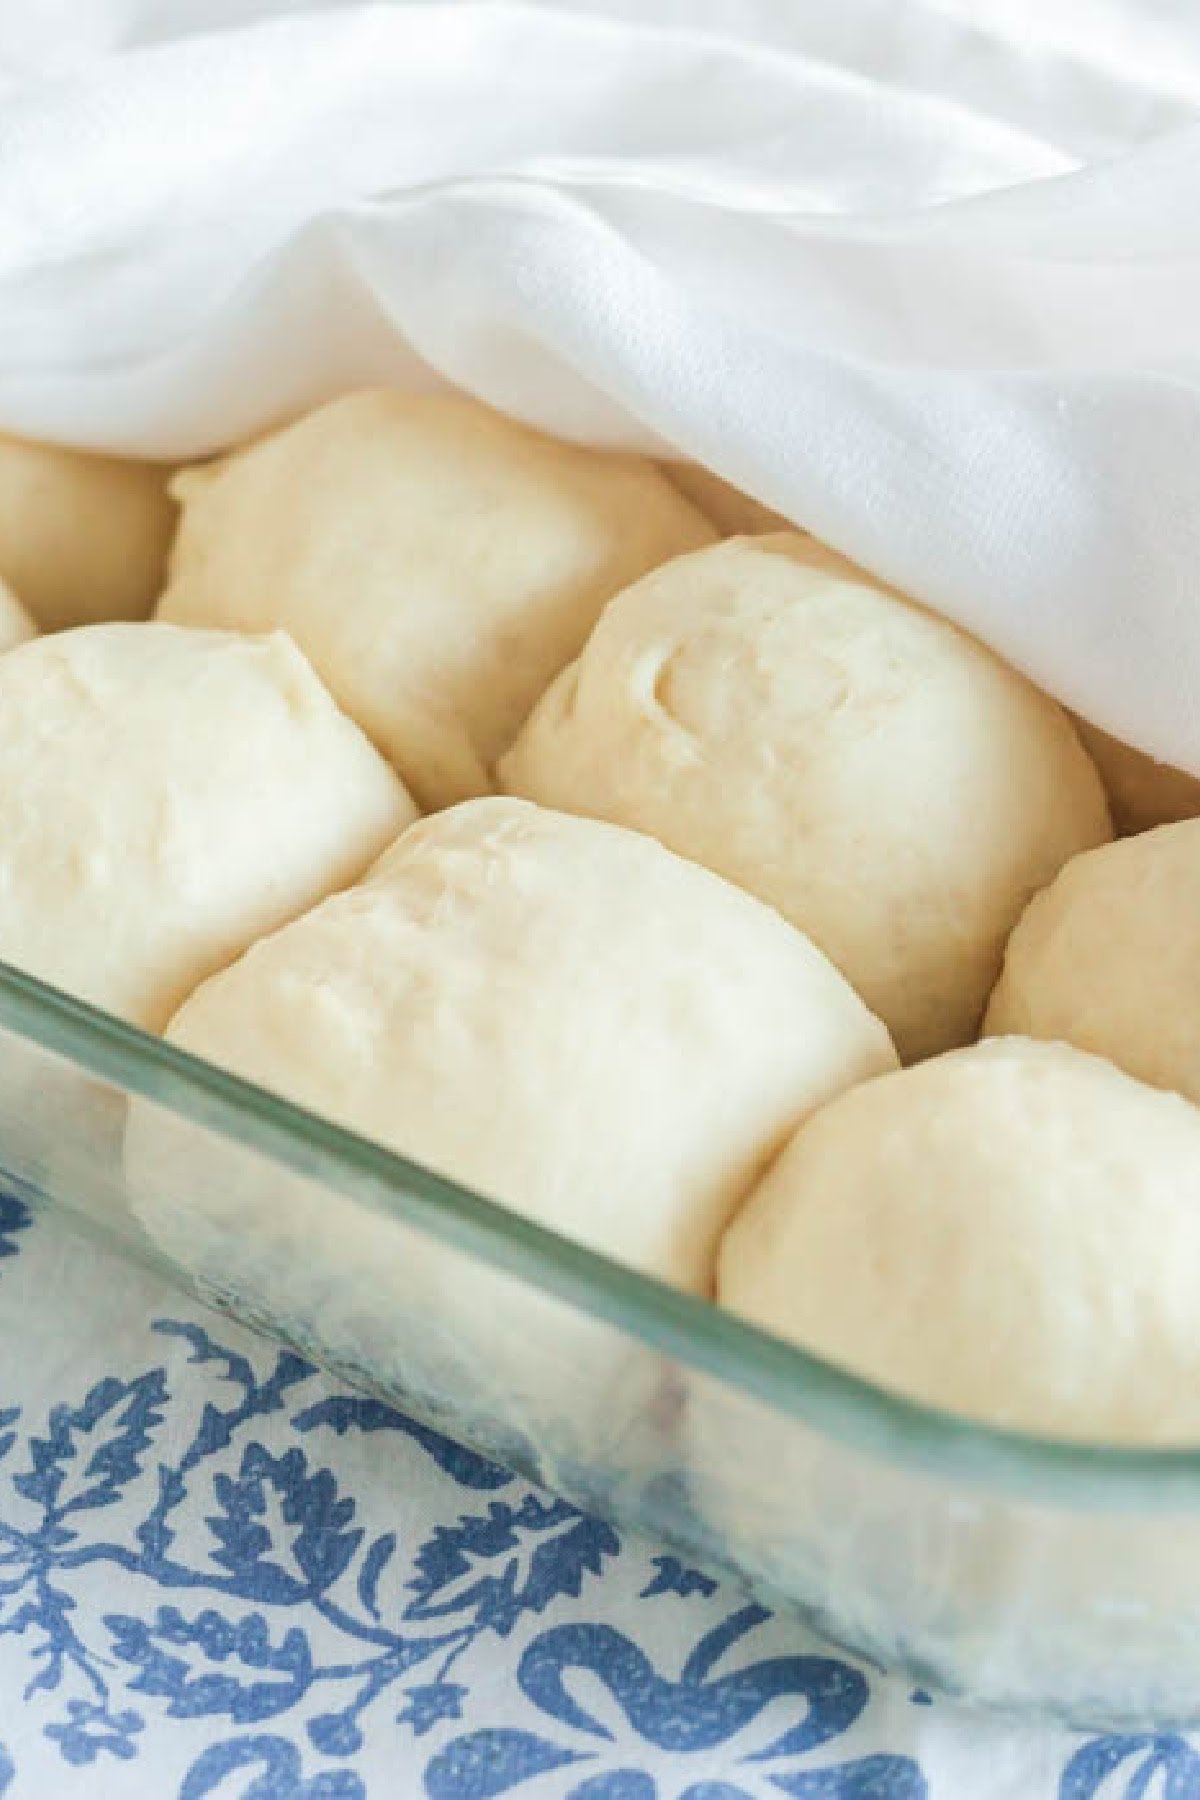
Step 5: Grease a 9×13 inch baking pan with butter. Add a little butter to your fingertips. Make a golf ball size dough ball and tuck the dough under the bottom to make a smooth ball.
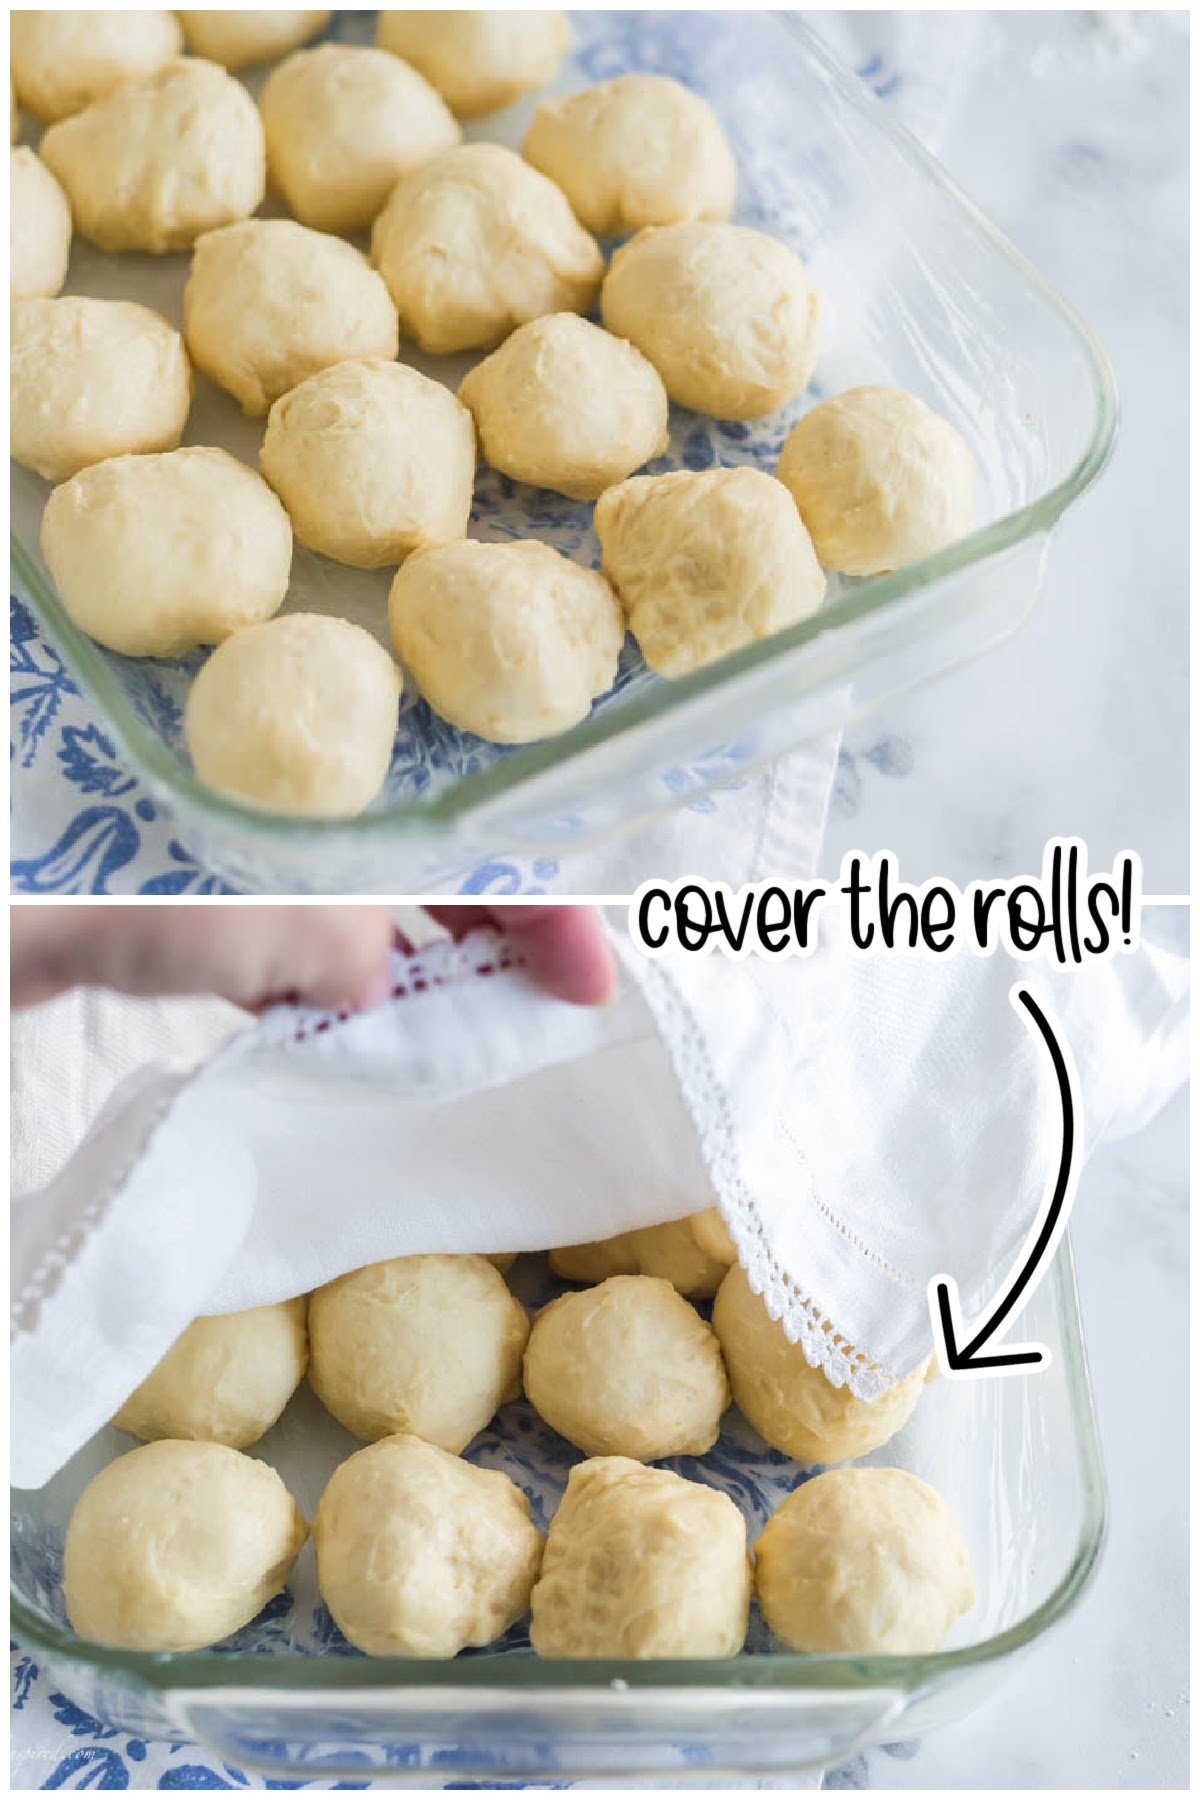
Step 6: Repeat using equal pieces to make 20 rolls. Cover with a clean kitchen towel and sit in warm place for the second dough rise for 1.5 hours.
Pro Tip: Using a glass dish lets you see when they have risen so you know they are ready to bake.
Step 7: Once the rolls have risen, they should not bounce back when you press lightly with your finger.
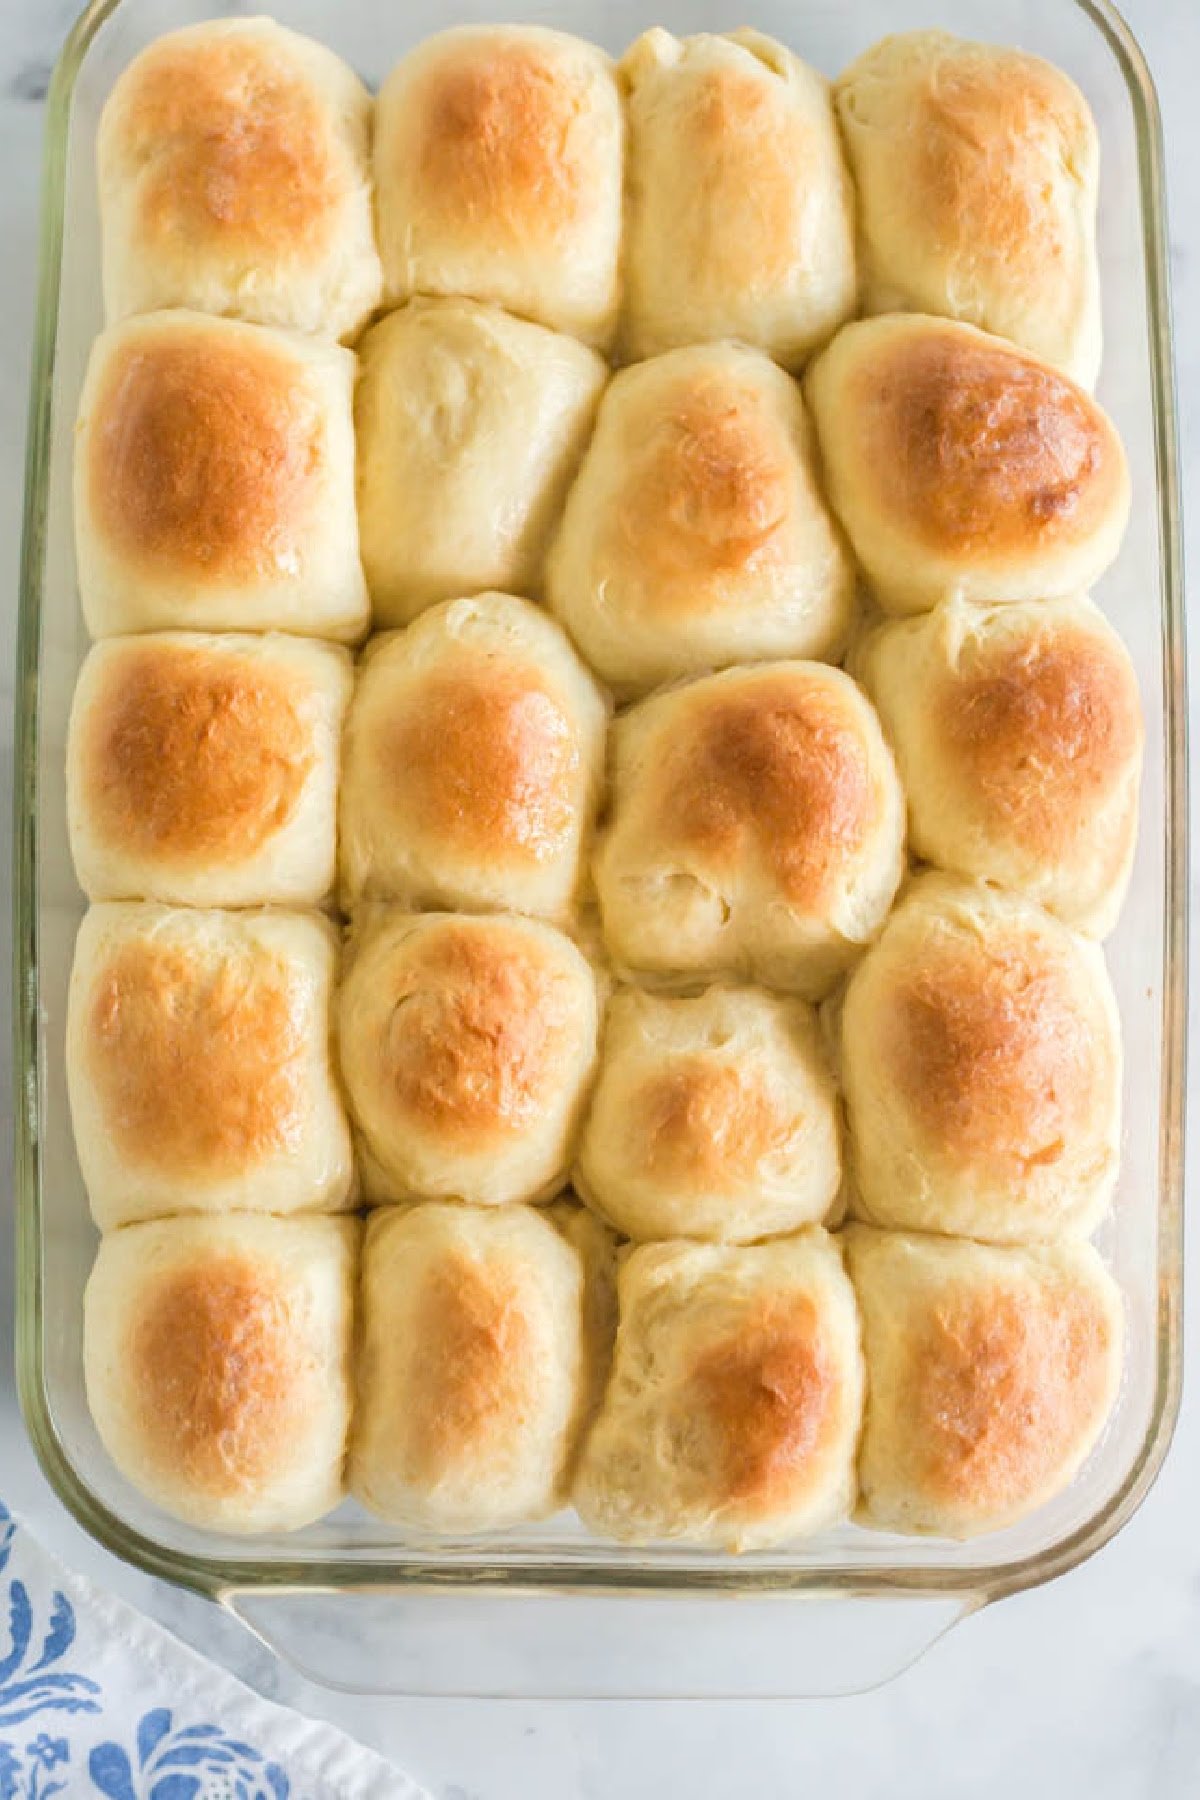
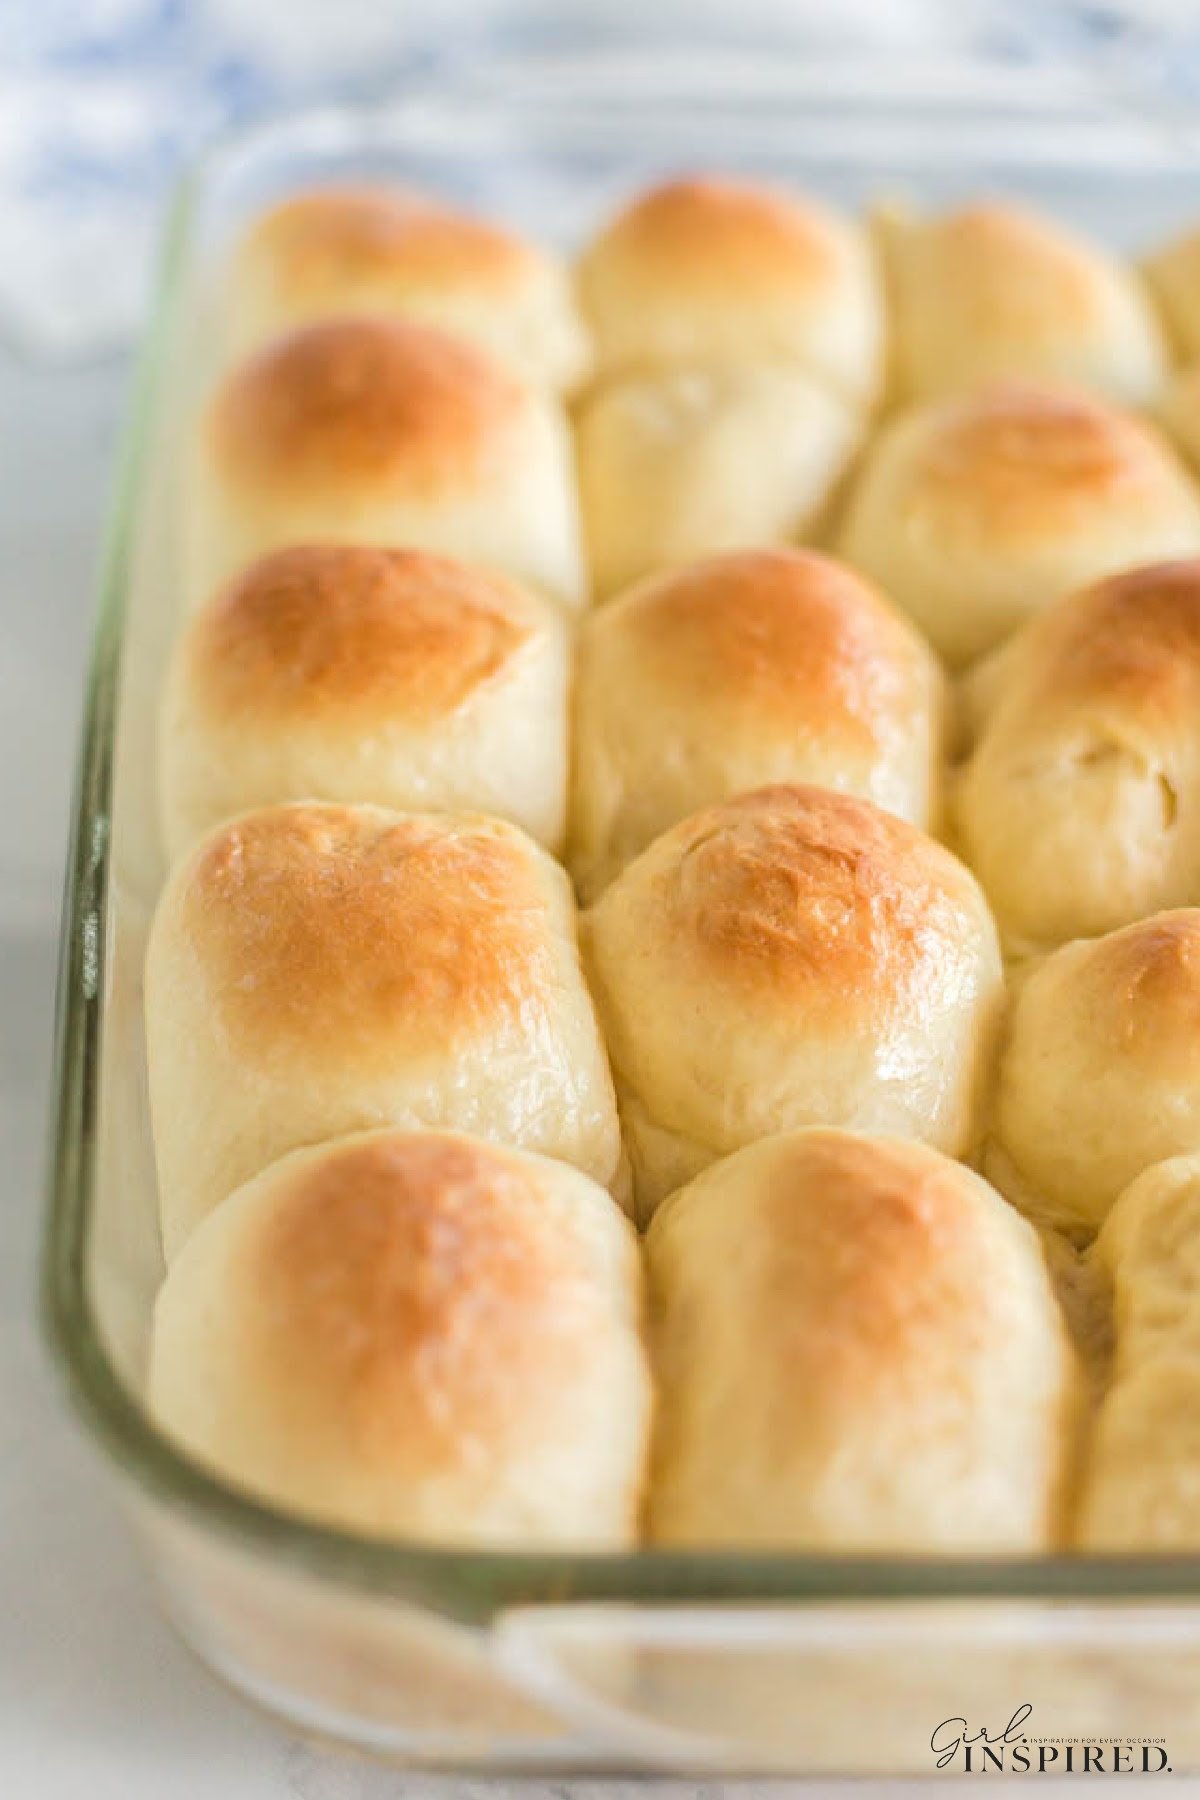
Step 8: Place rolls in the oven and bake at 375°F for 12-15 minutes until they are golden brown.
SERVE: Brush the top of the rolls with melted butter or serve with honey butter.
Instructions Without a Bread Machine
- Bring all of the ingredients to room temperature. Warm the milk.
- Add the ingredients to the bowl of your stand mixer fitted with the dough hook attachment.
- Mix at low speed, then move to medium once the ingredients have combined. Mix for 3-5 minutes; when it’s ready, the dough will pull away from the sides of the bowl and wrap around the hook.
- Transfer to a baking dish and follow the remaining instructions.
- If you don’t have a bread machine or stand mixer, add the ingredients to a large mixing bowl and use a handheld mixer. Most of the time, they have a dough attachment too.
Recipe Tips for Sweet Dinner Rolls
- Bread dough rises twice before baking. The first rise cycle is done after the dough has been mixed (either in the bread machine or after hand mixing.) The second rise occurs after the rolls are formed. The formed rolls need to be covered by a light tea towel while rising. I typically set them in an unheated oven or on a countertop adjacent to other cooking/baking. This kicks a little warmth in their direction. Anywhere, as long as there isn’t a cool draft, should be suitable for proofing the rolls.
- Milk with a higher fat content is preferable, but 2% or even nonfat milk will do in a pinch.
- Use a glass baking dish so that you can see the underside of the rolls to check for doneness. If you don’t have a glass pan that will hold all of the rolls, use a baking sheet.
- To make sure the rolls are close in size, you can use a kitchen scale if desired. I eyeball the rolls. I know that I’m always going to make 20 rolls. If I form 17 rolls and am out of dough, then I pinch off pieces from any larger pieces to form all 20 evenly-sized rolls.
Fun Fact
The yeast in the sweet roll dough is what makes them smell so good! – The Kitchn
Recipe FAQs
Once they have cooled completely, place them in an airtight container and keep on the countertop for up to a week. You can also freeze them for 1 month. Thaw the homemade rolls at room temperature. Then heat in the microwave for a few seconds before serving.
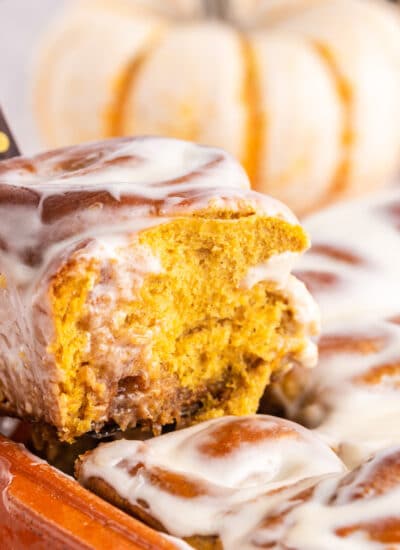
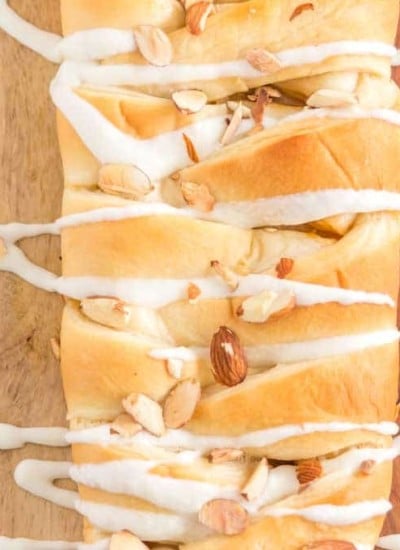
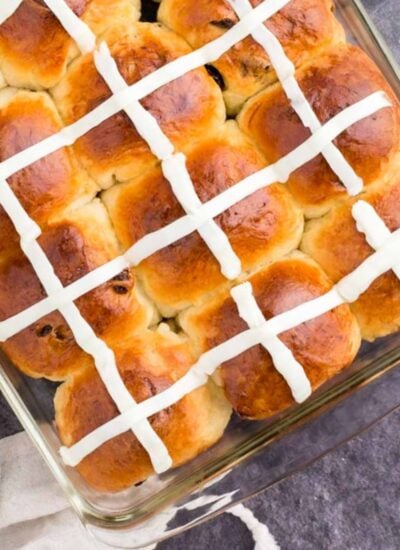
Other Baked Goods Using this Roll Dough

If you tried this Sweet Dinner Roll Recipe or any other recipe on my website, please leave a 🌟 star rating and let me know how you liked it in the 📝 comments below.

Homemade Sweet Dinner Rolls
Ingredients
- 1 cup whole milk
- 1 tablespoon lemon juice
- 1 egg room temperature
- 4 tbsp butter, softened
- 3 ¼ cup all-purpose flour
- ⅓ cup granulated sugar
- 1 teaspoon salt
- ¼ teaspoon baking soda
- 1 tablespoon Rapid Rise active dry yeast
Instructions
Making the Dough in Bread Machine
- Stir lemon juice into milk and let sit for 5-10 minutes to make sour milk.
- Place sour milk, egg, and softened butter into bread machine pan.
- Add flour, sugar, salt, and baking soda into pan, completely covering wet ingredients.
- Add yeast to the top of the ingredients.
- Place in bread machine and set to form dough. Run the full dough cycle. When the dough cycle is complete, move on to forming the rolls.
Making the Dough in a Standing Mixer
- Be sure all of the ingredients are at room temperature. Warm the milk, it should not be too hot, just slightly warm.
- Place all of the ingredients in the bowl of a standing mixer fitted with the dough hook.
- Begin mixing on low and then increase the speed up to medium once the ingredients combine together. Mix on medium speed for 3-5 minutes; the dough will pull away from the sides of the bowl and wrap around the hook.
- Transfer dough to a greased bowl and cover with a light towel or with plastic wrap. Place bowl in a warm, draft-free location and allow dough to rise for about 1 – 2 hours, until doubled in size.
- Continue with forming the rolls from the risen dough.
Forming the Rolls
- Grease 13×9 inch pan with butter. Place some butter on fingertips. Take a golf-ball size piece of dough and use your fingers to tuck the dough under the bottom, forming a smooth round top.
- Form 20 rolls with the dough. Cover with a light dishcloth and set in a draft-free, warm area to rise.
- Allow rolls to rise for about 1 ½ hours. When rolls have risen and the dough does not bounce back when you press it lightly with your finger, they are ready to bake.
- Bake at 375 degrees for 12-15 minutes. The rolls should be well browned on top.
Would you like to save this?
Notes
-
- Milk with a higher fat content is preferable, but 2% or even nonfat milk will do in a pinch.
- Use buttermilk instead of the milk/lemon mixture. You can also use vinegar in place of the lemon juice to make sour milk.
-
- Use real butter, not a butter substitute.
-
- Use a glass baking dish so that you can see the underside of the rolls when checking for doneness
-
- Undercooked is better than overcooked.
Nutrition
Make this recipe?
Share it with me on Instagram @girlinspired1 and follow on Pinterest for more!


Comments & Reviews
Lori Hawaiian says
Just made your rolls. Followed the instructions exactly (thanks for the tips). They are perfect!! This is a keeper recipe! Thank you for sharing this amazing recipe!
Kelly says
Thank you! These have been my family’s favorite part of Thanksgiving dinner the last three years. I just wrote it all down in my recipe book in the hopes that someday my grandchildren will bake them and remember me!
Lisa says
I obviously found your recipe years after other people but I wanted you to know how the rolls turned out. These are delicious and I’ve made them several times! I am a grandmother and I have been baking bread for many years so I love trying new recipes. I gave away a bread maker because I prefer kneading by hand. (It’s very therapeutic.) Your description of how to form small balls of dough was perfect. I had to laugh at the comments about freezing these because we NEVER have any leftover either! Thanks for posting this recipe.
Pam says
I am excited to try these! Where is a good place to let them rise?
girlinspired says
I usually set mine in the kitchen next to a warm oven or the stove if I’m cooking anyway. Or in a non-drafty spot. You can also heat your oven just a bit, turn it off, and use the just slightly warm oven to let them rise.
Betty R. says
Made these today in my bread machine. Absolutely delicious! Instructions were perfect. When your grandmother tapped the rolls, she was listening for a hollow sound which indicates they are done. These will be my go-to recipe for rolls from now on.
NancyinSTL says
I made these tonight for my husband’s birthday dinner, using my bread machine for the first time in a few years. These were the easiest rolls that I’ve ever made, and they were sweet, light and wonderfully tasty. They taste like the Parker house rolls that I usually make using my grandmother’s recipe, but were much easier. I used half of the dough to make cinnamon rolls for breakfast in the morning, but I bet my husband will eat some for a late night snack tonight. They look and smell great, too!
Thanks do much for sharing your recipe. My 10 year old grandson is looking forward to me making some for him on his next visit.
Bambi says
I just made this and it is the best, melt-in-your-mouth bread I have ever made! It’s a keeper. Thanks for sharing!
Amy says
Quick question, all purpose flour or bread flour?
Thanks.
Amy
girlinspired says
All purpose!
Myra Stamper says
Thank you so much for sharing your family sweet hot roll recipe. I’ve been looking for 30+ years for a hot roll recipe that had a yeast flavor and sweet too. I’ve made dozens that I thought would be “the one”, but I never found it until I tried yours. They’re super easy using a bread machine too. I just made 4 dozen for my family reunion. I had a few people ask for the recipe but I didn’t give it …Hey, it took me too long to find it…maybe I’ll give it to them next reunion..lol
Emilia says
Thanks for the most versatile recipe ever! 🙂 Dinner rolls turned out perfect (huge hit, so delicious!) and in addition to that, this recipe is just perfect for Finnish cinnamon rolls and the vanilla roll cake! Thank you so much!
girlinspired says
Oh! Thanks Emilia! I’m not sure what Finnish cinnamon rolls and vanilla roll cake are, but I want to try them immediately!!!
Emilia says
Cinnamon rolls:
http://myblueandwhitekitchen.com/home/2014/10/9/korvapuusti-finnish-cinnamon-rolls
The dough in this recipe is the traditional Finnish version, but your recipe actually works better and tastes more like the pulla my grandmother used to bake when I was a kid.
Vanilla roll cake: change the filling into any kind of thick vanilla sauce/pudding that can be baked in the oven. Or mix cream cheese, sugar, plenty of vanilla, some lemon juice and couple of eggs and use that as a filling. Cut the roll into straight pieces and place them into a cake tin, raise and bake. I bake mine at 175C for 35 minutes.
I have finally found some good use for my bread maker! 😀 Thanks!
Shane Lafortune says
hi stef, thaks for the recipe. these rolls were so delicious. i tried them next to Hawaiian sweet rolls and your recipe was much better. i have a small problem with them however… they have risen beautifully both times i made them but when i take them out to cool they fall in the middle. can you suggest anything?
thanks for any help. shane the stucco guy.
girlinspired says
Hi Shane, They probably need to cook just a few minutes longer. However, I consider them perfect if they fall juuuuust a tad – means they’re just slightly doughy inside and that’s my favorite. lol.
Jean M says
Just like my mother-in-laws! Looked for a long time for a recipe, this is IT!!!!!!! We make cinnamon rolls out of it too and they are beyond good. I also make loafs out of it. The BEST recipe I have used. Thank you!
Ninke says
This recipe is 5/5. I’ve made this recipe about 5 times and they always turn out perfectly. My only complaint is that they’re almost too good. Now my friends are requesting me to make them buns!
Quick question: Do you ever double the recipe? I know some recipes don’t turn out well if you attempt to double them so what I’ve ended up doing is getting a helper (aka, my husband) and then making 2 completely seperate batches.
girlinspired says
Thank you so much, Ninke! My bread machine won’t fit more than a single recipe, but when I made them by hand, I did double the recipe and they turned out just fine! I’m always scared to double recipes, too, so I hope that helps!
Serena says
Just made these for tomorrow, I just got them into their ‘roll’ shape. I’m thinking of putting the pan in the fridge with Saran Wrap right ion top of the rolls(so they don’t get a skin), and waiting 1.5hours for a rise before baking tomorrow? What do you think?
girlinspired says
I think that would work, but let us know!
CIerra Page says
Today’s the day before Thanksgiving and I was going to make these. How would you suggest storing them till tomorrow?
girlinspired says
I would let them cool completely in the pan, then either wrap the whole pan in a couple layers of Saran wrap or remove them from the pan and put them in large Ziplock bags. I made a batch a couple days ago and put them in Ziplocks and then into the freezer, but I don’t think I’d bother freezing just a day ahead – they’ll still be super good!
CIerra Page says
Thanks! I’m making a few batches since we have to do a few family “dinners” tomorrow. Both sides of my boyfriend’s family (his mom and dad) in morning/midday and then my family in the afternoon.