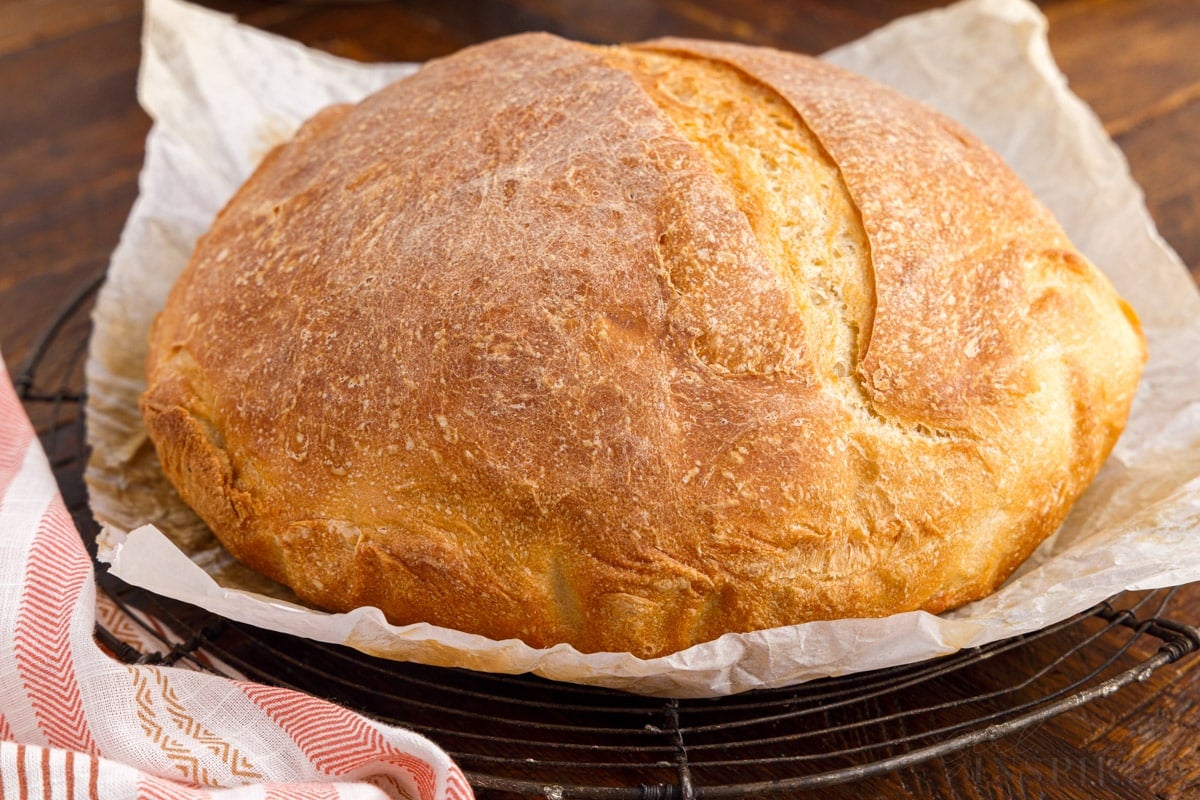
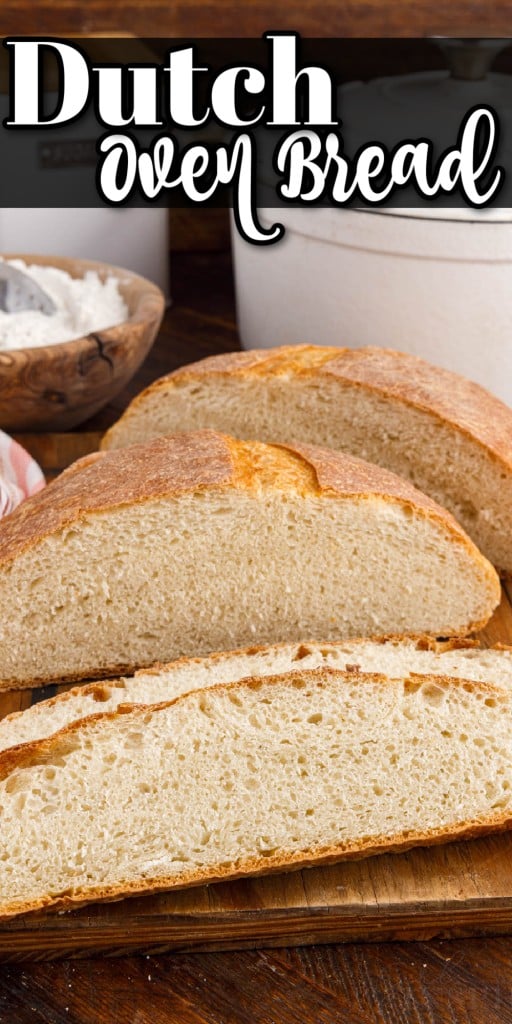
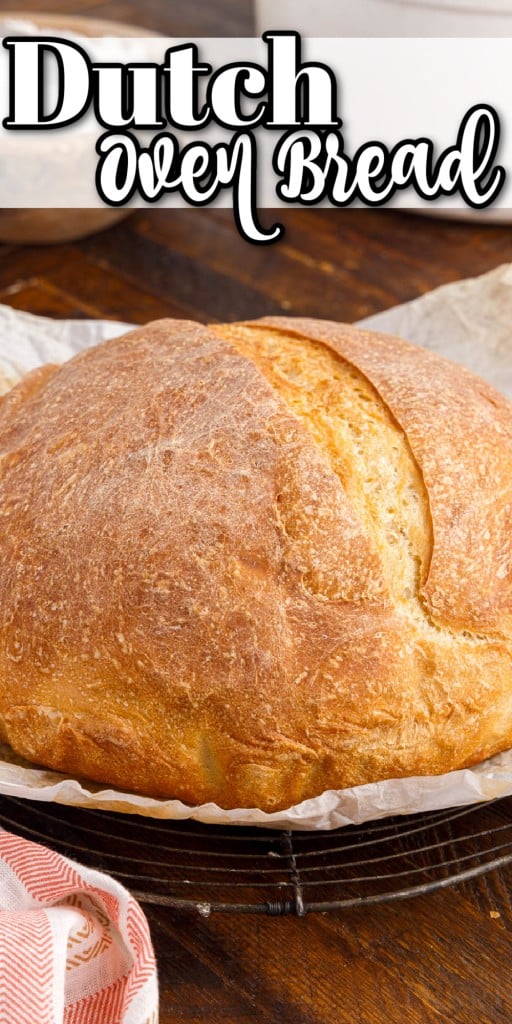
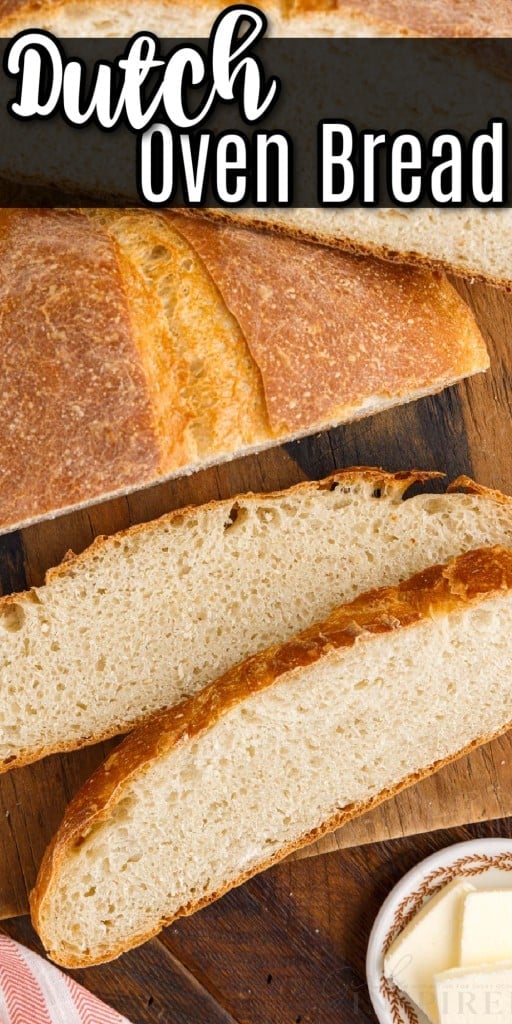
The easiest way to make bread from scratch (and without a machine) is with this dutch oven bread recipe! The inside is soft and warm, while the outside has a crackly crust. The ingredient list is simple and little effort is needed!
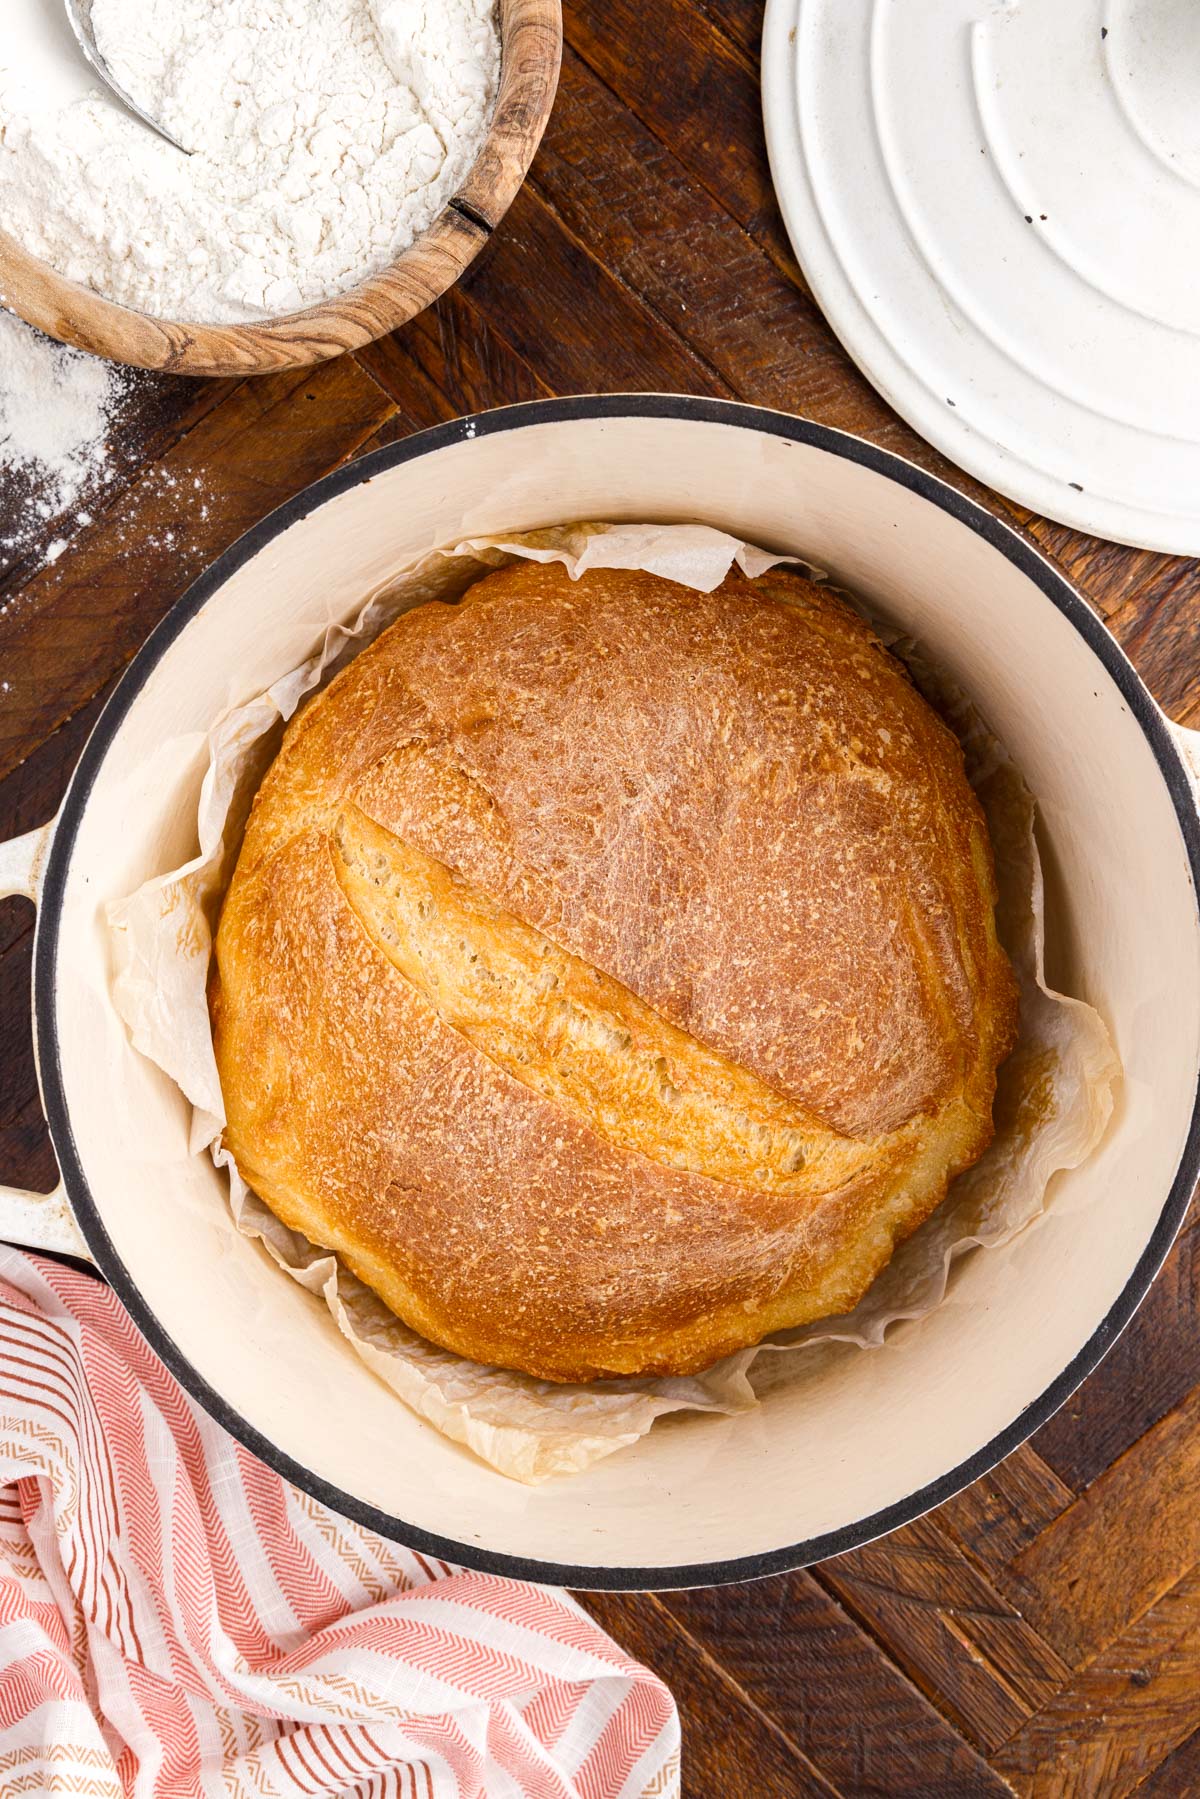
Did you ever dream that you could whip up artisan bread, without relying on a machine? That’s exactly what we are doing today, using only 4 simple ingredients and our dutch oven! Even though it takes a little bit of time for the rising process, the end result is worth it and it’s actually an easy bread recipe. I decided to try this method after I made a batch of sourdough bread, I think I am hooked!
Easy dutch oven bread goes perfectly with pumpkin soup, tomato bisque, and 15 bean soup. You can also serve it alongside chili and veggie soup. Who are we kidding? This bread is so delicious it really goes with just about any meal! You can even use it to make jalapeno grilled cheese sandwiches or smother it with your favorite jam.
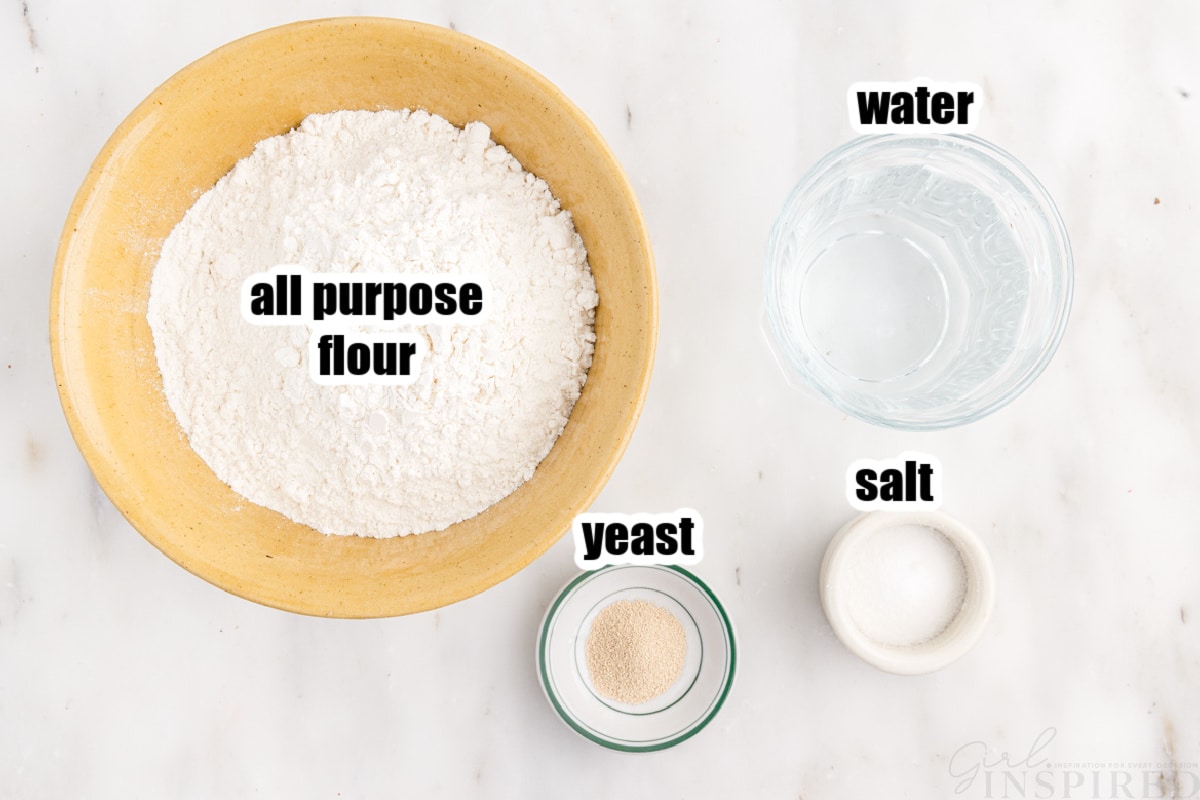
What do I Need for this Recipe?
🥖 Ingredients:
- all-purpose flour – this is our base and cannot be swapped for any gluten-free flour.
- sea salt – don’t skip the salt! It adds flavor and without it your loaf of bread will taste sort of flat.
- active dry yeast – do not swap for instant yeast. Instant yeast is for quick-rising bread and it will not turn out the same.
- warm water (not warmer than 100°F) – it’s possible it will kill the yeast if it’s any hotter, and the dough will not rise.
Optional Garnish:
Top with a pat of butter, compound butter, or brush melted butter on top with herbs and cheeses.
Equipment Needed:
6-quart Dutch oven – if you don’t have a dutch oven, you can use a large heavy-duty pot. Just be sure it’s safe to go in the oven. While some dutch ovens have an enamel finish, a cast iron dutch oven will work just as well!
Lame or sharp knife – this is to score the top of the loaf
Variations and Substitutions:
- Bread flour – if you have to, the all-purpose flour can be substituted for this flour at a 1:1 ratio. The bread may be a little less chewy.
- Use a different pot – As long as it has a tight-fitting lid it should work. Just keep in mind that the shape of the pot is going to affect the loaf shape.
- Make it cheesy – add grated cheddar or Parmesan cheese to the loaf, or brush it with butter and sprinkle over top.
- Fresh herbs – more flavor can be added by using garlic, thyme, and rosemary.
🔪 Instructions:
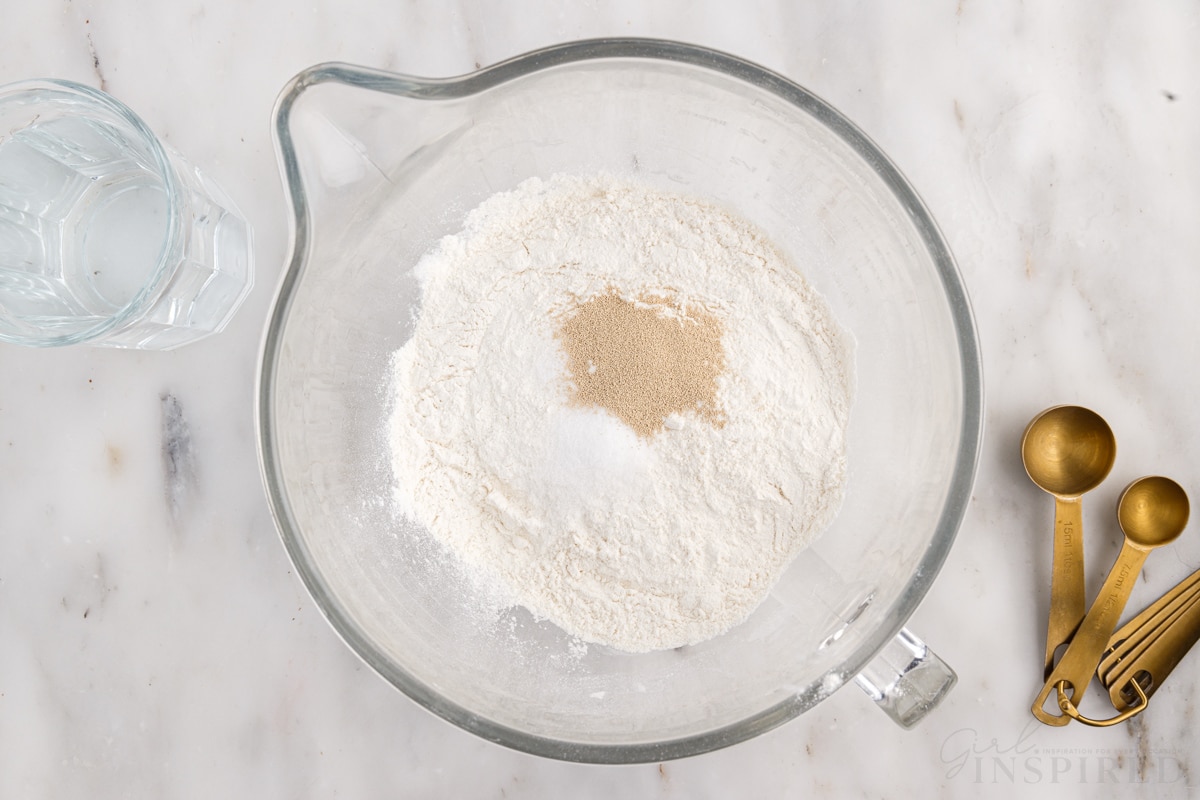
Step 1: In a large mixing bowl or bowl of a stand mixer, whisk together the dry ingredients.
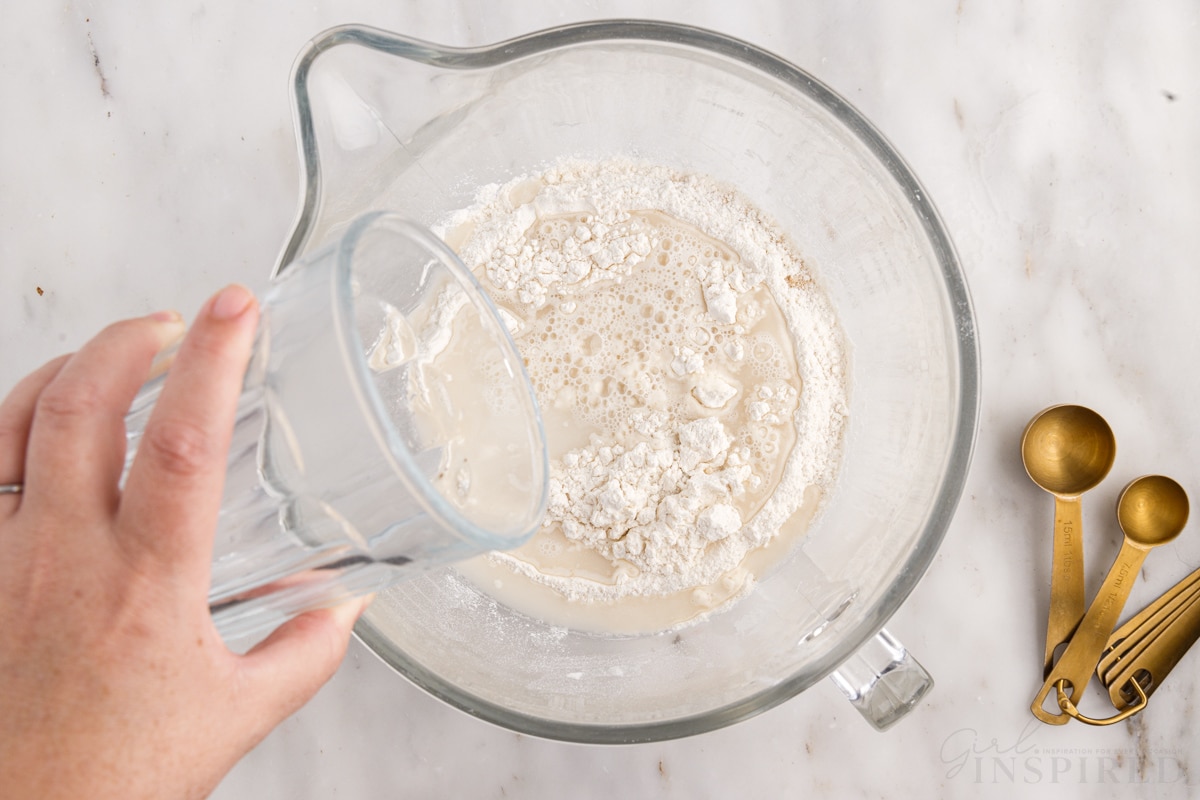
Step 2: Pour the water into the yeast mixture and beat to combine. Use the hook attachment and mix the dough on medium-high speed for 3-4 minutes. The dough should be elastic and wrapped around the hook to form a ball.
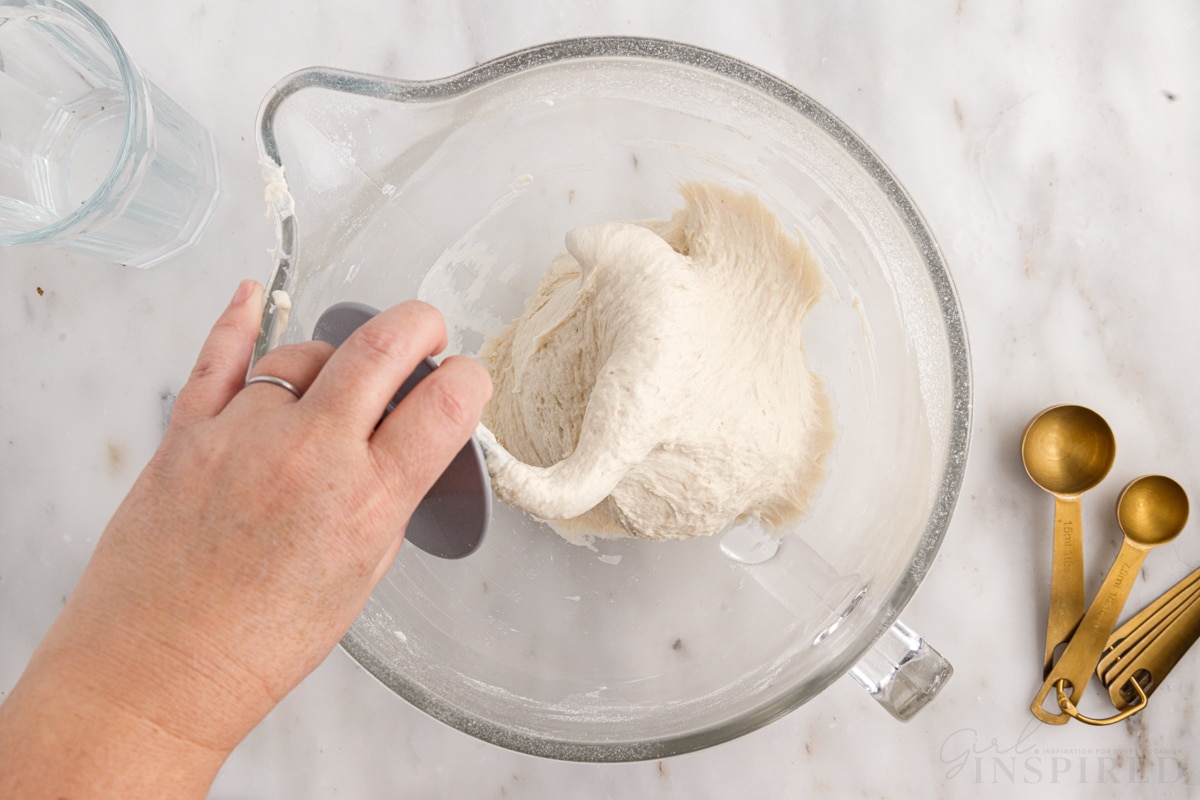
Step 3: Use floured hands to scrape the dough from the hook or a spatula, and form it into a ball.
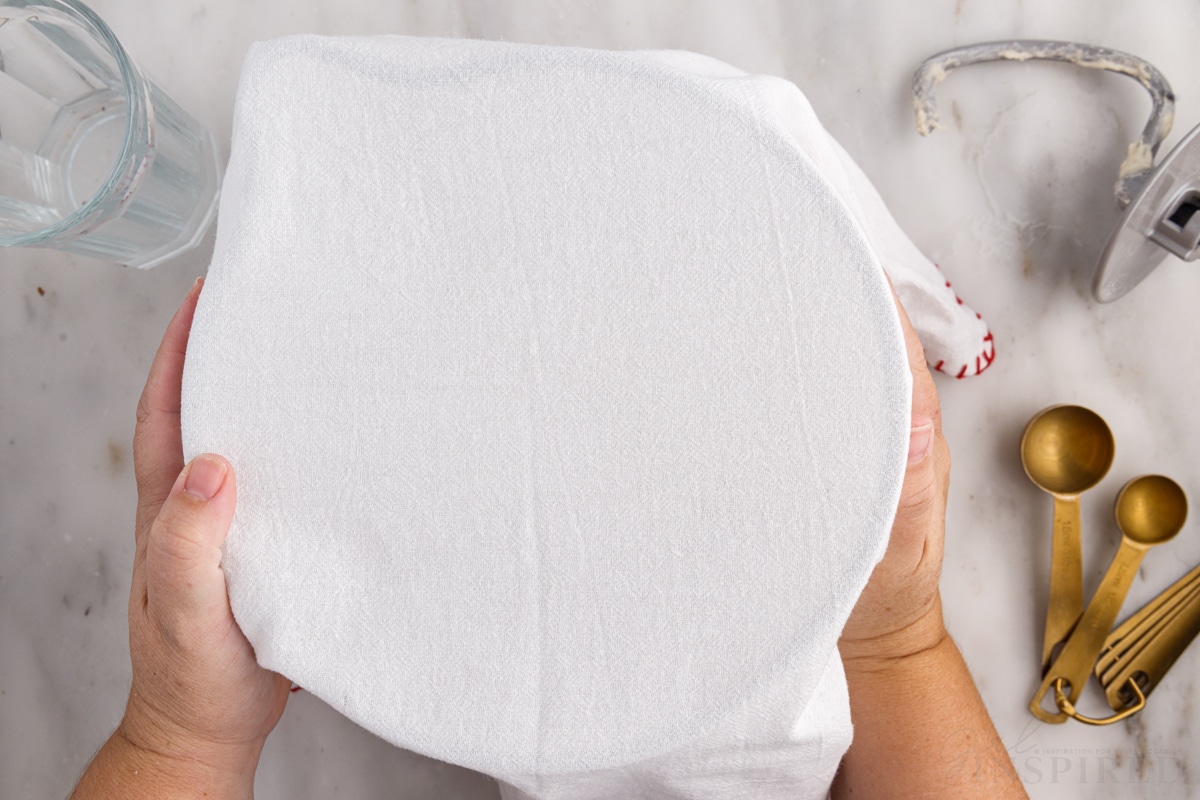
Step 4: Place the bread dough into a bowl and cover it with a kitchen towel or plastic wrap. Let it rise for 2 hours in a draft-free location at room temperature.
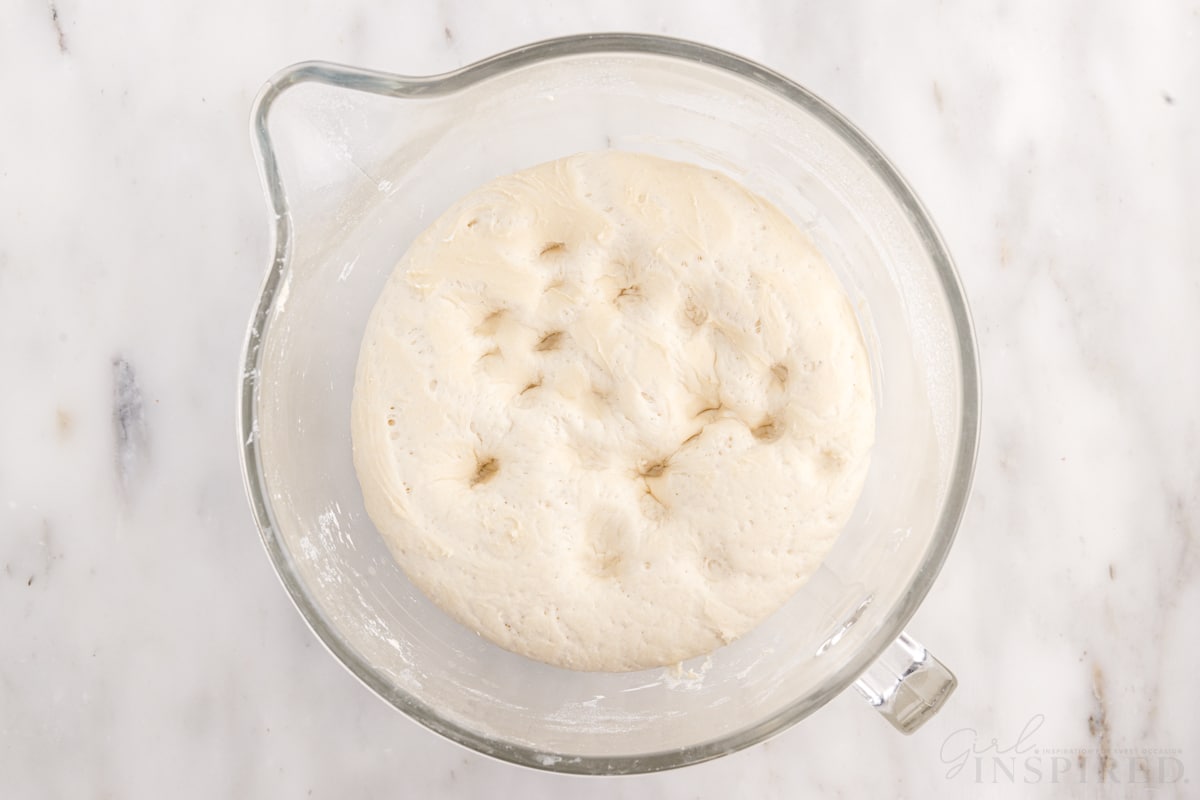
Step 5: At the 2-hour mark, poke holes in the top of the dough with your fingers so it deflates.
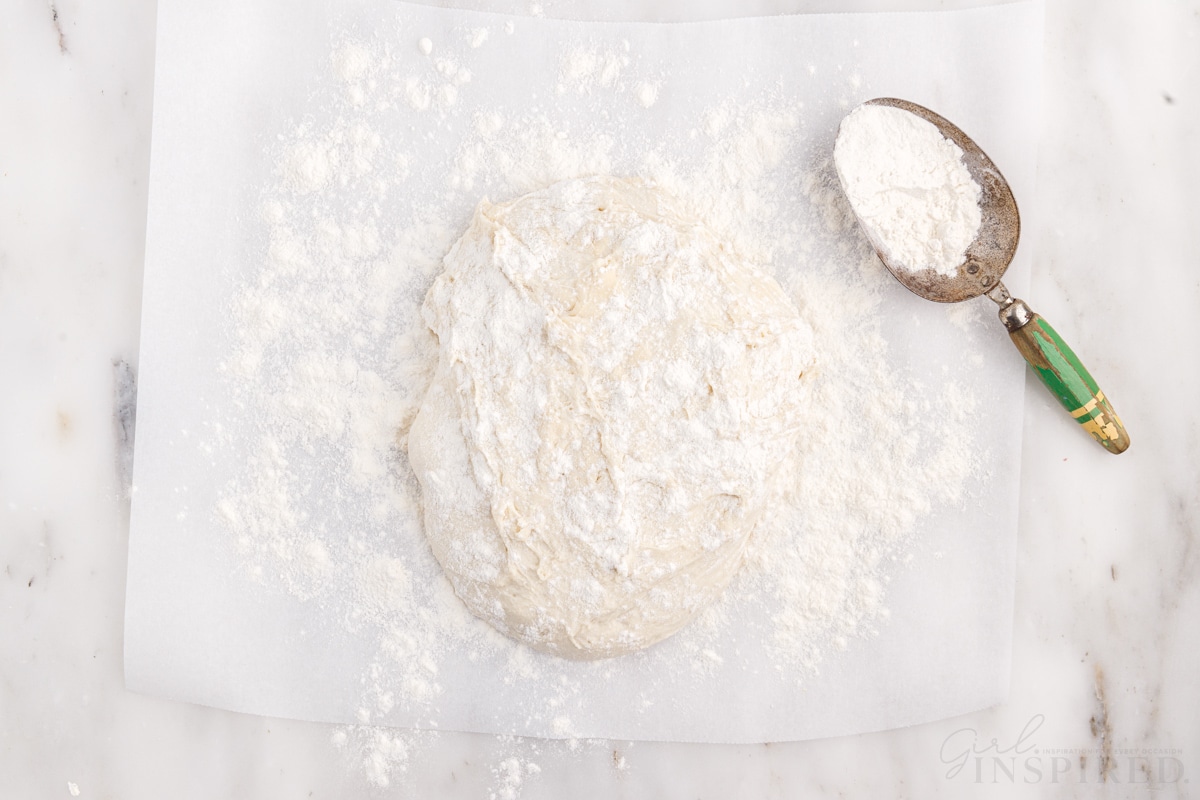
Step 6: Turn the wet dough out on a well-floured surface.
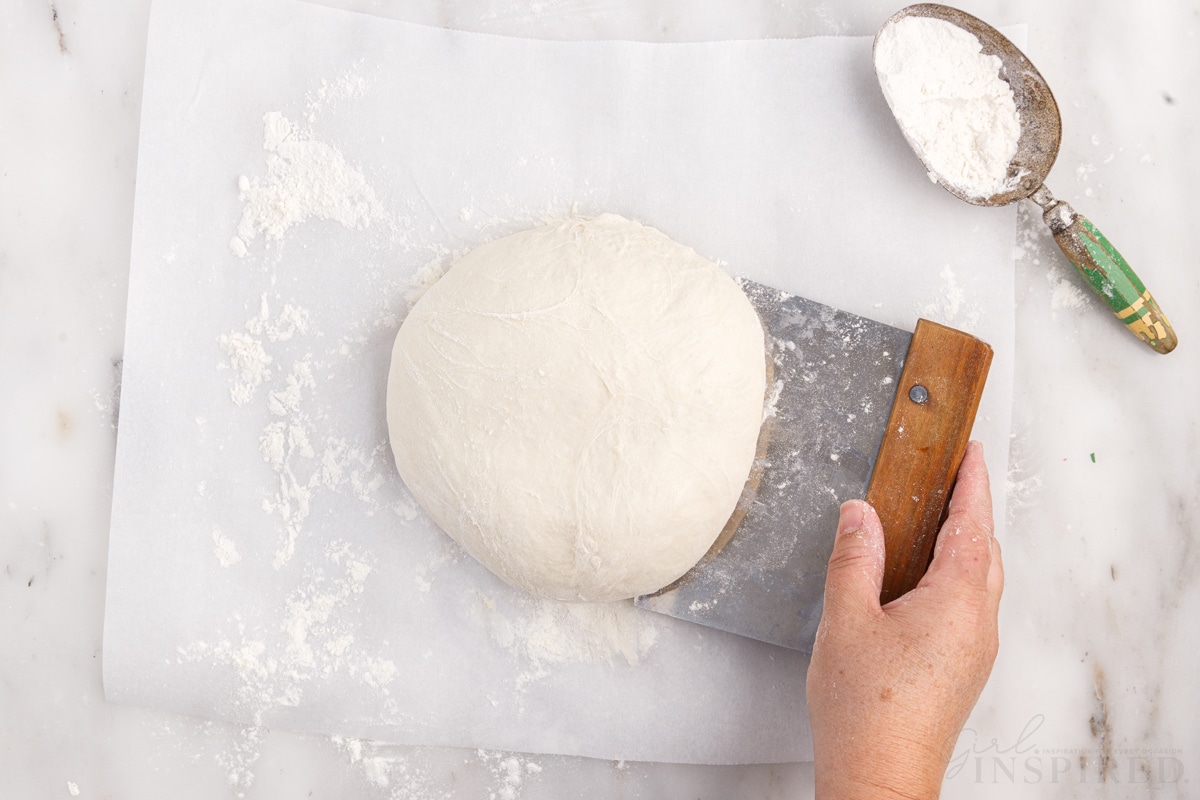
Step 7: Use a bench scraper to reform the dough ball so it has a round shape.
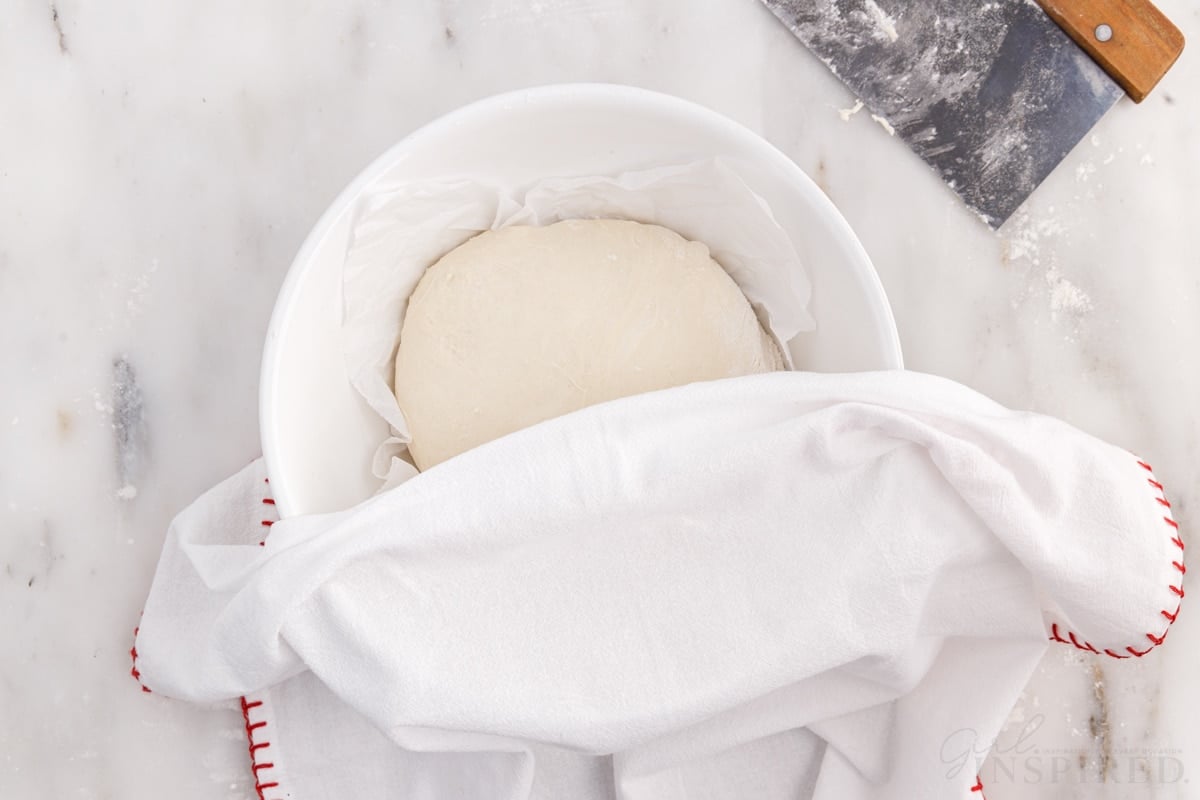
Step 8: Place the ball of dough on a piece of parchment paper and sit it in the bottom of a large bowl. Cover with the towel for the second rise time (1-2 hours).
Pro Tip: If you gently press your finger in the dough and it does not bounce right back, it is ready to bake.
Step 9: 30 minutes to 1 hour before the bread is ready to bake, place the lid on the dutch oven and put it into the oven. Preheat to 450 degrees. Allow the oven to bake at this temperature for at least 30 minutes. Carefully remove the preheated dutch oven using oven mitts, lift the loaf by the parchment paper, and place it in the dutch oven.
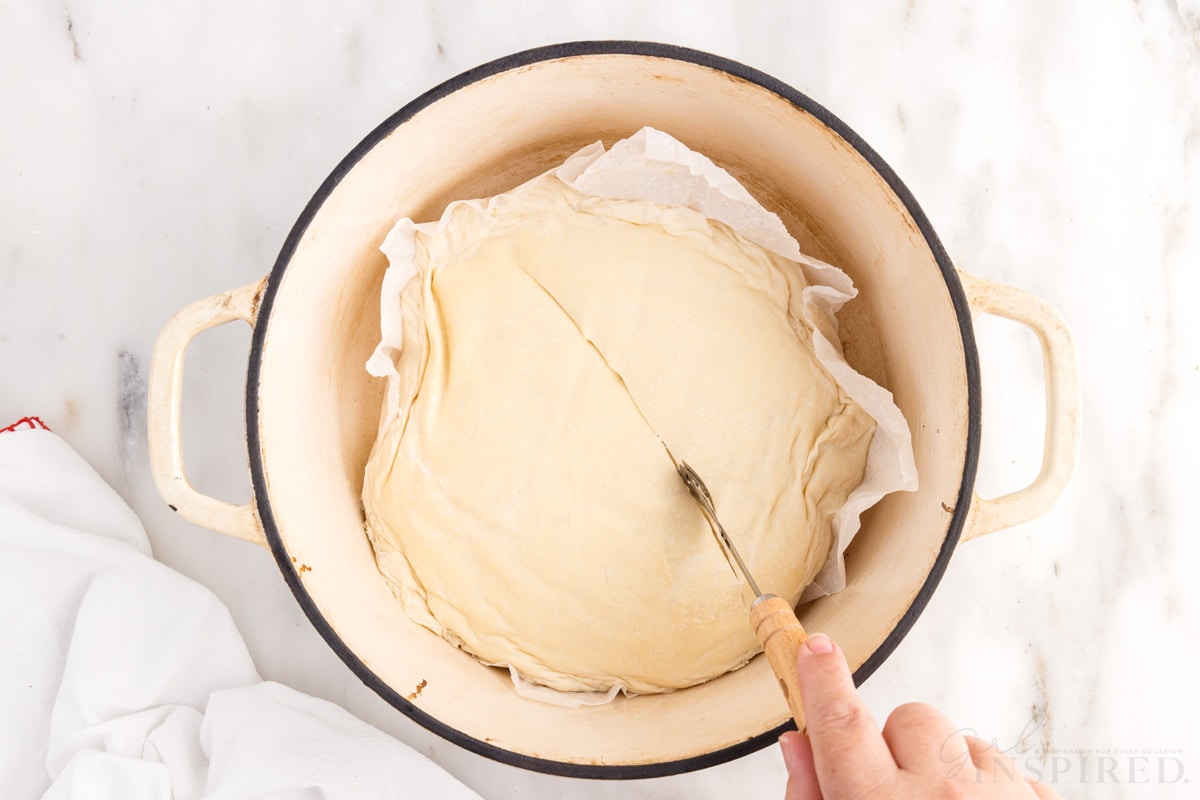
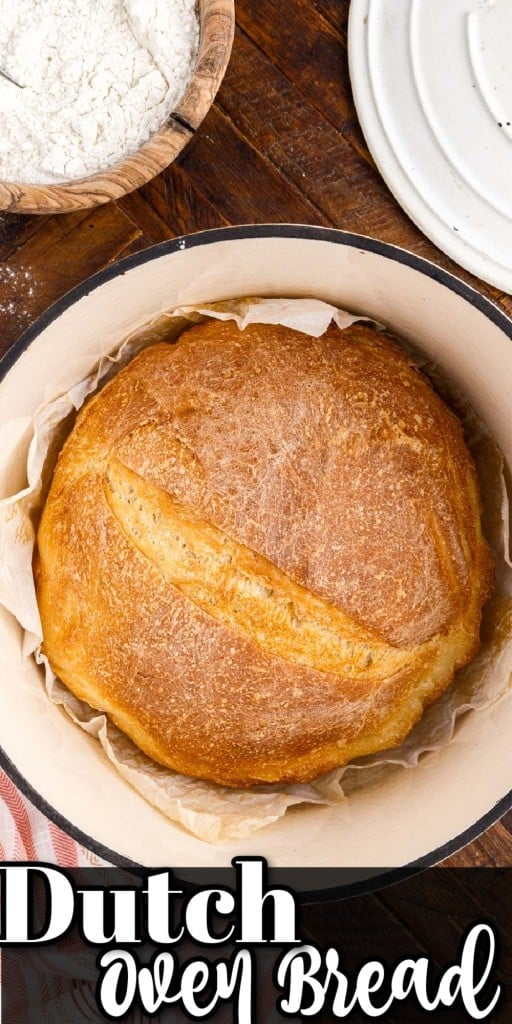
Step 10: Score the loaf using a sharp serrated knife or lame. An x or a straight line will work.
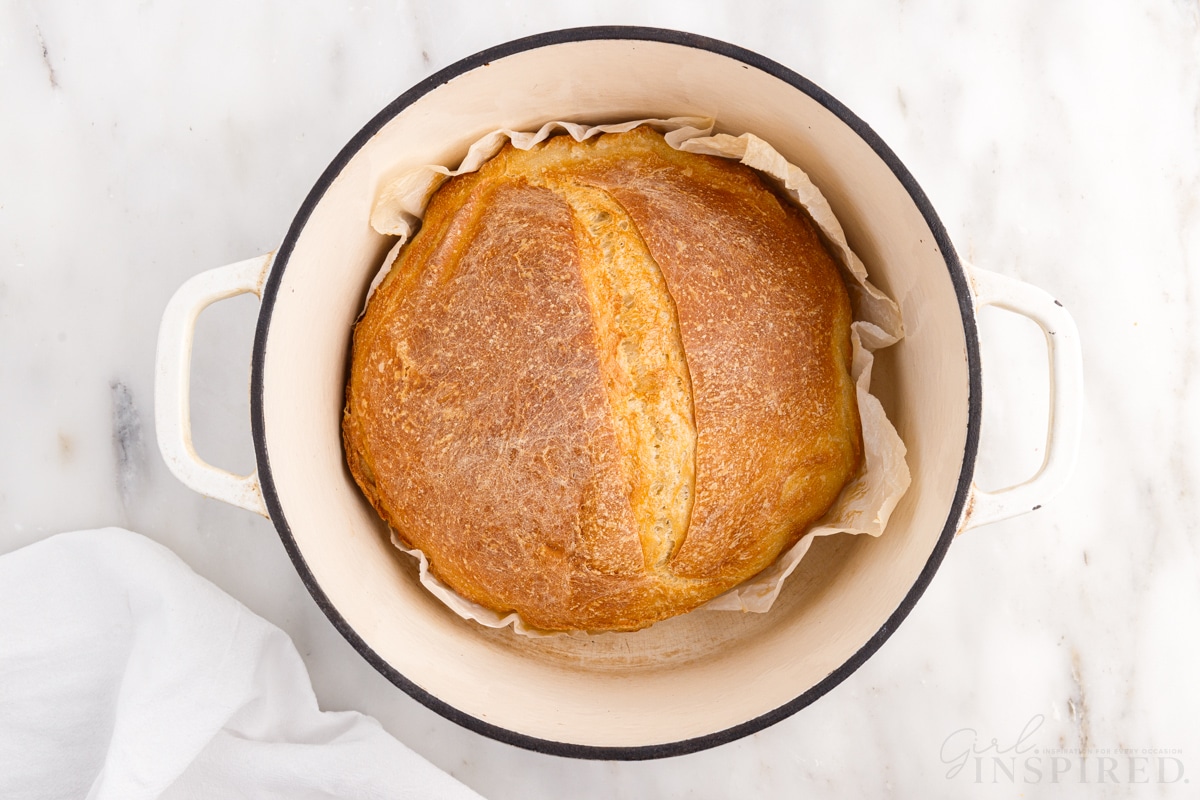
Step 11: Bake for 30 minutes. Remove the lid so the steam rises away from you. Continue baking for an additional 5-10 minutes until the top is golden brown.
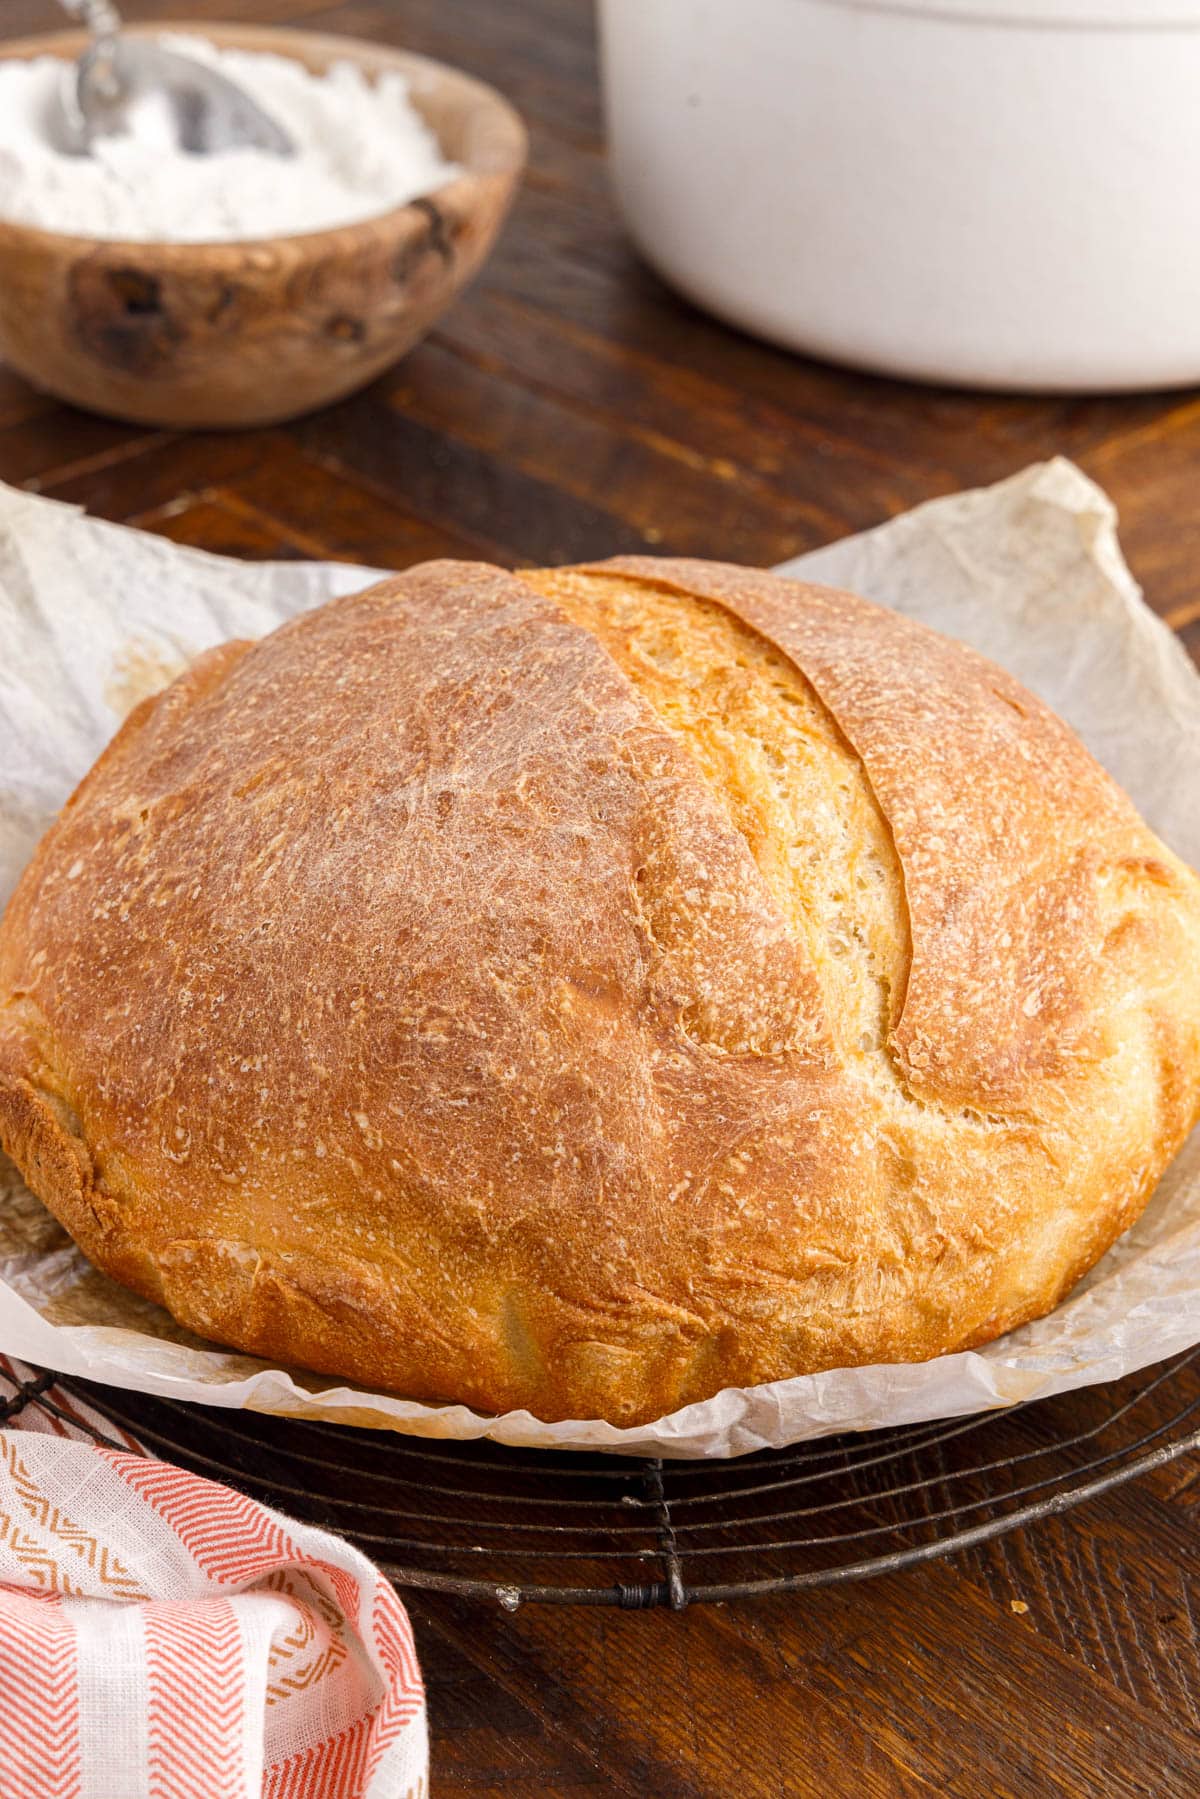
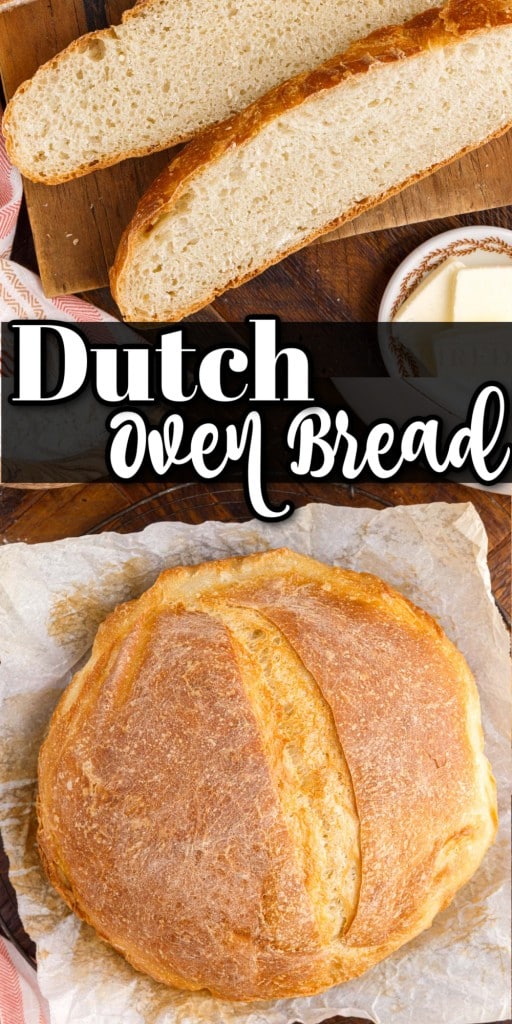
SERVE: Remove from the oven and transfer to a wire rack to cool completely before slicing and serving.
- For best results, make sure your work surface is floured. The sticky dough is much easier to work with when there is a little extra flour around.
- It’s very important to use a lidded pot. This keeps the moisture in, so the interior is tender, but still has a crispy exterior. The last part that the loaf bakes will make a golden crust.
- The major difference between no-knead bread and the kind we are making is mainly the amount of time. When kneading, the dough starts to develop gluten, which gives the loaf its structure. Although you can roughly mix the ingredients together for the first dough rise, it could take up to 8 hours, versus 2-3 following our instructions.
- If desired, add a little olive oil to the bowl or over the entire loaf while it’s rising to prevent skin from forming.
- Do not use cold water. This will increase the time it takes to rise.
Fun Fact
Dutch ovens have been used in cooking and are a favorite vessel of bread bakers for hundreds of years!
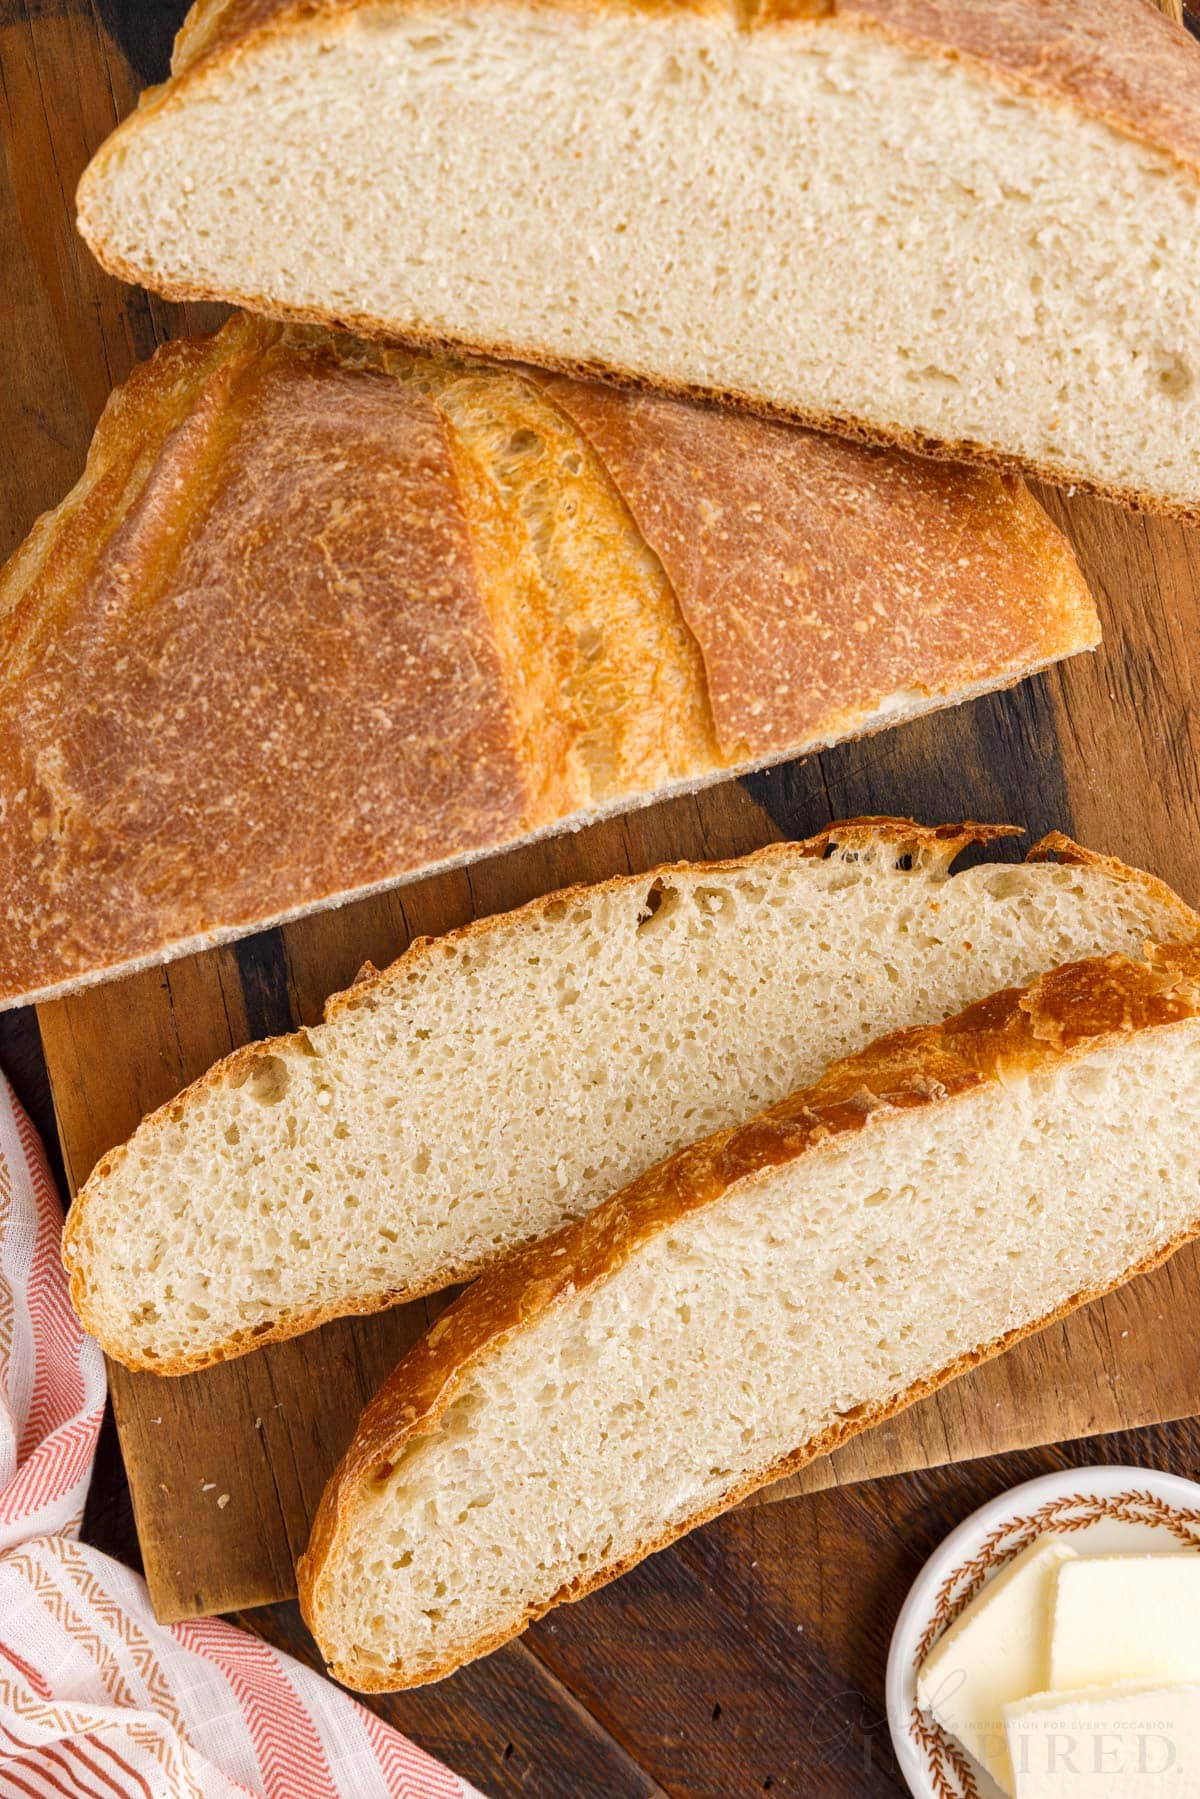
Once sliced, keep the leftovers in an airtight container. It’s best on the first day of baking.
Yes! The pot needs to be hot so the heat reacts with the dough to create steam to cook the bread.
More Delicious Homemade Bread Recipes
Dutch Oven Bread
Ingredients
- 4 cups all-purpose flour
- ½ tablespoon sea salt
- 1 teaspoon active dry yeast
- 1 ½ cups warm water not warmer than 100°F
Instructions
- In the bowl of a standing mixer, whisk together the flour, salt, and yeast until combined.
- Add the water to the flour mixture and beat to combine. Use the bread hook attachment on the mixer to mix dough on medium-high speed for 3-4 minutes, until the dough becomes elasticized and wraps into a ball around the hook.
- Scrape the dough from the hook and use a spatula or floured hands to form the dough into a ball. Place it in the bottom of the bowl, cover with a light kitchen towel and set in a warm, draft-free location to rise for about 2 hours.
- After 2 hours, poke your fingers into the bread to deflate it and then turn it out onto a lightly floured board.
- Use a bench scraper (or your hands) to reform the dough back into a nice sturdy round of dough. Transfer the dough to a bowl on top of a sheet of parchment paper. Cover and allow to rise a second time (1-2 hours). If you gently press your finger in the dough and it does not bounce right back, it is ready to bake.
- 30 minutes to 1 hour before the bread is ready to bake, place the Dutch oven (with lid on) into the oven and preheat to 450°F. Allow the oven and Dutch oven to heat at this temperature for at least 30 minutes (I try to do 1 hour).
- Carefully take the hot Dutch oven out of the oven. Lift the dough loaf by the parchment paper and put it into the hot Dutch oven.
- Score the loaf with the lame or a sharp serrated knife. This gives the bread an area for steam to escape and the loaf to puff during baking. A straight line or an x will work fine.
- Quickly place the lid onto the Dutch oven and return it to the oven. Bake for 30 minutes at 450°F.
- Remove the lid – turning the lid away from you so that the steam rises away and doesn’t burn you – and continue baking 5-10 minutes longer until the crust is deep golden brown.
- Remove from the oven and transfer the loaf to a cooling rack to cool completely.
Notes
Nutrition
Make this recipe?
Share it with me on Instagram @girlinspired1 and follow on Pinterest for more!




Leave A Reply!