This recipe for sourdough bread starter is an easy guide to making homemade sourdough bread from scratch! Simple enough for even the newest bakers, all you need is flour, water, and 5 minutes daily for a week or two!
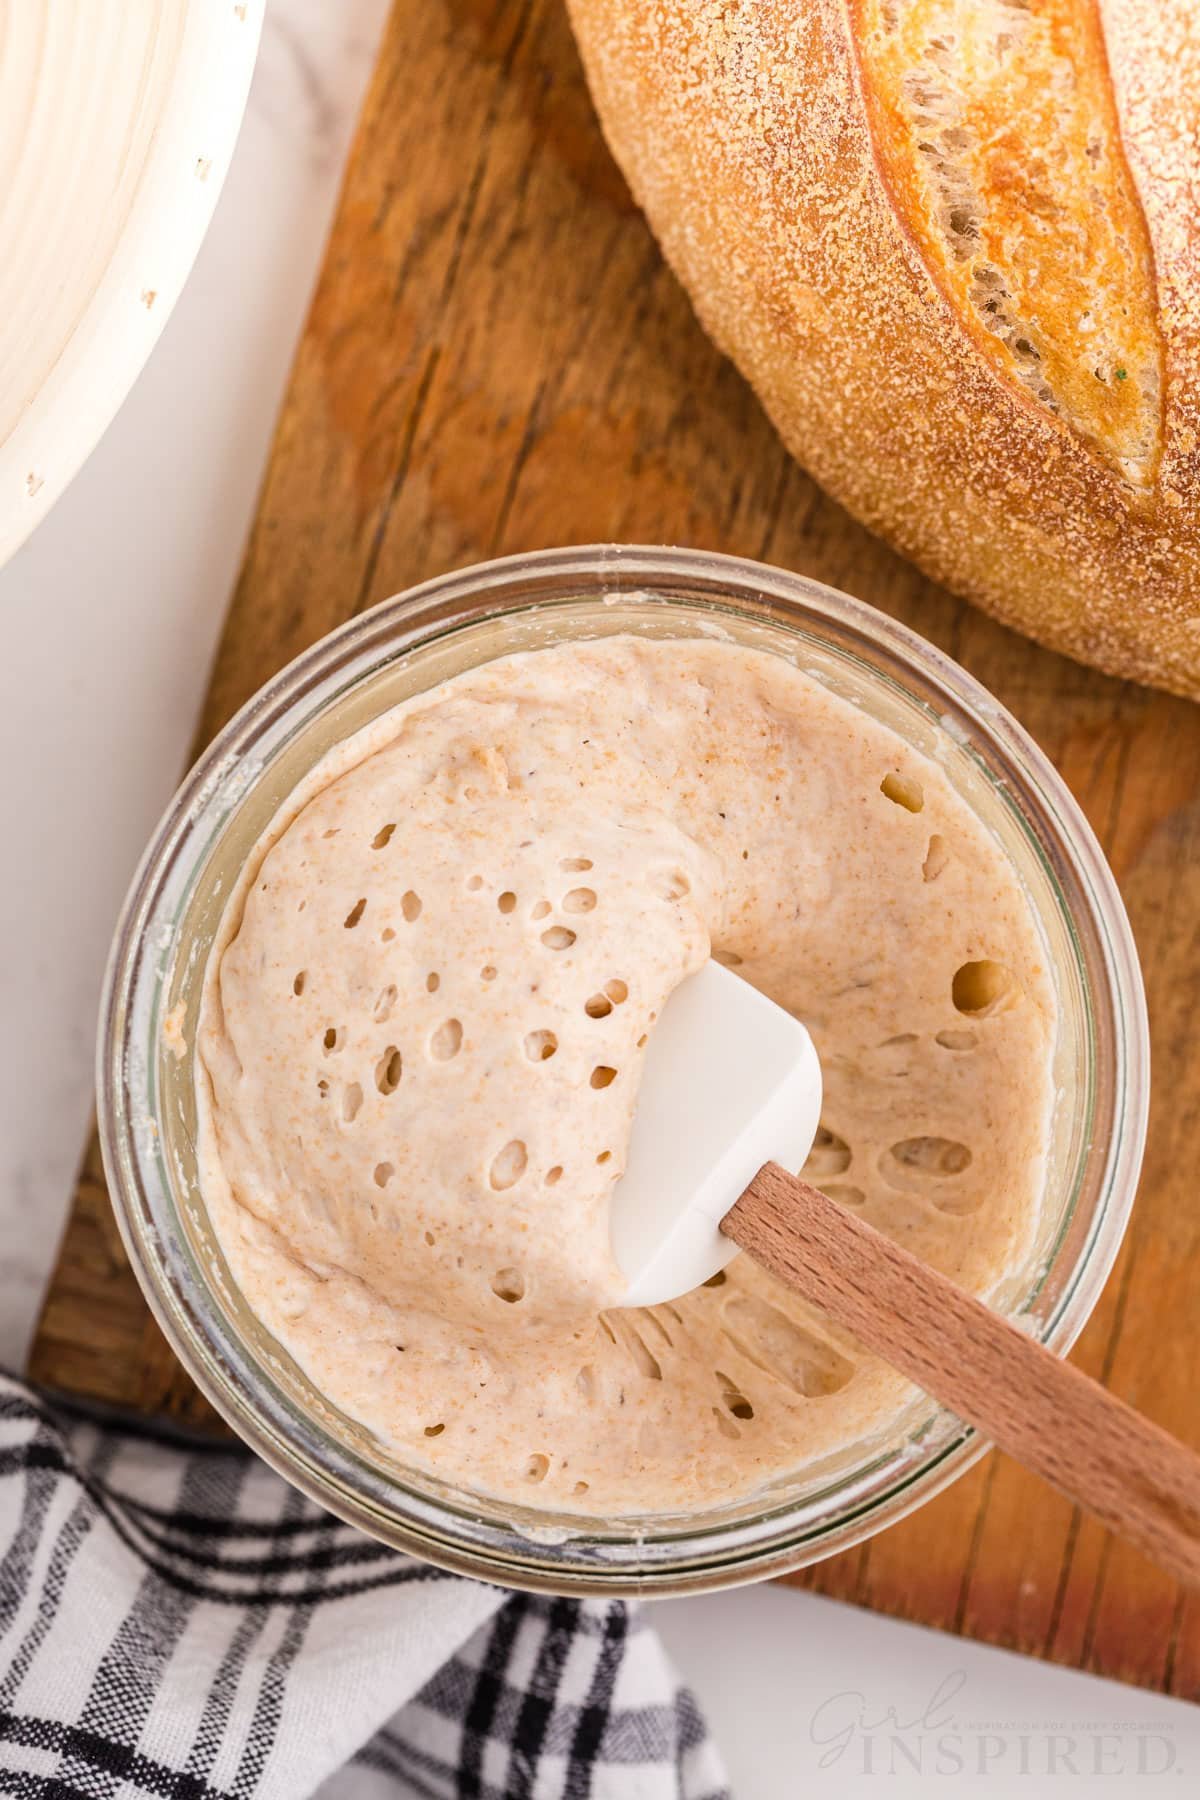
Freshly baked sourdough bread is crazy good. I mean, so good we just slather butter and flaked sea salt on top and eat loaf after loaf. I also use it to make sourdough croutons for my tomato bisque soup, I use it for sandwiches, bruschetta, and fancy grilled cheese. Hey, I even use it for the ultimate jalapeño popper grilled cheese! Once you have your sourdough starter going, you can use it to bake bread, but not only that – the discard can be used as an ingredient to soften up the textures of all kinds of treats – pancakes, muffins, even pizza dough!
Table of contents
What is Sourdough Starter used for?
Sourdough starter is used as the only needed leavening agent to make [primarily] sourdough bread. This bread is wonderfully delicious with a slight tang, a soft yet chewy crumb, and a lovely crisp thin crust. It doesn’t require baker’s yeast but instead relies on the natural yeast and rising properties already present in flour. It’s a bread that goes through a fermentation process (and uses the fermentation properties of this sourdough starter recipe), which isn’t at all difficult, but it does take a bit of time. Believe me when I tell you, making your own sourdough bread is well worth the wait!
Baking homemade bread can sometimes appear intimidating to new bakers, but when you have your first one under your belt, you’ll soon realize there is nothing hard about it! In fact, it’s actually pretty easy. It’s all about precision and patience, a few minutes each day for about a week, and in this case a little flour and water. With my easy-to-follow sourdough starter recipe, you’ll be well on your way to an expert bread maker in no time and when you smell freshly baked bread in the oven, and slice into that tender loaf of bread, you’ll never turn back to store-bought again.

Background Information
Back in the day, folks relied on the fermentation process before yeast was readily available for purchase, and not just for bread. It was a staple food that when cared for and fed, was able to provide a variety of different recipes. Some say, this process was probably discovered by accident in ancient Egypt when the dough was left out and the process began on its own. When people recognized the result of this superior bread, it turned into a practice widely used by everyone.
Because starters can be kept alive for years and years, it was passed on to friends and families and was able to feed many many people. As the years went by, the sourdough starter became tastier and tastier, and the “sponge” as it was once called, became a respected process to be revered!
And just when you thought sourdough bread was just a delicious loaf of bread!
What items you need to begin:
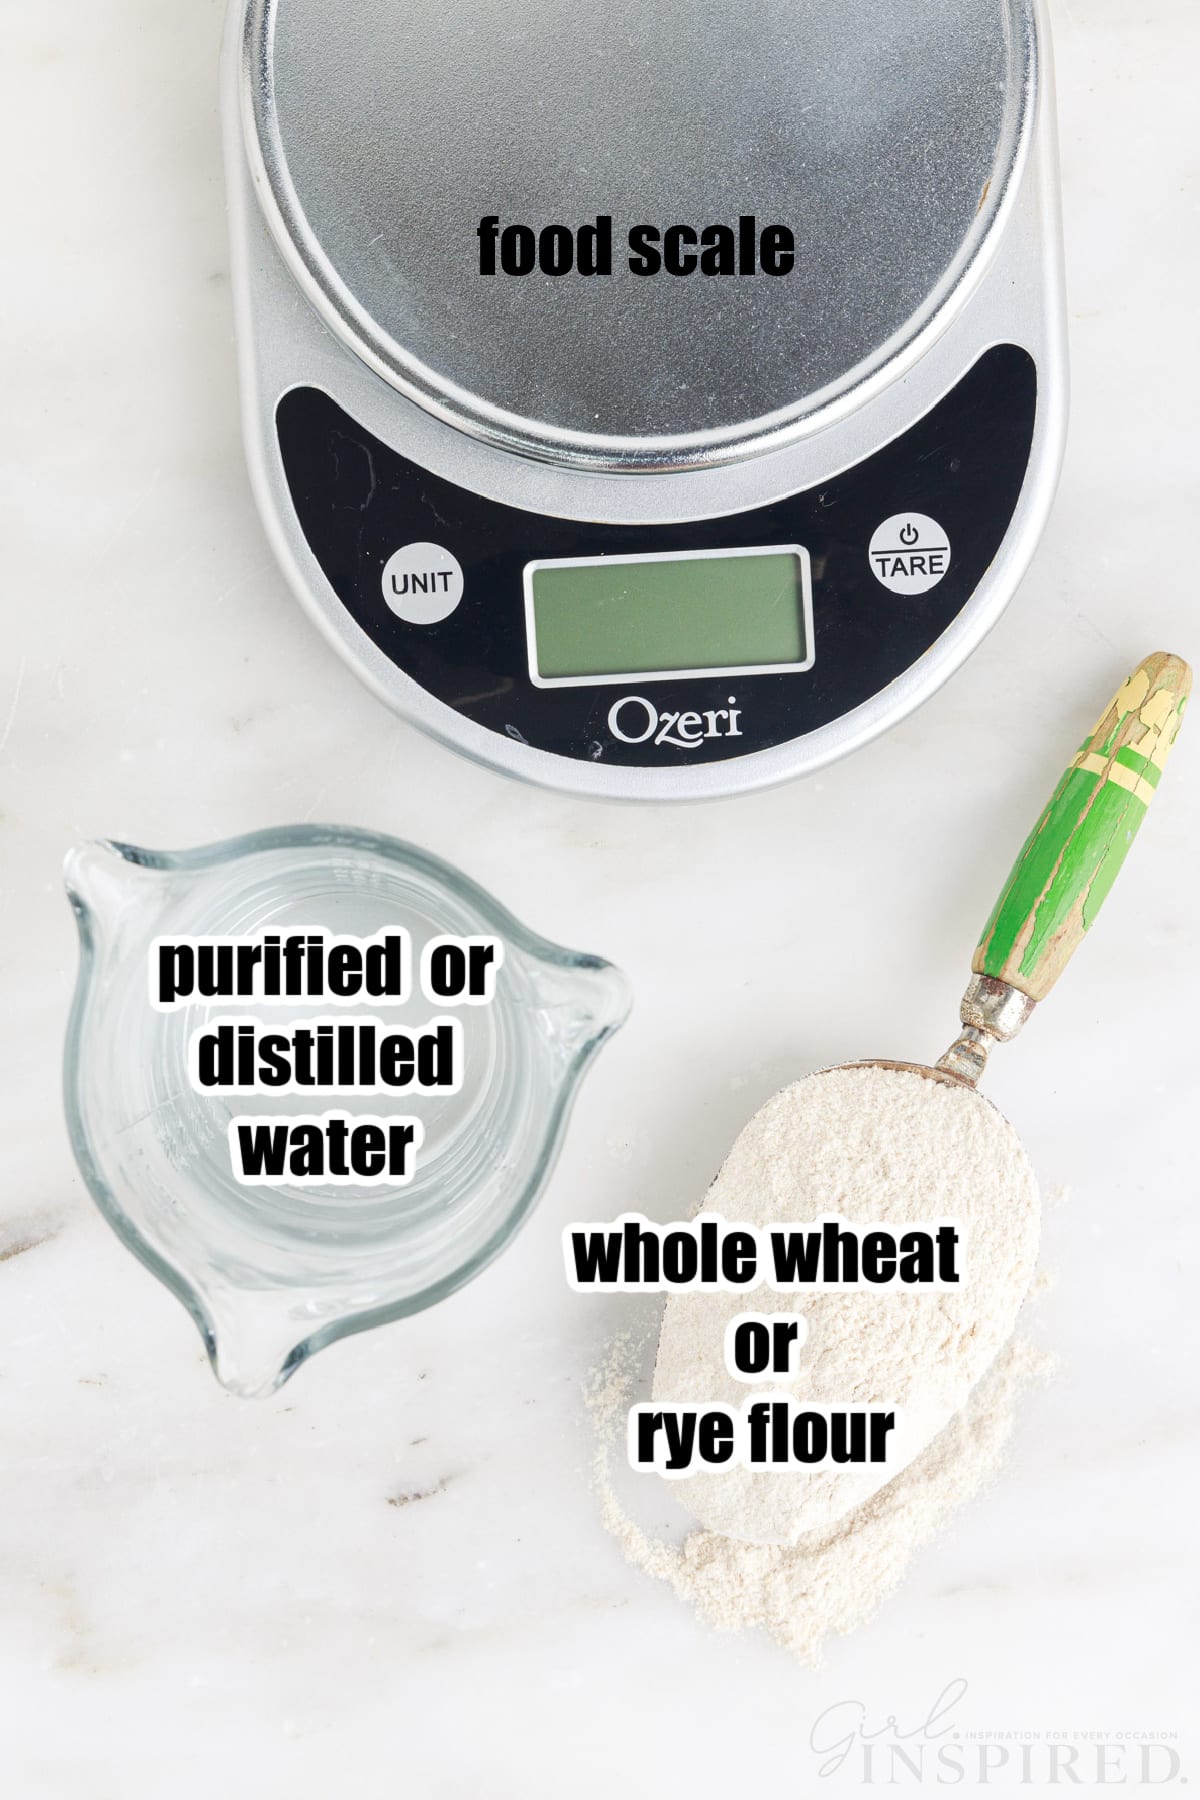
All you need for this recipe is your laundry list of ingredients (just kidding, it’s literally flour and water) and the following:
A scale: Measuring in grams helps with accuracy. If you’re investing the time to make sourdough bread you don’t want to cut corners. If you don’t have a scale, I highly recommend you grab one before embarking on this journey.
Clean glass jar: You’ll be covering your jar with plastic wrap, so it’s not necessary that it comes with a lid. I like to start out with a tall straight glass jar so I can mark the outside with a dry erase marker. This way I can see how much it rises in between feedings.
A glass bowl: This isn’t a must, especially right away, but you may find having one available comes in handy when your starter starts to grow.
🥖 Ingredients:
- Whole wheat flour (or rye flour) – We start with these types because they ferment faster because of the higher nutrient content. It’s like a kickstart! Once you have your starter going, you can feed it with a combination of whole wheat and all-purpose flour if you like.
- Filtered Water – SUPER IMPORTANT to use filtered or distilled bottled water. The chlorine in everyday tap water can hinder the process and even prevent proper fermentation.
🔪 Instructions:
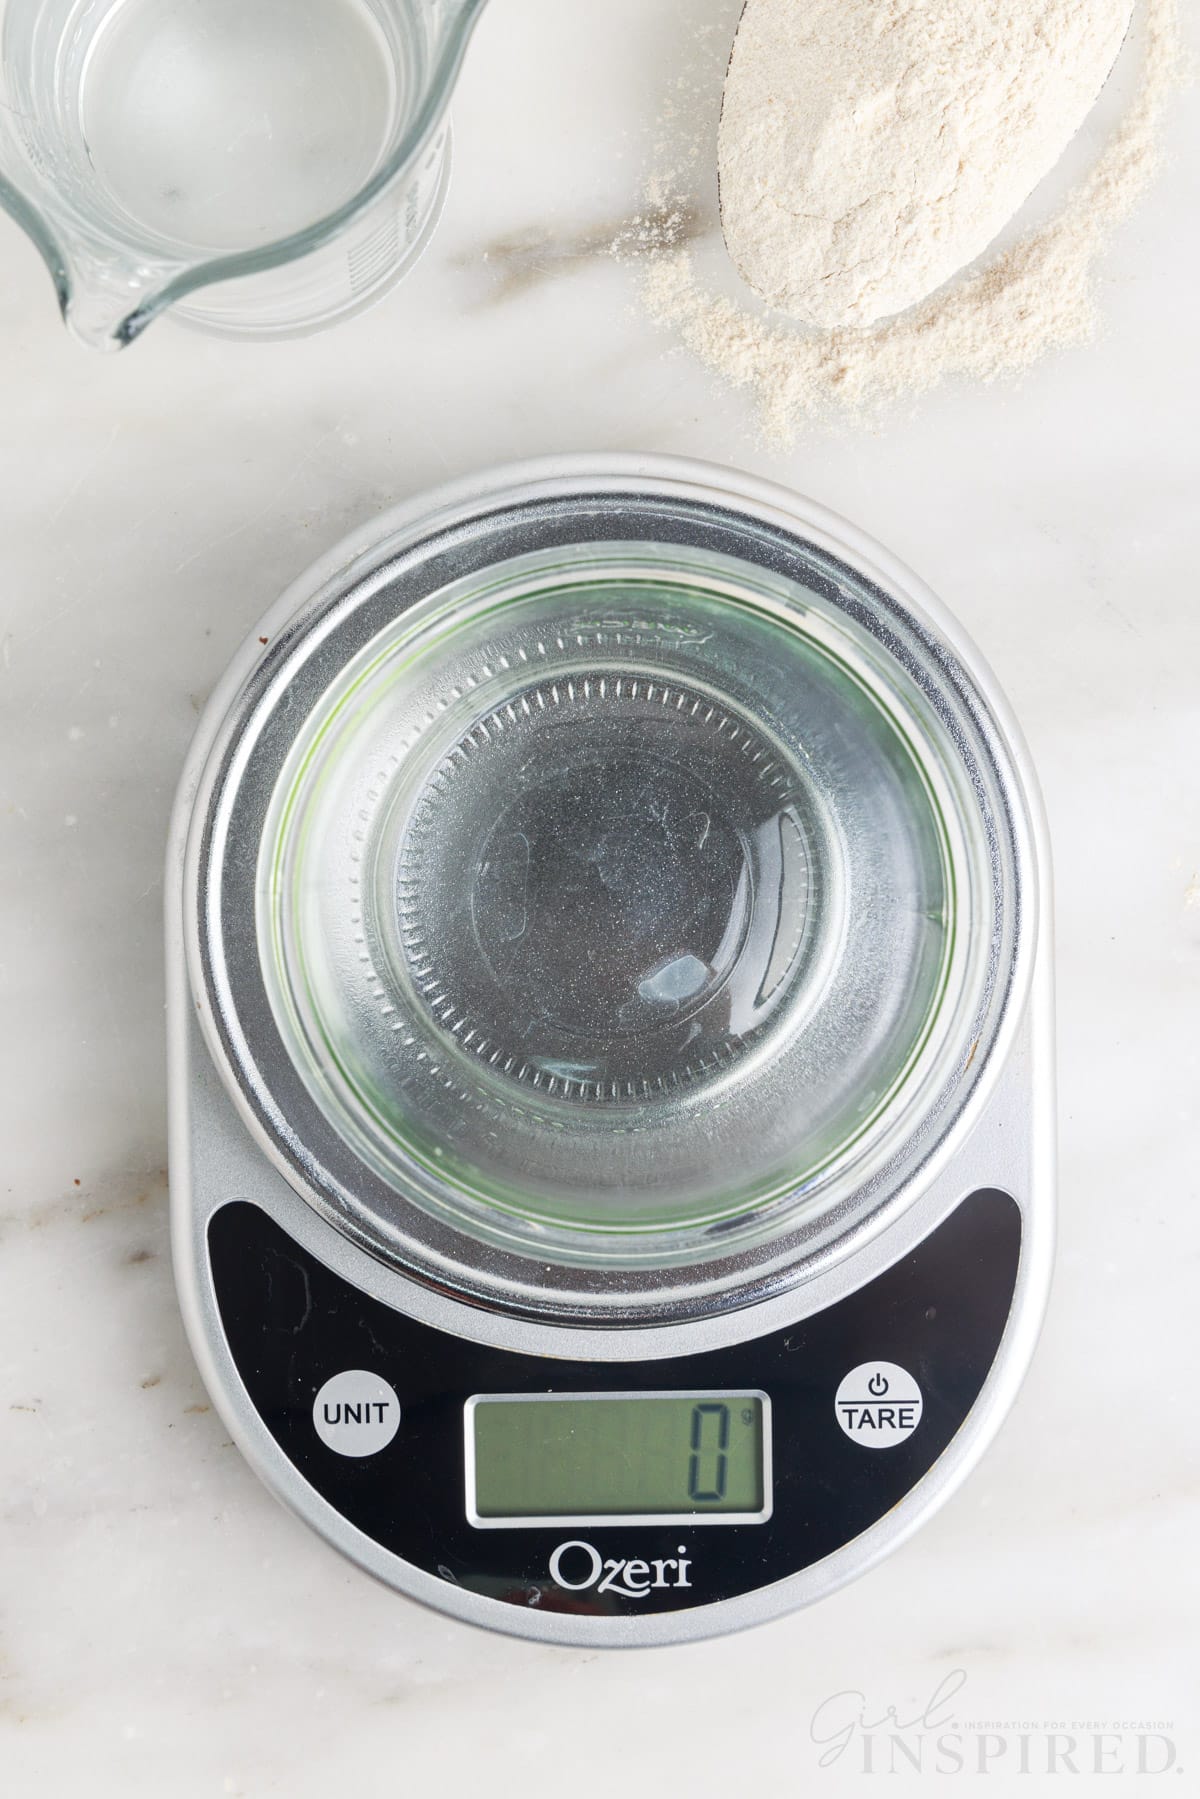
Step 1: Begin with a sterilized glass jar – you can start with a jar that has about an 8 oz. volume – once your starter begins to grow, you will need to use a larger jar/bowl, but a smaller size is fine for now.

Step 2: Add precisely 50 grams of whole wheat flour to the jar. Use a food scale for accurate and consistent measuring.
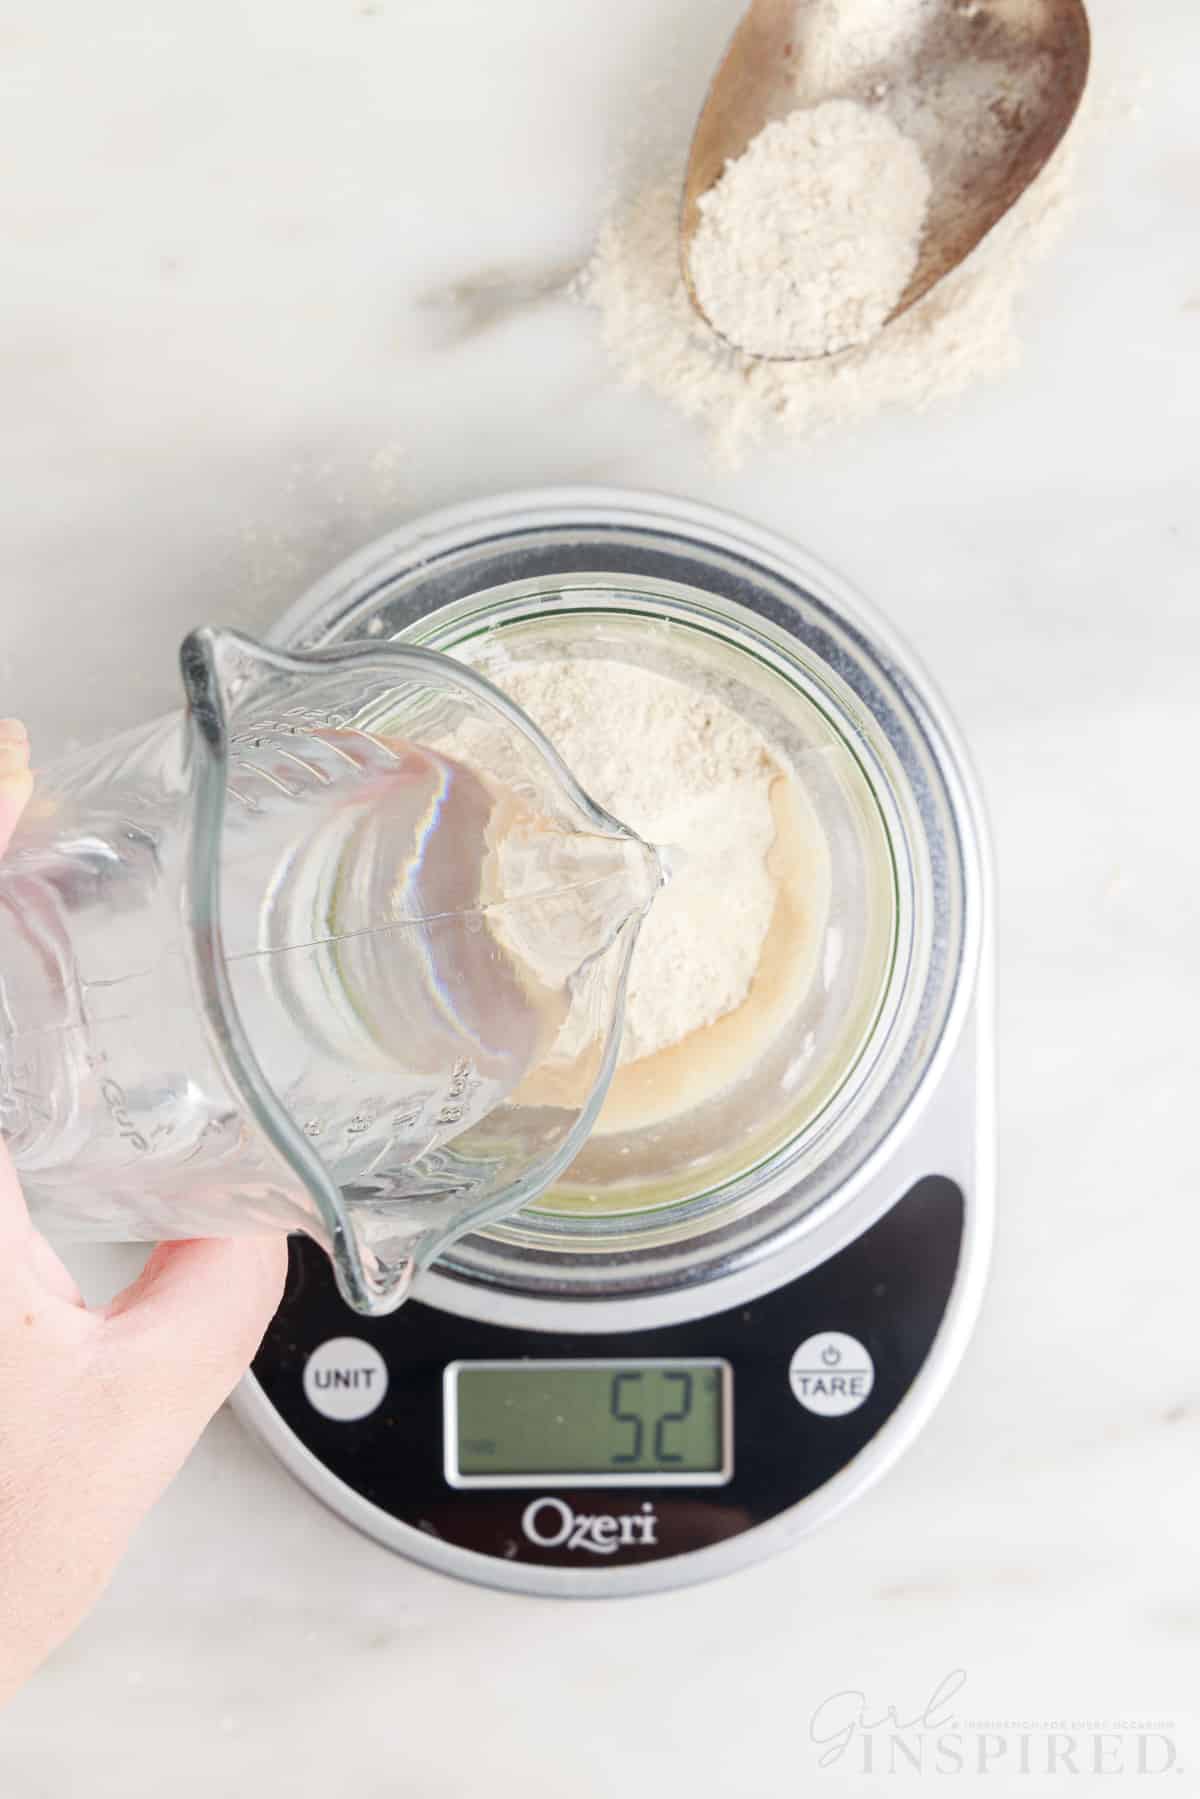
Step 3: Add filtered water to the measured flour, until you have added precisely 50 grams of water.
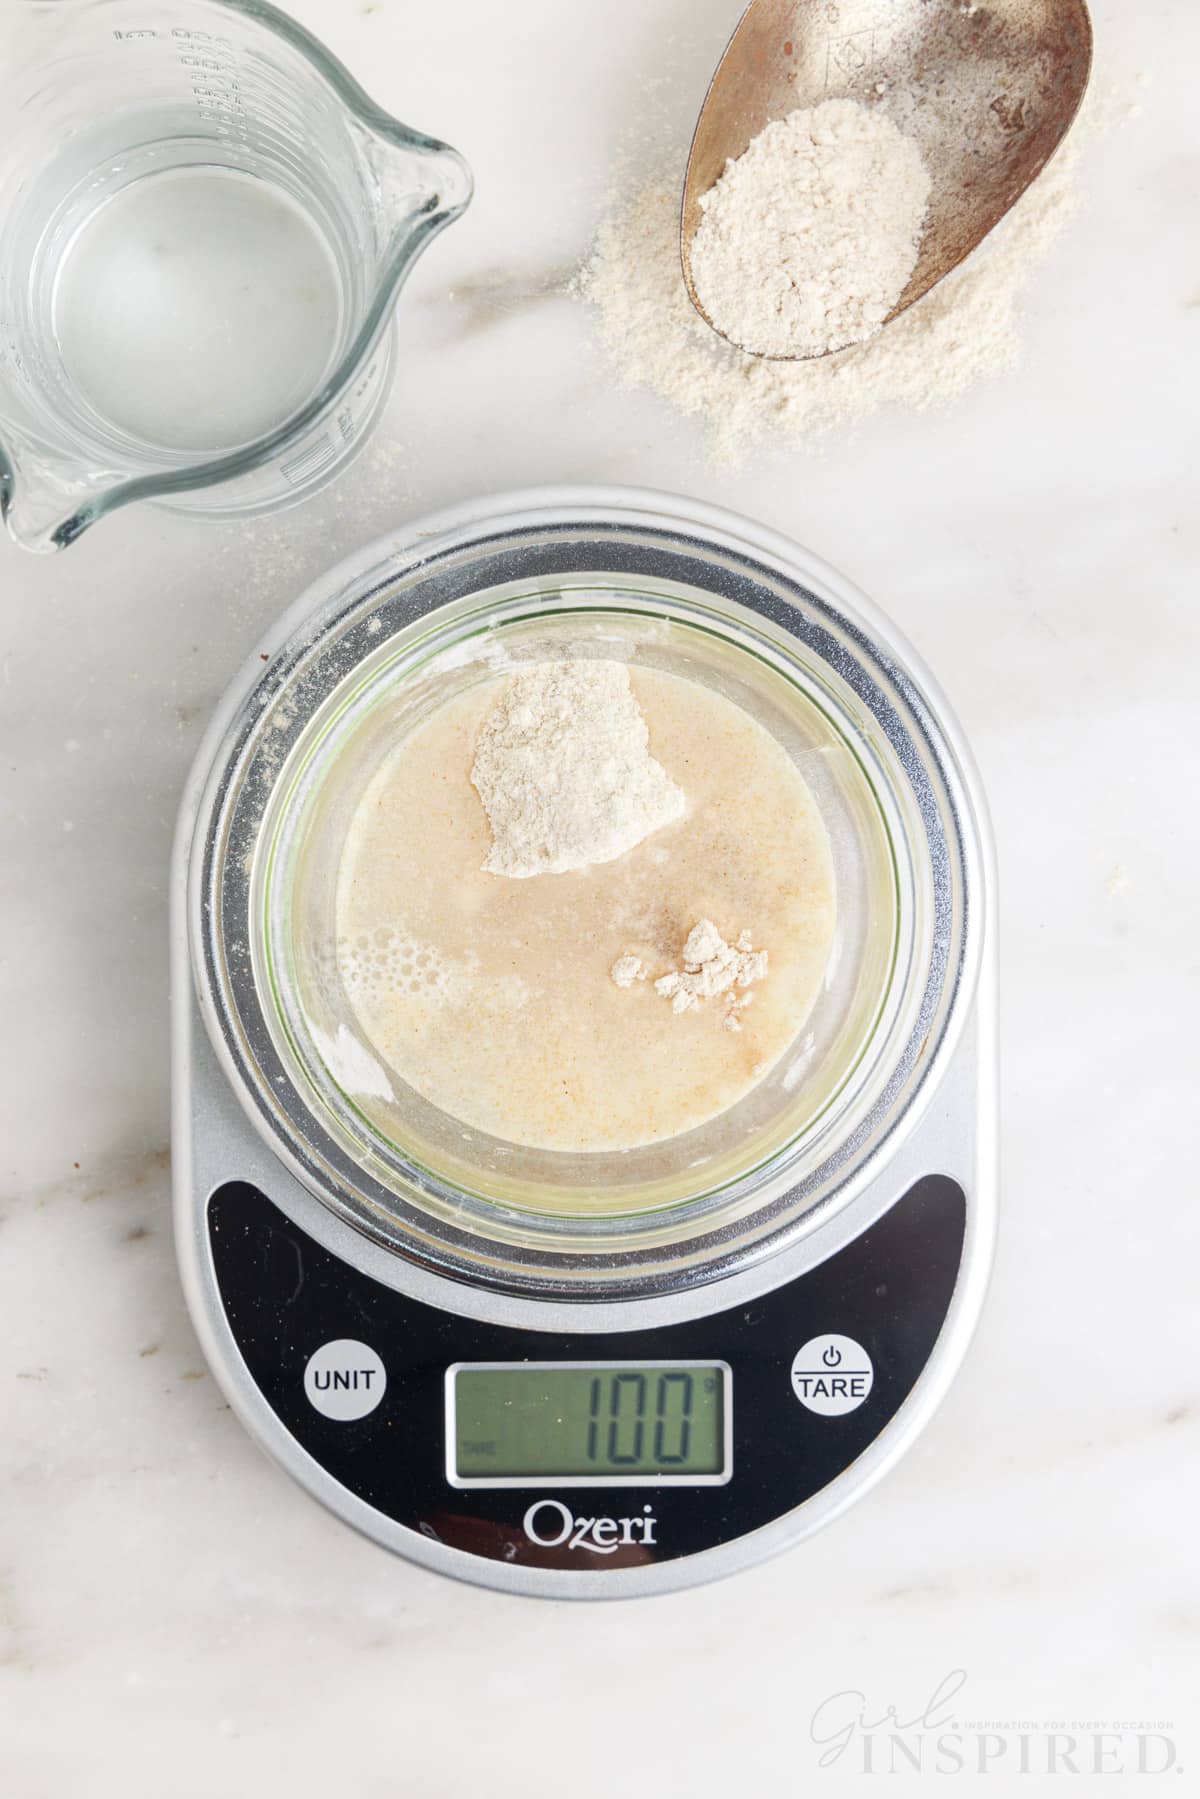
Step 4: You will now have equal (by weight) amounts of flour and water in your jar.
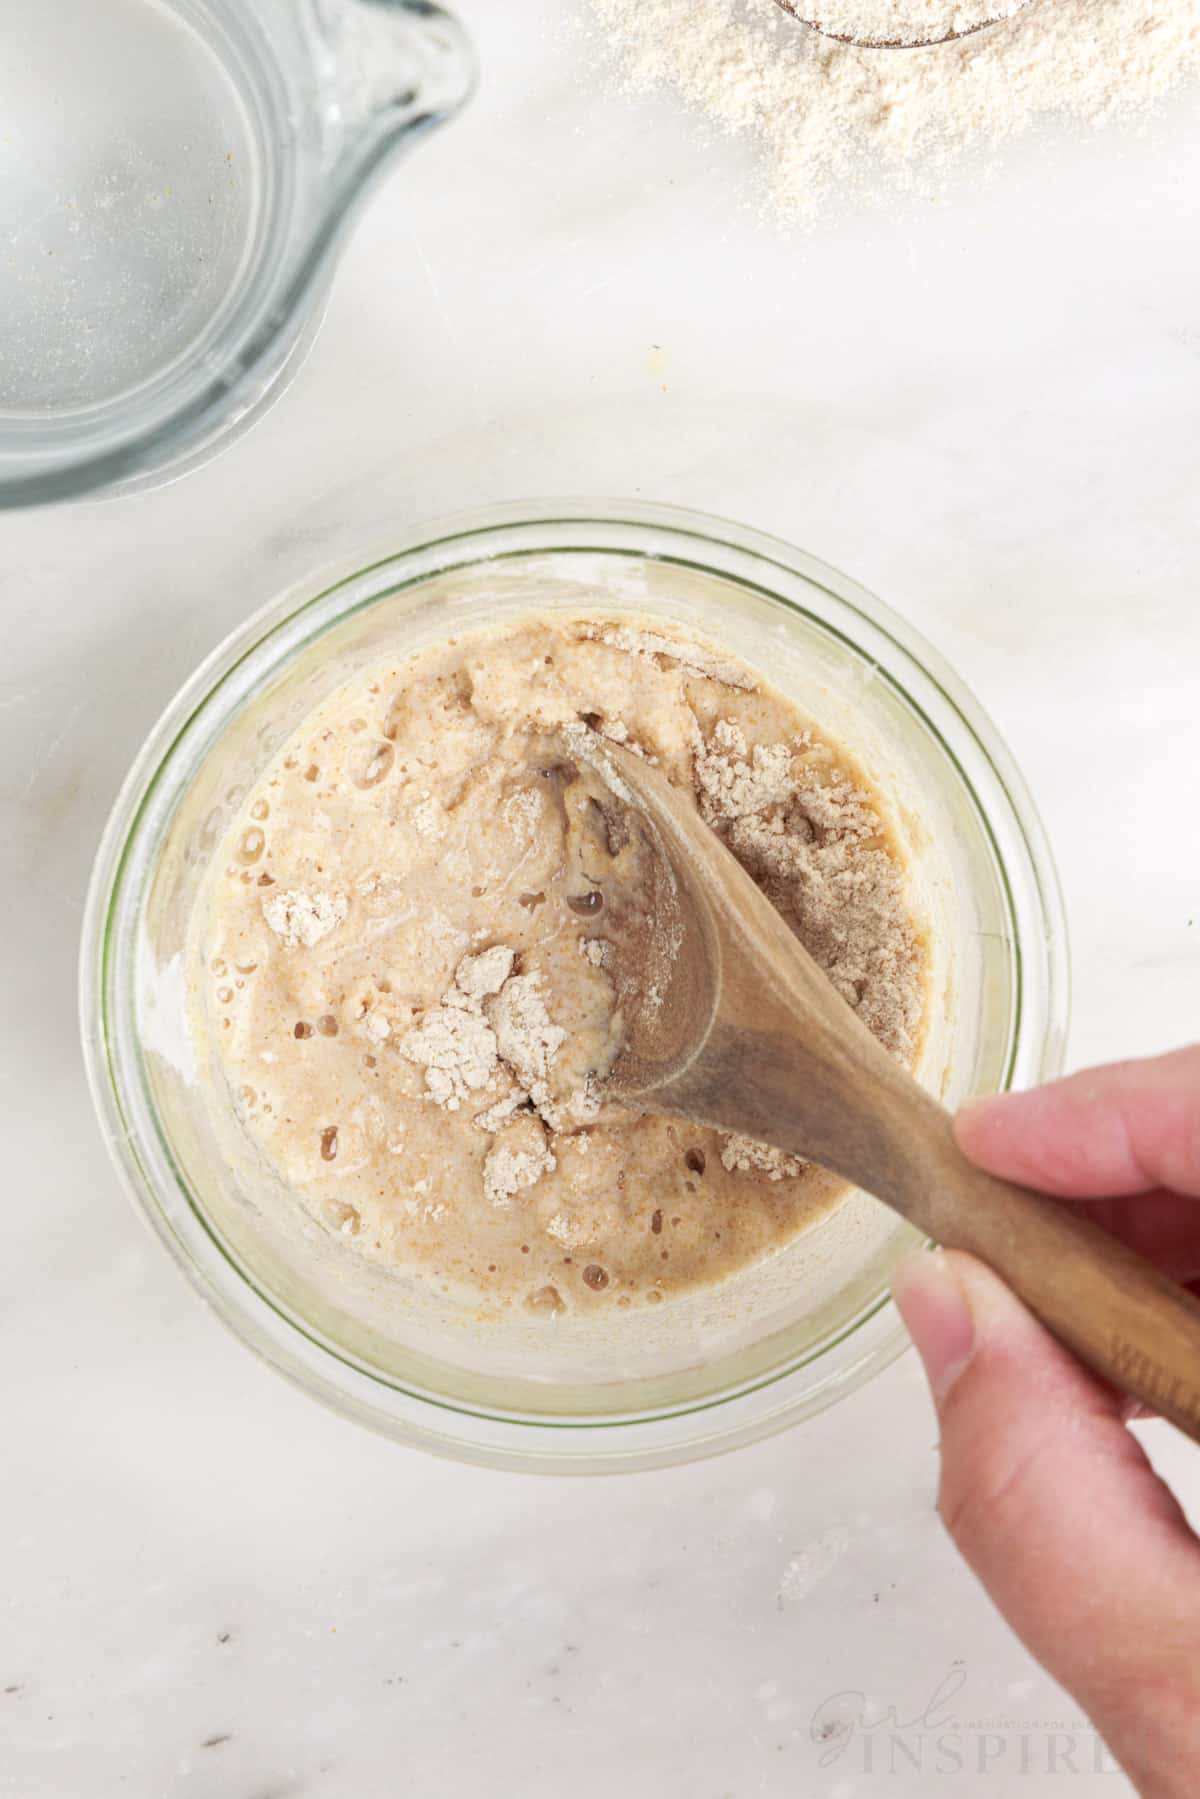
Step 5: Stir together the flour and water – the mixture will be thick and paste-like. Cover with plastic wrap or a loose lid and set in a warm (room-temperature) location for 24 hours.
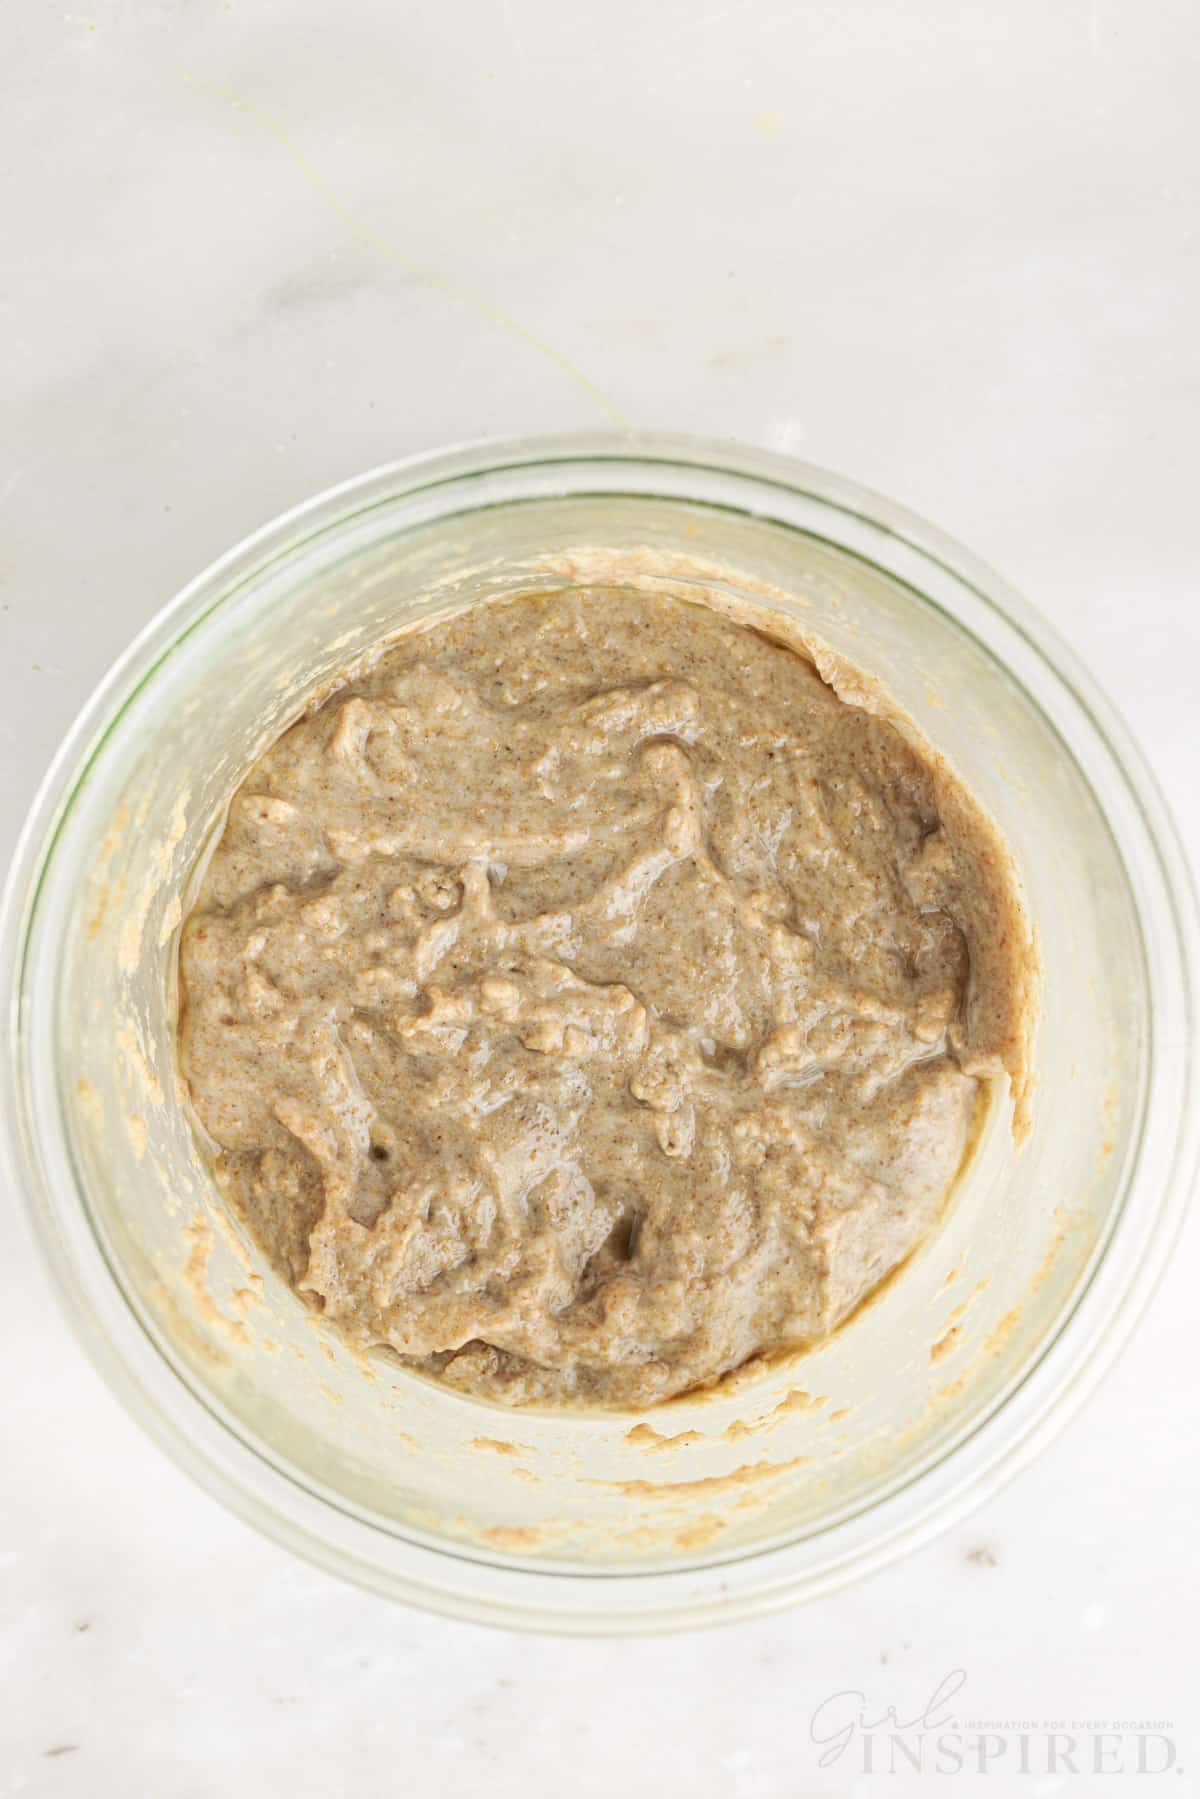
Step 6: After 24 hours, the sourdough starter mixture is ready to feed again. It may appear slightly dark in color. Stir the mixture.
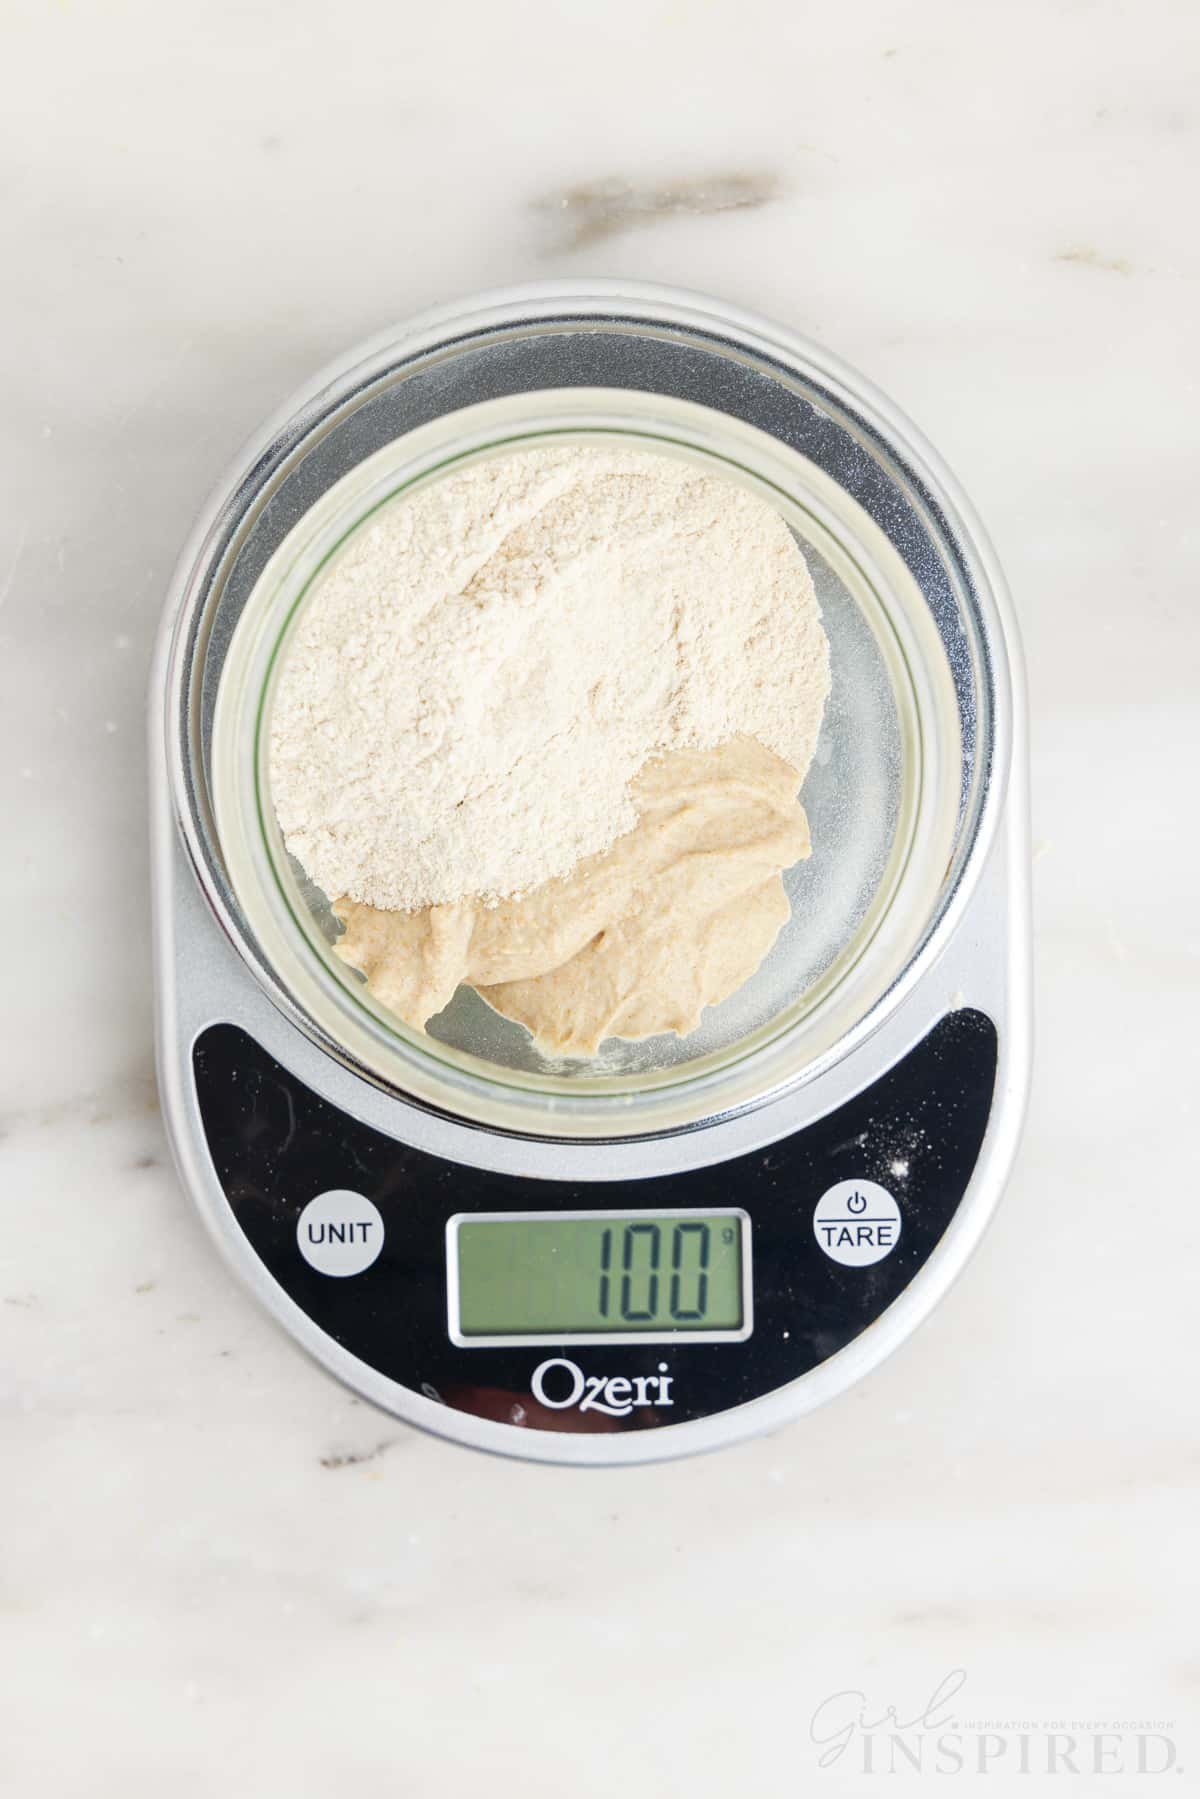
Step 7: To a CLEAN glass jar, transfer 50 grams of the sourdough starter. Add 50 grams of whole wheat flour to the jar.
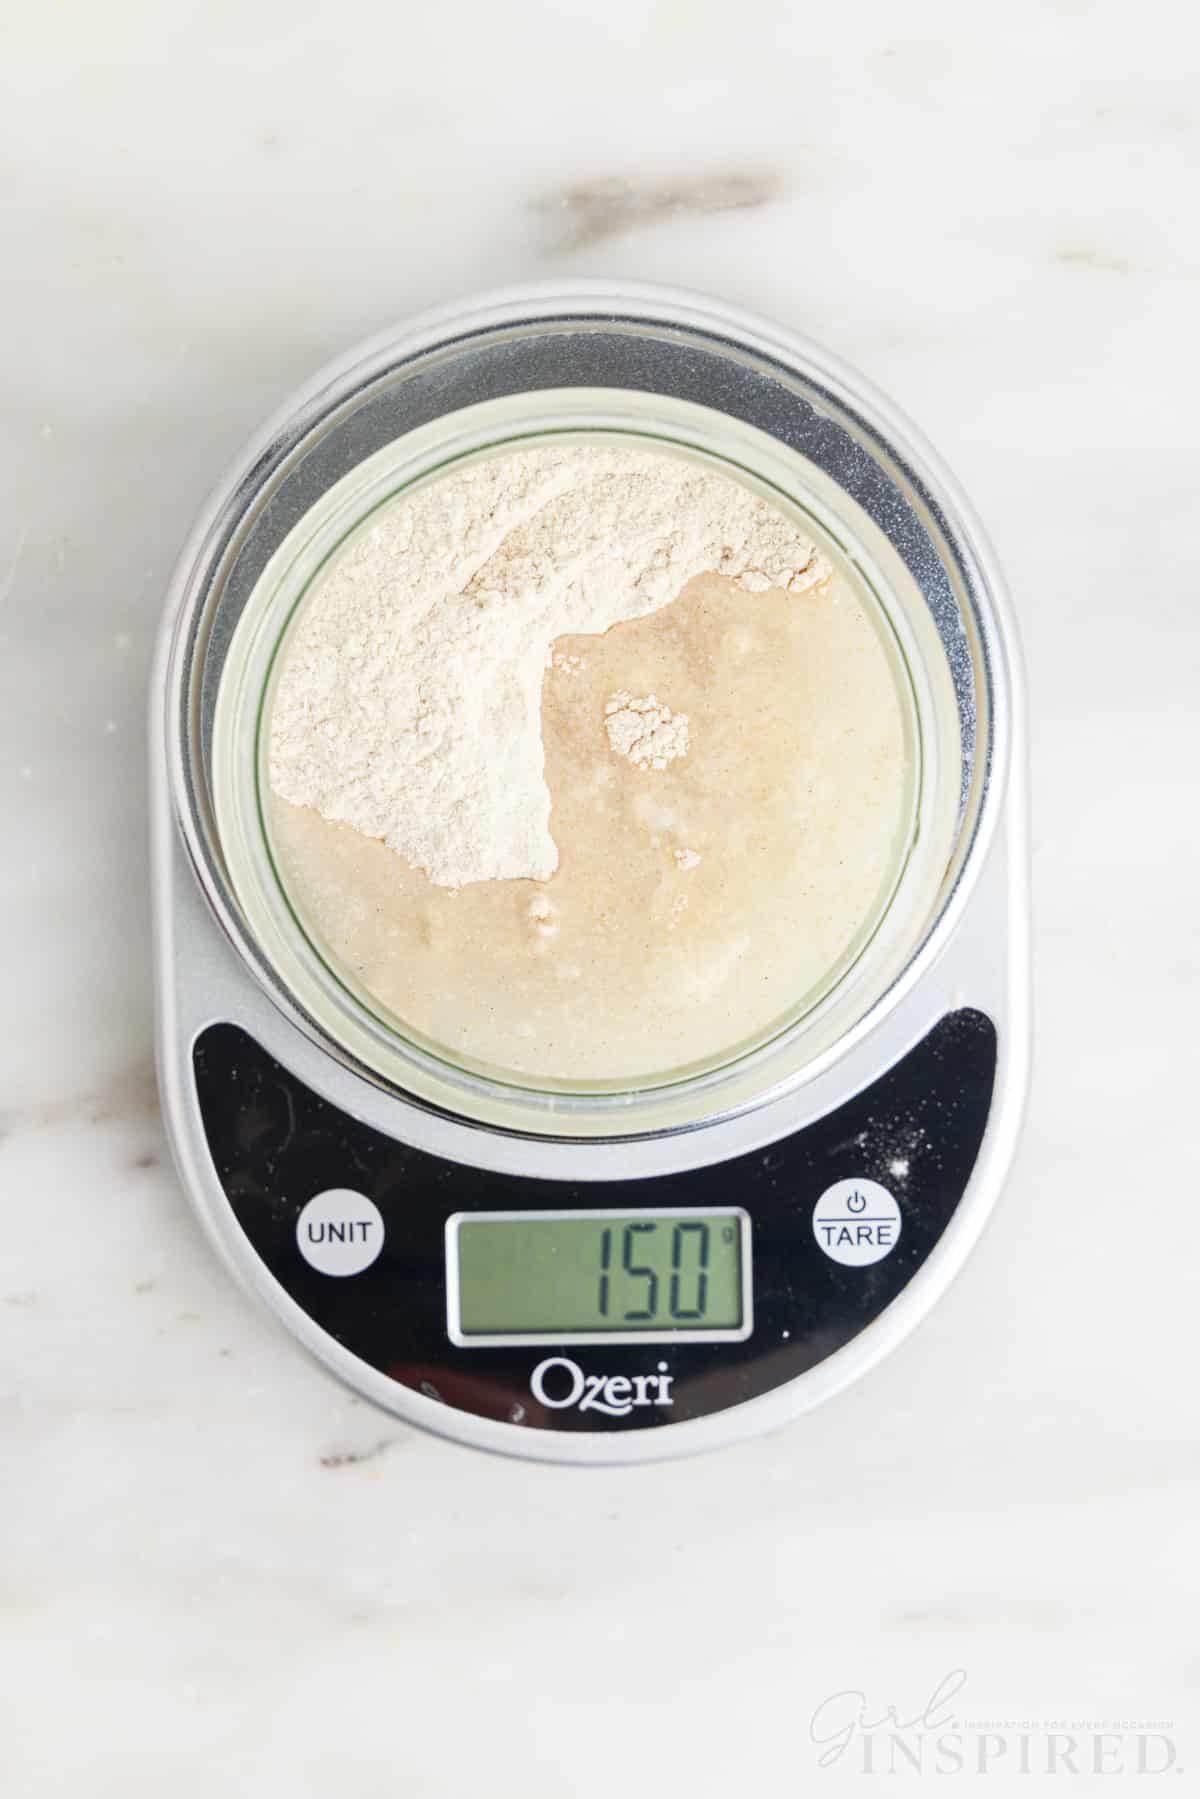
Step 8: Add precisely 50 grams of filtered water. You will now have equal parts sourdough starter, flour, and water. Stir these together and cover. Set aside for another 24 hours.

Step 9: On day 3, you may begin to see some signs of fermentation – some bubbles in the sourdough starter and a slightly, tangy aroma. Once this happens, begin feeding the sourdough starter every 12 hours. Follow the same process as you did in Steps 7 and 8. Begin using larger jars so that the starter does not spill over during fermentation.
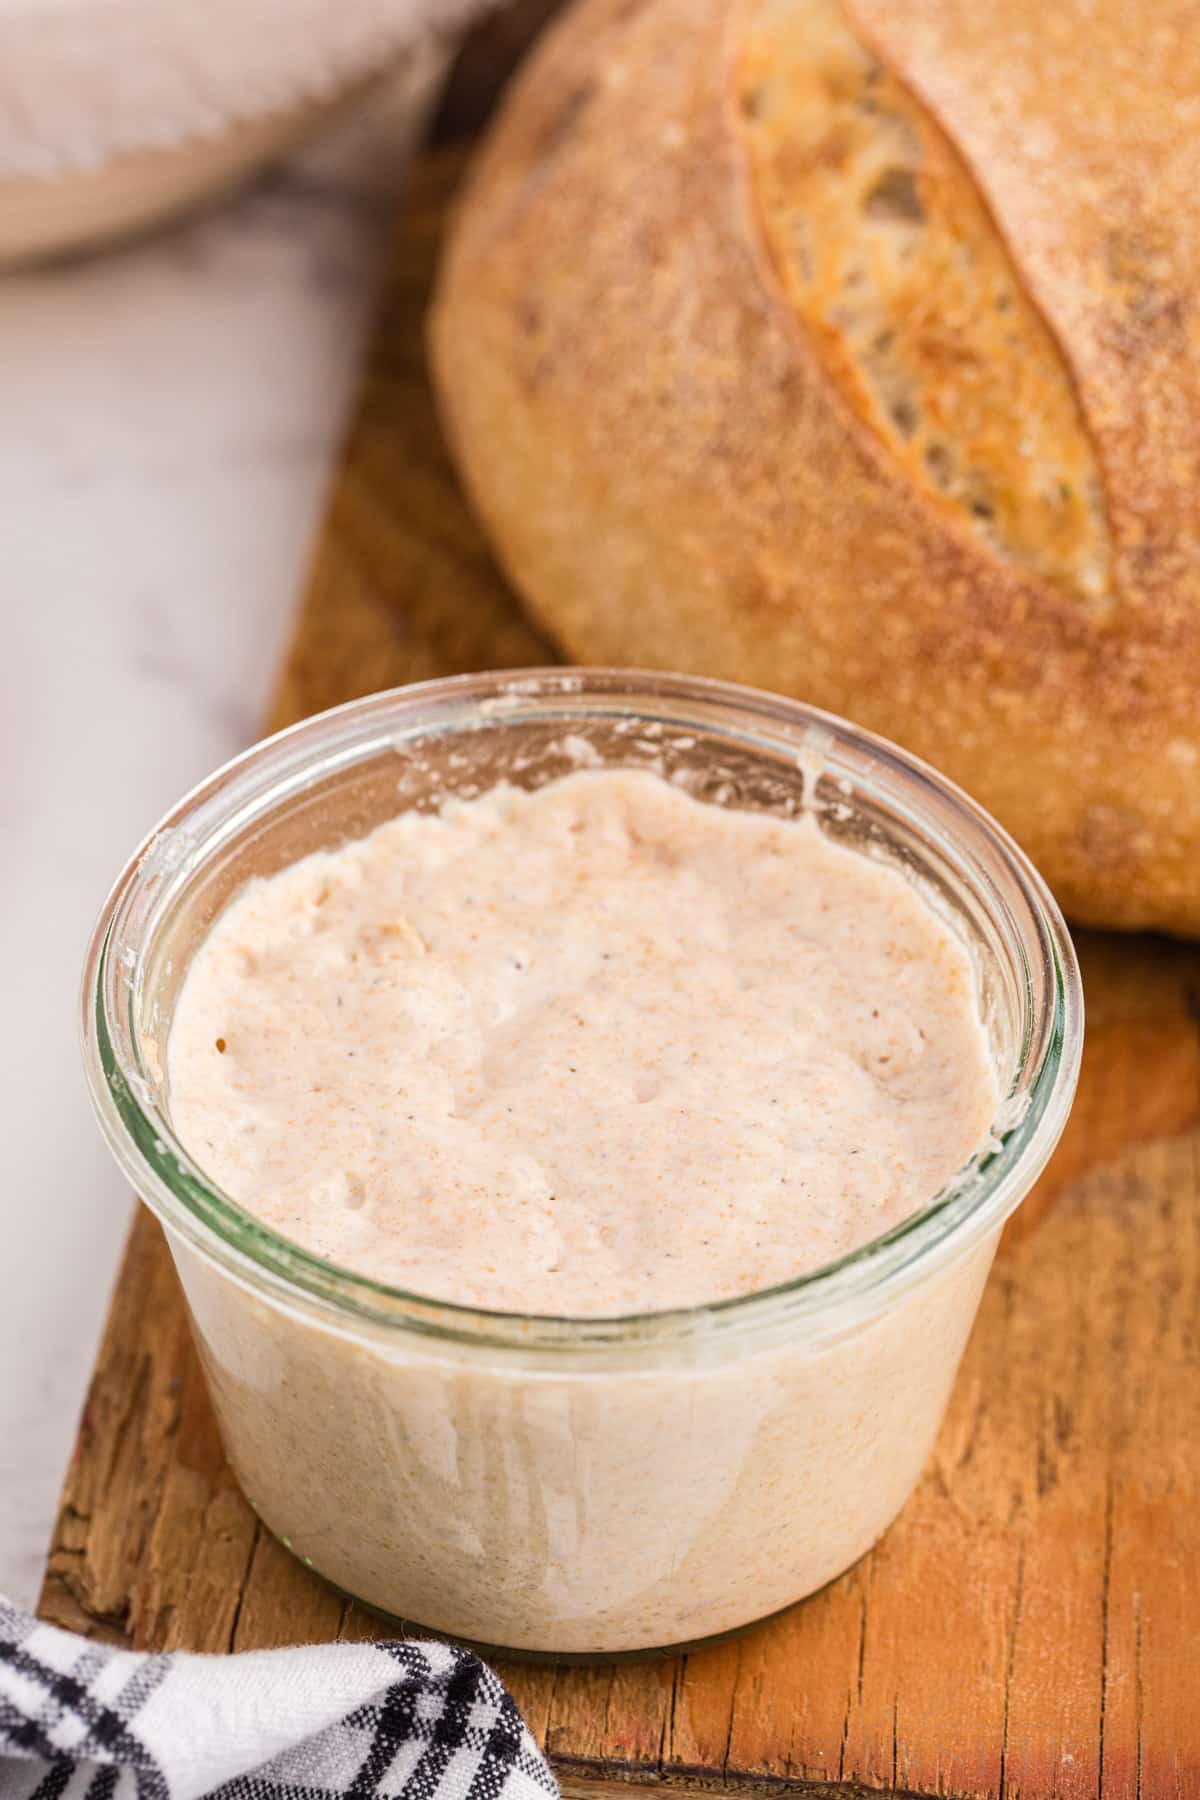
Step 10: Continue twice daily feedings for 1-2 weeks. Once the sourdough starter is doubling in volume in the first 6-8 hours after feeding, it is ready to be used to make sourdough bread.
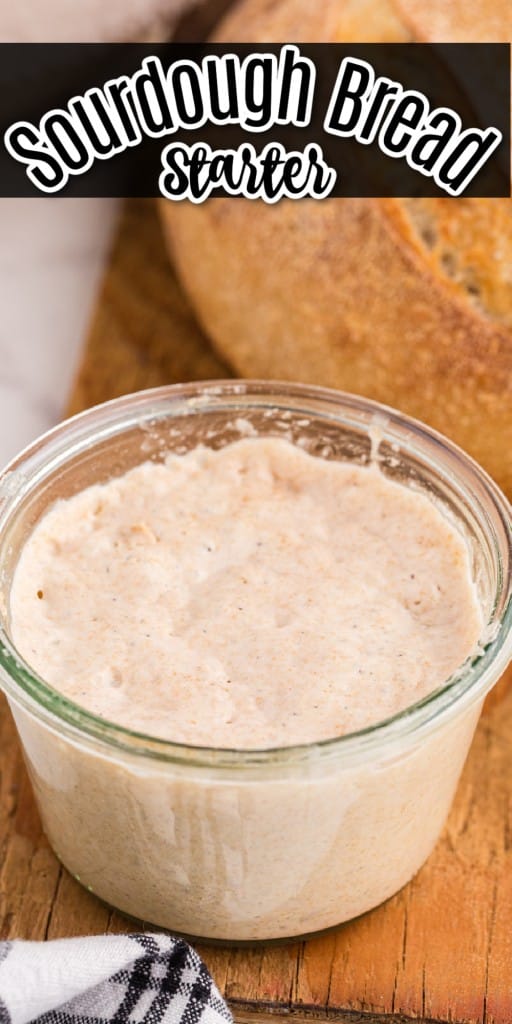
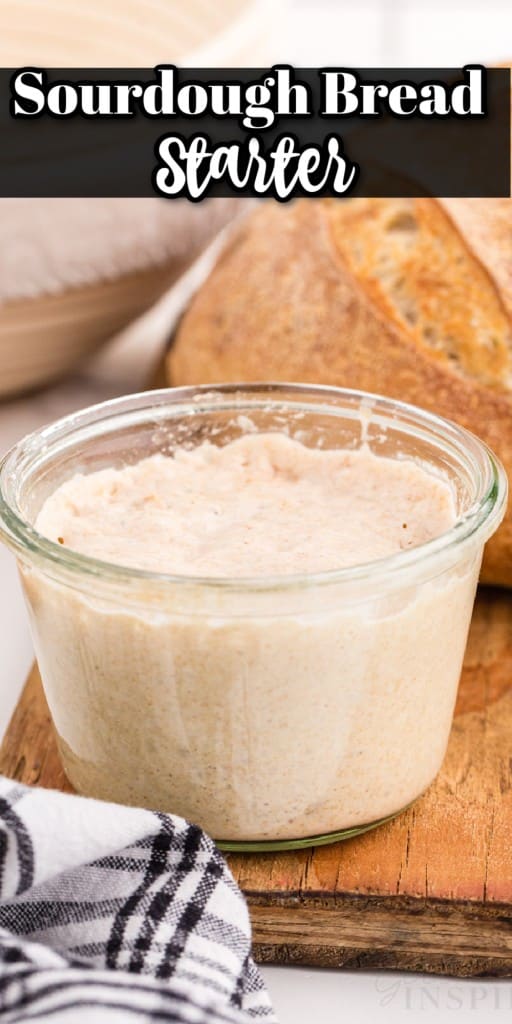
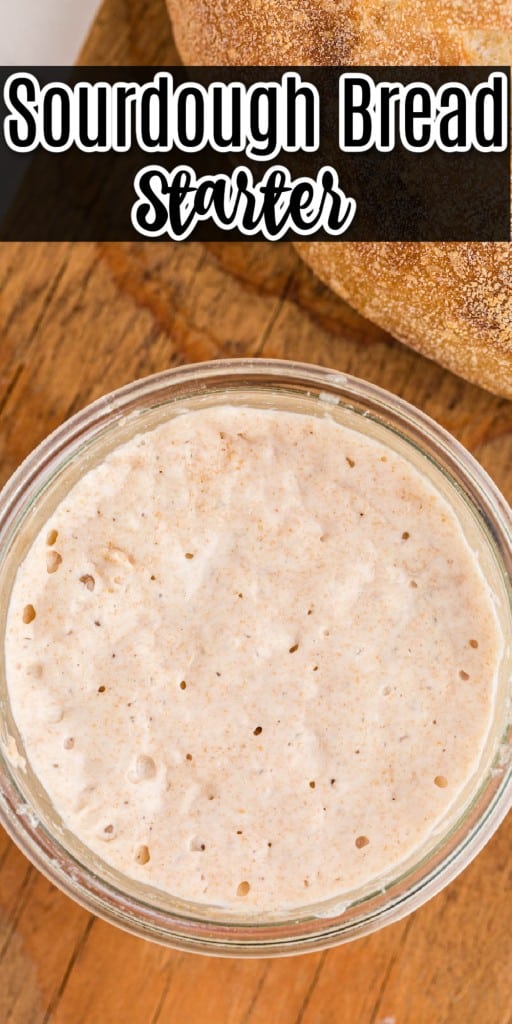
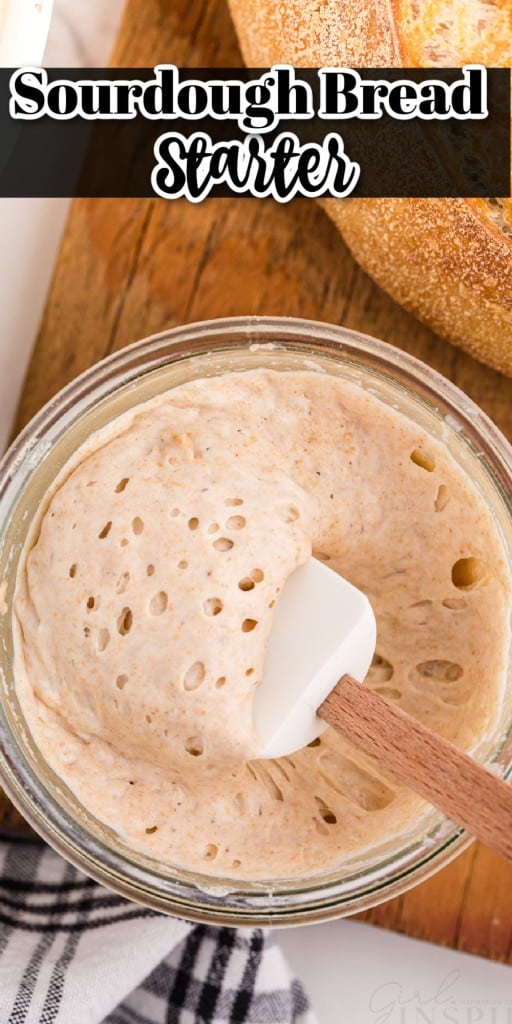
About a week in, you will notice your starter rise and fall every 6-8 hours and bubbles throughout the entire mixture. You should start to notice a regular pattern. The starter is thick when first mixed, it loosens and starts to have some bubbles on the surface after 2-3 hours. Then the starter bubbles and rises in the jar. It should be doubling in height at the 6-8 hour mark. From hours 8-12, the mixture continues to be bubbly, but will start to cave in at the top and decrease in height. At 12 hours, the mixture is “hungry” and less active and is ready to be fed. When you can regularly observe this pattern, it is a good sign that your starter is ready to make bread! This is also the point at which you no longer need to throw out your discard, but instead, use it! It’s a great way to reduce food waste, and perfect for making all kinds of yummy things.
Now that you know how to get your starter started, what are you going to name it? Puff Daddy? Shannon Dougherty? Bread Pitt? You’ve got to check out other clever names people have come up with and have fun with it!
Refrigerated Sourdough Starter
If you plan on being a daily or weekly bread maker, you can keep your starter on the counter at room temperature continuing to feed it once or twice a day. If not, you’ll want to transfer it to the fridge and feed it once a week. Upon feeding, leave it at room temperature for a few hours to get active before putting it back in the fridge. You want to do this even when you’re not baking bread just to keep it up. When you’re ready to bake with it again make sure to feed it and use it when it’s rising (active) and not falling. Otherwise, feed it again and keep an eye on it!

Tips for Success:
- Mark your jar with a dry erase marker or elastic band wrapped around the jar to mark the growth of your starter. This is an easy way to tell if your starter has doubled within that 6-8 hour window once you get it going.
- Always stir the starter before you do anything else. Stir it down and then measure out the portion you’re using for a recipe or the amount you’re transferring for feeding.
- The optimal room temperature should be 21-30°C (70-86°F) for ideal growth. The warmer the environment is, the faster the starter will proceed through the fermentation process. If it’s especially warm, you may need to feed your starter MORE frequently.
- Use plastic wrap or a glass lid to cover the jar (not a paper towel or something with a lot of breathability.) If you don’t you may find a crust form on top of the starter. It’s fine if that happens, and can just be stirred back in.
- Don’t panic if you don’t start to see bubbles on day 3. Some starters take a minute to get their bearings, depending on the type of flour, room temperature, and accurate measurements. It will happen!
- Don’t let your starter go hungry! Starving your starter is one way to kill it to a point of no return. When your starter is hungry, it may take a feed or two to get it back to active status and ready to use in bread. Once it is hungry, it is losing potency and will need some patience to get it back. Signs that your starter is hungry include: a darker color across the top, hooch developing, and a decrease in activity.
- If you start to see colored streaks in your starter and it smells off, that’s a sign it has gone bad. Don’t use it. Start again! Keep in mind it was probably contaminated with bad bacteria, perhaps from a dirty jar or sitting at a temperature that’s too hot, so just be mindful of that for next time.
FAQs
What can’t you make?! Get this, making sourdough anything, gives it amazing flavor, light, and fluffy textures and just an overall genius way of reducing waste and turning “trash into treasure” so to speak. Use it in crescent rolls, sourdough cookies, sourdough cake, pasta, all kinds of pastries, pancakes, pizza dough, and more! Sourdough discard can be used as the leavening agent in many baked goods (and will require lengthy rise times) or it can simply be used as a flour/water substitute and will provide flavor but the recipe utilizes other leavening agents (baking soda, baking powder, eggs, etc.).
You can. In fact, if you’re not going to be baking very often, I encourage you to freeze it so it doesn’t die! Before you freeze it you want to stir and feed it once more to activate it for a few hours to let it grow then separate it into 50-gram amounts. That way you only need to thaw what you need at a time. To thaw, let it sit in the fridge overnight, then bring it out to room temperature for a couple of hours, feed it and let it grow (could take a while) and then it’s ready to use.
If you care for your starter properly, the answer is indefinite. Depending on how determined you are to keep it going, it can range anywhere from a few weeks to years. If you think it has died, before throwing it away, feed it a few times just to see if you can get any activity from it. You never know!
That harmless liquid is what is referred to as the “hooch.” Some people discard it and others stir it back in for a stronger sour taste. The choice is yours! It also may be a sign your starter is hungry, so take note! I typically only see this discolored liquid on my starter when it’s past due for a feeding.
Yes! It is simple to increase the amount of starter. Sometimes, we do this in preparation for a big baking day. Simply transfer an increased amount of starter to a sterile container (e.g., 100 grams) and then add equal parts of flour (100 grams) and filtered water (100 grams). Whatever the amount, you simply be sure to match it with equal amounts flour and water.
Sourdough Starter
Ingredients
- 50 grams Whole wheat or whole rye flour
- 50 grams Filtered water
Instructions
- Day 1: In a small bowl, combine 50 grams whole wheat flour and 50 grams of filtered water. Stir together until an even paste forms. Cover with plastic wrap and set in a warm, draft-free location.
- Day 2: After 24 hours, stir the mixture. Transfer 50 grams of the mixture to a clean container (discard the rest). To the 50 grams of starter, add 50 grams whole wheat flour and 50 grams of filtered water. Stir, cover, and return to warm location for another 24 hours.
- Day 3: You should begin to see signs of fermentation on day 3 – bubbles, a slight aroma. Begin feedings twice a day (about 12 hours apart) once you see signs of fermentation. Measure 50 grams of the starter mixture into a clean jar (choose a container with enough room for mixture to at least double). Add 50 grams of flour and 50 grams of filtered water. Discard the extra starter. Repeat this process every 12 hours.
- Day 4 and beyond: Continue with feedings every 12 hours. Measure out a portion of your starter and feed with equal amounts of flour and water. After 1-2 weeks, the mixture should begin doubling after about 6-8 hours. When the starter is doubling in 6-8 hours regularly, with large bubbles throughout the whole mixture, it is ready to use in bread.
Notes
Nutrition
Make this recipe?
Share it with me on Instagram @girlinspired1 and follow on Pinterest for more!



Leave A Reply!