Making festive reindeer cupcakes is super easy using a basic chocolate cupcake recipe and some readily available cookies and candies. The actual cupcake batter only requires 4 ingredients and you can have them baked and decorated from start to finish in just 1 hour!
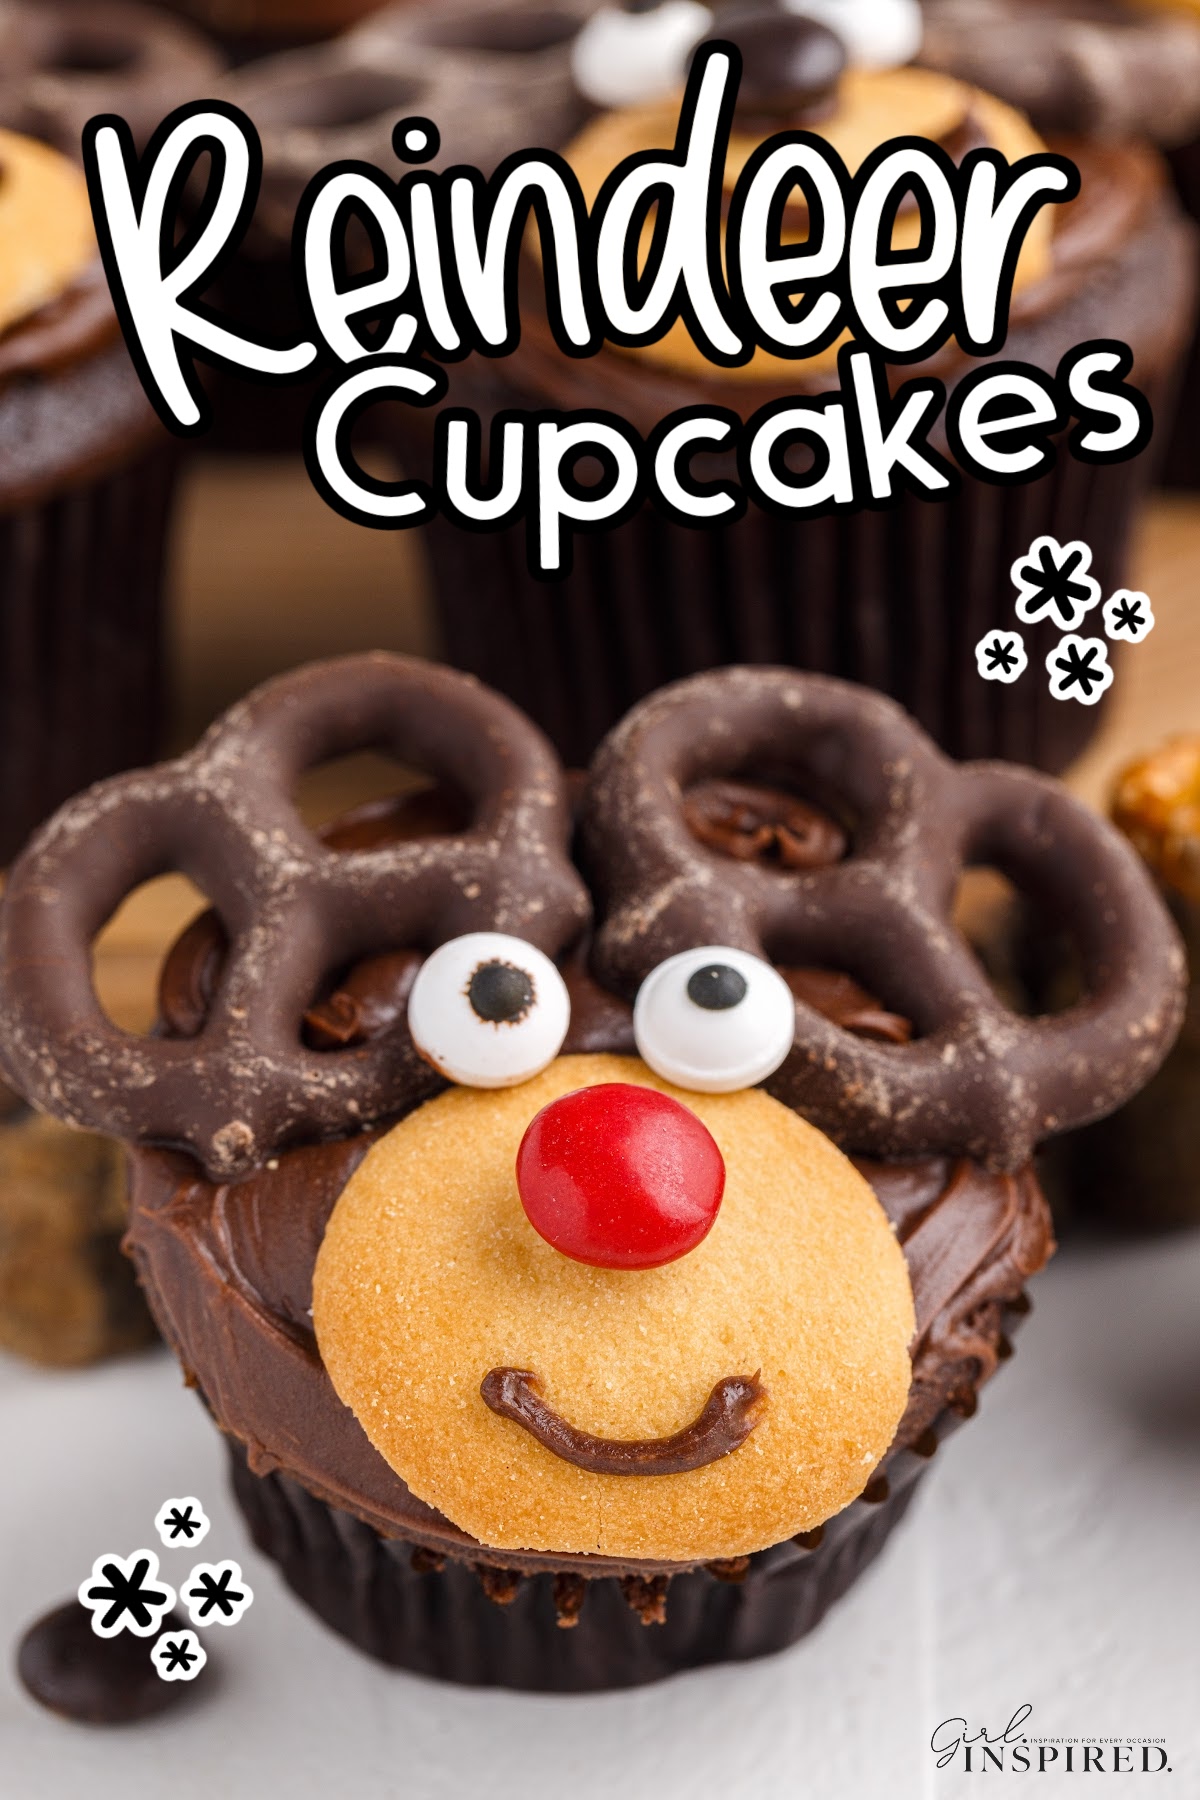
For those holiday parties where you really want to wow your guests, consider whipping up a batch of these Rudolph cupcakes. These are actually so much fun if you want to host a decorating Christmas party. You can bake and frost the cupcakes ahead of time, then let the kids handle the decorations. It will be a great time for all ages!
We absolutely love making animal or novelty themed treats like our penguin cookies, bunny butt cupcakes, bat cupcakes, chocolate cherry mice, and chocolate covered strawberry Christmas trees. Now we’ve added these Christmas cupcakes and the kids really enjoy them. If your children’s school allows homemade treats to be brought in, they will love these Christmas reindeer cupcakes for Christmas parties.
Jump to:
Why You’ll Love These Reindeer Cupcakes
- Quick and easy peasy – Just 4 ingredients and 1 hour of cook and decorate time.
- A clever, memorable holiday party treat that will be a huge hit!
- Kids love decorating these cute reindeer cupcakes as much as they love eating them! If you need some reindeer decoration ideas, see below:
🧁 Ingredients:
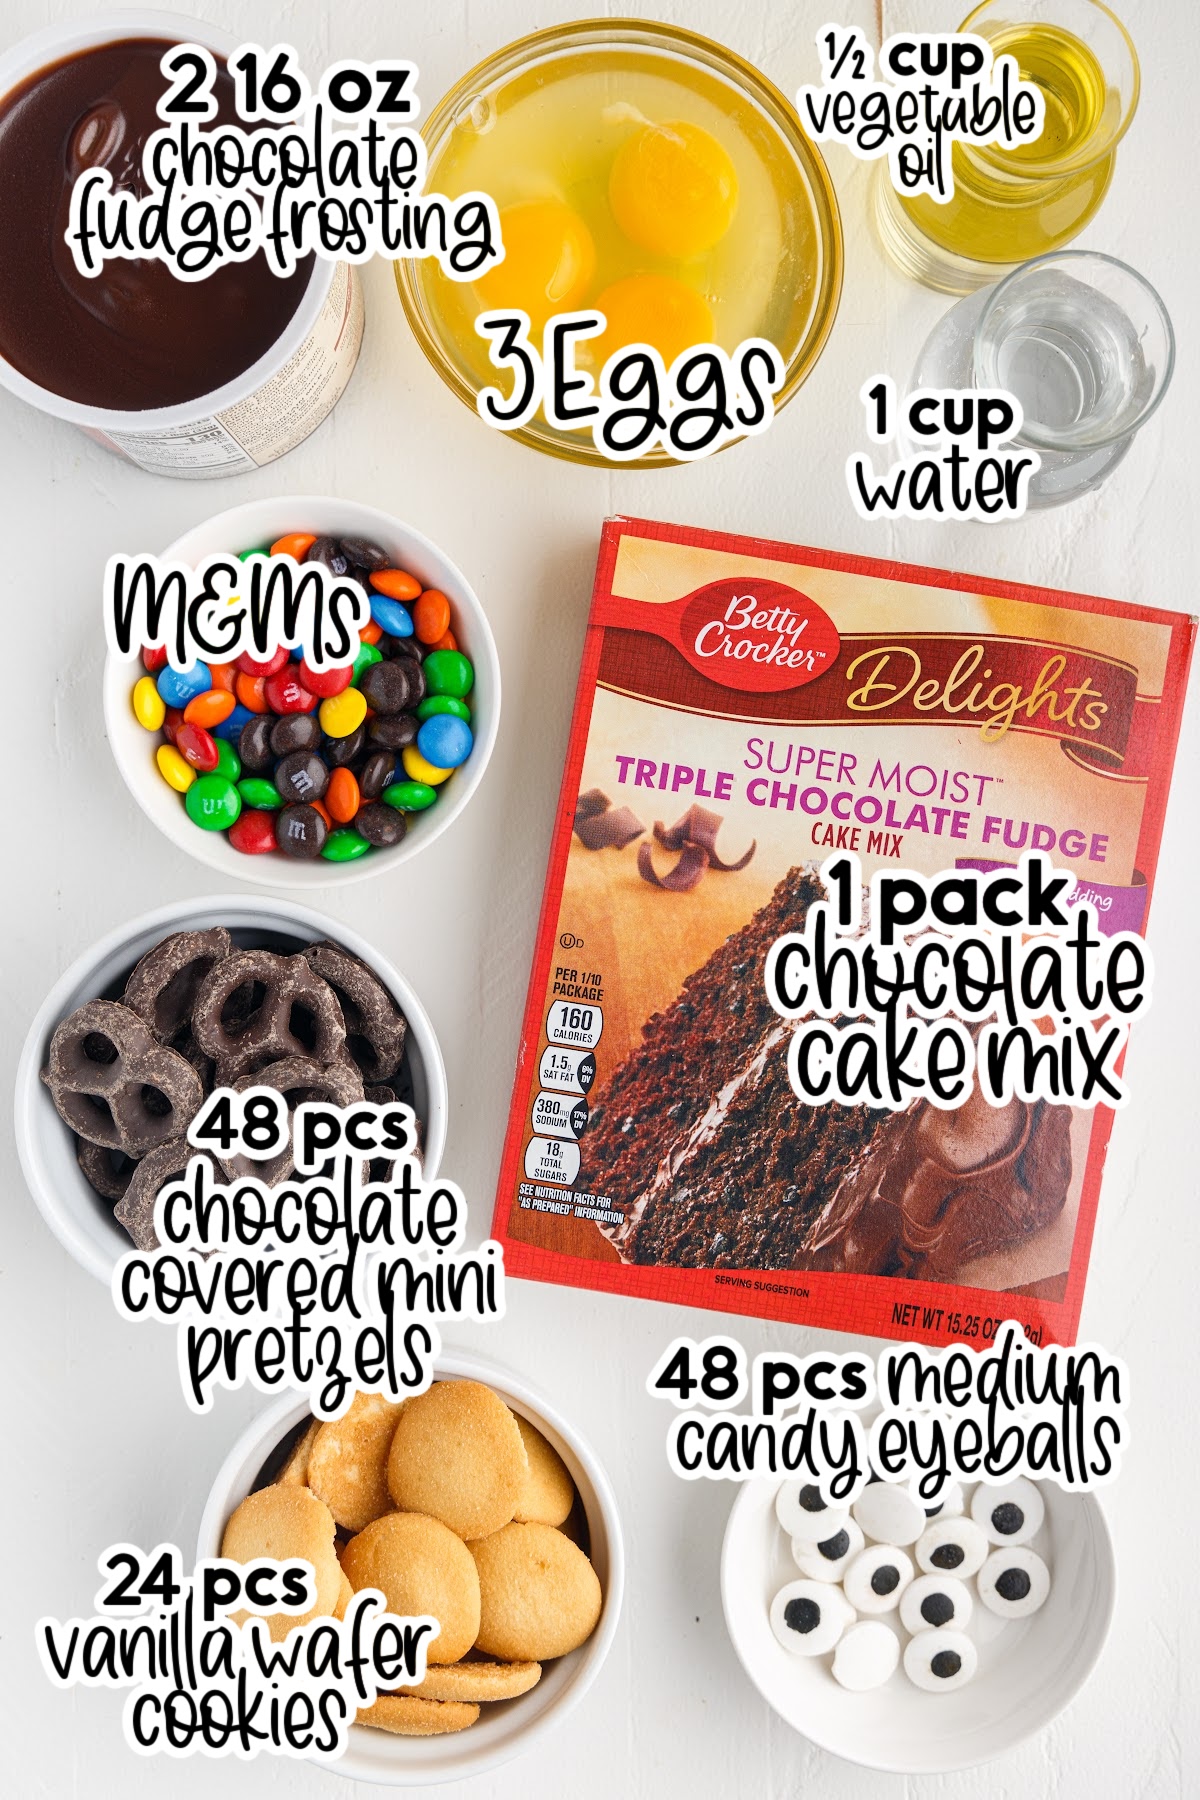
Chocolate Cupcake Ingredients:
- Chocolate cake mix – use your favorite box mix brand. For an extra fudgy cupcake use Devil’s Food
- Eggs – room temperature eggs incorporate more air and can make a fluffier cupcake
- Water
- Vegetable oil
What You Need for the Reindeer Decorations:
- Chocolate fudge frosting – you can make your own icing, we love this dark chocolate buttercream, but store bought is much easier to use since there is more decorating to be done
- Vanilla wafer cookies – also known as Nilla Wafers, which are for the faces
- Brown and red M&Ms – we are going to use these for the reindeer noses, I just pick a red m&m (for the red candy nose) and a brown m&m (for the other reindeers) out of a regular bag of m&ms.
- Chocolate covered mini pretzels – Pretzel antlers!! You could also use regular pretzels for a different look.
- Candy eyeballs – these are readily available nowadays, certainly available at craft stores like Michael’s and Joanns, but I also see them hanging with the candles and sprinkles in the baking aisle of the supermarket.
For a full list of ingredients and their measurements, 📋 please view my printable full recipe card at the bottom of the post.
Substitutions and Variations
- Use our homemade chocolate cupcake recipe for the cupcakes OR use premade cupcakes from the grocery store!
- Our double chocolate cupcakes recipe would also be great for the cake and/or frosting portion.
- White candy melts could be substituted for the Nilla wafers.
- If you don’t have candy eyes you can use a piping bag with white frosting for the base, then use brown or black for the inner portion.
🔪 Instructions:
PREP: Preheat oven to 350°F or temperature indicated on box of cake mix.
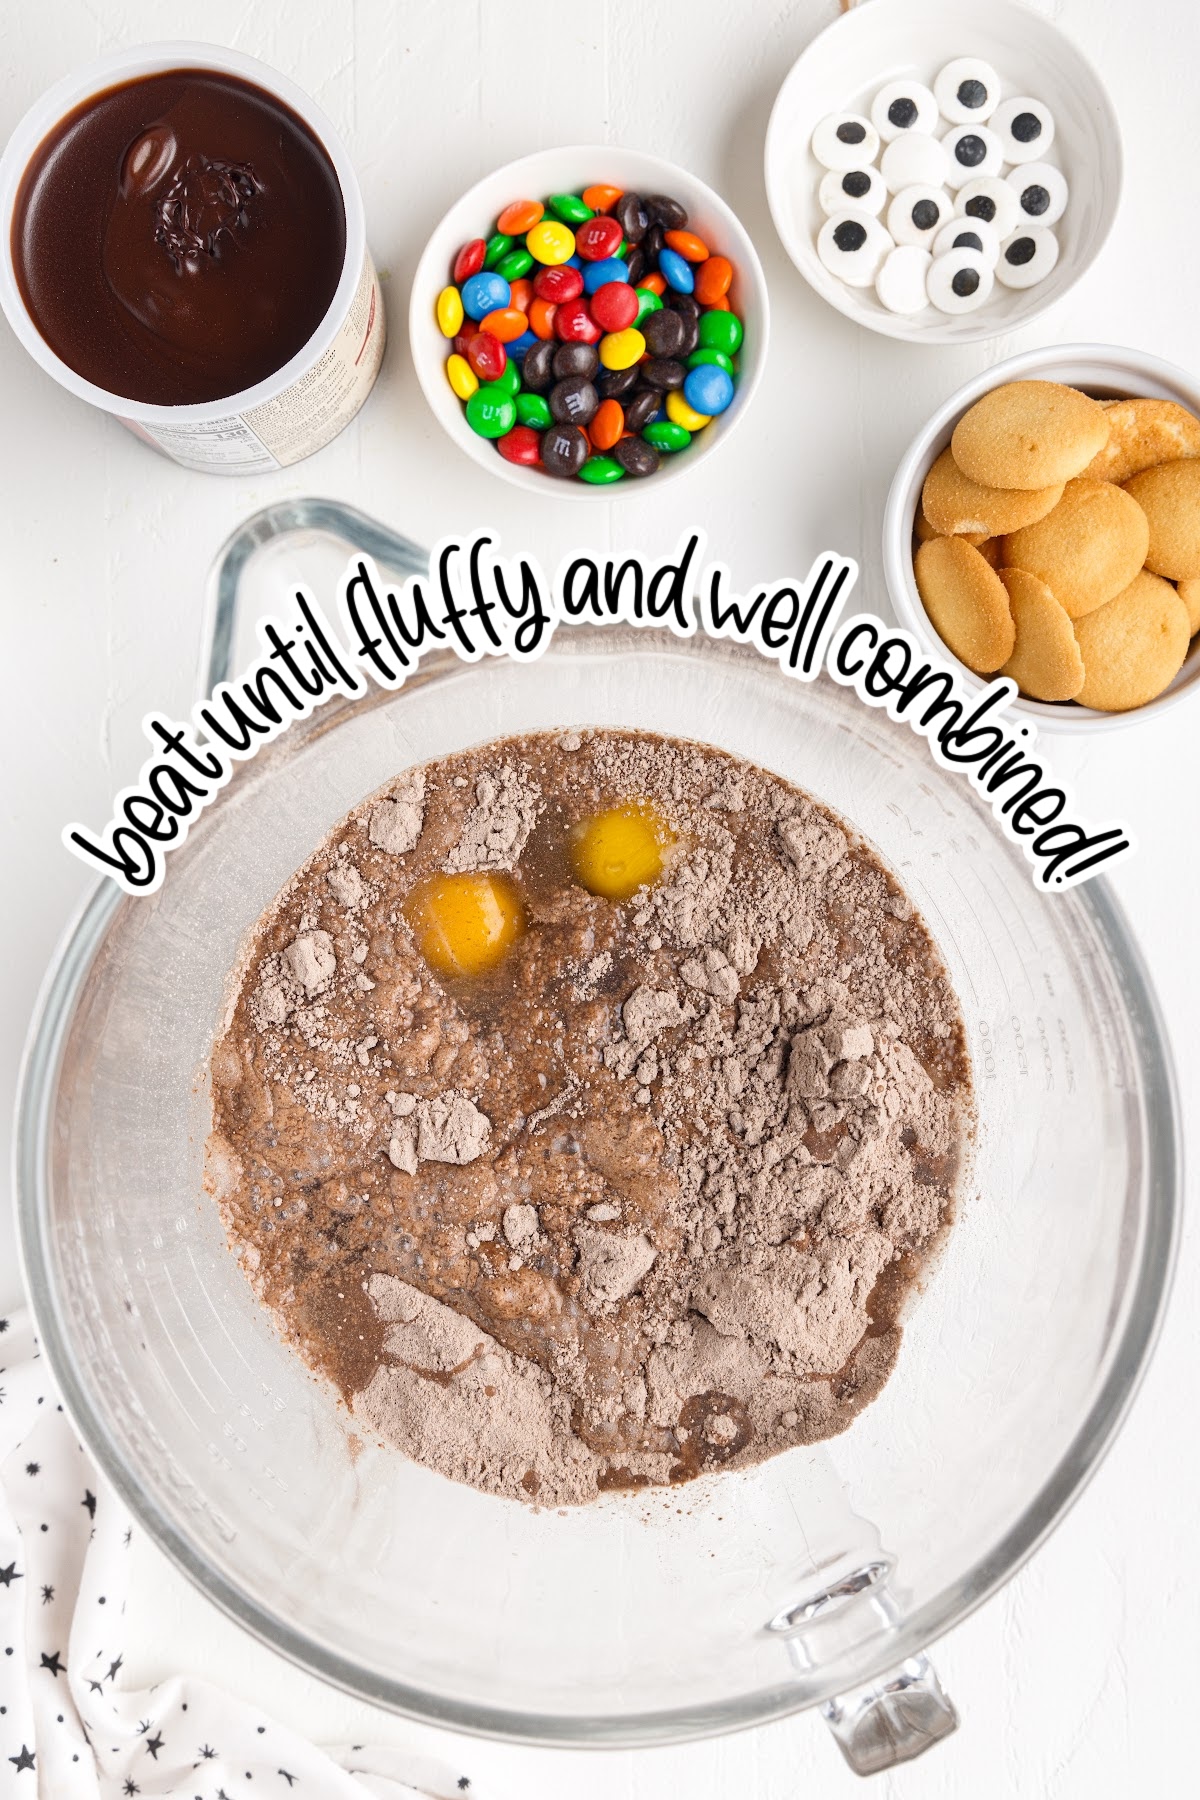
Step 1: Combine ingredients for cake in a large bowl. Beat together using a hand or electric mixer until fluffy. Use the quantity of eggs, oil, water, etc. indicated on your particular box of cake mix.
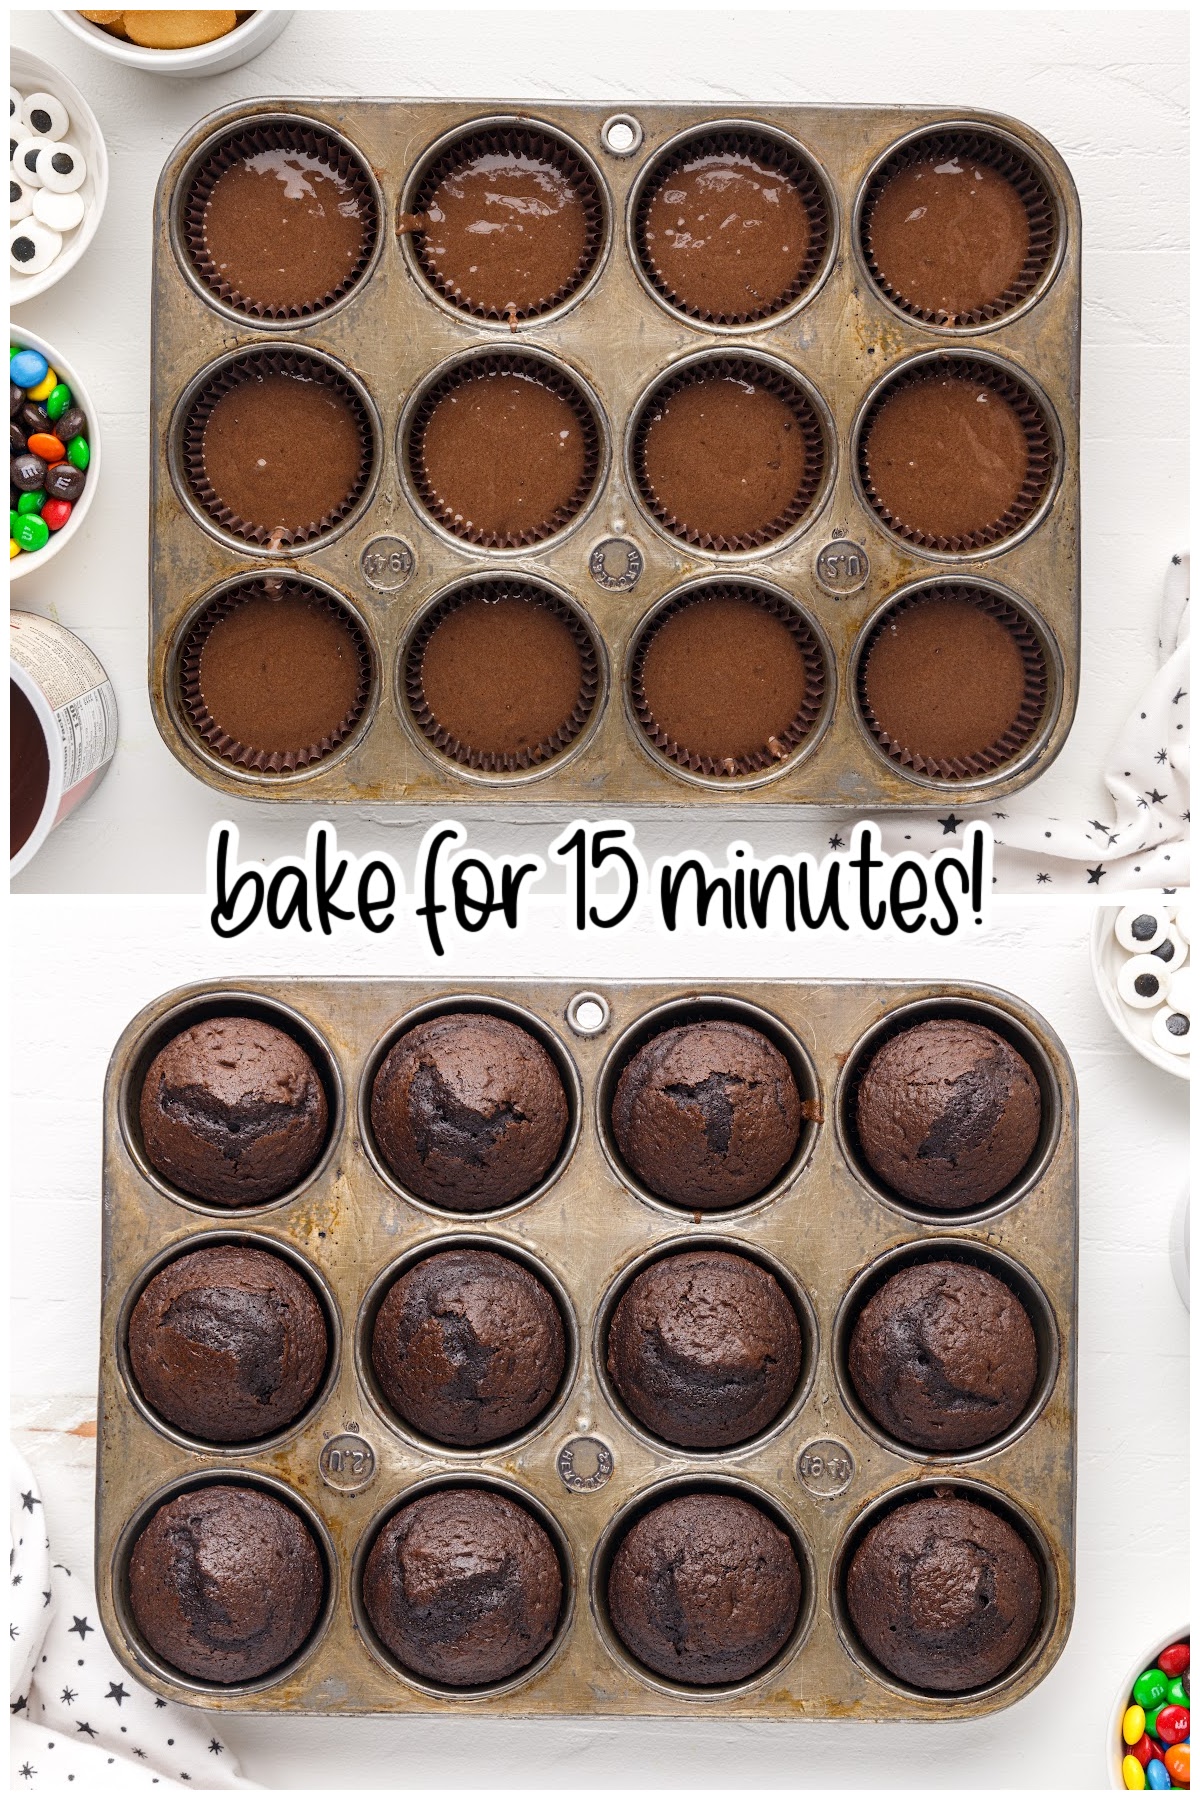
Step 2: Place the cupcake liners into a muffin tin and fill about ⅔ of the way full. Bake for 15 minutes at 350 degrees, or follow the instructions on the cake mix packaging.
Step 3: Place about ½ cup of the frosting into a Ziploc bag and snip off the tip of one corner. We will use this frosting as the “glue” to attach the candy decorations. If you already have real piping bags on hand, you can certainly use those instead.
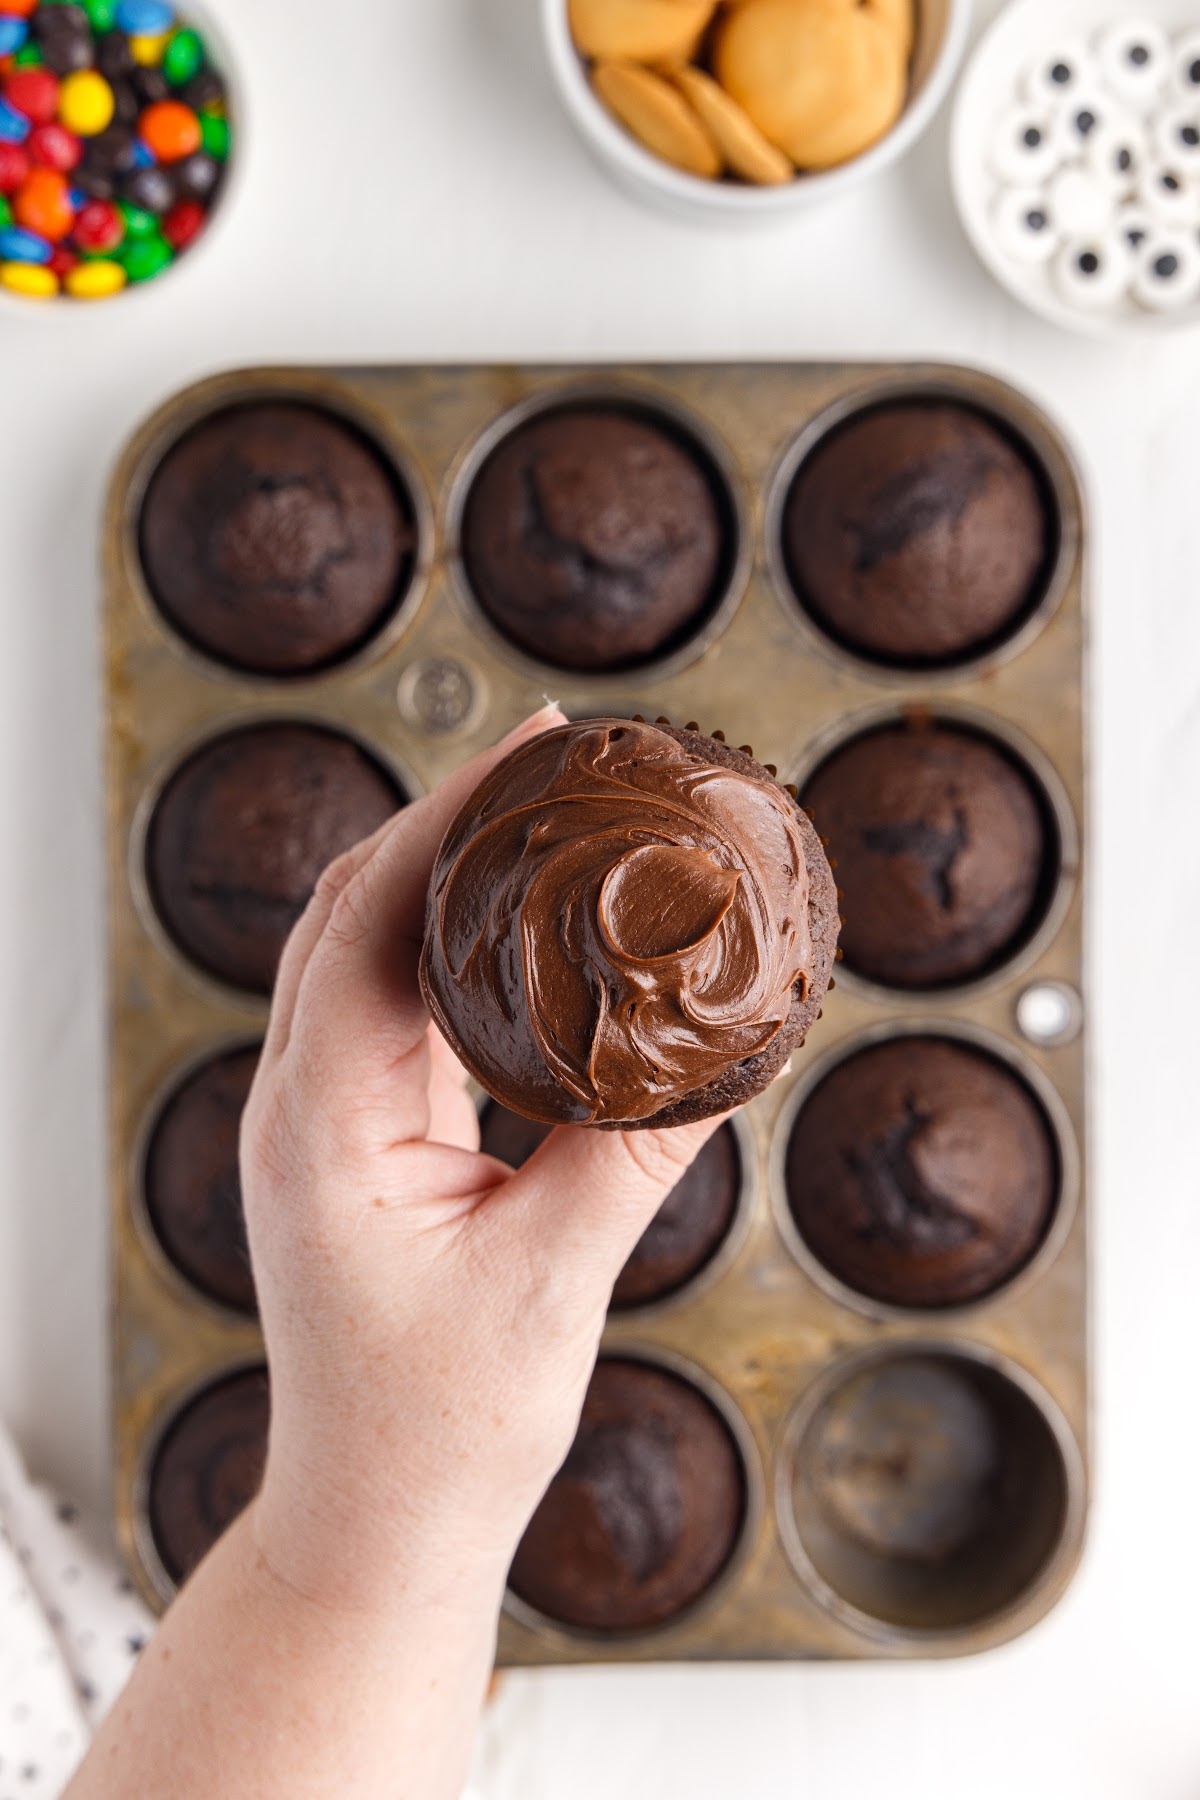
Step 4: Allow chocolate cupcakes to cool completely on a cooling rack. Ice them with chocolate frosting. If the top of the cupcake has a dome shape, use a serrated knife to cut the top to flatten them out.
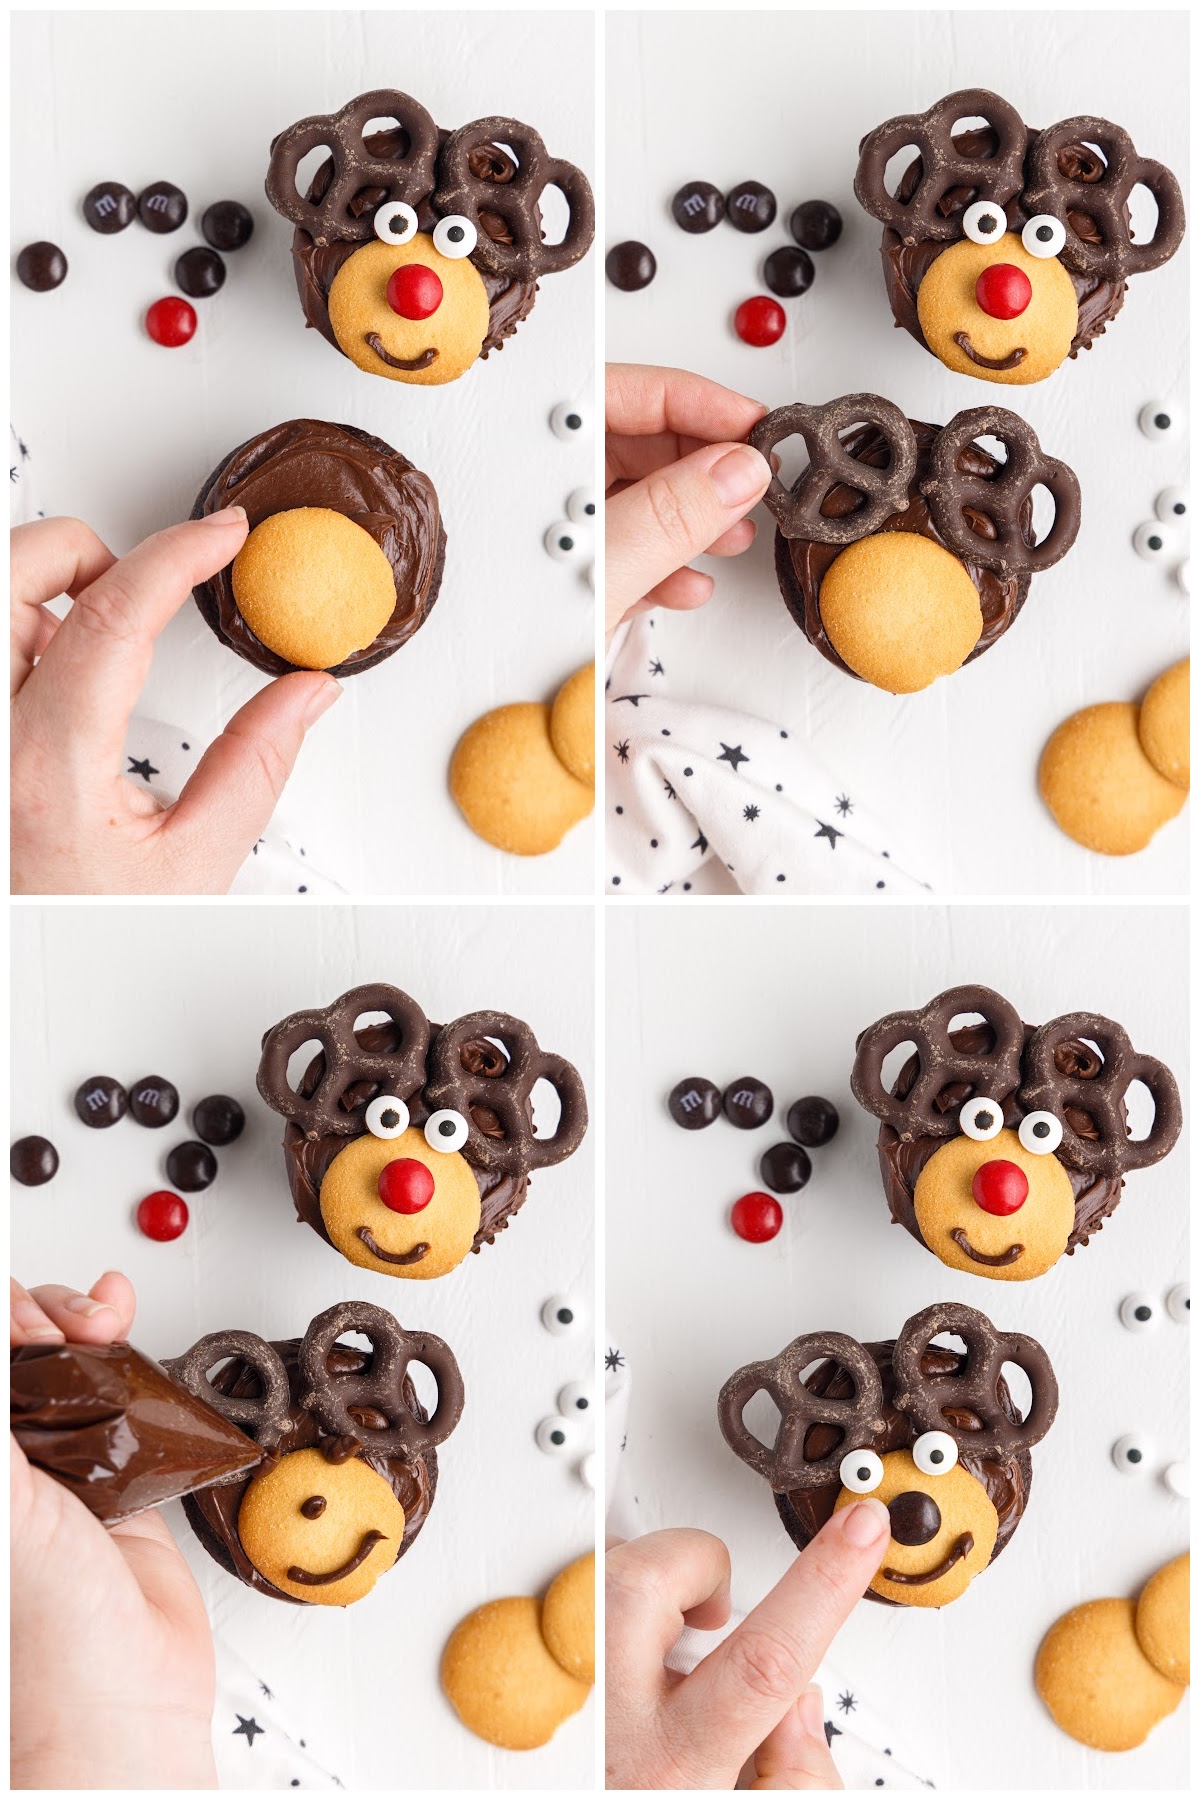
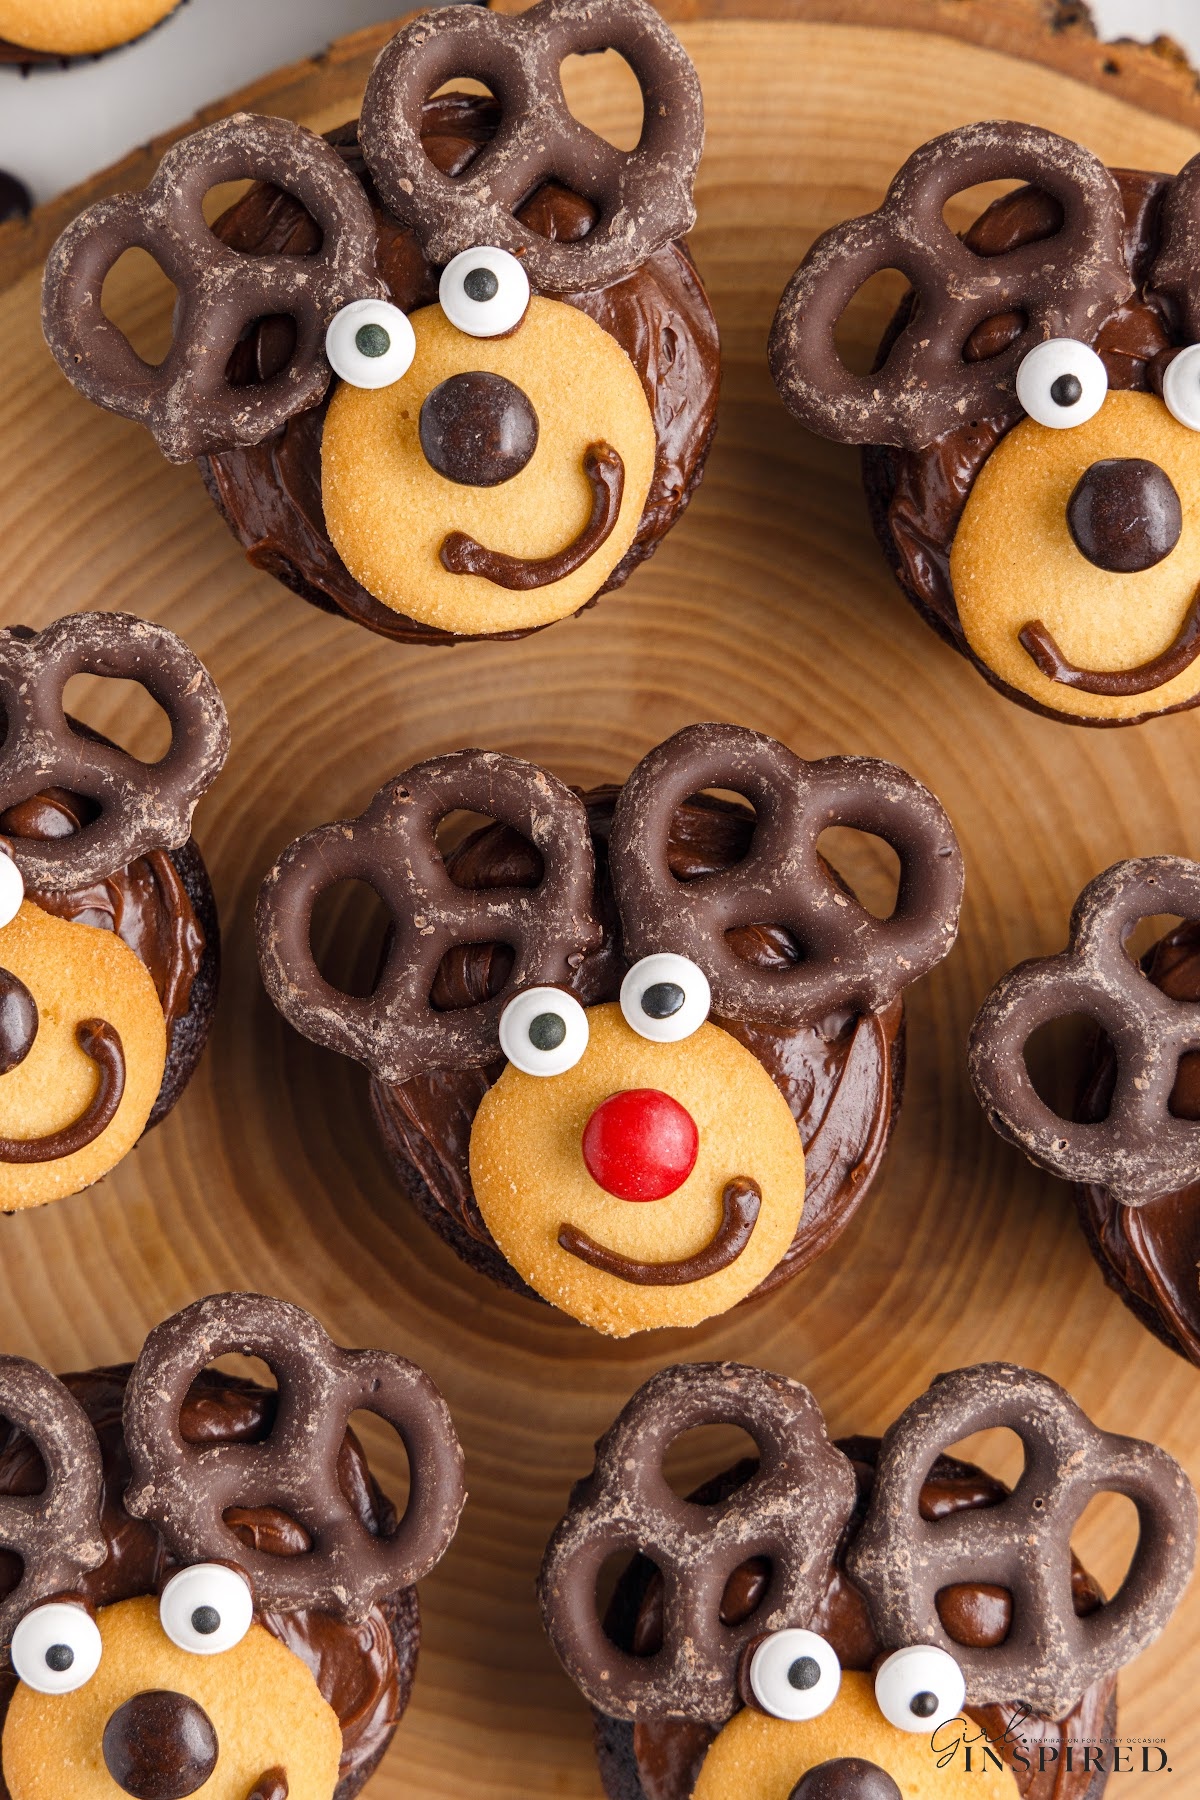
Step 5: Place the vanilla wafers a little off-center on the edge of each cupcake. Use two mini pretzels for the antlers of each one (some can be chocolate antlers with chocolate covered pretzels), placing them just above the cookie. Pipe two small dots at the base of the pretzels, just above the wafer, and press on the candy eyes. Pipe a dot of icing on the middle of the reindeer face, and use a brown or red m&m for the nose. Draw a smile with the icing just below the nose.
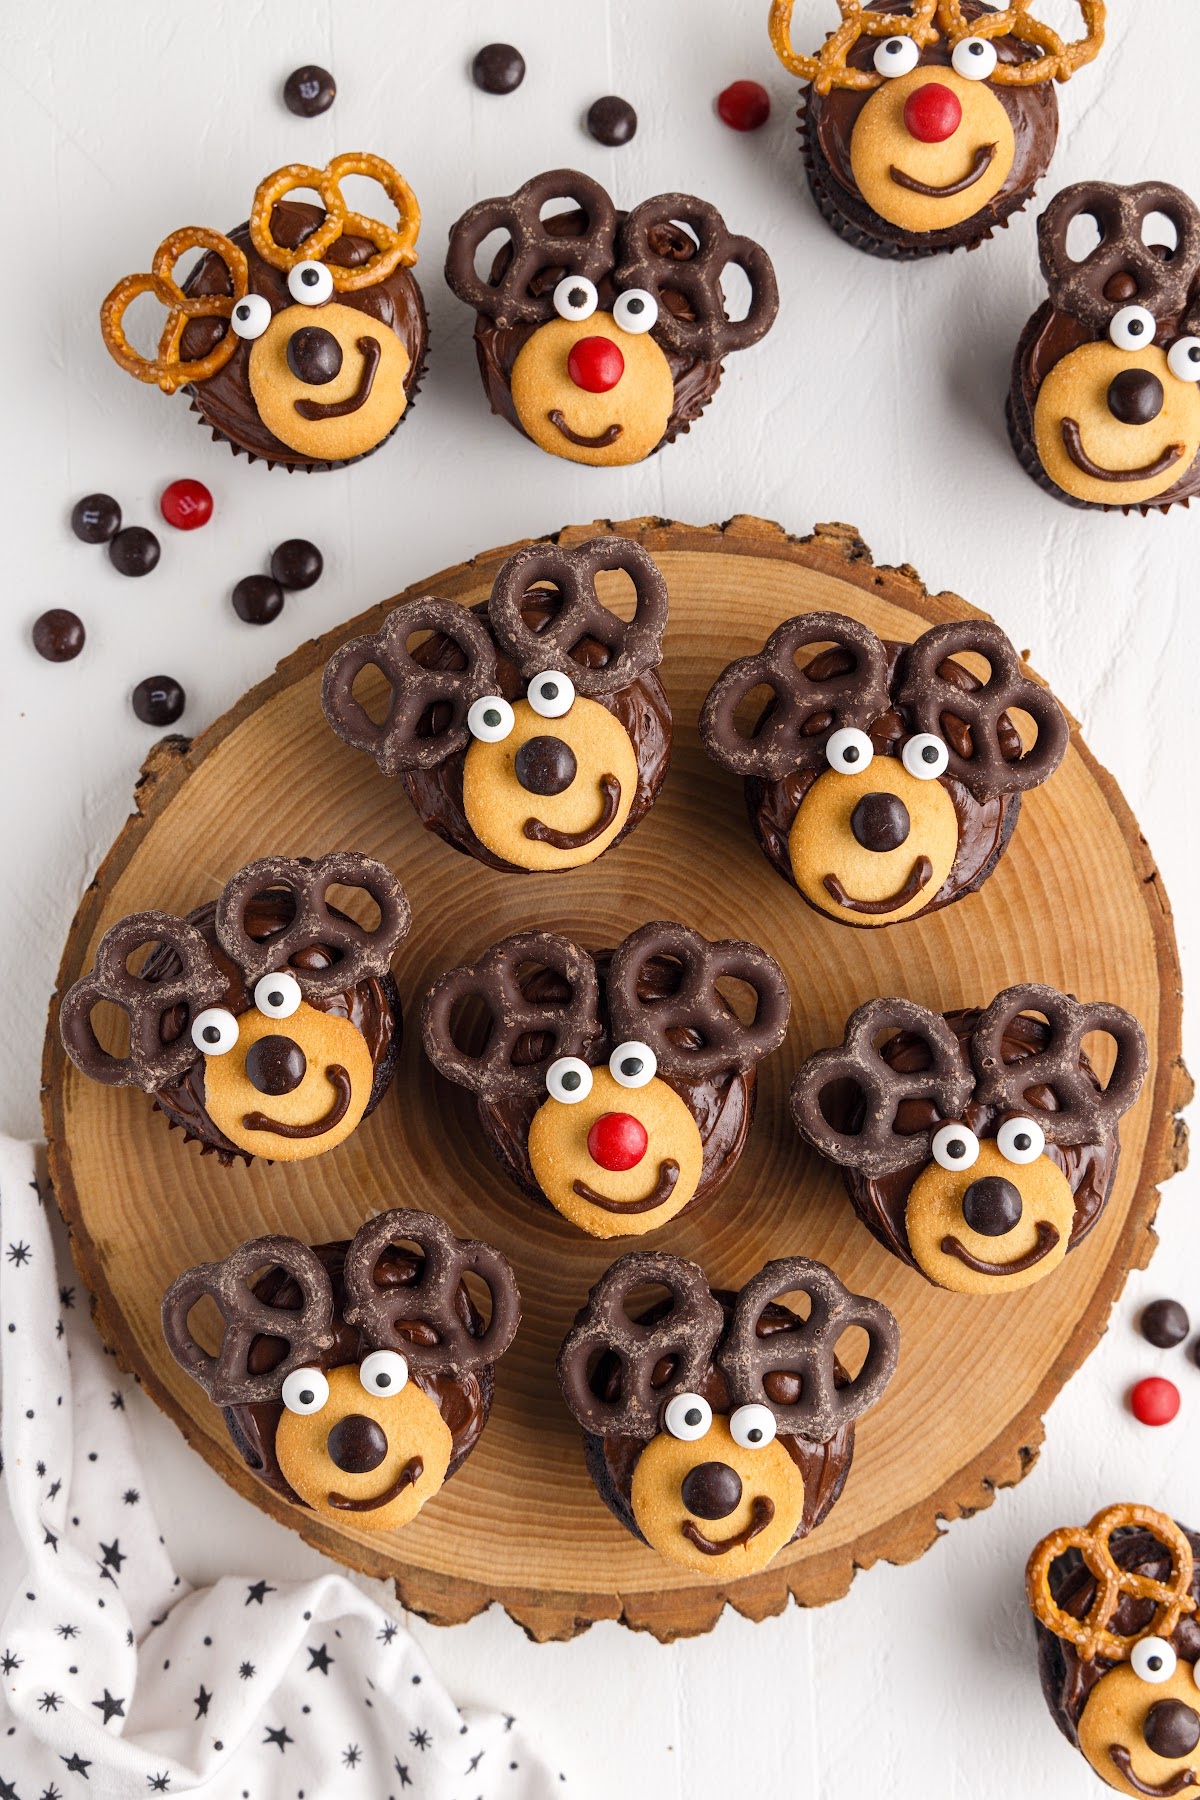
Step 6: Continue decorating the top of each cupcake. Add any decorations or variations you want, this should be fun! Cupcakes are ready to eat as soon as they’re frosted.
Recipe Tips for making the CUTEST Reindeer cupcakes
- A flat top on the cupcakes is helpful to hold the decorations on one plane – otherwise, they start slipping or look funny at different angles.
- If you use grocery store frosted cupcakes, I’d recommend taking an offset spatula/knife and just smooth out the frosting into a flat top.
- Make different faces/smiles/expressions with the frosting for variety.
- We used chocolate covered pretzels. Regular mini pretzels can also be used.
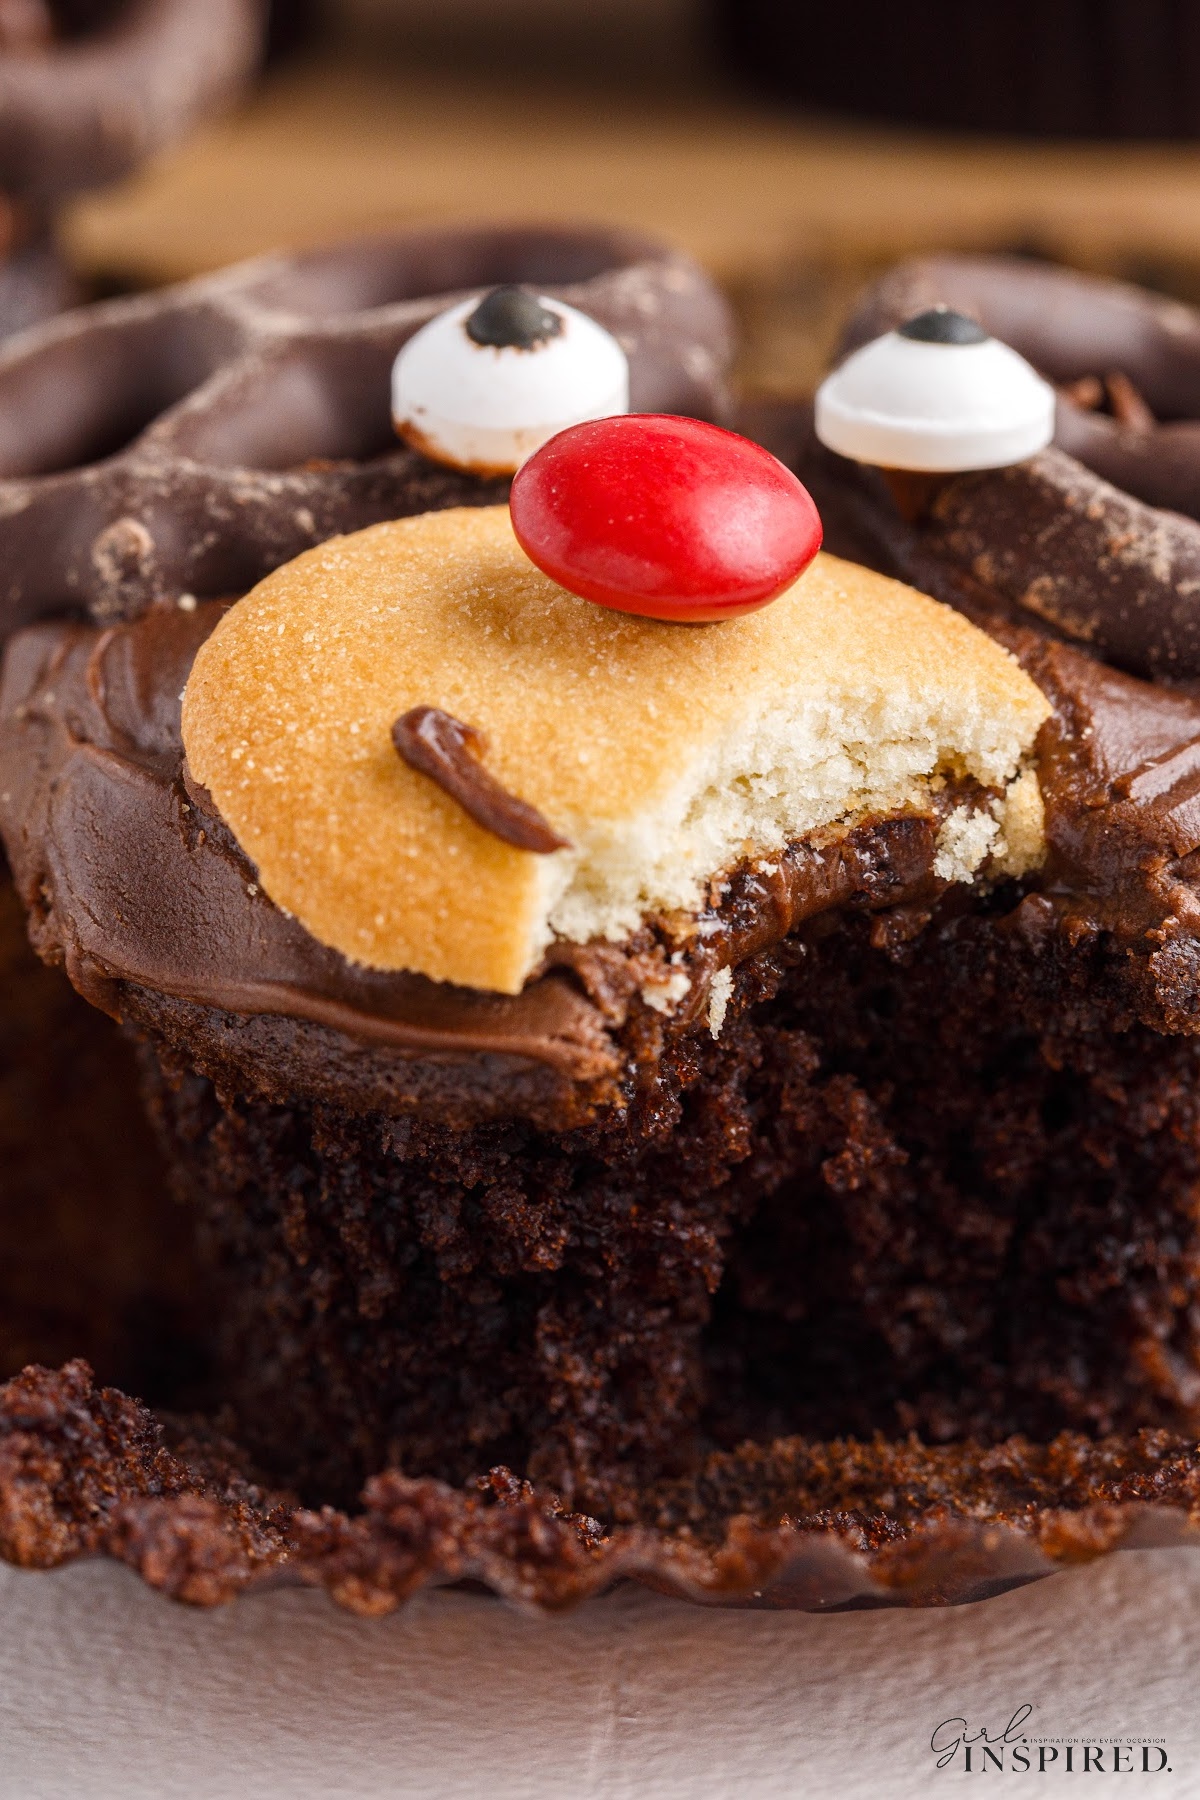
- You can keep these festive cupcakes in an airtight container on the countertop or in the refrigerator for up to a week. Feel free to freeze the cupcakes so you can have those ready ahead of time, but I don’t recommend freezing them after decorating. Take note that the vanilla cookie may get soggy or soft after setting out for more than a half day or so. If you need to prepare cupcakes in advance, I would bake and frost a day ahead and then quickly pop on the decorations just before serving.
EASY HOLIDAY RECIPES YOU’LL LOVE
If you make these adorable Reindeer Cupcakes or any other recipe on my website, please please leave a 🌟 star rating and let me know how you liked it in the 📝 comments below
Reindeer Cupcakes
Equipment
- 1 piping bag
- 1 cupcake tray
- 1 hand mixer
Ingredients
Chocolate Cupcake Ingredients:
- 1 package chocolate cake mix
- 3 large eggs
- 1 cup water
- ½ cup vegetable oil
Reindeer Decoration Ingredients:
- 2 – 16 oz. tubs chocolate fudge frosting
- 24 vanilla wafer cookies
- Brown and red M&Ms
- 48 chocolate covered mini pretzels
- 48 medium candy eyeballs
Instructions
- Prepare cupcakes – In a mixing bowl, combine cake mix, eggs, water, and oil.. Beat with a hand mixer or the standing mixer for 2-3 minutes until fluffy and well combined.
- Line a muffin tin with cupcake liners and fill each liner ⅔ of the way full. Bake according to the cake mix package instructions (approximately 15 minutes at 350°F.)
- Allow cupcakes to cool completely.
- If the cupcakes have domed tops, use a serrated knife to trim off the dome and form a flat top. Frost with chocolate frosting.
- Transfer about ½ cup of the frosting to a small ziploc bag and cut a very small opening in the corner to use it as a piping bag.
- Place one vanilla wafer along the edge of each cupcake (off center).
- Place two miniature chocolate covered pretzels above the vanilla wafer to form the reindeer antlers.
- Use the “piping bag” to pipe two small dots of frosting and place two eyeballs at the base of the pretzels and just above the vanilla wafer cookie.
- Pipe a dot of frosting to glue on an M&M nose.
- Pipe a mouth below the nose.
Notes
-
- A flat top on the cupcakes is helpful to hold the decorations on one plane – otherwise, they start slipping or look funny at different angles.
-
- If you use grocery store frosted cupcakes, I’d recommend taking an offset spatula/knife and just smooth out the frosting into a flat top.
-
- Make different faces/smiles/expressions with the frosting for variety.
- White candy melts can be substituted for the Nilla wafers and regular mini pretzels can be swapped for the chocolate covered variety.
-
- You can keep these cupcakes in an airtight container on the countertop or in the refrigerator for up to a week. Feel free to freeze the cupcakes so you can have those ready ahead of time, but I don’t recommend freezing them after decorating. Take note that the vanilla cookie may get soggy or soft after setting out for more than a half day or so. If you need to prepare cupcakes in advance, I would bake and frost a day ahead and then quickly pop on the decorations just before serving.
Nutrition
Make this recipe?
Share it with me on Instagram @girlinspired1 and follow on Pinterest for more!





Leave A Reply!