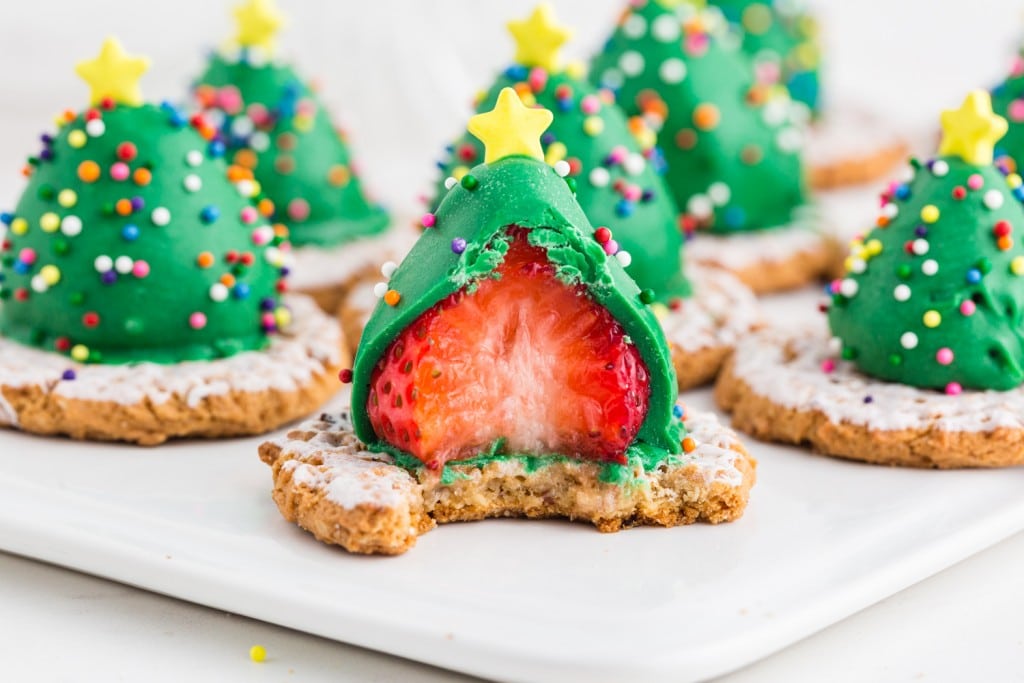
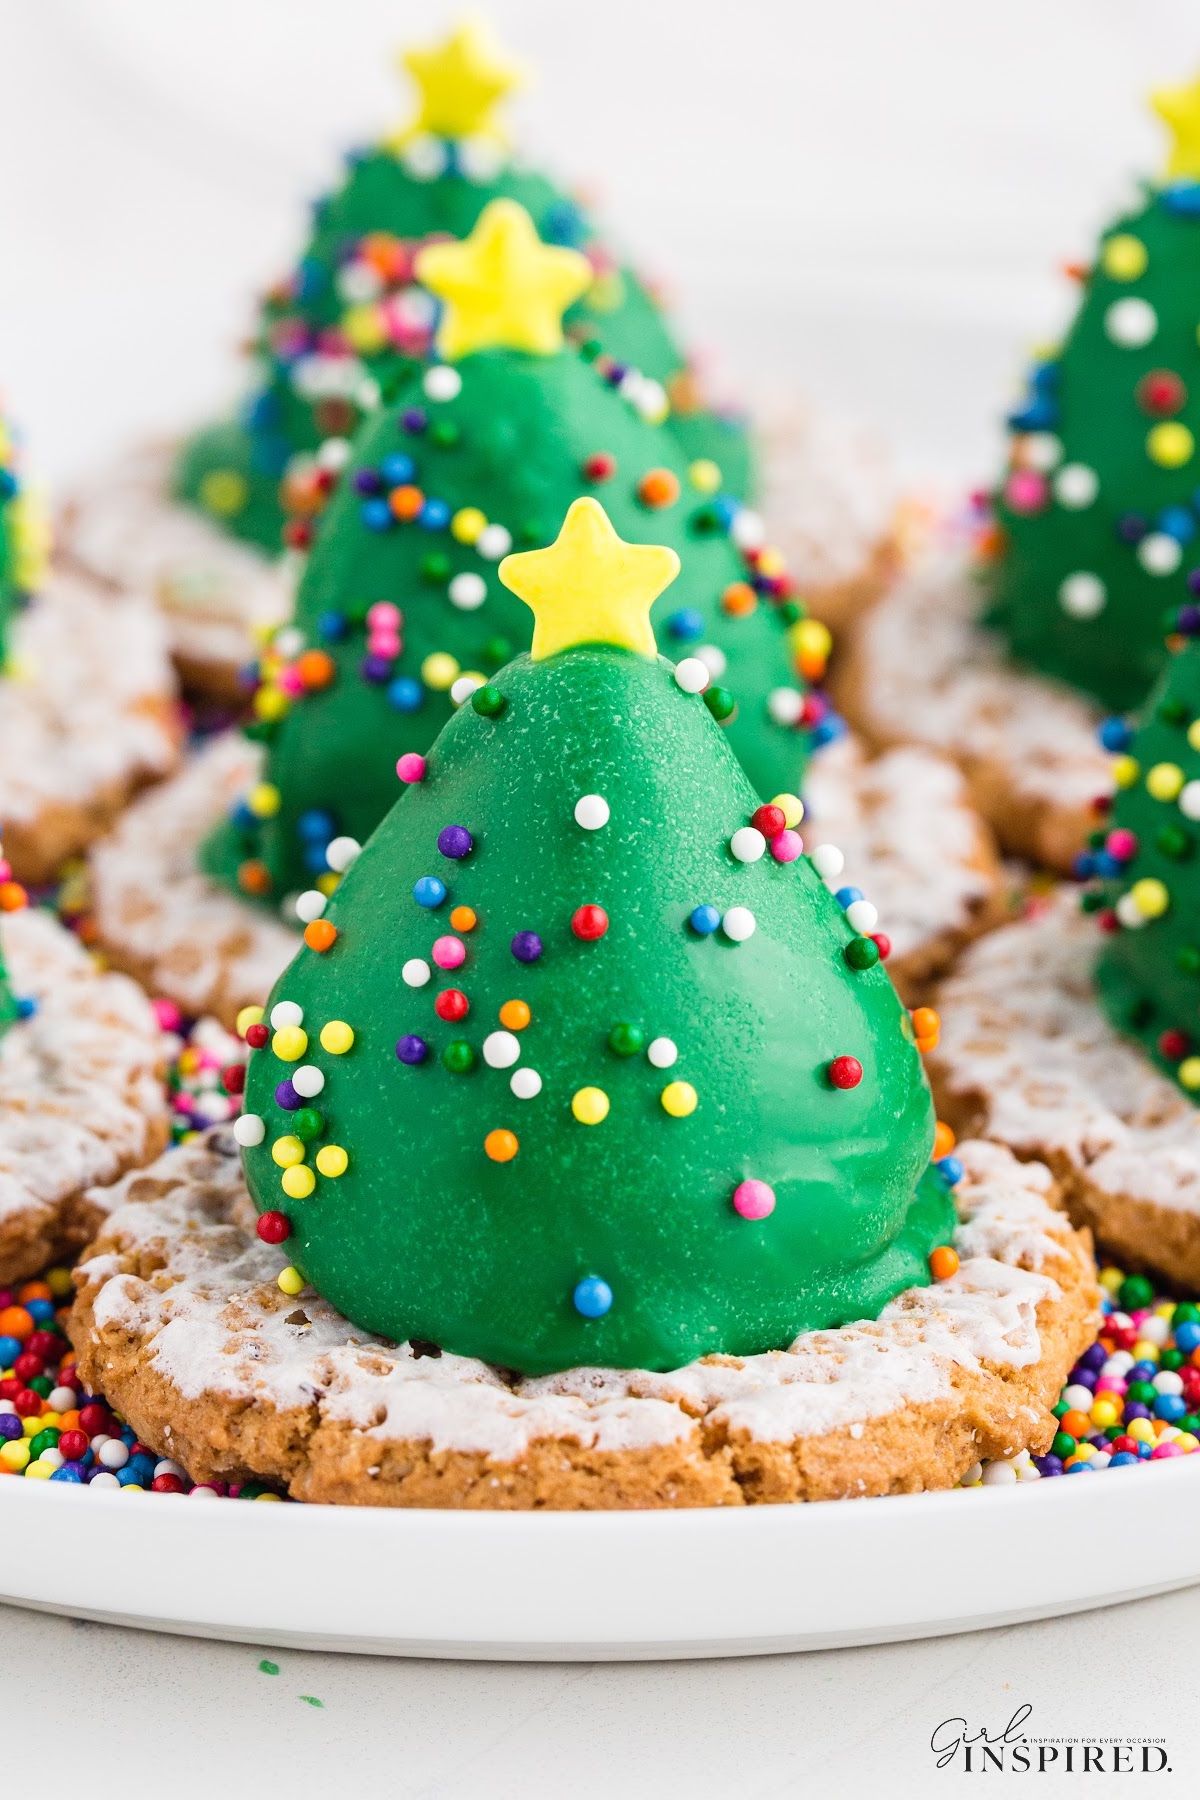
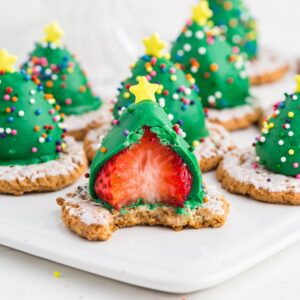
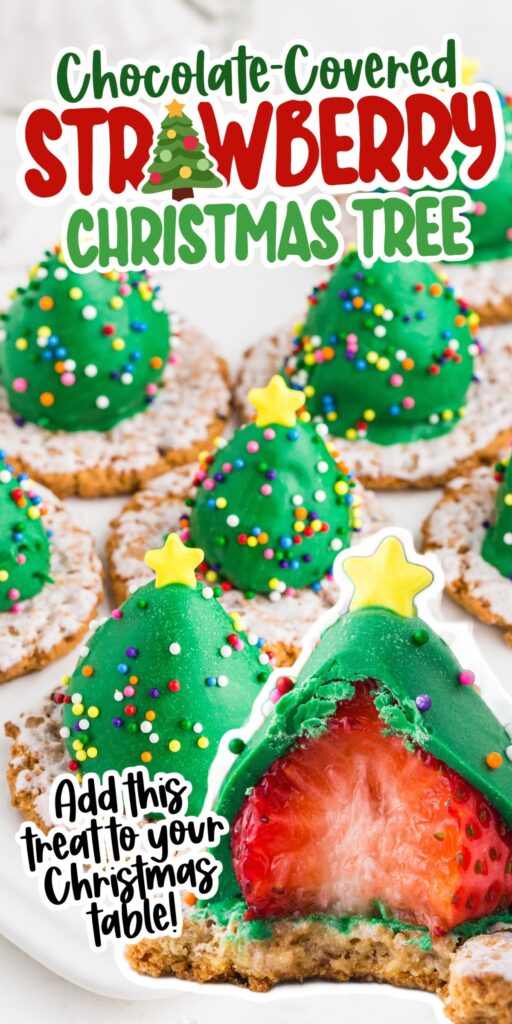
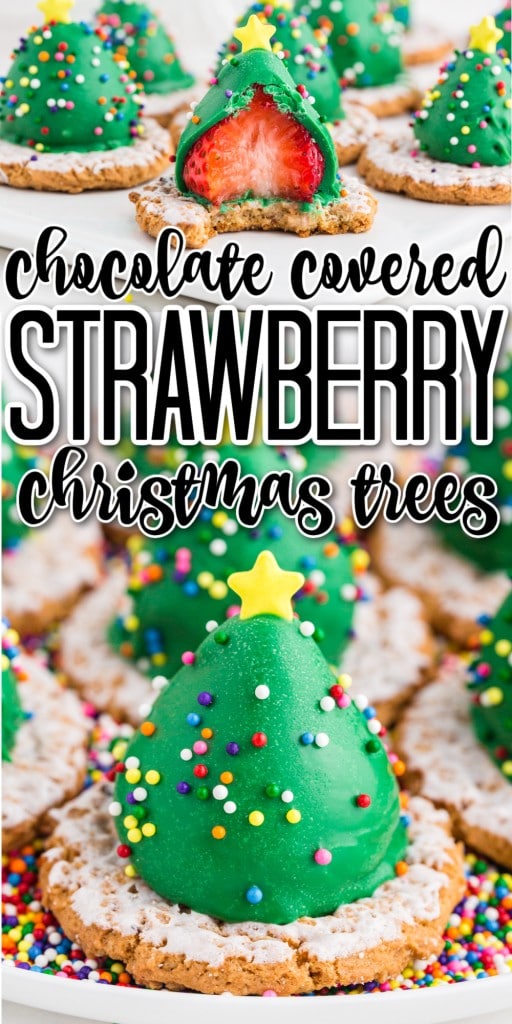
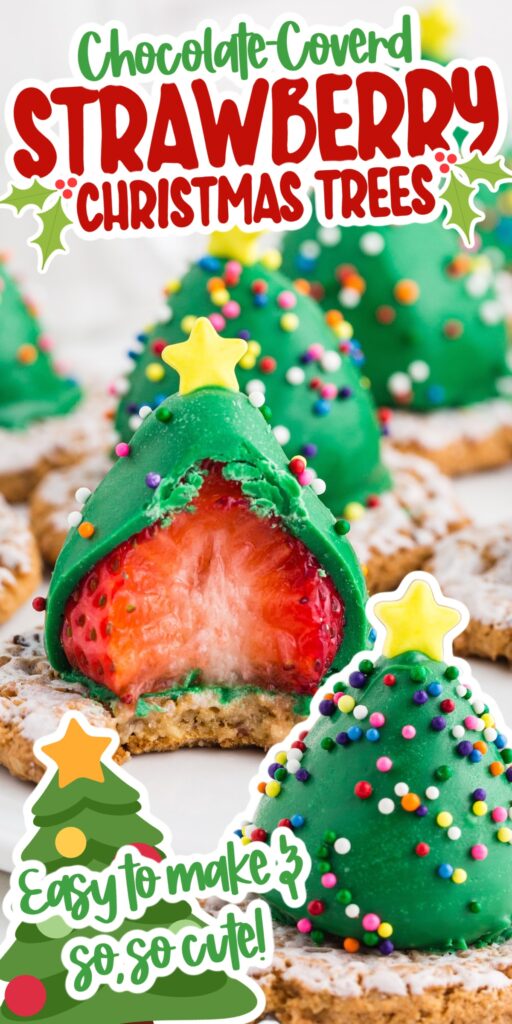
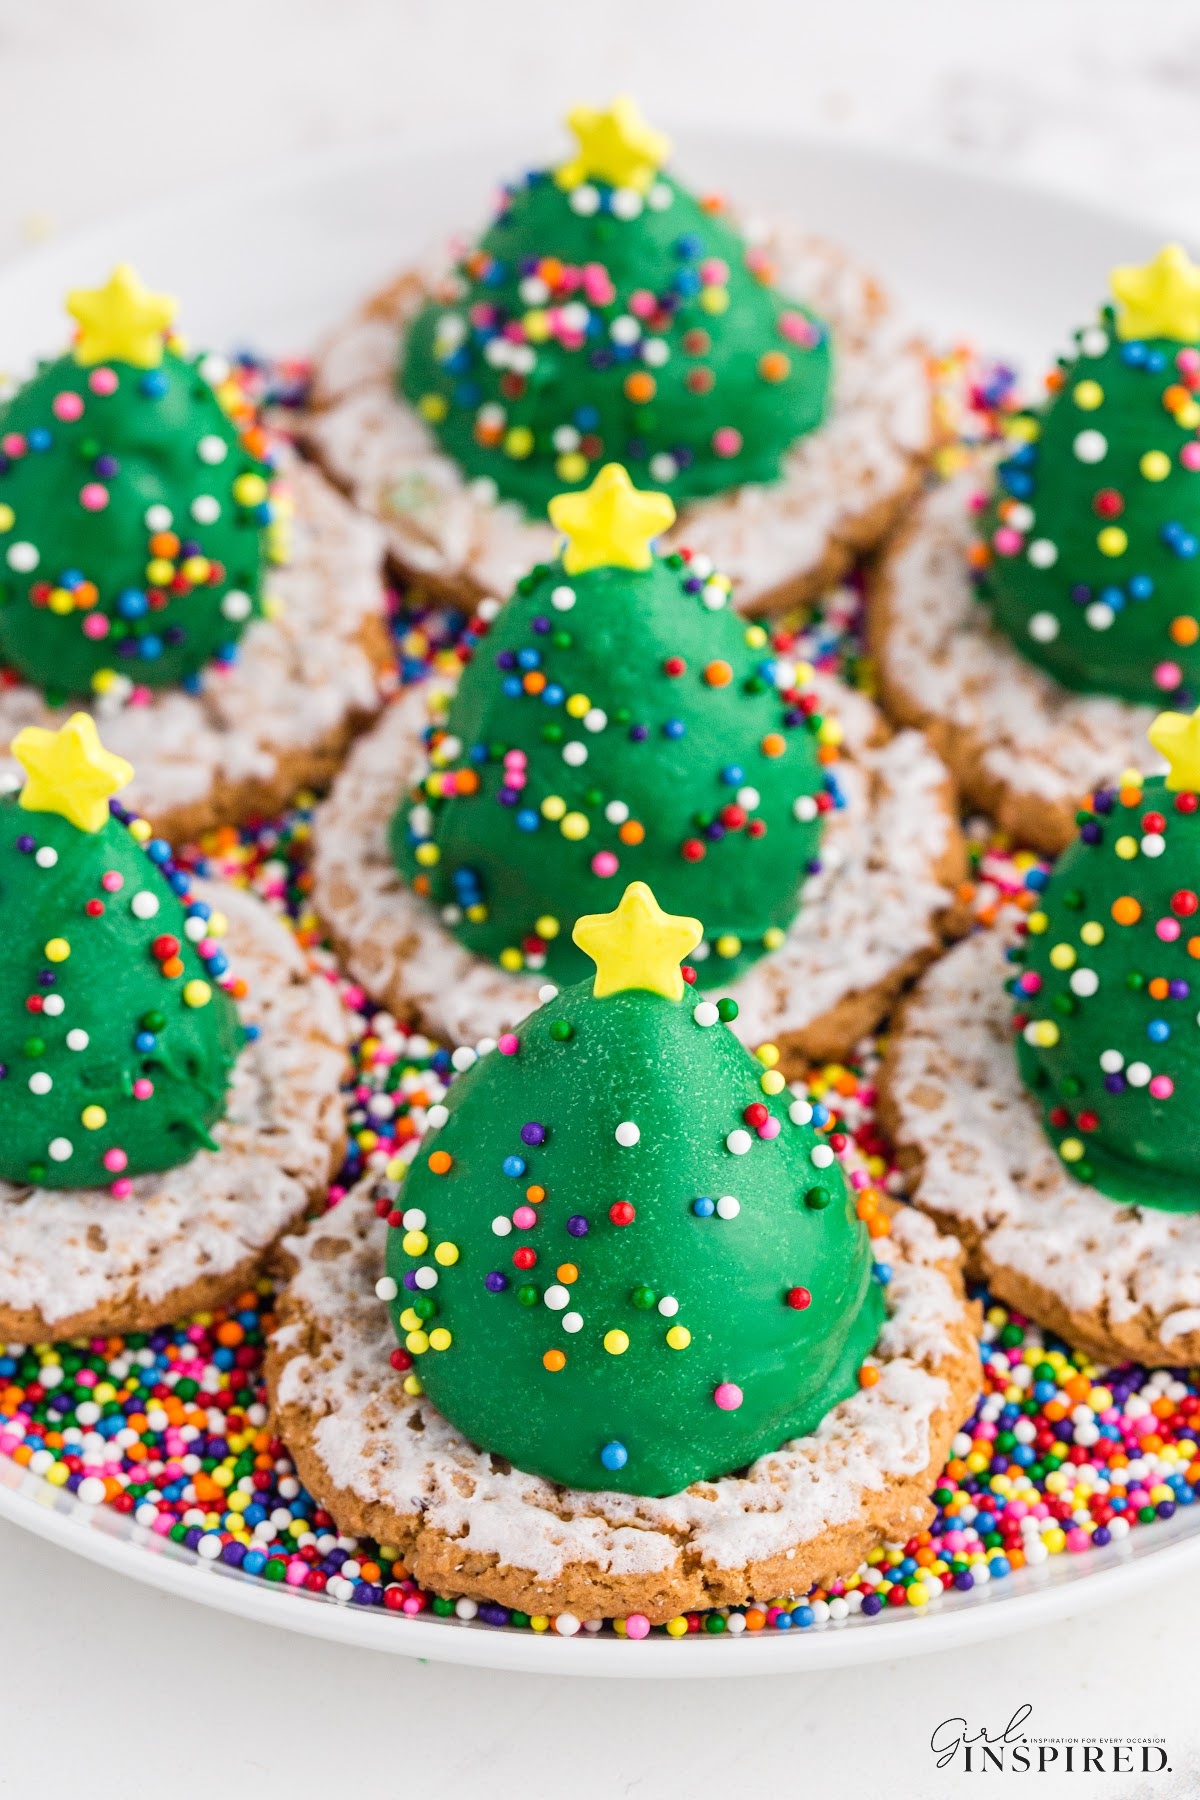
Today, I’m excited to add to my growing collection of Christmas recipes with these Chocolate Covered Strawberry Christmas Trees! Just looking at them puts a smile on my face – I mean, how cute are they?!
They are great tasting treats, easy enough for the kids to help make and are pretty simple, yet extremely visually appealing. You can add them to your Christmas table as added decoration or as a proud display of your kids’ creativity (or yours! lol).
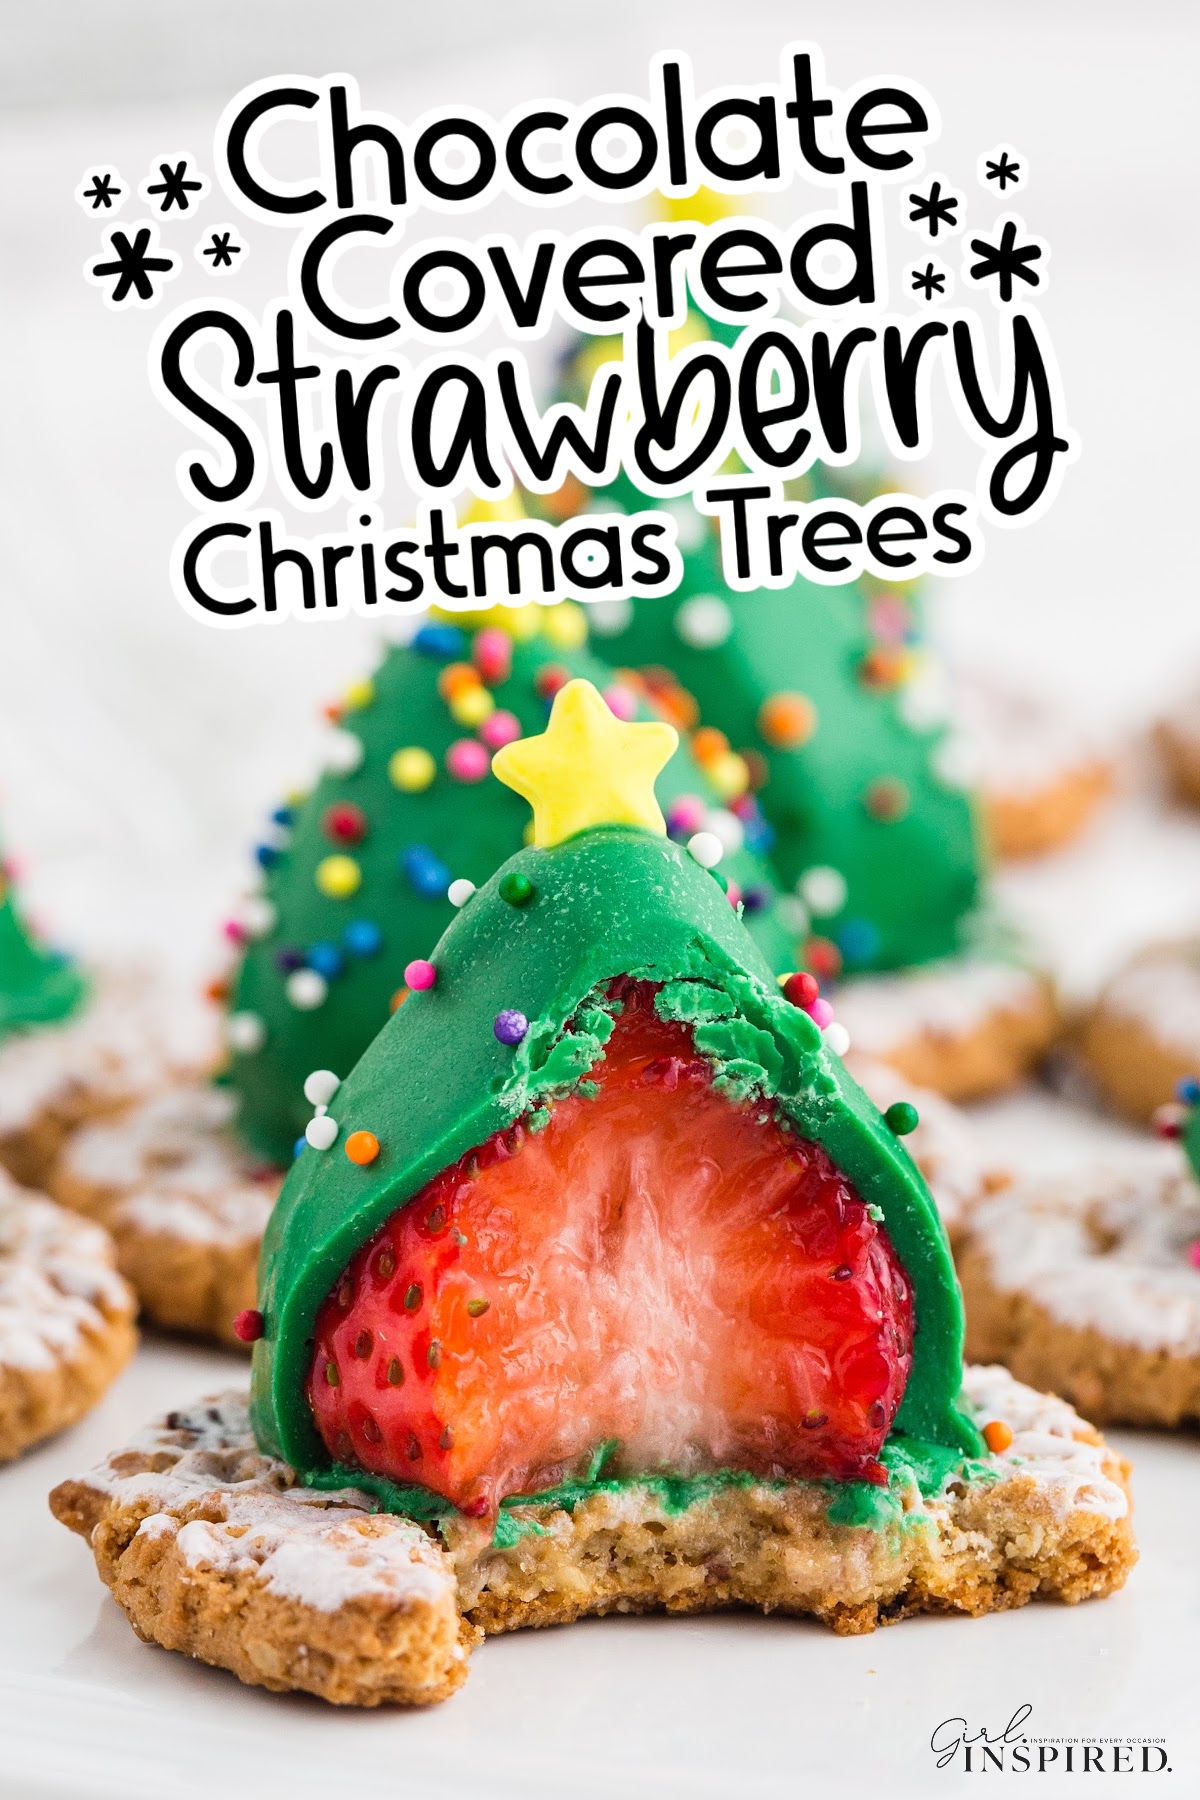
Table of contents
More Holiday-Inspired Treats
- Candy Cane Cookies
- Hot Chocolate Bombs
- Eggnog Pie
- Homemade Eggnog
- How to Make Simple Chocolate Peanut Butter Trees
Ingredients for these Chocolate Covered Strawberry Christmas Trees:
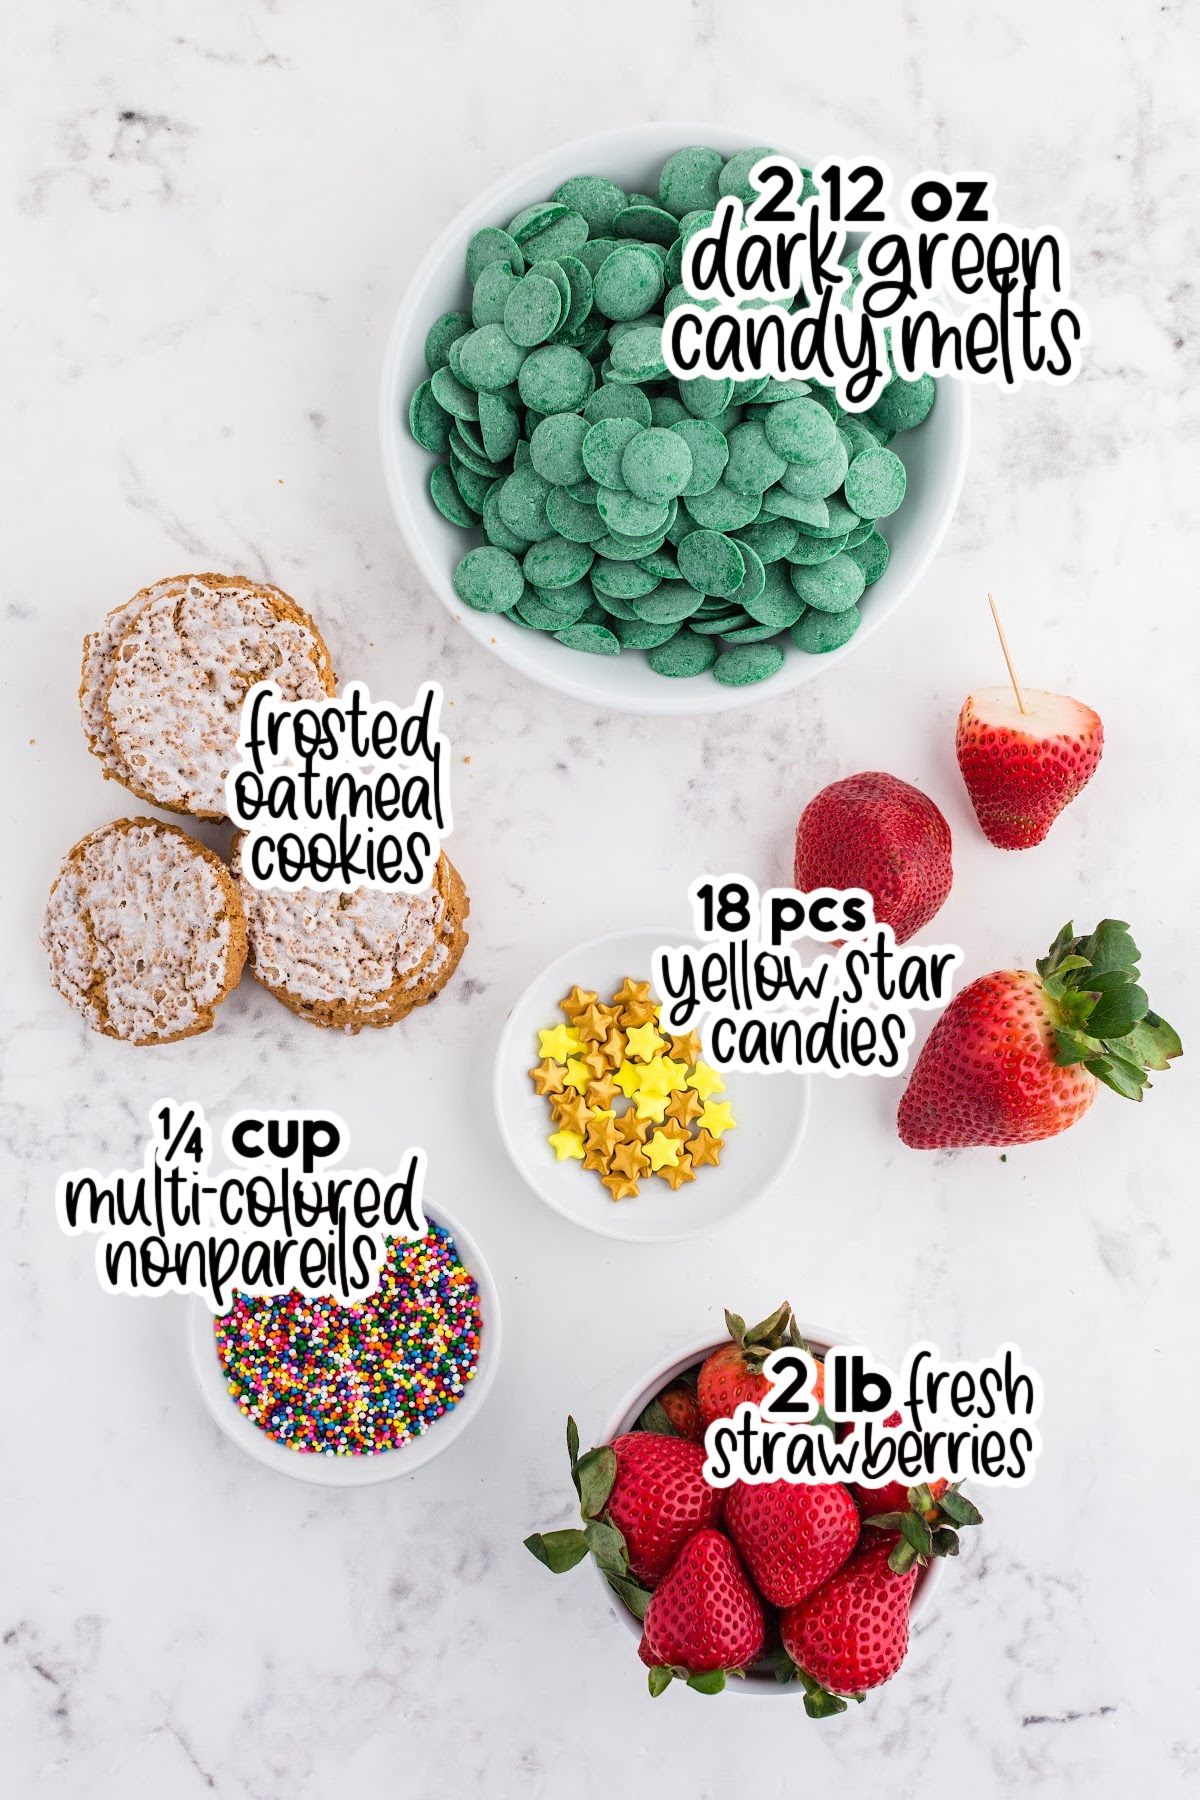
- 2 – 12 oz. packages of dark green candy melts
- 2 pounds fresh strawberries
- 1 package of frosted oatmeal cookies
- ¼ cup multi-colored nonpareils
- 18 yellow star candies
Instructions:
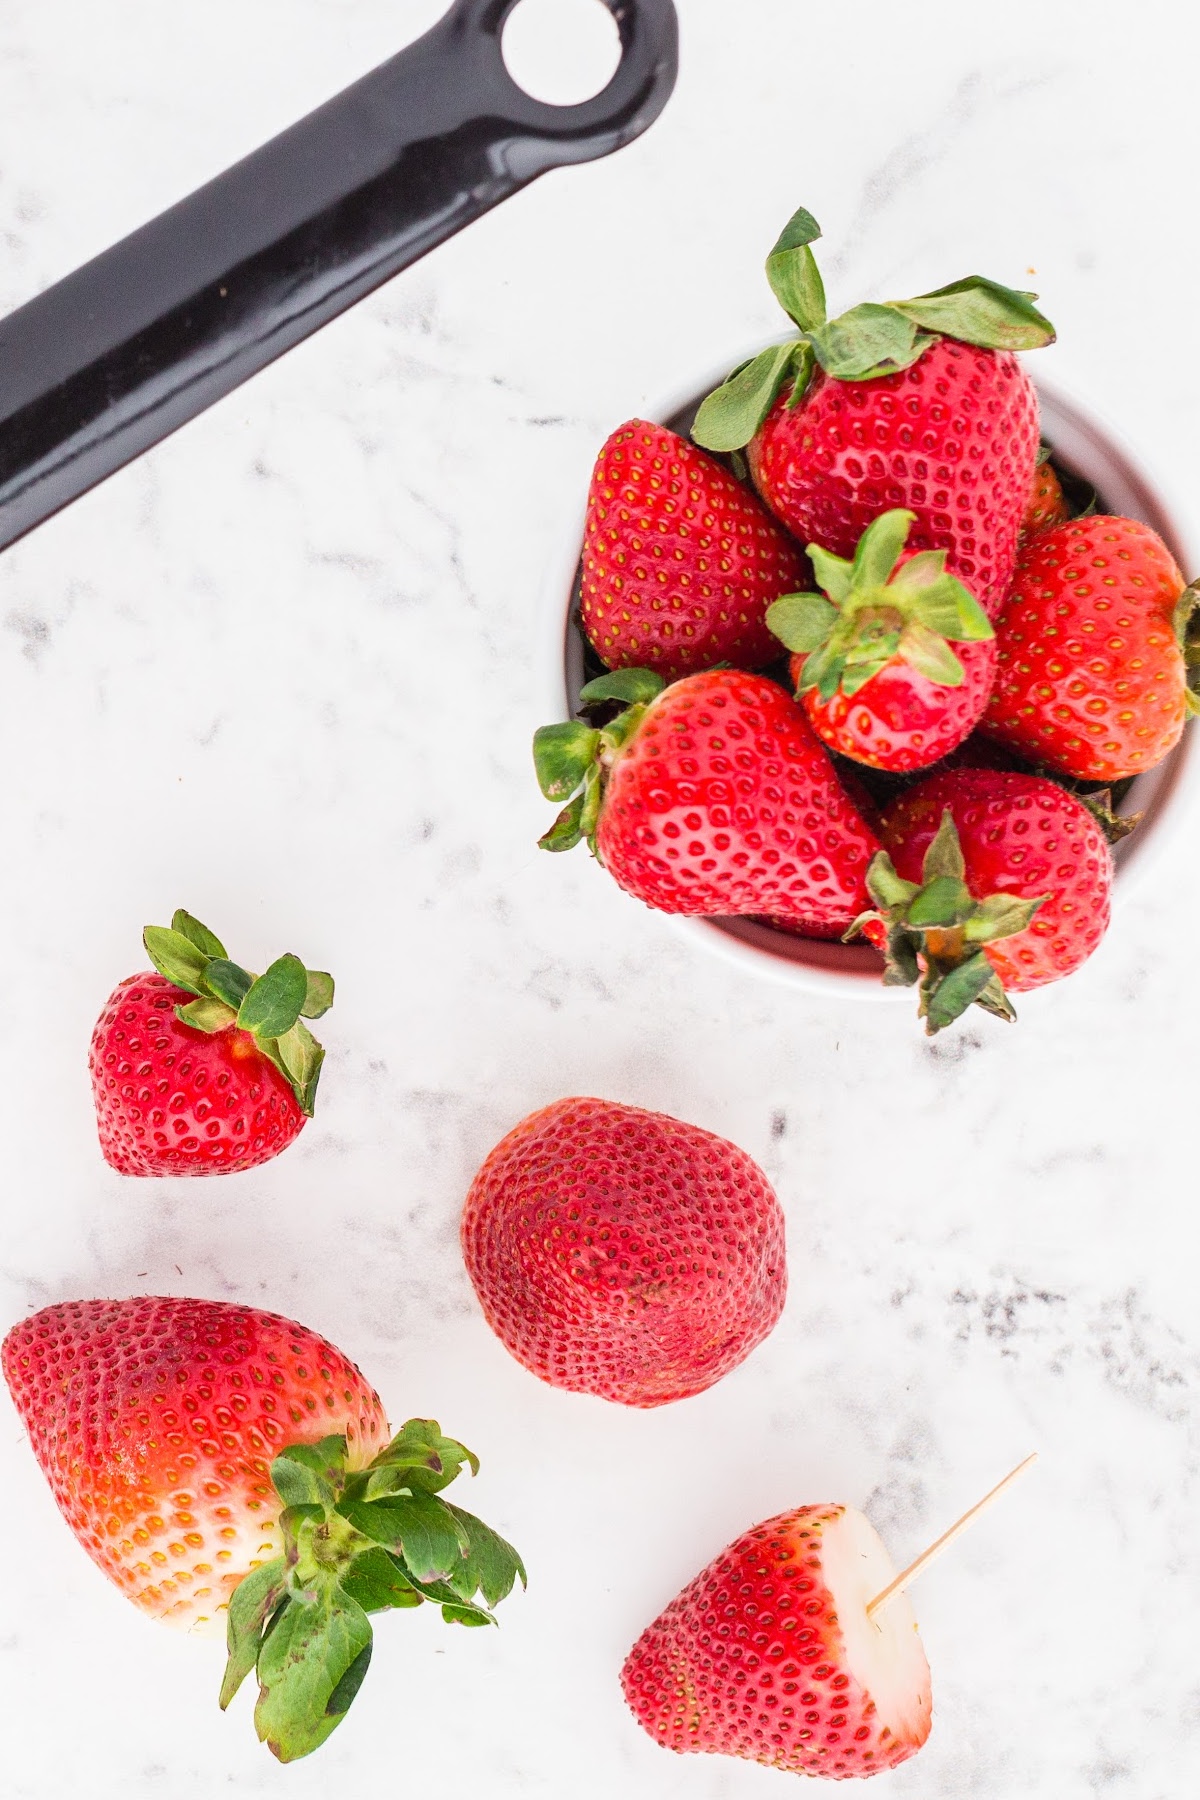
Step 1: Rinse strawberries and gently pat them dry. Make a clean slice from the base of each strawberry to remove the stem and create a base for the bottom of the strawberry “tree.”
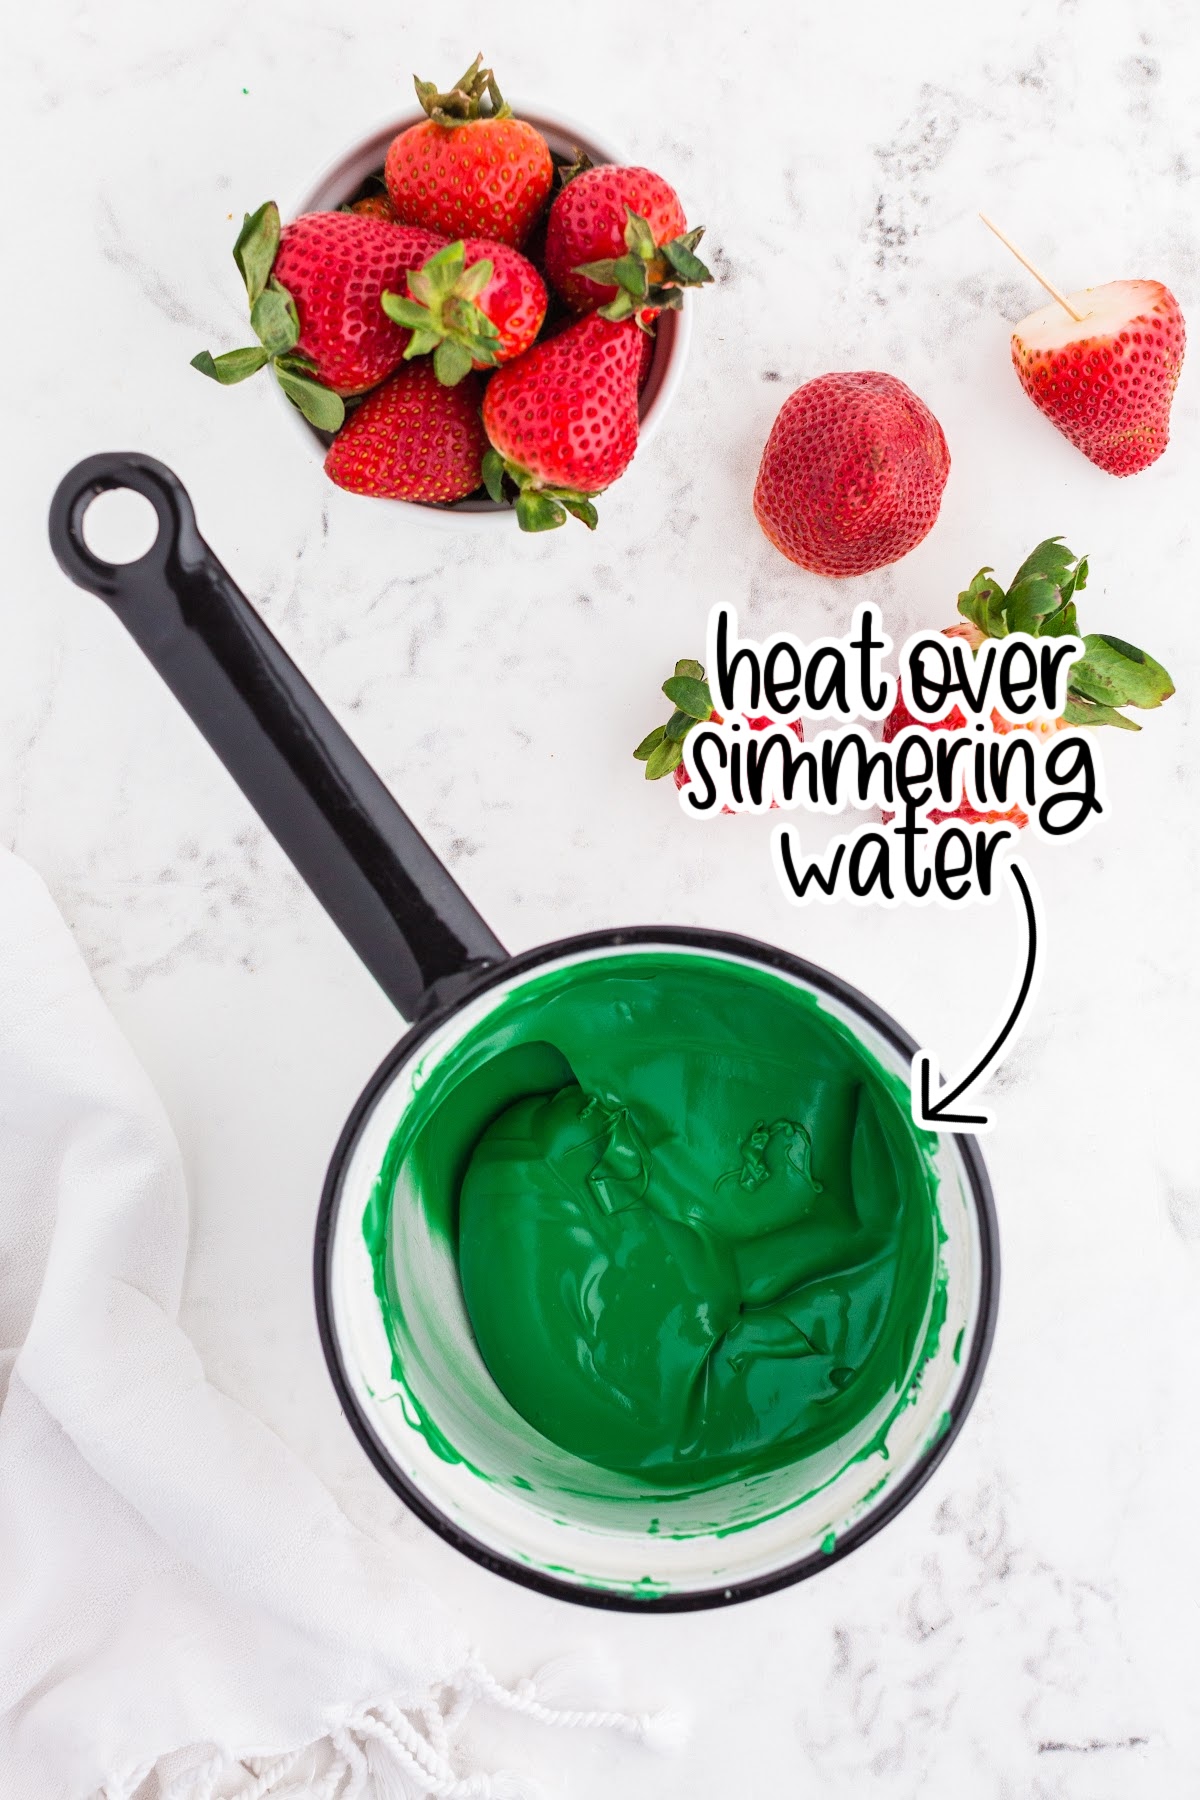
Step 2: Place candy melts in the top pan of a double boiler. Heat over simmering water, stirring frequently, until candy melts are smooth. Remove from over the simmering water. Dry the bottom of the pan with a dishtowel.
Pro Tip: Reheat candy melts as needed to keep the mixture dippable.
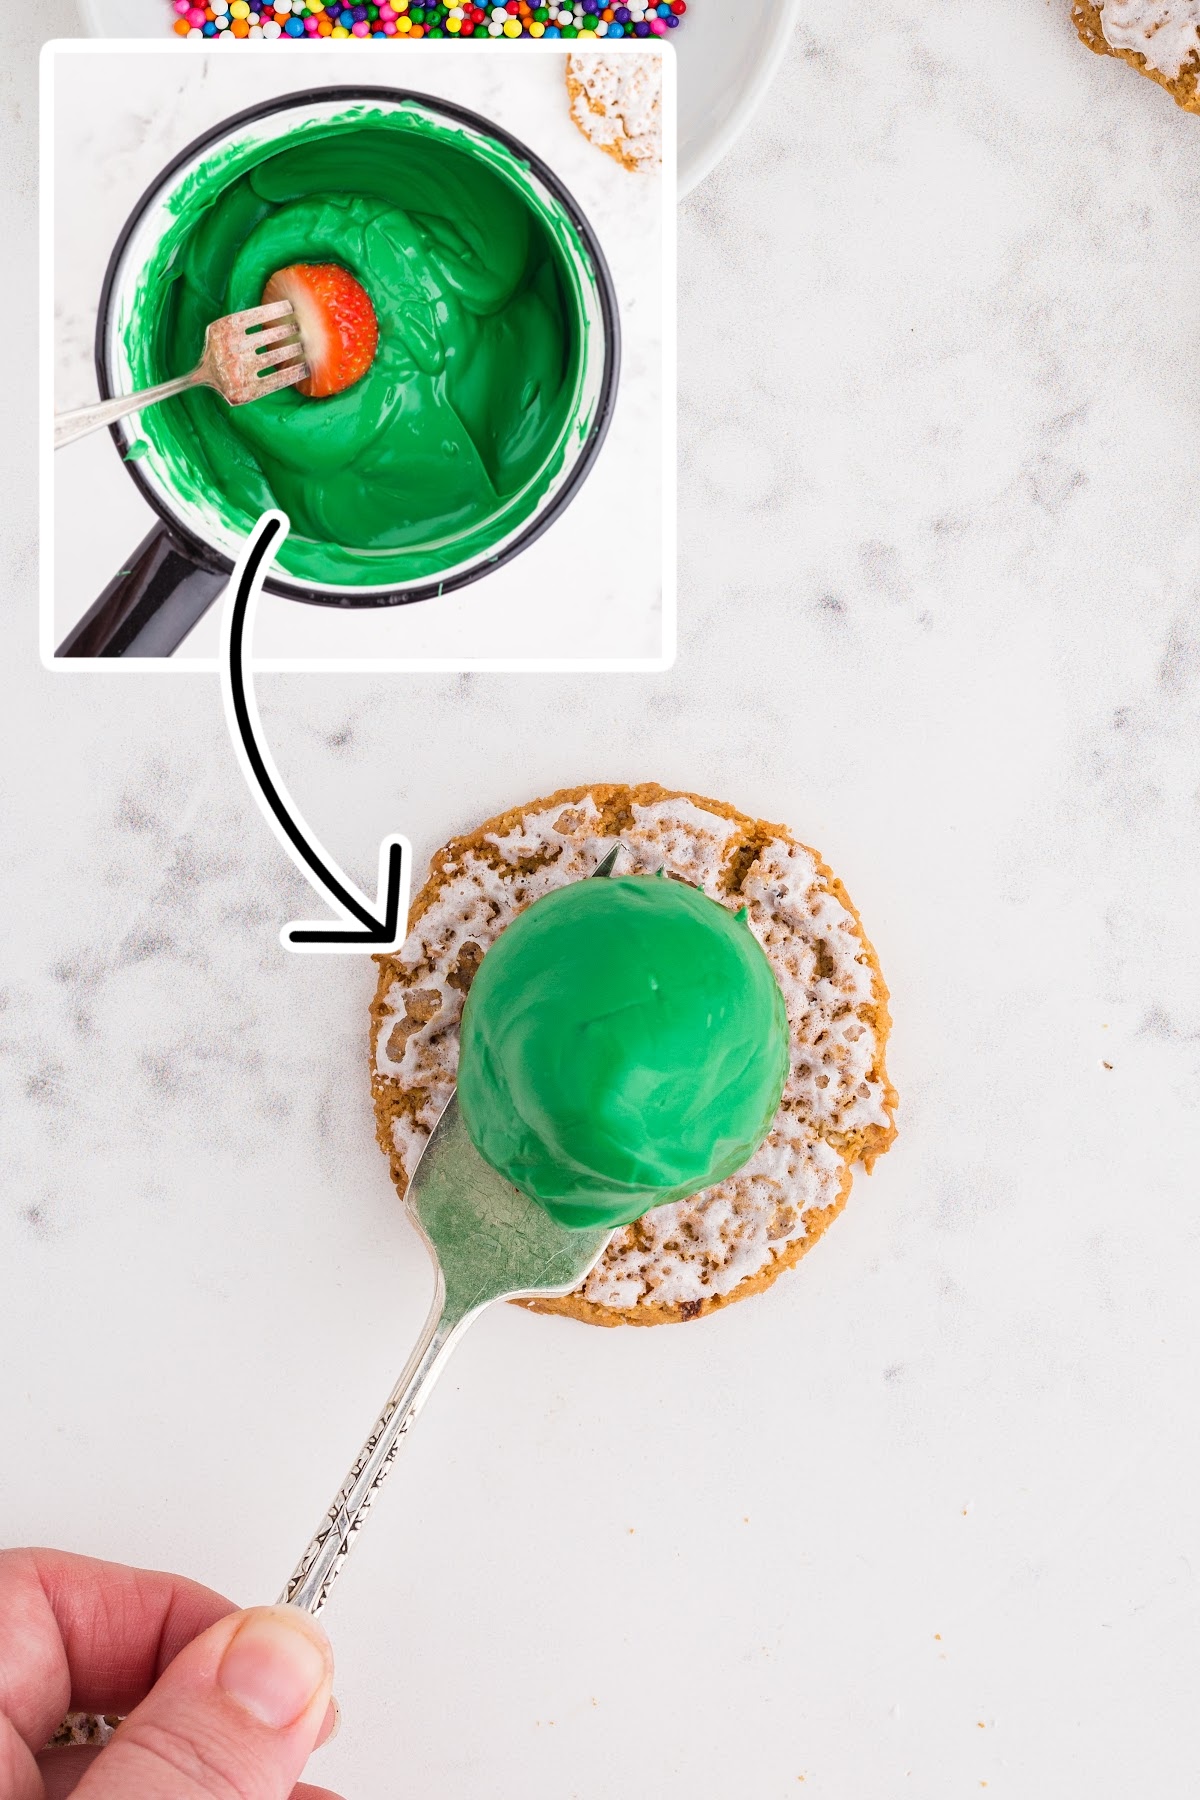
Step 3: Use a toothpick or fork to dip the strawberry into the candy melt mixture. Tap off the excess candy coating from the strawberry. Use a second fork to lift the strawberry from the dipping tool and onto the center of a cookie. You can also place a small dollop of the melted candy onto the center of the cookie before setting the strawberry down.
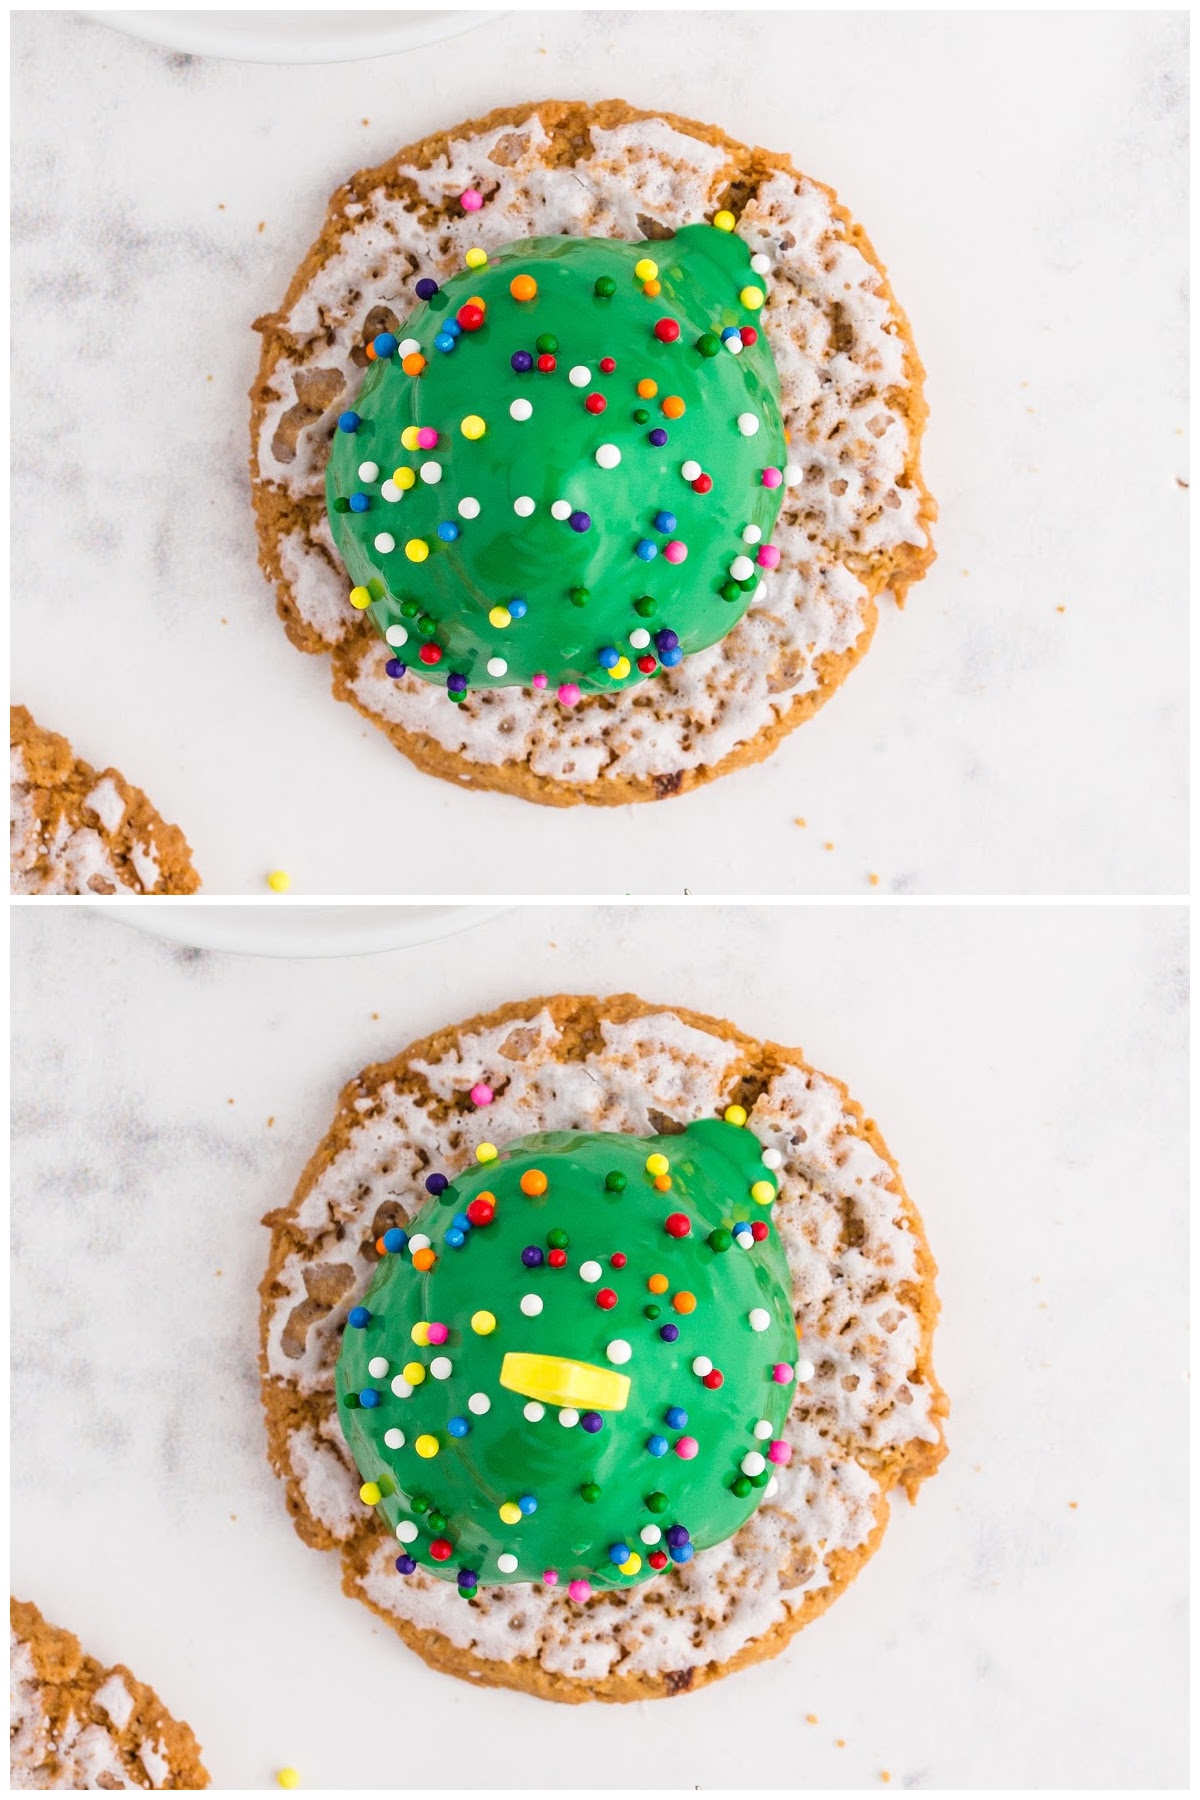
Step 2: Sprinkle nonpareils over the dipped strawberry and place a star on top before the candy hardens.
Can I Store These Candy Coated Strawberries?
Since these treats are made with fresh strawberries, I recommend that you eat them the same day they are made and preferably within a few hours since chocolate covered fruit doesn’t keep well.
If any of your strawberries are not completely covered in chocolate then juices from the cut end of each strawberry may also seep into the cookie base, making it soggy.
Make your Chocolate Covered Strawberry Christmas Trees a few hours prior to serving and store them in an airtight container in a cool and dry place in your kitchen. While you could store them in the refrigerator, the condensation created could potentially affect the cookie base.
Can I Use A Different Cookie Base For This Recipe?
Yes, of course! While I’ve used an oatmeal cookie, other cookies (homemade or store-bought) can also be used. Good options include Gingersnaps, Oreo cookies, or even a simple sugar cookie.
I do love the snowy effect of the iced oatmeal cookies we used here, but you could also use some white icing on top of any cookie to make the same effect. Thin icing to desired consistency using milk or water. This can also be used to “glue” the flat end of the strawberry to the top of the cookie. In this case, you could dip the strawberries in the candy coating, set them on a sheet of parchment paper and complete decorating the trees. Then, separately, add “snow” to the cookie and place the chocolate strawberries on top.
What Variations Can I Make To These Chocolate Covered Strawberry Christmas Trees?
Apart from using a different cookie base, as mentioned above, here are some cute ideas for adapting this recipe:
- Make an assortment of different colored trees by making a batch of white chocolate and baby blue chocolate. For the white chocolate Christmas trees, simply omit any food coloring to the white chocolate candy melts while adding some blue food coloring for the baby blue trees. Of course, you can also save yourself a little effort and purchase various colors of candy coating or candy melts.
- Use multicolored nonpareils or plain colors. Plain white would look good against the baby blue Christmas trees, as an example. There are such a wide variety of color sprinkles out there – try them all!
- Add a small amount of strawberry extract to the melted candy melts for an extra strawberry flavor.
- You could add these completed christmas trees to cupcakes or a large cake instead of the cookie bases.
Tips For Making Chocolate Covered Strawberry Christmas Trees
- Instead of melting on the stovetop, you can also heat your candy melts in the microwave in 15-30 second intervals, stirring well between. Place the candy coating in a heat proof bowl. Be careful not to overheat them as the mixture will seize up and you’ll have to start over with a fresh batch.
- Your candy melts will set very quickly so you will need to work fast to add your little stars, colorful lights, and other decorations. This is especially true if your strawberries are cold vs room temperature.
- If you find that your strawberries are slipping off the toothpick while dipping in chocolate, make use of a fork instead.
- Add a few drops of vegetable oil to your candy melts if you need to thin them out. Paramount Crystals are also a good option and you’ll usually find these at a cake/candy supply store or online.
- Make sure that no water gets into contact with your candy melts otherwise they will seize up and you’ll need to start over with a new batch.
- Candy melts are readily available at your local craft stores like Michael ‘s or Hobby Lobby. I’ve even found them at my grocery store and Amazon has some, too, if you can wait! I have also found star sprinkles at all of these locations.
Chocolate Covered Strawberry Christmas Trees
Ingredients
- 2 – 12 oz. packages of dark green candy melts
- 2 pounds fresh strawberries
- 1 package of frosted oatmeal cookies
- ¼ cup multi-colored nonpareils
- 18 yellow star candies
Instructions
- Rinse strawberries and gently pat them dry. Make a clean slice from the base of each strawberry to remove the stem and create a base for the bottom of the strawberry “tree.”
- Place candy melts in the top pan of a double boiler. Heat over simmering water, stirring frequently, until candy melts are smooth. Remove from over the simmering water. Dry the bottom of the pan with a dishtowel.
- Use a toothpick or fork to dip the strawberry into the candy melt mixture. Tap off the excess candy from the strawberry. Use a second fork to lift the strawberry from the dipping tool and onto the center of a cookie. You can also place a small dollop of the melted candy onto the center of the cookie before setting the cut side of the strawberry down.
- Sprinkle nonpareils over the dipped strawberry and place a star on top before the candy hardens.
- Reheat candy melts as needed to keep the mixture dippable.
Would you like to save this?
Notes
- Chocolate covered strawberry trees should be eaten the same day, preferably within a few hours. Dipped strawberries do not keep well. Also, if the strawberries are not fully coated in candy, the strawberry juice will eventually seep down into the cookie, making it soggy.
- Instead of melting on the stovetop, you can also heat your candy melts in the microwave in 15-30 second intervals, stirring well between. Place the candy coating in a heat proof bowl. Be careful not to overheat them as the mixture will seize up and you’ll have to start over with a fresh batch.
- Your candy melts will set very quickly so you will need to work fast to add your little stars, colorful lights, and other decorations. This is especially true if your strawberries are cold vs room temperature.
- If you find that your strawberries are slipping off the toothpick while dipping in chocolate, make use of a fork instead.
- Add a few drops of vegetable oil to your candy melts if you need to thin them out. Paramount Crystals are also a good option and you’ll usually find these at a cake/candy supply store or online.
- Make sure that no water gets into contact with your candy melts otherwise they will seize up and you’ll need to start over with a new batch.
- Candy melts are readily available at your local craft stores like Michael ‘s or Hobby Lobby. I’ve even found them at my grocery store and Amazon has some, too, if you can wait! I have also found star sprinkles at all of these locations.
Nutrition
Make this recipe?
Share it with me on Instagram @girlinspired1 and follow on Pinterest for more!



Leave A Reply!