
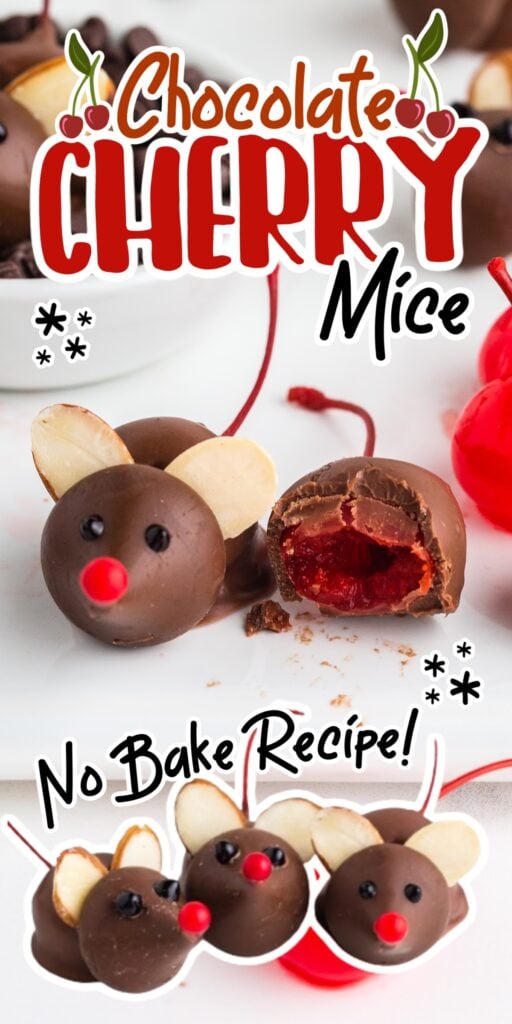

These Chocolate Cherry Mice are an adorable no-bake holiday treat consisting of chocolate-coated maraschino cherries, Hershey’s Kisses, and edible decorations to make these cute little creatures that will liven up your Christmas dessert platter! They’re perfect as a holiday activity for the kids too!

Once the ingredients are assembled on the kitchen countertop and the chocolate is melted, creating these festive chocolate cherry mice is incredibly straightforward with many ways to personalize the look of your Christmas cherry chocolate mice!
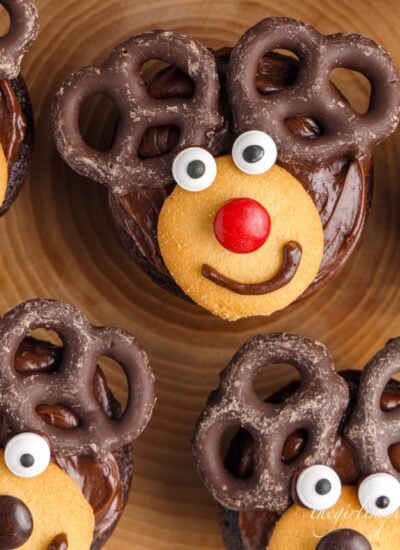
These adorable little mice should be proudly displayed on your Christmas dessert platter along with Chocolate Covered Strawberry Christmas Trees, Chocolate Peanut Butter Trees, and Christmas Bar Cookies – offering sweet treats with cheerful and festive decoration!
Jump to:
Why You’ll Love Chocolate Cherry Mice
- It’s a no-bake recipe that’s specifically suited to the holidays.
- They’re so adorable and are small, so you can tuck them in anywhere on a dessert platter or charcuterie platter or as a garnish on individual desserts!
- There are various ways to adapt these chocolate kiss mice – perfect for allowing those creative juices to flow and to get the kids involved!
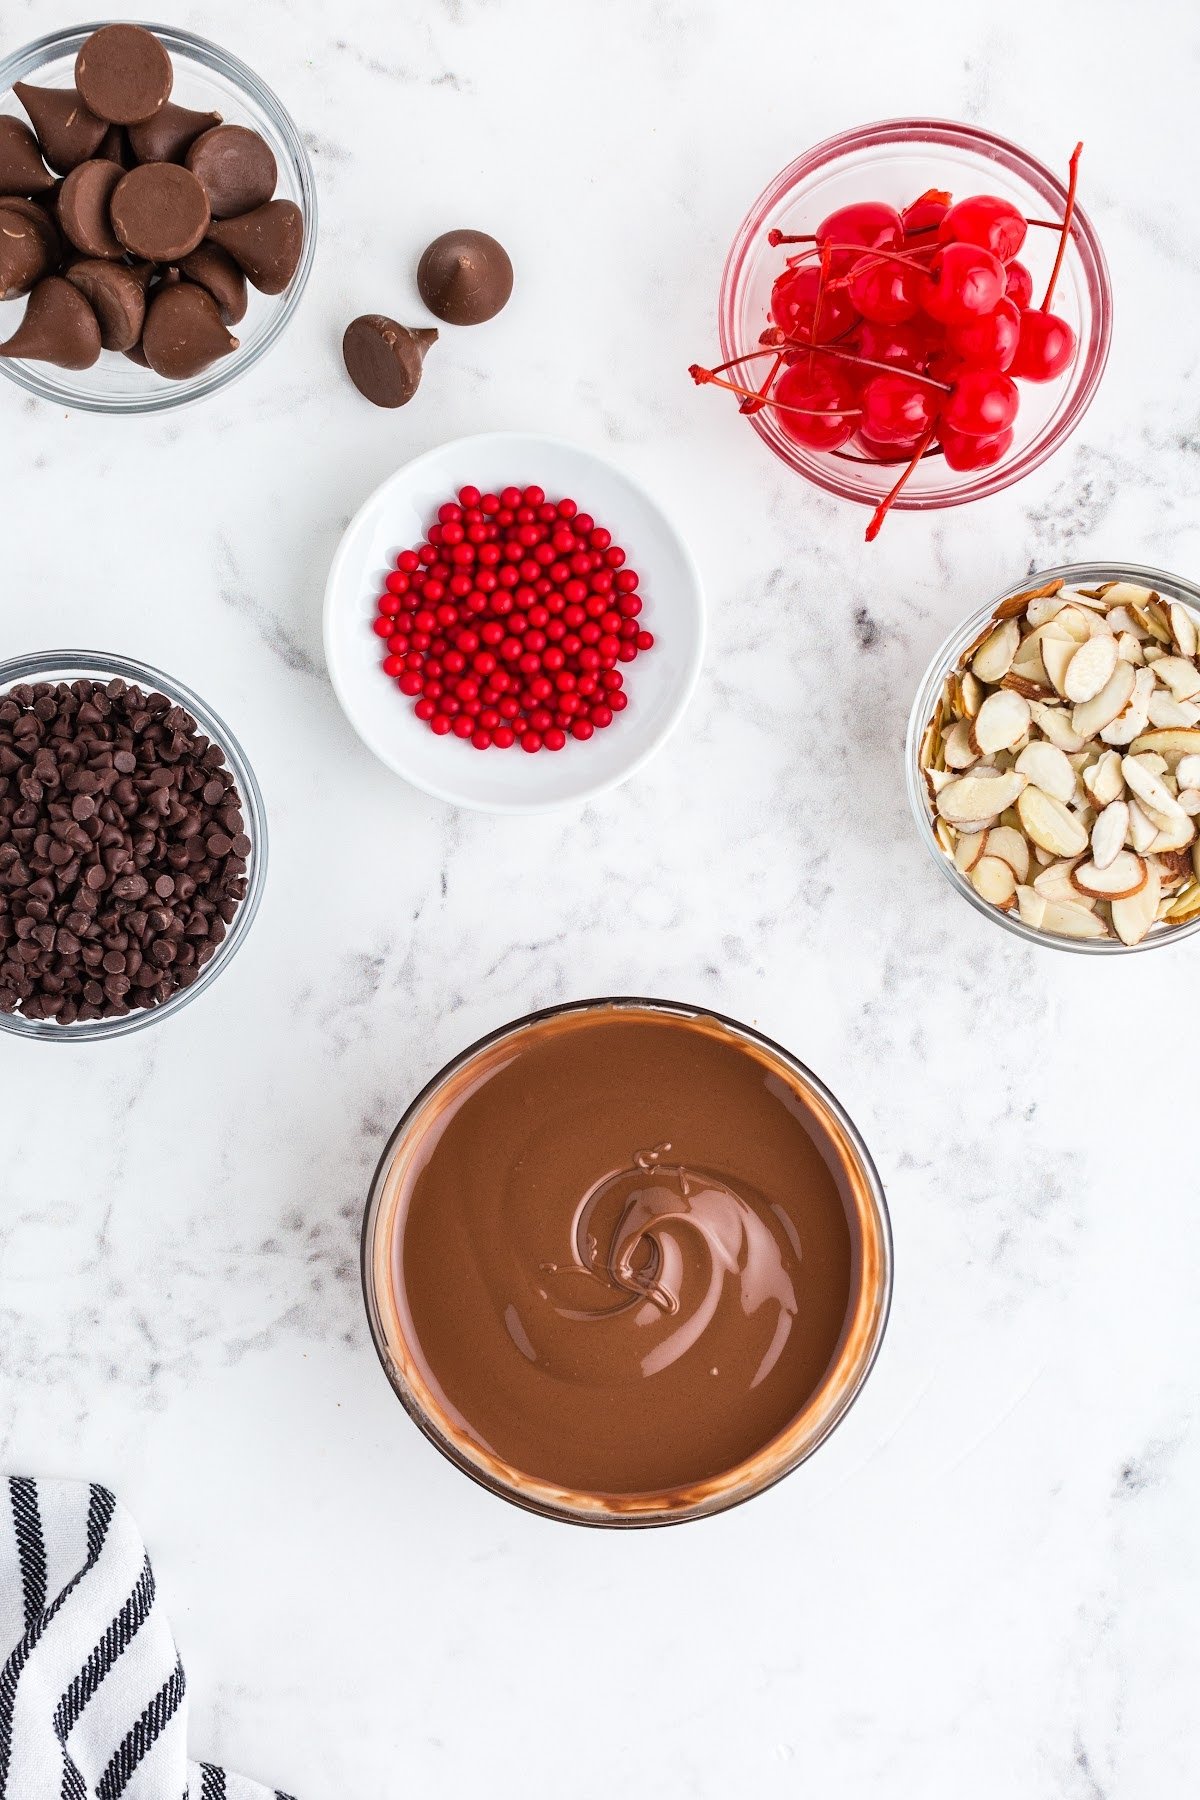
🍒🍫 Ingredients:

- Chocolate chips – milk chocolate chips for the milk chocolate mouse (you could also use semi-sweet and pair with dark chocolate Hershey kisses)
- Shortening – shortening is mixed with the melted chocolate chips to ensure a smooth lump-free consistency in the melted chocolate. It also keeps the chocolate from setting too quickly.
- Maraschino cherries – Select a maraschino cherry that still has its cherry stem attached as these will be the “tails” of the mice.
- Hershey kisses – Just like the cherries, buy more milk chocolate Kisses than what the recipe calls for as back up. (You can also use a dark chocolate kiss and pair with a semi-sweet or dark chocolate chip coating.
- Sliced almonds – The almond slices tend to break easily so have a good supply at your disposal.
- Black icing writer – For the mouse eyes – a white decorating gel writer is another option or you could use black or white pearl sprinkles that get stuck on with a small amount of icing.
- Small red candies – Dragees or cinnamon candies are perfect as the nose for these mice
For a full list of ingredients and their measurements, 📋 please view my printable recipe card at the bottom of the post.
Substitutions and Variations
- For the chocolate, you can also try dark chocolate chips, semisweet chocolate chips, or white chocolate chips for making white cherry mice.
- I’ve used chocolate chips, melted, to coat the cherries but chocolate candy melts work just as well! I prefer the Ghirardelli brand.
- For the shortening: You could also use Canola oil or vegetable oil to achieve the same effect.
- For the nose: Use mini red M&Ms for the mouse nose. You’ll be able to get a packet of red and green M&Ms around the holiday season. Red Hots are another possible option available to you.
- For the ears: If you don’t enjoy almonds or prefer peanuts, then go ahead and use peanut halves instead for the cherry mice ears. They look just as cute! If you have nut allergies, then consider using cut marshmallows.
- For the eyes: While I’ve used a black icing writer for the eyes, feel free to use a white icing writer instead. While mini candy eyes may still be a little too big for your cherry mice, you could also consider using some black or white sugar pearl sprinkles as another creative option for the eyes that you stick on with a little icing or leftover melted chocolate.
🔪 Instructions:
PREP: Assemble all of the ingredients required to make these chocolate cherry mice.

Step 1: Start by combining the shortening with the milk chocolate chips in a medium microwave-safe bowl (or using a double boiler) to melt.
Step 2: Heat for 30-second intervals, stirring in between until the mixture is smooth and at the right consistency for dipping. Line a baking sheet with a sheet of wax paper and move on to the assembly of these treats.

Step 3: Dip the cherries by the stem into the melted chocolate and then place on the parchment paper so that the cherry stem “tail” sticks straight out to the side.

Step 4: Stick on the Hershey’s Kisses which will act as the face of the mice. Repeat this for just a few cherries at a time (working in batches will help you to decorate the rest of the mice before the chocolate dries).
PRO TIP: Make sure that you have everything well prepared in an assembly line on your kitchen counter before you start to assemble the chocolate cherry mice. The melted chocolate will start to harden quickly so you need to work fairly quickly.

Step 5: Select sliced almonds of similar size for the ears of the mice and break off the narrow ends. Position the almond ears above where the chocolate-coated cherry and Hershey’s Kisses meet (the chocolate should still be wet enough to act as a glue).

Step 6: With the black icing writer, draw on the eyes. Lastly, add a small amount of melted chocolate to the end of a toothpick and use this to glue a red candy nose to the tip of the Hershey’s Kisses to complete the mice!

Step 7: Allow the mice to set and harden before serving.
GARNISH/SLICE/SERVE: These are perfect just as they are! Place on a platter and enjoy!

- When sourcing your Maraschino cherries for these mice, make sure that you buy those with stems. The stems are for the mice tails which I think is a super cute detail that shouldn’t be overlooked and is well worth some additional time searching at your local stores or online.
- If you’re in a hurry, a clever way to speed up the drying time of the chocolate coated cherries is by placing them on a parchment paper lined tray in the freezer for a couple of minutes.
- It doesn’t really matter what flavor of Hershey’s Kisses you use for these mice. You can use an assortment or one specific type depending on your personal preference.
- Make sure to reheat your chocolate for 15 minutes at a time should your chocolate start to thicken to the extent that dipping your cherries becomes tricky.
- While your chocolate needs to be adequately melted for dipping your cherries, it actually works best to use slightly cooled and thickened chocolate when you attach the mice ears, nose and eyes.
Fun Fact
Believe it or not but mice have a strong connection to Christmas! In fact, a well-known 19th-century poem entitled “Twas the Night Before Christmas” opens with reference to these litter critters… “Twas the night before Christmas, when all thro’ the house, Not a creature was stirring, not even a mouse”.
Today, we have numerous children’s stories about mice around the holidays including “The Christmas Mouse” and “The Nutcracker and the king of mice”. While the stories may be slightly different, they’ve all served to portray the mouse as an established icon of Christmas which is why you’ll now find various mice-inspired Christmas tree ornaments, decorations, crafts, and sweet treats on offer during the holidays with these Chocolate Cherry Mice being no exception!

Recipe FAQs
These mice should be stored in an airtight container at room temperature for up to 5 days. I like to also line my airtight container with some parchment paper to avoid them from sticking to the bottom surface.
While you could store these treats in your refrigerator for about 1 week, I don’t recommend that you freeze these treats.
The chocolate coating on the cherries and the chocolate Hershey’s Kisses are susceptible to “bloom” or can form streaks when frozen. While this won’t necessarily affect the taste of these treats, it’s definitely something to consider, especially if you intend serving these to guests or family during the holidays.
Other Adorable Christmas Treats
If you tried this Chocolate Cherry Mice Recipe or any other recipe on my website, please leave a 🌟 star rating and let me know how you liked it in the 📝 comments below.

Chocolate Cherry Mice
Ingredients
- 1 cup milk chocolate chips
- 1 teaspoon shortening
- 20 maraschino cherries with stems
- 20 Hershey’s kisses
- 1 tablespoon almonds Sliced. Have more than enough for matching sizes, and because they break easily
- Black icing writer
- 1 tablespoon Small red candies Dragees or cinnamon candies
Instructions
- Place chocolate chips and shortening in a small microwave-safe mixing bowl.
- Heat in 30-second increments, stirring between each, until chips are mostly melted.
- Stop heating and continue stirring until the mixture is fully melted and smooth.
- Spread a sheet of parchment paper on your work surface.
- Hold a maraschino cherry gently by its stem. Be sure any excess cherry juice has been removed, or dab the cherry onto a paper towel. Dip the cherry down into the chocolate mixture to coat well. Lift out and place on the parchment paper. You can adjust how you set the cherry to determine how the “tail” of the “mouse” will set.
- Place a Hershey’s kiss with the flat side leaned onto the chocolate-dipped cherry to form the mouse’s head.
- Repeat these steps for about half of the cherries. This will allow the chocolate to set up just a bit before adding the other face components.
- Identify slivered almonds that are similar sizes for each mouse’s ears. Break the narrower end’s tip off of each ear. Wedge the “ears” between Hershey’s kiss and the cherry.
- Use a small hole in the icing writer and dot two eyes onto the mouse’s head.
- With a toothpick, dab a bit of the melted chocolate onto the point of the Hershey’s kiss. Place a red candy onto the tip of the nose.
- Allow the chocolate to set and harden. Gently peel the “mice” off of the parchment paper to eat.
Would you like to save this?
Notes
- When sourcing your Maraschino cherries for these mice, make sure that you buy those with stems. The stems are for the mice tails which I think is a super cute detail that shouldn’t be overlooked and is well worth some additional time searching at your local stores or online.
- If you’re in a hurry, a clever way to speed up the drying time of the chocolate coated cherries is by placing them on a parchment paper lined tray in the freezer for a couple of minutes.
- It doesn’t really matter what flavor of Hershey’s Kisses you use for these mice. You can use an assortment or one specific type depending on your personal preference.
- Make sure to reheat your chocolate for 15 minutes at a time should your chocolate start to thicken to the extent that dipping your cherries becomes tricky.
- While your chocolate needs to be adequately melted for dipping your cherries, it actually works best to use slightly cooled and thickened chocolate when you attach the mice ears, nose and eyes.
Nutrition
Make this recipe?
Share it with me on Instagram @girlinspired1 and follow on Pinterest for more!


Leave A Reply!