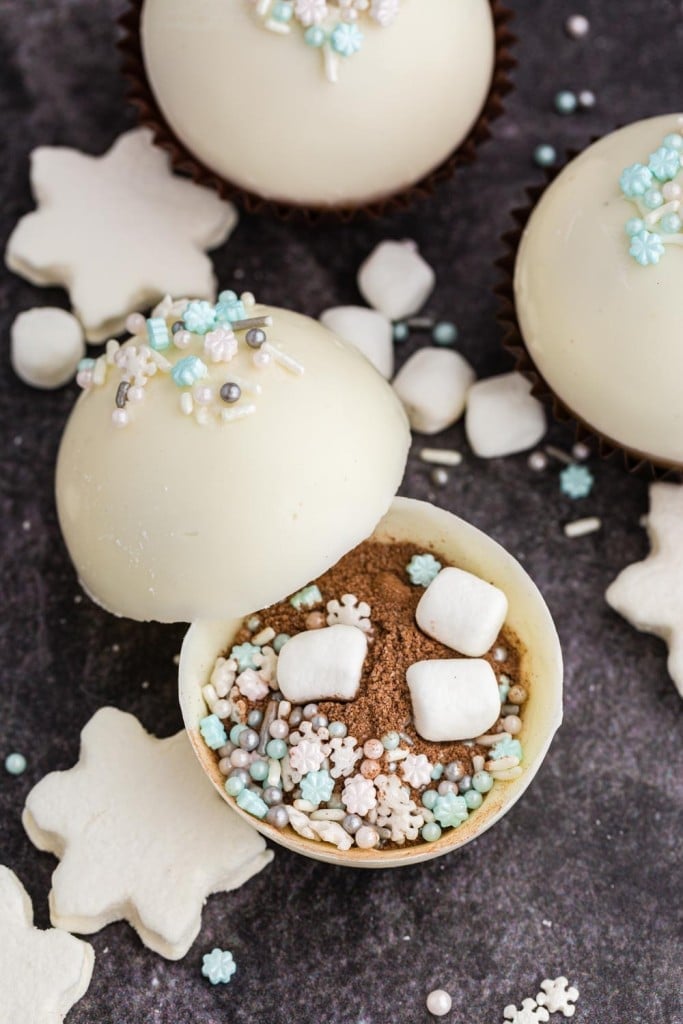
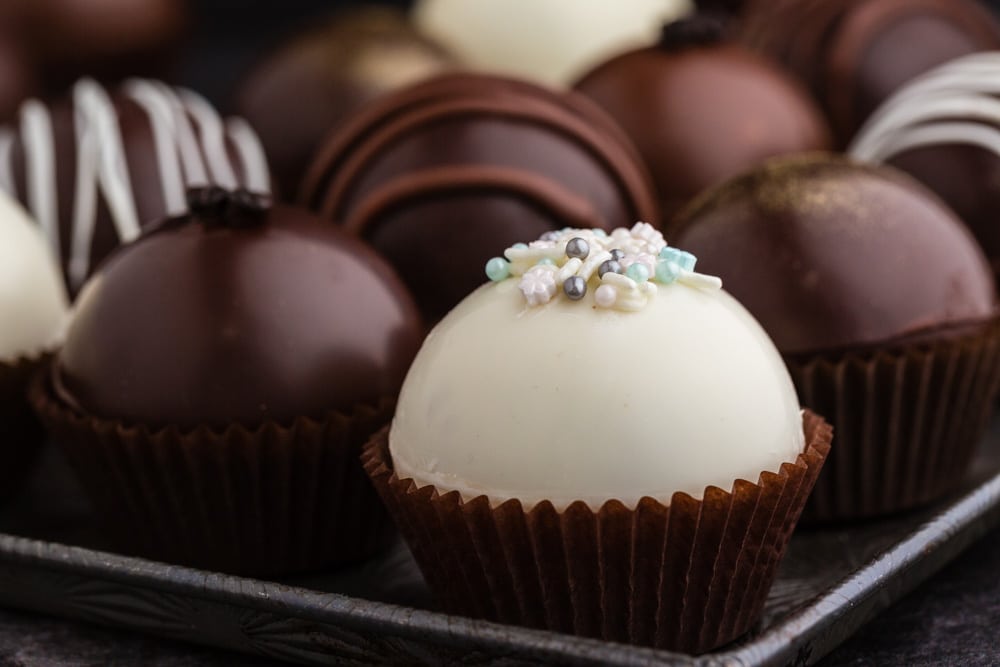
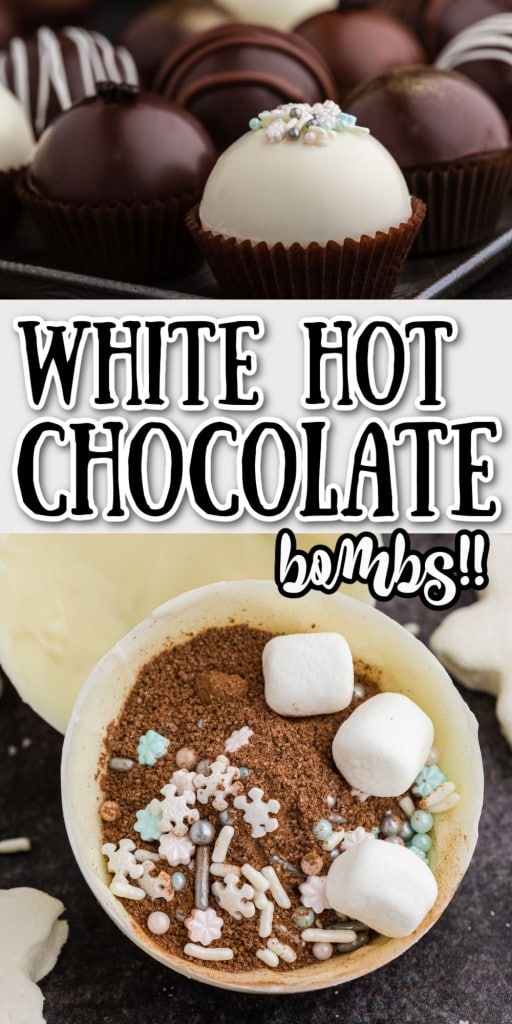
White Hot Chocolate Bombs are a twist on the traditional Hot Chocolate Bombs we shared earlier in the summer! They are just as fun to make, give, and decorate and are still filled with yummy cocoa powder and marshmallows.
Let’s take it back to 2020 for a second, when everyone was at home browsing Tik Tok, which is where these cocoa bombs originated to start with. While we were all stuck in the house, many trends broke through like making bread, feta pasta, dalgona coffee, along with a few others.
Some recipes were just that, trends, but hot cocoa bombs are here to stay. Well, at least in my opinion, and here’s why.
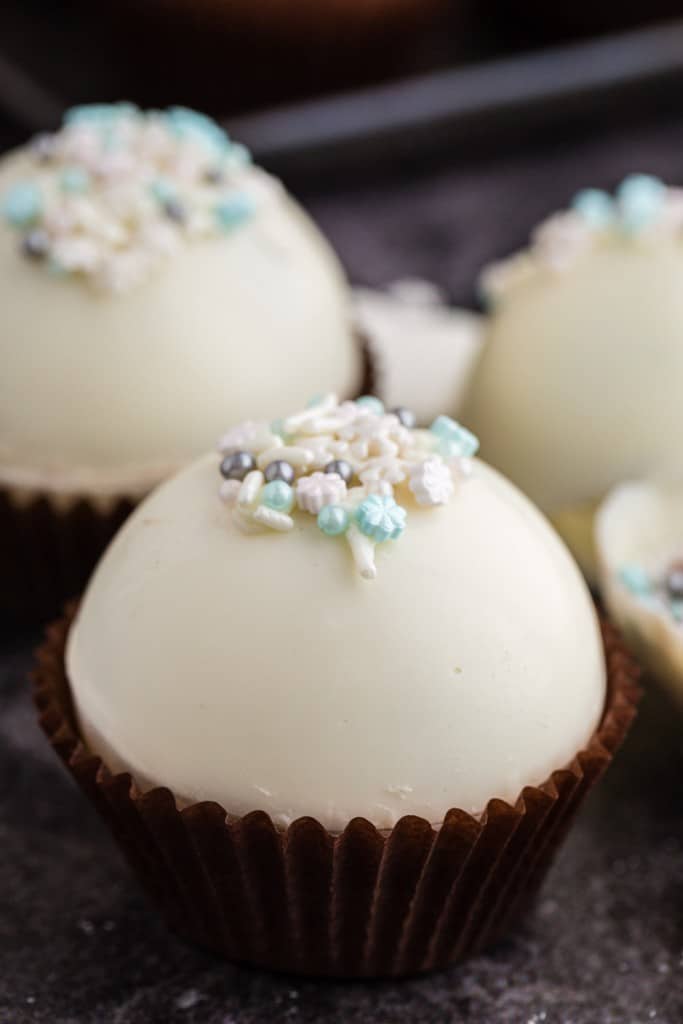
Table of contents
Why We Love Cocoa Bombs
For starters, they are super cute and so much fun to watch the bomb explode with cocoa goodness when you pour hot milk over them!
If you have kids, they love making these and getting to add their own personality to each one. Instead of a holiday cookie decorating party, you could easily have everyone make their own chocolate bombs.
Have you seen the prices of these things on Etsy? Some chocolate bombs retail for over $8! So as a maker you could definitely add these to your shop if it fits in your niche. As a consumer, you can save a ton of money once you get the hang of using the molds.
Last but not least, white chocolate bombs are a great edible gift idea! Especially for coworkers, neighbors, teachers, and even stocking stuffers. You can even customize them for any holiday including St. Patrick’s Day! To package them, simply place the cocoa bomb in a cupcake liner and add them to a decorated gift box or wrap in a small cellophane bag.
We love them so much we have created Valentine’s Hot Chocolate Bombs and Marbled Hot Chocolate Bombs!
What You Need for White Hot Chocolate Bombs
Ingredients
High-quality white chocolate – All chocolate is not created equally. For the recipe, I recommend Lily’s or Ghiradelli chocolate. I know you will be tempted to buy the cheaper chocolate, but here’s the thing. Sometimes there are tons of added ingredients that don’t allow for it to melt properly and it will curdle instead. I would also stay away from the wafers and candy melts when you make the outer shell of the chocolate bomb. You could use lower-end chocolate for decorating the outside if you have to. In addition, using the best quality chocolate ensures the best flavor!
Mini marshmallows – what’s cocoa without marshmallows? I recommend the mini size. Jazz it up by using colorful marshmallows and Lucky Charms has even debuted where you can by just the mallows without the cereal.
Hot cocoa mix – You want these to be delicious, so again I suggest good chocolate cocoa. One that is natural without additives. One of my favorites is Ghiradelli. While you can use the packets, sometimes that can be a little tedious and messy, so go with the containers full of powder, especially if you are making a full batch.
Colorful Sprinkles and/or white chocolate chips – these will be going on the inside of the cocoa bombs, so you may want to grab mini chips and smaller sprinkles. You can also use the sprinkles for decoration on the outside.
Kitchen Gadgets Used:
Silicone sphere mold – You will definitely need a mold to make these. When ordering them online beware that there are different sizes. You don’t want a mold that will make spheres so big they won’t fit in a coffee mug. There are also metal and tin versions, but I recommended silicon because they are easier to get the cocoa bombs out without breaking the chocolate.
Piping Bags – for the decorations on the outside you will need a little extra melted chocolate, which you can pipe on for extra precision. If you don’t want to splurge for the bags you can also use a Ziploc and cut the corner off for the same effect.
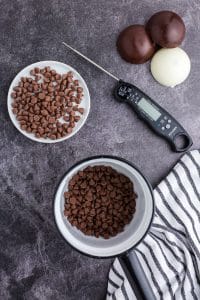
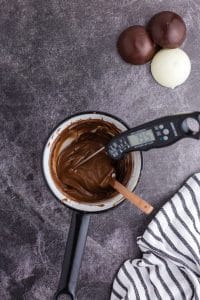
Candy or Digital Thermometer – the key to melting chocolate perfectly is not overcooking it. A good thermometer will help, so the chocolate bombs come out great every time.
Paintbrush – you can use the brush the seal the cocoa bombs and apply the chocolate to the molds
How to Make Cocoa Bombs Using White Chocolate
Chop the white chocolate into pieces as finely as you can. This helps with the melting process.
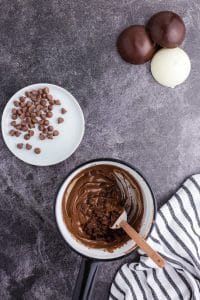
In a microwave-safe bowl, add about ⅔ of the white chocolate and melt on the defrost setting in 15-second increments. Stir each time before melting again. Once most of the chocolate has melted, even if there are still a few solid pieces, stir to finish it off.
The temperature should be between 100-103 degrees, but should not exceed 105 degrees.
Add the remaining white chocolate pieces and stir until they have melted mostly. Continue stirring and monitor the temperature until it cools to 83 degrees.
Place the white chocolate back into the microwave, on the defrost setting for 15 seconds. This should be just enough time to bring the temperature up to 85-87 degrees and make it easier to mold.
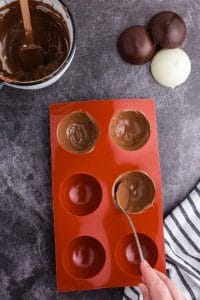
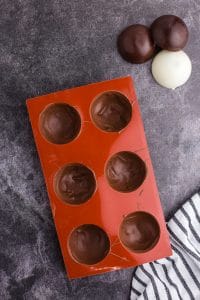
Use the back of a spoon or a paintbrush to coat the inside of each sphere mold. You will need to apply two thin coats or one thicker coat (between 1/16” and ⅛”).
If there is chocolate around the edge of the mold, use a knife or straight edge to remove the excess.
Place the mold in the fridge until the chocolate sets. You can also freeze the chocolate for just a few minutes and it will set quite quickly. What’s more, you don’t even need to chill the candy, it will typically set at room temperature (as long as room temperature is on the cooler side) though this will take quite a bit longer.
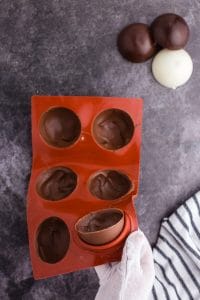
Pop the chocolate shells out of the silicone molds gently.
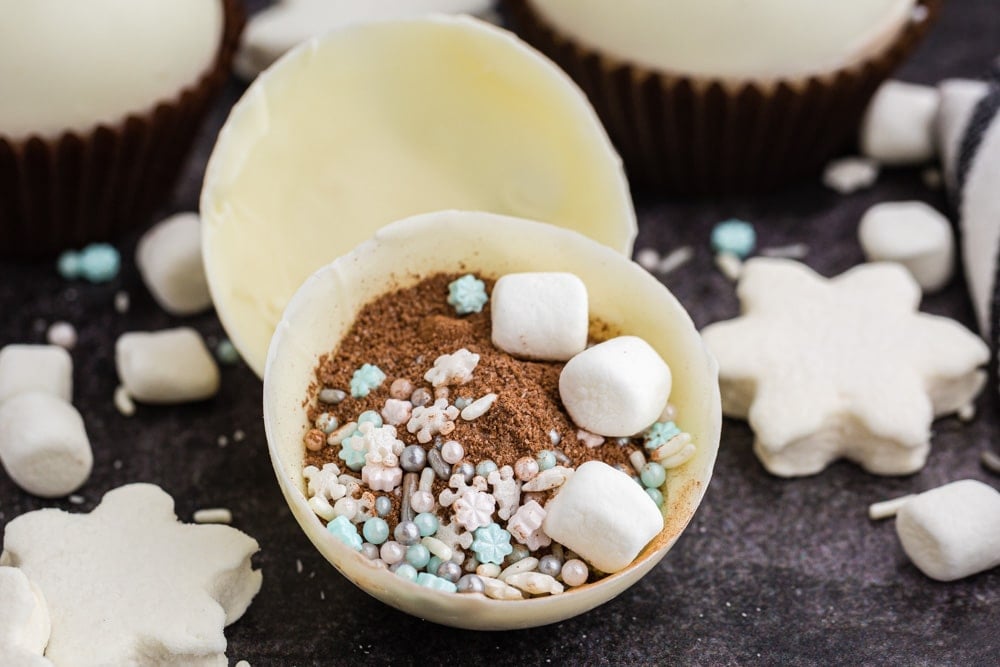
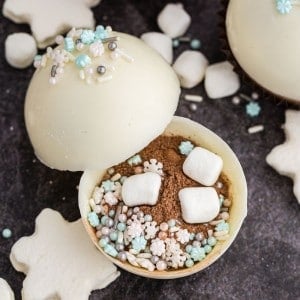
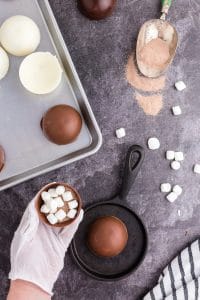
Add about 1.5 teaspoons of hot chocolate powder to each half, then add the mini marshmallows (as many as you would like), and the sprinkles.
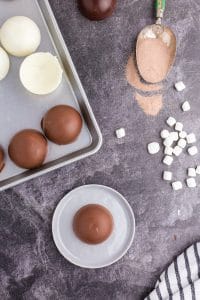
Warm a small plate in the microwave for about a minute.
Place the empty white chocolate sphere, open side down on the plate for a few seconds to melt the edge slightly, then quickly place it on the half that contains the cocoa mix to seal them together.
You can also use the paintbrush to add additional chocolate to seal the hot chocolate bombs together, but this will leave a more noticeable seam.
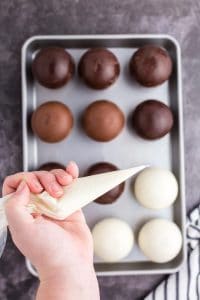
Once they are sealed together, drizzle additional melted chocolate on top and decorate with sprinkles if desired.
How to Serve
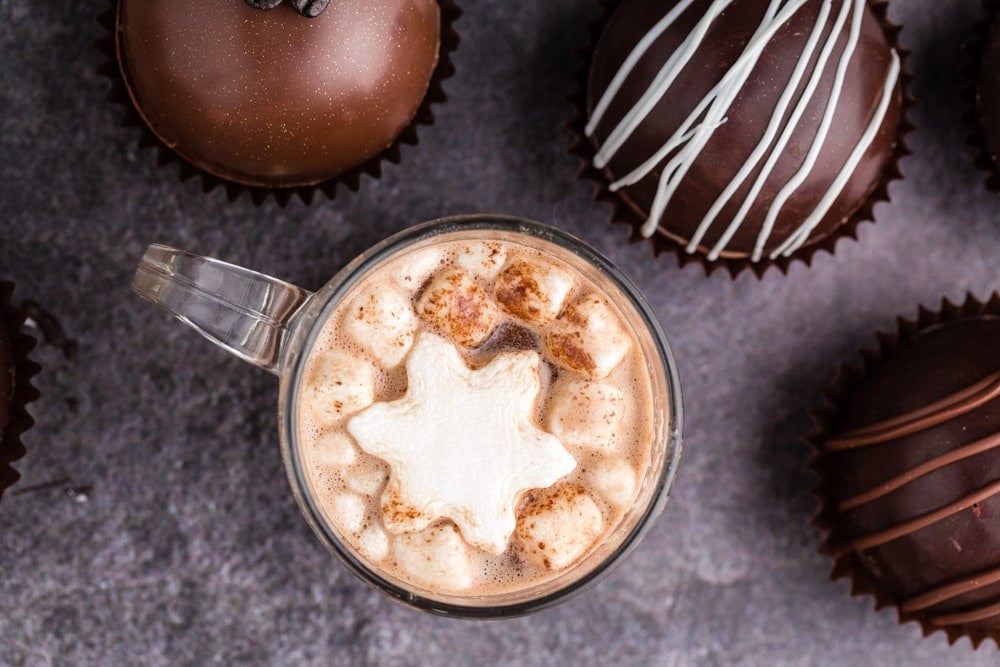
Place a white hot chocolate bomb in the bottom of a large mug and pour warm milk over. Stir and watch the magic happen!
Storing Leftover Chocolate Bombs
Place them in a bag or airtight container for up to two weeks. Be sure they are in a cool dry place.
Tips for Making + Troubleshooting
- By heating and cooling the chocolate to the specific temperatures allows it to mold into a crisp, shiny shell. This is also known as tempering chocolate.
- Should you use milk, semi sweet, or dark chocolate please know the temperatures vary. Learn how to make basic hot chocolate bombs here.
- Dipping chocolate and candy melts do not require tempering, but they also do not taste as good either.
- To limit fingerprints on the chocolate, use gloves.
More Chocolate Treats You Will Love:
- Homemade Chocolate Peanut Butter Hearts
- Double Chocolate Chip Cookies
- Chocolate Coconut Balls
- Peanut Butter Chocolate Ice Cream Pie
White Hot Chocolate Bomb Recipe
White Hot Chocolate Bombs
Equipment
- 2” sphere silicone candy mold
- Candy or digital thermometer
Ingredients
- 8 oz. white chocolate
- 4 tablespoons hot cocoa mix
- ¾ cup mini marshmallows
- ¼ cup white chocolate chips and/or winter sprinkles
Instructions
- Chop chocolate as finely as possible, which will aid in more even melting.
- Place ~5 ounces of chopped white chocolate (about ⅔ of the chocolate) in a microwave safe bowl. Microwave on the defrost setting in 15 second increments, stirring between each. When most of the chocolate is melted, with a few pieces still solid, stop microwaving and stir to finish melting the chocolate. The temperature for white chocolate should be between 100-103°F at this point and not hotter than 105°F.
- Add the remaining chocolate pieces and stir until they are mostly melted and incorporated. Continue stirring the chocolate until it cools to about 83°F.
- Place the chocolate back into the microwave on the defrost setting for 15 seconds once more. This should be enough time to heat the chocolate back up to 85-87° and make it fluid for molding.
- Use a paintbrush or the back of a spoon (a soup spoon works great!) to coat the inside of each sphere of the candy mold. Apply two thin coats or one thicker coat, between 1/16” and ⅛”.
- Use a knife or straight edge to clean up any excess chocolate on the surface of the mold.
- Place the mold in the refrigerator for 3-5 minutes until the chocolate sets.
- Gently pop the molded chocolate from the silicone mold.
- Spoon 1 ½” teaspoons of hot cocoa mix powder into one side of each sphere half. Add as many mini marshmallows as you can and any festive sprinkles that you’d like.
- Heat an empty plate in the microwave for about a minute and place it next to your work space.
- Place the empty half of each sphere, open side down onto the plate for just a couple seconds to melt the rim. Quickly press the melted rim against the rim of the other half to seal the sphere together.
- You can alternately paint a bit of melted chocolate on the edge to glue the two sides together, but this leaves more of a visible line.
- Dab a bit of the melted chocolate on the top of the hot cocoa bomb and sprinkle some decorations on the top.
Serving:
- To serve, place a hot chocolate bomb in a mug. Pour 8 oz. of steamed milk over the chocolate. Stir and drink up!
Storage
- Store hot chocolate bombs in an airtight container or bag in a cool, dry location for up to two weeks.
Would you like to save this?
Notes
- Heating and cooling instructions should temper the chocolate so that it molds into a shiny, crisp chocolate shell.
- Temperatures for tempering the white chocolate will be different for milk or semi-sweet/dark chocolate.
- Candy melts or “dipping chocolate” does not require tempering, but it doesn’t taste as good.
- Use gloves to limit fingerprints on the chocolate.
Make this recipe?
Share it with me on Instagram @girlinspired1 and follow on Pinterest for more!



Leave A Reply!