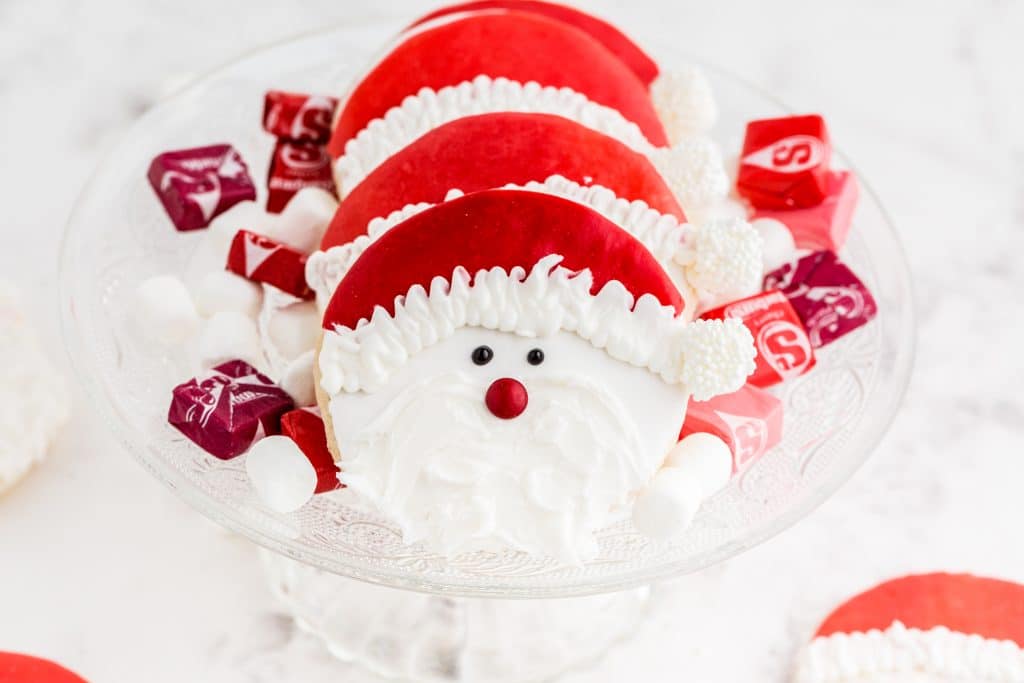
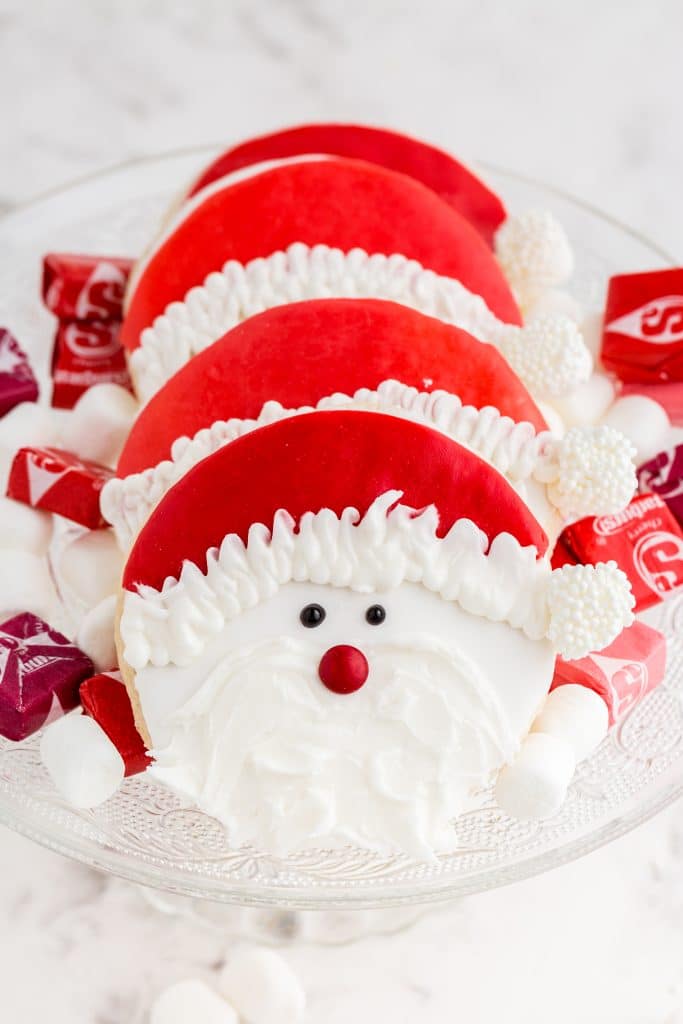
Have you ever seen such an ADORABLE plate of Santa cookies? Your basic delicious sugar cookie is topped with a magical combination of Starburst candy and mini m&ms to make a darling cookie that anyone can master! It’s so much easier than you think, and I’m going to show you how you can make these Santa Claus cookies, too!

You do not need any special supplies for these cookies. Around the holidays, I typically have a batch of royal icing sitting around for any gingerbread house gluing or cookie decorating needs, but you can also simply use a can of white frosting from the grocery store to do the white parts of the Santa cookie face.
We used royal icing and a little icing writer in black from the grocery store baking aisle and these cookies came together in a snap. You can make your sugar cookies in any size – we just used a basic round 3″ cookie cutter and our favorite cut out sugar cookie recipe. You can even use pre-baked cookies or a ready-made cut and bake dough!
I think that the key to this cookie’s uniqueness is that we use Starburst candy for that smooth, perfectly red Santa cap! I’ll teach you that trick – keep reading!

Do you love baking for the holidays? I have a few tried and true recipes that I make EVERY year:
- Chocolate Cream Pie
- Candy Cane Cookies
- Mint Snowtop Crinkle Cookies
- Peanut Butter Chocolate Chip Cookies
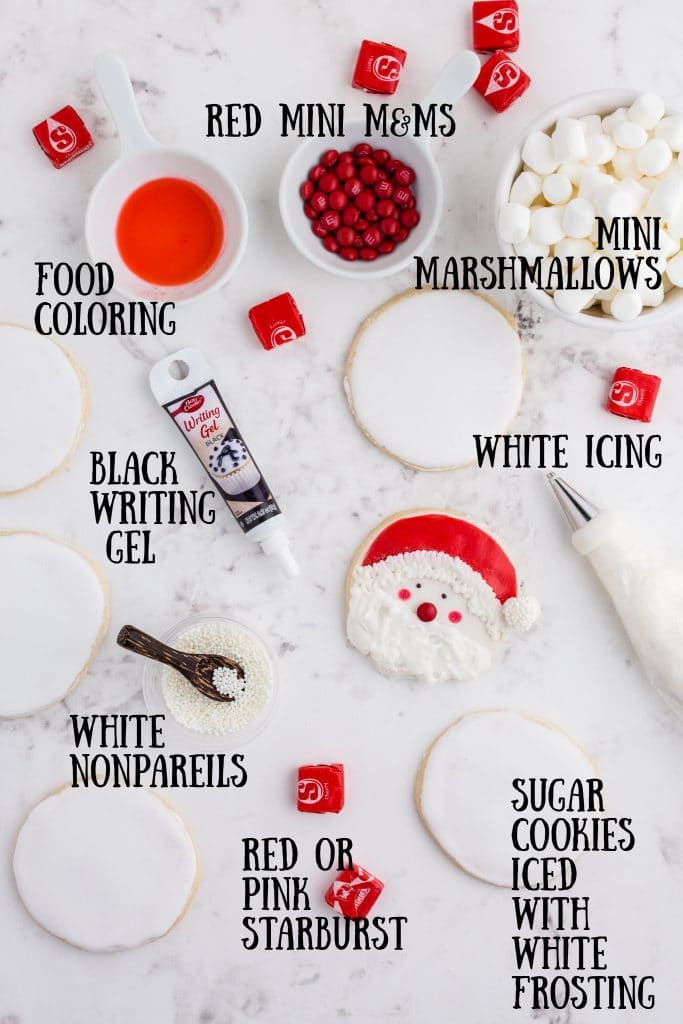
Ingredients for Decorating Santa Cookies:
- Sugar cookies (or any cookie I suppose!) iced smooth with white frosting – I dipped these cookies in a thinned royal icing, but you can also heat a can of white frosting in the microwave for 20 seconds or so and use that for easy dipping. Regardless of the icing, let them dry for at least an hour so that the icing is wet and sticky.
- White Icing – We use more icing to make the fur lining of the cap, to stick the nonpareils to the marshmallow puff, and to make the beard. You can use royal icing or canned icing. For super easy decorating, grab one of these tubes of premade frosting (affil) that you can screw your decorating tip straight onto – read more about icing tube tips here.
- Mini M&Ms – just grab a bag from the grocery store – these are so fun to decorate with! There are plenty of red ones in the bag to use for Santa’s nose!
- Black Writing Gel – you need so little of this, but you can’t do without Santa’s eyes. If you prefer to color a bit of white frosting with some black food coloring gel, that works great too! I grabbed this from my grocery store’s baking aisle!
- Mini Marshmallows – We’re going to stick a mini marshmallow on the side of the cap like a little puffball. It’s a cute touch.
- White Nonpareils – I use these for everything – they are one of my favorite sprinkle basics! These are optional but give the marshmallow puff a nice polished look. You can also sprinkle them over the “fur-lining” of Santa’s cap.
- Red Food Coloring – this is totally optional and I ended up preferring my Santa’s whose beards came up over their cheeks, but if you want to dab a bit of rosy onto Santa’s cheeks – it’s super easy to drop a drop of red food coloring into some extract or clear alcohol and use that!
- STARBURST candies – ok! Your key to making these unique cookies is that smoooooooth red Santa cap! We make that with Starburst! Grab a berry flavored pack and you’ll get a few different shades of red to work with.

- Bake and ice your cookies with a smooth layer of white frosting.
- This is the base of Santa’s face and you’ll want to make sure the icing is nice and dry to the touch before continuing. I usually wait at least an hour.
- Make the Starburst Santa caps.
- This is going to blow your mind! Those tiny little Starburst candies are super versatile. Pop your candy (I do one or two at a time) into the microwave for 10-15 seconds and heat. It will soften right up. Unwrap it and roll it between two sheets of parchment paper. You need to work quickly as it’s only easy to roll when it’s nice and warm.
- Cut out the cap shape.
- Once the Starburst is rolled out large enough to cover the width of the cookie, use the same cookie cutter you used for your cookies and cut the curve of the top of the cap. Then, trim the bottom of the Starburst to make a straight or just slightly curved line that will be the bottom of the cap. Press the caps onto the top halves of each cookie.
- Pipe the fur lining of the cap with white frosting.
- Make a squiggly line with your white icing. Super simple.
- Add a marshmallow puff ball to the cap.
- Add a little bit of icing to one end of a mini marshmallow and dip it in nonpareils to make the puff ball for the cap. Use icing to “glue” the puff to the side of the Santa face where the cap and fur lining meet.
- Add a bunch of fluffy white icing for the beard and a mini m&m nose.
- Finish with the black piped eyes.
- Add cheeks if you wish. This is optional and I liked most of my Santa cookies without rosy cheeks, but you can either punch little round cheeks from your Starburst scraps or mix a bit of red food coloring with some vodka or almond extract (the alcohol will evaporate) and dab the cheeks on with your fingertip.

And….you’re DONE!! Wasn’t that fun and easy? I just love how these Santa cookies turned out.


Leave A Reply!