
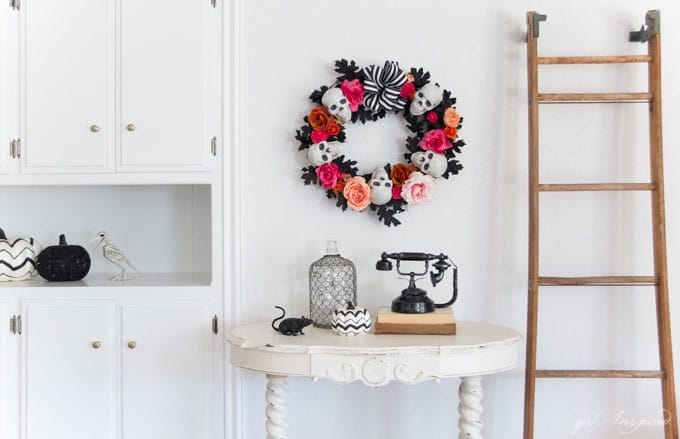
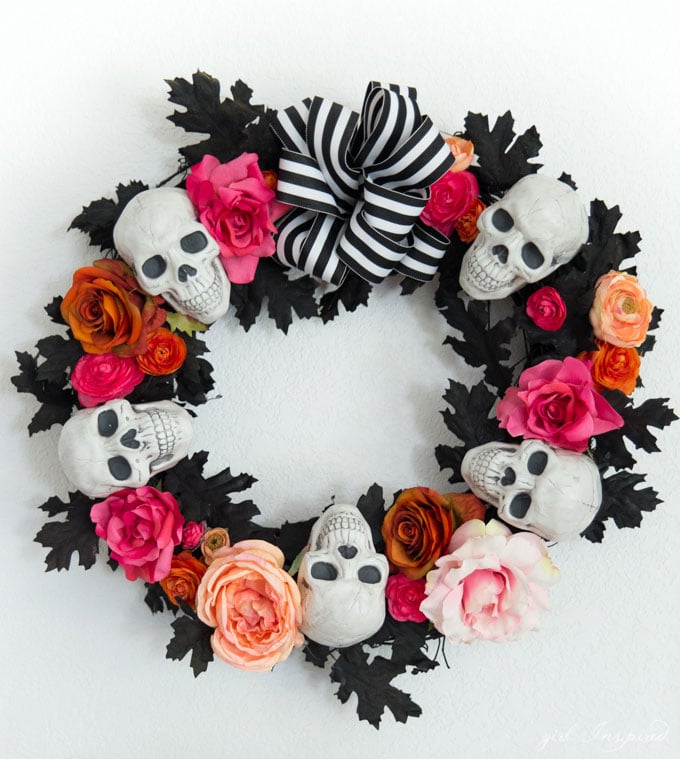
Eeek! It’s October, which means I can legitimately start decorating for Halloween fun without looking too crazy. As my kids have gotten older, they have started really enjoying the spooky, creepy decor and it makes decorating for this season an absolute blast. I was scouting the catalogs for new decor to purchase when I came across the most fabulous Dia de Los Muertos wreath. Unfortunately, the wreath was sold out (except for a somewhat questionable listing on eBay for $1200,) so I decided to have a go at making my own version. I don’t usually decorate for the Day of the Dead, but I just loved the vibrant colors and wanted to incorporate them in to my decor this year.
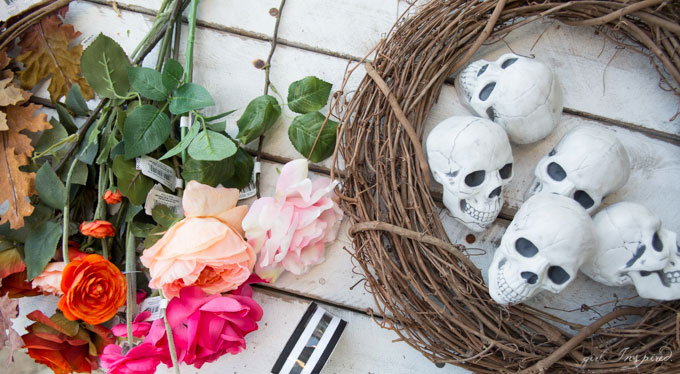
Dia de Los Muertos Wreath Supplies:
- 5 small skull heads (found mine at Target)
- silk flowers in vibrant orange, pink, and peach – 15-20 flowers minimum
- black and white striped ribbon (wired would be great, too, but mine was wireless) – min. 3 yards
- grapevine wreath
- silk leaf sprays or garland (enough to fully go around the wreath)
- hot glue
- black matte spray paint
- floral wire
How to Make a Dia de Los Muertos Wreath
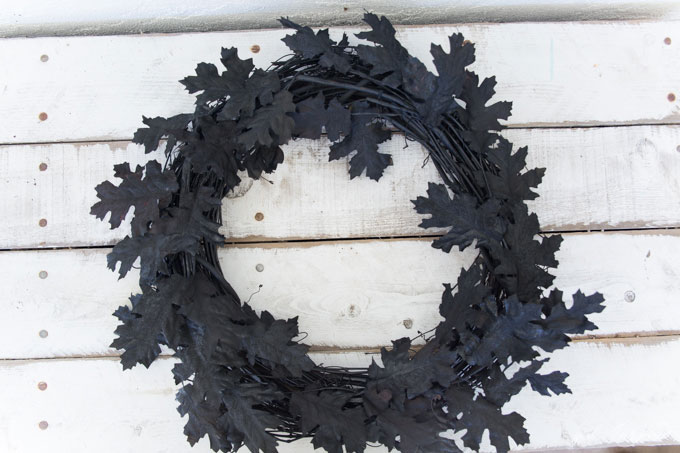
First, spray paint your grapevine wreath matte black – cover as much as possible. Spray paint the front and back of the leaf sprays/garland. I was a little concerned that the spray paint wouldn’t work well, but it turned out great – the leaves even kept their pliability. Weave the leaves into the wreath to form a base for the flowers. Use hot glue to secure leaves where needed.
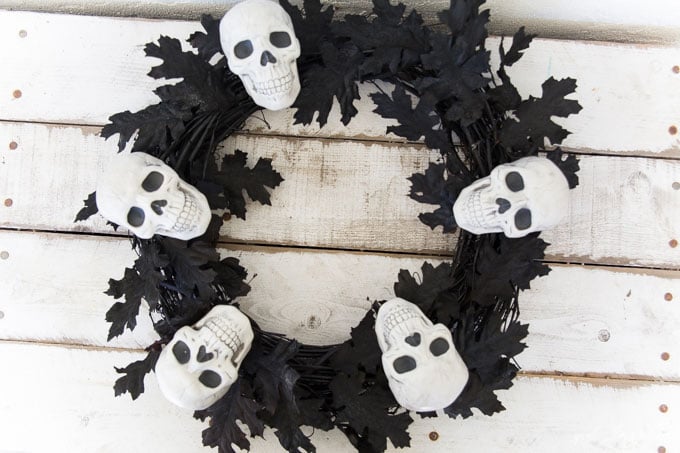
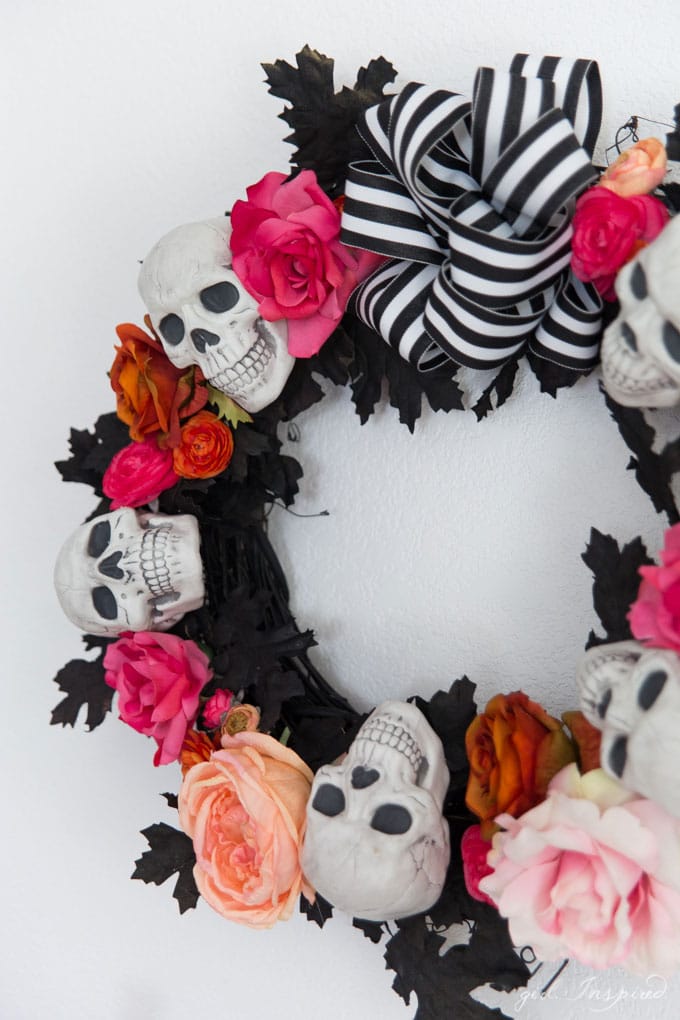
Evenly space the skulls around the wreath. Leave a bit wider gap at the “top” for your big bow. Hot glue the skulls onto the wreath, wedging them down into the leaves and vines so that they are secured face up and flat.
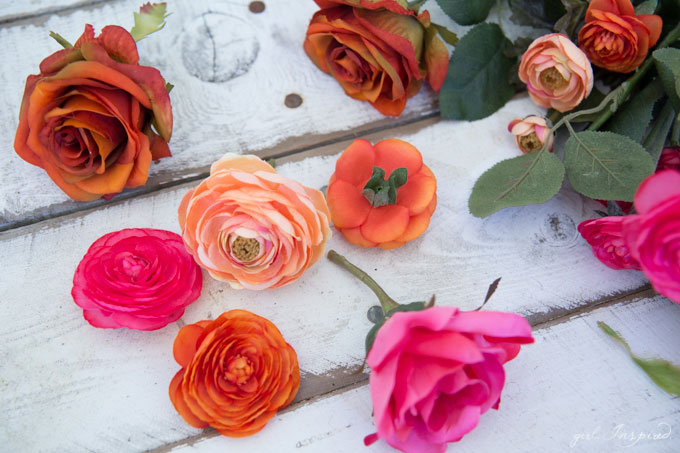
Separate your flowers from the stems. Cut stems down to 1-2 inches. Leaving a bit of stem made is really easy to secure the flowers into the wreath, but if you need to pull the flower heads from the stems completely for some final filler, you can do that too. I cut the stems with an old pair of pruning clippers – a wire cutter would work, too.
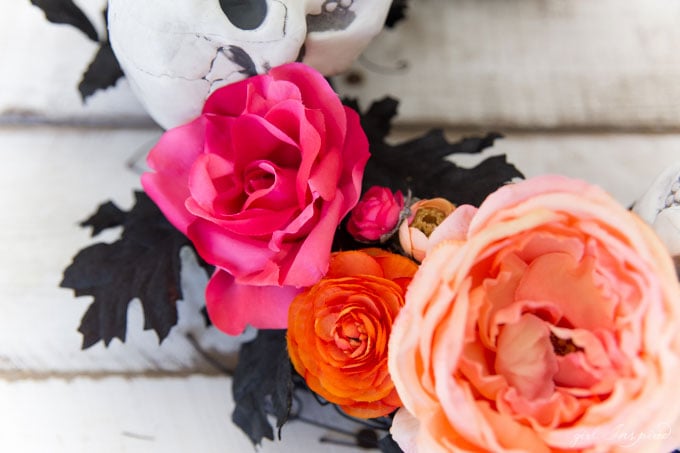
Dry fit the wreath with the flowers. Evenly space colors and sizes to create an eye-pleasing layout. Wedge the short stems down into the wreath and hot glue in place.
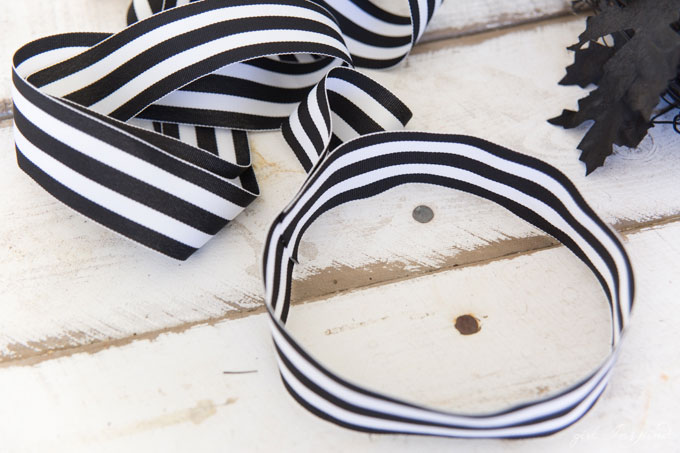
Let’s make the bow!! Take a long stream of ribbon – at least a few yards, more if you have it. Form a circle about the size of the finished bow you want. Add just a dot of hot glue to the end of the ribbon and secure it into the circle, as shown above.
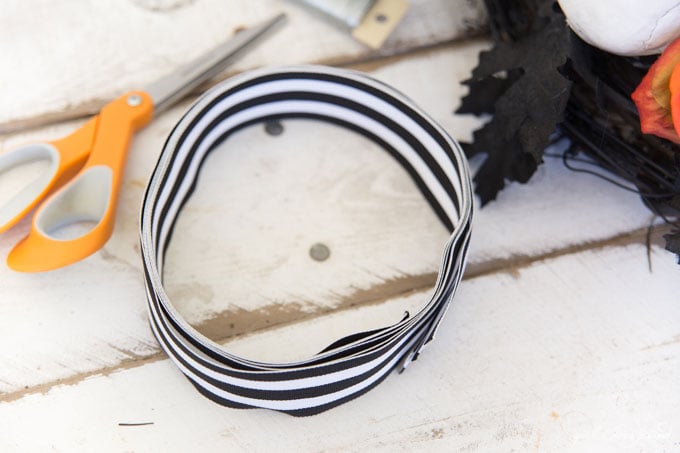
Now start wrapping the ribbon around and around the circle until all the ribbon is circled up. Dab a tiny dot of hot glue to secure the other end.
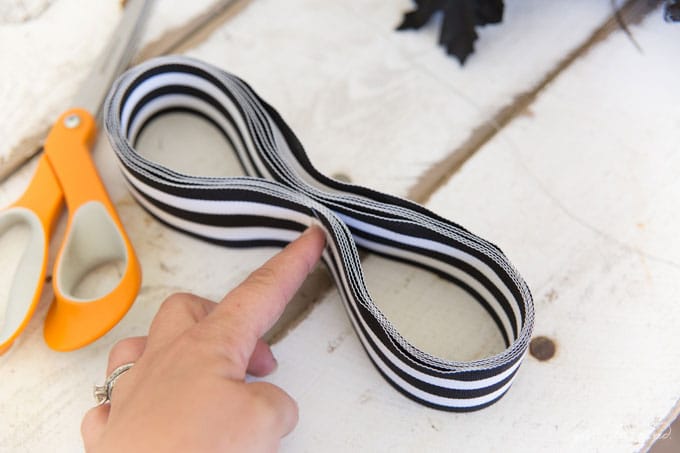
Now, pinch the ribbon circle in the center to form a figure 8 of sorts.
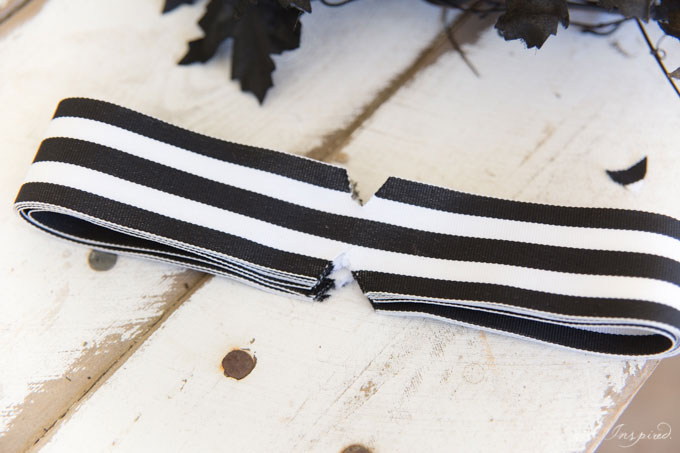
Cut two small triangles on either side of the exact center of your figure 8, as shown. This will make the center of the bow a bit neater. You can dab some FrayCheck into the cut triangles to prevent fraying and frizzing.
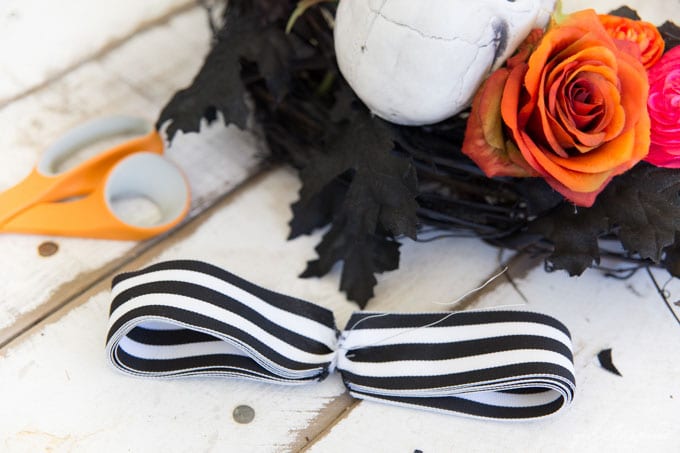
Twist a 7-inch piece of floral wire around the center of the ribbon and twist to secure tightly.
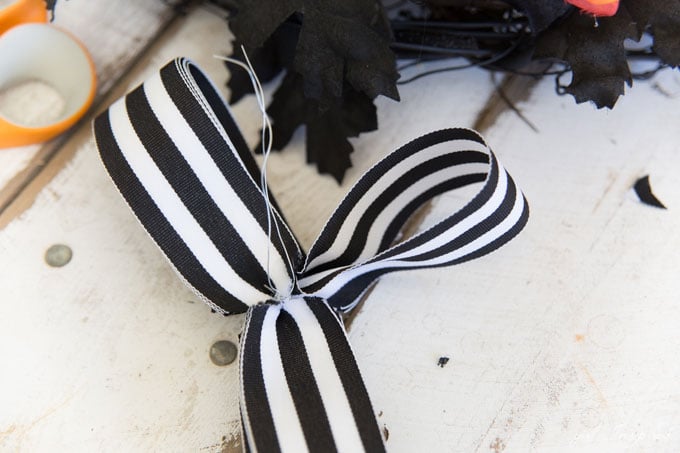
Now it’s time to fluff the bow. Beginning on one side of the loops, pull the first loop out of the center to the right and twist it.
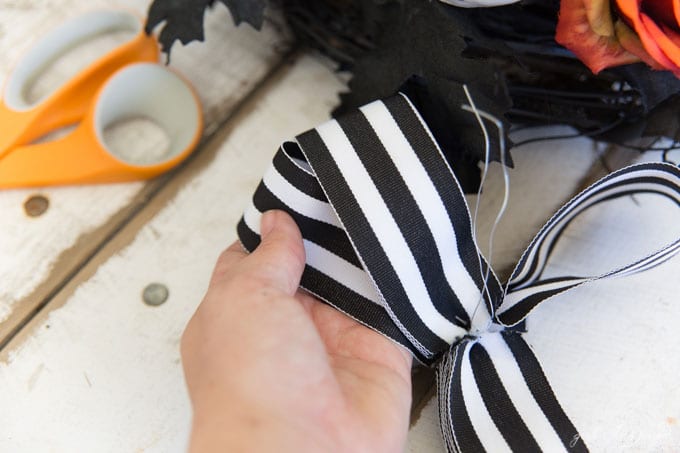
Pull the next loop out of the center to the left and twist. Continue fluffing the bow until it’s full and just how you like!
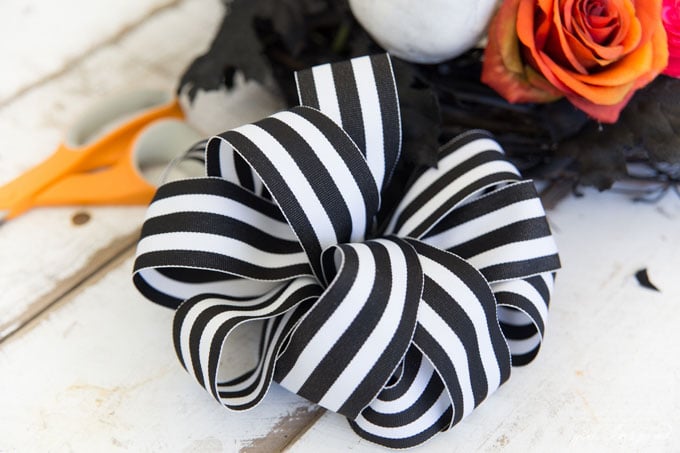
Use the wire to secure the bow in place on the wreath!
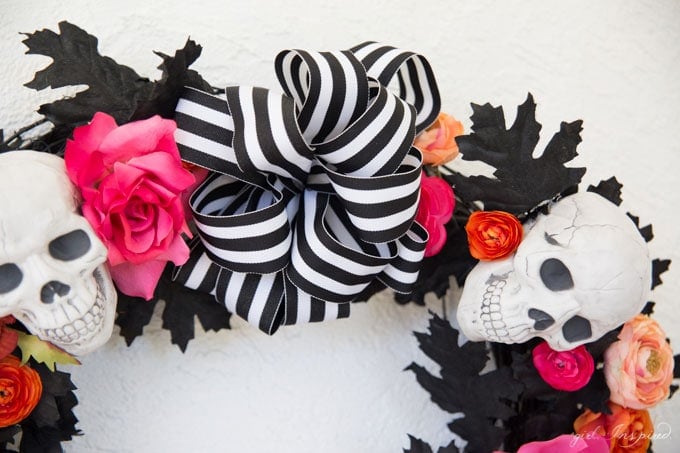
Hang that beauty up and soak in the vibrant fun!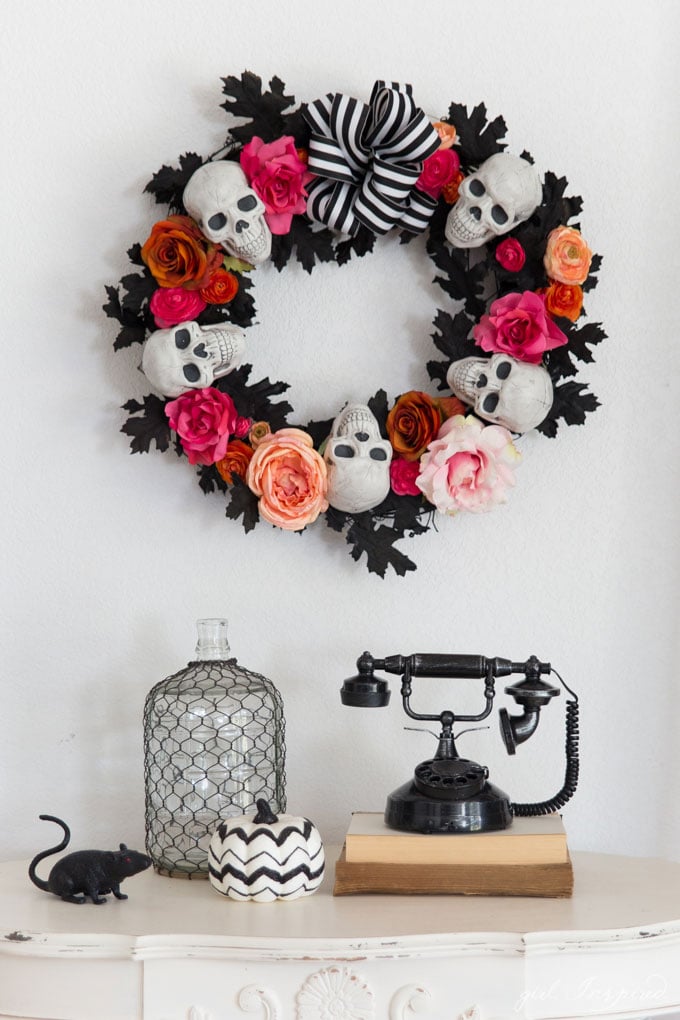
Looking for more Halloween crafting ideas? Try these “Slightly Spooky” Halloween pumpkins – how can something so beautiful also be so spooky? lol! You might also love my DIY Mummy Heads.
Halloween Crafts and Party Ideas



Comments & Reviews
Judith de Haan says
You’ve gotta repost this on Facebook! I’ve been raving about how gorgeous this is to all my girl gang there! It’s so easy to make, too!
Kelsey says
what a fun and funky design! Can I ask how much the supplies cost? I’m in a similar situation as I set my heart on a wreath from etsy but it’s far too expensive so I’ll be having a go at making my own. I’m a florist by profession so I’m excited to do something a little different!
Judith de Haan says
I made it a couple of weeks ago. I think the grapevine was about 19 inches across and I found the skulls and silk flowers at Michael’s. All the supplies (including the black spray paint) were about $100. I know, right?! Crazy! But omg, it’s gorgeous! I posted my version on Facebook and linked back to Stef there!
Julie says
What were the approximate sizes of your grape vine wreath and skulls on this project?
Thank you!
Jennifer says
What size wreath and skulls did you use?