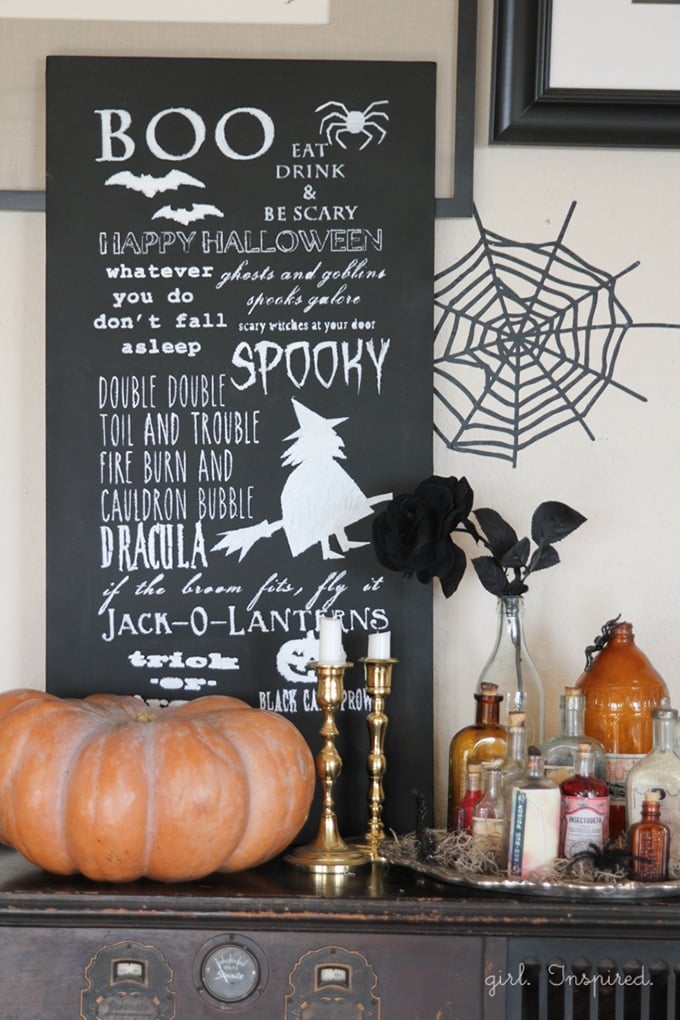
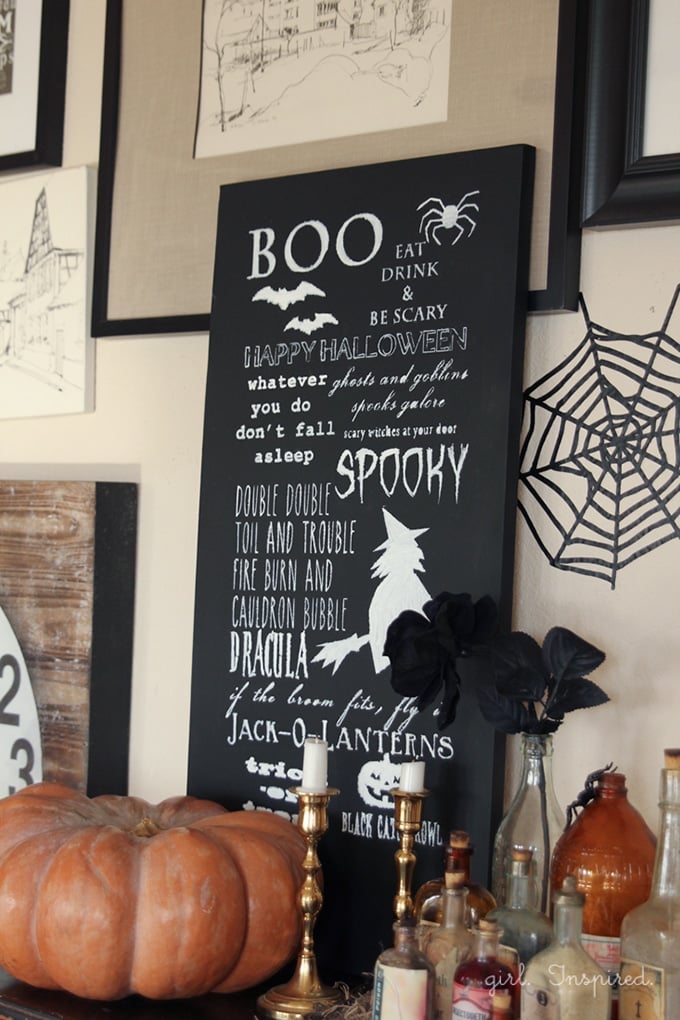
The Halloween Chalkboard Sign is a simple project that is created using a stencil file, a die-cut machine, and white paint on a black canvas. In a short time, you can make a permanent chalkboard to use for Halloween decor year after year.
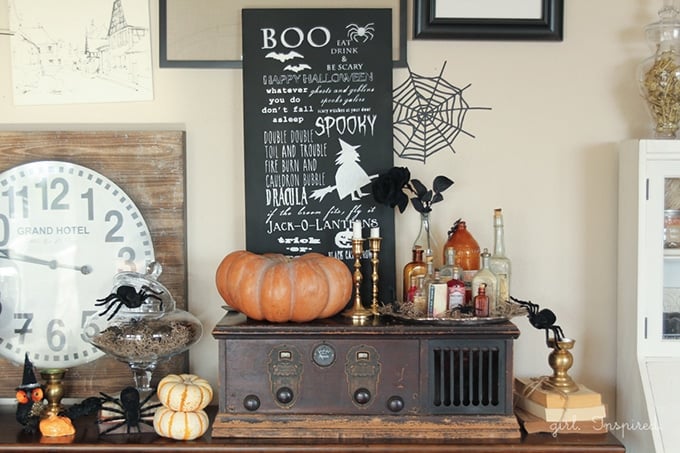
With only two weeks to go, I’ve opened up the Halloween bins and put up some decorations. The girls get super silly and scatter skeleton bones around the house and drape snakes around their necks. I debate between trying to keep the mess contained and letting them have their holiday fun.
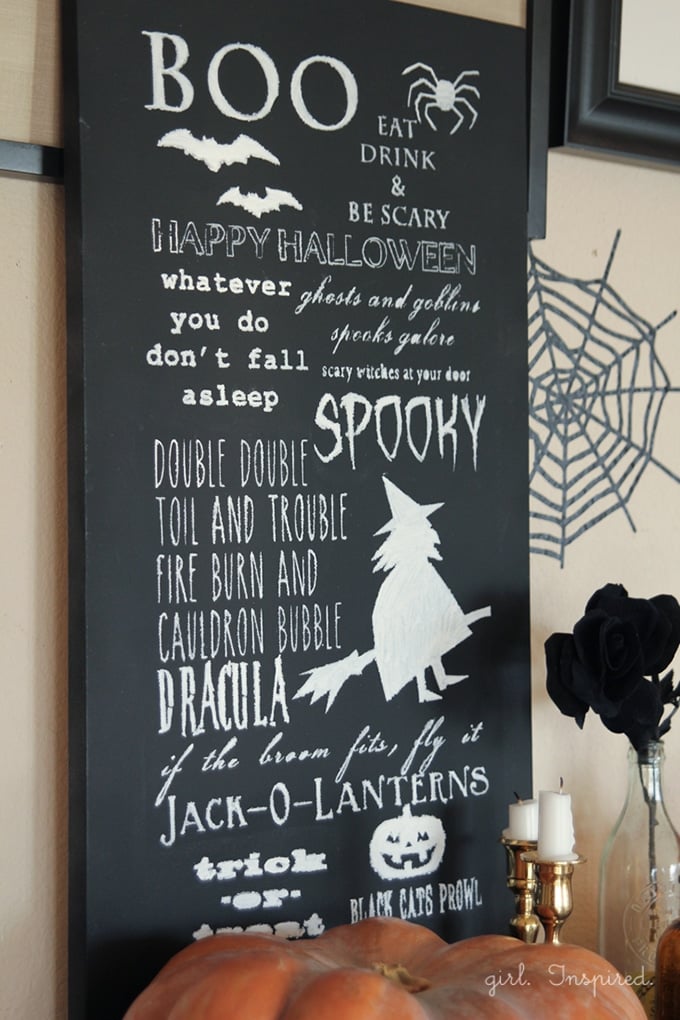
Once I put together the image file in Photoshop, I was able to create the project with my Cricut, vinyl, and a large canvas. I’ll share the file if you’d like to make one, too. Don’t have a Cricut Explore? Well, BIG NEWS!! My team is giving one away to one of you! There’s a Rafflecopter at the bottom of this post where you can get all your entries in! I’m excited for ya because this machine is so much fun to use! Let’s get to the project:
You will need:
Cricut Explore or cutting machine with 12″x 24″ cutting capability
12″ x 24″ cutting mat
vinyl (12″ x 24″)
vinyl transfer sheet (12″ x 24″)
Halloween Chalkboard Sign file – click here to download
15″ x 30″ stretched canvas
chalkboard paint
liquid chalk pens or white paint
Begin by coating your canvas in chalkboard paint. I used a canvas that already had a coat of pink latex paint on it and my chalkboard spray paint completely covered it in just one coat. If you don’t have paint to prime the canvas with first, it may take more than one coat. Allow the canvas to dry completely. If you want to use a different size canvas, you should be able to easily use anything smaller with just a little adjustment of the image.
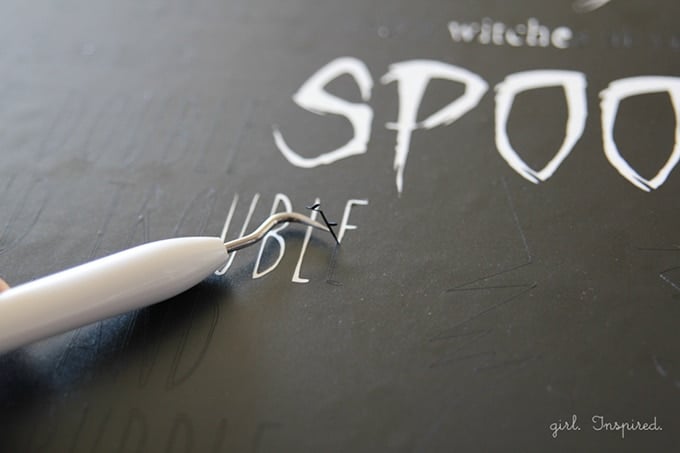
Upload the Halloween Chalkboard Sign .png file to your Cricut Design Space software. Adjust the image to fit a 12″ x 24″ cutting space. Lay your sheet of vinyl with backing attached onto the cutting mat and cut out the image. This will take a while, but hang in there – the Cricut Explore doesn’t need babysitting and I haven’t had it mess up in the middle of cutting yet. Grab a fresh cup of coffee and check up on your drying canvas. Once the design is cut from the vinyl, you will need to remove all of the words and images so that only the negative space remains.
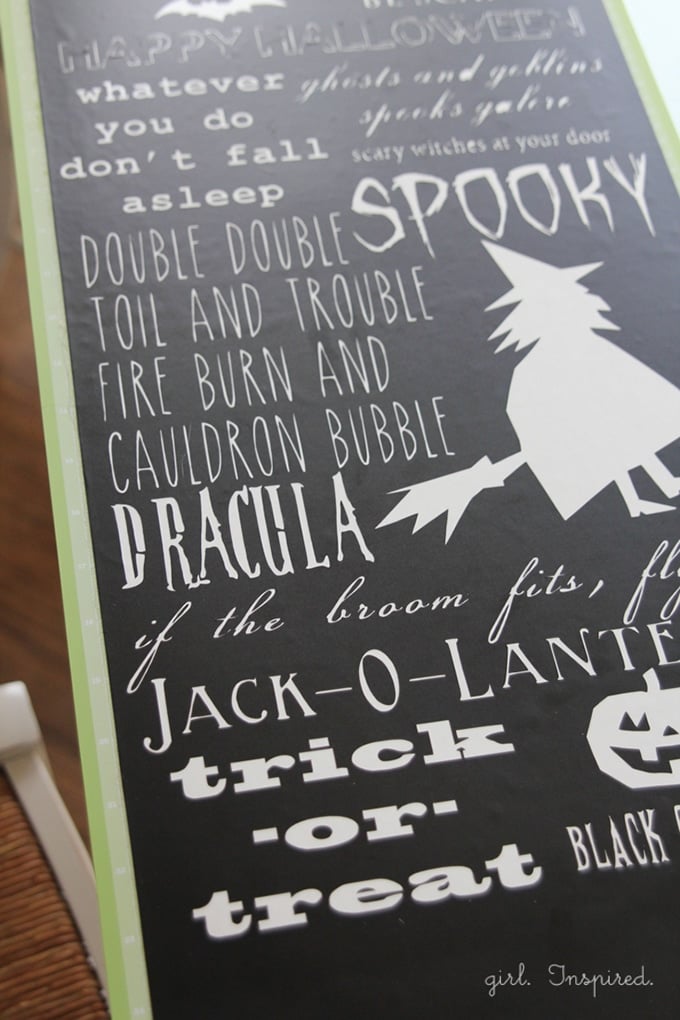
Use a pick tool to get the tiny little letters out cleanly. “How I Met Your Mother” reruns come in handy while you’re doing this – or perhaps a nightime viewing of The Shining??
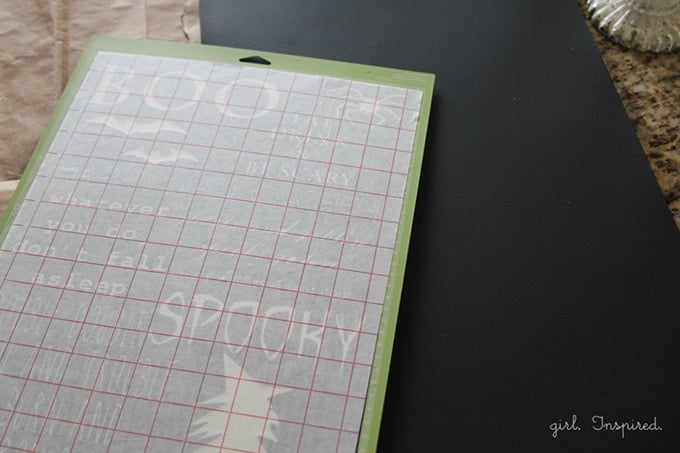
You will need to use a vinyl transfer sheet to move the design outline from its backing onto the chalkboard canvas. This is painless as long as you use the transfer sheets!
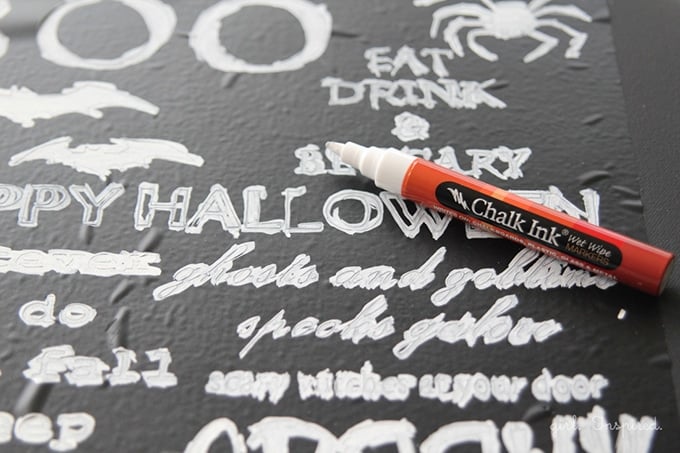
Once you’ve placed the design onto the canvas (centered please!), peel off the transfer sheet and you’re ready to paint in the design. I used a liquid chalk pen because I thought it would give the canvas a more authentic chalkboard feel. The chalk pen bled a bit under the vinyl, which hasn’t happened with regular paint when I’ve done something similar in the past. Use whichever painting medium you prefer. Peel off the vinyl, using the pick tool to remove the small pieces, such as the centers of a’s and o’s and your canvas is just about done! You can gently spray it with a couple coats of clear paint to set the chalk or just leave it as is. Hang or prop it up on the wall and admire its festive beauty!


Comments & Reviews
Kiki Comin says
super cute, stef! LOVE this so much. xoxo
Kelly D says
I would make a Halloween tote.
Gwen says
I’ve been wanting a Cricut machine for the longest times! And now that I saw the chalk board, I want one more than ever!! Hope “random” finds me! 😉
Thanks for such a fabulous giveaway!!!
Wendy says
Just getting back into the design field…would like to make many words in fresh hues! Thanks for so much inspiration!
Charity says
I love the idea of using chalk pens with an vinyl stencil. I don’t know what I’d make, I’m mostly just curious how the Cricut Explore is different from the Silhouette Cameo.
Polly McKenna says
This looks awesome! Thanks for the chance to win this.
Jessica Cochran says
I would make a welcome sign for my house!
Stacey Dalton says
I would love to make some signs for my craft room
silver says
I would make paper dolls for my kids.