*This class review is sponsored by Craftsy. All opinions are my own.*
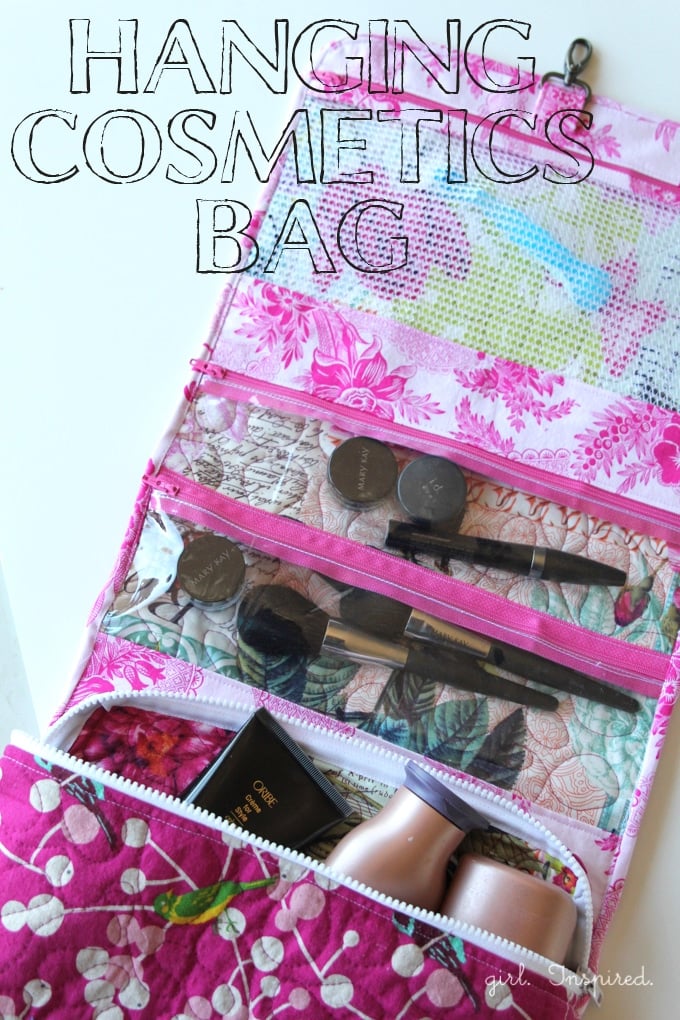
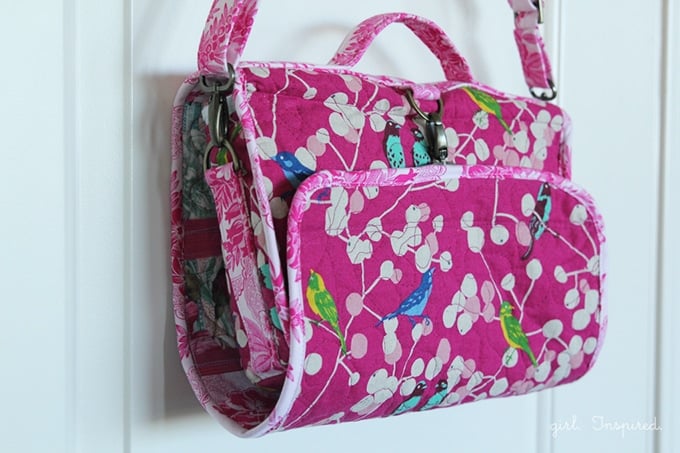
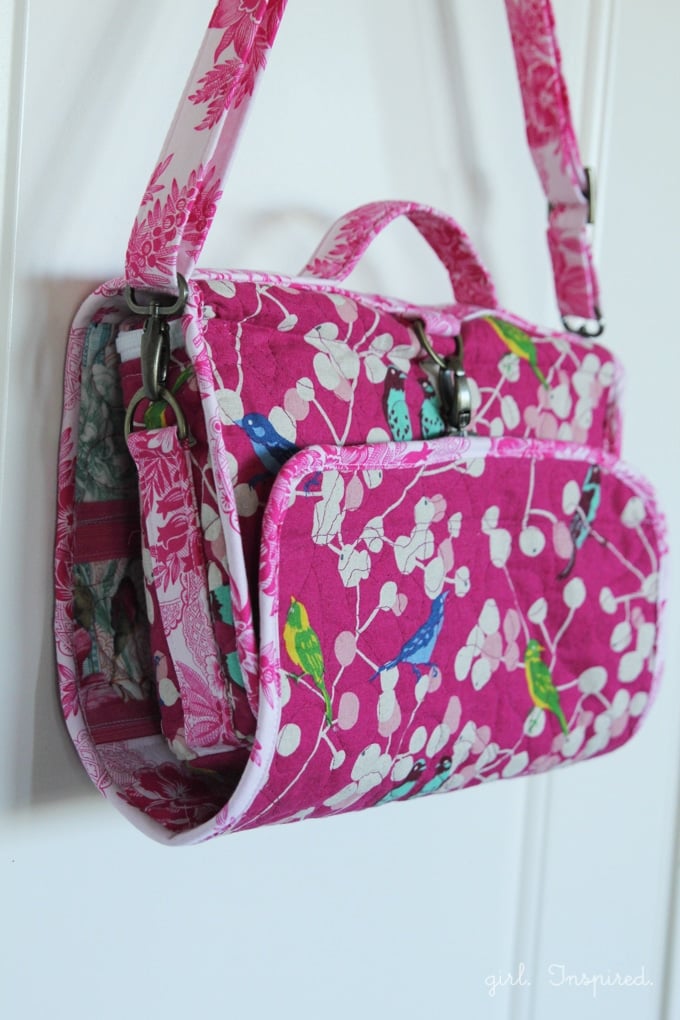
I’ve just returned home from a little trip to Napa with my husband, which was relaxing and much needed. Before I left last week, I worked like a madwoman to sew up this crazy awesome hanging cosmetics travel bag. This was quite the intense project, I have to say, but it fit ALL my toiletries for the trip and worked like a charm! I made the bag using the pattern and video course: Sew Sturdy Travel Organizers, taught by Annie Unrein, through Craftsy.
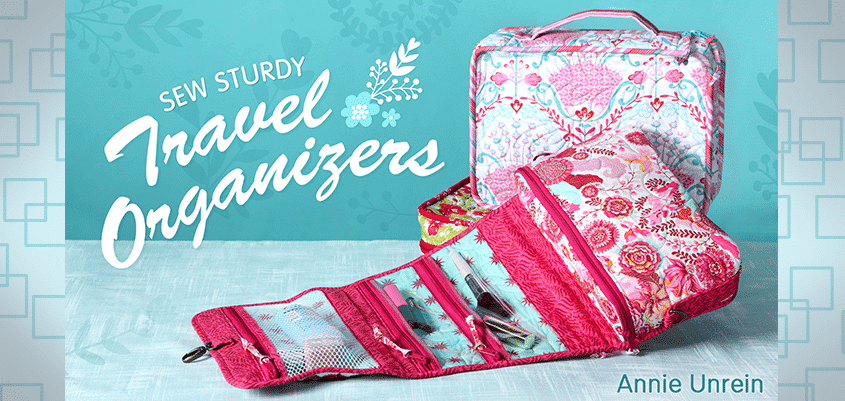 This class includes full written and video instructions to construct two complete travel organizer bags. The lessons are broken down into sections and there’s a drop-down menu to access any part of any lesson with just a click of the mouse. Since I constructed the second bag, there were instructions from the first lesson that I needed to watch in order to complete that step. The instructor is so organized with the class that it was simple for me to get all the information I needed without crawling through unnecessary parts of the lessons. I was feeling a little unsure about skipping to the second project first, but I don’t think it was a problem at all.
 One of the things that my Type A self LOVED about this class was the printable instructions and project cutting labels.
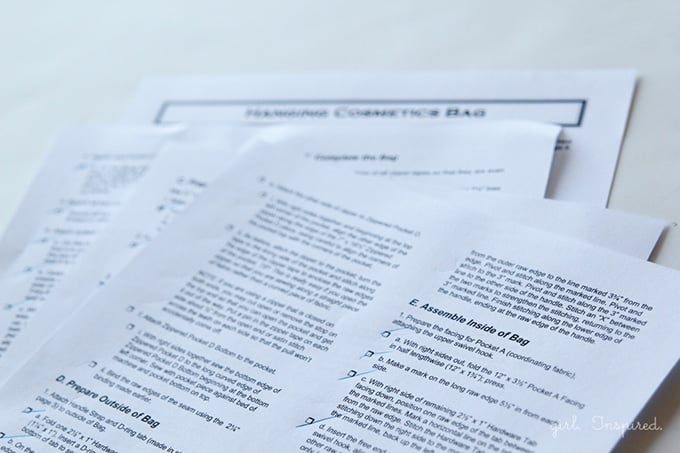 Included in the class are all of the steps, neatly typed out with checkboxes next to them. You can bet I happily checked off each box as I went along. The written instructions are great, but I also needed to watch the video for the class along with the instructions. The class is packed full of so much information and that visual teaching really helped me along. Because the bag requires so many steps to construct, I think I might have been too overwhelmed with just the pattern. I did a lot of going back and forth between reading the instructions, watching the correlating video segment, and hopping to my sewing machine to complete the step.
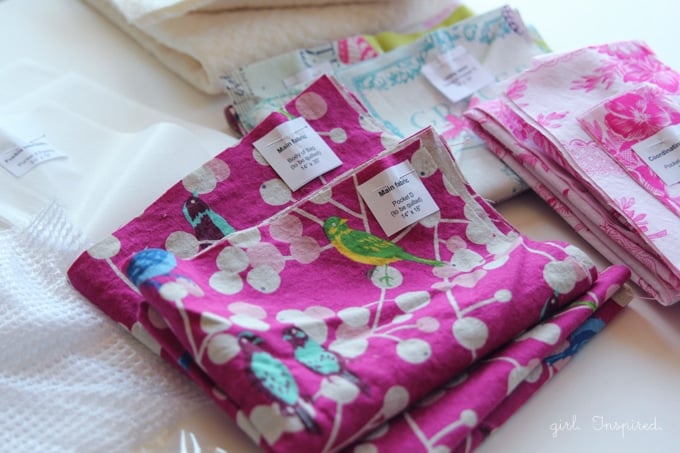 ALSO, I was so appreciative of the labels! There are a lot of pieces to cut and piece together to construct the bag. I meticulously paired each cut of fabric with its label and it saved me the headache of trying to figure out if I’d cut everything, if I’d cut it from the correct type of fabric, and where in the world did I set it once I cut it. Ever been there? I sure have. So these labels came in super handy and I think it’s a great example of how well thought out the class is. Included in the video component of the class, Annie discusses all the different types of materials that will be used, what to look for, and where to purchase them. I didn’t have time to get the batting/stabilizer than she recommends, but I do think that it looks a bit sturdier and would result in just a bit nicer of a finished product than the quilt batting that I used. I was able to find a hardware set at my local fabric retailer that is sold by Annie Unrein and included all of the correct size hardware that I needed!
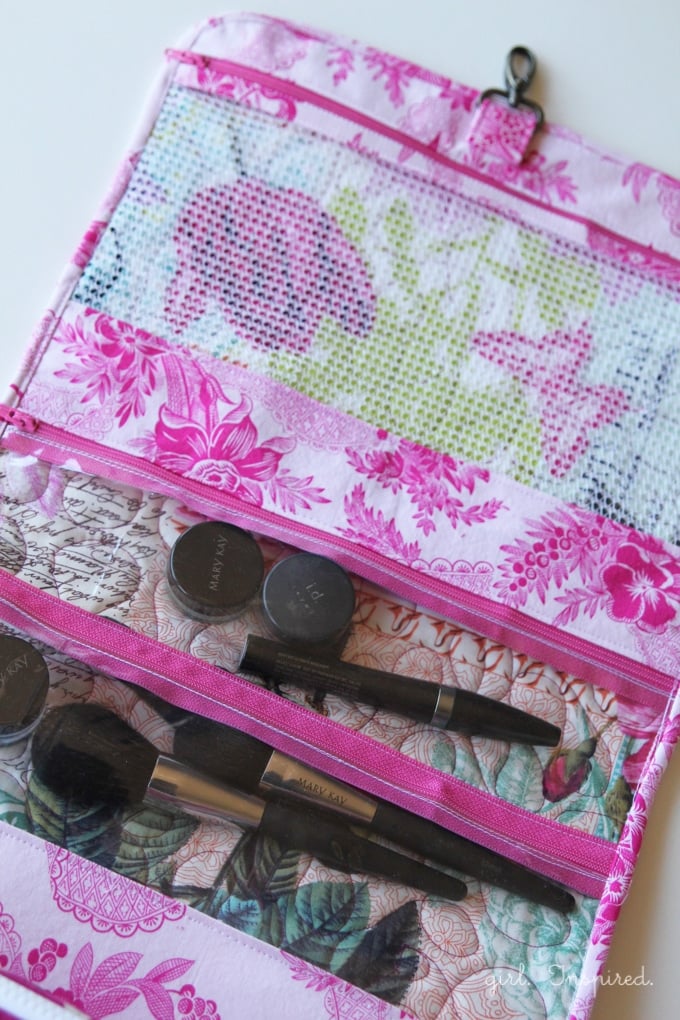
Here are some of the techniques I learned in the class:
- sewing with clear vinyl (I used a shower curtain)
- sewing with mesh
- attaching zippers to mesh and vinyl
- creating two zippers from one longer zipper
- quilting tips and techniques
- installing a zipper around a curved edge
- attaching hardware
- making an adjustable shoulder strap
- bias tape making
- binding raw edges with bias tape
- stabilizing the bag and handles
- creating zipper pulls
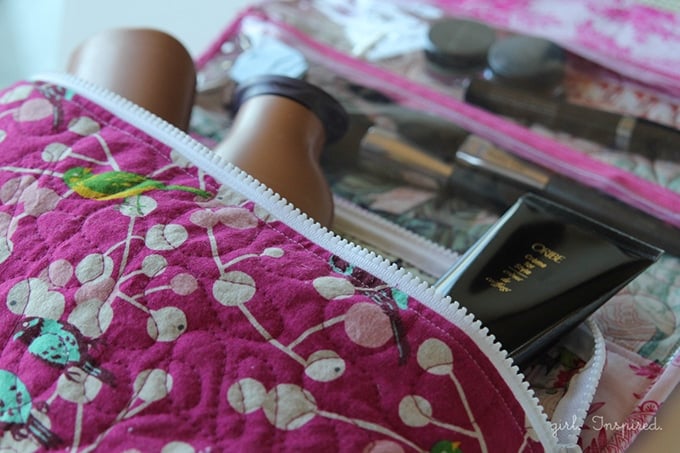
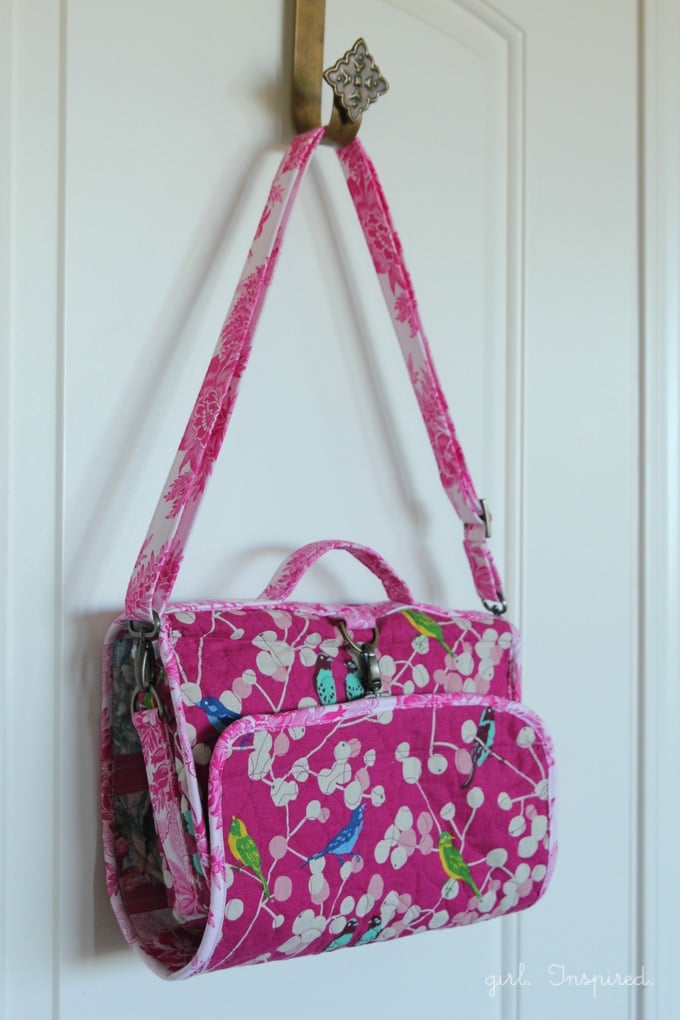
This hanging cosmetics bag is just cool!! It took me two days to make it from start to finish and was more work than my average project. BUT, I’m SO happy with it. It looks gorgeous, it functions well, and I feel really proud of myself for finishing it. Typically I make projects only once and then move on, but I AM planning to make this one again – it would make such a special gift for holiday giving! I also think I can sew up a second one quite a bit faster now that I’m familiar with all of the techniques.
The other bag in the lesson – the “Everything in Its Place Bag” – looks really awesome, too! It has lots of vinyl pockets that are expandable, Velcro to hold all the pages in place, and all kinds of fun places to stash all your sewing supplies for organized travel! I would like to make one of those asap – it might even help me get more organized in my sewing room! I’ll be sure to share it with you when I make it. I’d love to see what you create with this class, too!


Comments & Reviews
Pattie says
You did a great job on yours. I made me one for my 70th birthday cruise and everything fits. I got three orders for it also.
Stefanie says
How wonderful, Pattie! I hope your birthday cruise is everything! Where are you off to?
CharLynn says
I just want the pattern and instructions where would I find that.
girlinspired says
Here you go, Char! Find the info at this link: https://www.craftsy.com/class/sew-sturdy-travel-organizers/
Annie says
I can’t believe we are JUST seeing this! Your bag looks so good, I love the fabric that you picked out for it. Job well done! Now the question is, have you made more? 😉
Stacey Dalton says
It turned out so great. Love all the techniques and organization of the lesson.