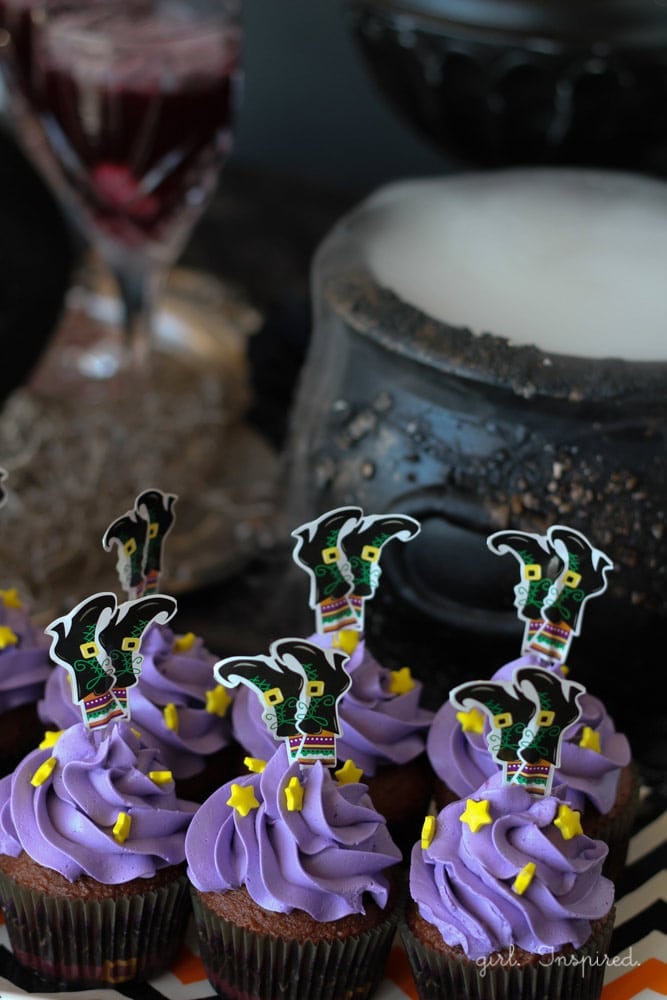
Today’s post is full of Halloween spooky fun! I am joining up with 12 other a-mazing bloggers to showcase some of the coolest Halloween baking products made by Wilton.
I had SO Much Fun crafting up a tabletop of spooky sweetness! Today, I’m going to show you how to make professional-looking Witch Cupcakes using a Wilton cupcake decorating kit and some Wilton basic cake decorating supplies. ALSO, because I couldn’t resist, I have GOT to show you how to make the most awesome Bubbly Witch’s Brew!! Your Halloween dessert table is going to be spectacular!!
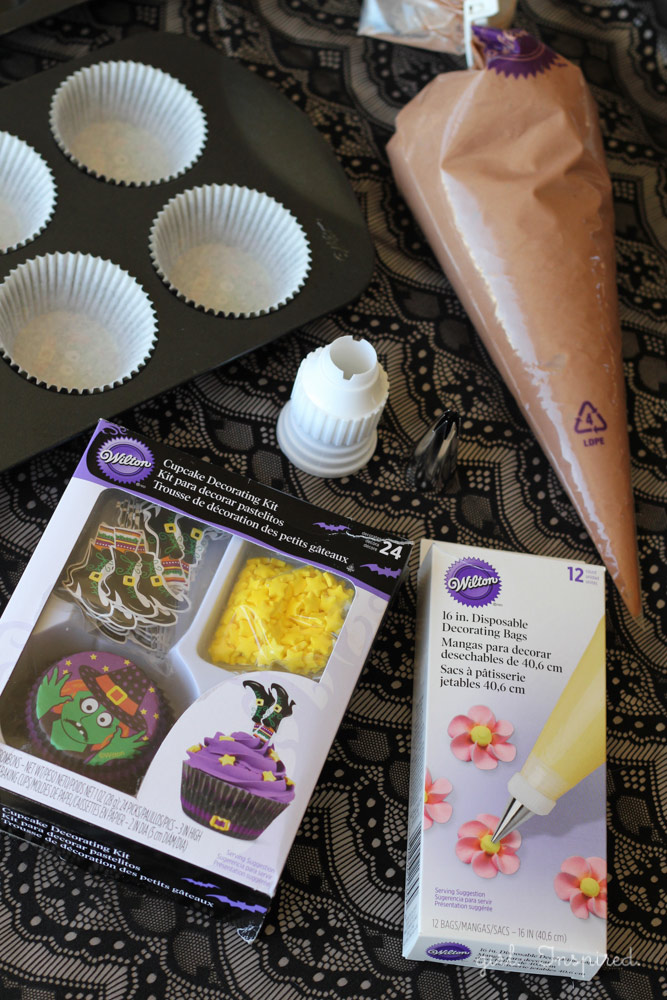
Let’s get started! First of all, I think that there are a few supplies that everyone should have in their baking toolkit. They are useful for even the most basic cake decorating techniques! Combine these supplies (outlined below) with this theme cupcake kit and you’ve got the makings for awesome looking cupcakes!
Witch Cupcakes
Supplies:
Wilton 16-inch (disposable) decorating bags – I love these disposable bags because they’re inexpensive and sturdy. I wash and reuse mine a few times before “disposing” of them, but you don’t have to.
Wilton large coupler set
Decorating Tip #1M
Witch Cupcake Decorating Kit
Muffin Tin
Your favorite cake batter or prepared box cake mix
prepared frosting
purple gel paste food coloring

Use the decorating bags to pipe your batter into the muffin tins lined with cupcake wrappers from the decorating kit. I picked up this tip a few years ago and it makes cupcake preparation SO much cleaner and quicker. Bake according to the recipe. While the cupcakes are baking and cooling, prepare your frosting. You will want a frosting that is sturdy and will hold its shape when piping it onto the cupcakes. I like to use Swiss Meringue Buttercream.
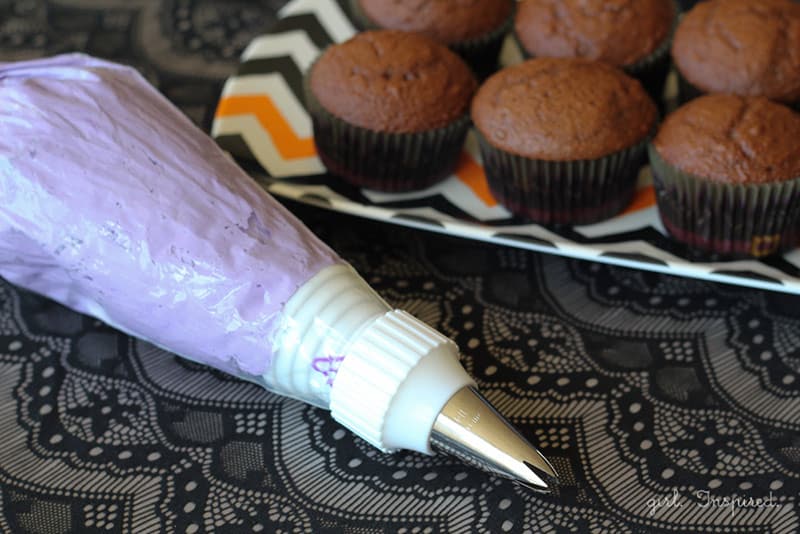
Prepare your frosting and add gel paste food coloring of your desired color. I dripped in a few different shades of purple until I had a tint that I liked. Prepare the decorating bag with the coupler and #1M piping tip. Wilton has a great tutorial for how to do this if you’re not familiar with decorating bags/tips.
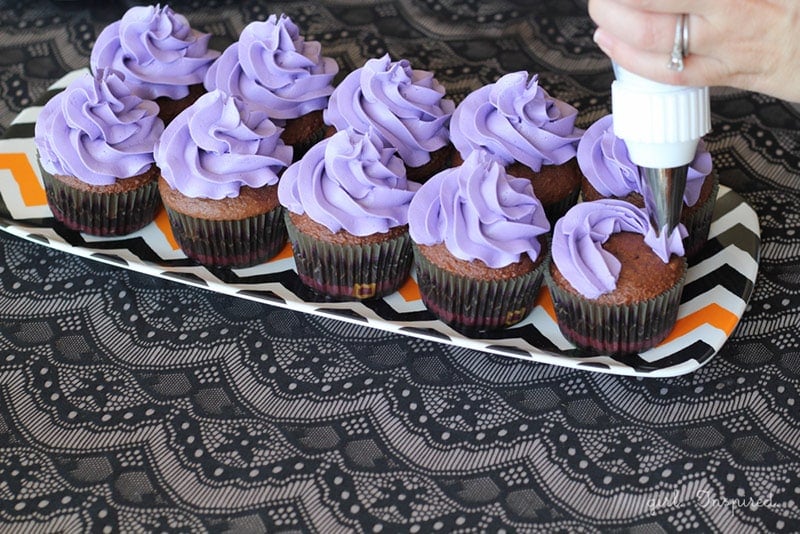
Starting on the outer edge of the cooled cupcake top, squeeze the piping bag while rotating the stream of frosting around the cupcake in a clockwise direction. As you circle back to your starting point, continue piping the frosting just to the inside and on top of the first swirl. Continue until you reach the center point at the top of the frosting swirl. Release the pressure from the piping bag and lift straight up to finish the cupcake. Retrieve the star sprinkles and with picks from the Wilton kit. Finish off these fun treats by sprinkling the yellow candy stars on top. Then, stick the witch feet picks in and you’re done!
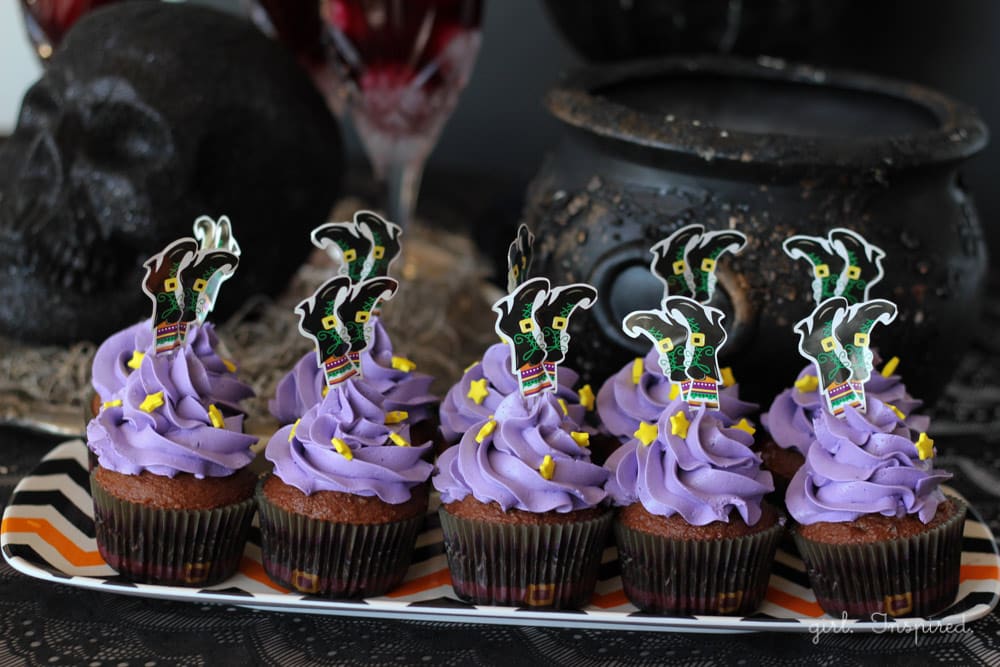
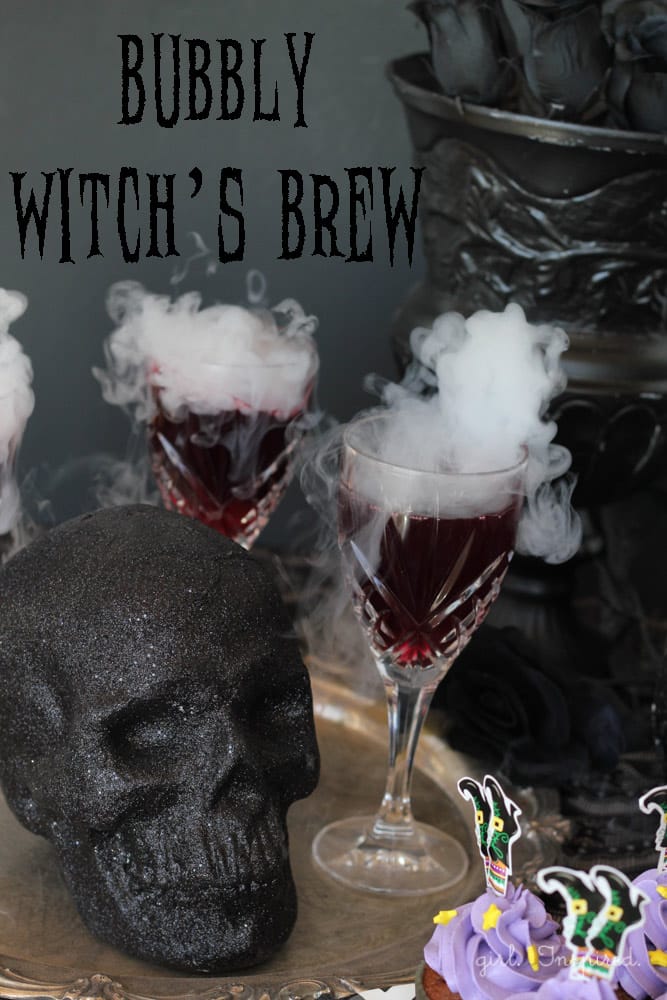
Now, these cupcakes are awesome, right? But every witchy cupcake needs a glass of witch’s brew to go with it, don’t you think?
Bubbly Witch’s Brew
Supplies:
Dry Ice
any beverage (red drinks are bloody good) e.g., pomegranate juice, red punch
crystal goblets, drinking glasses, waterproof bowls/cauldrons/containers
thick gloves
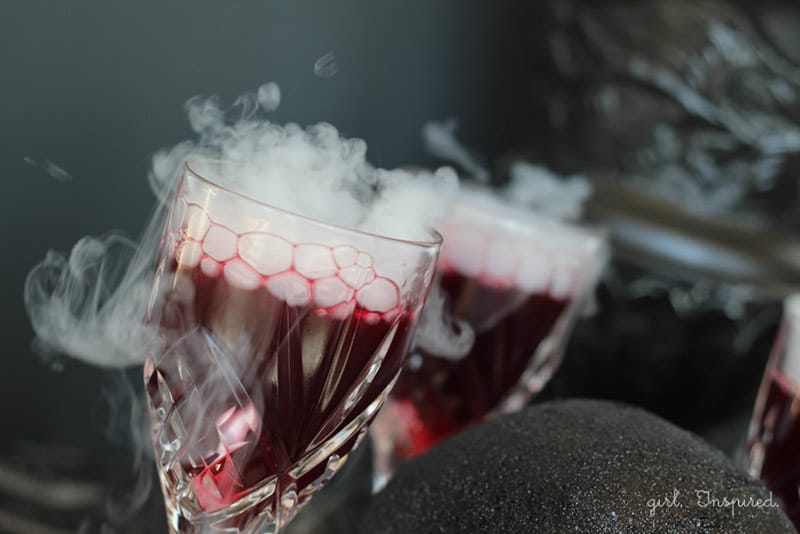
Here’s the part where we get to play with dry ice for some spooky Halloween fun! You can find dry ice at grocery stores – you might want to call around first because not all stores carry it, but I had no problem finding it locally (in my small town). Dry ice cannot be handled with your bare skin, so be sure you have gloves on hand – clean gardening gloves or thick ski gloves would work well (latex gloves do not work). Dry ice is sold by the pound in chunks. I broke mine apart with a meat tenderizer (a hammer works good, too) – about 1- or 2-inch cubes work well in individual glasses. Larger chunks are better in pitchers or cauldrons! Add the dry ice to the container first and then pour your liquid over the top. The dry ice needs to completely evaporate or be removed from the glass before drinking (safety first!) The effect doesn’t last all that long with the smaller pieces – maybe 10-15 minutes.
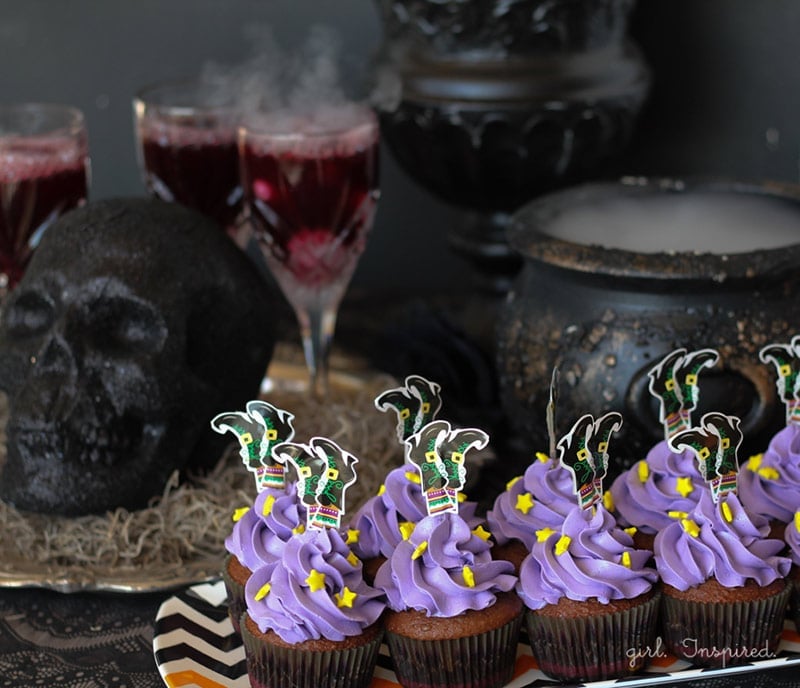
I used blueberry-pomegranate juice for these bubby concoctions – they were so awesome, I was squealing all over my house!
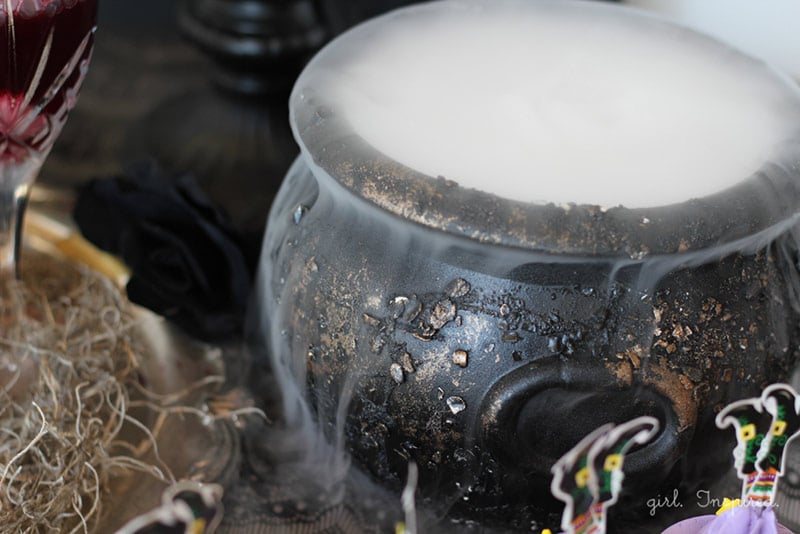
Inside the cauldron (since it was just for effect), I poured warm water over some large chunks of dry ice. The water lifted the dry ice high enough in the cauldron so that the smoky effect could seep up and over the edges of the rim. The perfect compliment to your spooky sweets table, right??!
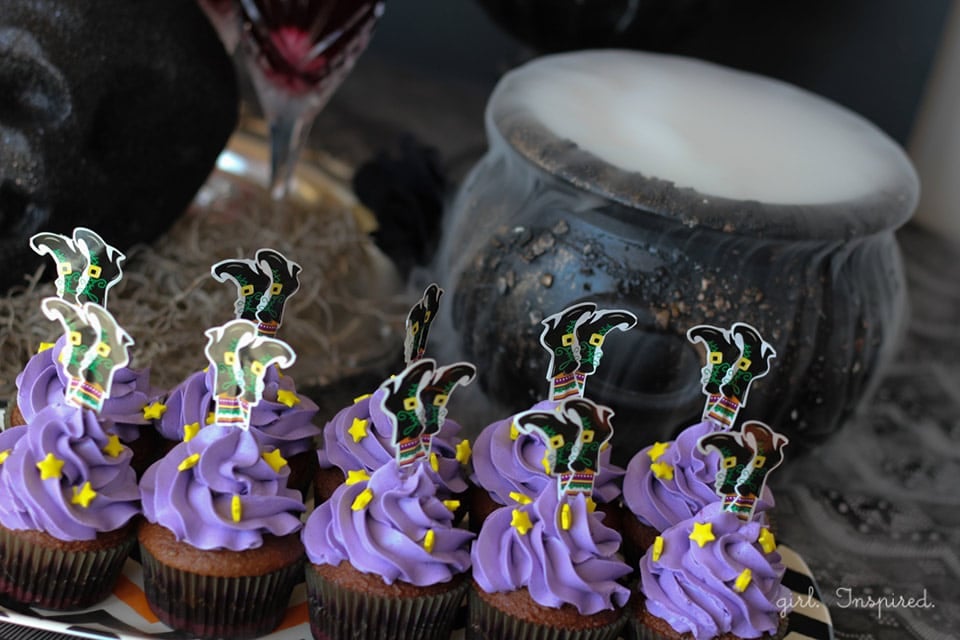
I hope this encourages you to do some Halloween baking and displaying! It’s not too hard to make something spectacular, right? Joann Fabric and Craft Stores is carrying so many fun Wilton tools to use this season – I’m trying to decide what to make next….
Be sure to check out all of spooky and sweet treats being shared! The awesomeness is sure to inspire you!
October 1st: Skip to My Lou
October 2nd: Blissful and Domestic
October 3rd: Positively Splendid
October 4th: The Crafty Blog Stalker
October 5th: The Girl Inspired
October 6th: 4 You with Love
October 7th: That’s What Che Said
October 8th: Family Ever After
October 9th: Baby Loving Mama
October 10th: Sweet C’s Designs
October 11th: A Pumpkin and A Princess
October 12th: Polka Dot Chair
October 13th: I Don’t Know How She Does It
Happy shopping and Halloween treat making!


Comments & Reviews
Katie Adams says
Great post! I never thought of using a pastry bag to add the cake batter for cupcakes! So easy and less mess!
girlinspired says
Thanks Katie! Yes, I love the pastry bag for batter – I sometimes use a gallon size Ziploc and just snip off a bottom corner to pour it out. Anything to not spoon the batter into each muffin cup!!