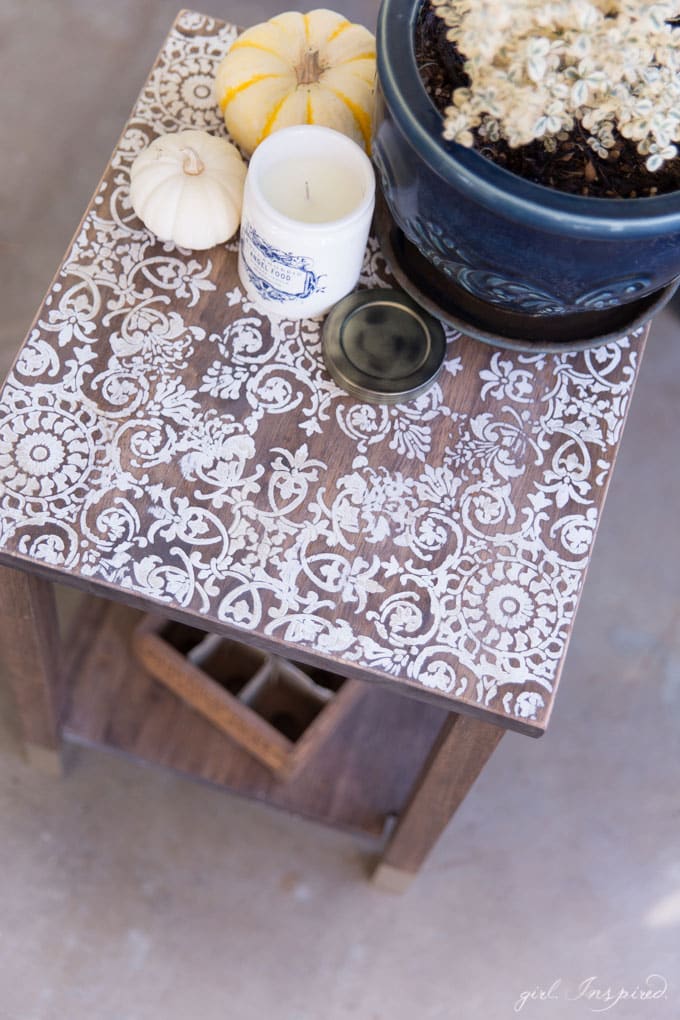
I have such a fun project for you today! This Stenciled Table Top is the perfect small project for customizing unfinished furniture to fit your style and decor in any space. As you know, I’m always decorating ten different spaces at once and the back patio is at the top of my list right now. Wayfair sent me this very simple, very versatile side table and I decided to give it a little makeover to use on the patio.
Once you’ve done a stenciling project or two, you’ll start feeling comfortable stenciling just about anything! It’s not too difficult although it does take some practice to get used to how much pressure to use with the paint and the best way to secure the stencil.
Supplies:
- Maginiss End Table – from Wayfair, but no longer available
- wood stain
- foam or bristle paint brush
- rags
- stencils (I purchased mine from Royal Design Studio)
- contrast paint (exterior white and craft metallic)
- painter’s tape
- sandpaper block 80 grit
- metallic spray paint for leg ends
- clear matte or satin varnish/clear coat
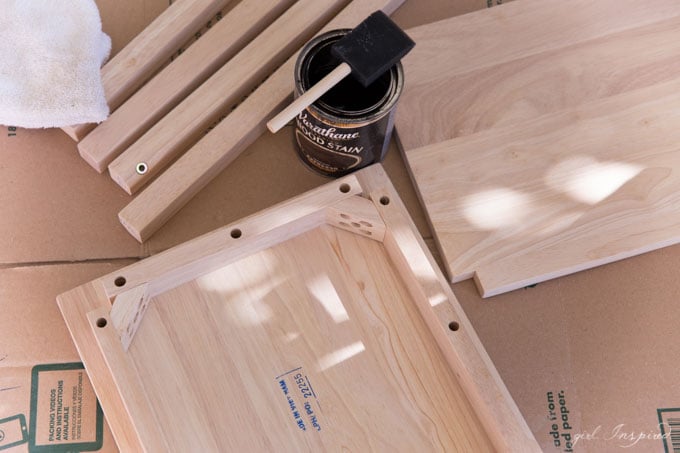
The side table comes unfinished and disassembled, which makes it super easy to work on the table top. Keep the pieces separate until you’re done staining and painting. Have you ever used wood stain before? It might seem scary, but it is the easiest thing ever to transform your unfinished wood. Be sure to test out an inconspicuous area first to determine how quickly the wood will take the stain and what the finished color will be. It’s different on every type of wood. I chose this espresso color by Varathane. It has a weathered dark brown, almost grayish tone – perfect for the vintage vibe I was going for.
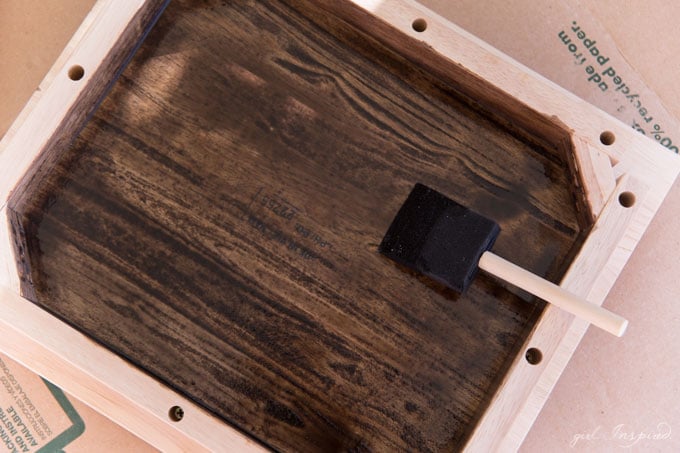
You can use a rag, a sponge brush, or a paint brush to apply your stain. Just wipe a generous coat on in the direction of the grain. Work in sections, covering a whole surface area at once.
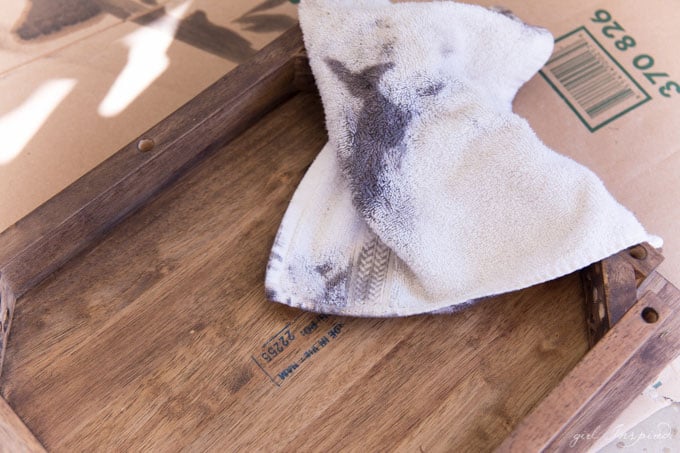
Allow the stain to soak into the wood for a few minutes – apply what you learned from your “test” area to determine when to wipe off the excess stain. Use a rag and wipe in the direction of the grain to soak up any and all stain that hasn’t soaked in. You can rub the wood, also, to blend any uneven areas. This particular side table took the stain pretty evenly without any preparation. If you’re not going to be stenciling the table, consider using a wood conditioner before applying the stain to get a perfectly even stain. There’s no pre-sanding needed either way. Once you’ve finished applying and wiping off stain over all the sides of all the table pieces, allow them to dry for at least several hours. (The stain label should tell you how long to dry between coats and finish.)
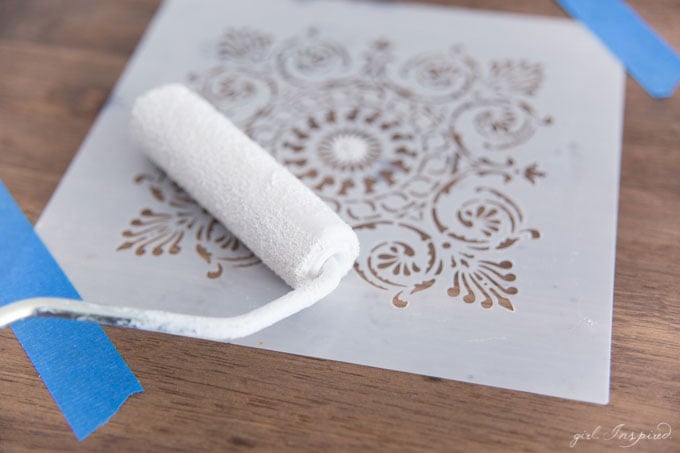
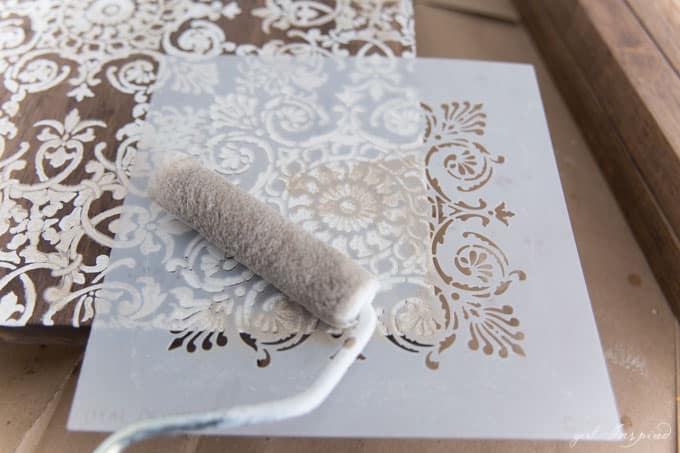
Next, find the center of your table top and place your stencil in the exact center. Use painter’s tape to hold it in place. Coat a mini paint roller evenly (not too light, not too heavy) in your first paint color and roll ONCE over the stencil. If you press too firmly or if you go back and forth over the same parts of the stencil, you’re more likely to have a lot of bleeding under the design. Less is more!
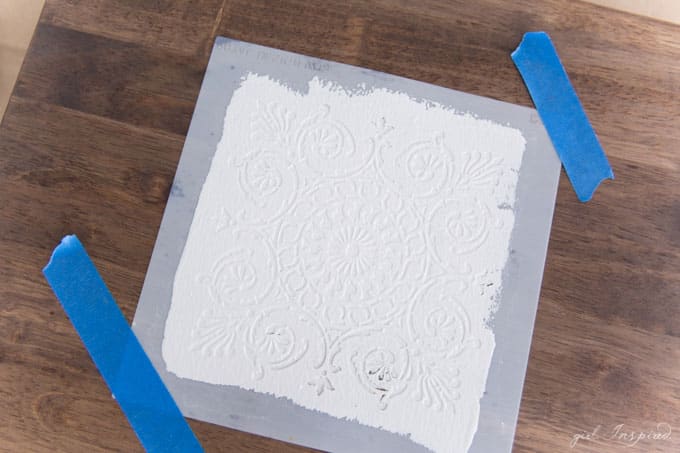
Immediately lift the stencil straight up and off of the wet paint. Rinse your stencil well under warm water – use a sponge if necessary to gently remove any paint. Pat dry with a towel.
Allow that first stencil to dry completely before continuing! I used an exterior latex paint and it dried within a couple minutes. Whatever type of paint you use, be sure it’s all the way dry or the paint will smudge when you overlay the next stencil.
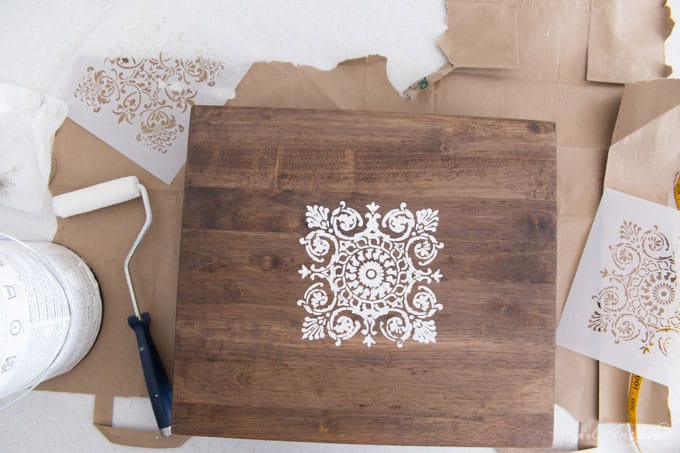
Line up the stencil for subsequent rounds of paint. I used two different stencils and alternated them.
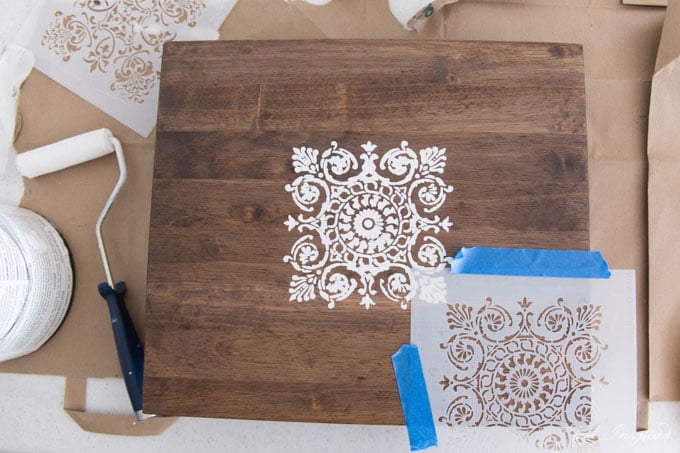
To give my side table a little more texture and patina, I used a second paint color (a metallic champagne acrylic craft paint). I laid the stencil back over the DRY, painted design, lined up the pattern exactly, and smudged on a little craft paint here and there. Allow to dry completely.
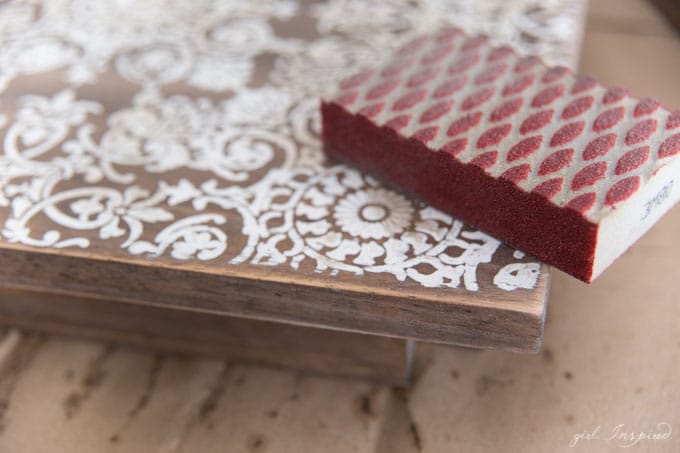
For that true, weathered look, there’s got to be some sandpaper involved. Don’t be scared – sand around the edges first and up into the corners. Scratch off a little paint here and there across the top until the table looks how you like it. I like it pretty weathered.
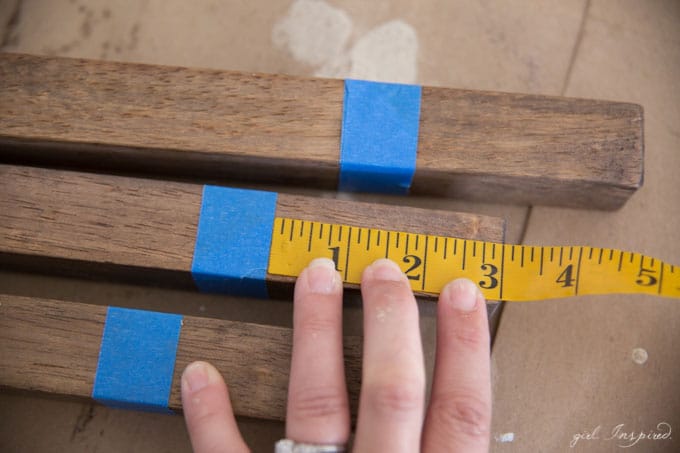
For a final touch, measure 3 inches up each table leg and wrap with a piece of painter’s tape. Paint the ends of the table legs for a dipped metallic look. I used a champagne spray paint.
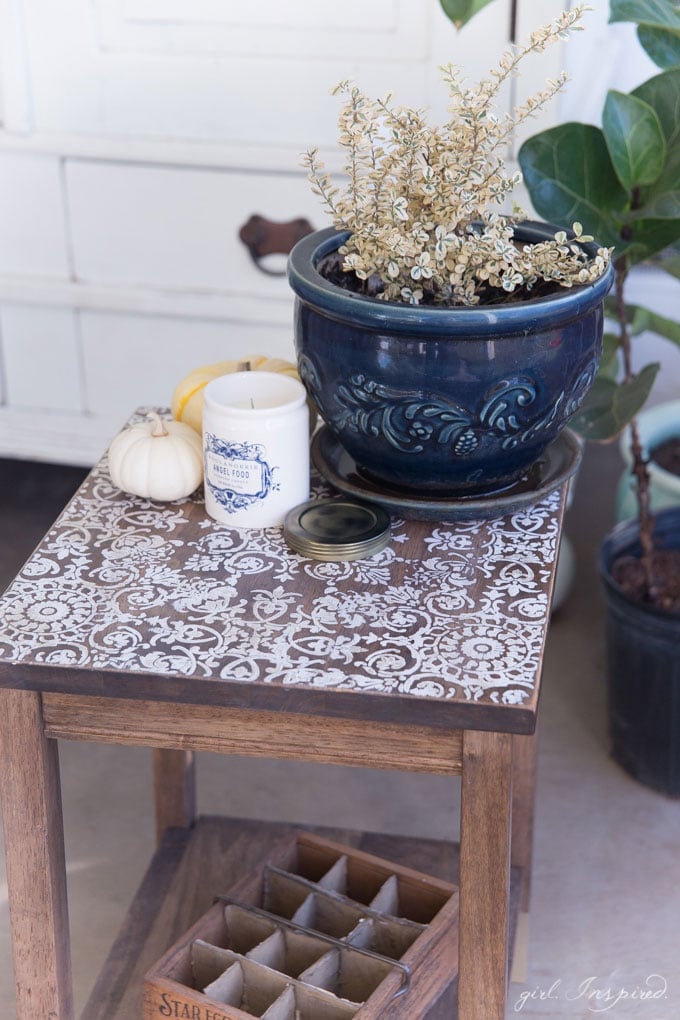
Finally, I finished off all the pieces with a few coats of matte clear spray paint. I’d actually like to go back and coat the whole table with a thicker final coat of varnish to really help it stand up to the elements outside, but the spray is good for now. Assemble your table and VOILA! How great is that! I can’t wait to add some seating furniture to this area and have a nice cozy outdoor space to sit and relax!


Comments & Reviews
Charity says
This is really beautiful! I love that stenciling!