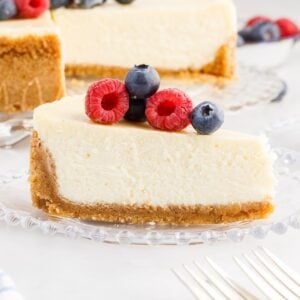
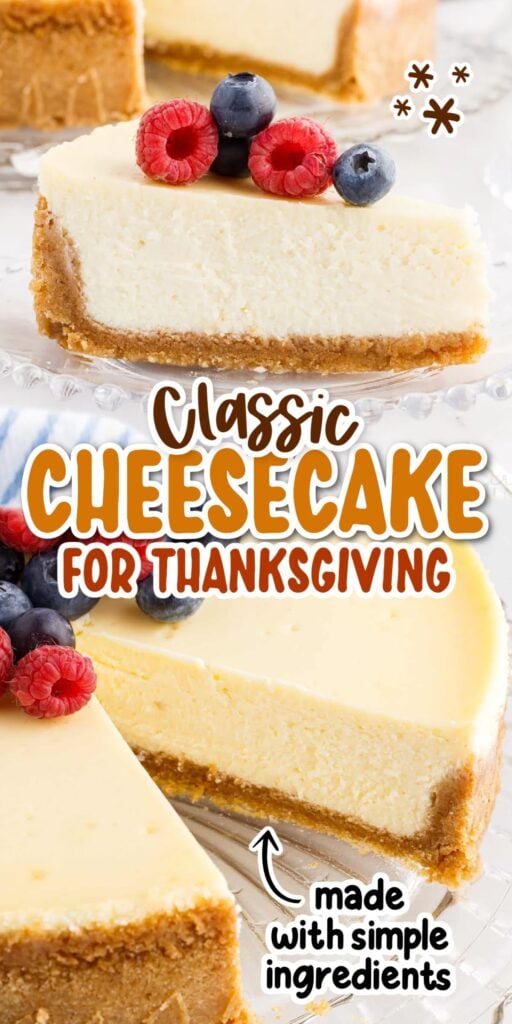
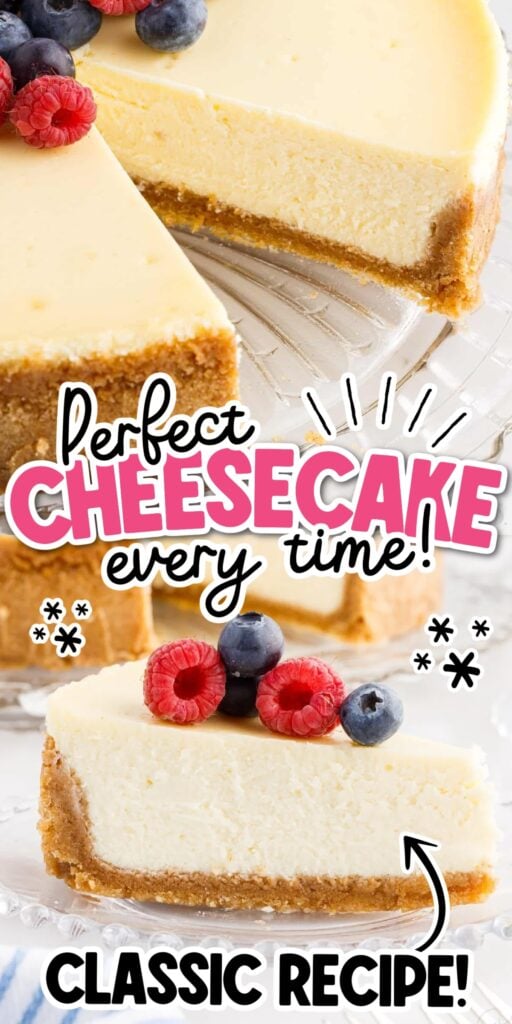
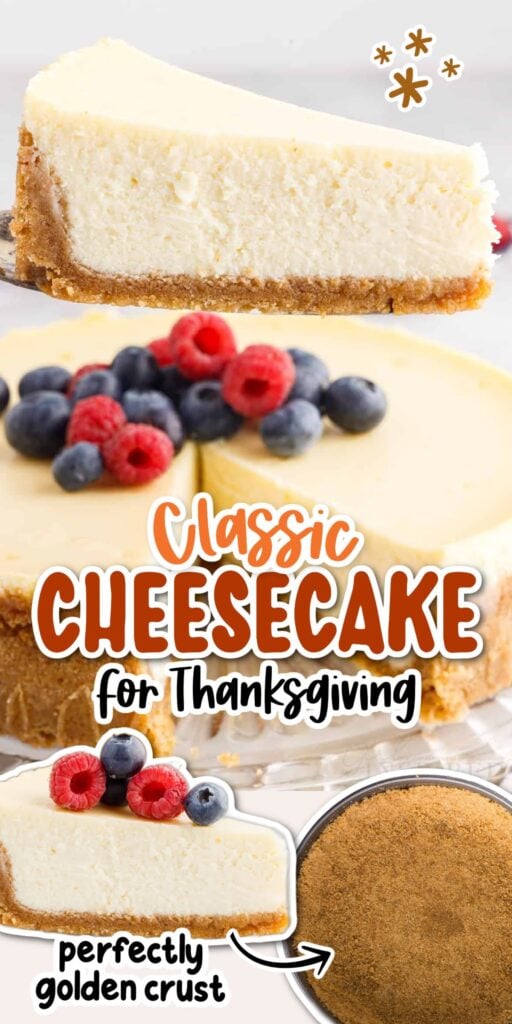
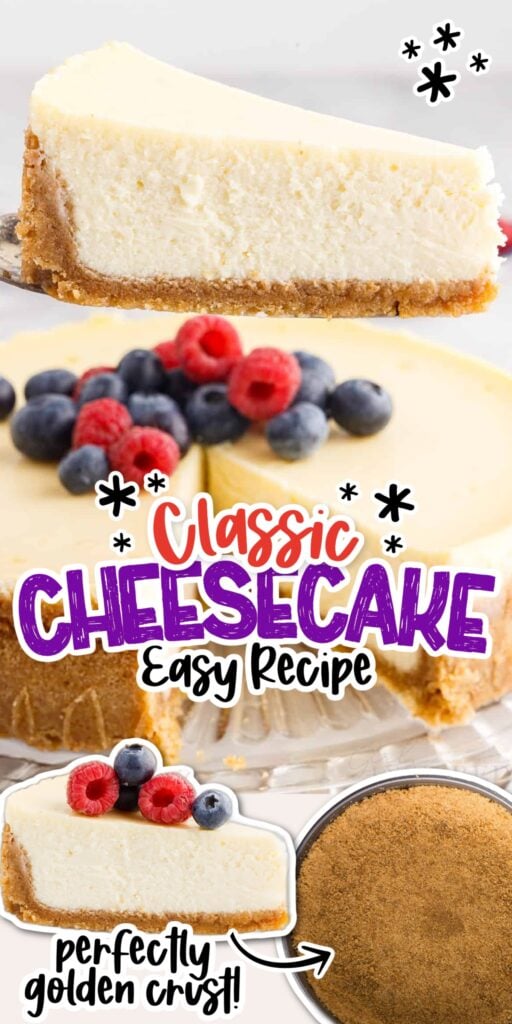
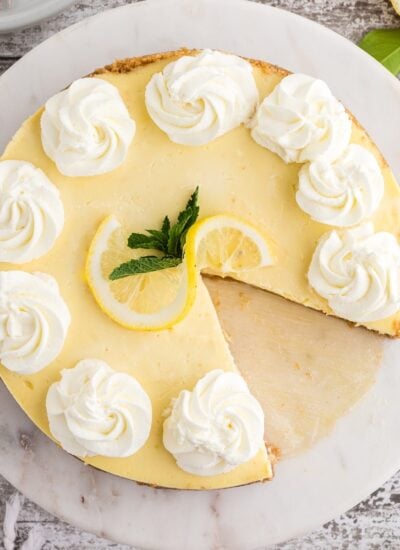
This Classic Cheesecake recipe is made with a buttery graham cracker crust, a creamy cheesecake filling, and topped with fresh berries. The silky texture is melt-in-your-mouth delicious and believe it or not, it’s very simple to make and comes out perfect every time.
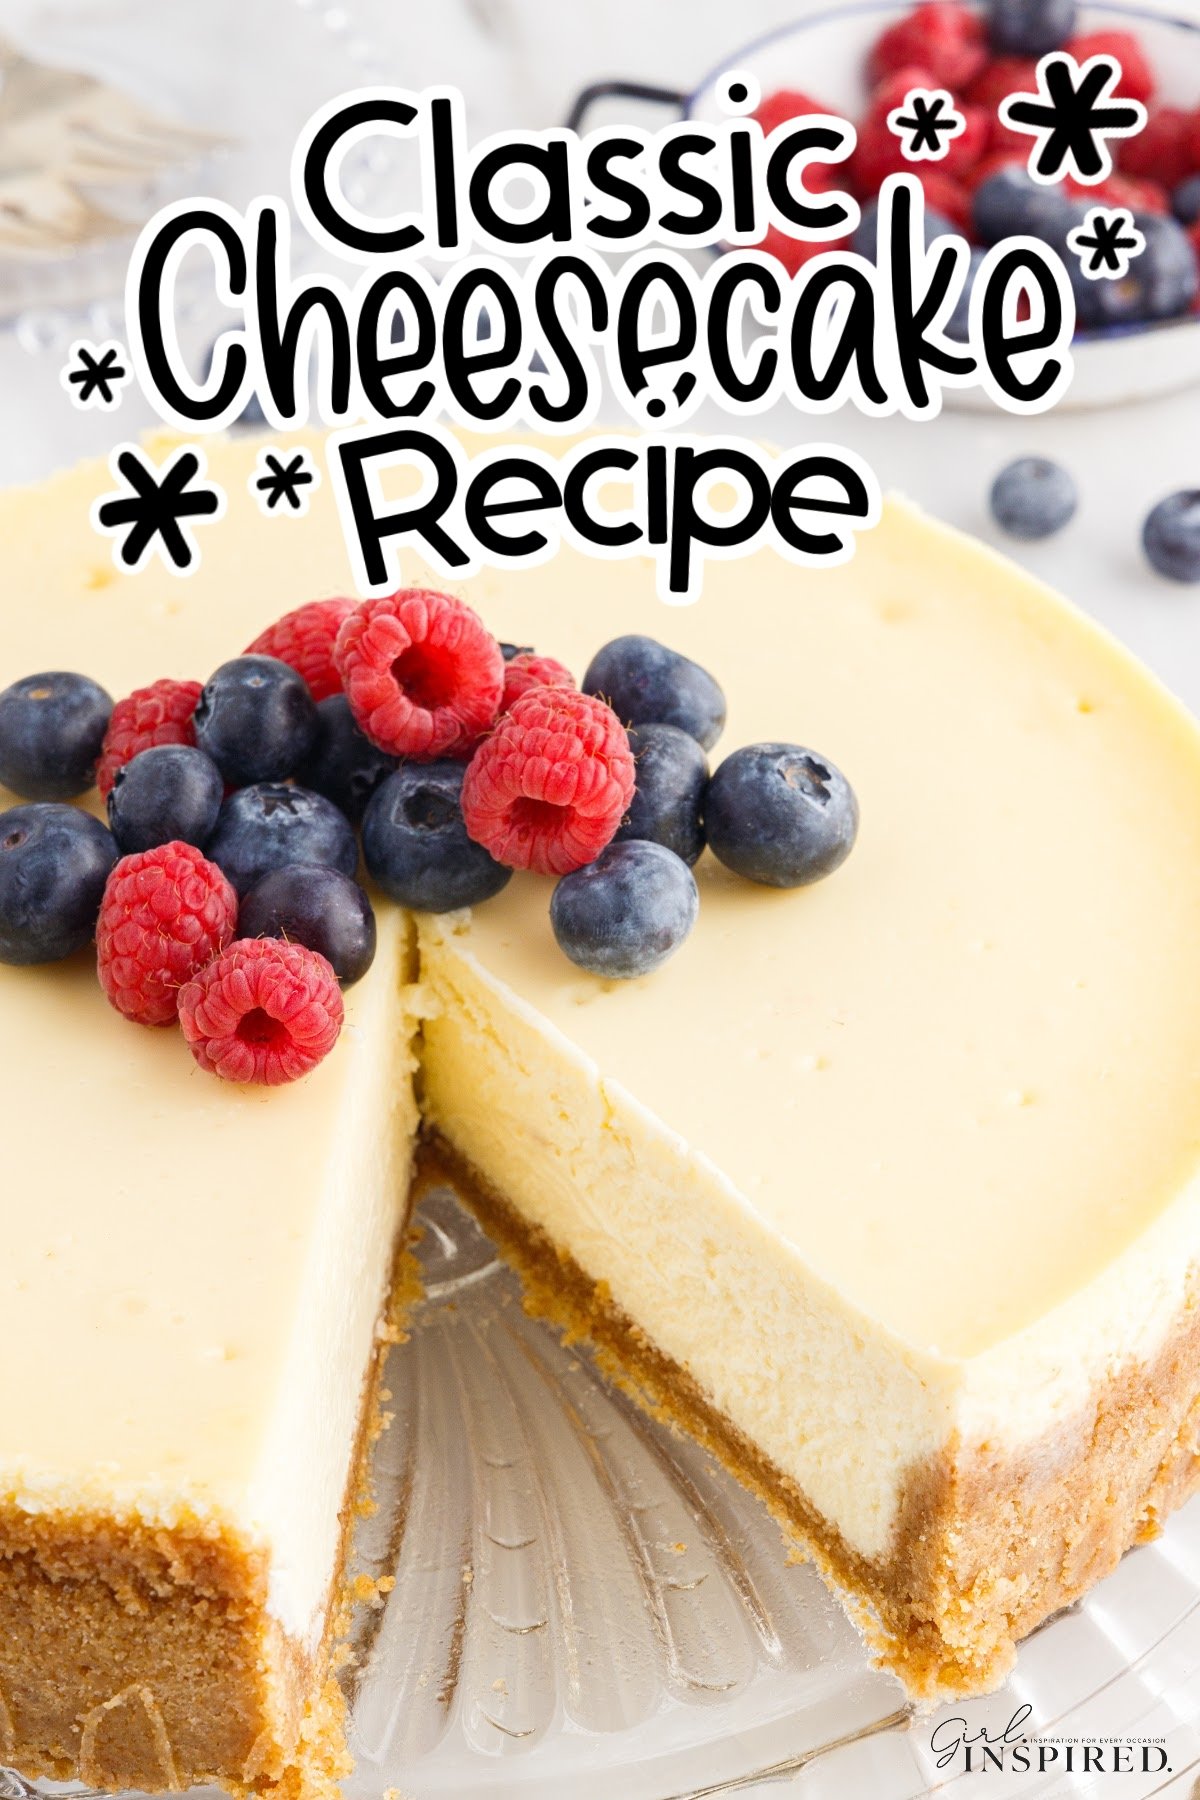
The first time I made a cheesecake from scratch, things went a little sideways. My water bath leaked into my crust, there were cracks across the top, and overall it was just too dense! This went way past New York style. Lucky for you, I have made at least a hundred cheesecakes since then and I have perfected the best cheesecake recipe. Today, I’m sharing all of my best tips so yours turns out perfect too!
I love using cheesecake batter to make other desserts than the standard cake. Try this but with cherries: Cherry Cheesecake. Or some other favorites, such as strawberry cheesecake brownies or cherry cheesecake dump cake. We have even made deep fried cheesecake and cherry cheesecake tacos! While I love a good baked cheesecake, in the warmer months, I really don’t want to turn the oven on. That’s when I go to my no bake blackberry cheesecake, no bake Oreo cheesecake, or the classic no bake cheesecake.
Jump to:
Why You’ll Love Homemade Cheesecake
- Made with simple ingredients.
- A timeless dessert that is great for special occasions.
- No special skills are needed to make the perfect cheesecake.
- Can be made ahead of time and freezes well.
- Customize it with your favorite topping – cherry pie filling, caramel sauce, fresh berries, lemon curd…
🍰Ingredients:
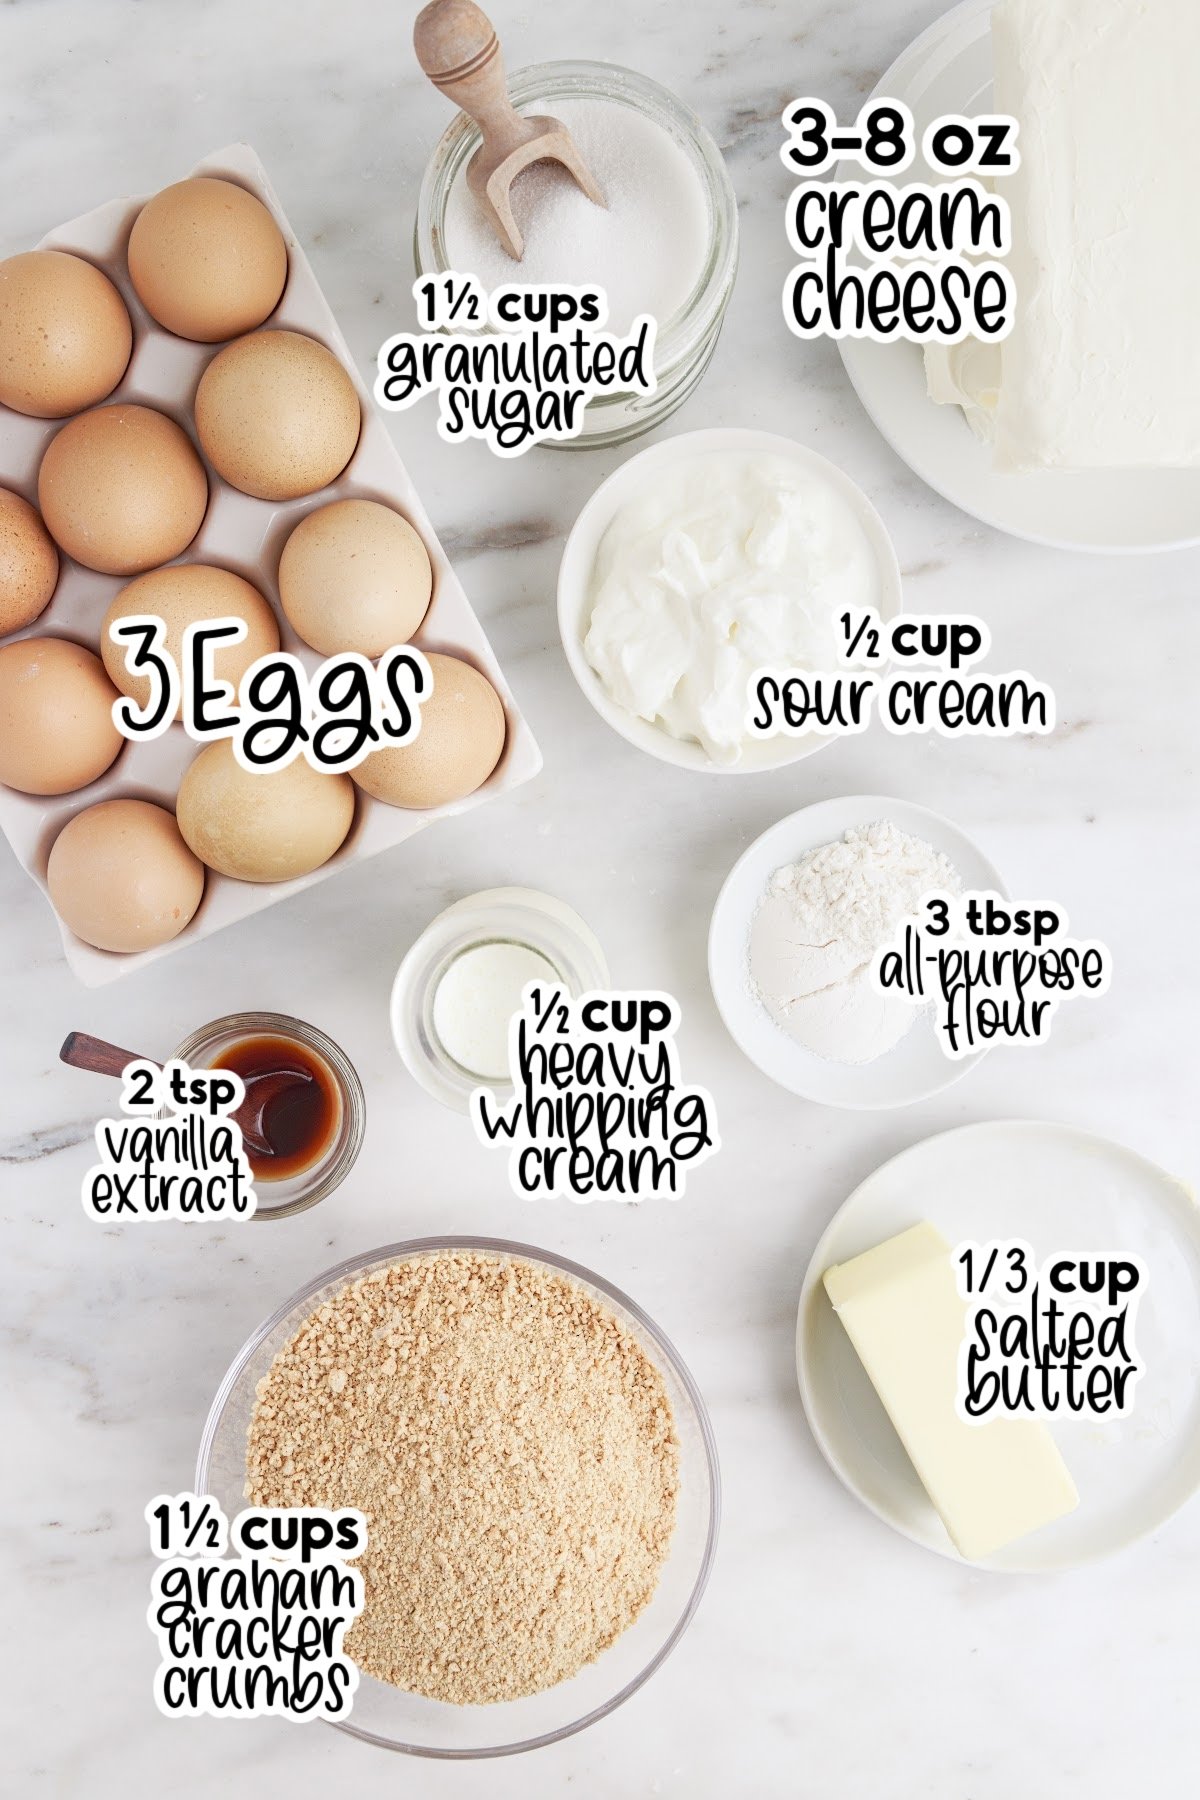
Graham Cracker Crust Ingredients:
- Graham cracker crumbs – This is the base for the crust
- Sugar – Granulated white sugar
- Salted butter – The butter helps provide the moisture for the crust to stick together
Cheesecake Ingredients:
- Cream cheese – softened to room temperature
- Sugar – Granulated white sugar
- All-purpose flour – Binds all ingredients together, we only use a smidge to keep the cheesecake light and creamy – too much flour makes a dense, heavy cheesecake.
- Vanilla extract – Adds a nice, rich flavor
- Heavy whipping cream – Provides a deepness to the cheesecake
- Sour cream – A yummy addition that helps make the cheesecake both sweet and tart
- Eggs – Room temperature
For a full list of simple ingredients and their measurements, 📋 please view my printable recipe card at the bottom of the post.
Substitutions and Variations
- We do love the graham cracker crust, but if you are not a fan, you can also make this with a simple pie crust. Just ensure the pie crust is baked fully before baking the cheesecake.
- I also love to add a little cinnamon to the graham cracker crust, about 1 teaspoon. Gives it a yummy flavor in each bite.
- Topping ideas:
- Piped whipped cream – homemade or store-bought
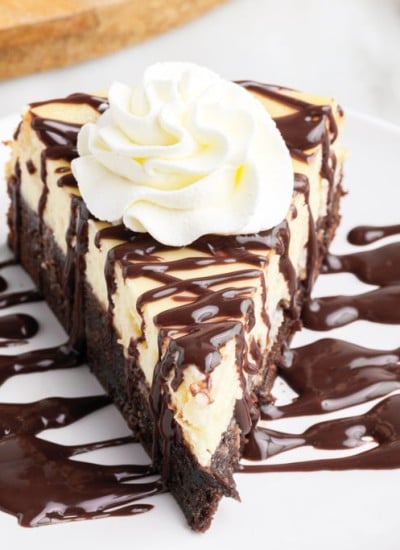
- Chocolate sauce or dark chocolate ganache
- Fresh fruit
- Fruit sauce or jam – blueberry butter would be delicious
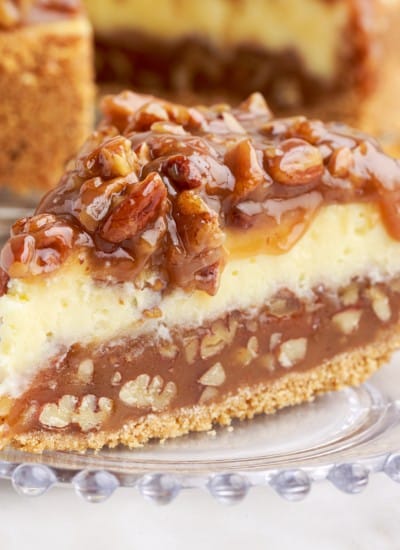
- brown sugar caramel sauce and chopped pecans
- After the cheesecake has baked and fully chilled, top with a layer of fruit curd – lemon curd, pineapple curd, or strawberry curd are all amazing.
🔪 Instructions:
PREP: Preheat the oven to 325 degrees. Grease the sides of the springform pan (9 inch) and line the bottom with parchment paper.
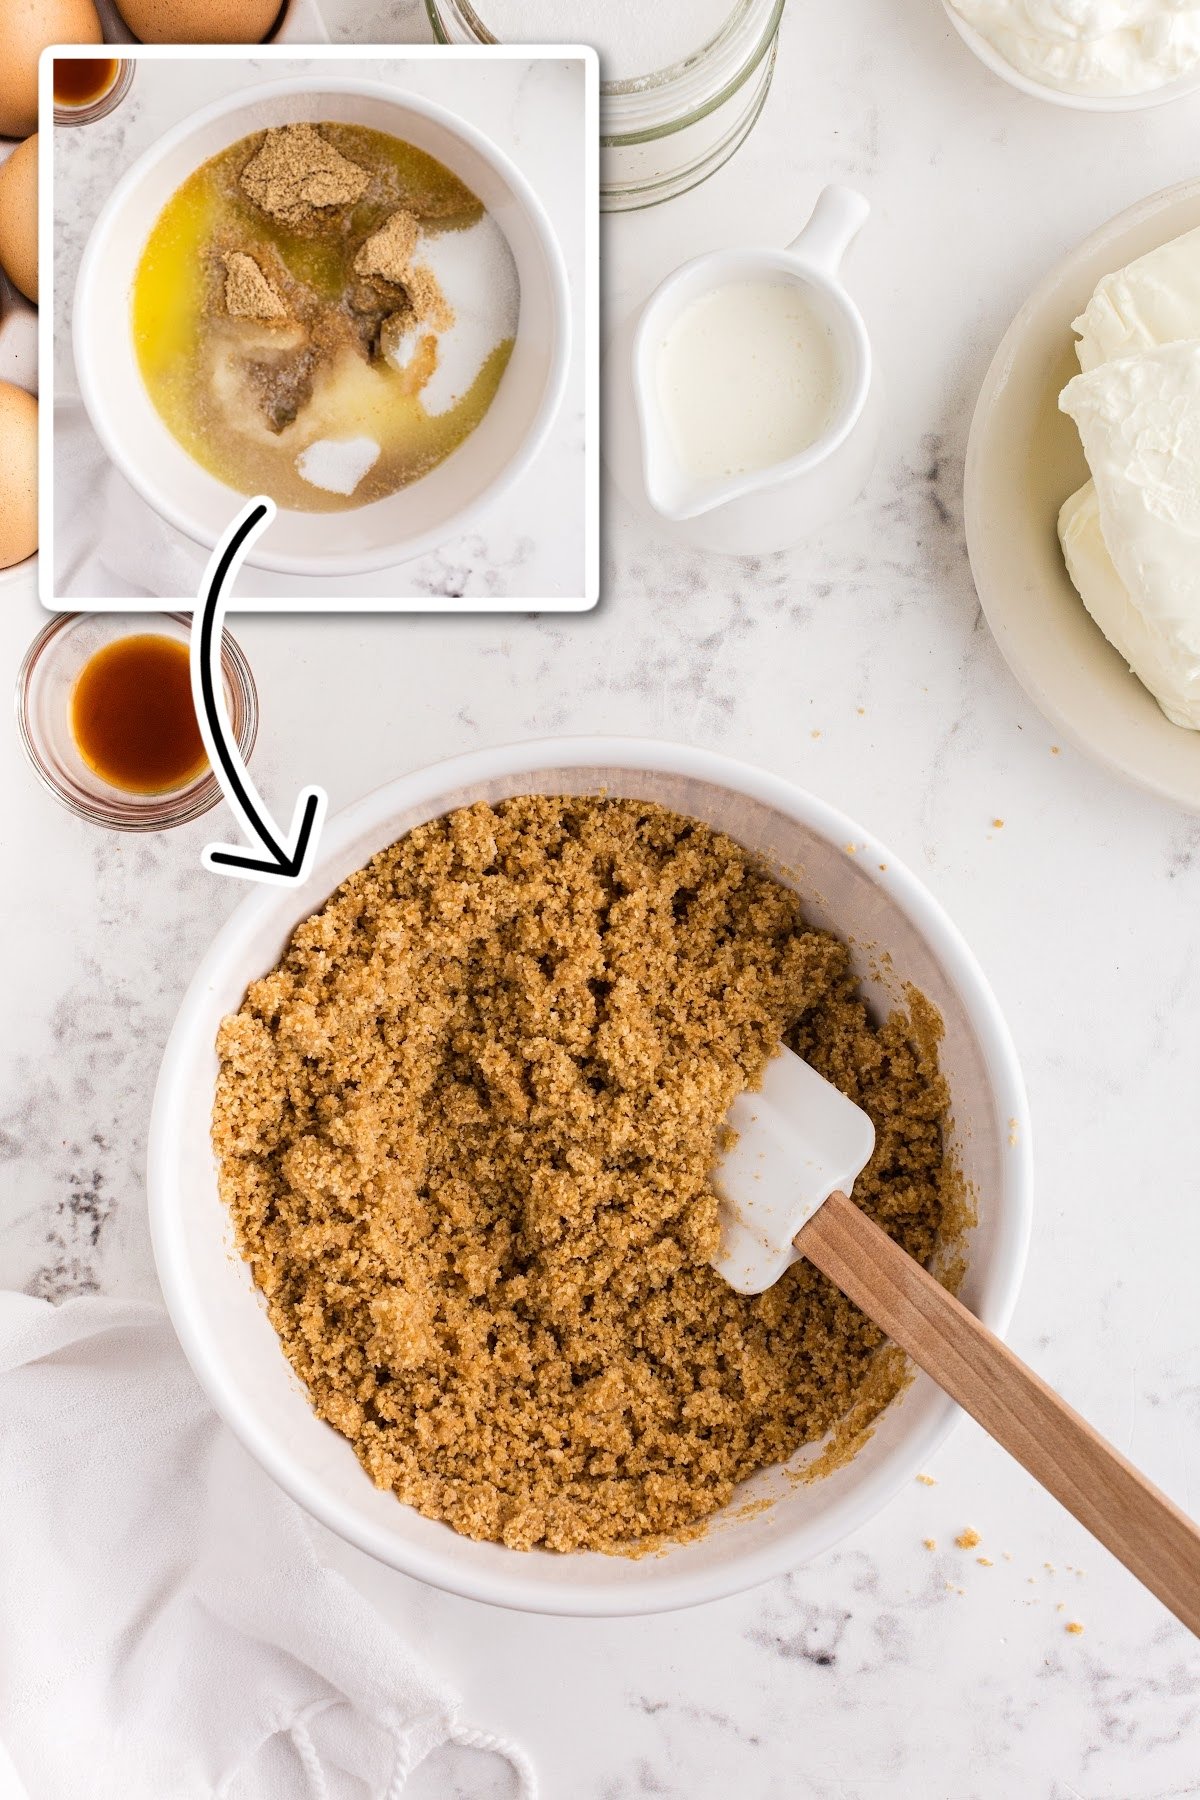
Step 1: Use a high-speed blender or food processor to turn the graham crackers into fine crumbs. Combine the melted butter, sugar, and graham cracker crumbs in a medium mixing bowl using a rubber spatula.
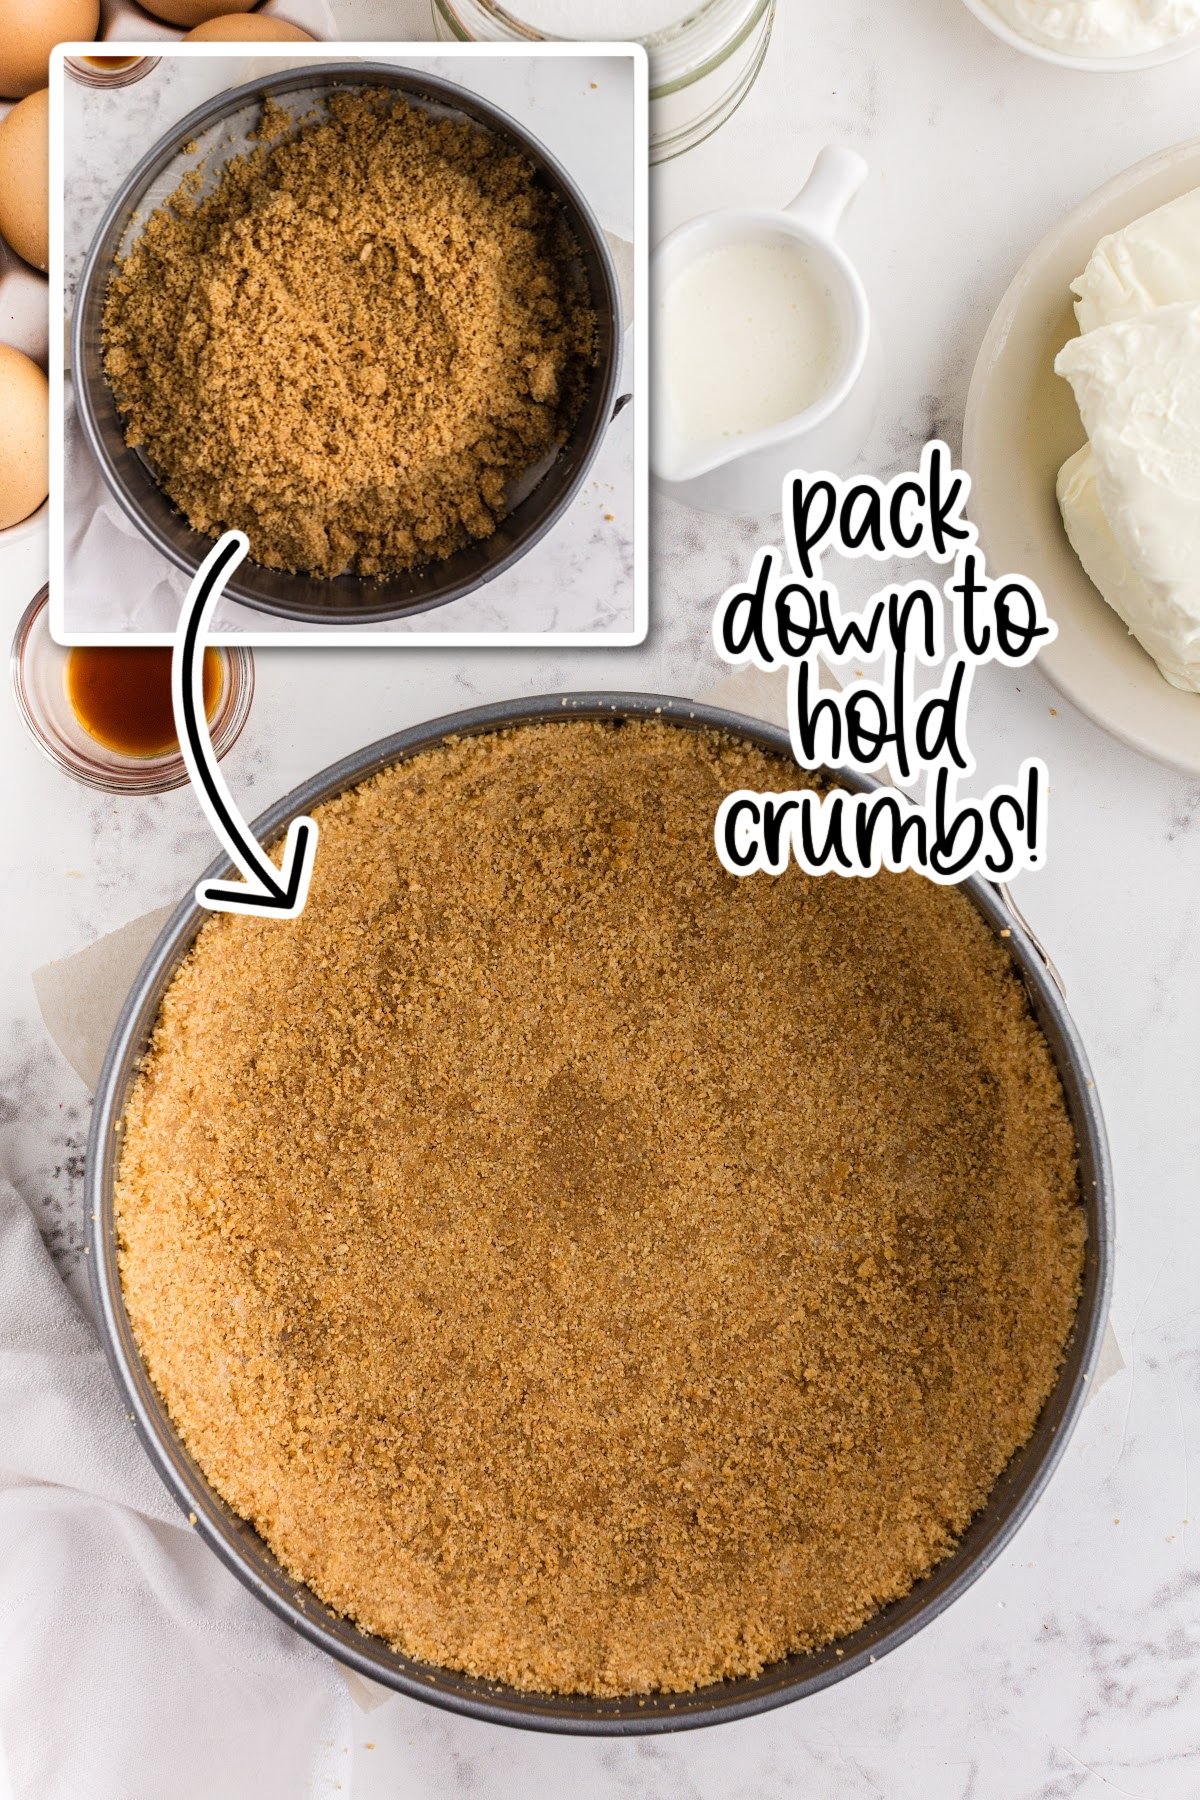
Step 2: Press the crumbs firmly in the bottom of the pan.
Pro Tip:
Before You Start: Let all of your cold ingredients (eggs, cream cheese, and sour cream) come to room temperature before mixing so the filling has a creamy texture and you don’t end up with a lumpy cheesecake.
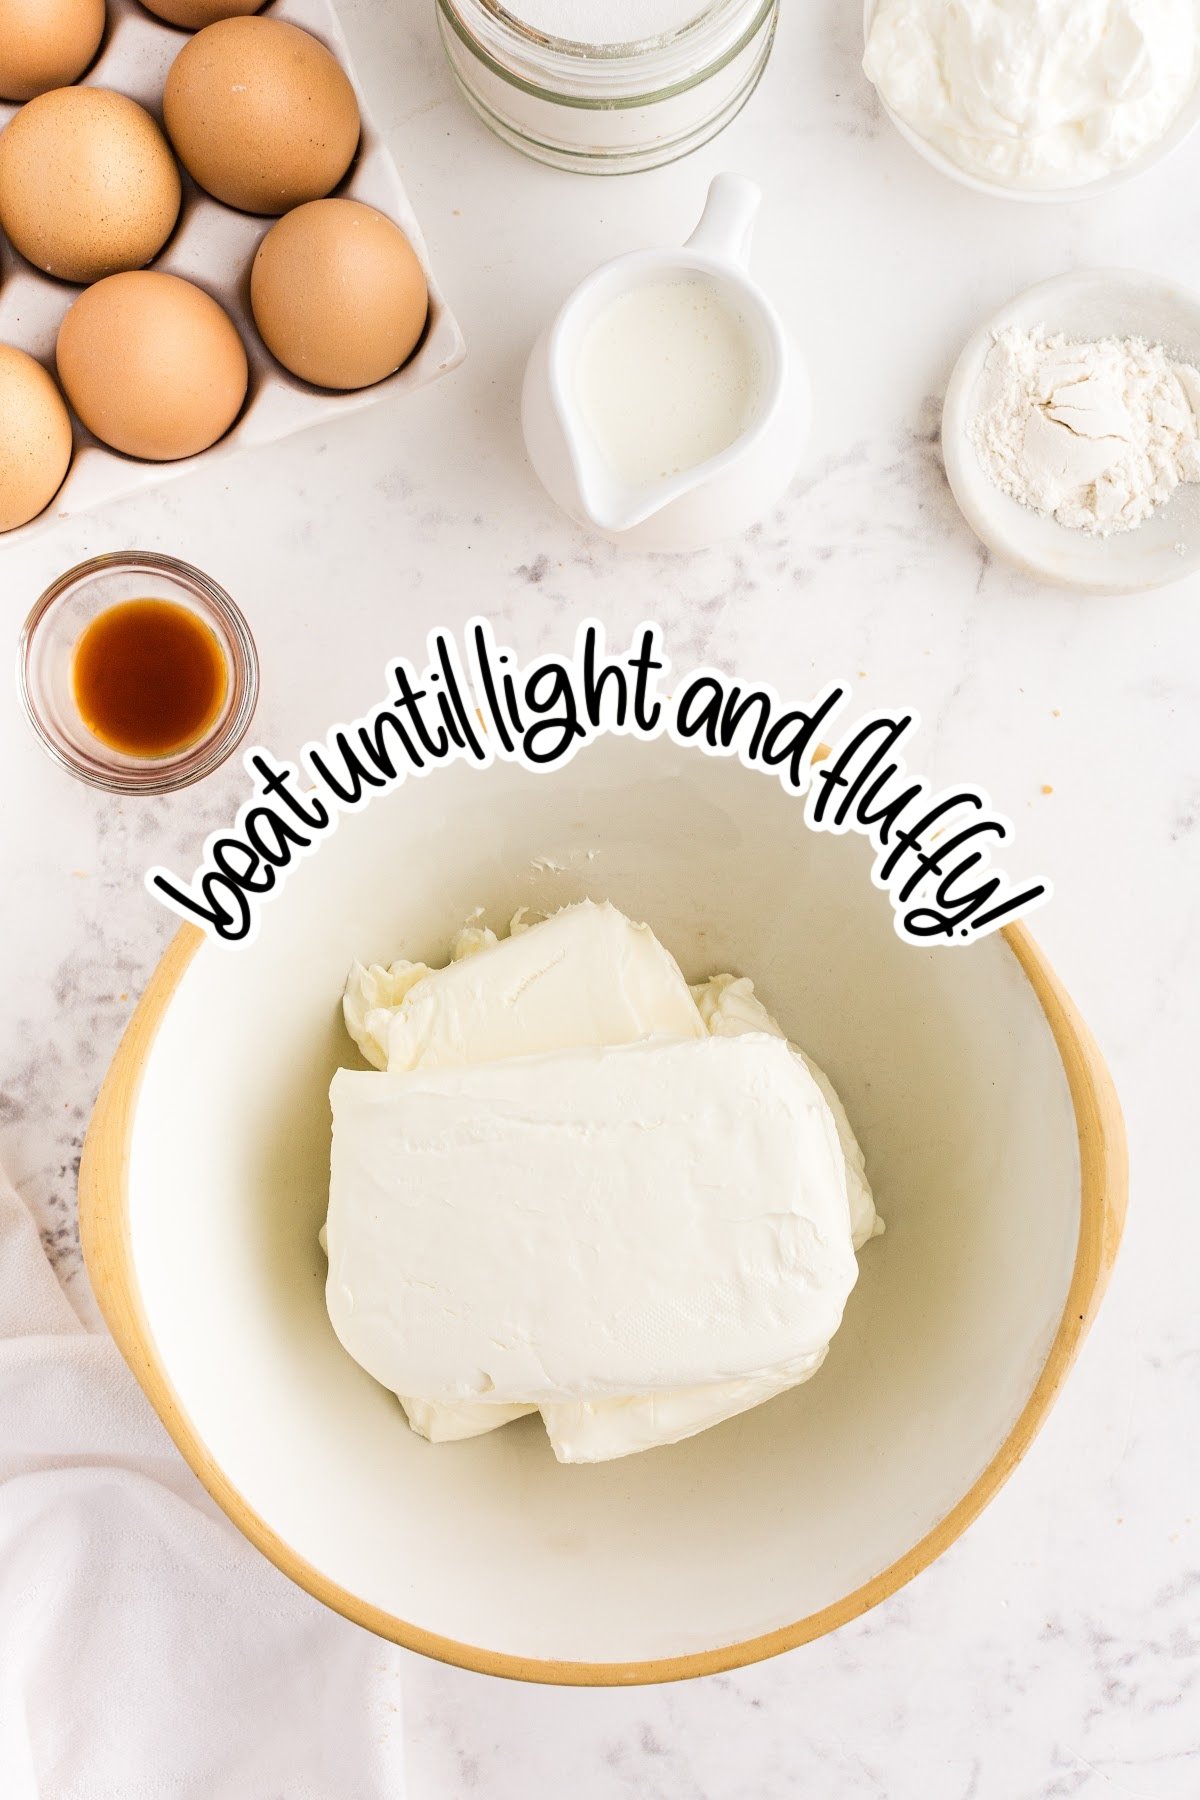
Step 3: In a large mixing bowl, beat the blocks of cream cheese using an electric mixer or a stand mixer with the paddle attachment until soft and creamy.
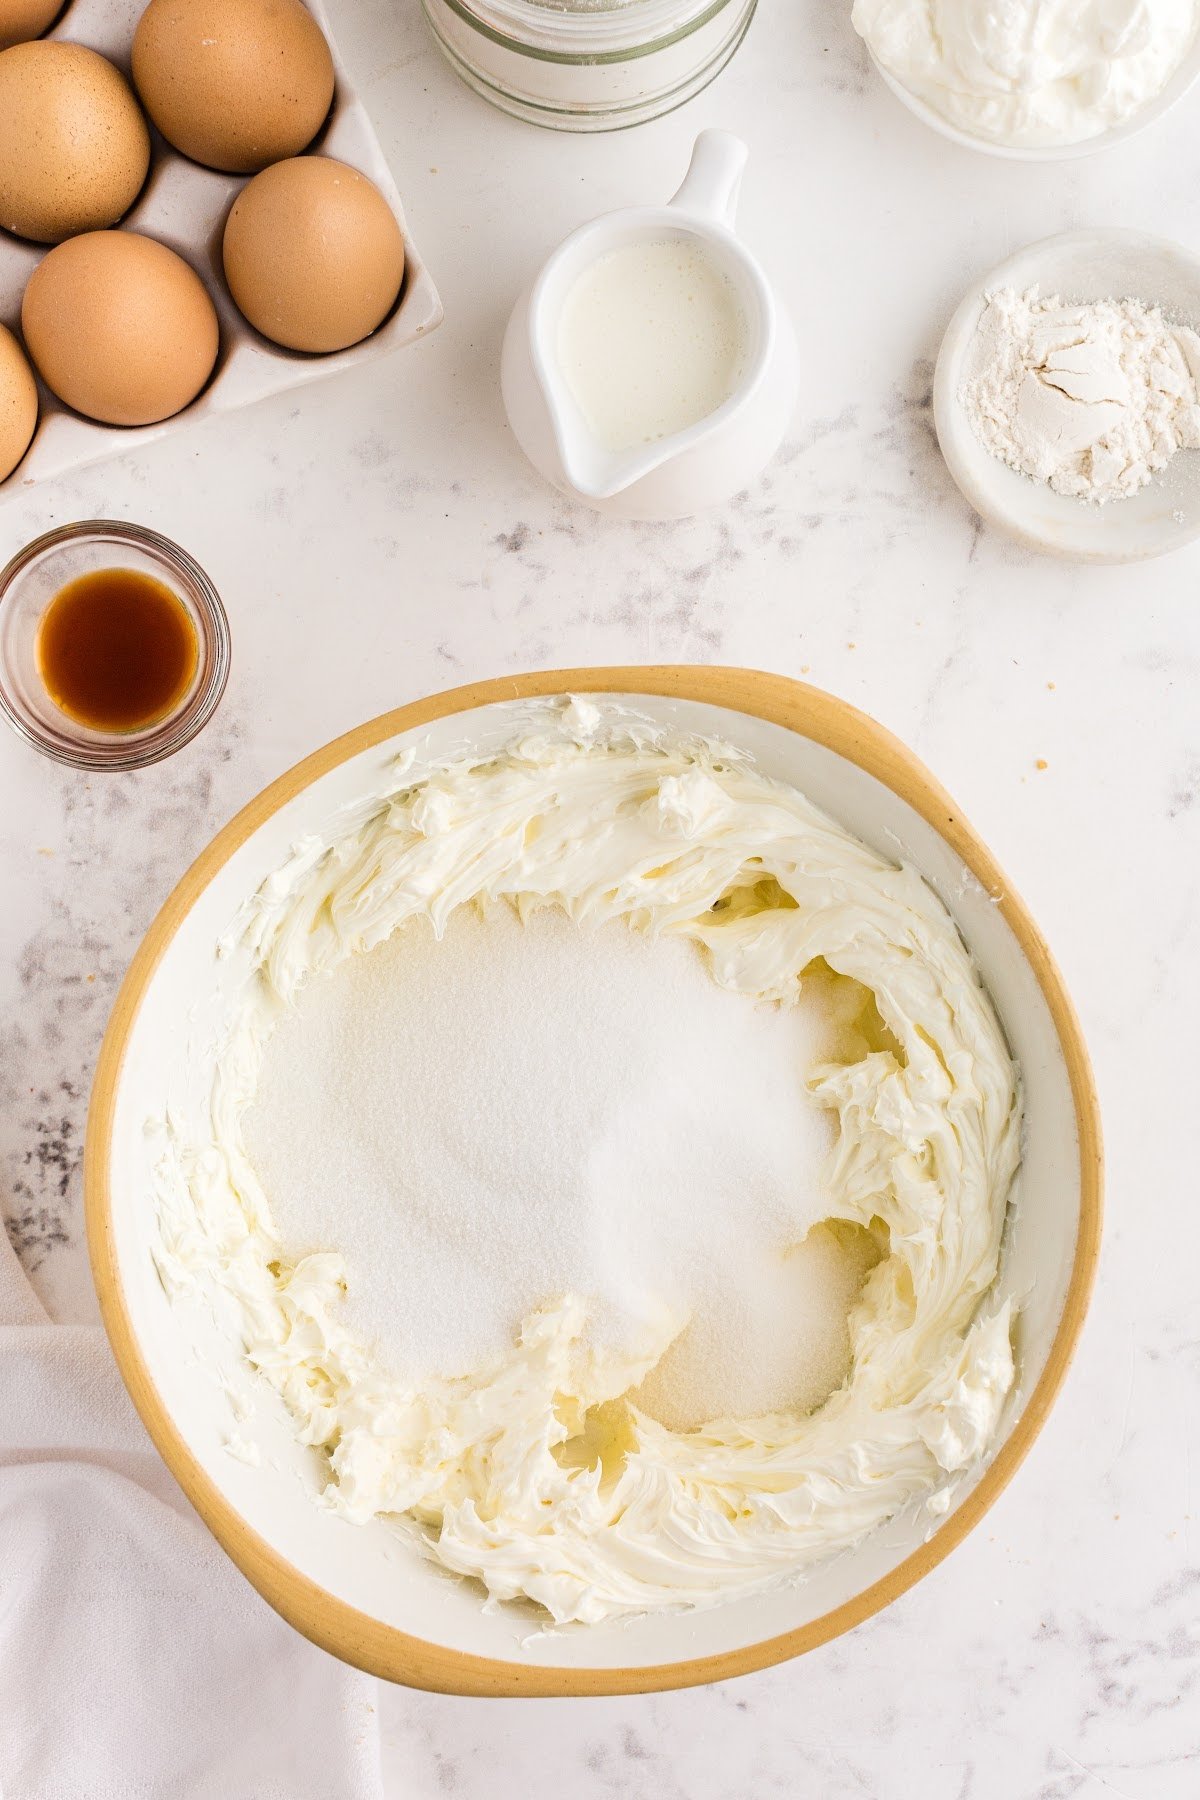
Step 4: Add the sugar and continue mixing for 1 minute.
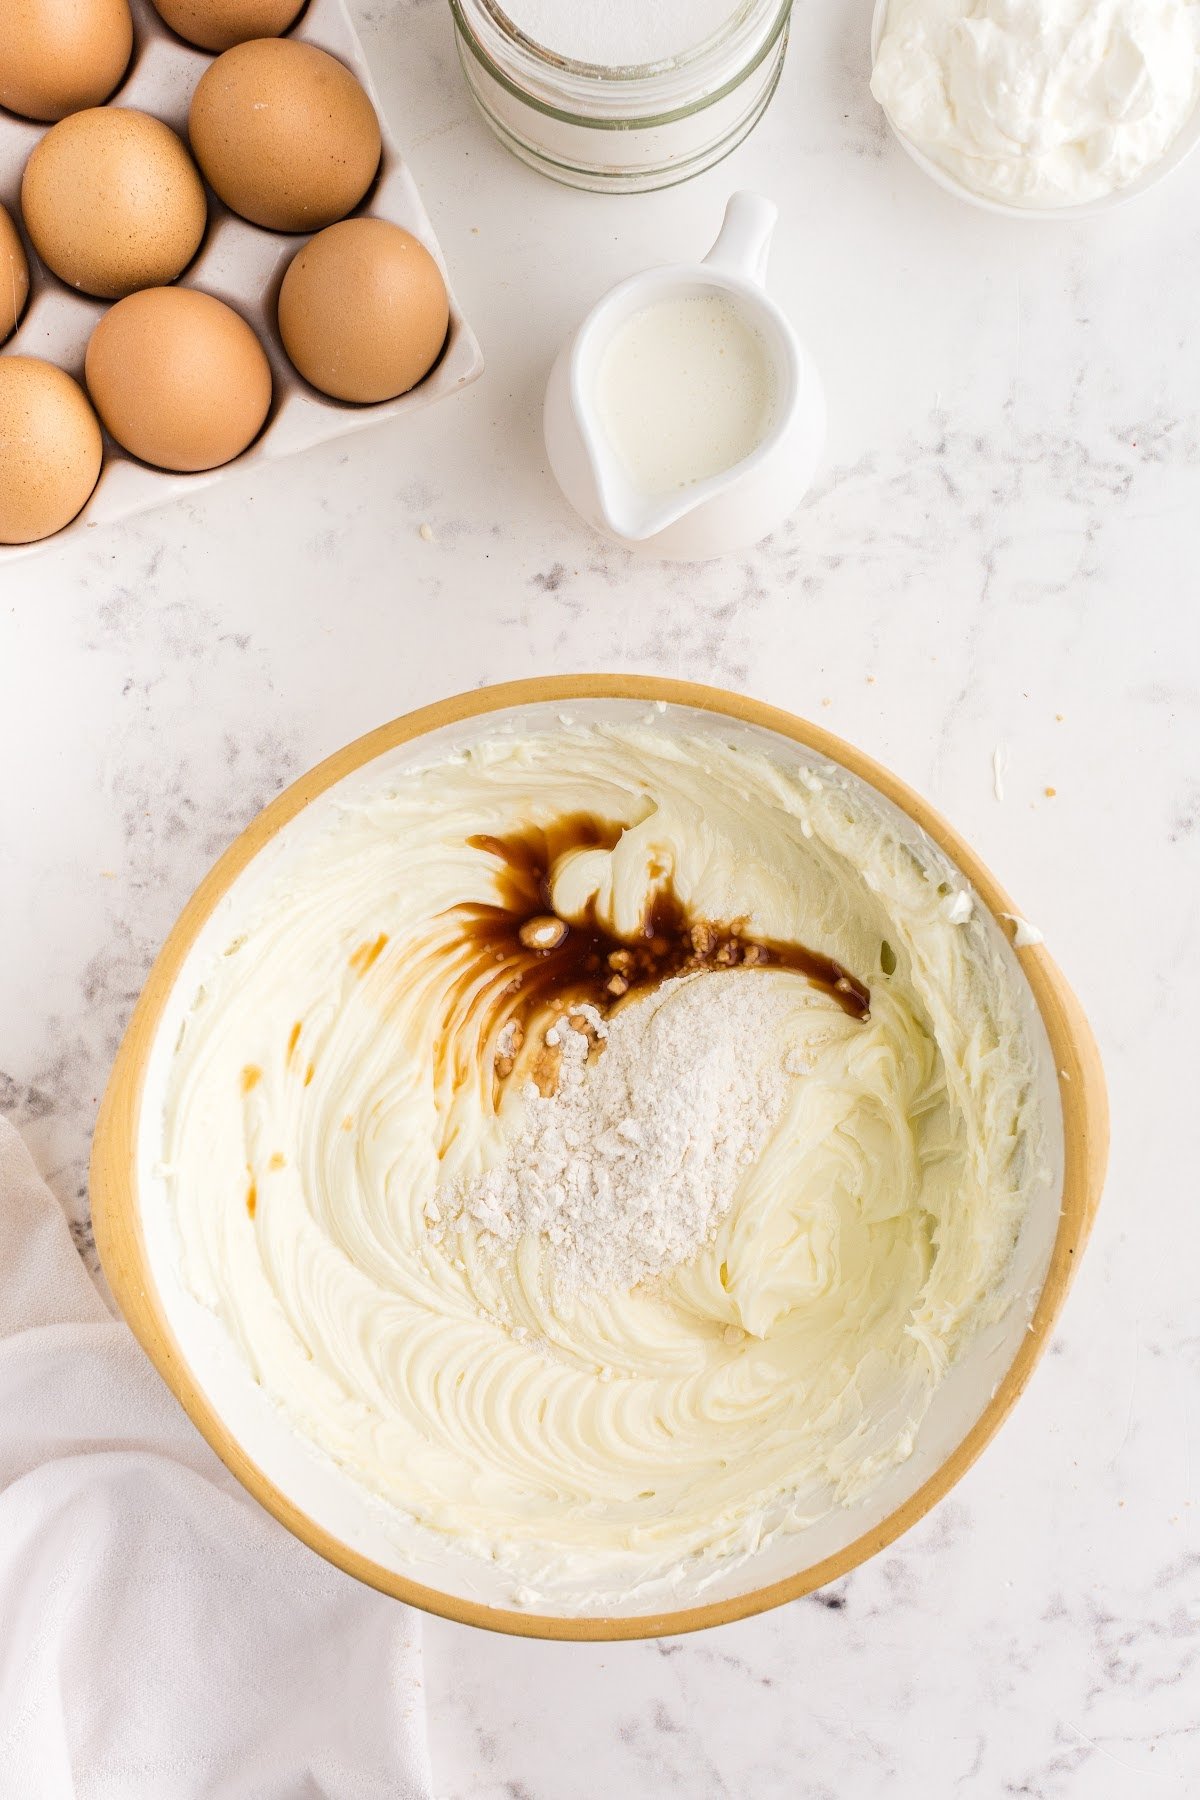
Step 5: Mix in the flour, sour cream, vanilla, and heavy cream. Scrape down the sides of the bowl as needed.
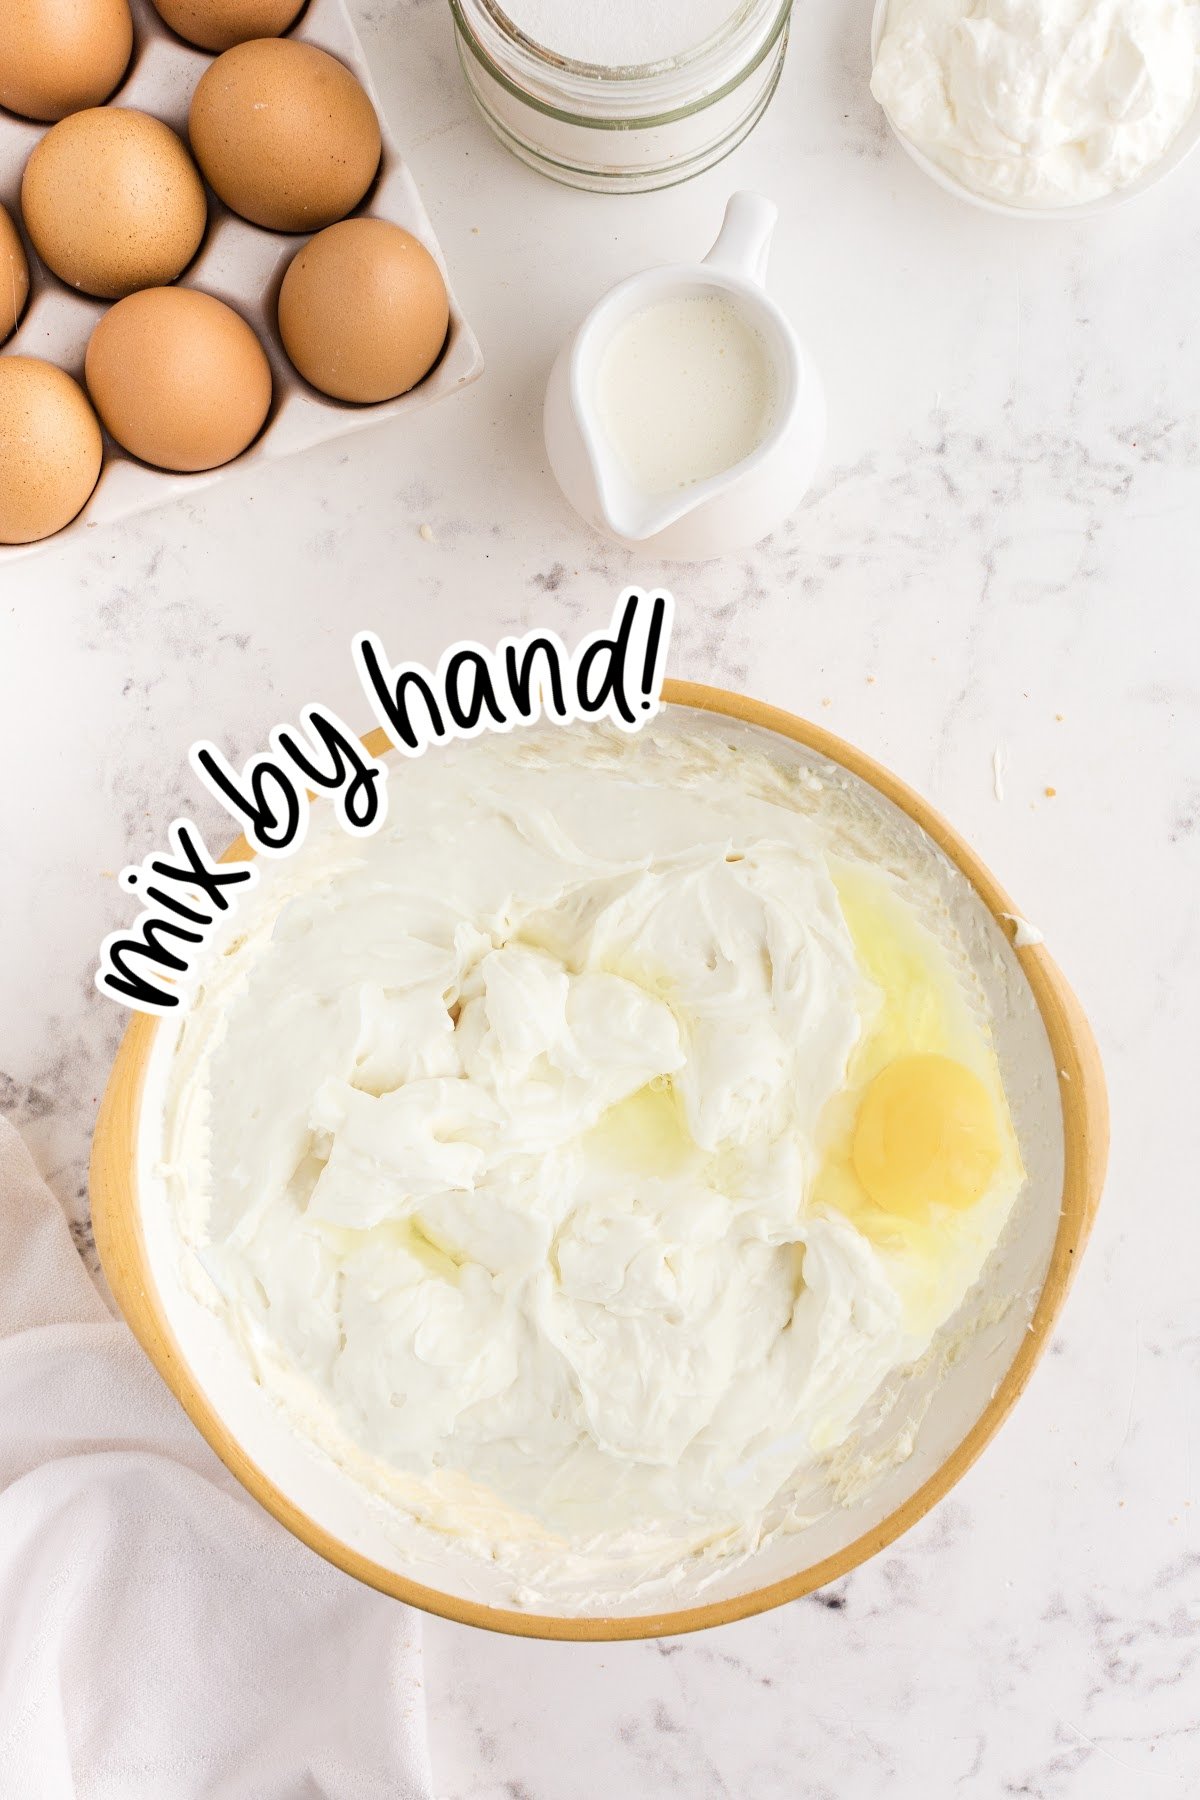
Step 6: Gently stir in the eggs one at a time by hand.
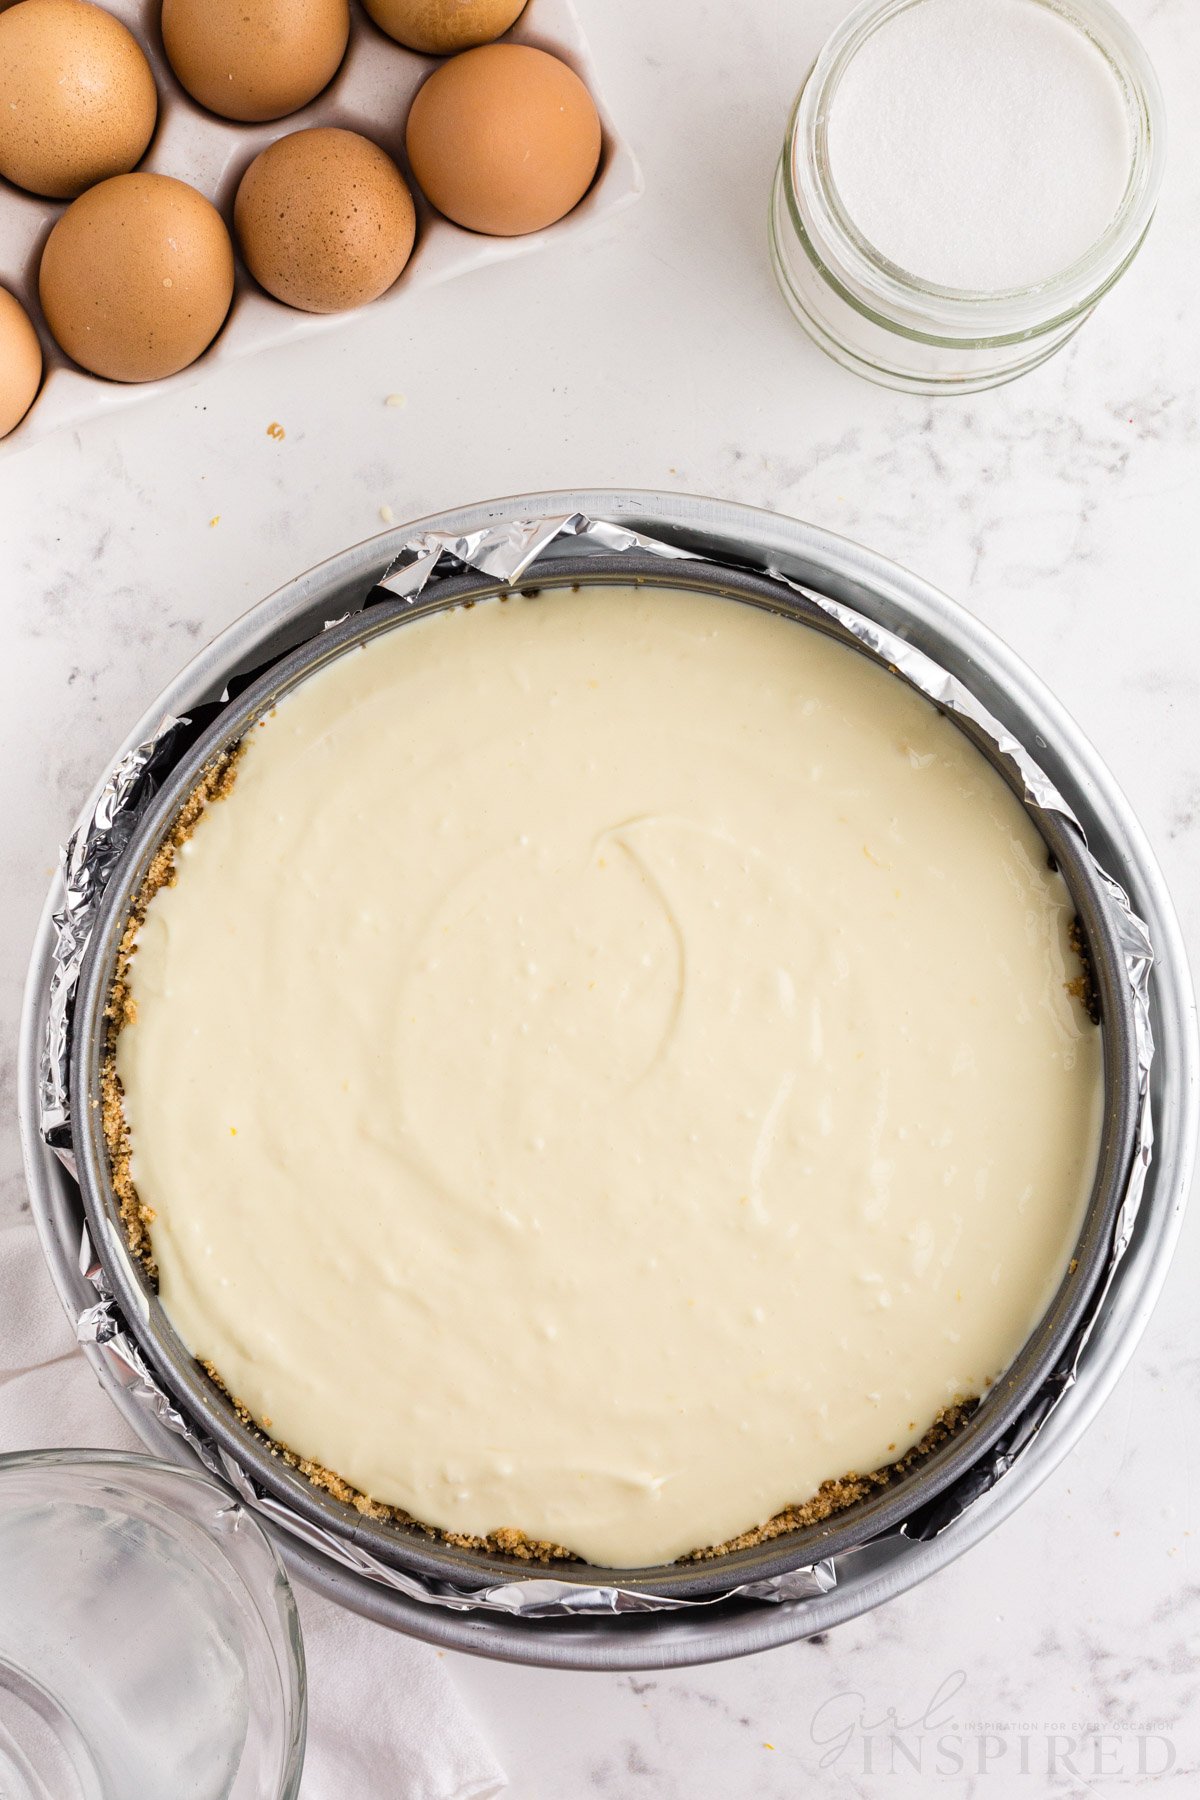
Step 7: Pour the batter over the prepared graham cracker crust in the pan. Wrap the spring pan in two layers of aluminum foil and place it in a larger roasting pan filled with 1 inch of water (to make a water bath).
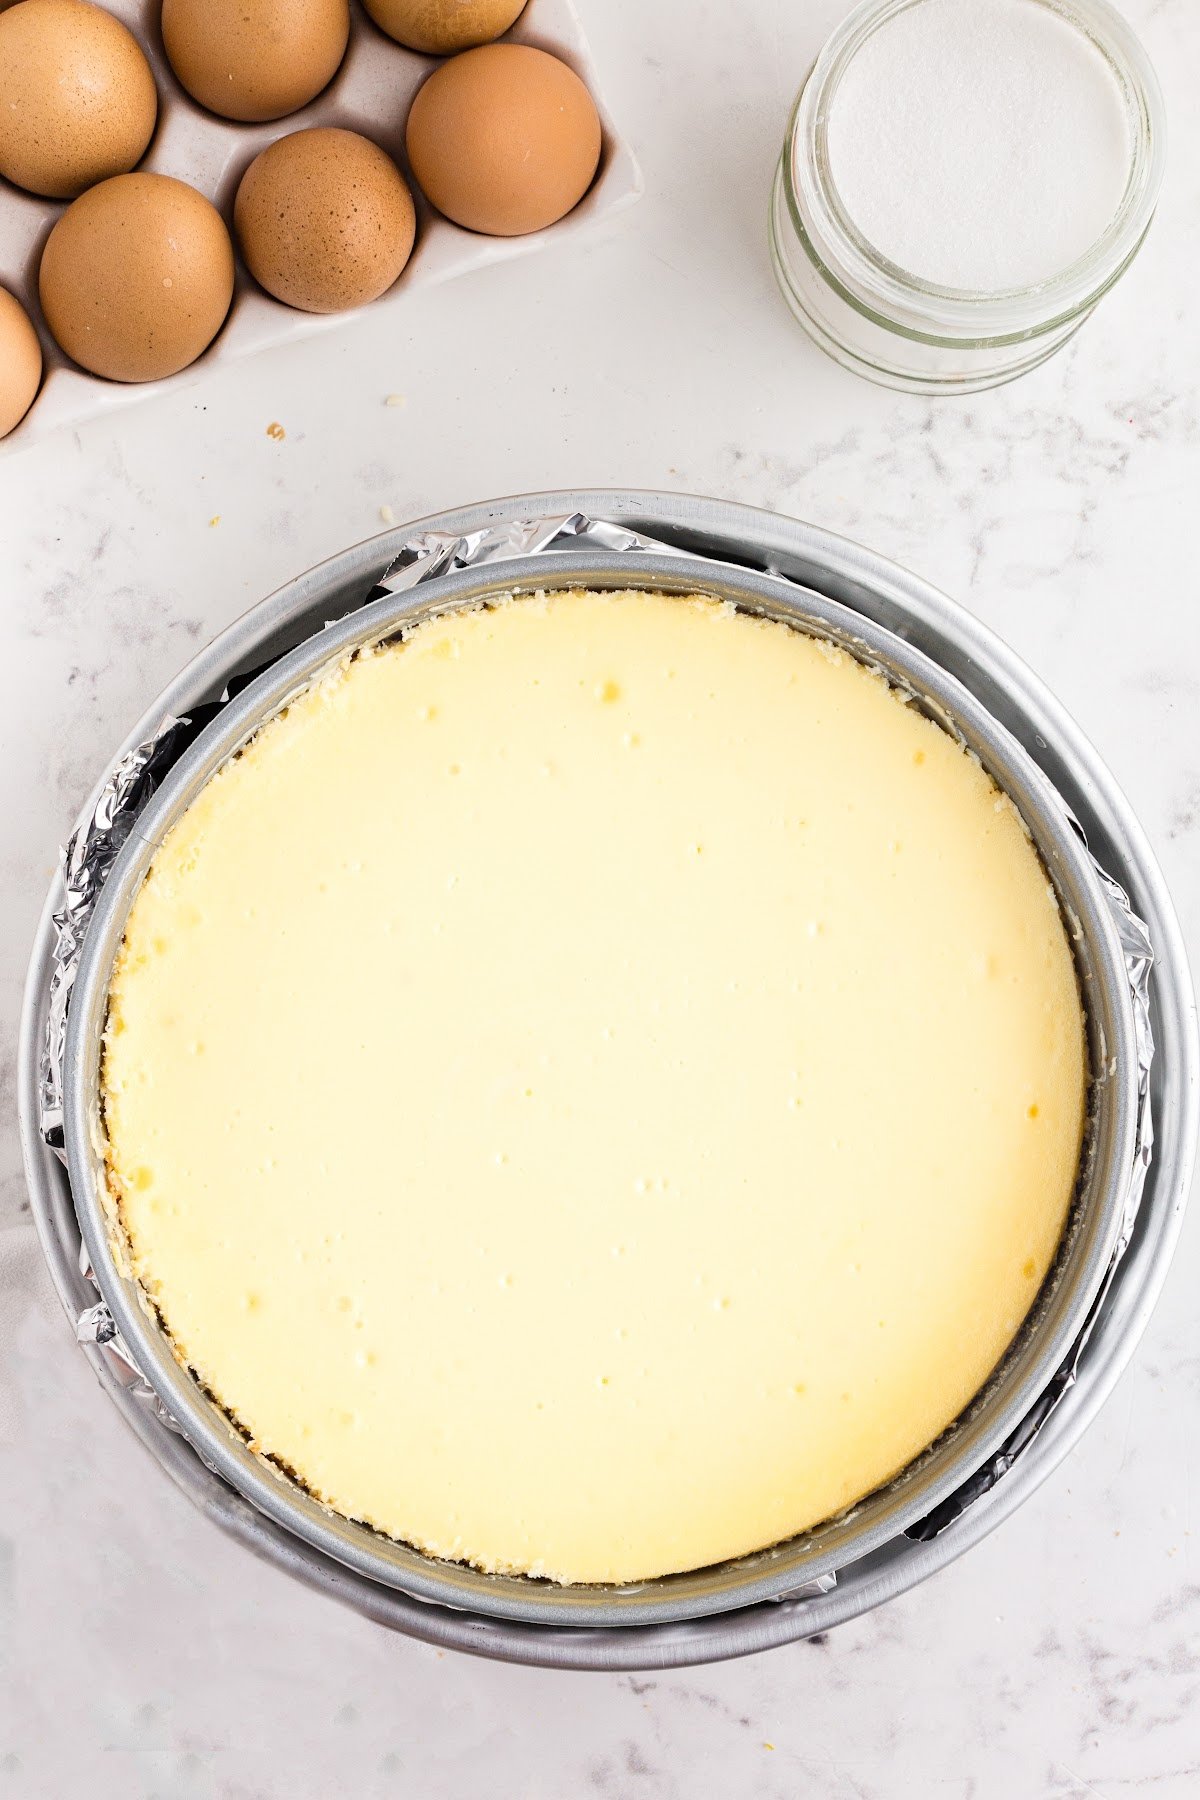
Step 8: Bake for 60-70 minutes. The top of your cheesecake should look matte, with the outer edges being set, and the center will jiggle when shaken gently. Turn off the oven and keep the door closed for 20 minutes. Then crack the oven door and leave the cake in for another 20 minutes.
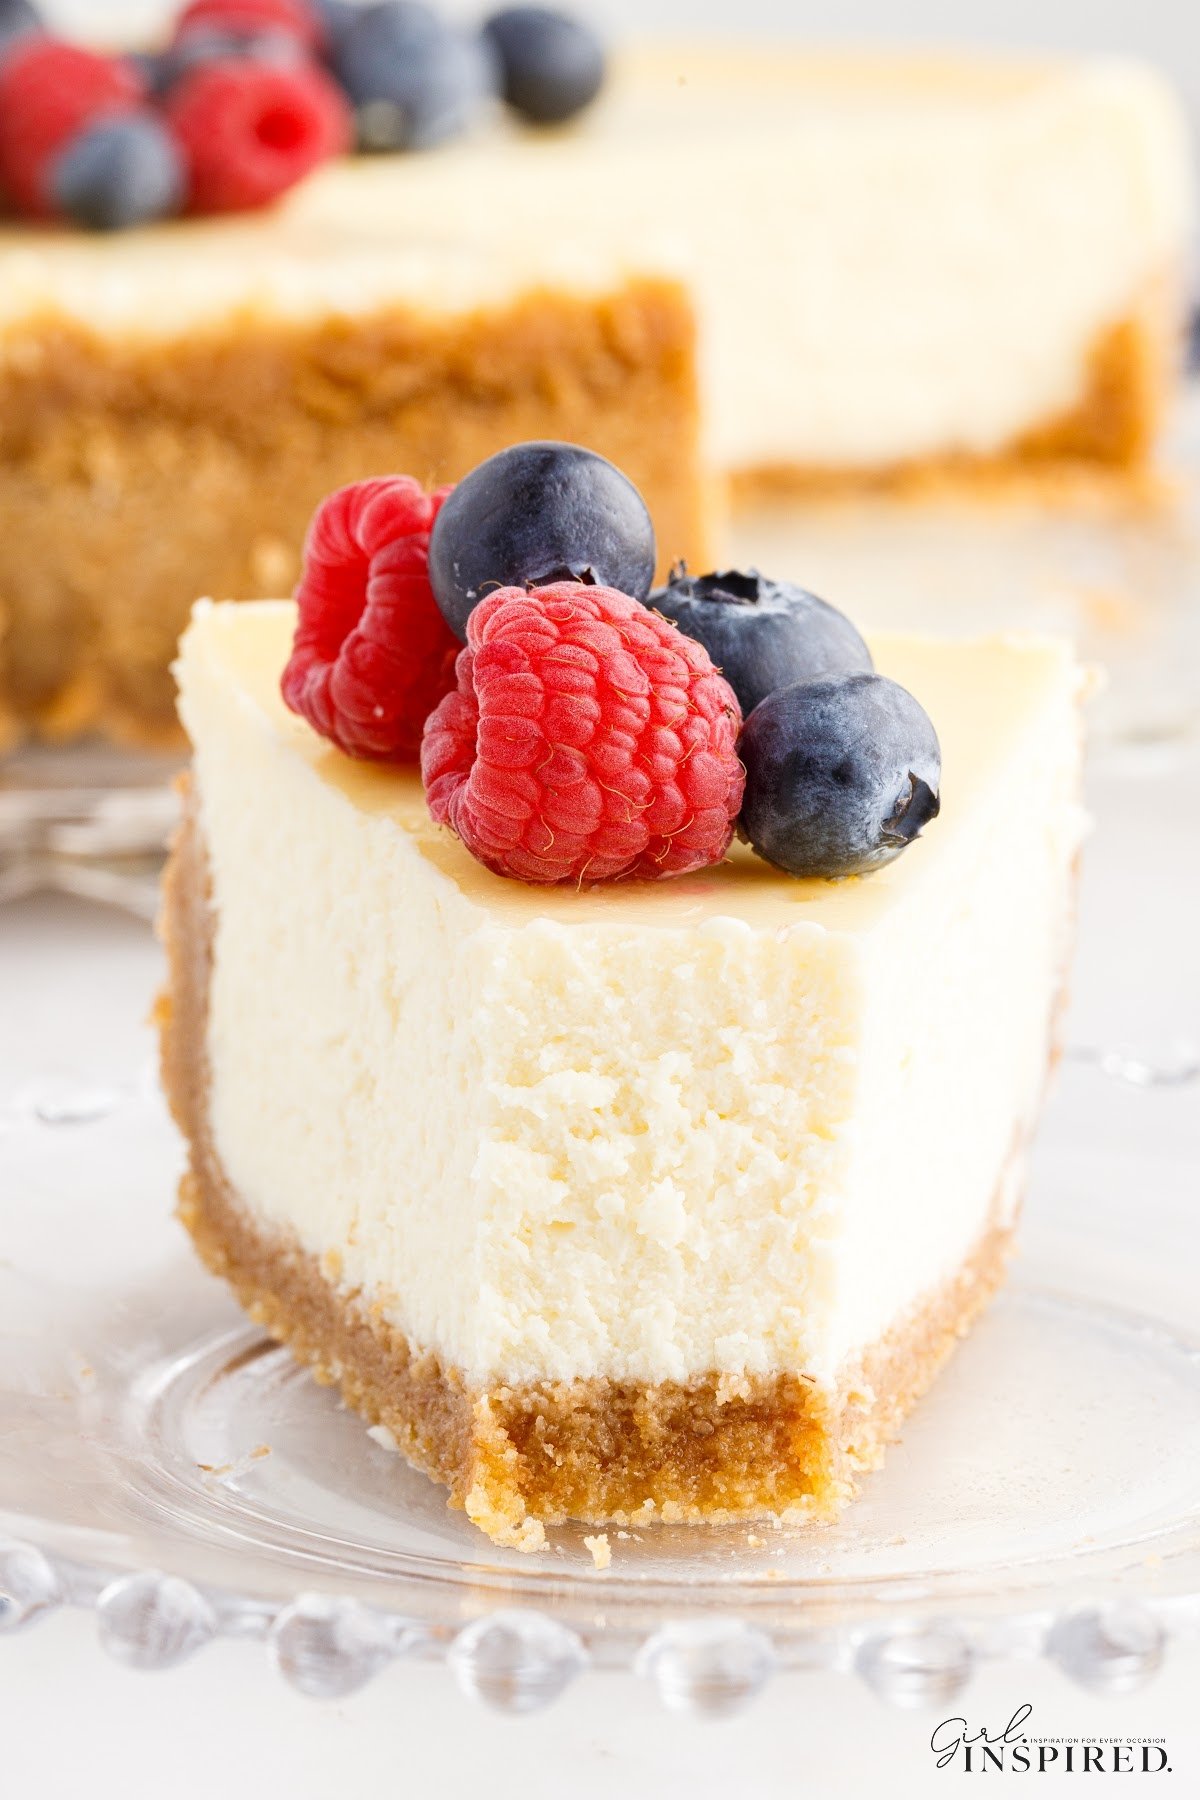
Step 9: Remove the cheesecake from the oven and allow it to cool completely. Chill in the refrigerator for at least 3 hours before transferring to a serving platter and slicing.
Recipe Tips for Classic Cheesecake
- Stirring the eggs in by hand reduces the air bubbles. Too much air will cause puffing and cracking during the baking process.
- Room temperature ingredients also play a big role in making the filling smooth.
- When you turn the oven off, the cheesecake will look under-baked and will be wobbly. The slow cool down (keeping it in the oven with the oven off, and then with the door cracked) is what makes this the perfect cheesecake recipe. It will be smooth, creamy, and cooked like it’s supposed to be.
- Don’t skip the water bath. This is another pro tip that ensures it comes out perfectly. If you do not have a pan that will fit around the springform, place a baking dish filled with water on the rack below the cake. This helps to add moisture, but a true water bath yields the best results. I like to use a 12-14″ round cake pan as my springform pan nestles nicely inside it.
- Use the wide sheets of aluminum foil so that each sheet wraps completely around and up the sides of the cheesecake pan. Use TWO full coverage sheets of foil. If your foil isn’t wide enough, water will seep in between the overlapping foil.
- By baking at a low oven temperature (325 degrees), in addition to the slow cool down, you will always have a smooth and creamy cheesecake.
- Do not slice the cake before it has chilled. It will be runny. That 3-4 hours in the refrigerator (after all the time cooling it down to room temperature) may seem like you’re waiting forever, but it is necessary for the cheesecake to set properly.
- If needed, you can run a knife around the edges before taking the cake out of the pan to make it easier. Set the cheesecake on a solid surface, run a thin knife between the crust and the edge of the pan. Release the clip holding the pan together. Slowly wiggle the pan sides up and off the cheesecake. Use a large spatula to transfer the cheesecake off of the parchment paper and base of the pan onto a serving platter. You can also serve right from the base it’s already resting on.
Fun Fact
Cheesecake has a long history and can be traced back to ancient Greece, where it was a popular dessert among the wealthy and elite.
Recipe FAQs
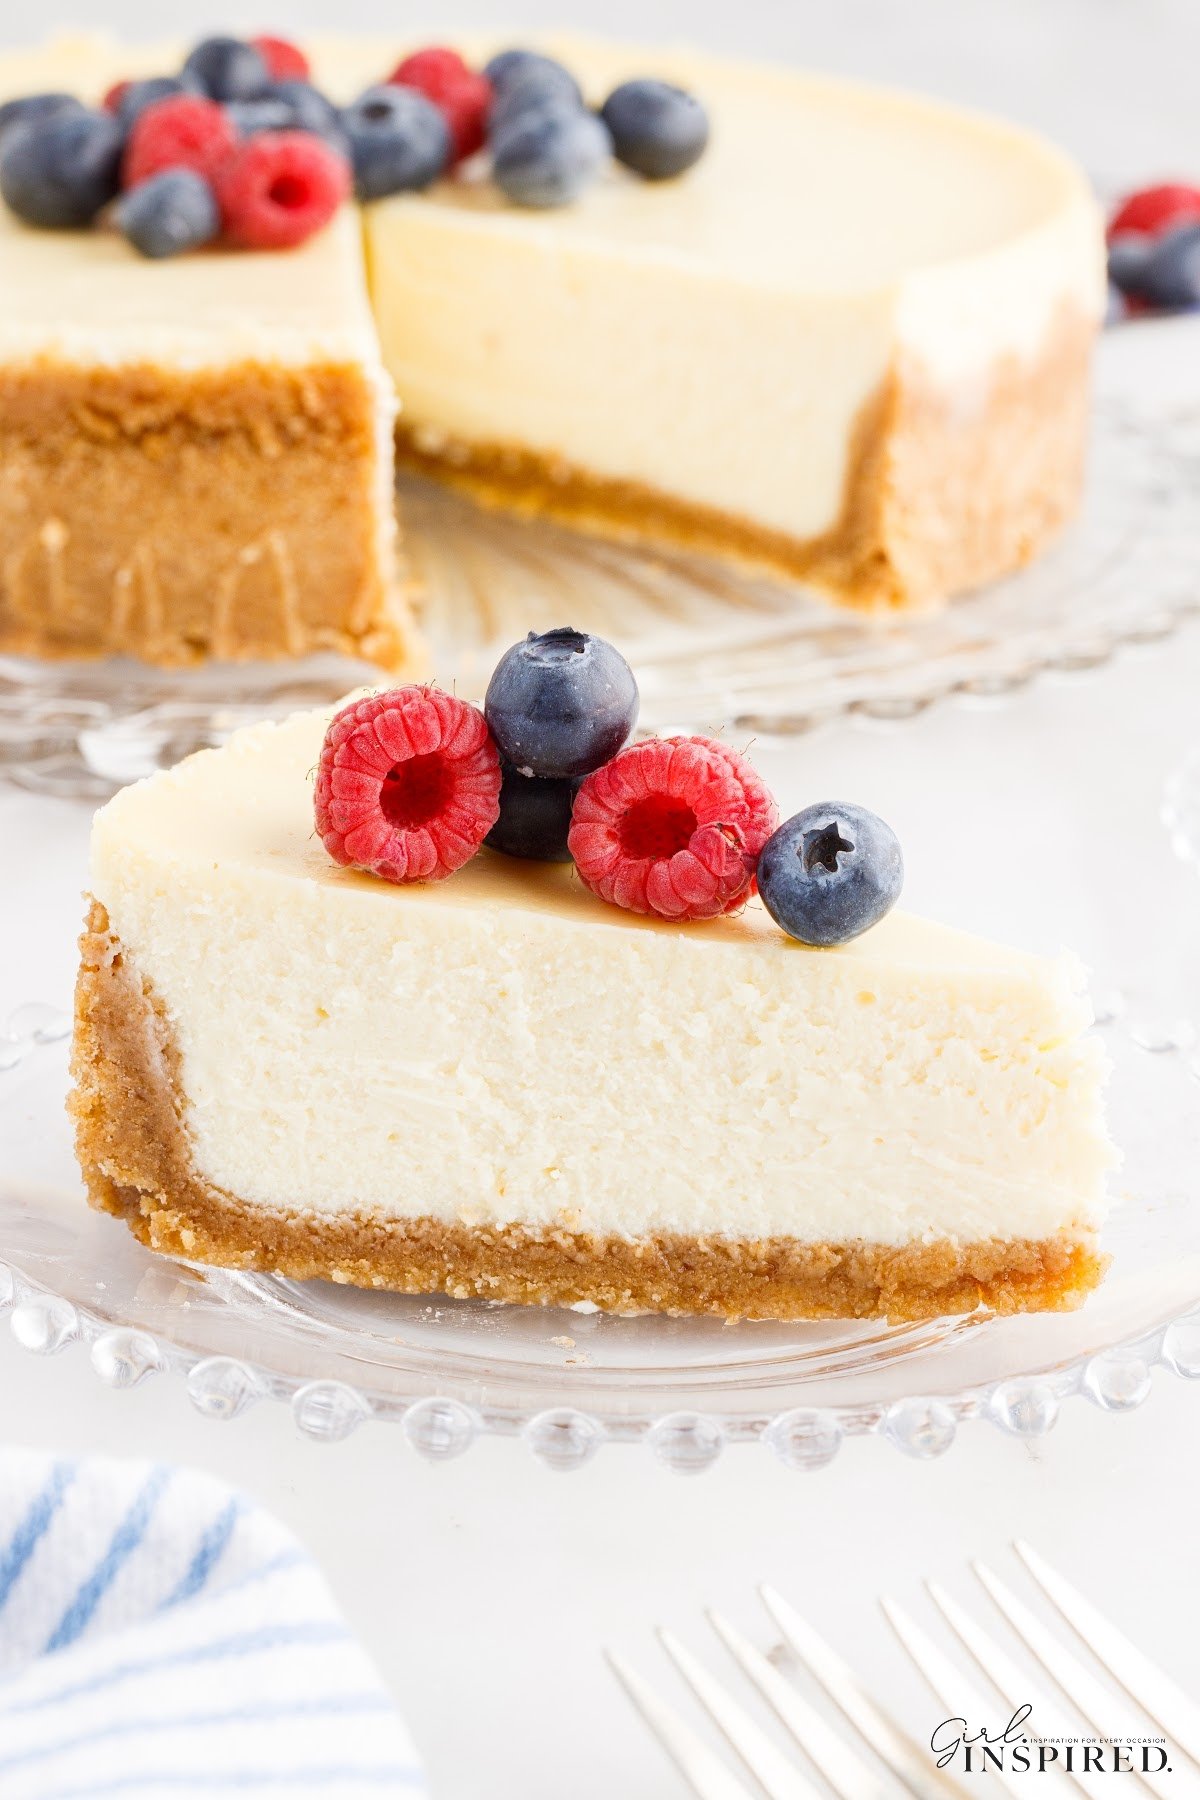
Cover with plastic wrap and store leftovers in the refrigerator for 5-7 days or freeze up to 3 months.
This cheesecake recipe classic can be frozen after being cooked and cooled completely. For any unsliced portions, wrap in wax paper or parchment paper and place into a Ziplock bag for up to 3 months. For pre-sliced pieces, wrap each slice in wax paper or parchment paper, then place into a zip top bag.
A Classic New York cheesecake recipe is a type of cheesecake that is dense and rich, with a smooth and creamy texture. It is typically made with cream cheese, eggs, and heavy cream, and is baked in a springform pan. The cheesecake is often flavored with vanilla or lemon zest and is traditionally served with a topping of fruit, chocolate, or caramel sauce. We’ve made a New York style cheesecake here.
Regular cheesecake, on the other hand, can refer to any type of cheesecake that is not specifically designated as New York-style. This can include lighter, airier versions of cheesecake that are made with ingredients such as ricotta or cottage cheese, or variations that incorporate different flavors and textures, such as pumpkin or chocolate cheesecake.
More Luscious Cheesecake Recipes
If you tried this Classic Cheesecake Recipe or any other recipe on my website, please leave a 🌟 star rating and let me know how you liked it in the 📝 comments below.
Classic Cheesecake Recipe
Ingredients
Graham Cracker Crust Ingredients:
- 1 ½ cups graham cracker crumbs
- ⅓ cup granulated sugar
- ⅓ cup salted butter melted
Cheesecake Ingredients:
- 3 8 oz. packages cream cheese softened
- 1 ½ cups granulated sugar
- 3 tablespoons all-purpose flour
- 2 teaspoons vanilla extract
- ½ cup heavy whipping cream plus more for topping
- ½ cup sour cream room temperature
- 3 large eggs room temperature
Instructions
- Grease a 9” springform pan and line the bottom with parchment paper.
- Preheat the oven to 325°F.
- In a medium mixing bowl, stir together graham cracker crumbs, melted butter, and ⅓ cup granulated sugar until thoroughly combined.
- Press graham cracker mixture into the springform pan, creating a thick, even layer across the bottom and halfway up the sides of the pan. Pack down the crumbs so that the crust holds together. Set aside.
- In a medium mixing bowl, beat the cream cheese with a hand mixer (or standing mixer) until light and fluffy.
- Add 1 ½ cups of granulated sugar and continue beating for 1 minute.
- Add flour, vanilla, sour cream, and heavy cream. Mix just until combined.
- By hand, mix in the eggs, one at a time. Stir gently to prevent extra air from getting into the mixture.
- Wrap the springform pan in TWO LAYERS of extra wide aluminum foil (to prevent water from getting in) and place the pan into a larger vessel (oven-safe) that can hold water at least 1” up the sides of the pan.
- Fill with water to create a water bath for the cheesecake.
- Bake for 60-70 minutes. The cheesecake should appear matte across the top surface and the outer edges should be set but the center will be jiggly when you shake it gently. Continue cooking for 5 or 10 more minutes if the whole cheesecake is very jiggly. After 60-70 minutes, turn off the oven, keeping the door closed for 20 minutes. After this 20 minutes, crack the oven door and leave the cheesecake in place for another 20 minutes.
- Remove the cheesecake from the oven. Allow to cool to room temperature and then transfer to the refrigerator to chill for at least 3 additional hours.
Would you like to save this?
Notes
Nutrition
Make this recipe?
Share it with me on Instagram @girlinspired1 and follow on Pinterest for more!



Comments & Reviews
Katherine says
I’ve made MANY, MANY cheesecakes over the years. I’ve experimented with softer, creamy versions and firmer cake textured etc and this is my absolute new favorite! First time I was advised to hand mix the eggs. I do believe that made an enormous difference. My family says “THIS is the one!”
Stefanie says
Best compliment! Thank you so much, Katherine.
Julie V. says
Made this for Christmas Eve dessert, perfection! Served with fresh strawberries.
Stefanie says
So glad to hear! Merry Christmas!
Jess says
Mine unfortunately cracked but it is amazing
Verbena says
You don’t have to put the springform pan in water, you only need to have a pan of water at the bottom of the oven.
Tracy McBane says
This is delicious and a fav in our house! Can we use this same base recipe and add pumpkin/spices for a pumpkin cheesecake?
Stefanie says
Thank you so much, Tracy! Here is the pumpkin cheesecake recipe I developed from this classic version! https://thegirlinspired.com/pumpkin-swirl-cheesecake/
Kimberly Goodwin says
My crust was also soggy on the bottom but not so much on the sides which makes me think some water must have seeped through the layers of heavy duty foil. But I thought the crust still had a great flavor and the cake turned out perfect otherwise, I will try the turkey bags I saw in another comment next time. Thank you for sharing this recipe.
Donna says
I had water get under my foil. Can I save my cheesecake some way? It came out perfect besides that.
Stefanie says
Shoot, that’s frustrating. I don’t know that there’s a way to dry out the crust. I’ve had this happen before and fed the cheesecake to my family anyway. Not one of them seemed to notice. lol. If baking for company, though, I’d probably try again. I buy the extra wide aluminum foil so that I can get two solid pieces all the way around and up the sides. Overlapping narrower sheets of foil, no matter how many layers, always seems to result in a wet cheesecake.
Samantha Labyk says
I use oven safe turkey bags, no fault!