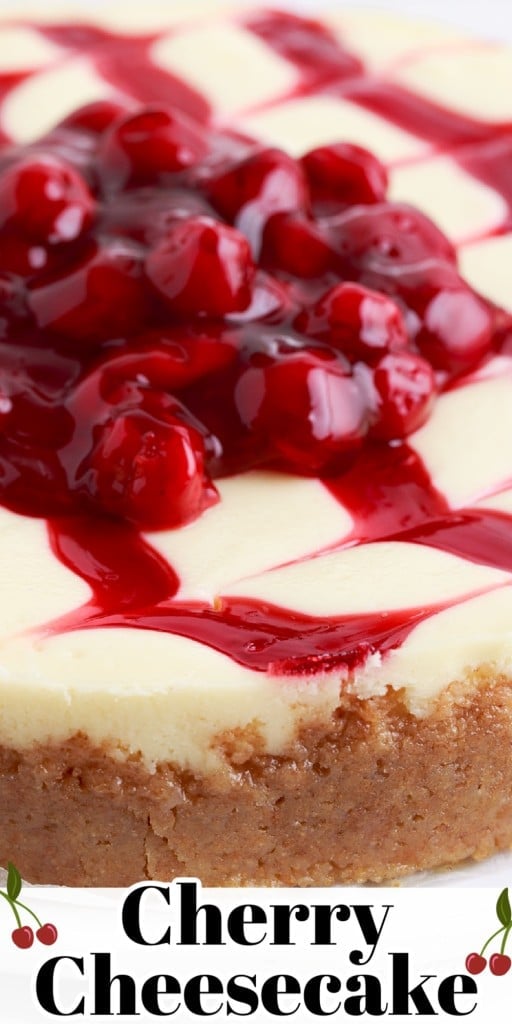
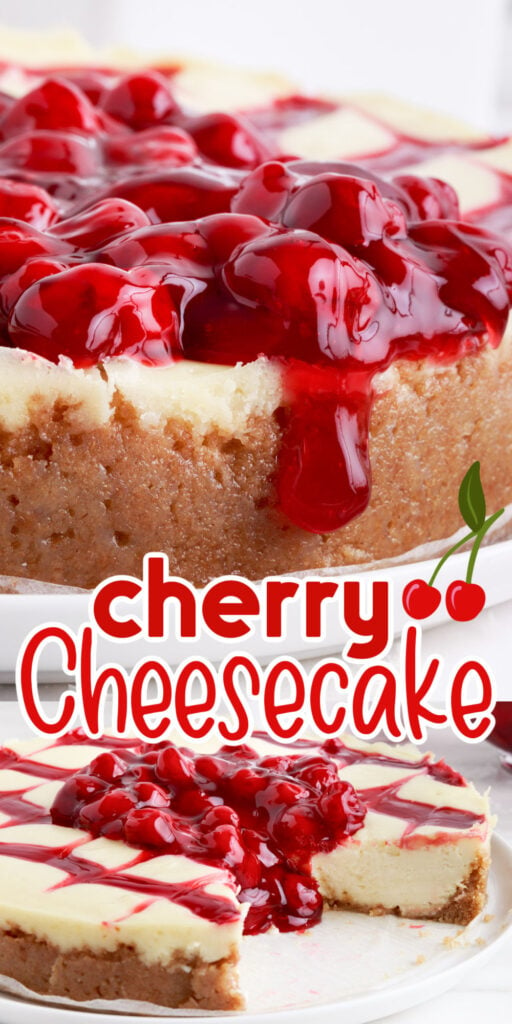
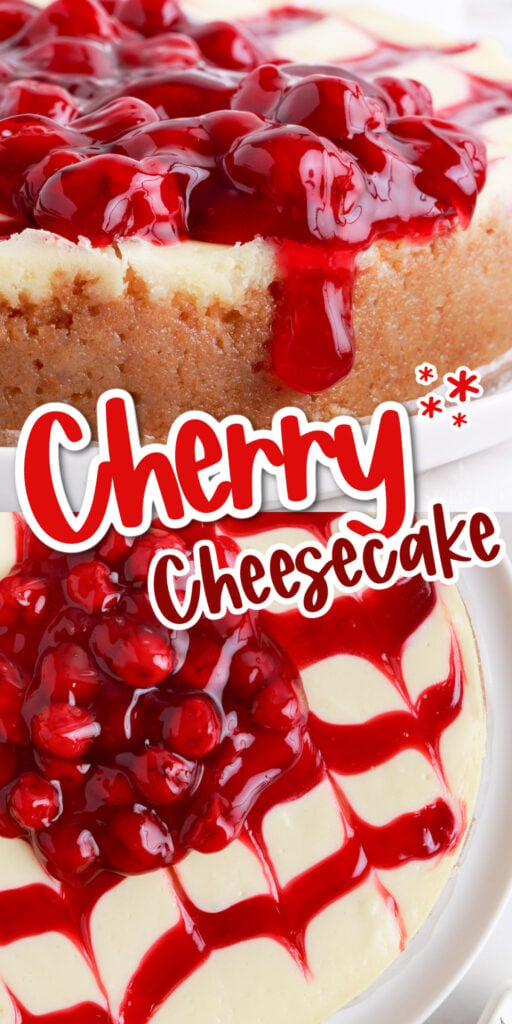
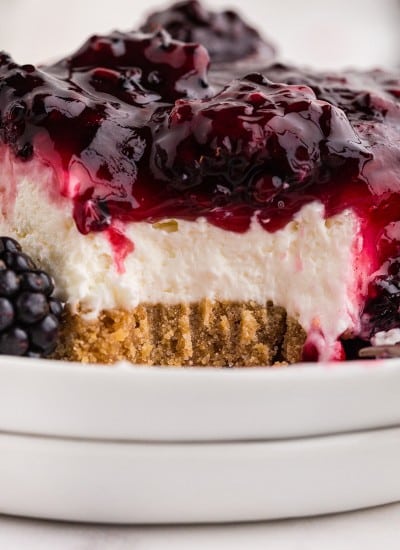
This beautiful cherry cheesecake is a showstopper when it comes to special occasions. Guests will ooo and ahh over the cherry pattern and the thick cream cheese filling. While it looks fancy, it only requires simple ingredients and even beginner bakers can make this easy recipe.
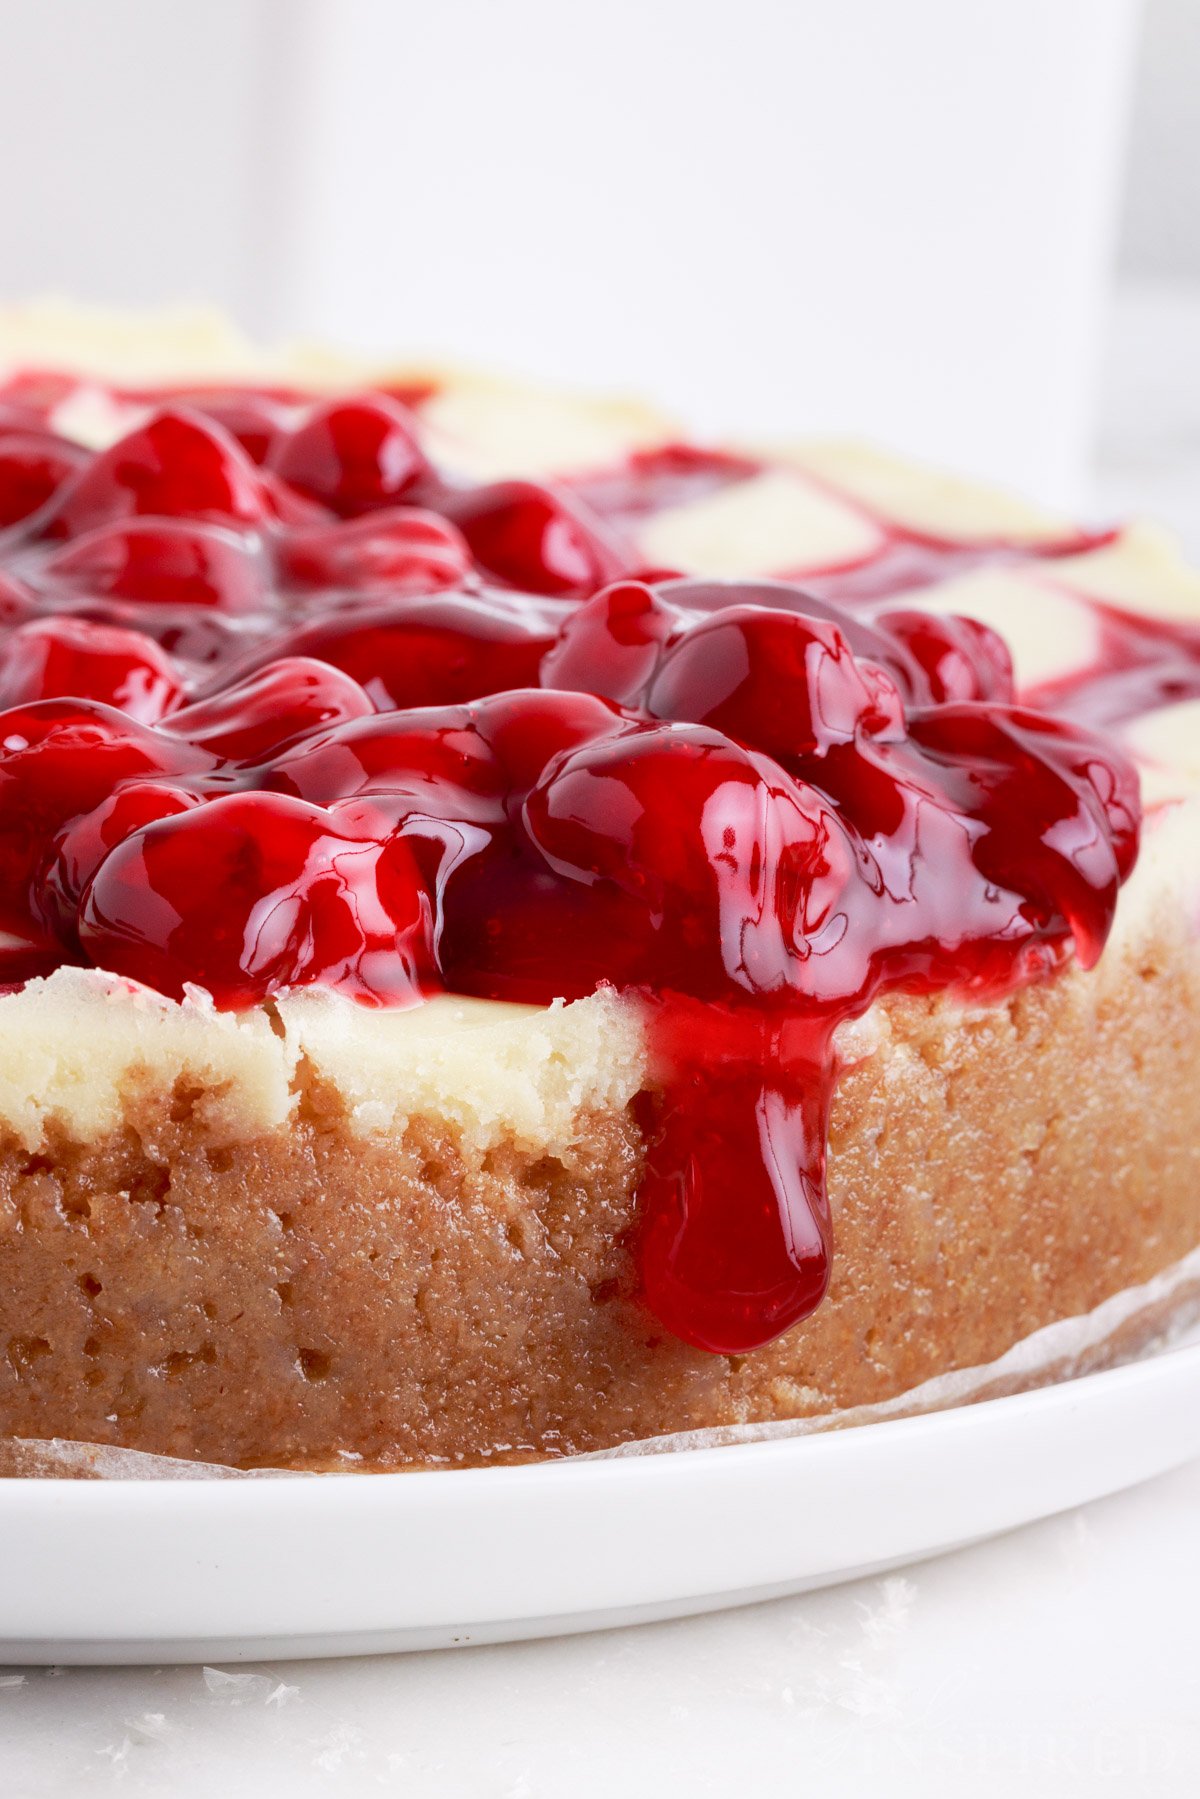
As a cheesecake lover, this dessert never gets old! I have made everything from traditional cheesecake to fried cheesecake, and every one of them is delicious! Today we are using cherry pie filling for ease versus making a homemade cherry sauce. It’s super simple and cuts down on some of the prep work.
When the warmer weather hits, I usually like no bake desserts such as eclair cake and white chocolate lasagna, but I couldn’t resist the cherry sweet tooth this time. You may also like the cheesecake flavor in our cherry cheesecake dump cake and lemon cream cheese bars. These are totally different, but still so delicious! If you are looking for cherry desserts, try these easy cherry bars, no bake chocolate cherry pie, or the chocolate cherry dessert lush.
Jump to:
🍒 Ingredients:
Graham Cracker Crust Ingredients:
- graham crackers – we are going to turn these into crumbs or you can buy the store-bought crumbs.
- granulated sugar – adds sweetness to the crust
- salted butter – holds the crust together.
Cheesecake Ingredients:
- full-fat cream cheese – allow it to soften before using so it’s fluffy and creamy.
- granulated sugar – gives our filling that sweet flavor.
- all-purpose flour – thickens the batter and helps to keep its shape.
- vanilla extract – adds a subtle hint of vanilla flavor.
- heavy whipping cream – makes the center creamy and rich, plus you can make whipped cream for a garnish.
- sour cream – balances out the sweetness and adds moisture.
- eggs – our filling binder
- cherry pie filling – we used store-bought canned filling for ease.
For a complete list of ingredients and their measurements, please refer to the printable recipe card 📋 at the bottom of the post.
Optional Garnish:
This cherry cheesecake recipe can be garnished with just the cherry pie topping or you can add Cool Whip or whipped cream just before serving.
Equipment Needed:
Food processor – to pulse graham crackers to crumbs. You can also do this by hand or use a high-speed blender.
Electric mixer – so the cream cheese gets nice and fluffy. If you are using a stand mixer, go with the paddle attachment for mixing.
Springform pan – these work best for cheesecakes.
Variations and Substitutions
- No pattern – if you want to skip making the pattern on top you can. Simply spread the cherry pie filling on top once the cheesecake has set.
- Other flavors – swap the cherry pie filling for other flavors like blueberry or raspberry and follow the same instructions.
- No Bake Cherry Cheesecake – use our classic no bake cheesecake recipe, then add the pie filling before serving.
🔪 Instructions:
PREP: Line a 9-inch springform cake pan with parchment paper and grease with cooking spray. Preheat oven to 325 degrees.
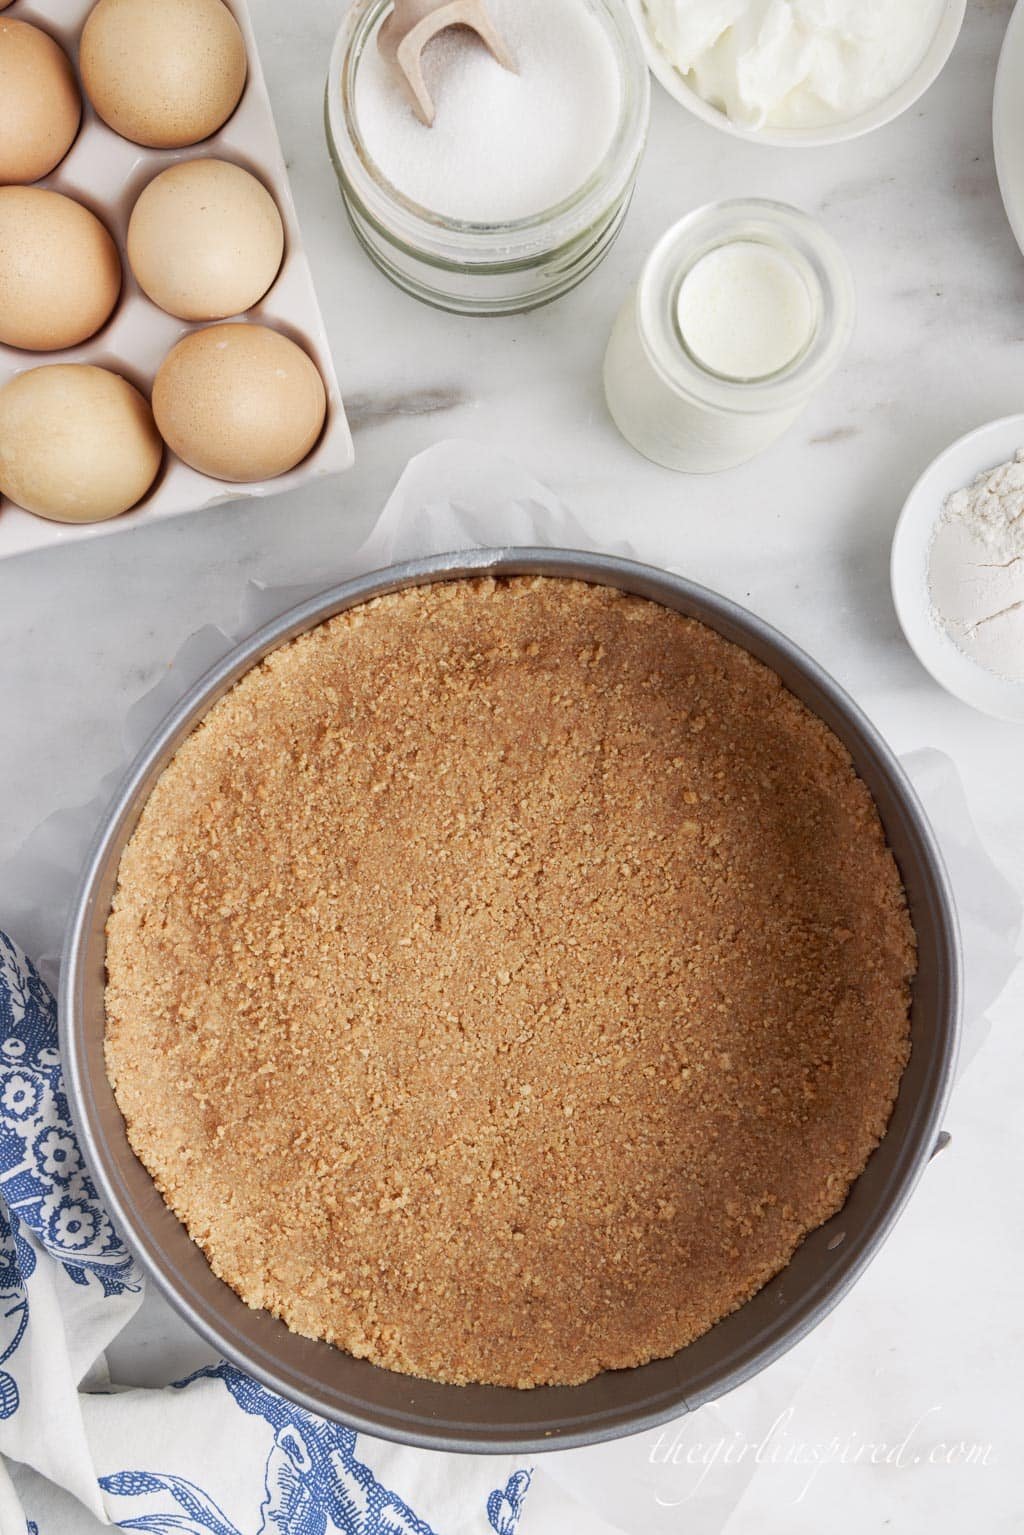
Step 1: In a large bowl, stir together the melted butter, graham cracker crumbs, and ⅓ cup sugar. Press the crust ingredients into the greased pan so it’s a thick, even layer that goes halfway up the sides. Pack tightly so it holds together.
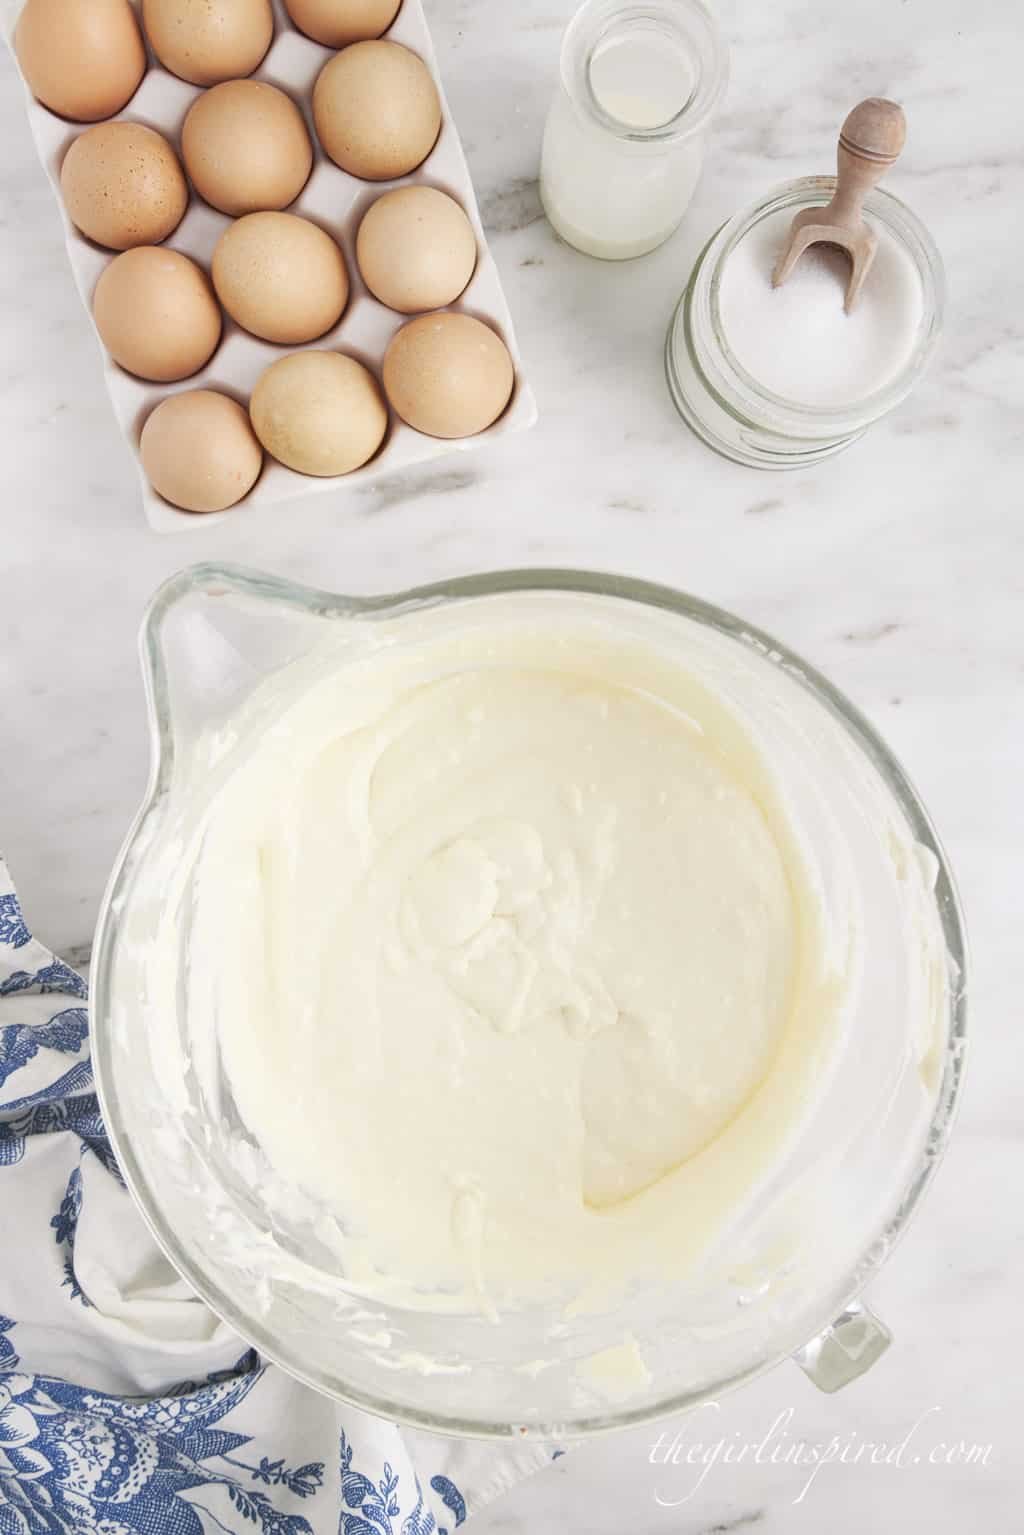
Step 2: In a medium bowl or bowl of a stand mixer, beat the cream cheese until it’s light and fluffy. Add 1.5 cups of sugar and continue mixing for 1 minute at medium speed. Mix in the flour, vanilla, sour cream, and heavy whipping cream until combined.
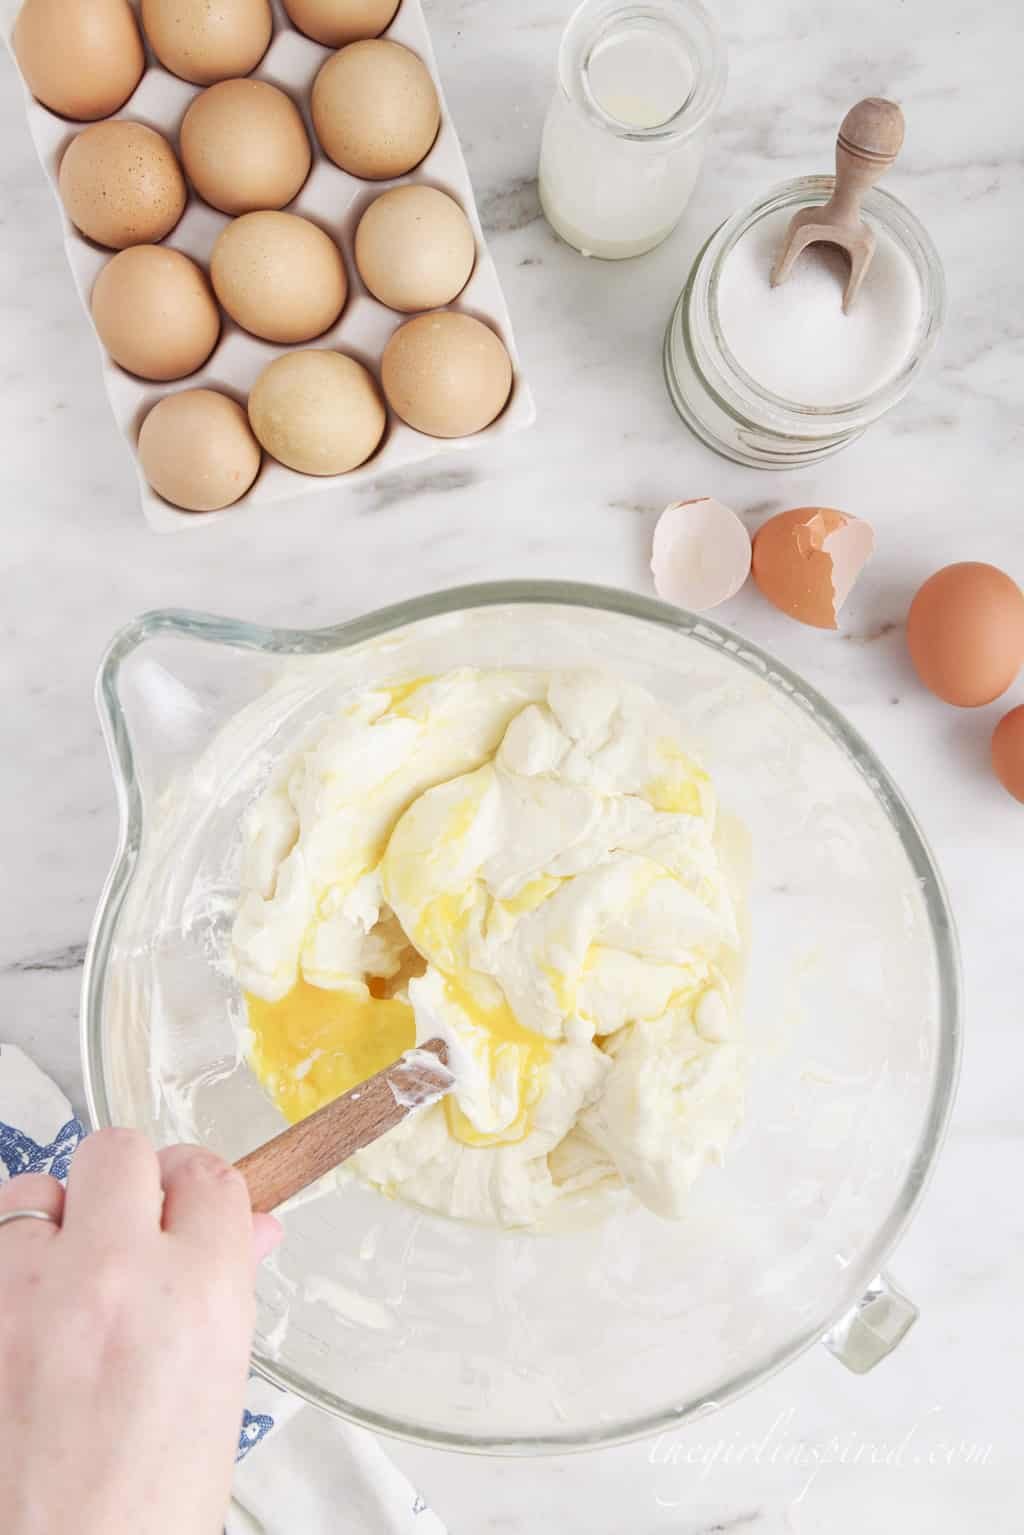
Step 3: Stir in the eggs by hand, one at a time, very gently using a rubber spatula.
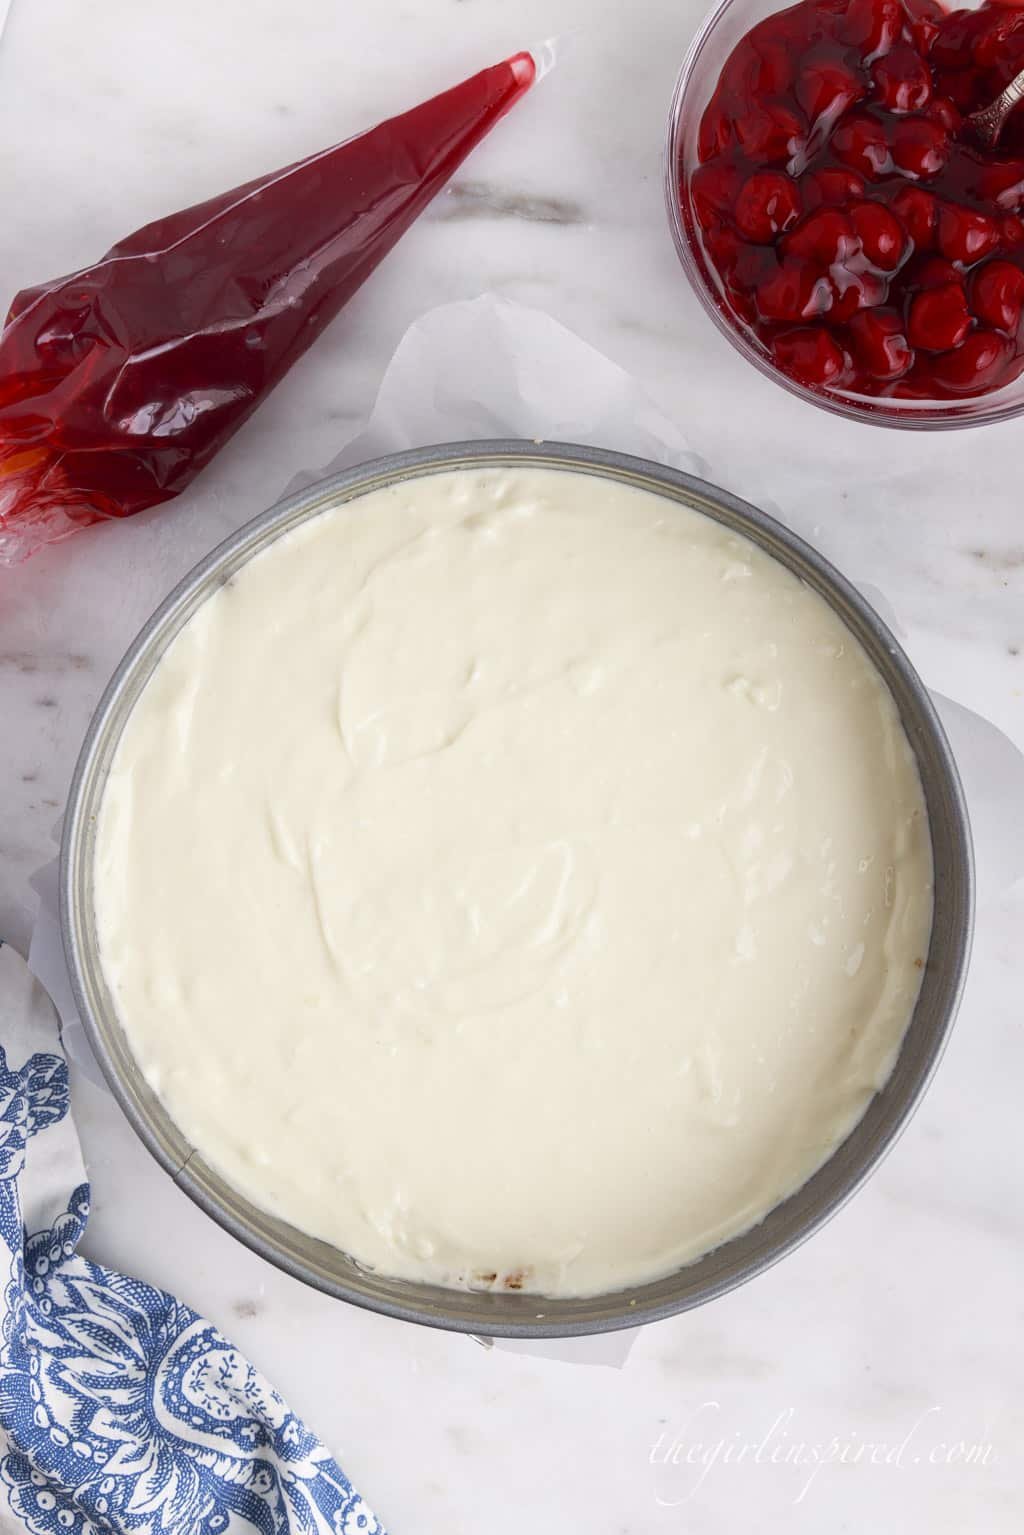
Step 4: Spread the cream cheese mixture on top of the crust.
Pro Tip: If you don’t have a piping bag, place the filling in a Ziplock bag and snip one of the corners.
Step 5: Remove the cherries from one of the cans of pie filling and set aside. Pour the filling into a piping bag.
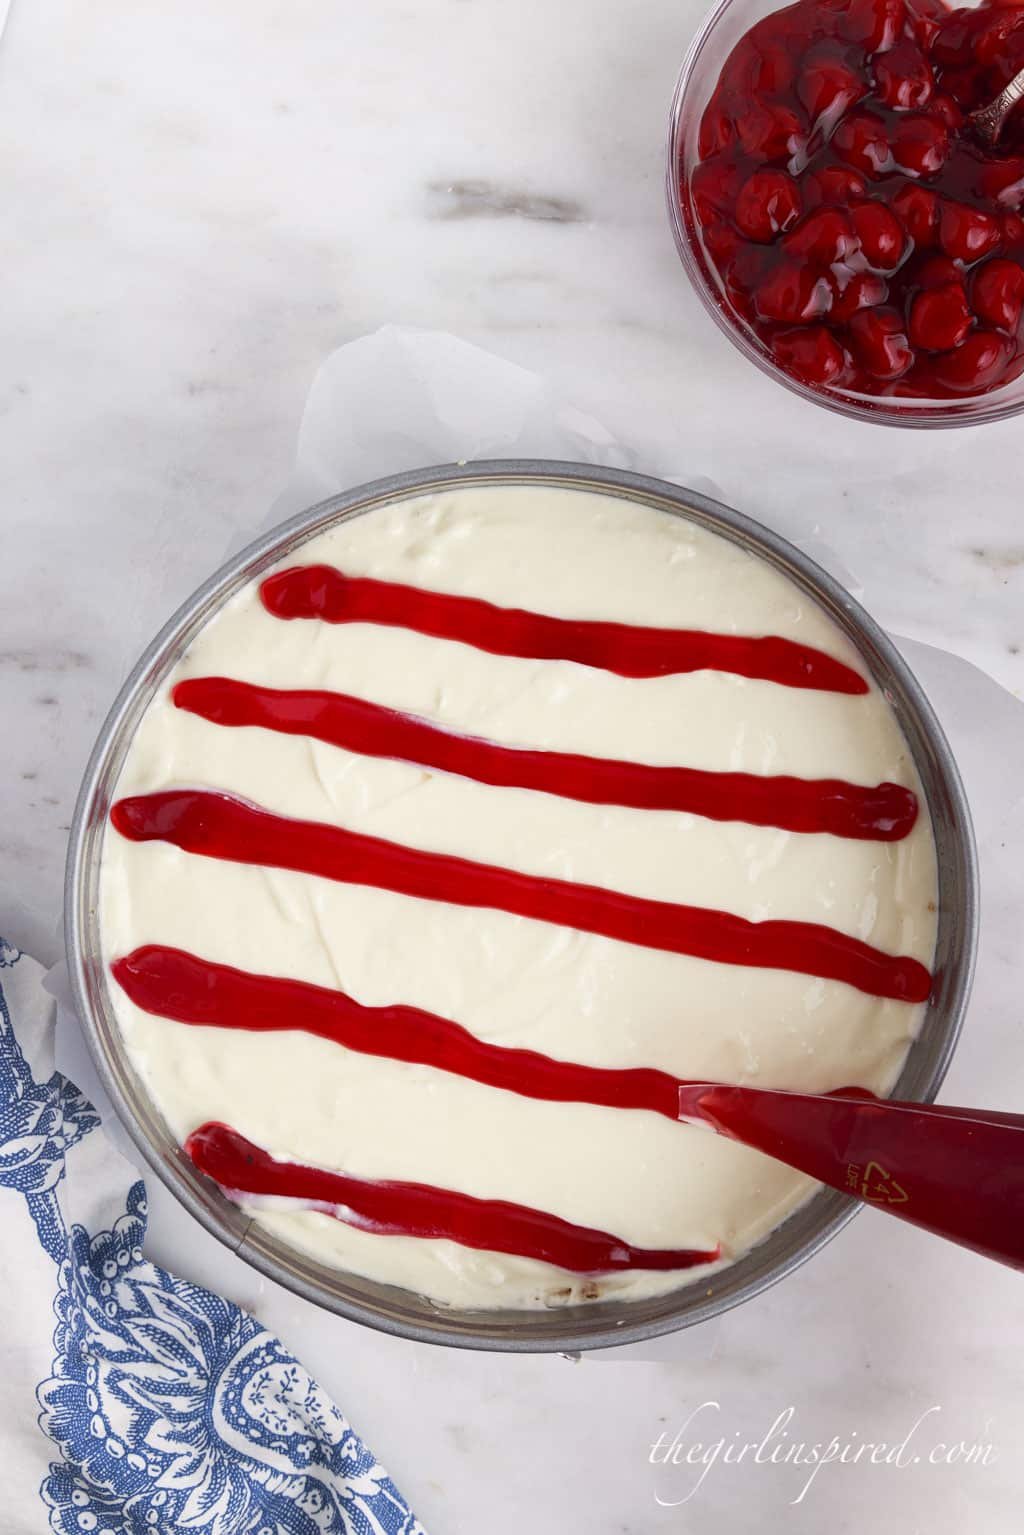
Step 6: Pipe the filling across the top of the cream cheese layer in parallel lines. Space the line 1.5 inches apart. Add the leftover filling back to the reserved cherries for the top of the cheesecake once it’s done baking.
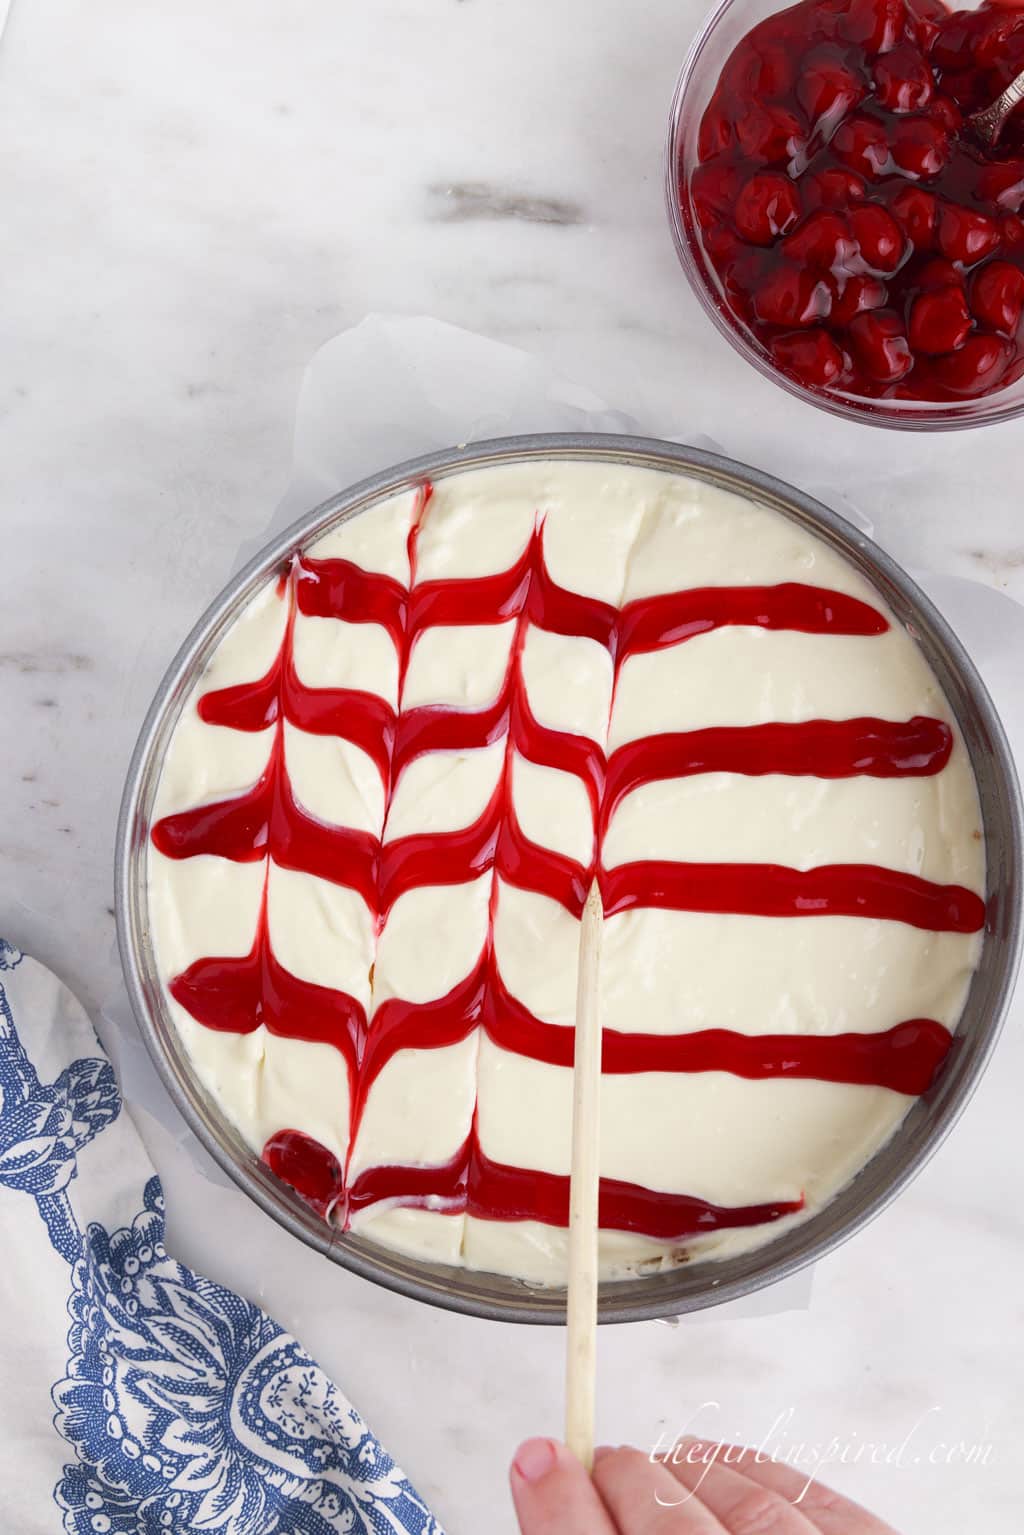
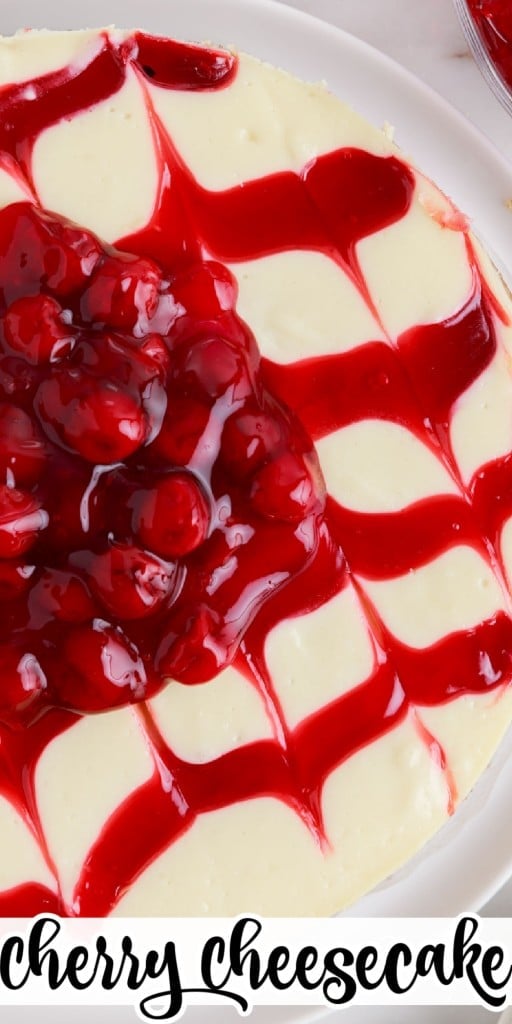
Step 7: Use a bamboo skewer or chopstick and drag in perpendicular lines of the cherry pie filling. Rotate up or down to create a chevron pattern.
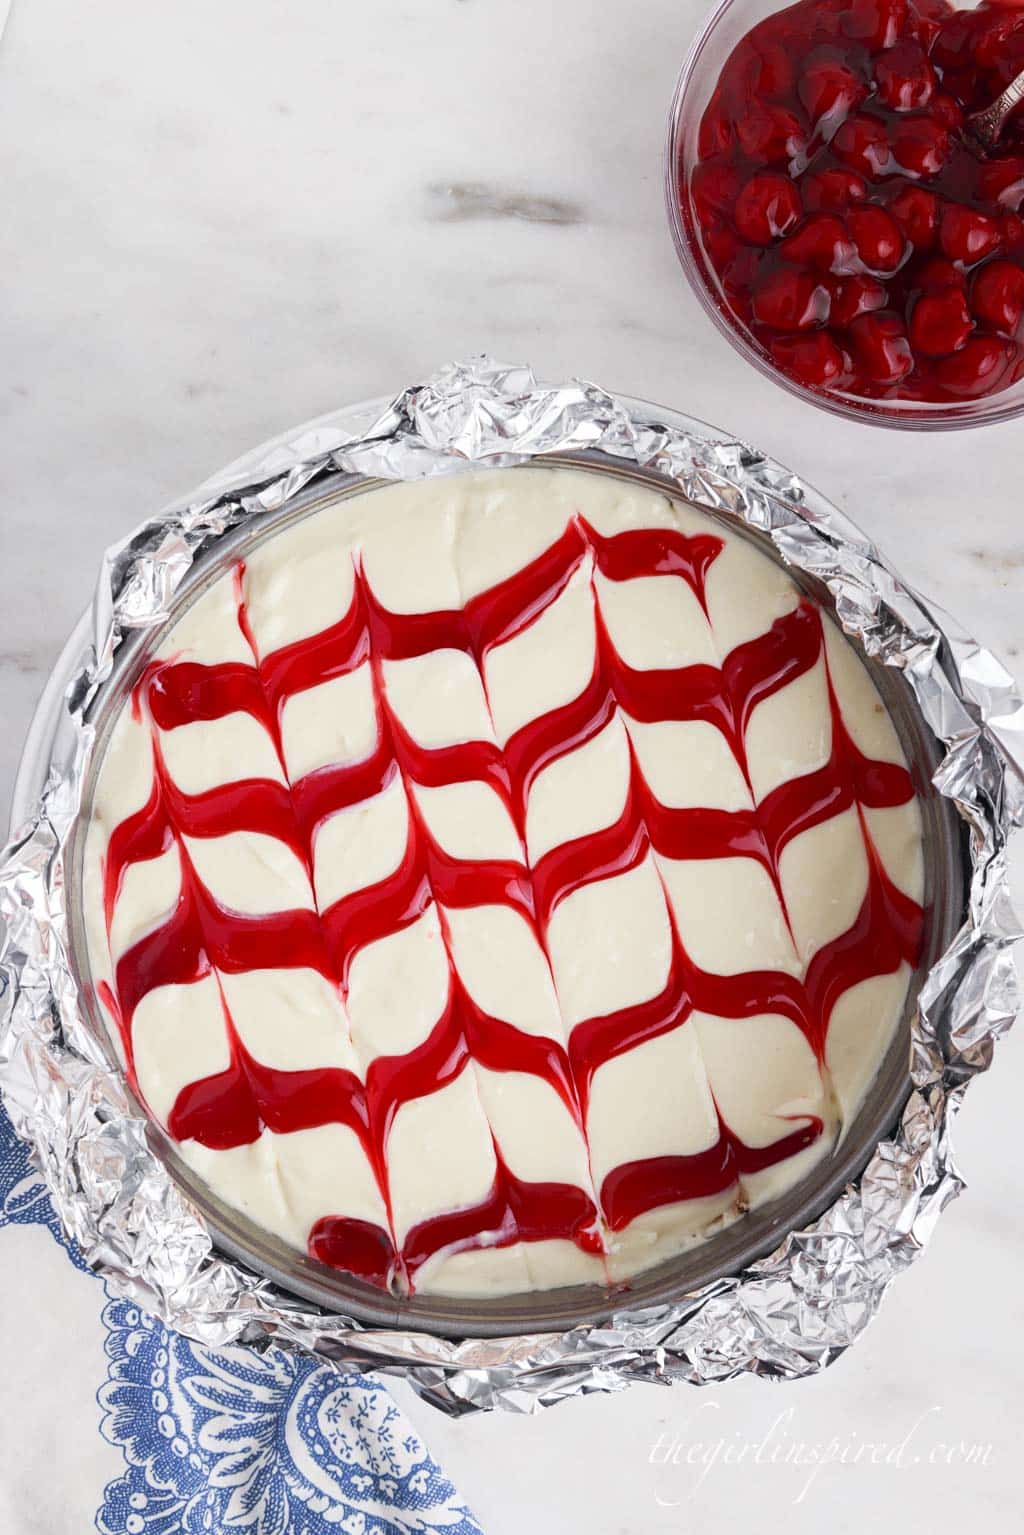
Step 8: Wrap the pan in two layers of aluminum foil. Place the pan in a larger vessel. Fill the larger vessel with an inch of water to create a water bath. Bake for 60-70 minutes or until the top appears matte and slightly jiggly, with the sides being set.
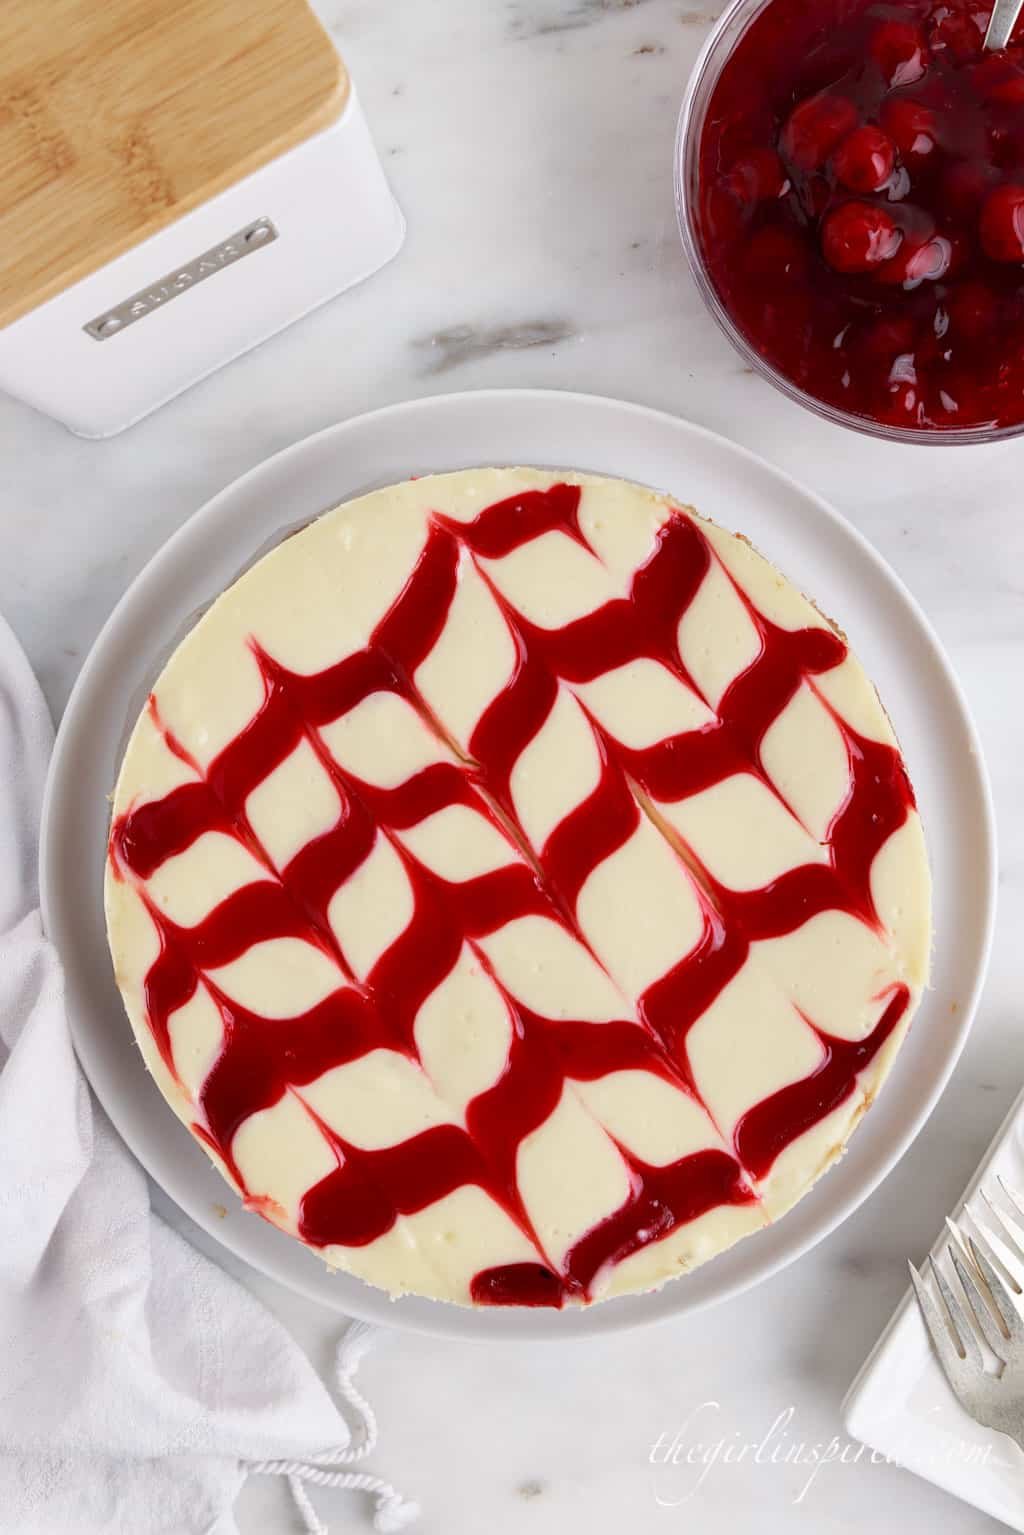
Step 9: Once the baking time is up, keep the oven door shut for 20 minutes. After 20 minutes, crack the door, leaving the cheesecake for another 20 minutes. Remove from the oven and allow the cake to cool to room temperature. Chill in the refrigerator for at least 3 hours before serving.
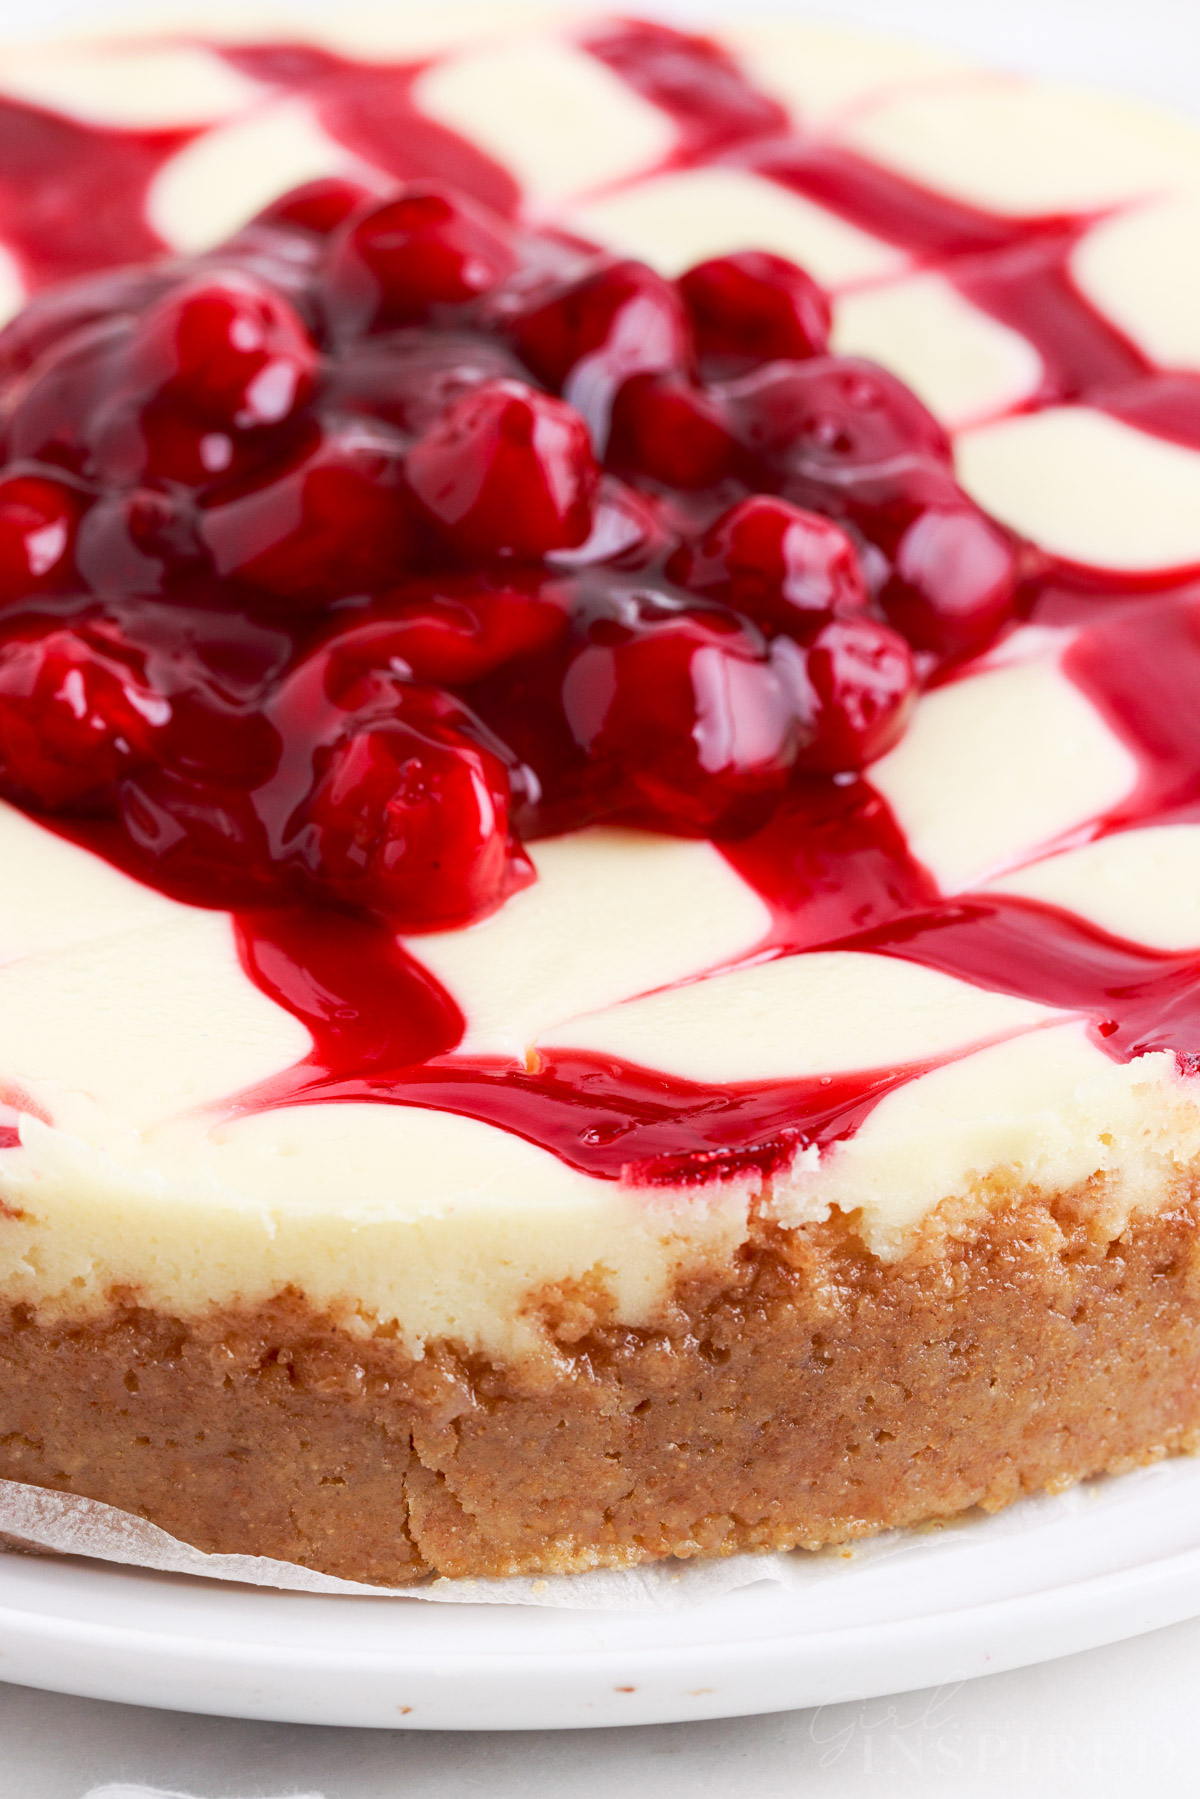
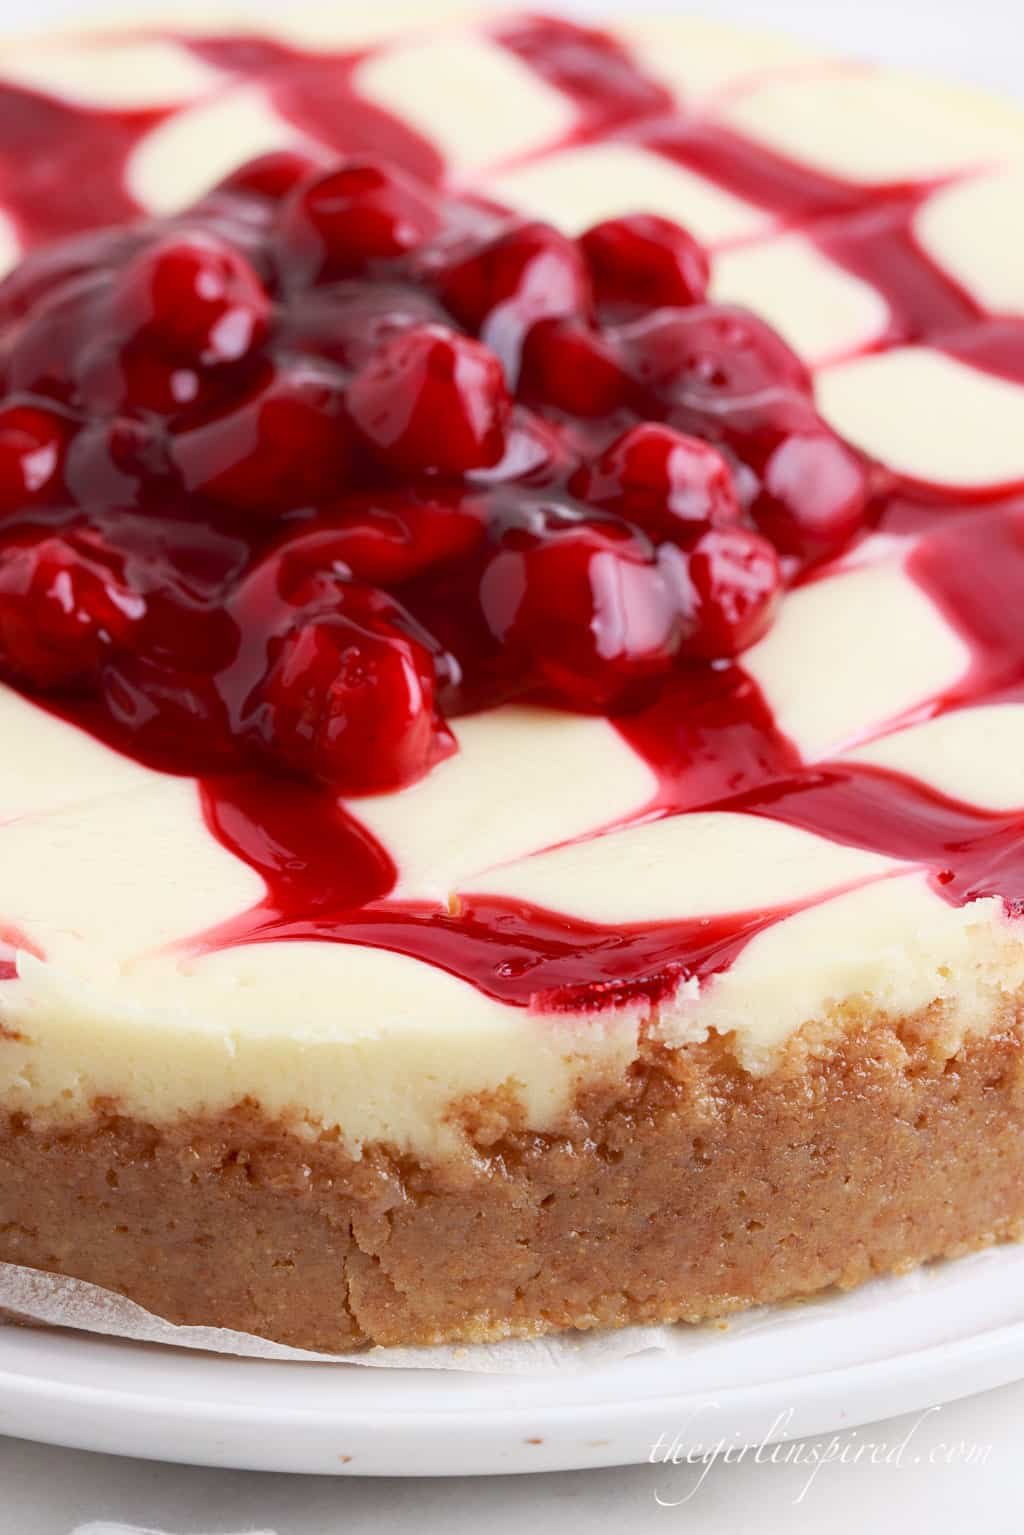
SERVE: Slice and serve with the rest of the cherry pie filling.
Recipe Tips for Cherry Cheesecake
- Mixing the eggs in by hand keeps more air out so the cheesecake doesn’t crack and puff while baking.
- When you turn off the oven, the cheesecake may look undercooked. It should be wobbly. As the cheesecake batter sits, it will become smooth, creamy, and perfectly cooked.
- The water bath is necessary so don’t skip that step. It keeps the cheesecake from cracking as well.
- If you don’t have a vessel large enough for the water bath, fill another dish or roasting pan with water and place it on the rack below the cheesecake in the oven.
- Do not slice the cheesecake before it has set. It will be runny.
Fun Fact
One cherry tree can produce 7,000 cherries and doesn’t start production until 3-4 years after planting!
Recipe FAQs
Keep leftovers wrapped in plastic wrap or in an airtight container in the refrigerator for up to 1 week. It can also be frozen for up to 3 months. Do not freeze with whipped cream on top, it doesn’t thaw well.
New York-style cheesecake is denser, creamier, and richer in taste than regular cheesecake.
Yes, but if you are not making the pattern on top, you will want to freeze it without the cherry topping, and add it before serving. Simply wrap in a layer or two of plastic wrap then place into a freezer bag.
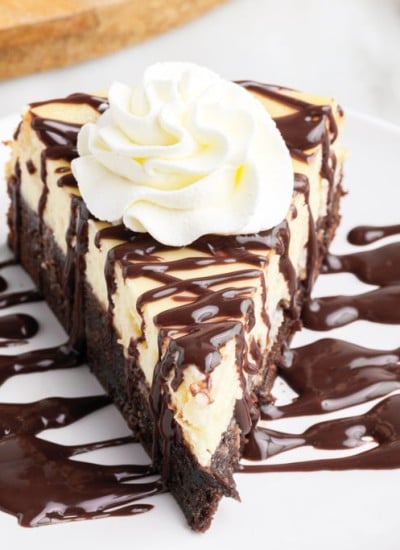
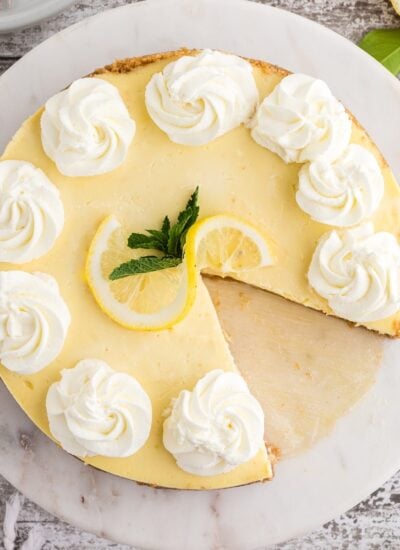
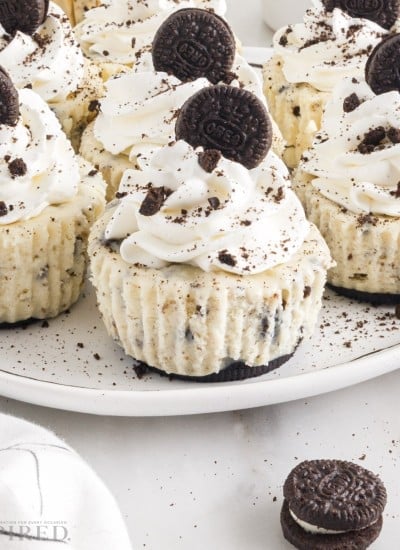
More of Our favorite Cheesecake Recipes
If you try this Cherry Cheesecake or any other recipe on my website, please leave a 🌟 star rating and let me know how you liked it in the 📝 comments below.
Cherry Cheesecake
Ingredients
Graham Cracker Crust Ingredients:
- 1 ½ cups graham cracker crumbs
- ⅓ cup granulated sugar
- ⅓ cup salted butter melted
Cheesecake Ingredients:
- 3 – 8 oz. packages cream cheese softened
- 1 ½ cups granulated sugar
- 3 tablespoons all-purpose flour
- 2 teaspoons vanilla extract
- ½ cup heavy whipping cream plus more for topping
- ½ cup sour cream room temperature
- 3 large eggs room temperature
- 2 – 21 oz. cans cherry pie filling
Instructions
- Grease a 9” springform pan and line the bottom with parchment paper.
- Preheat the oven to 325°F.
- In a medium mixing bowl, stir together graham cracker crumbs, melted butter, and ⅓ cup granulated sugar until thoroughly combined.
- Press graham cracker mixture into the springform pan, creating a thick, even layer across the bottom and halfway up the sides of the pan. Pack down the crumbs so that the crust holds together. Set aside.
- In a medium mixing bowl, beat the cream cheese with a hand mixer (or standing mixer) until light and fluffy.
- Add 1 ½ cups of granulated sugar and continue beating for 1 minute.
- Add flour, vanilla, sour cream, and heavy cream. Mix just until combined.
- Spread the cheesecake filling into the prepared graham cracker crust.
- By hand, mix in the eggs, one at a time. Stir gently to prevent extra air from getting into the mixture.
- From one of the cans of cherry pie filling, remove the cherries and set aside. Scoop the filling into a piping bag or Ziploc bag. Pipe the pie filling in parallel lines across the top of the cheesecake. Space the lines of pie filling about 1 ½” apart. (You can then add the leftover filling back into the cherries and save to top the finished cheesecake.)
- Drag a chopstick or bamboo skewer through the cheesecake top, in lines perpendicular to the lines of cherry pie filling. Rotate direction (up or down) for each line you drag through the filling to create a beautiful chevron pattern in the top of the cheesecake.
- Wrap the springform pan in TWO LAYERS of aluminum foil (to prevent water from getting in) and place the pan into a larger vessel that can hold water at least 1” up the sides of the pan.
- Fill with water to create a water bath for the cheesecake.
- Bake for 60-70 minutes. The cheesecake should appear matte across the top surface and the outer edges should be set but the center will be jiggly when you shake it gently. Continue cooking for 5 or 10 more minutes if the whole cheesecake is very jiggly. After 60-70 minutes, turn off the oven, keeping the door closed for 20 minutes. After this 20 minutes, crack the oven door and leave the cheesecake in place for another 20 minutes.
- Remove the cheesecake from the oven. Allow to cool the rest of the way and then transfer to the refrigerator to chill for at least 3 additional hours.
- When ready to serve, top the cheesecake with the remaining cherry pie filling.
Notes
Nutrition
Make this recipe?
Share it with me on Instagram @girlinspired1 and follow on Pinterest for more!


Leave A Reply!