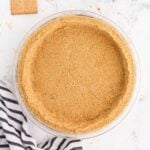
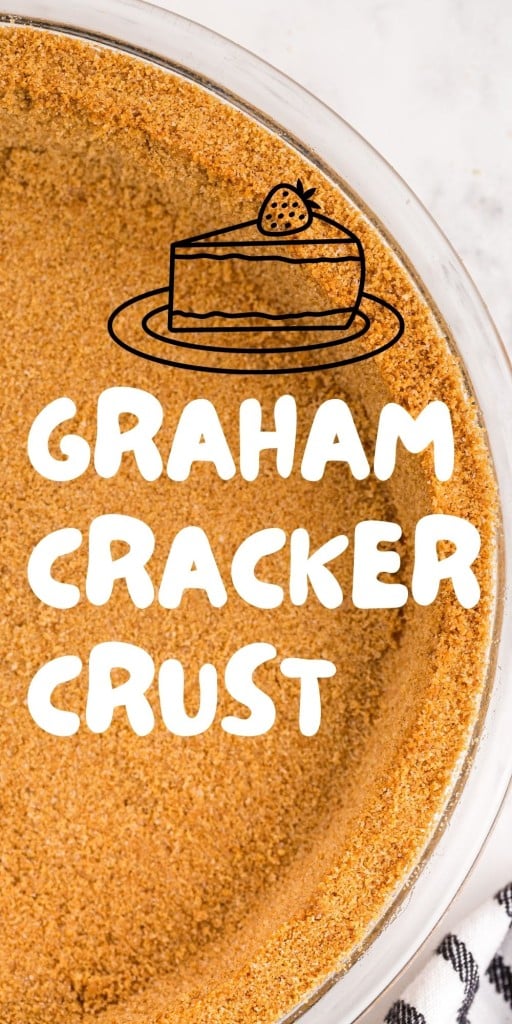

This easy graham cracker pie crust recipe only requires 3 ingredients, is cheaper than store-bought crusts, and comes together in just a few minutes!
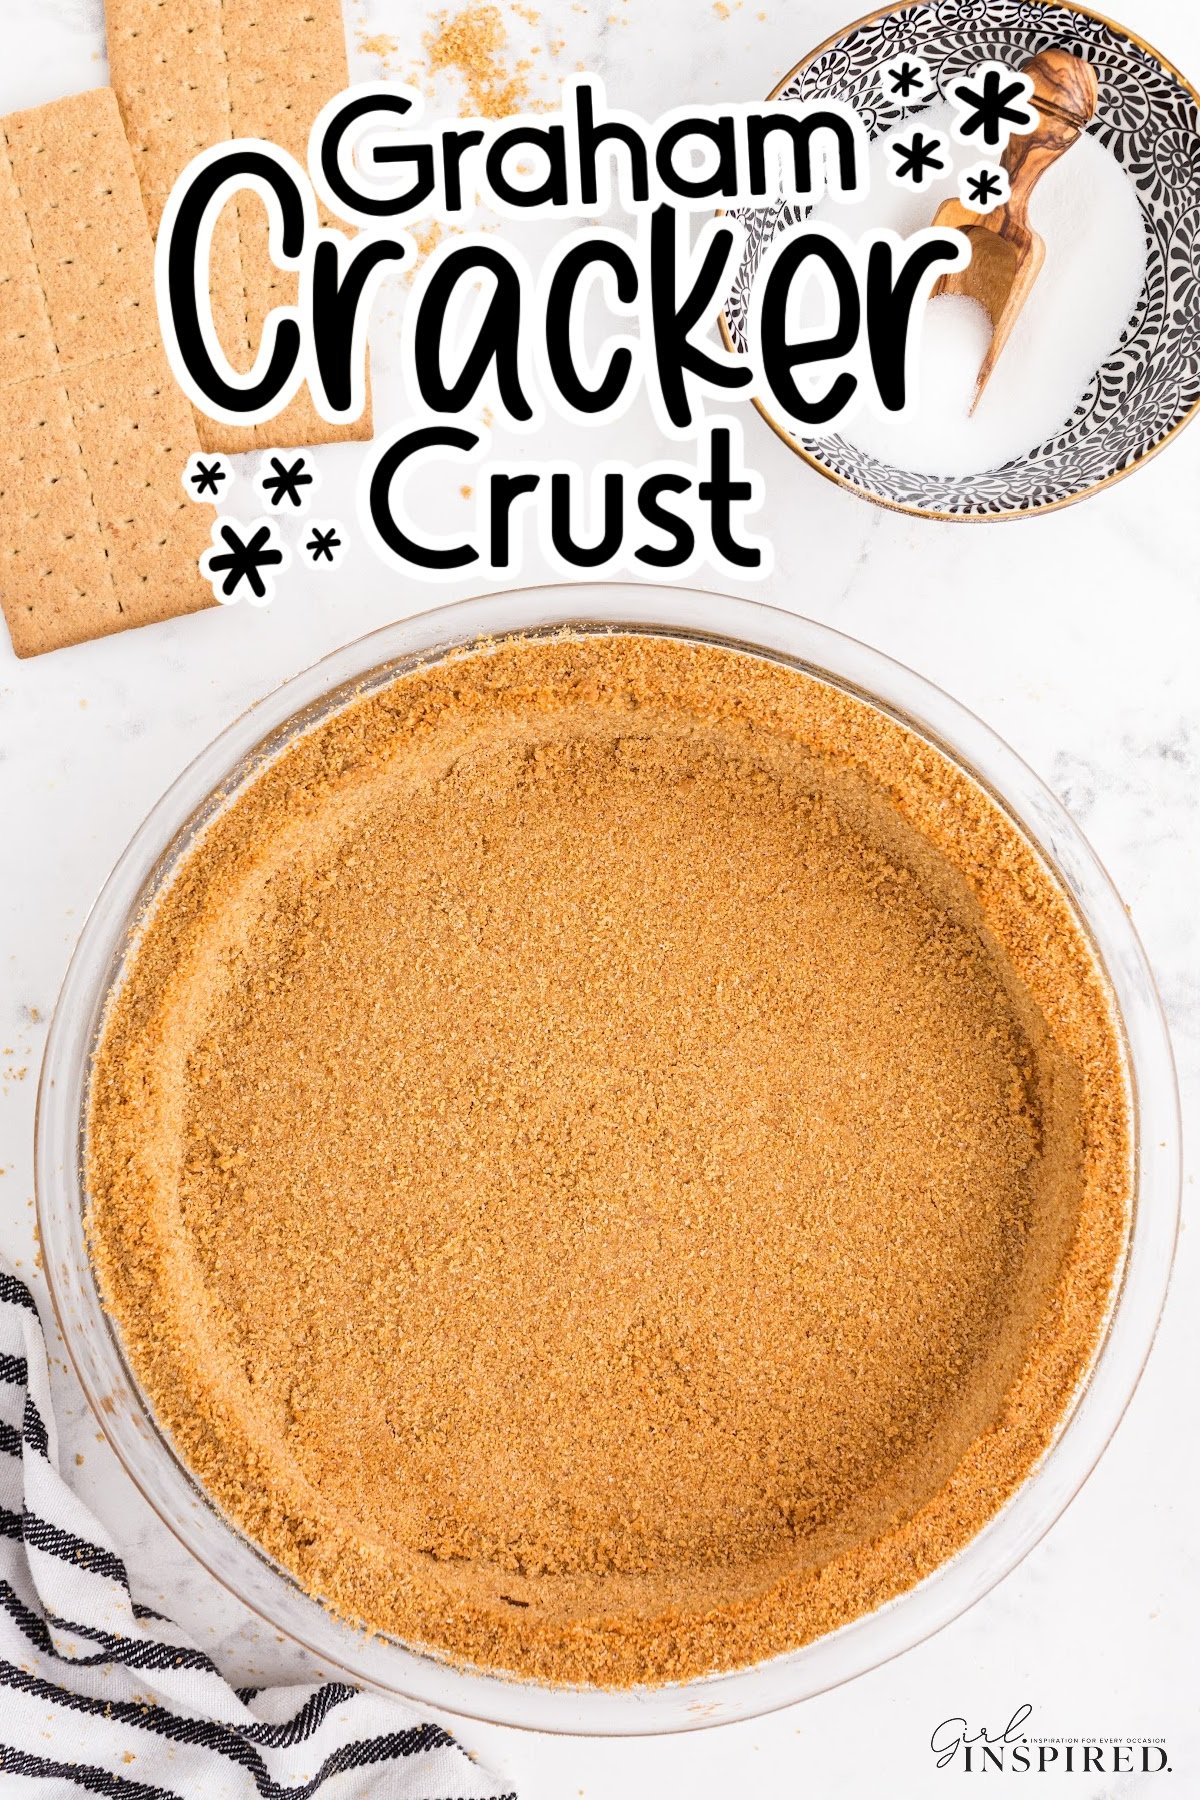
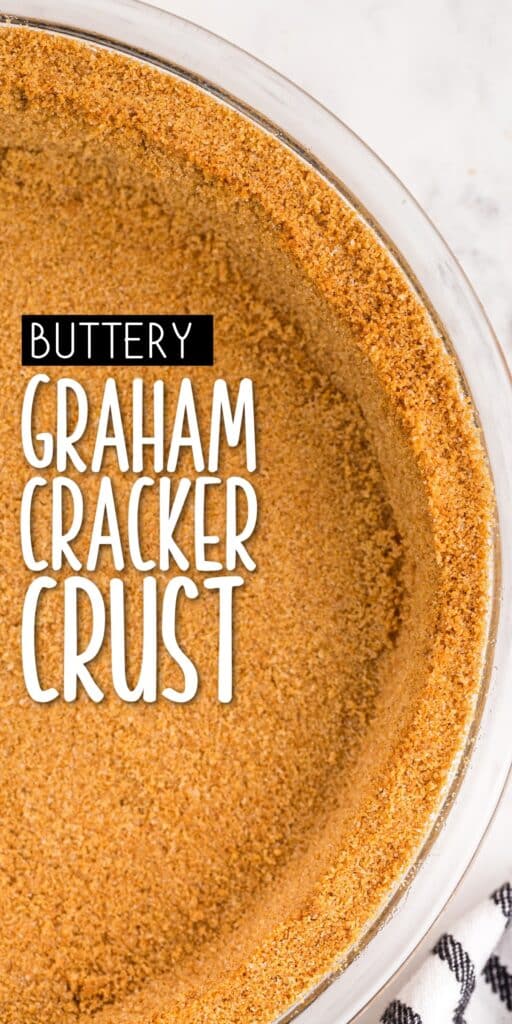
My easy graham cracker crust recipe is probably one of my top favorites. It’s buttery and sweet, with just the right balance of nutty flavor. Even though I love a flaky oil pie crust, you don’t have to bake this one beforehand (unless you want to), so it cuts down on prep time and is easier to work with compared to pie dough.
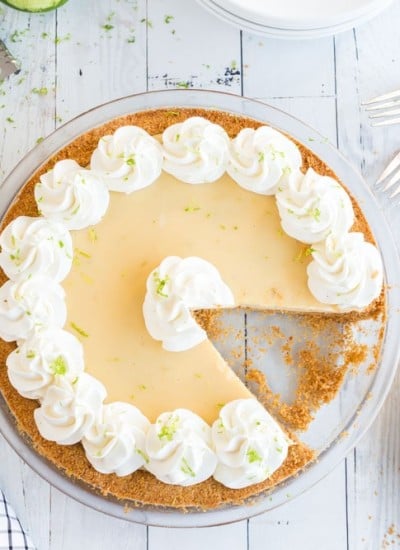
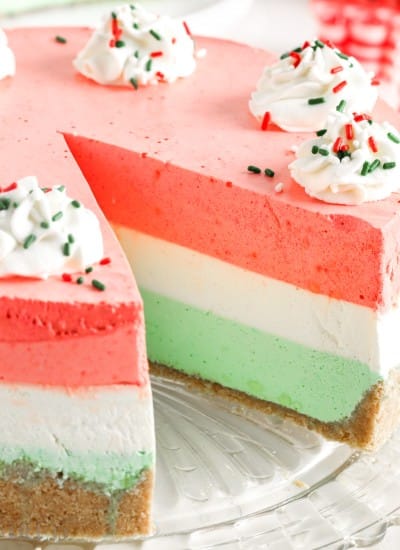
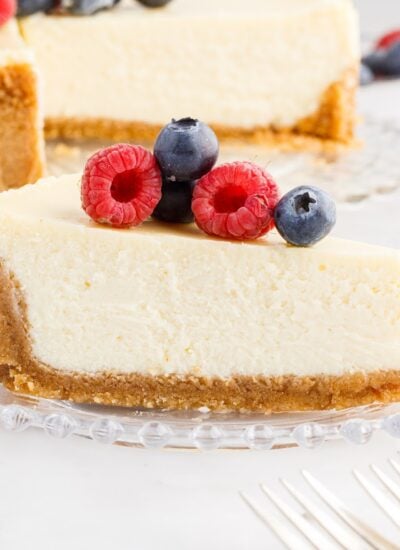
This is a great make ahead recipe that freezes well for later. You can also use it for the base of peanut butter chocolate ice cream pie, lemon meringue pie, and apple delight (very similar to apple pie, but SO much easier to make). A good ol’ chocolate cream pie in graham cracker crust might just be my very favorite thing to eat.
Jump to:
🥧 Ingredients:
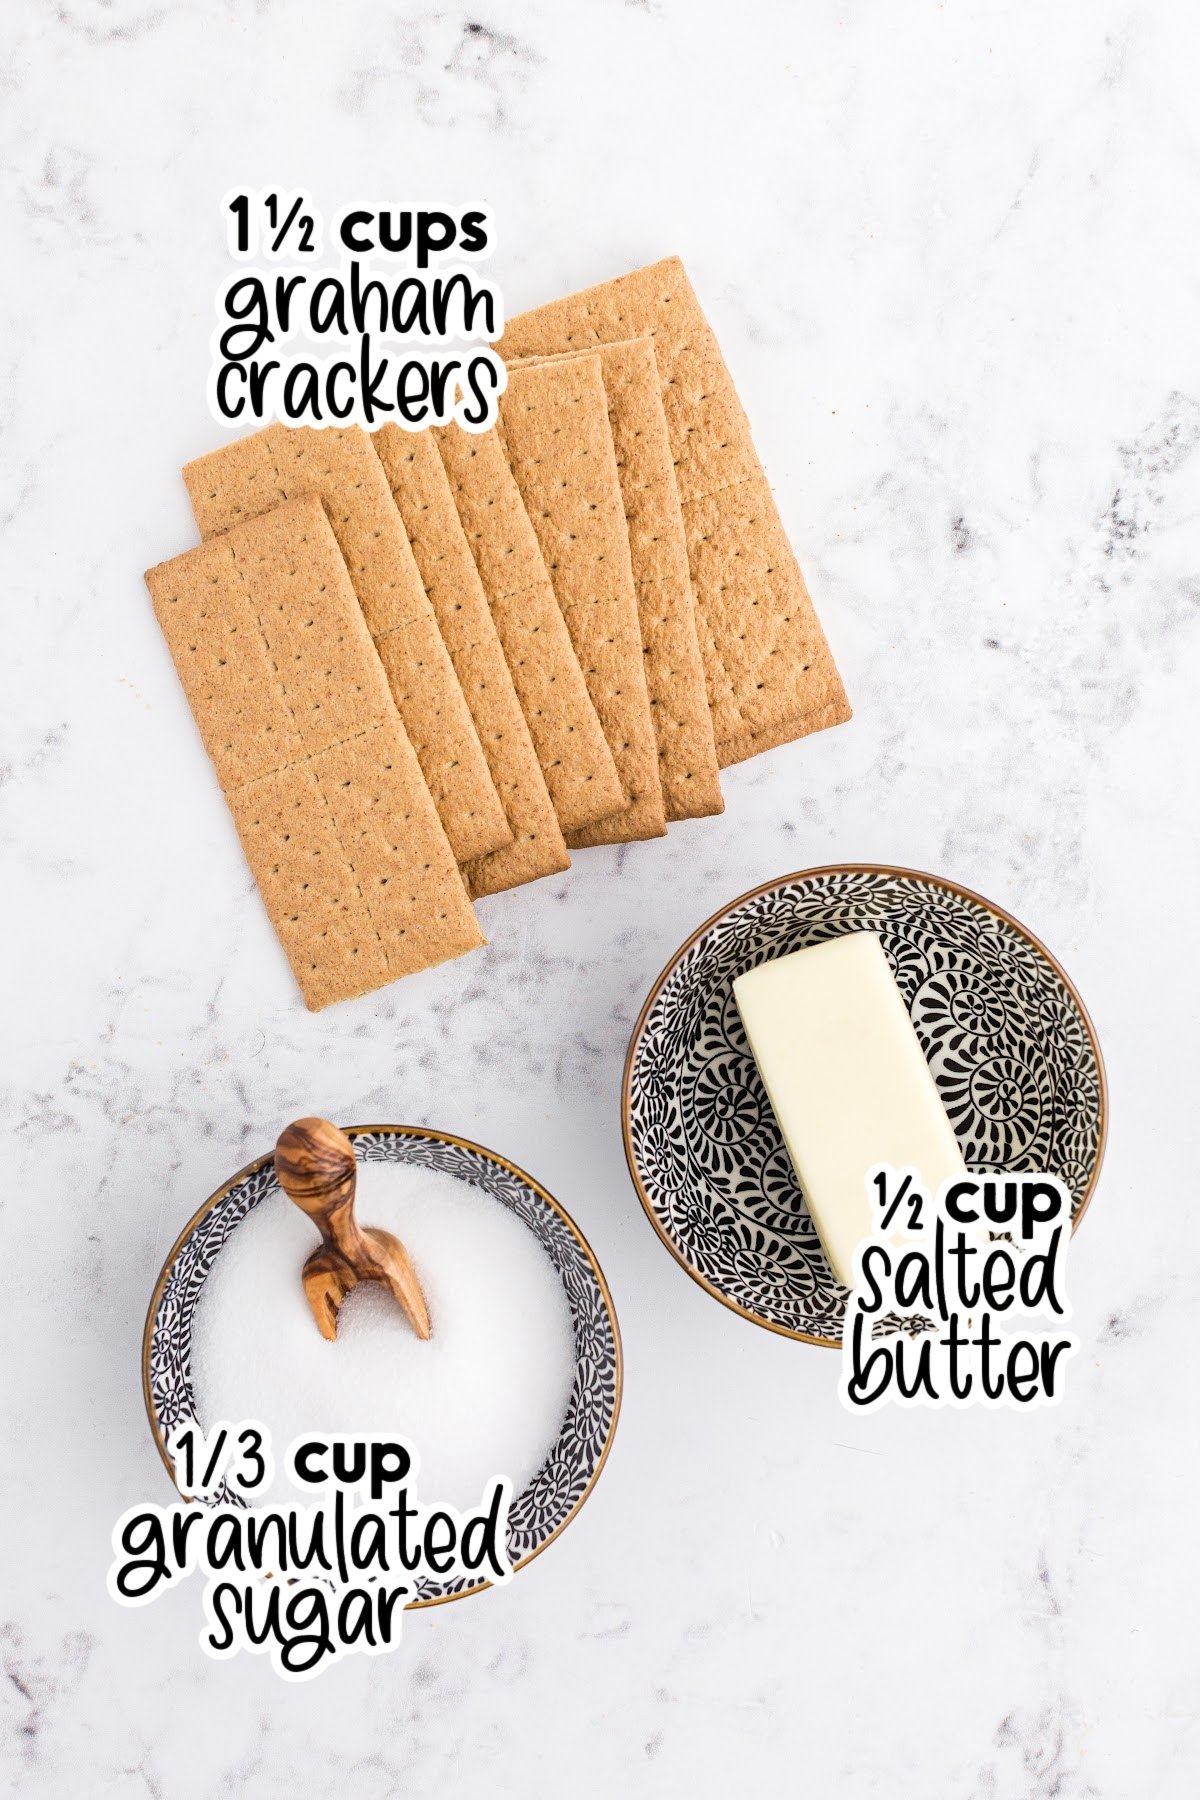
- Graham cracker crumbs – I always use Honey Maid brand of graham crackers. Compare to choose your favorite brand – I definitely notice a difference with generic graham crackers.
- White sugar – the granulated sugar sweetens the crust and, if baked, the melted sugar crystals also help bind the crust together
- Salted Butter – if you substitute unsalted butter, go ahead and add about ½ teaspoon of salt to the crumb mixture.
For a full list of ingredients and their measurements, 📋 please view my printable recipe card at the bottom of the post.
Optional Garnish:
This buttery homemade graham cracker crust is the perfect base for fruit pies, cream pies, cheesecakes, and custard pies.
Substitutions and Variations
- Crackers: Follow the same measurements and instructions but use digestive biscuits or make a chocolate version with Oreos or chocolate graham crackers. You could also use vanilla wafers or Golden Oreos.
- Sugar: some like to use brown sugar instead of granulated, which will work as well and tastes better than your average store-bought graham cracker crust.
- Gluten free: use gluten free graham crackers, the same measurements
- Pan size: This homemade pie crust recipe fills 1 standard 9-inch pie plate. It will fill a deep dish 9-inch pie plate also, but you will end up with a slightly thinner crust. If you use a 9×13 baking dish, you will need to multiply the recipe by 1.5 which means that you’ll need 2 cups of graham cracker crumbs, ¾ cup melted butter, and ½ cup granulated sugar. You can also follow the same instructions and use a square pan for dessert bars.
🔪 Instructions:
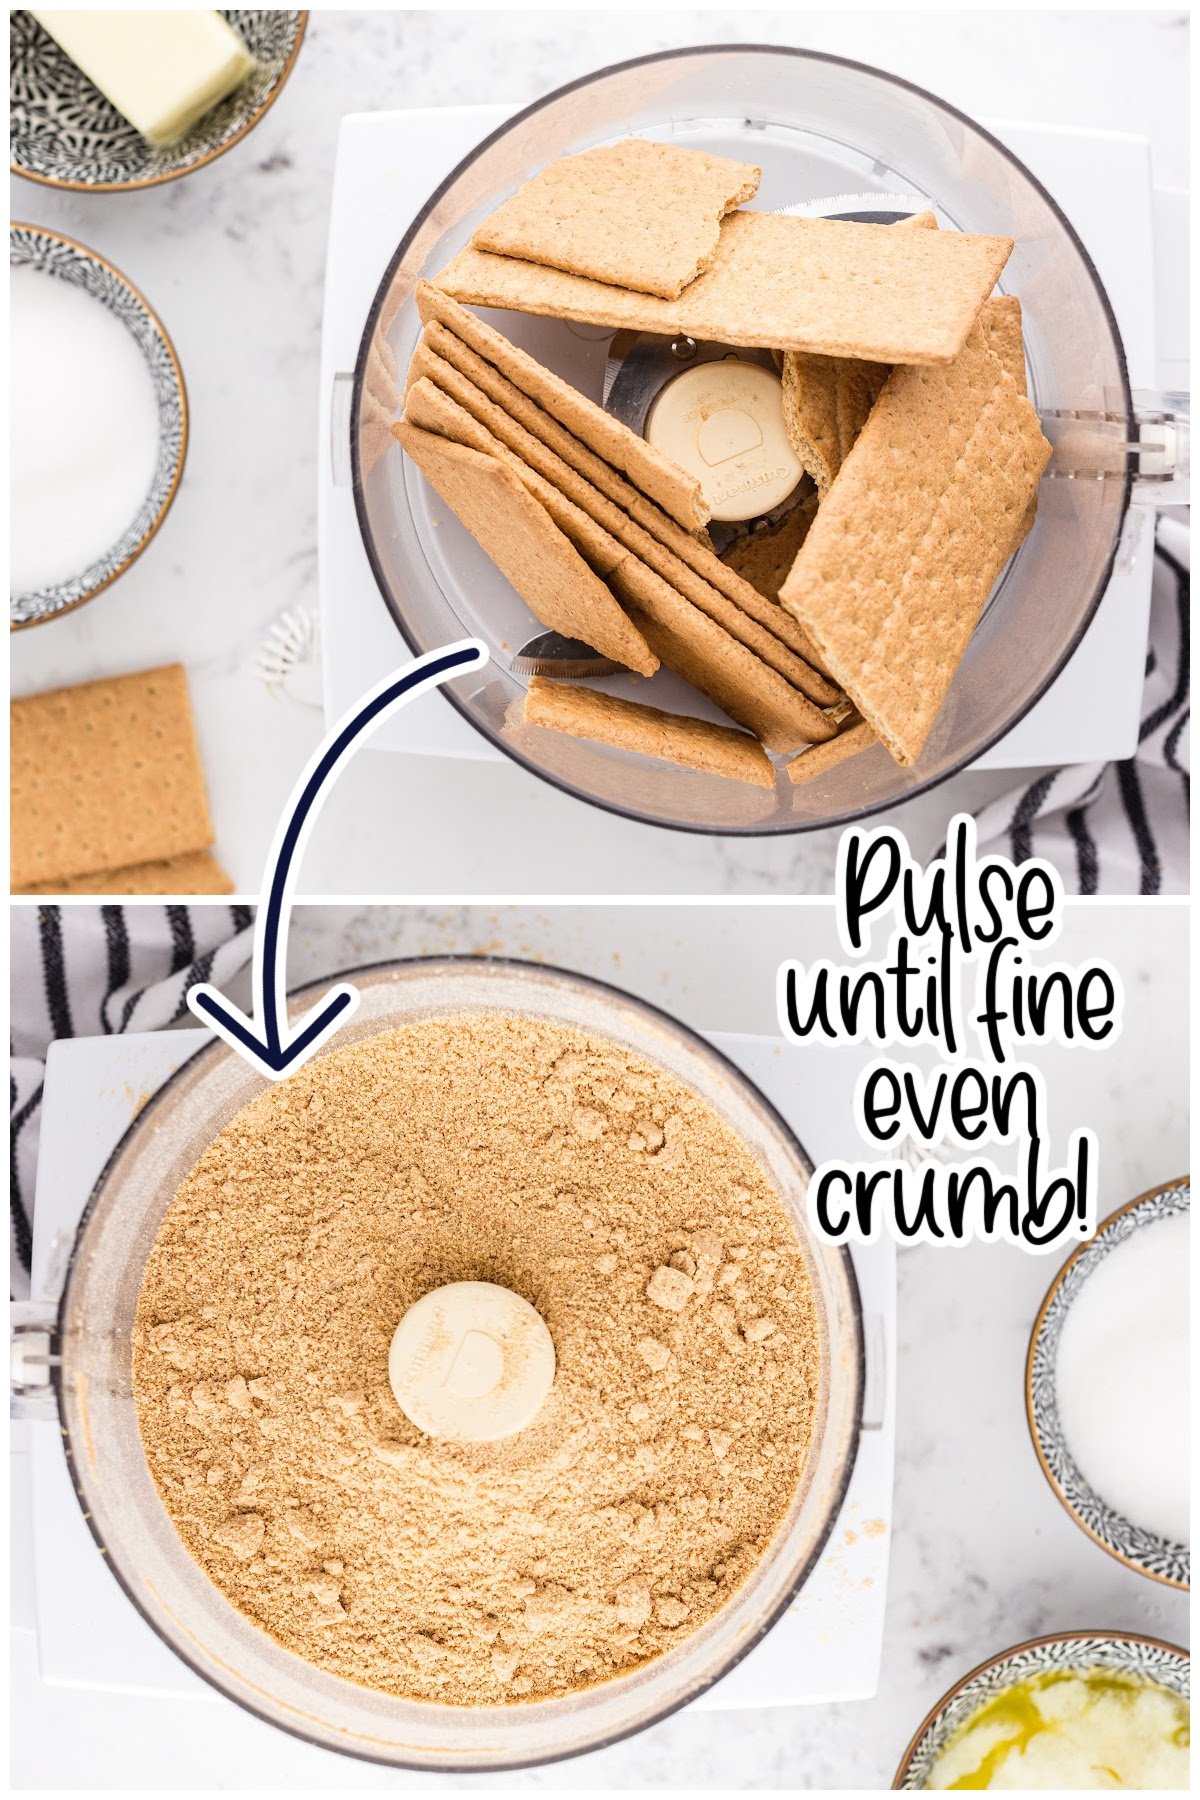
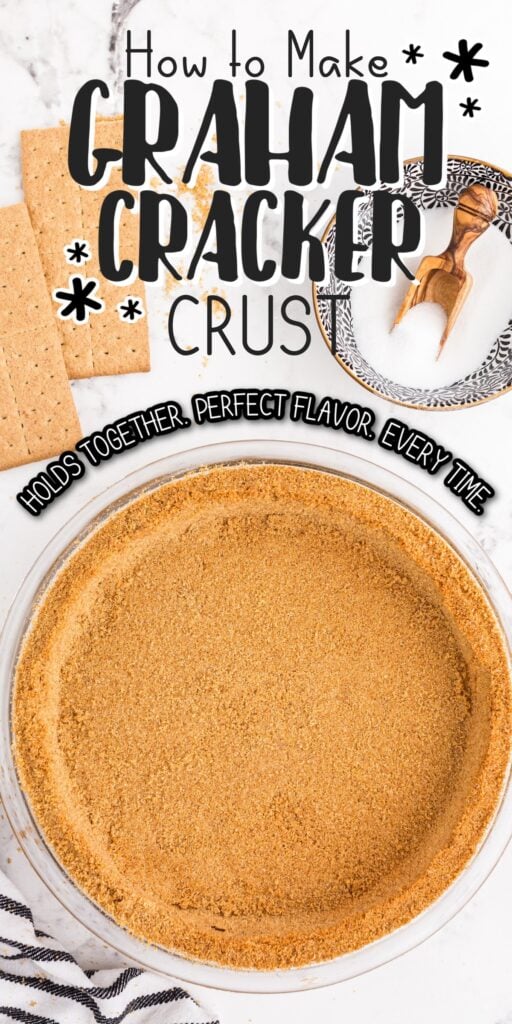
Step 1: Add the whole graham crackers to a food processor and pulse into fine crumbs.
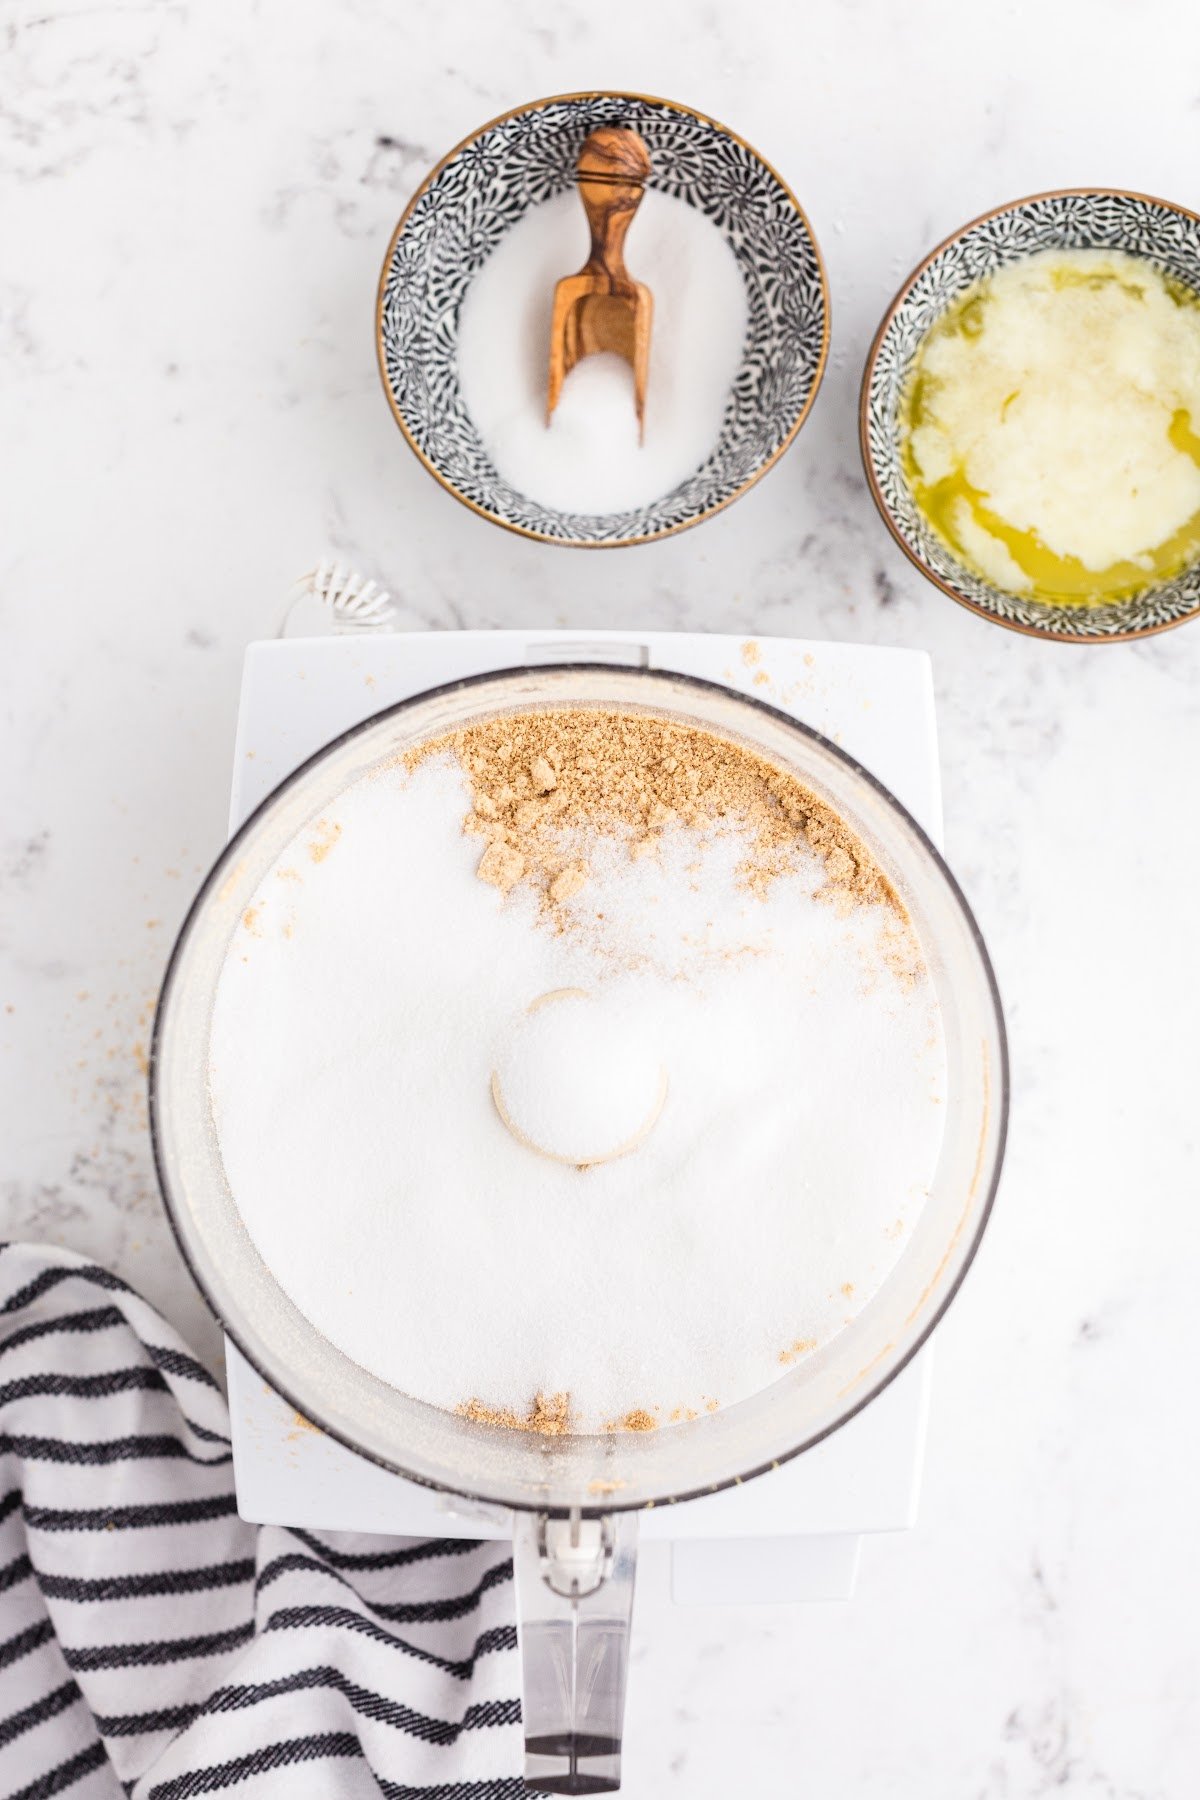
Step 2: Stir in the sugar (or pulse.)
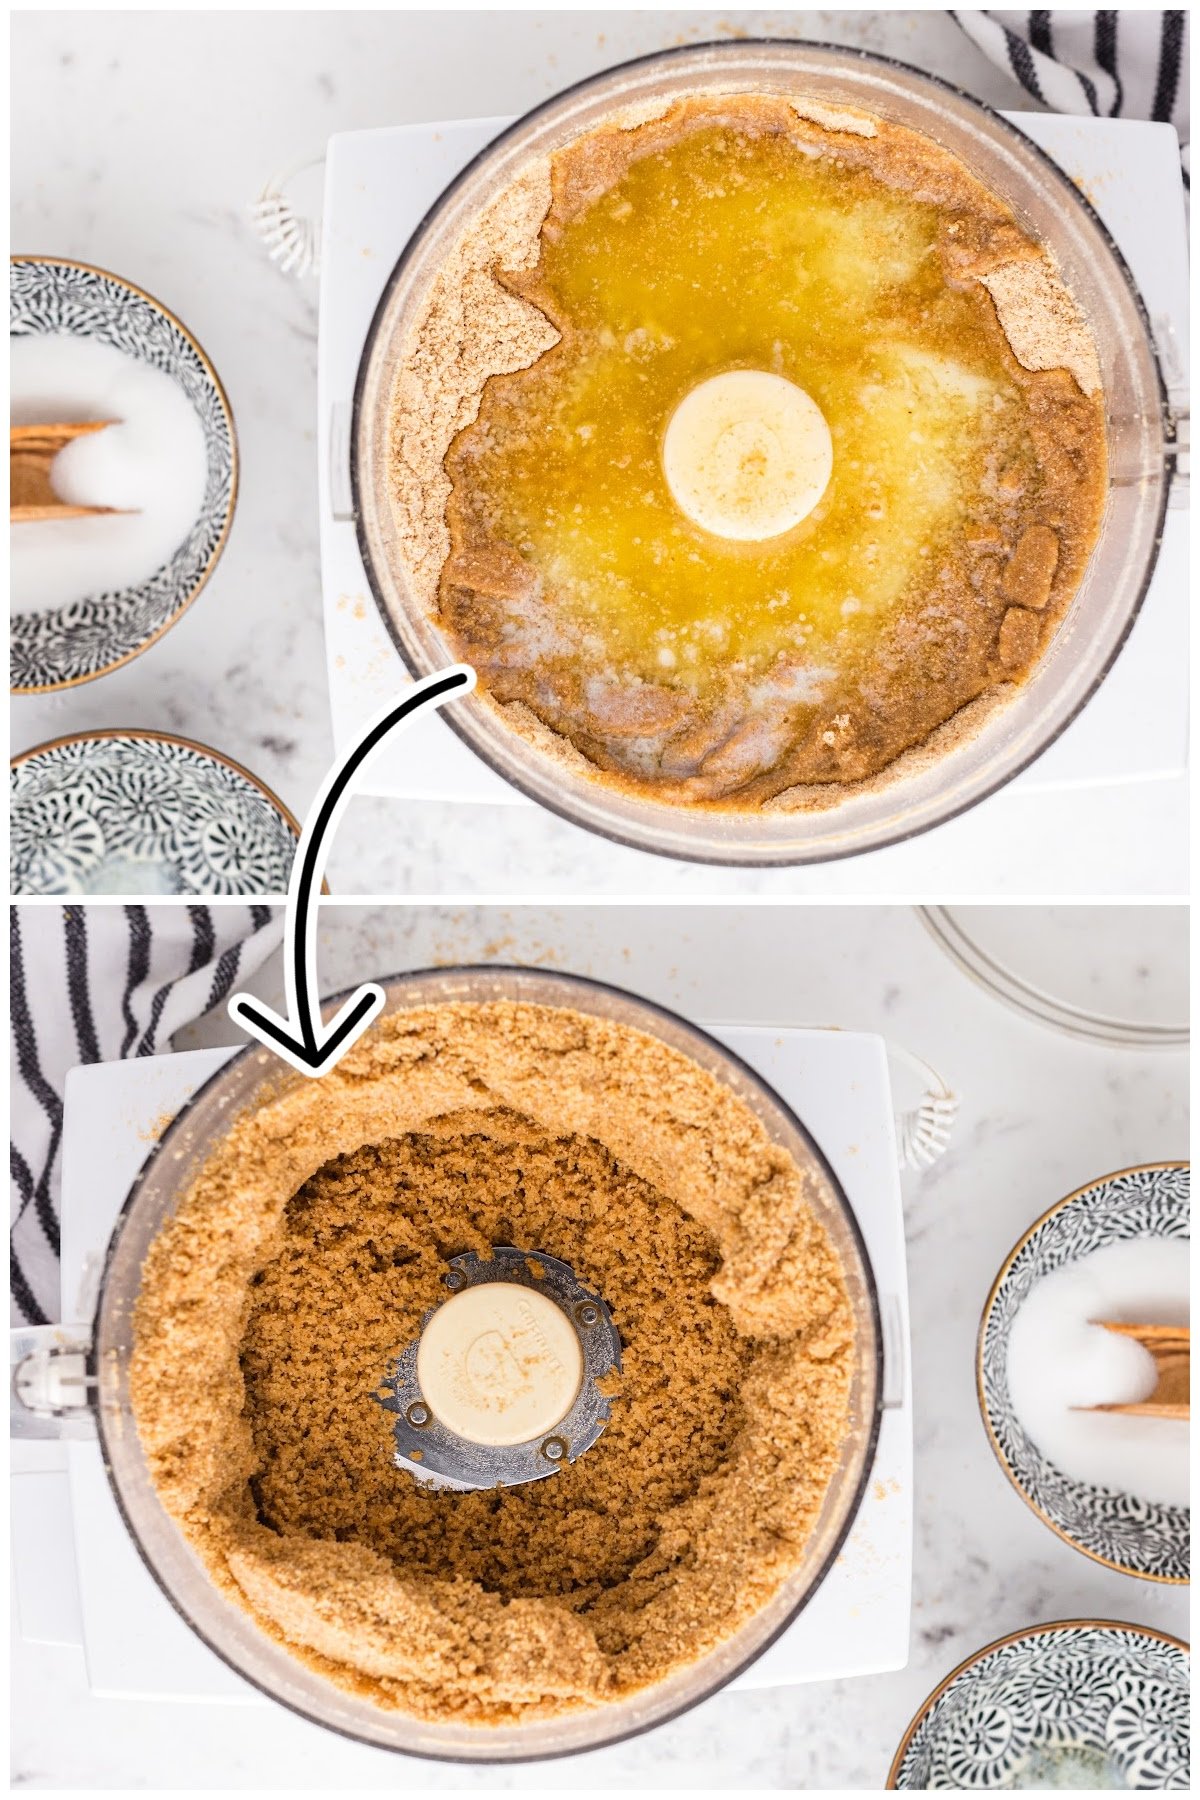
Step 3: Melt butter then pour into the crumb mixture and pulse again until combined.
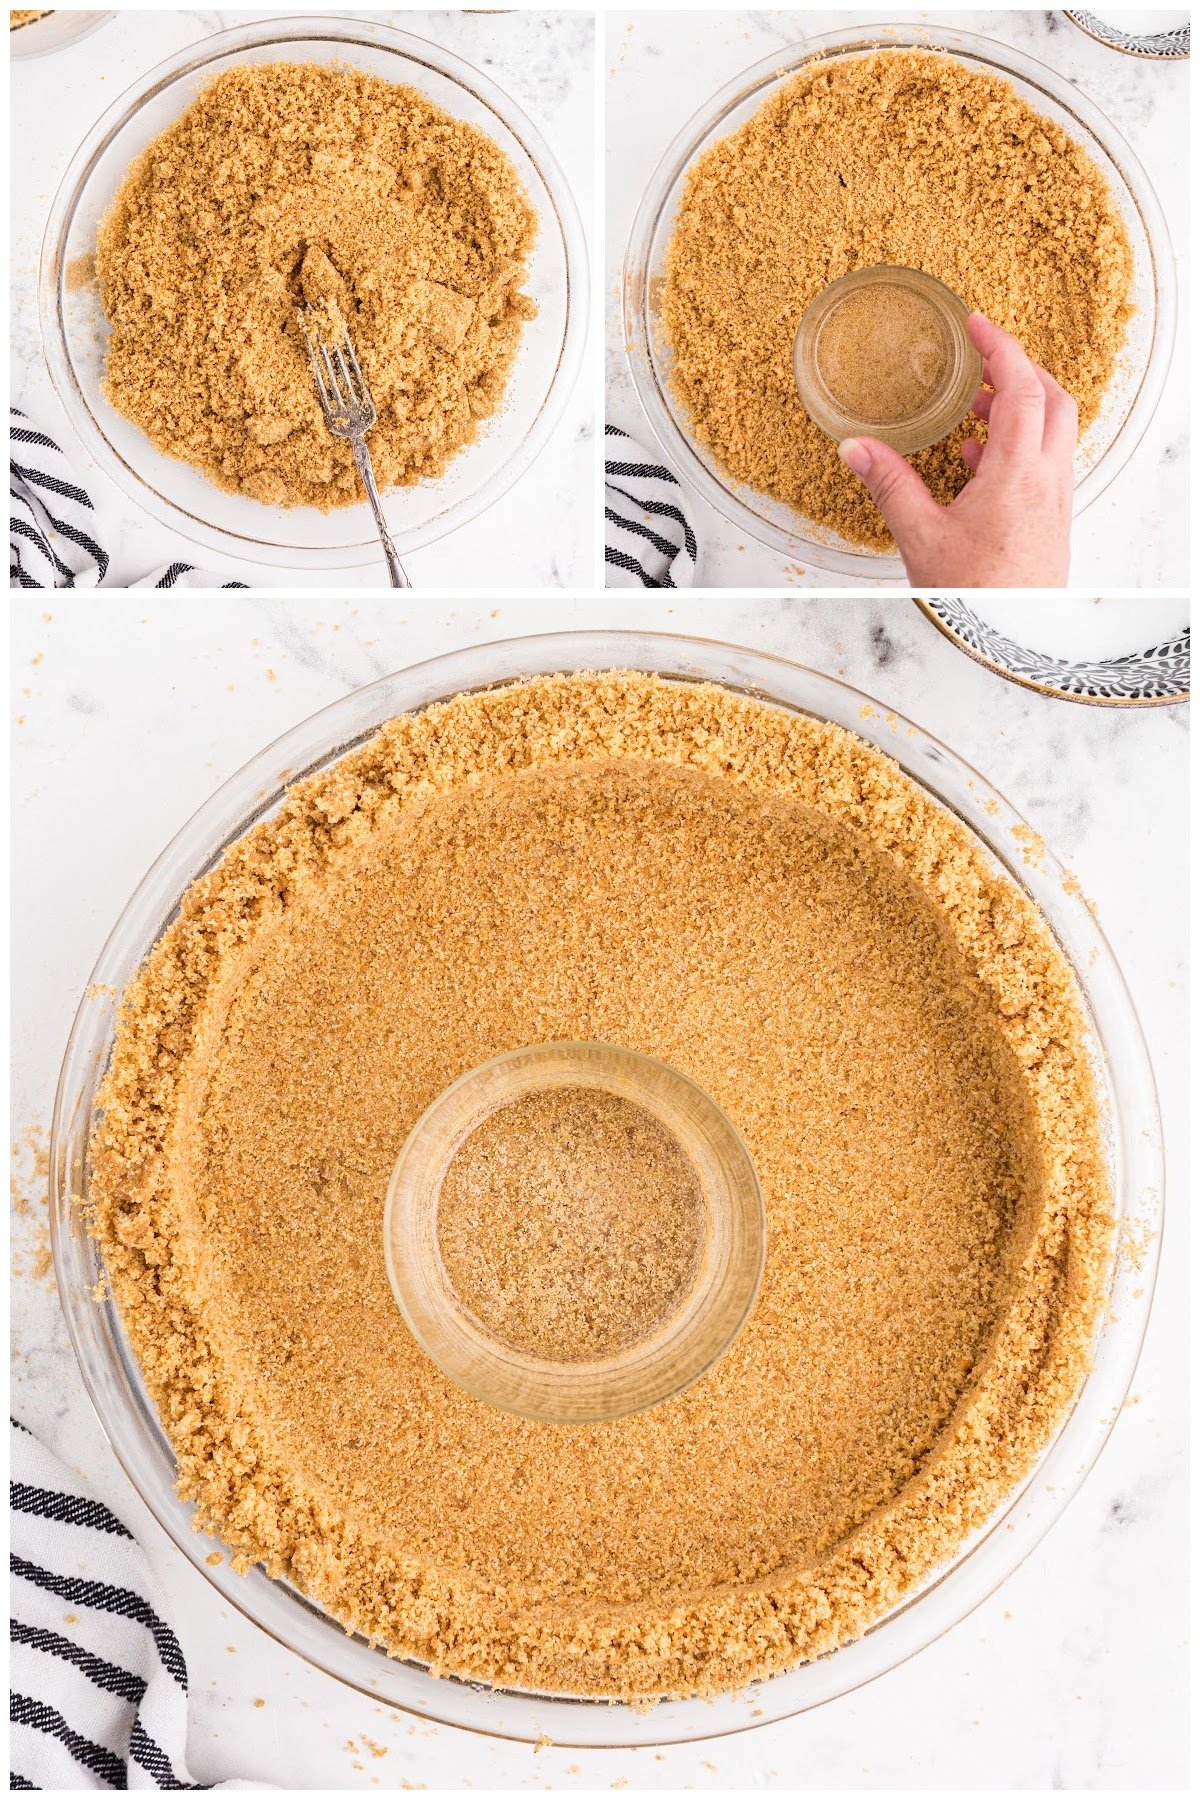
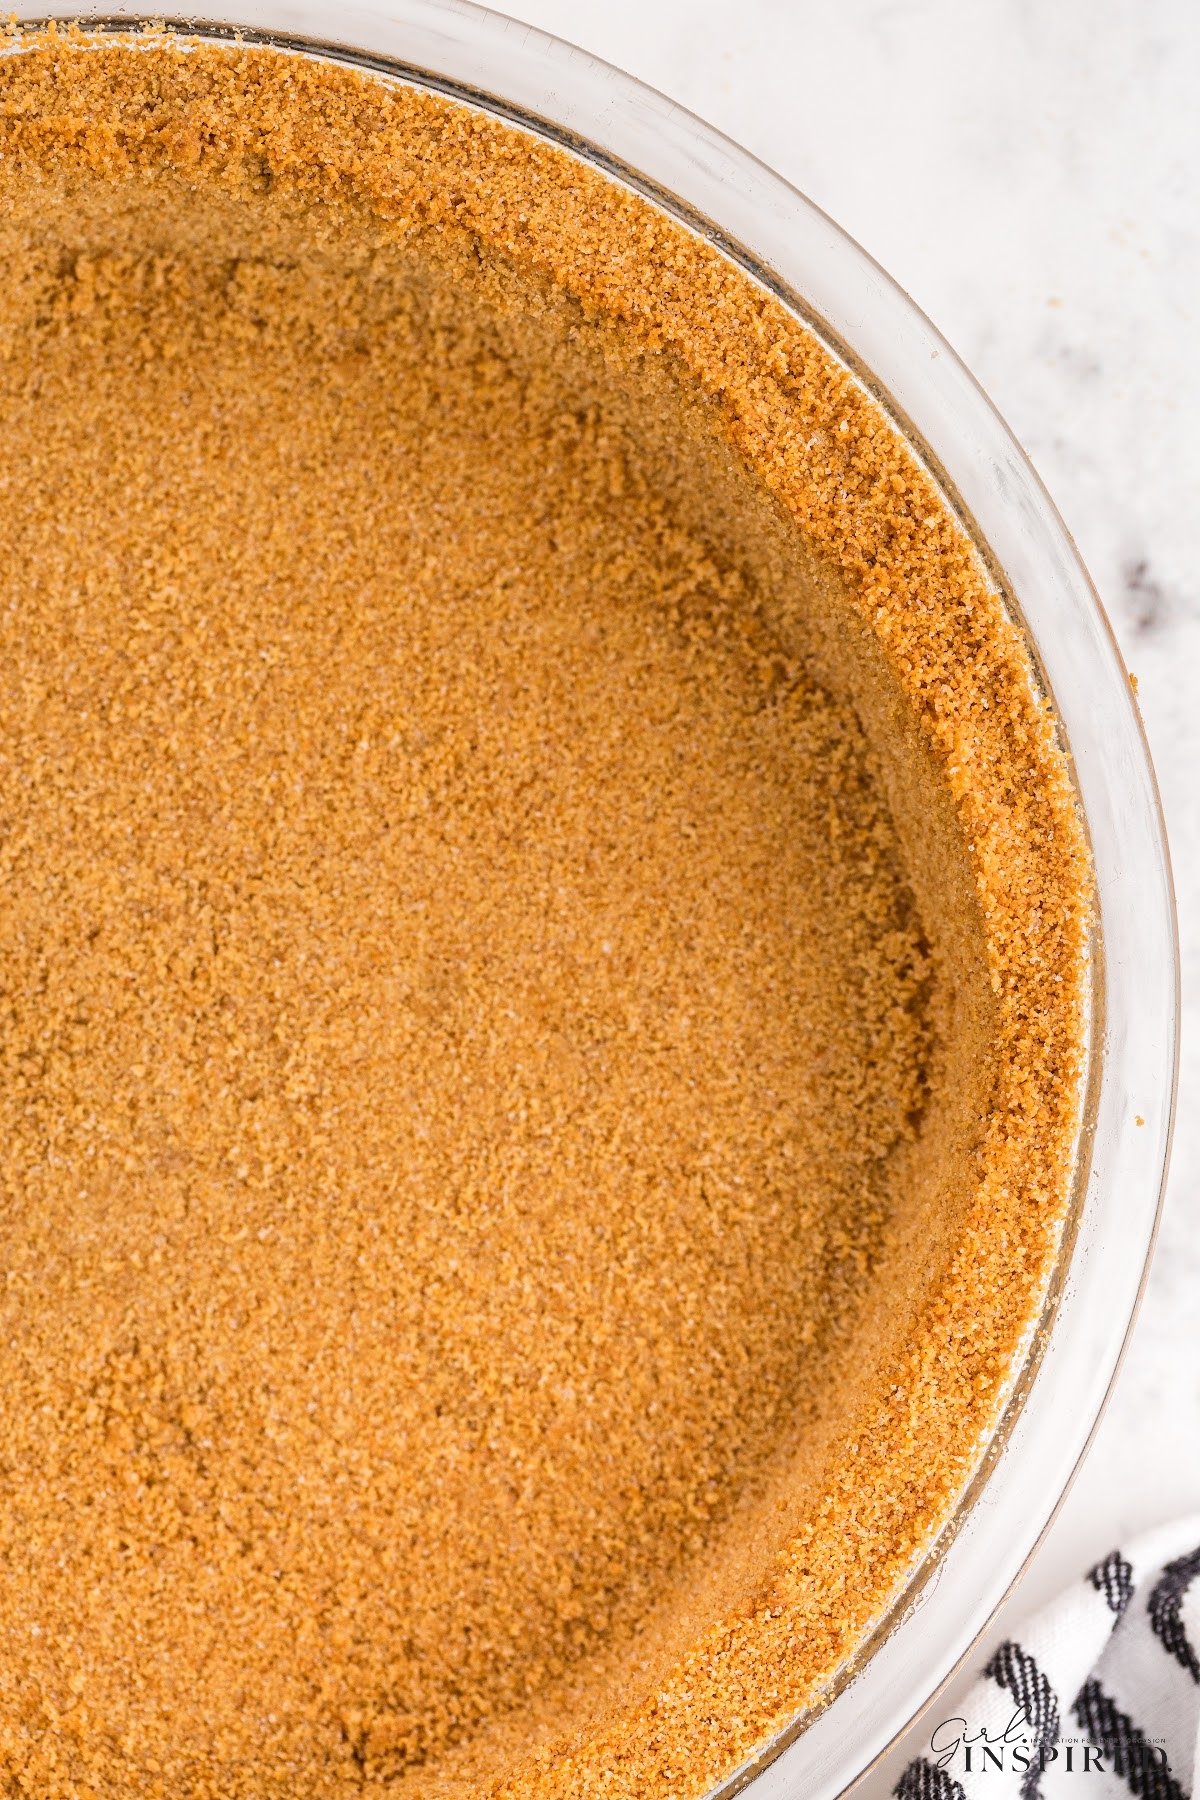
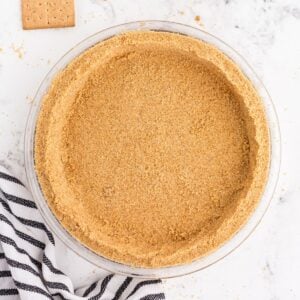
Step 4: Pour the mixture into the bottom of the pie plate.
Pro Tip: If you are making your own graham cracker crust for a regular or no bake cheesecake, make sure to press the crust so it goes up the sides of the pan. When making a traditional, baked cheesecake use a springform pan.
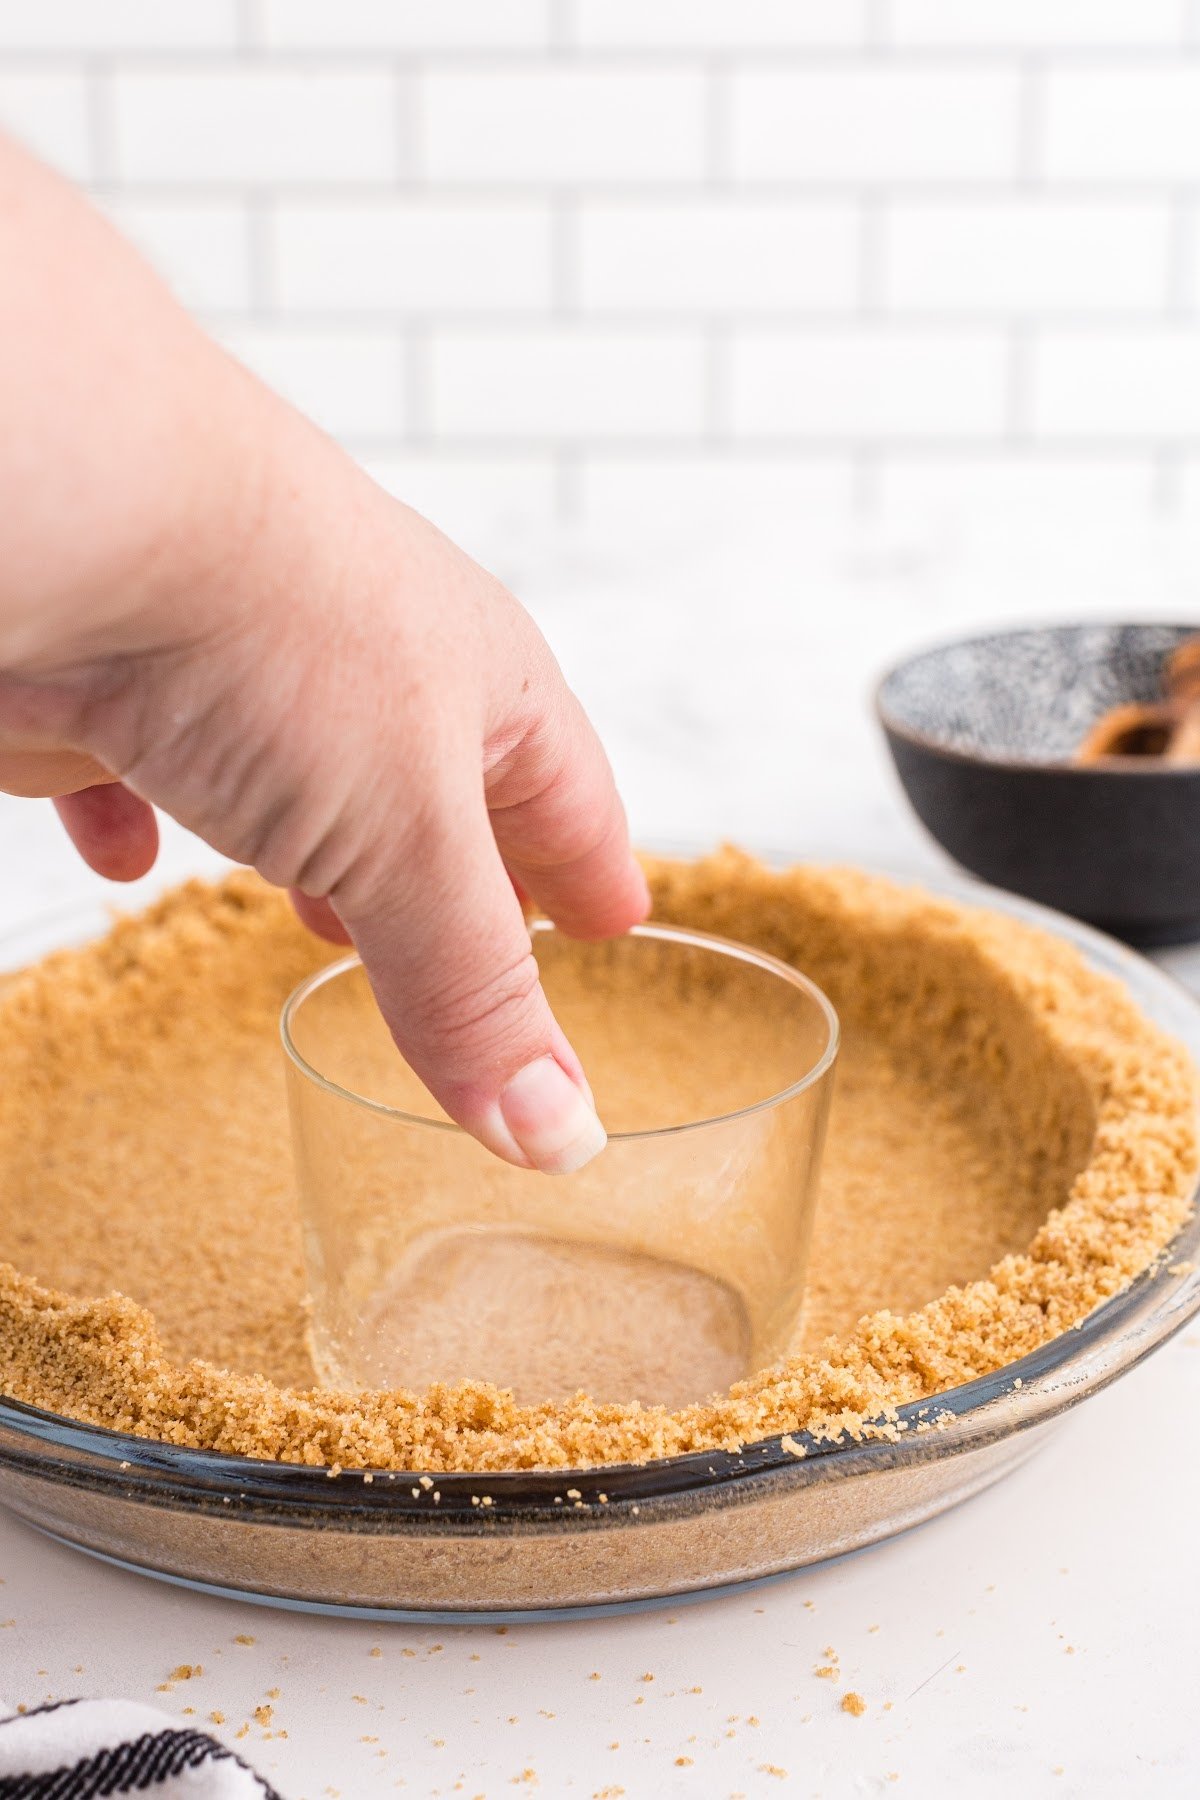
Step 5: Use a flat-bottomed measuring cup or your finger to press the crust firmly into the bottom of the pan.
Step 6: Place in the freezer for 10-15 minutes, if using this crust for a no bake recipe. Alternatively, bake graham cracker crust for 6-8 minutes at 350°F until light brown.
SERVE: Make sure the crust has set or cooled completely before adding your pie filling.

Recipe Tips for Homemade Graham Cracker Crust
- This is a great recipe for any baked pies or a no-bake dessert that require a sweet cracker base. Double the recipe quantities and store that extra pre-baked graham cracker crust in the freezer for your next homemade pie or dessert!
- If you don’t have a food processor, place the crackers in a plastic bag and crush with a rolling pin or flat bottomed bowl.
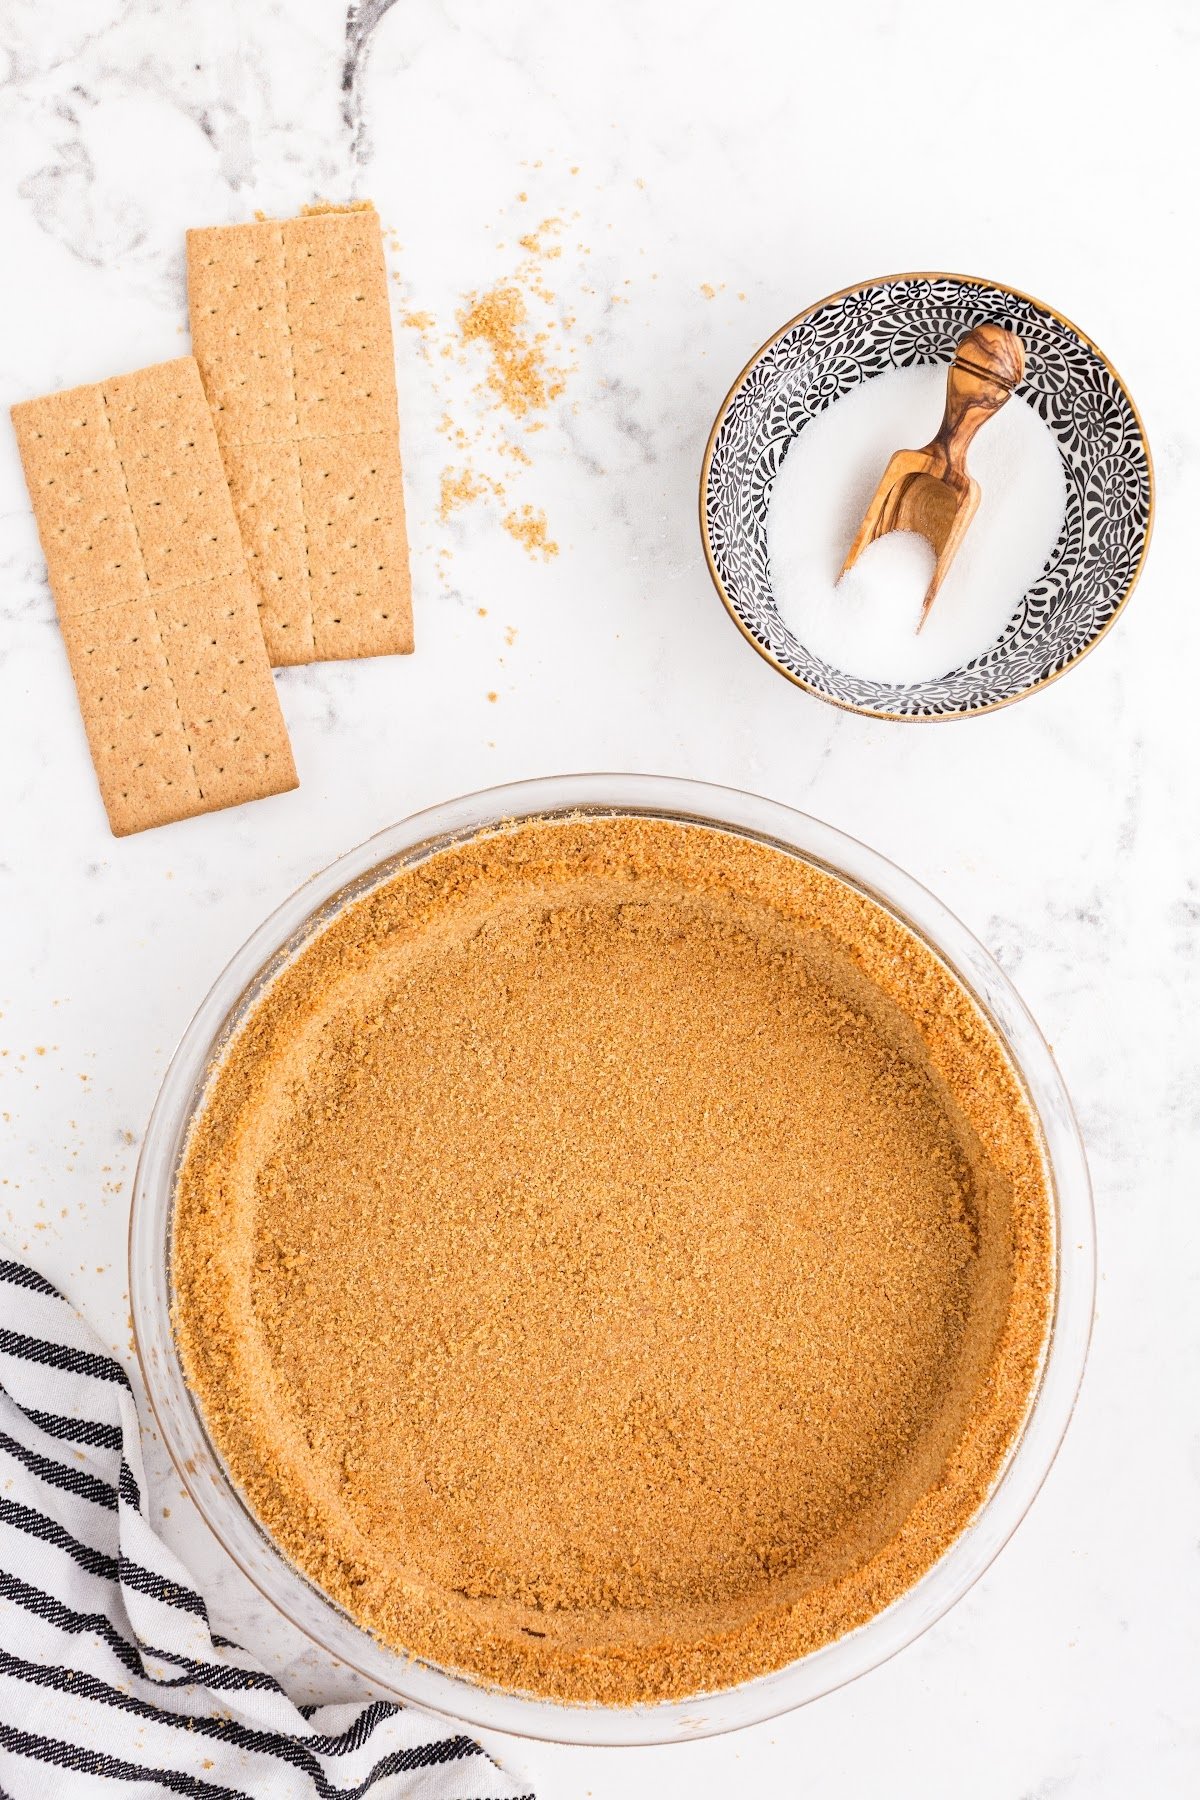
- This recipe calls for 1.5 cups of graham cracker crumbs. One sleeve of graham crackers or 9 graham cracker sheets will give you 1 cup of graham cracker crumbs which means that you’ll need approximately 14 graham crackers for one 9” pie crust (a standard pie pan size).
- Go ahead and use salted or unsalted butter for the crust but don’t omit the butter. The melted butter together with the sugar forms a kind of glue that holds the crust together. When chilled, the fats in the butter firm up, holding the crust together. The melted butter (in the oven and somewhat when unbaked) dissolves the sugar, creating a liquid glue that then hardens when cooled.
- The grocery store also has graham cracker crumbs if you don’t want to buy the crackers.
Fun Fact
Honey Grahams haven’t always tasted delicious. They were originally made with only flour and water. – Food Republic
Recipe FAQs
Freeze unbaked crusts for up to 1 month, wrapped tightly in the pie dish in plastic wrap. We do not recommend freezing pre-baked pie crust of any kind as it tends to affect the freshness of the pie crust. The freezing and thawing process can also alter the texture unlike with traditional pie crust. When ready to use, thaw the crusts at room temperature.
Yes, definitely! In fact, most pie recipes that involve wet fillings such as fruity pies require a pre-baked crust so that the pie crust doesn’t come out soggy and undercooked.
The great thing about this graham cracker pie crust recipe is that you can chill without having to bake.
If you intend to make a pie that uses no-bake pie filling then I do recommend that you first follow the step of chilling the crust before assembling the rest of the pie. This will help to keep your crust keep its shape and hold together.
Of course, if you opted to bake the crust before adding the pie filling then you can skip the chilling step.
Recipes with Graham Cracker Crust

If you tried this Graham Cracker Pie Crust Recipe or any other recipe on my website, please leave a 🌟 star rating and let me know how you liked it in the 📝 comments below.
Graham Cracker Crust Pie Crust Recipe
Ingredients
- 1 ½ cups graham cracker crumbs
- ⅓ cup granulated sugar
- ½ cup salted butter melted
Instructions
- Pulse graham crackers in a food processor or place in a ziploc bag and crush with a rolling pin until they form a fine, even crumb.
- Add granulated sugar to the graham cracker crumbs and combine evenly.
- Melt butter in a heat-proof bowl in the microwave. Pour melted butter into the graham cracker mixture and pulse (or stir) until evenly combined.
- Press graham cracker mixture evenly across the bottom and up the sides of a 9” pie plate.
- Use your fingers or the flat bottom of a measuring cup to pack the crust tightly and evenly into the pie plate.
- Chill in the freezer for 10-15 before filling with a no-bake pie filling.
- Alternately, bake in a 350°F oven for 6-8 minutes or until the crust is lightly browned. Allow to cool completely before adding pie filling.
- Storage:
- Unbaked pie crust can be stored in the freezer, in an airtight container or bag, for up to 1 month.
Would you like to save this?
Notes
Nutrition
Make this recipe?
Share it with me on Instagram @girlinspired1 and follow on Pinterest for more!


Comments & Reviews
Sherri says
Five star’s hubby and I LOVED it. Best gram cracker crust ever. Holds its shape while being cut. Taste is out of this world. Ty for sharing
Stefanie says
You’re welcome, Sherri! I loooooove this crust as well. Kind of want to just eat it by itself.
Sherri says
Yes it’s like a delicious cookie
Tillie says
Not sure why my crust stuck to the glass pie dish; what I was able to taste was good.
Julie says
So delish and easy!! My mom loved it