
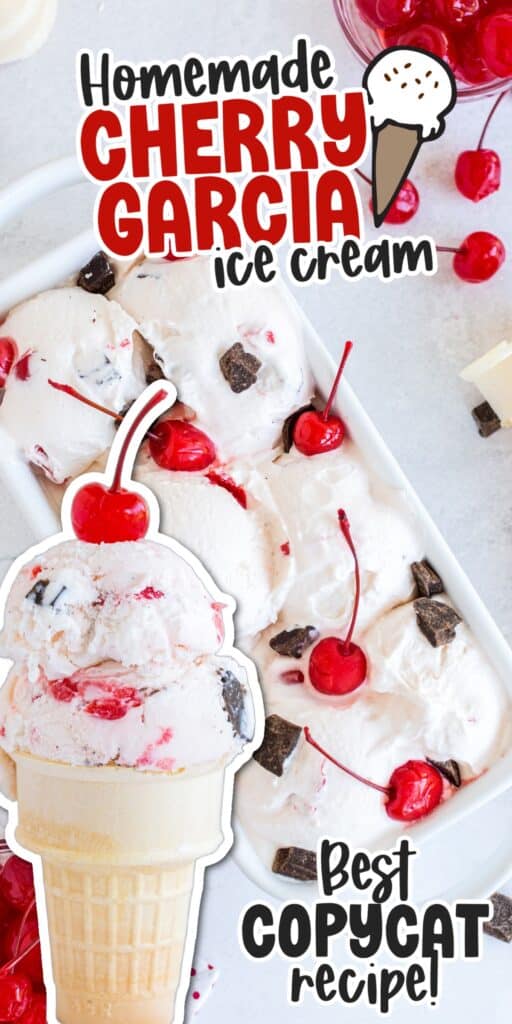
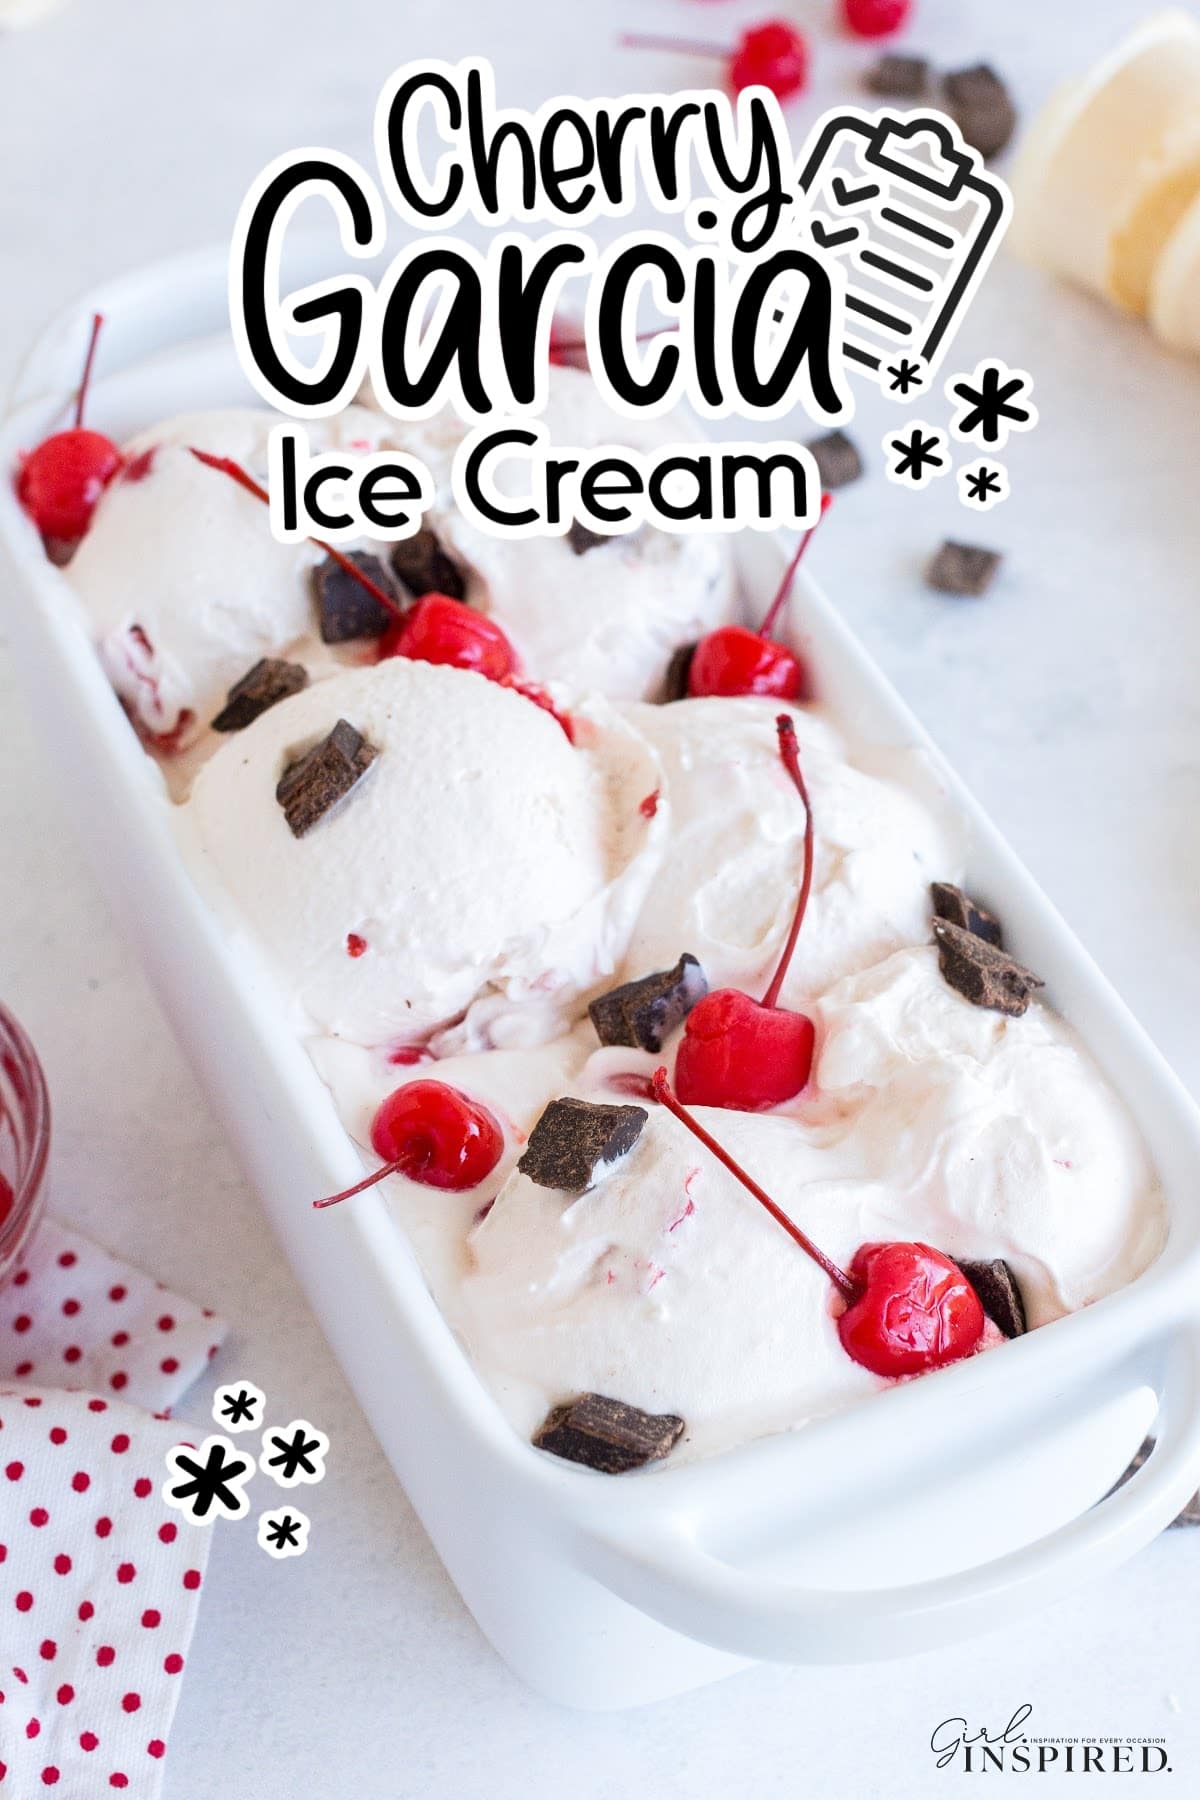
This Cherry Garcia ice cream recipe is a copycat of the classic favorite by Ben & Jerry’s. Each bite is packed with sweet maraschino cherries, chunks of dark chocolate, and has the creamiest texture. We can appreciate the convenience of an occasional no churn recipe, but nothing beats a classic churned homemade ice cream and that is what you get with this easy treat.
The combo of chocolate and cherry is one of my favorite ice cream flavors and I must say, Ben & Jerry’s perfected that when it became a new flavor. One of my daughters goes through so much “Cherry Garcia” ice cream, I was thrilled to perfect a from scratch recipe we make right at home. During the summer months, we also love rolled ice cream. It comes out just like the ice cream shop.
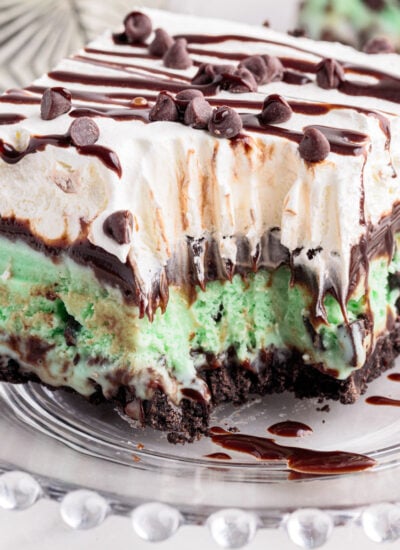
If you are a cherry chocolate lover, you have to try my No Bake Chocolate Cherry Pie and this Cherry Chocolate Lush that is super decadent and a favorite sweet treat around here.
Jump to:
🍒 Ingredients:
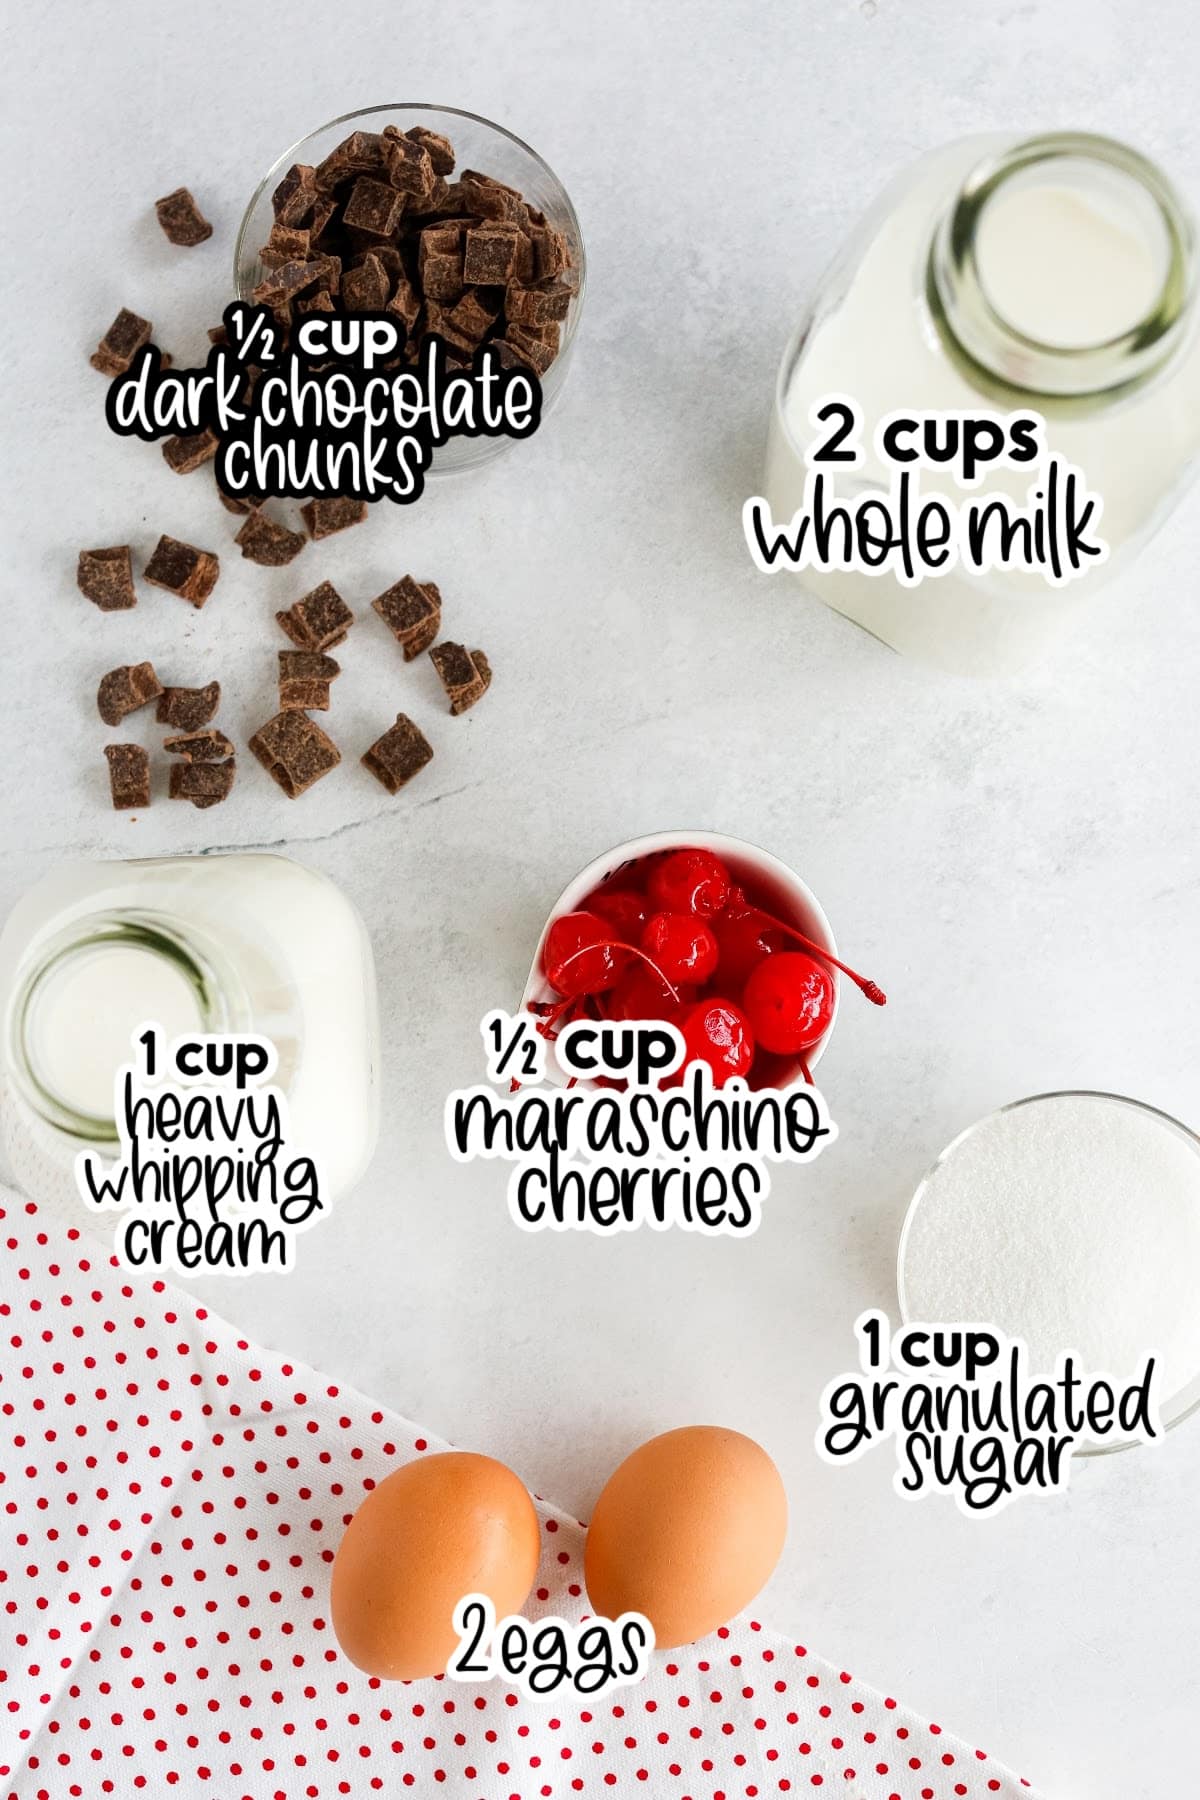
- Eggs: Add richness and make the ice cream smooth and creamy by helping the fat and liquid blend together. Use pasteurized eggs so that there is not concern about the use of raw eggs in the ice cream.
- Sugar: Sweetens the ice cream and keeps it soft by preventing it from freezing too hard.
- Whole Milk: Forms the liquid base and provides a balance of fat and water for a creamy texture. Milk with a lower fat content can be used, but it will have an icier texture.
- Heavy Whipping Cream: Adds richness and fat for a luxurious, smooth texture.
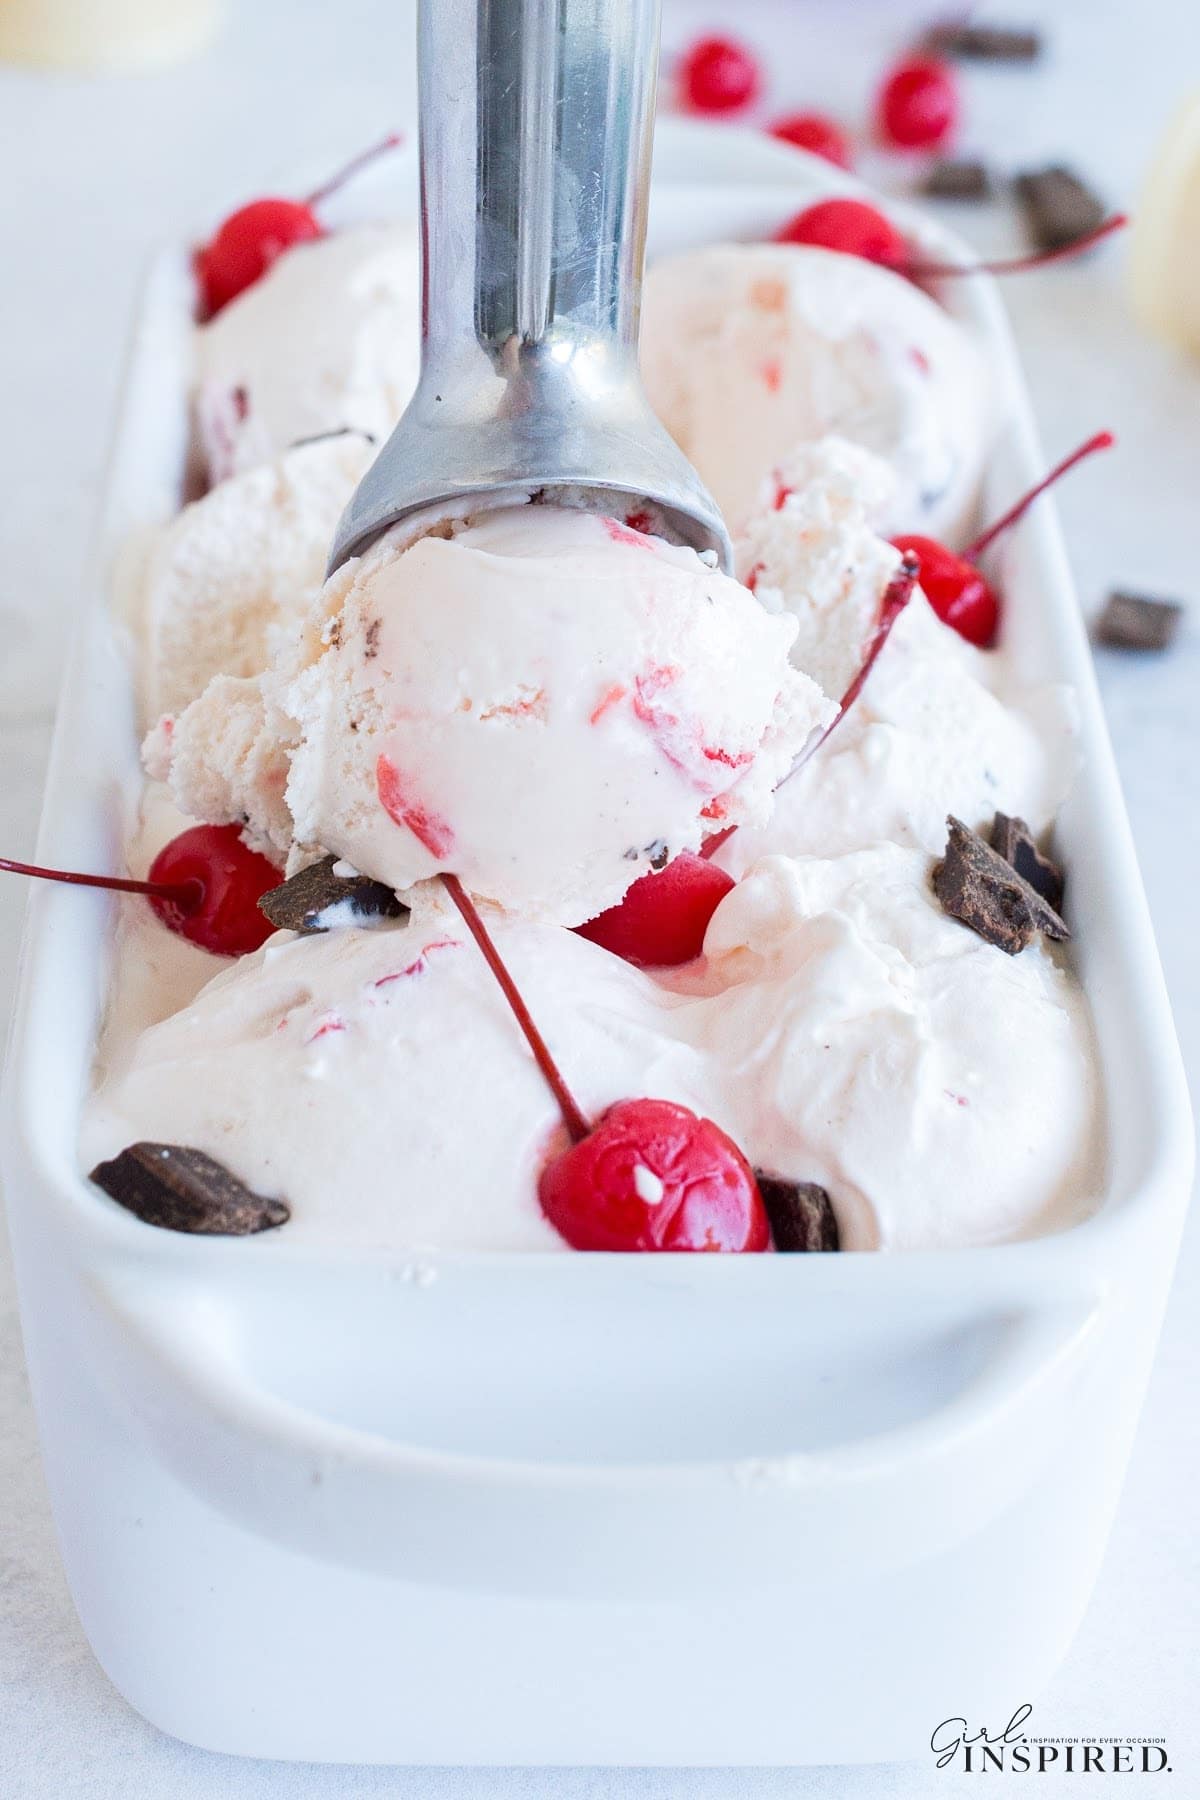
- Cherries: Bring sweetness, a pop of color, and a chewy texture, giving the ice cream its signature fruity flavor. Using fresh cherries when they are in season or canned cherries is also an option if you prefer.
- Dark Chocolate Chunks: Add a rich, slightly bitter contrast to the sweet cherries and creamy base, along with a little crunch. I like to use the dark chocolate chunks that come packaged in the baking aisle alongside chocolate chips. You can swap in semi-sweet chocolate chips
For a full list of ingredients and their measurements, 📋 please view my printable recipe card at the bottom of the post.
Optional Garnish:
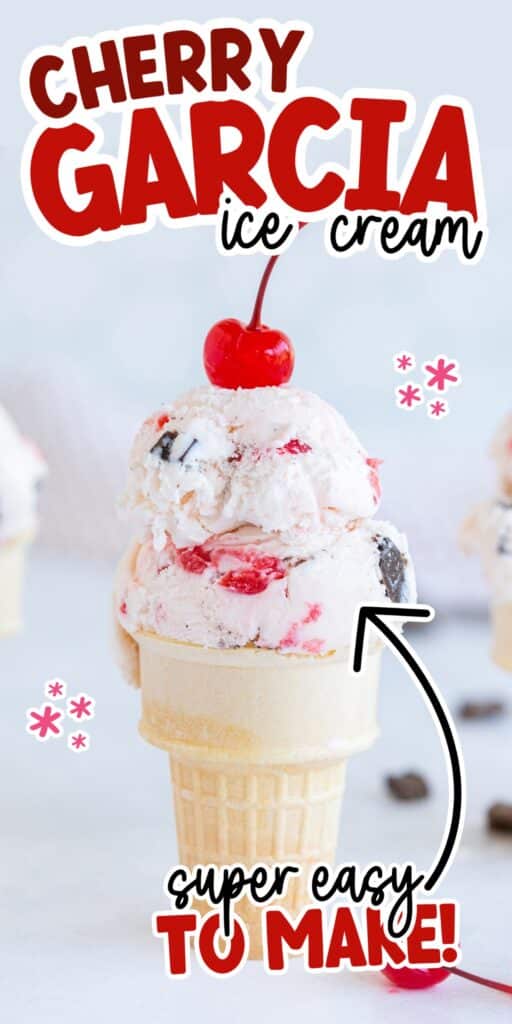
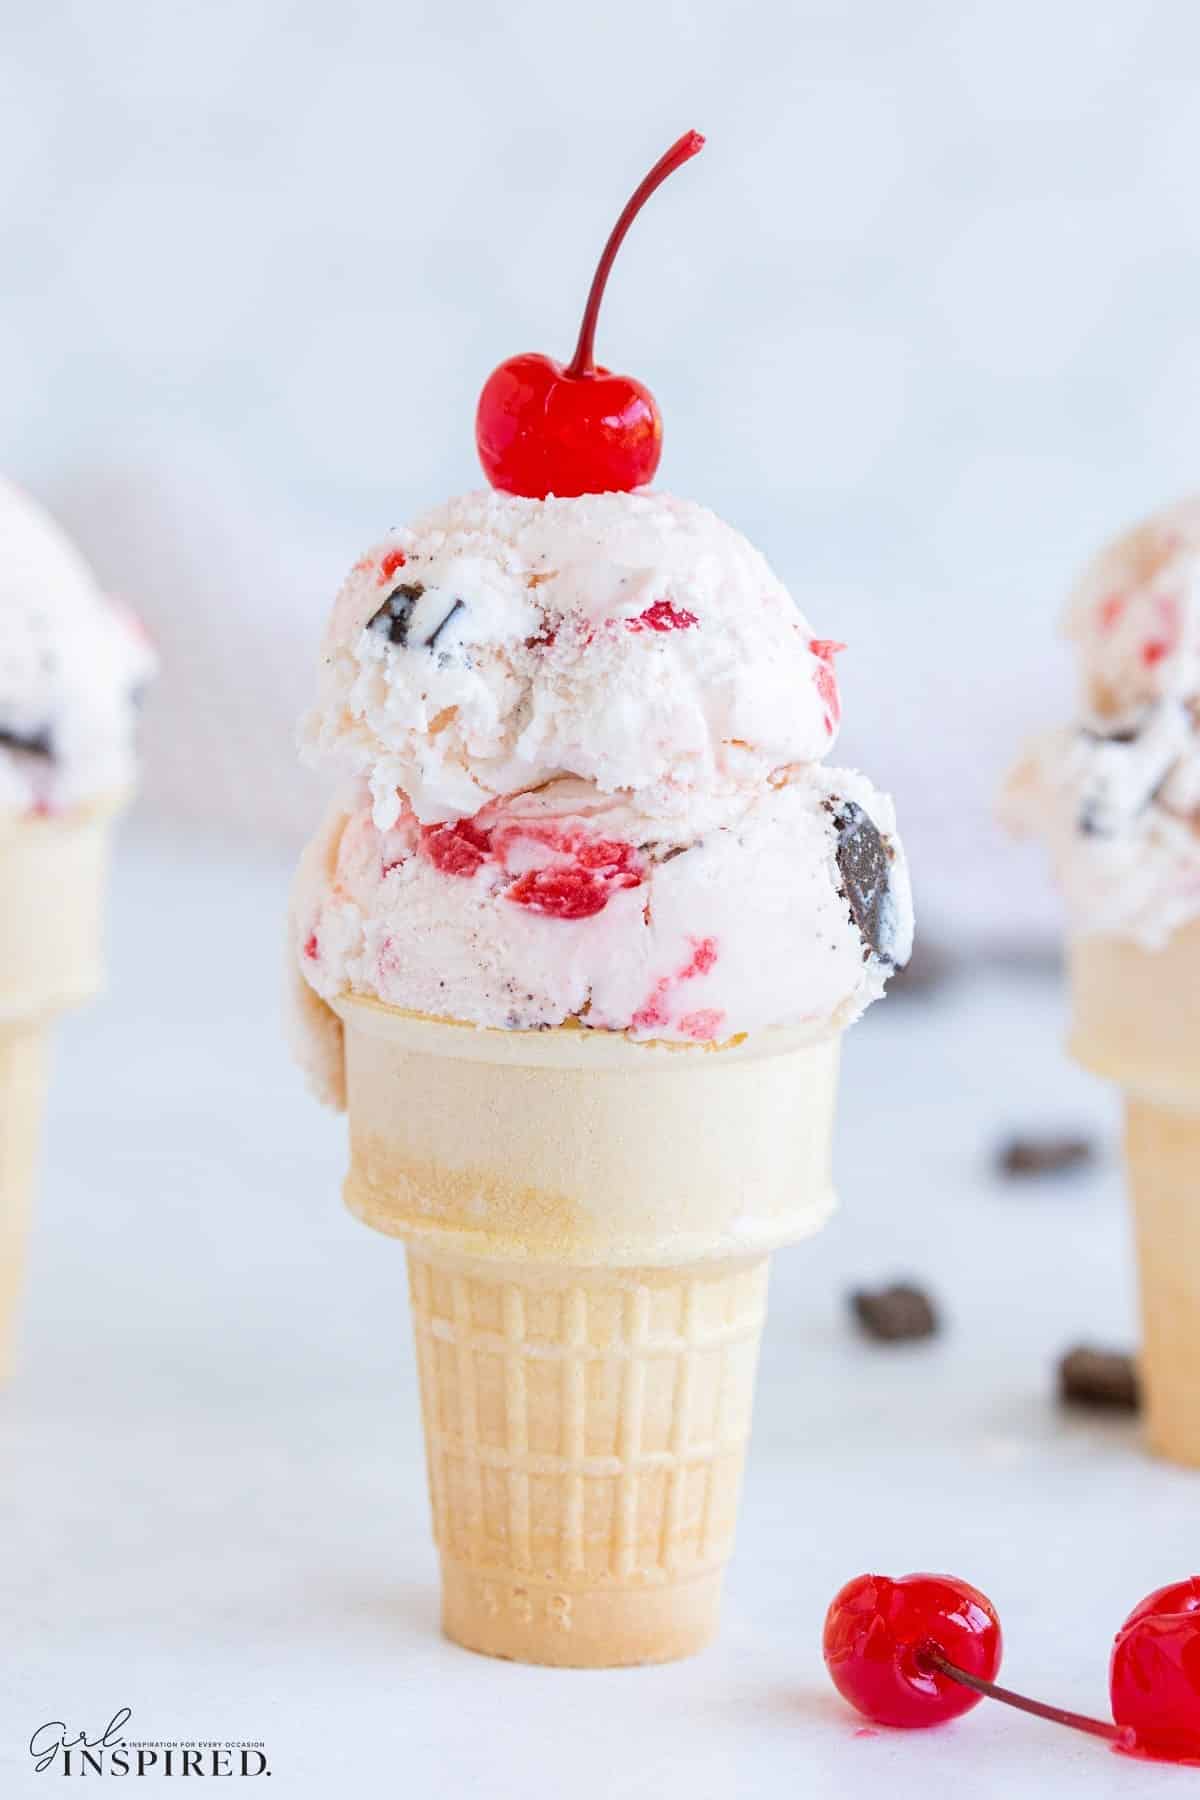
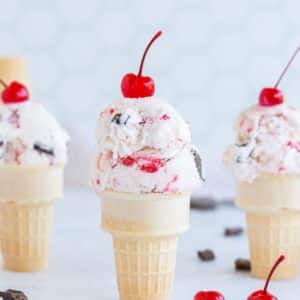
Homemade Cherry Garcia ice cream is perfect in a waffle cone or makes a great addition to a homemade ice cream & dessert bar if you wanted to host for a crowd.
Equipment Needed:
Ice Cream Maker
Substitutions and Variations
- Type of Chocolate – semi-sweet, milk chocolate, or shaved chocolate (from a chocolate bar) can be used in place of the dark.
- Cherries – Whole cherries or chopped cherries can be used, we like a mixture of both. This recipe is also great for using fresh summer cherries if you have them. Be sure the pits are removed before mixing in to the ice cream!!
- Extracts – add vanilla extract or cherry extract for more flavor.
- Personal Preference – add more or less cherries and chocolate depending on your taste preference.
🔪 Instructions:
PREP: Freeze the ice cream maker bowl for at least 24 hours before starting, unless your ice cream machine has specific instructions that are different.
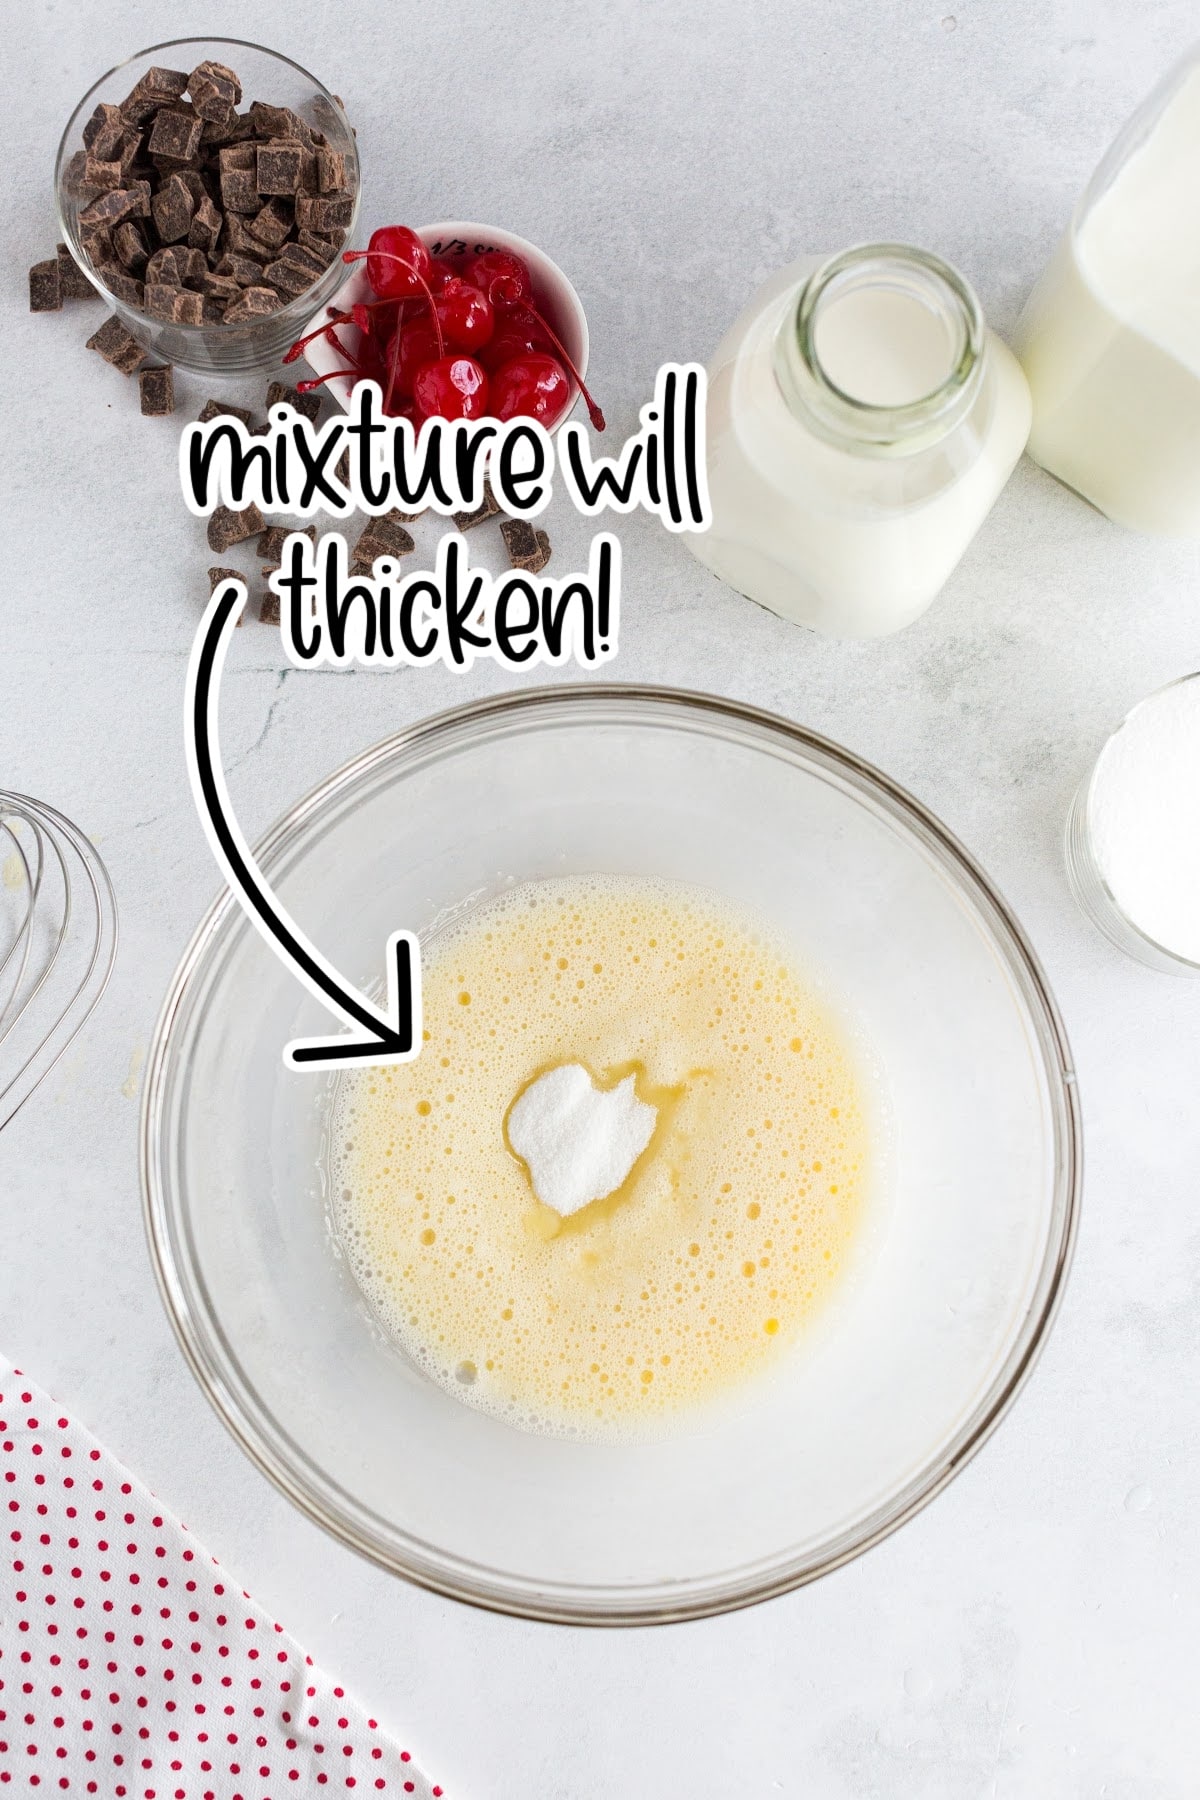
Step 1: Whisk the eggs in a large bowl until the egg yolks become foamy and frothy. Mix in the sugar until it thickens.
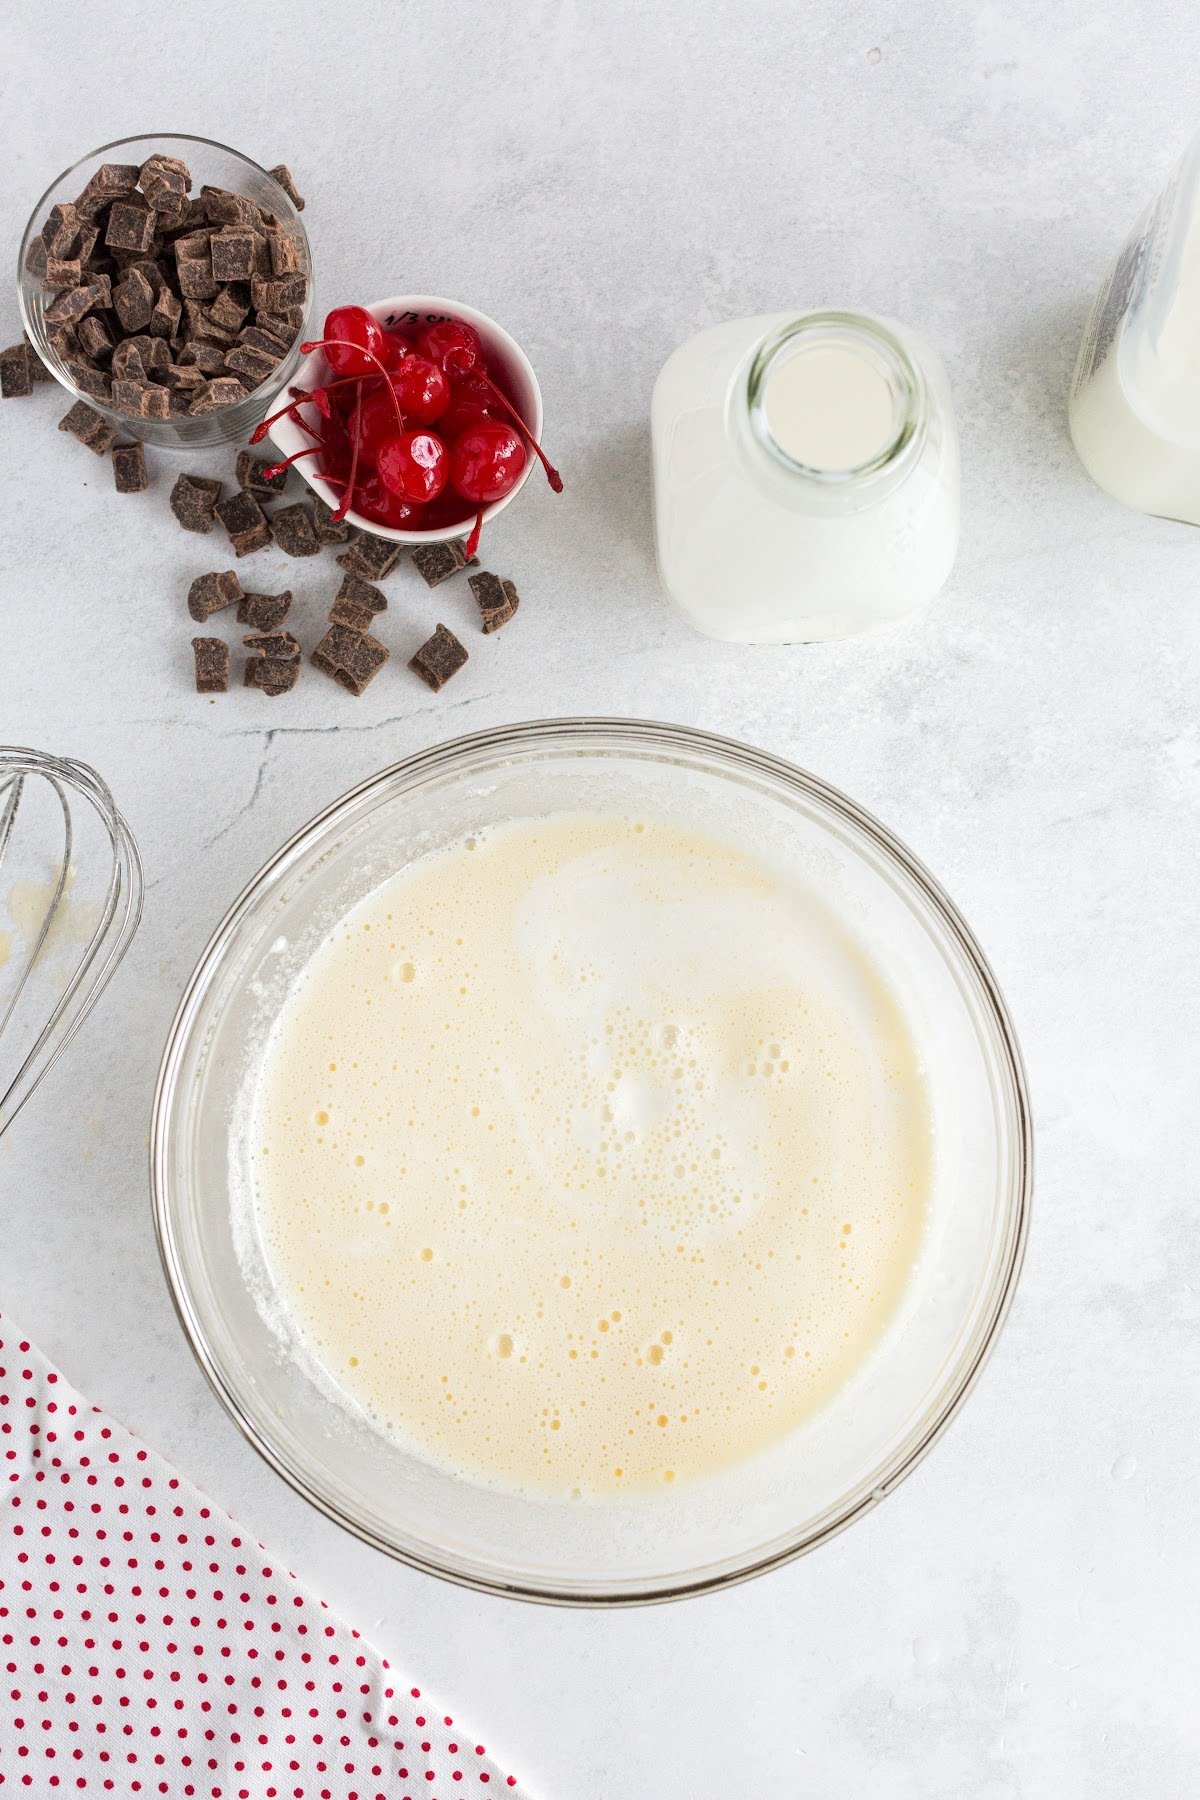
Step 2: Add the cream and milk, mix until combined.
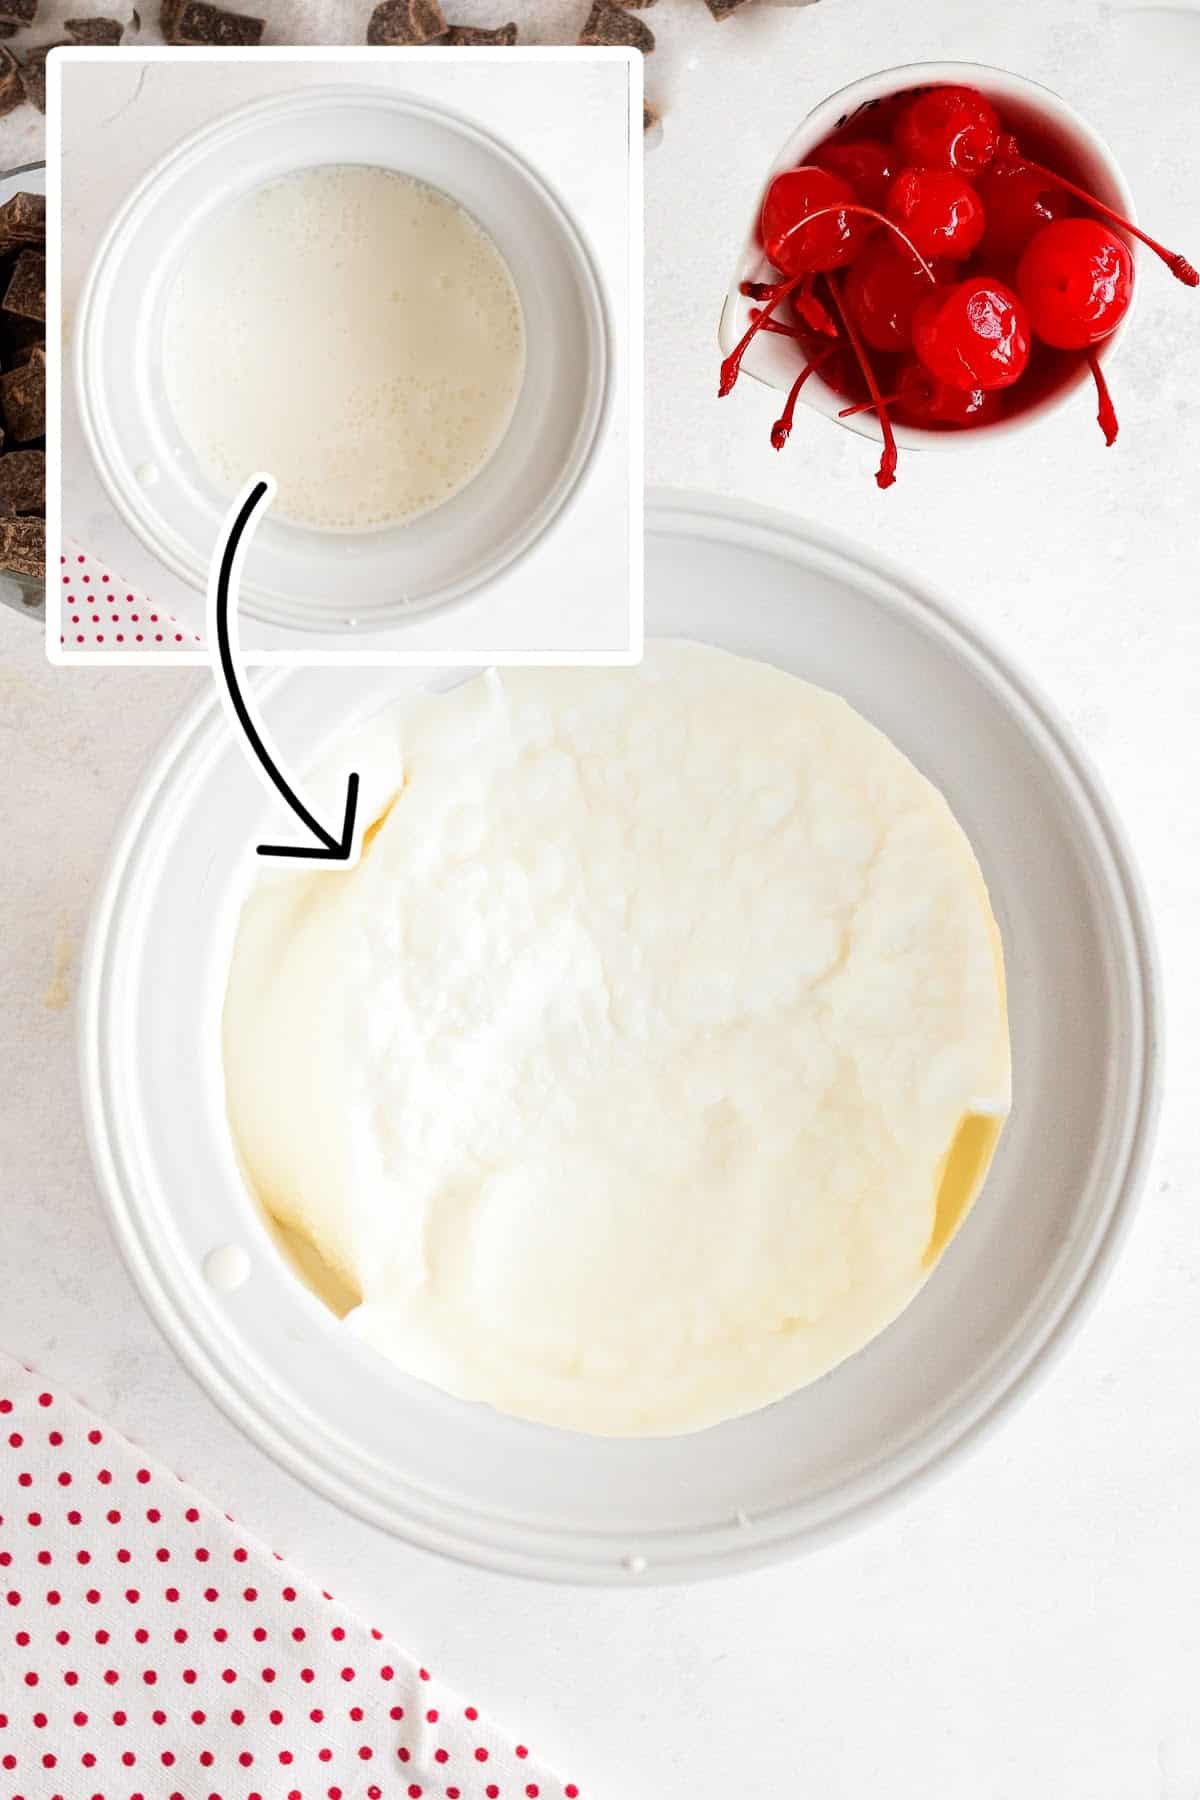
Step 3: Transfer the base mixture to the frozen bowl of your ice cream machine and turn the machine on. Churn mixture until it thickens most of the way.
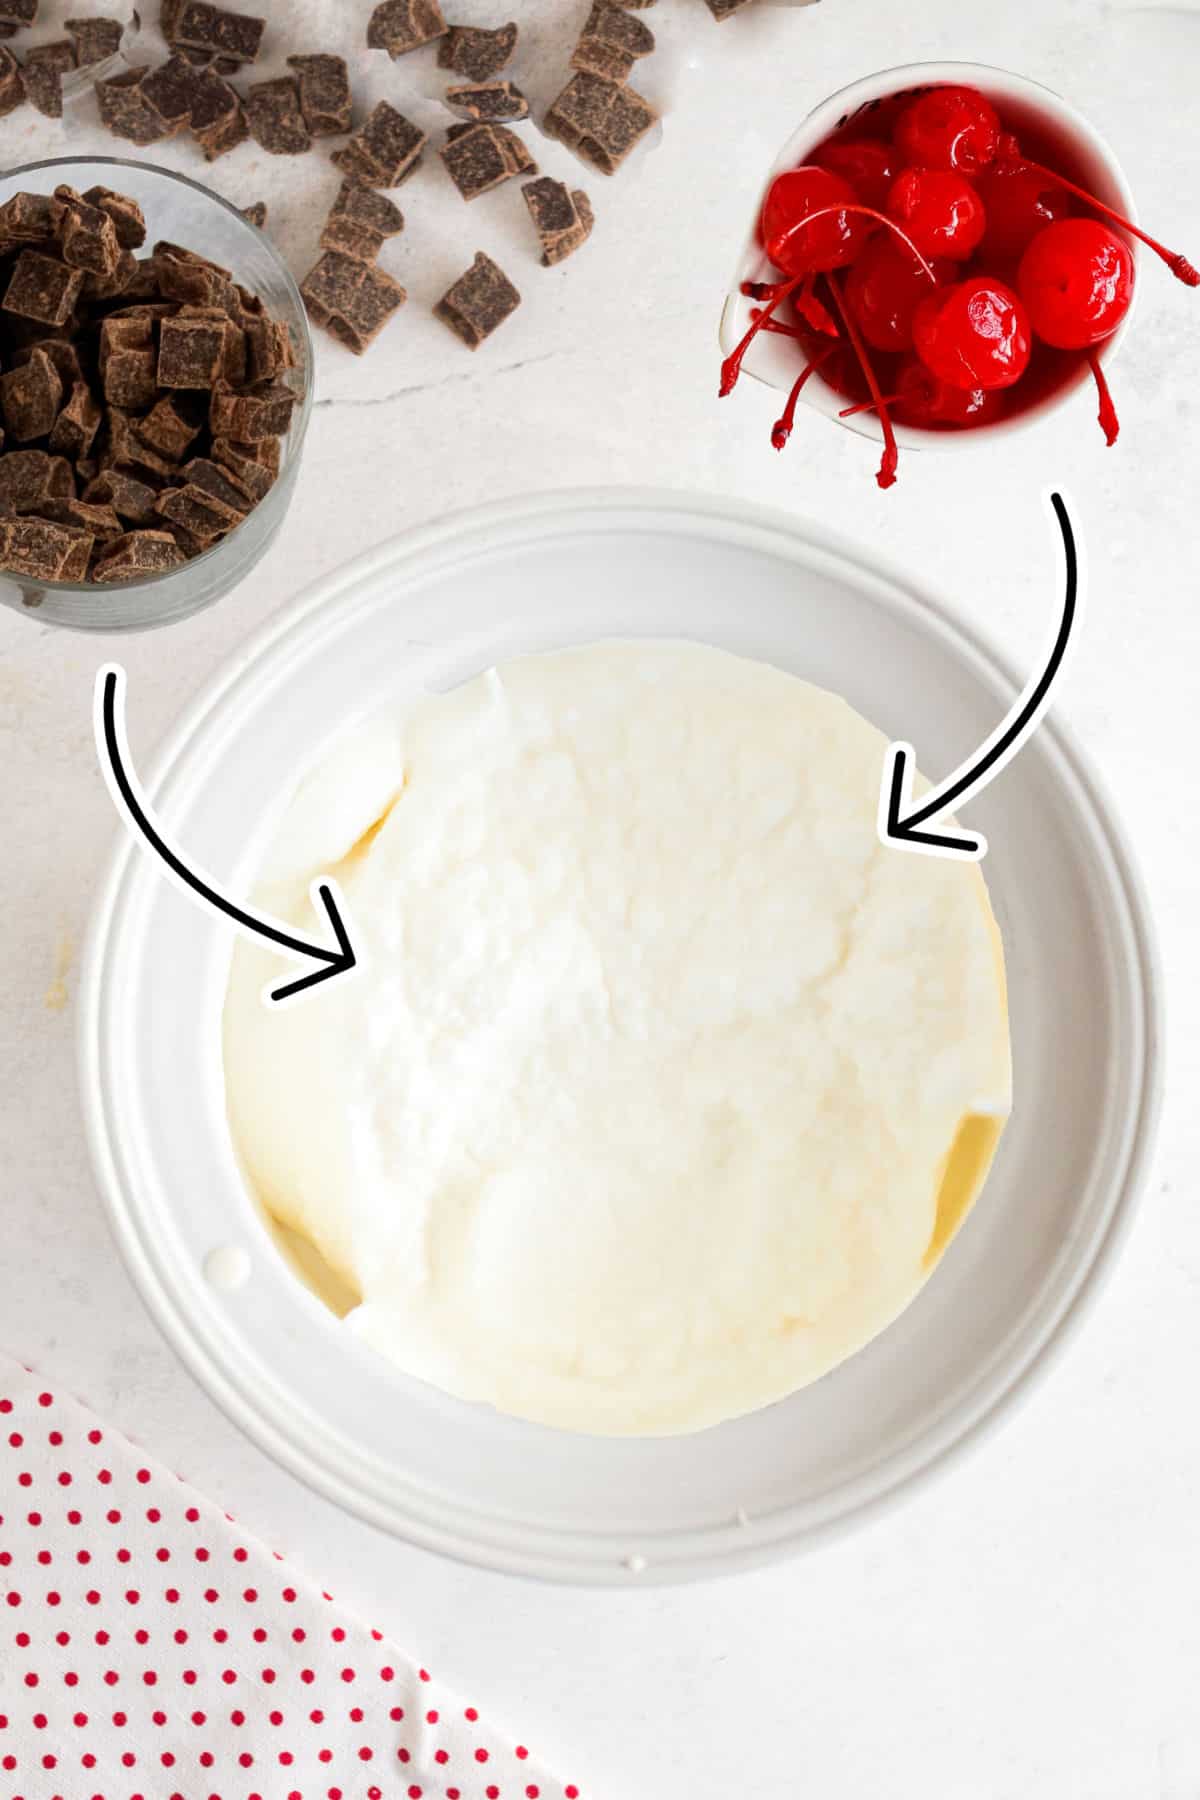
Step 4: Add in the cherries and the chocolate pieces and continue churning until the machine stops. Alternately, you can mix in the additions by hand.
Pro Tip: When making homemade ice cream, it’s important to keep all of the ingredients really cold until you are ready to use.
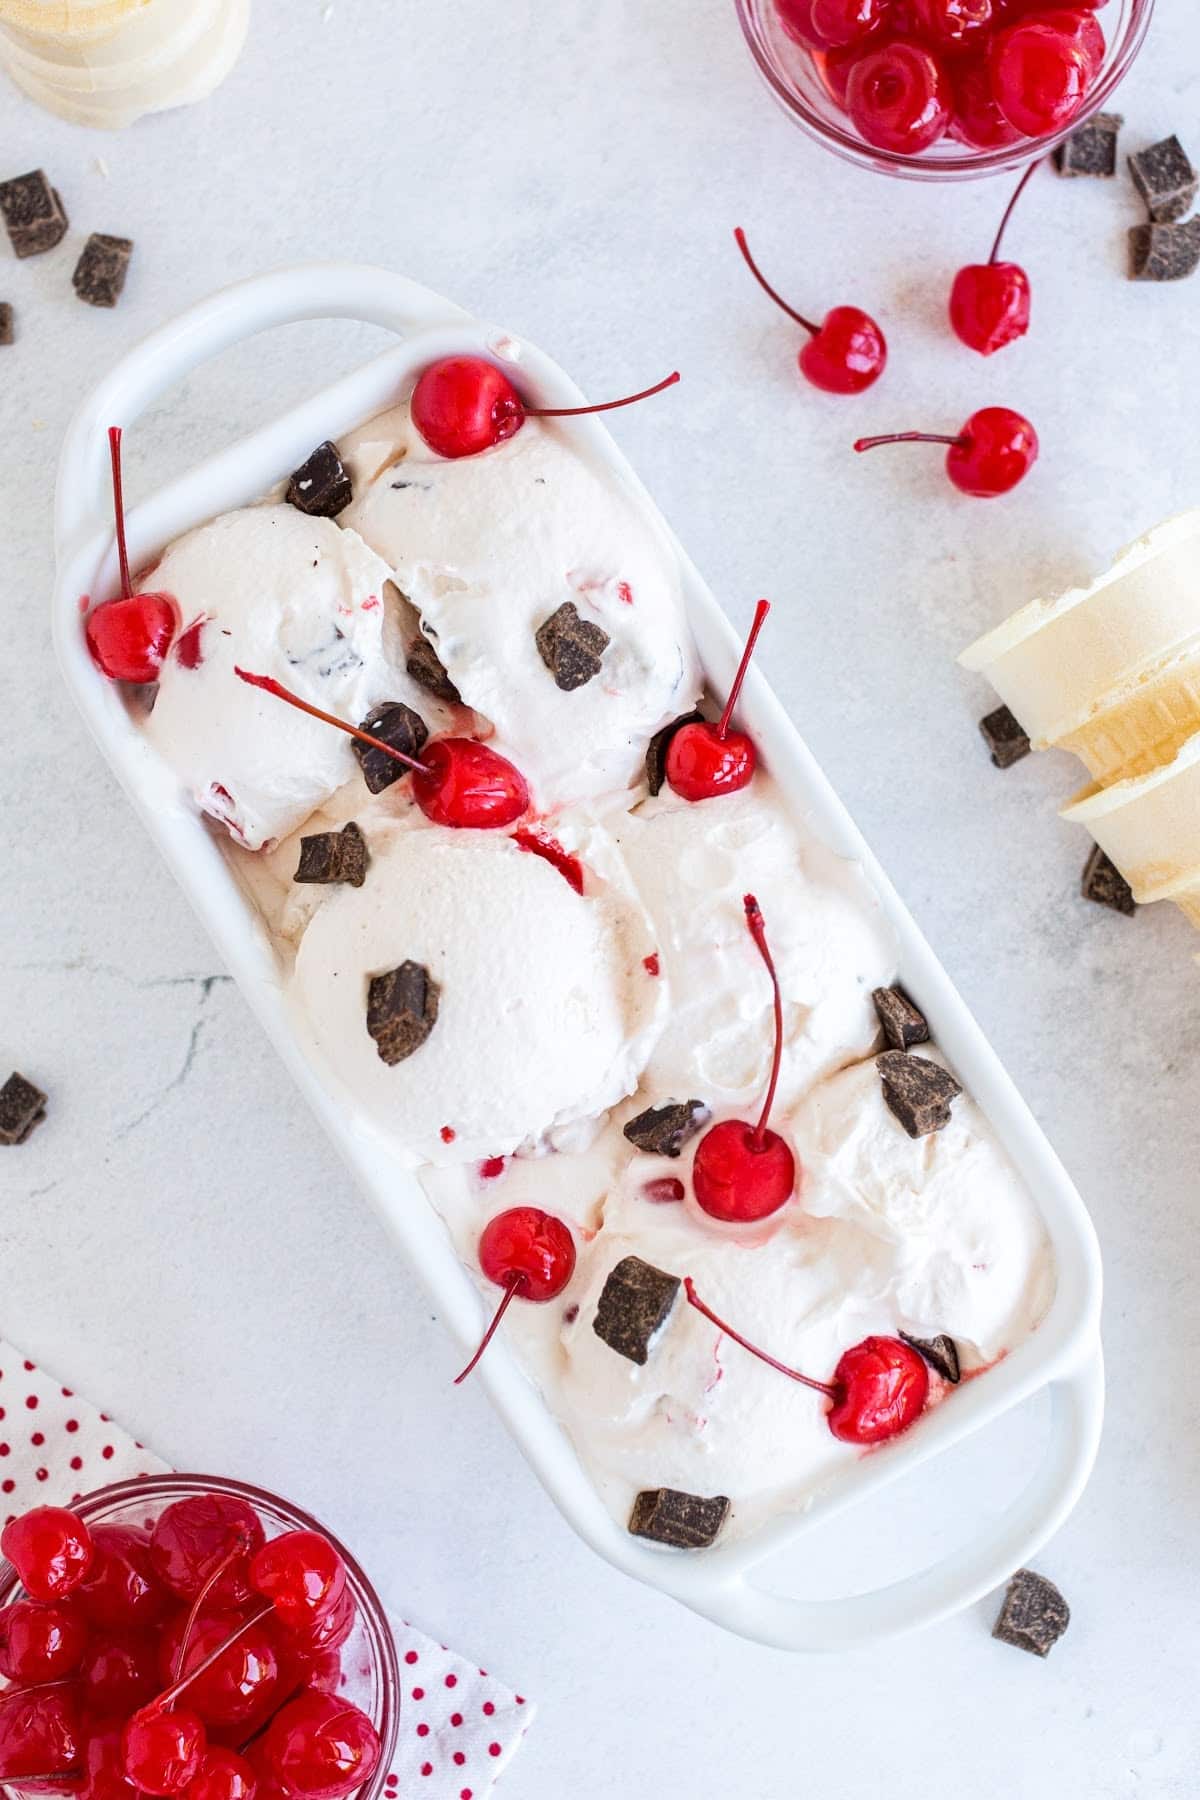
Step 6: Scoop into a freezer safe container and add more cherries and chocolate on top of the ice cream if desired. Addint the extras to the top of the ice cream is really just for aesthetics. Freeze for 24 hours.
SERVE: Once it has harden, serve it up in cones or sundae bowls!
Recipe Tips for Cherry Garcia Ice Cream
- Chill Your Ingredients: Start with cold milk, cream, and even a chilled ice cream maker bowl (if using). This helps the mixture freeze faster and improves texture.
- Don’t Overfill Your Machine: Leave room for the ice cream to expand as it churns to avoid spills and ensure it freezes evenly.
- Add Mix-Ins at the End: Stir in chunks of chocolate, fruit, or cookies during the last few minutes of churning to keep them evenly distributed.
Fun Fact
Did you know that Ben & Jerry’s was originally going to be a bagel company? However, Ben and Jerry found the bagel-making equipment to be too pricey, leading them to venture into ice cream instead – Ben and Jerrys
Recipe FAQs
Cherry Garcia ice cream, created by Ben & Jerry’s in 1987, is a tribute to Jerry Garcia, the legendary guitarist of the Grateful Dead. The flavor was inspired by a suggestion from a fan who thought the combination of cherries and chocolate would be a hit. The name cleverly plays on Jerry Garcia’s last name, and the ice cream quickly became one of Ben & Jerry’s most iconic flavors, loved for its unique mix of cherry ice cream, cherries, and fudge flakes. It’s a sweet tribute to both music and delicious innovation!
The difference between churned and no-churn ice cream lies in how they’re made and the equipment used. Churned ice cream requires an ice cream maker, which churns the mixture while freezing it. This process incorporates air, resulting in a light, creamy texture while preventing large ice crystals from forming. In contrast, no-churn ice cream doesn’t need special equipment. It’s typically made by whipping cream and folding it with sweetened condensed milk, then freezing it directly. This method creates a denser but still creamy texture. Churned ice cream is ideal for a traditional ice cream, while no-churn is a quick and easy method. The sweetened condensed milk in no churn ice cream prevents ice crystals from forming and allows one to simply put the mixture into the freezer and freeze it through. It does not freeze as solid as a traditional ice cream. I also find that the texture leaves a bit of a film on my tongue. It is super convenient though and has its place in the ice cream world. We use a no churn base in our rolled ice cream and our cookie monster ice cream recipe.
You can use your ice cream maker no matter what brand. It also works with the Ninja Creami, the KitchenAid Ice Cream maker attachment, and the Cuisinart Ice Cream Maker. I personally use a Cuisinart machine. And if I really want to get crazy with the kids, sometimes I pull out an old-fashioned ice cream maker and show them how to layer
More Homemade Ice Cream Recipes to Try
If you tried this Copycat Cherry Garcia Ice Cream Recipe or any other recipe on my website, please leave a 🌟 star rating and let me know how you liked it in the 📝 comments below.
Cherry Garcia Ice Cream Recipe
Ingredients
- 2 large eggs
- 1 cup granulated sugar
- 2 cups whole milk
- 1 cup heavy whipping cream
- ½ cup maraschino cherries or Bing cherries stems and pits removed, lightly chopped
- ½ cup dark chocolate chunks
Instructions
- Place freezer bowl for automatic ice cream maker into the freezer at least 24 hours ahead of making ice cream (or follow instructions for to prepare your specific machine.)
- In a medium bowl, whisk eggs until very frothy/foamy.
- Add sugar and continue whisking until mixture has thickened slightly.
- Add milk and heavy cream and whisk until combined.
- Transfer mixture to the chilled bowl of the ice cream maker and churn until ice cream thickens and mixer slows or stops.
- Add chocolate chunks and cherries and mix in by hand (or allow mixer to stir in.)
- Scoop the ice cream into a freezer-safe container – we love using a bread loaf pan for a pretty display. Garnish the top with a few more cherries and chunks of chocolate, if desired.
Would you like to save this?
Notes
Make this recipe?
Share it with me on Instagram @girlinspired1 and follow on Pinterest for more!


Leave A Reply!