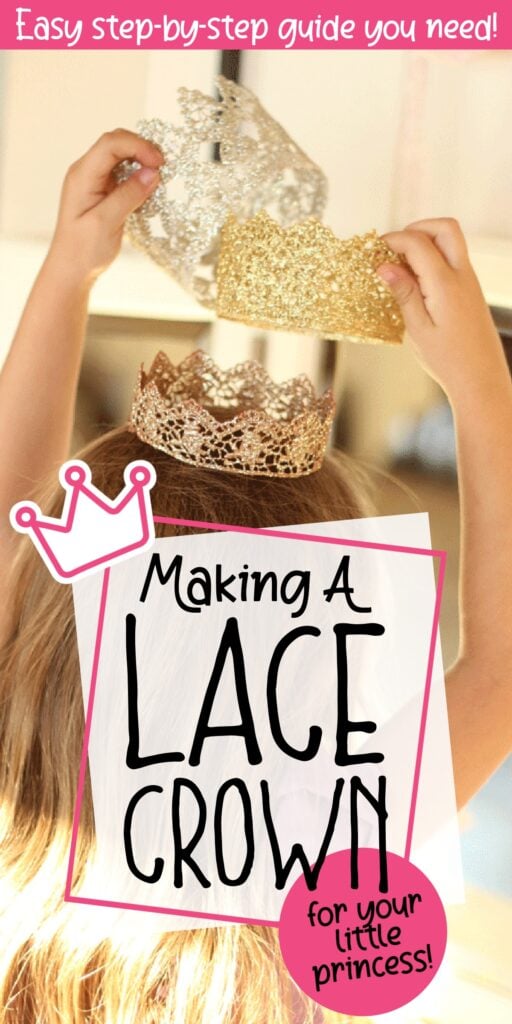
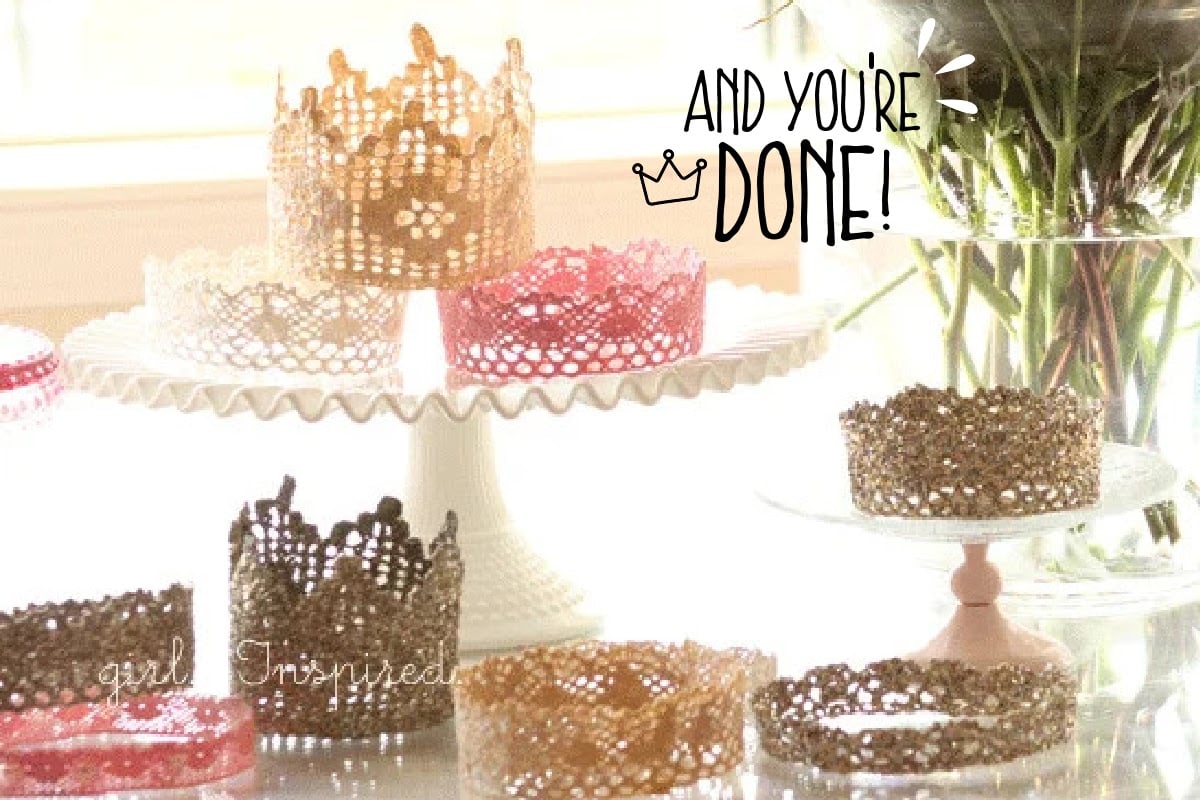
If you’re looking for a great craft project to satisfy the little princess in your life (or the princess in your heart), try these DIY princess crowns. We use craft glue or Mod Podge, starch, and any combination of new or vintage lace to bring all your sparkly dreams to life.

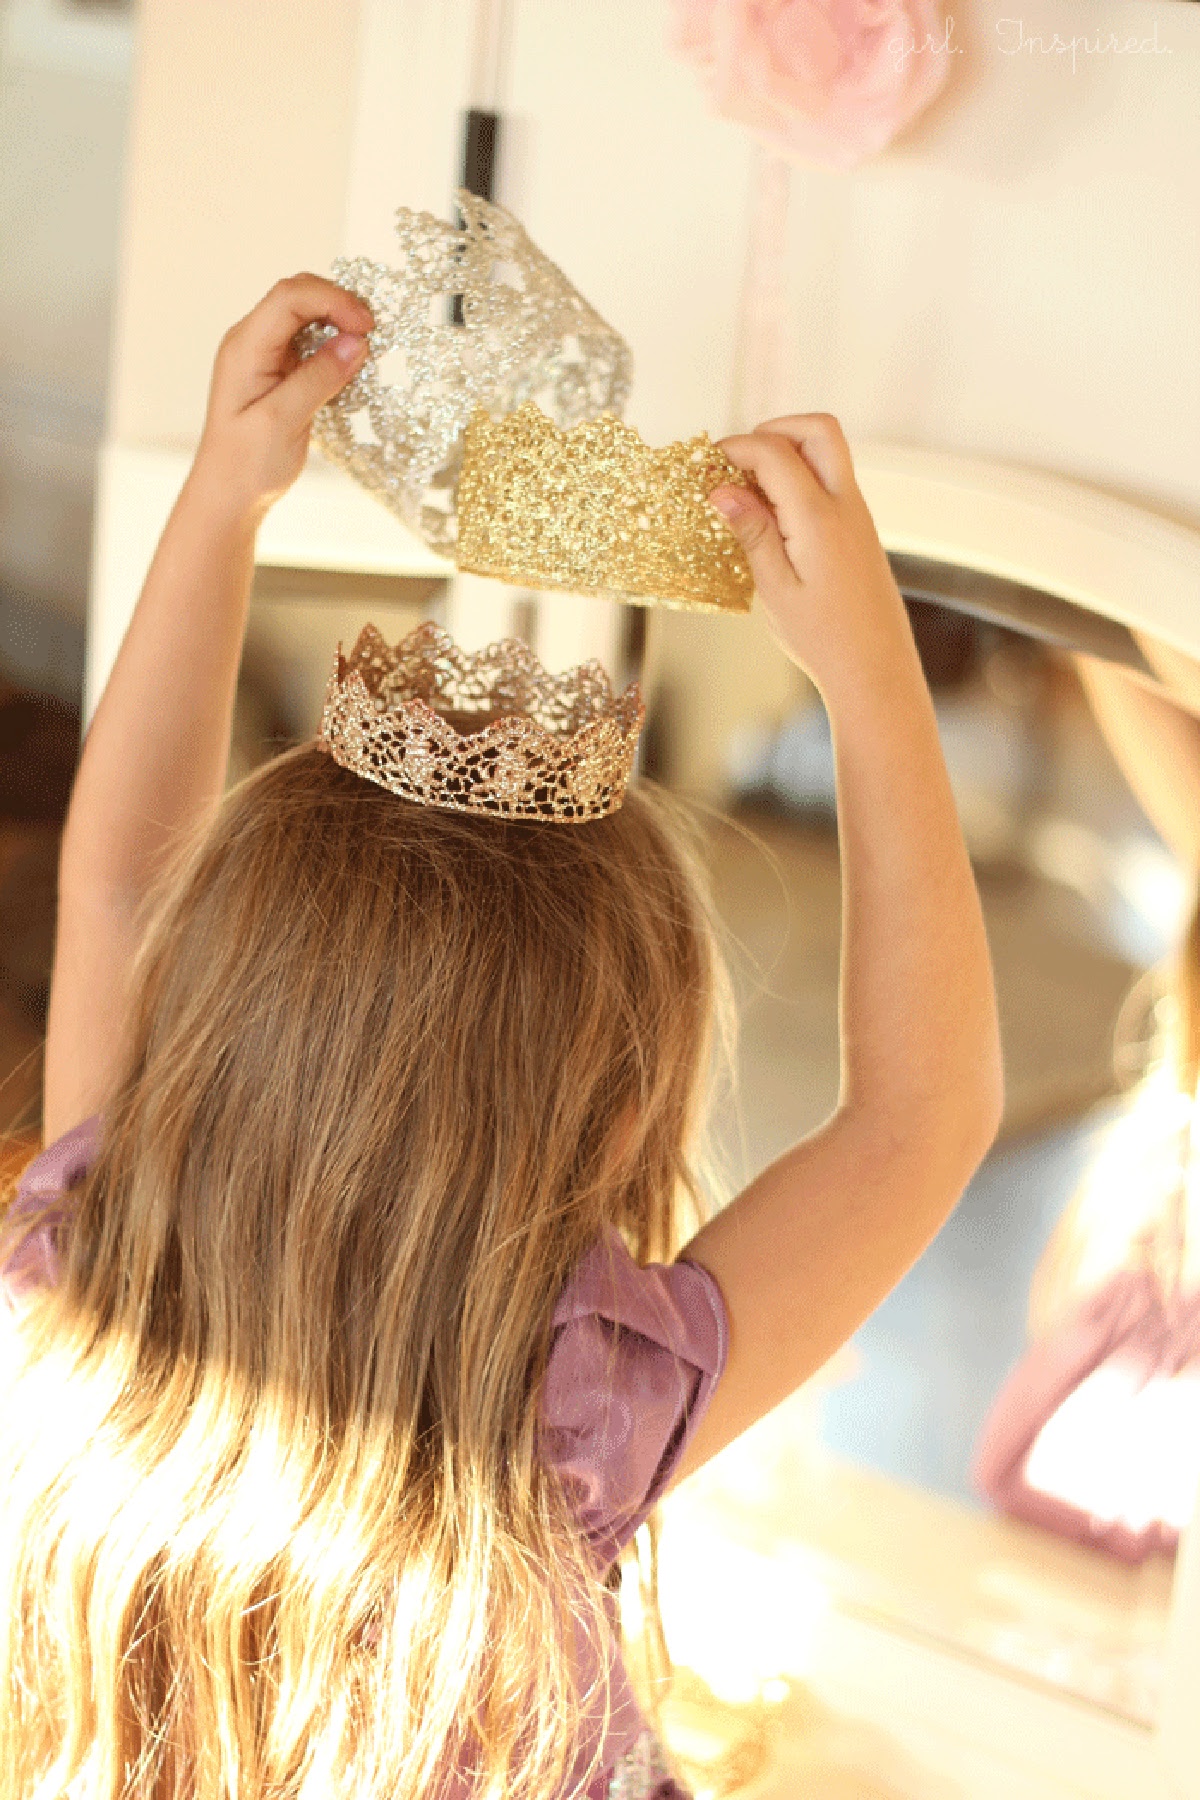
We made lace princess crowns for a number of birthday parties when the girls were itty bitty. There was the princess party where all the party guests selected from homemade princess crowns. And the little girls donned princess tiaras once again at our Princess and the Popstar birthday party.
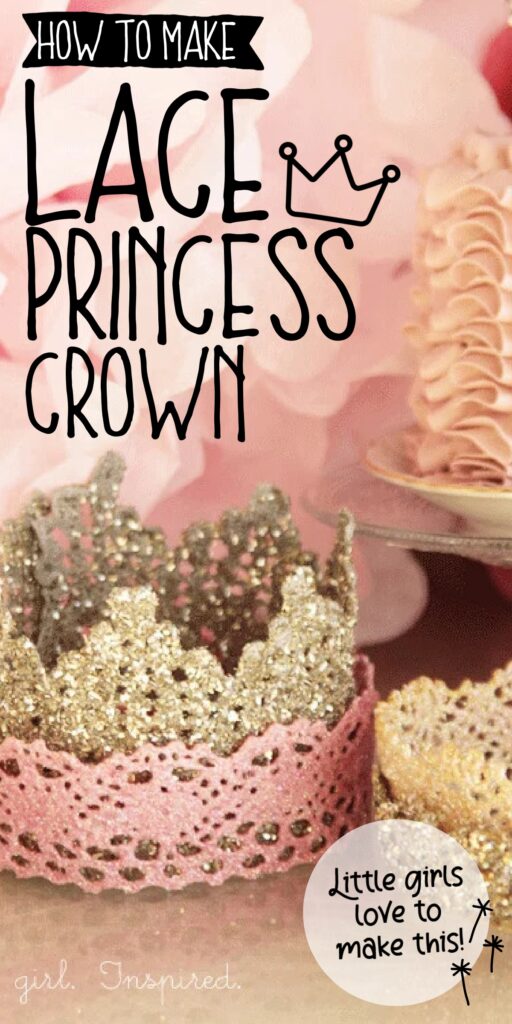
These DIY crowns are fun to make because you can really customize them with different sizes and shapes of lace, as well as paint and glitter! Let’s get to learning how to make a princess crown!
Jump to:
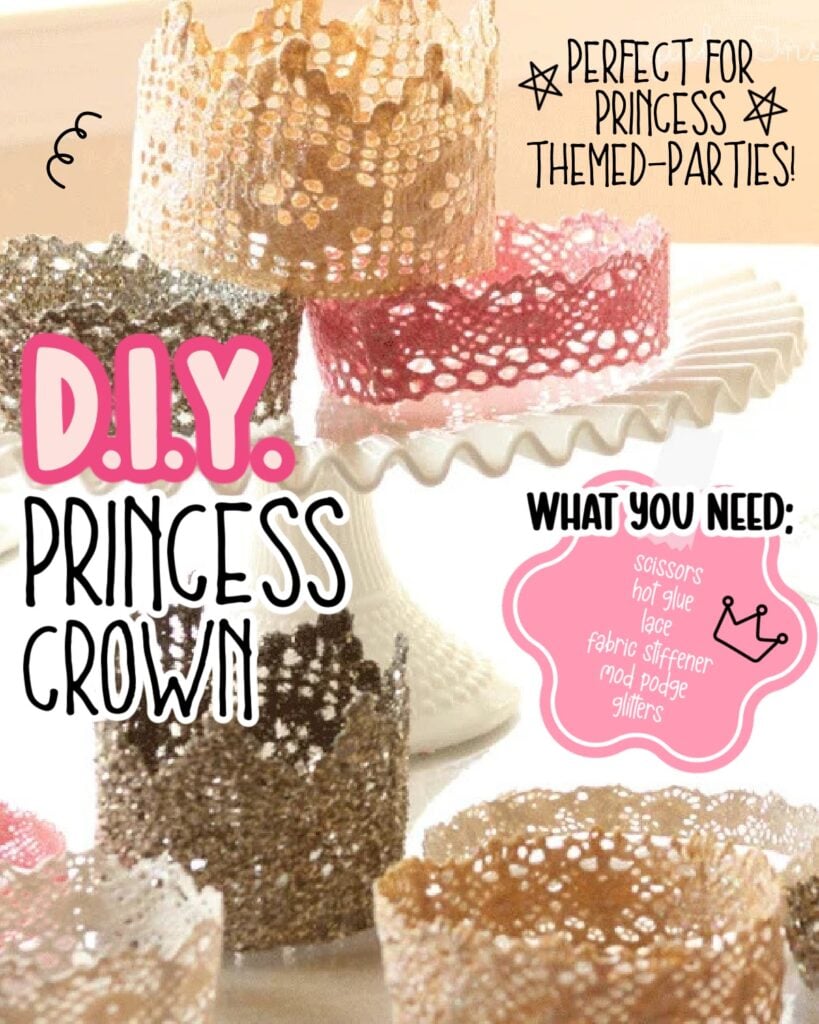
👑 DIY Crown Supplies:
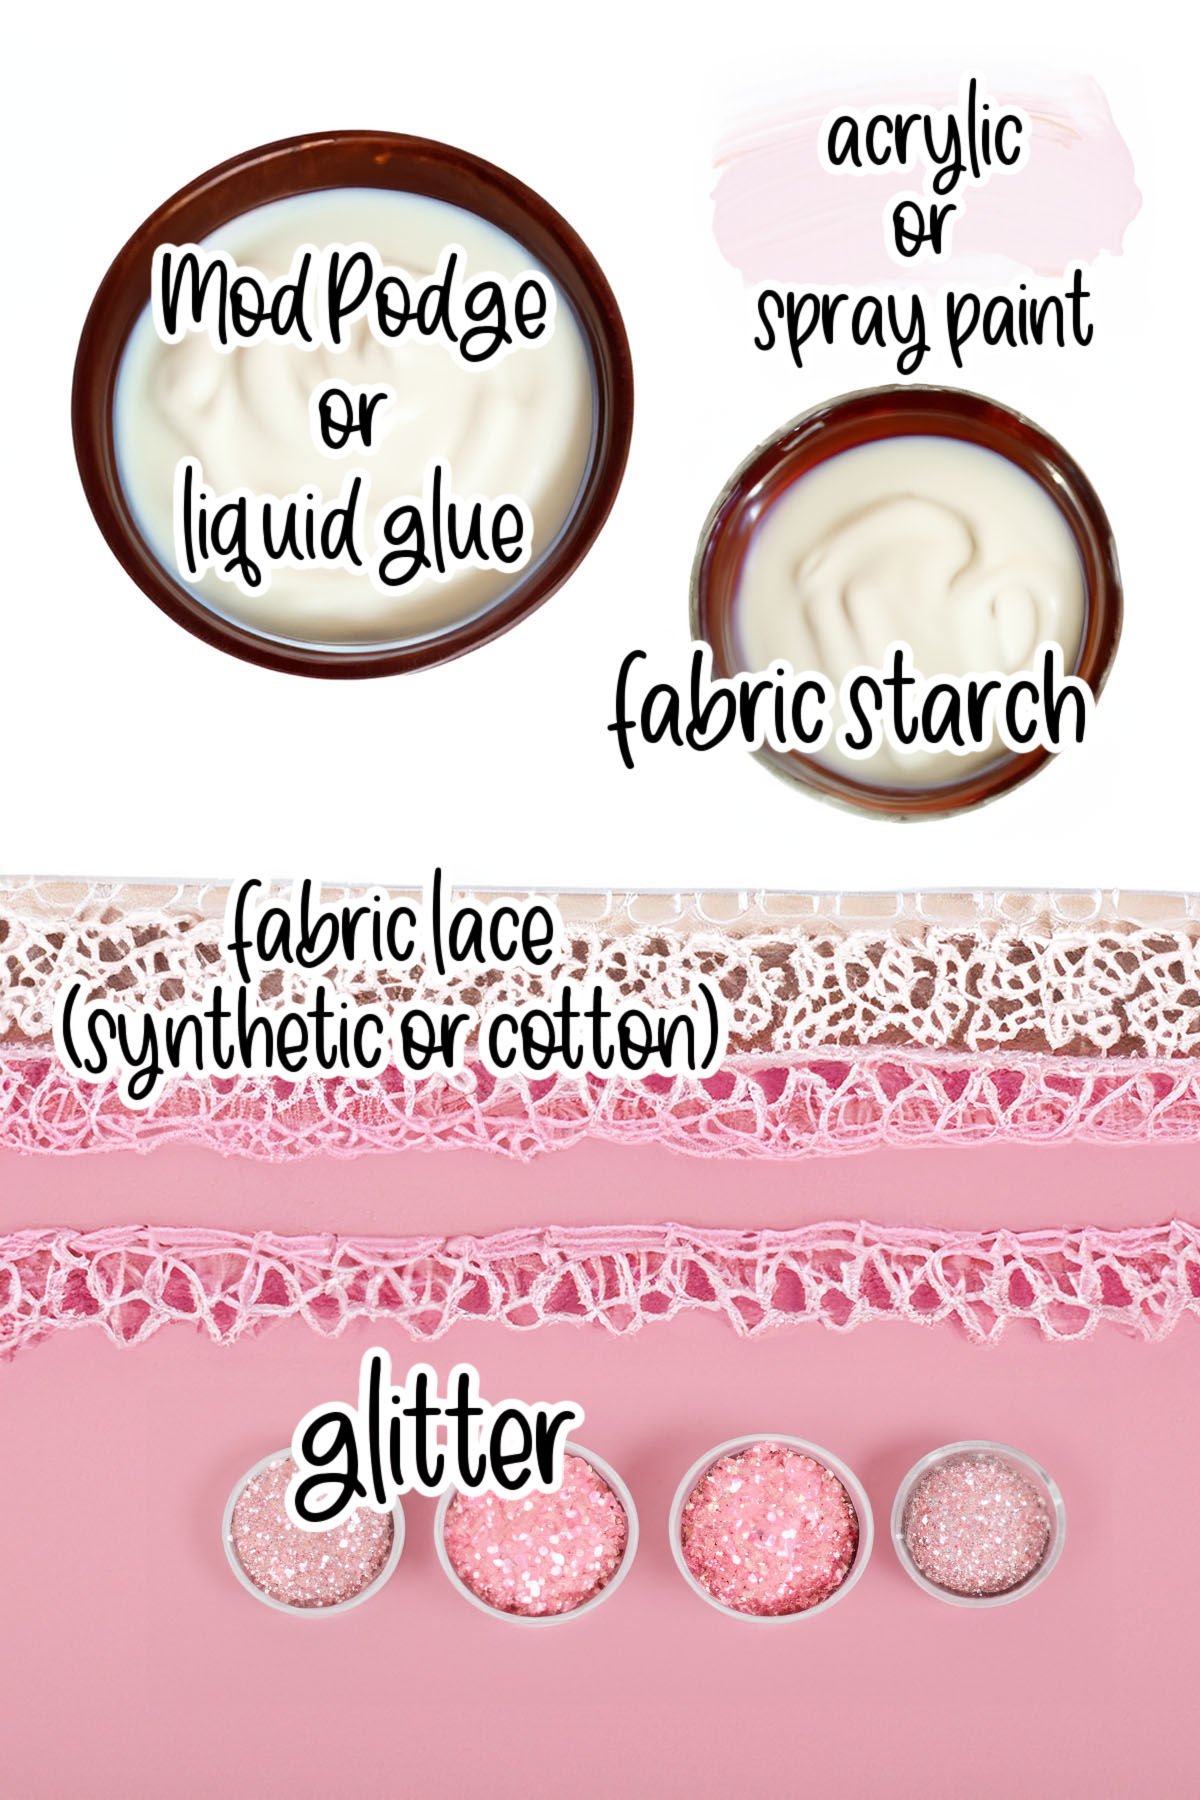
- lace – We have used a variety of laces – from vintage cotton lace to crisp, new synthetic lace. There are so many shapes and sizes. Synthetic laces seem to hold their intricate detail/shape better than the soft cotton laces, such as the vintage trims I used in the past. Look for wider designs with a lot of variation in the trim for taller crowns.
- starch – liquid fabric starch is applied to the lace and left to dry to hold it stiffly in place. We used liquid fabric stiffener. You may be able to use spray starch, but it will be much more difficult to really saturate the lace.
- paint – Acrylic paints work well and come in such a wide variety of colors. Spray paint -especially for metallic colors like gold and silver – are quick and cover well.
- glitter – Adding glitter to the crowns was my girls’ favorite part of the craft. I think that a fine glitter in a coordinating color (to the paint) looks best. Coarse glitter can also take up the bling factor. If you have more delicate, detailed lace, you’ll probably want a fine glitter.
- Mod Podge or glue – If you are adding glitter to the crowns, a nice coat of Mod Podge to seal everything in works wonders. It will also add a bit more structure and stiffness to the crowns.
- hot glue – a quick dab of hot glue joins the two ends of the lace into a perfect crown. You could also hand stitch them together, I suppose.
Optional Supplies:
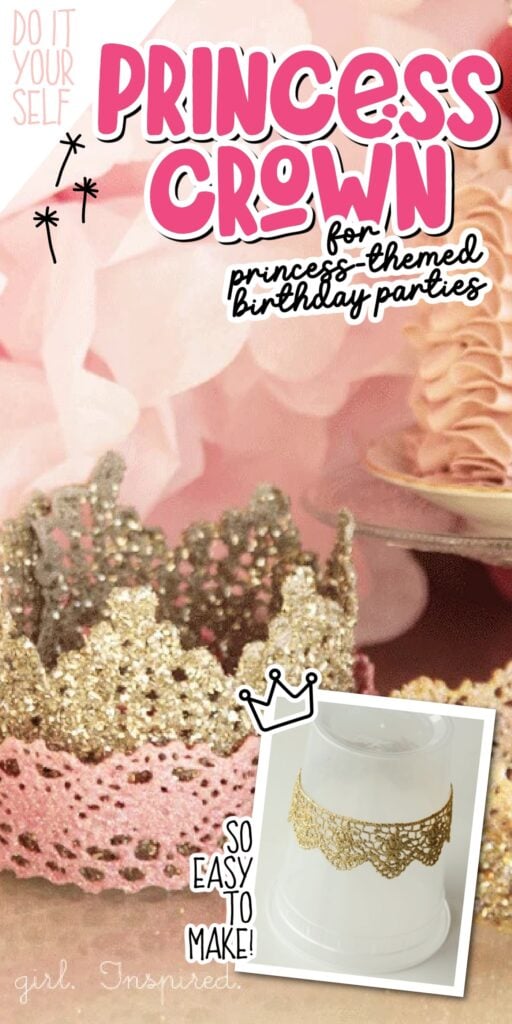
You might also want a tapered food container – like a yogurt tub or a takeout container to place the crown on while stiffening. This will keep the crown perfectly round and can also give the tips of the crown a little flare.
Substitutions and Variations
- Color cotton laces with fabric dye instead of using craft paint. Please note that synthetic lace will not dye.
- Add craft jewels to the center or to the peaks of the crowns for extra sparkle.
✂️ Instructions:
PREP: Cover work area with parchment or waxed paper.
Step 1: Cut each lace piece to 15 inches long.
Step 2: Saturate the trim in fabric stiffener, swipe off excess with your fingers, lay the lace flat to dry in a straight line on waxed paper. Turn several times to ensure all of the holes in the lace are clear of excess stiffener.
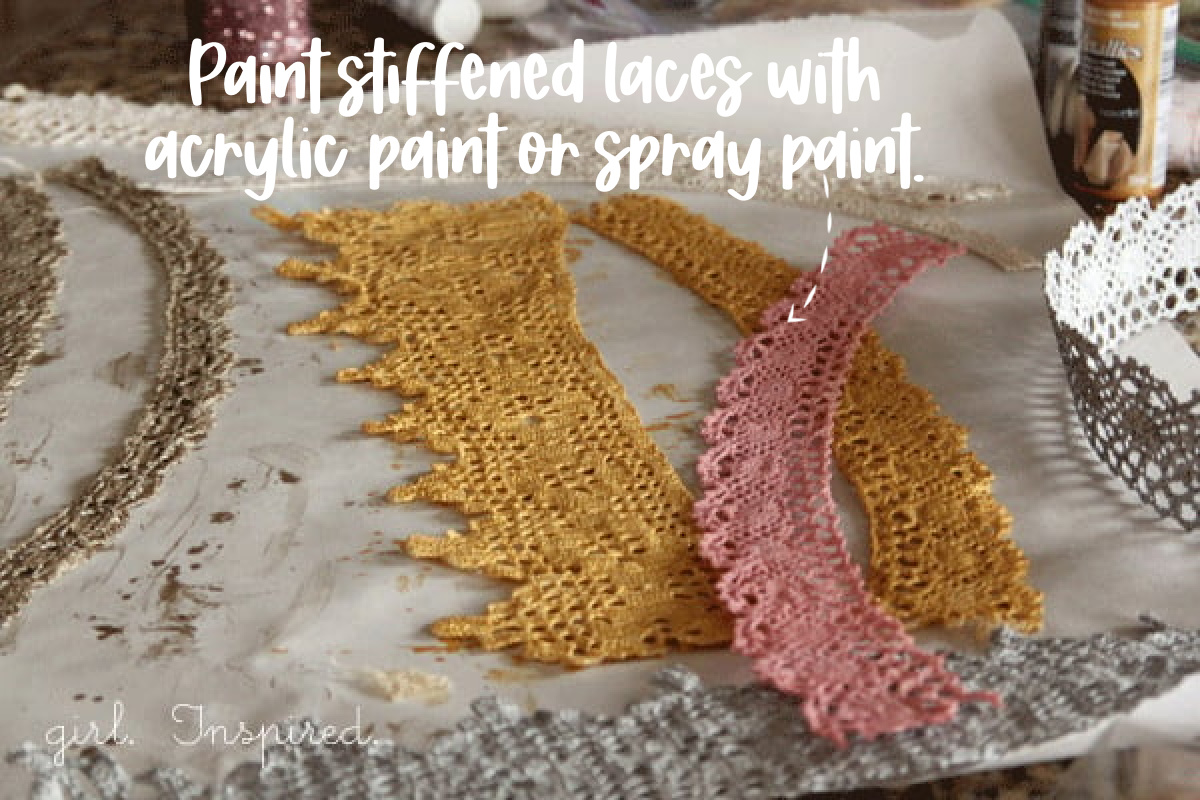
Step 3: When the lace is fully dry and stiff, paint each side. Again, take care that the cutouts in the lace do not get filled with paint. Paint one side, allow it to dry, and then paint the other side.
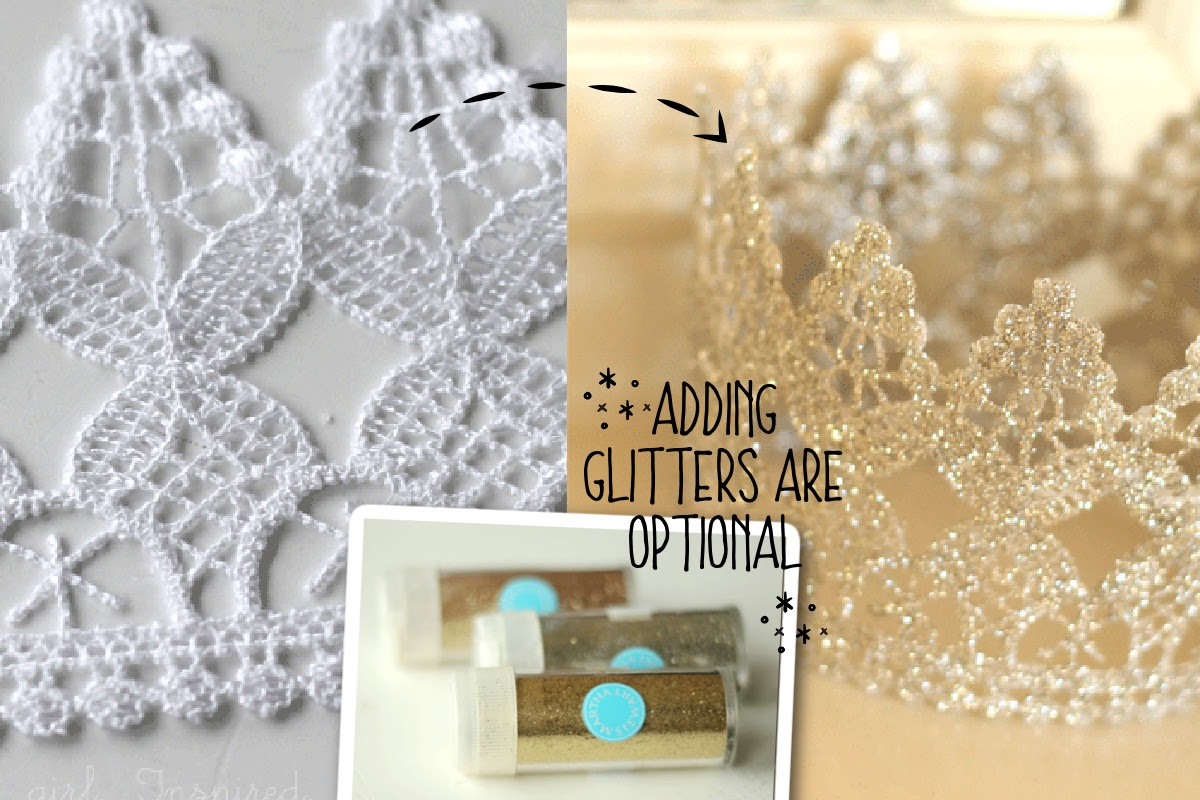
Step 4: Apply a thin coat of mod podge or thinned craft glue to the painted lace and shake with a coordinating color of glitter. Lift up the lace and tap off the excess glitter. Lay flat to dry.
Synthetic laces are easier to stiffen while maintaining the design. When cotton lace is moistened by the stiffener, you have to reshape it. It’s possible, but takes a bit more effort.
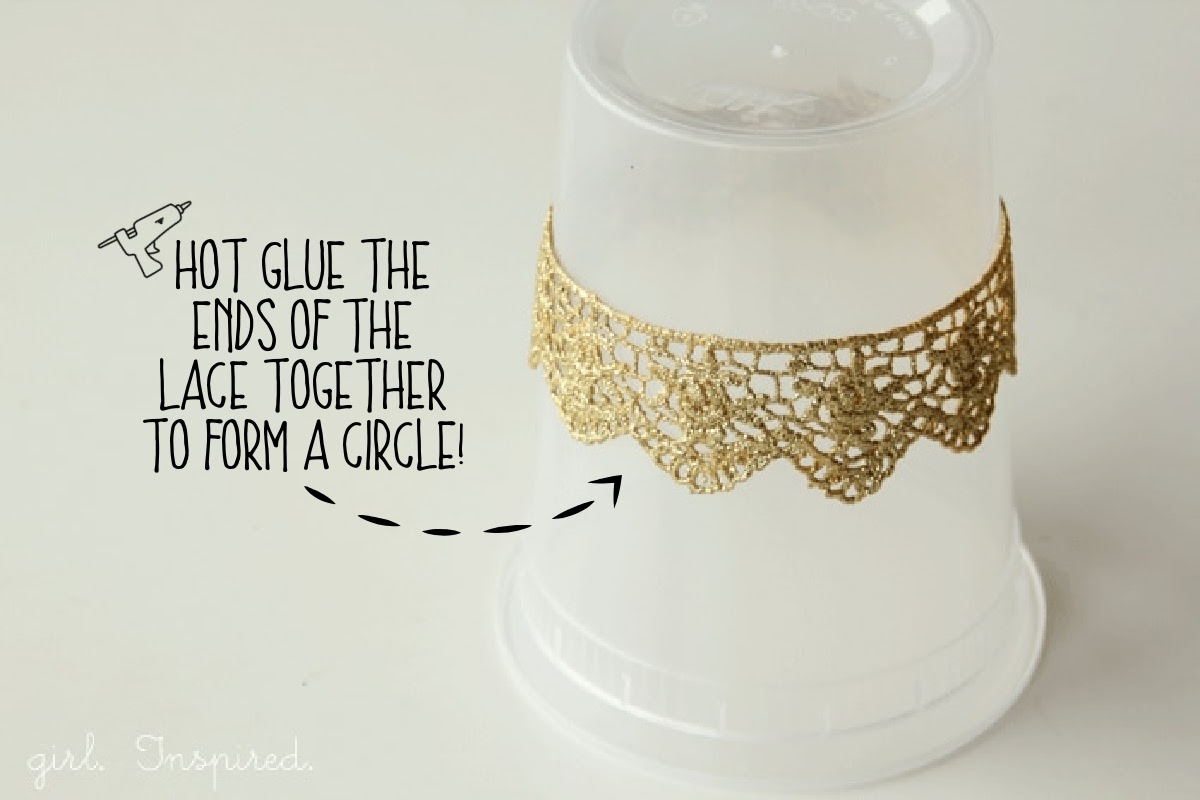
Step 6: Apply a final coat of Mod Podge over the glittered crown. Add a dab of hot glue along one edge, overlap the ends, and glue into place. Set the crown upside down on an overturned tapered container and allow the Mod Podge to dry completely. This ensures a perfectly round crown and it adds a little shape to the crown – the base is narrower than the tips.
Princess Crown Tutorial Tips
- Work on a warmer day and use the sunshine and dry air to move through the project more quickly. Humidity and cooler temperatures simply mean that each step of the project will take a bit longer. It is important to completely dry out the lace between each step.
- We use bobby pins to secure the DIY crowns in the hair or on top of the head. You can also try hot gluing a little comb onto the inside of the crown to attach to the hair.
- We liked super fine glitter the best – Martha Stewart craft glitter was our favorite for this project.
- If you apply the final coat of Mod Podge to seal in the glitter, be sure to leave the very ends of the lace dry so that it doesn’t prevent the hot glue from sticking as you form the lace into a crown shape.


If you made this DIY Princess Crown or any other craft project on my website, please please leave a 🌟 star rating and let me know how you liked it in the 📝 comments below.
DIY Princess Crowns
Materials
- 15 inch synthetic or fabric lace
- ½ cup fabric stiffener
- 2 tablespoons acrylic paint
- ½ cup Mod Podge
- glitter fine grain
Instructions
- Cut lace into 15" lengths.
- Saturate the lace in fabric stiffener, working it into the lace with your fingers.
- Spread the lace out flat on a sheet of parchment or waxed paper and allow to dry completely.
- Paint one side of the stiffened lace at a time with paint. Allow to dry completely.
- Add a thin coat of Mod Podge and sprinkle glitter over the lace. Shake off excess glitter.
- Allow to dry.
- Seal the glitter with another coat of Mod Podge. Before it dries, apply a bead of hot glue to one end of the lace and join it to the other end to form a circle.
- Place crown upside down onto a tapered column and allow to dry. You want the base of the crown to rest on the narrower part of the column so that the tips of the crown flare out slightly when dried.
- Use bobby pins or affix hair combs to the crown to place in hair.
Notes
- Work on a warmer day and use the sunshine and dry air to move through the project more quickly. Humidity and cooler temperatures simply mean that each step of the project will take a bit longer. It is important to completely dry out the lace between each step.
- We use bobby pins to secure the DIY crowns in the hair or on top of the head. You can also try hot gluing a little comb onto the inside of the crown to attach to the hair.
- We liked super fine glitter the best – Martha Stewart craft glitter was our favorite for this project.
- If you apply the final coat of Mod Podge to seal in the glitter, be sure to leave the very ends of the lace dry so that it doesn’t prevent the hot glue from sticking.
- Synthetic laces hold their shape better when saturated with the fabric stiffener.


Comments & Reviews
Vanessa says
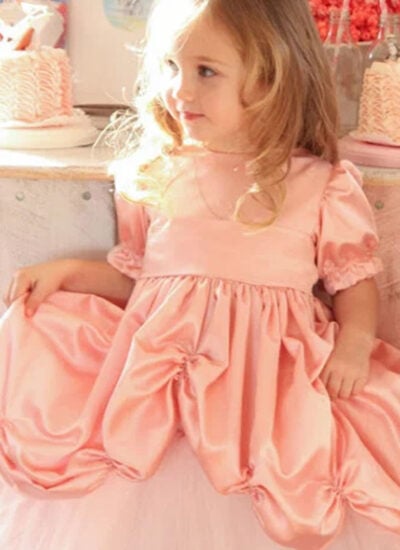
Hello! I found this on pintrest and it is right up my alley. I am having a Royal Birthday Princess Party for my soon to be 5-year old. I love the crowns but I also LOVE the princess dress. Where did you get it from, or did you make it yourself? I have been looking for a dress like this and just cannot find it. :0(
girlinspired says
Hi Vanessa,
Thank you so much, I did make the dress. If you sew, I have a tutorial for the skirt portion of the dress, which is can be found here: https://thegirlinspired.com/2012/02/ready-to-bustle/ I hope your Royal Birthday Princess Party is a blast!!
Alisha | Hoot Invitations says
What a fabulous princess party project!! I will definitely be trying this one out!
girlinspired says
Thanks Alisha! It really is so much fun and such a pretty payoff!
Masau says
Well thank you very much for sharing your creative idea,well actually we are having a party tonight and who ever comes to the party without a crown will have to pay ! i manage to get mine done just because of you.THANK YOU
Kelli Bivona says
Adorable! This, or an adaptation of, would also be great as a headpiece for a flower girl…or any other excuse for girls to be able to wear tiaras as often as possible!
Brenda says
Great ideas for picture props.
Cindy deRosier says
I’m the Editorial Assistant for Fun Family Crafts and I wanted to let you know that we have featured your crown! You can see it here:
http://funfamilycrafts.com/lace-princess-crowns/
If you have other kid friendly crafts, we’d love it if you would submit them. If you would like to display a featured button on your site, you can grab one from the right side bar of your post above. Thanks for a wonderful project idea!
J Brittney says
Thank you for posting this! I have been lusting after lace crowns on Etsy but couldn’t bring myself to pay for shipping! I have made 4 of this, 2 with spray paint! And I LOVE the spray paint crowns, however, they smell! How long did it take for the spray-paint smell to come out of your crowns?!? I am sending mine to a newborn and I’m not sure her mamma will appreciate the smell of paint. Thank you!
Whitley Ballet School says
This is great, our students love to wear princess crowns in class! Sharing on our blog, thank you for posting this tutorial 🙂
Maxwell Handmade says
I love this idea! I want one for myself.
Virgin hair extensions says
Thank you for this valuable information, I hope it is okay that I bookmarked your website for further references.
Anonymous says
thanks for sharing..
Liz says
I just found your blog and I LOVE IT! I was looking for the perfect princess dress for my baby for Halloween, yours was the only one out of many many others that I just have to try to make. I can’t wait to go through all your other posts.
vixen Made says
Just beautiful!! I saw these back when you first posted and I loooove them. I had to share them on my blog: http://www.vixenmade.com/2012/09/diy-lace-projects.html
whitekey10 says
Hair Extensions, Keratin Tipped, hair store Remy Indian Human Hair,I Tipped, weave Fusion Hair Extensions, Keratin Glue, hair salons Seamless Tape Hair Extensions, Keratin Hair Extensions, European Hair extensions
Anonymous says
my grandaughter is having a fairy princess birthday party, she loves crowns, never thought of this. Thank you.