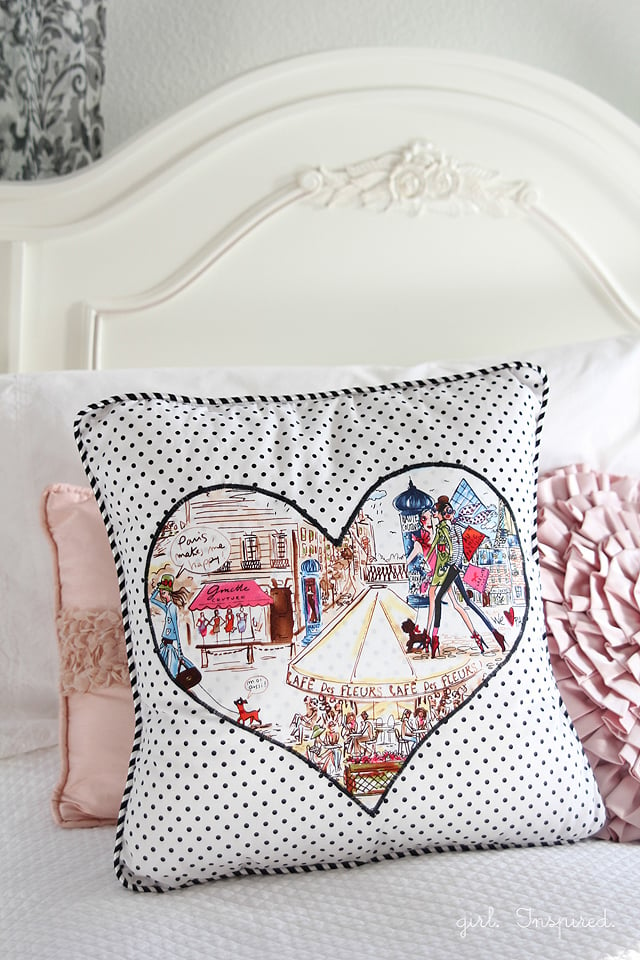
As I mentioned on Monday, I’m in deep with my daughter’s bedroom makeover. After days of priming and taping, painting and installing molding, I needed a quick fix in my sewing room. And what do I make when I have just a few minutes to sew something? More pillows! Plus…every bedroom makeover needs new throw pillows. In addition to adding a cheery heart applique, another way to up the professional finish is to add piping to a pillow cover.

Adding piping to a project requires just one extra step and a little extra care when you’re sewing together your pillow cover.
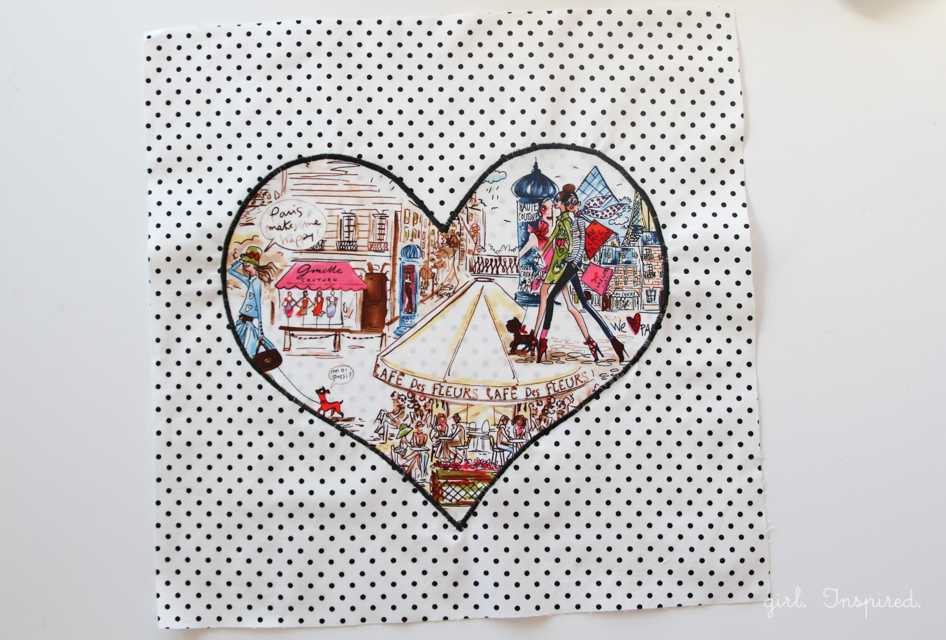
Prepare the pillow cover pieces in the size you wish to make – mine is 16″ x 16″. (Learn how to make a pillow cover here.)

Cut a piece of piping to length = the perimeter of the pillow (16″x4) + 5″ – so 69″ for this 16″x16″ pillow. Begin at the bottom center of the front pillow cover. Match the raw edge of the piping with the raw edge of the pillow. If you can identify a right side to the piping, that should be face down. I like this thicker upholstery weight piping for pillows, but you can learn how to make piping or use another type of trim.
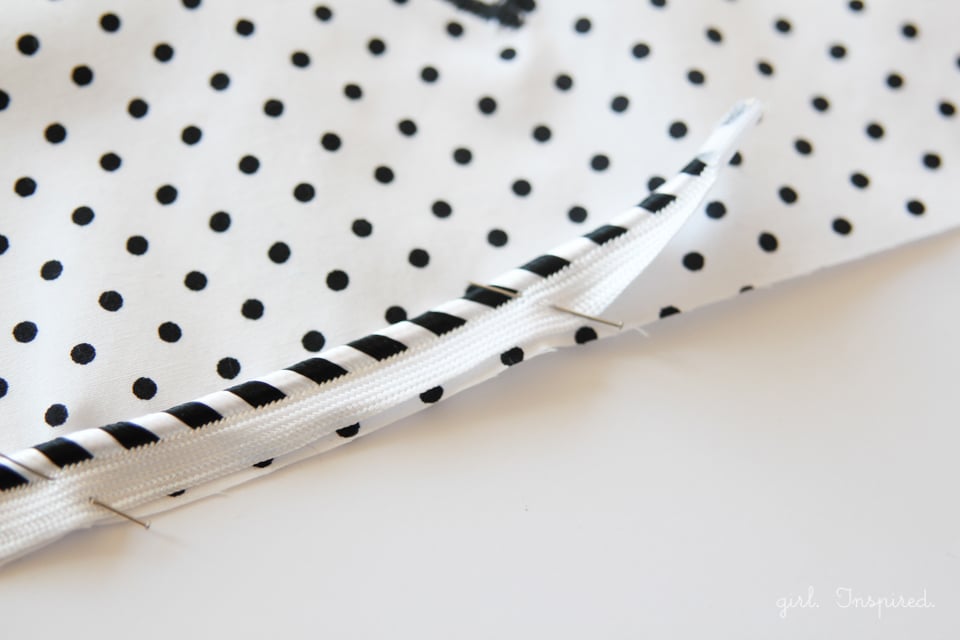
Pin the piping around the perimeter of the pillow. At the start and stop of the piping, overlap the ends and allow them to hang over about 1-2″.
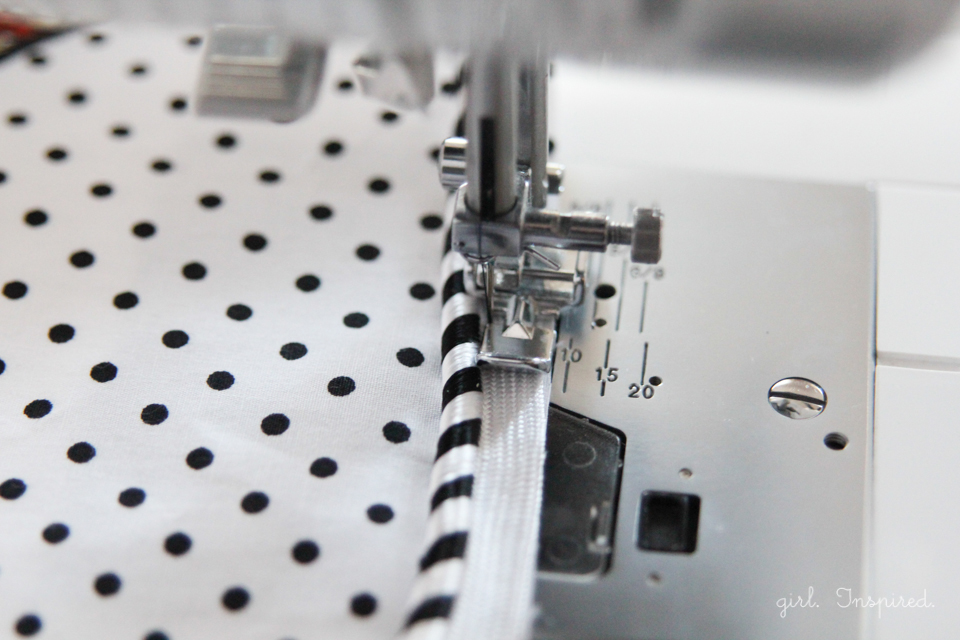
Fit your sewing machine with the zipper foot and place your pillow cover under the foot. Use a longer stitch length to baste the piping in place around the pillow cover, stitching close to the edge of the piping.

As you approach the corner of the pillow, stop stitching about ½″ from the edge (or amount consistent with your seam allowance), leaving the needle down in your fabric. Lift the presser foot and pivot the fabric just a bit so that you can continue sewing down the next side. Manipulate the fabric and piping to form a smooth curve around the corner. Try to keep your seam allowance consistent and keep the piping to the left of the needle.
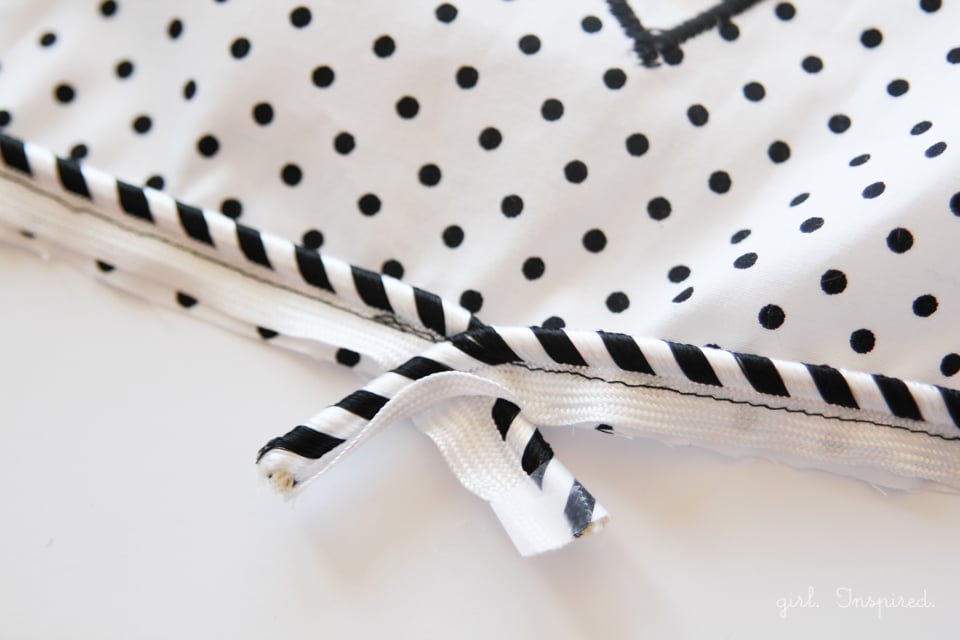
When you reach the starting point, cross the end tail of the piping over the starting tail and continue sewing over the top of the piping to form a straight stitch line. Both ends of the piping should fall to the right of your stitch line.
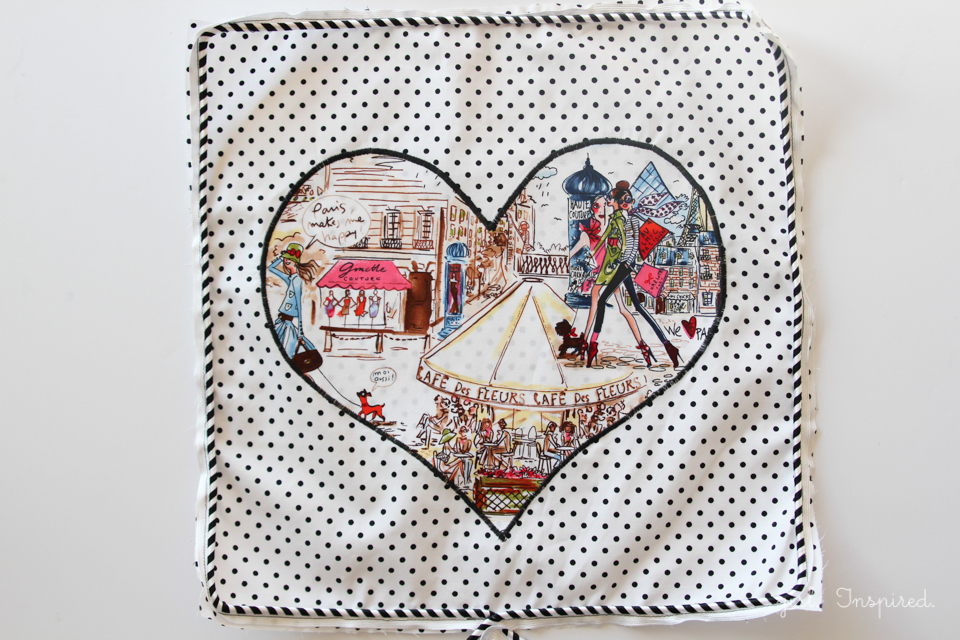
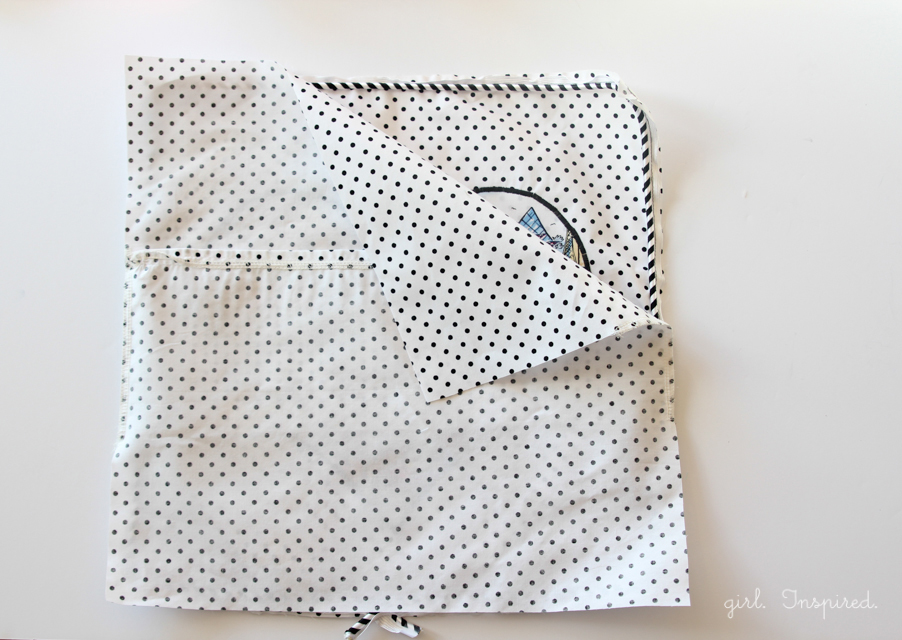
Time to join the front and back cover! Place the prepared back cover onto the front cover, right sides together. Match and pin all four corners. Sometimes the front cover, with piping attached, gets a little misshapen so be sure to get it all straightened out and the corners matched up before you start sewing them together.

Using the zipper foot once again, stitch the front and back covers together. Use your fingers to feel the edge of the piping and be sure to stitch as close as possible to the edge of the piping. I like to move my needle position over pretty far to the left at this point, to really get in close to the piping. You can also sew with the other side of the pillow (from what is shown) face up so that you can see your first line of stitching – in that case, you can be sure to stitch to the inside of the first stitch line. Stitch all the way around the cover using a regular stitch length and tension.
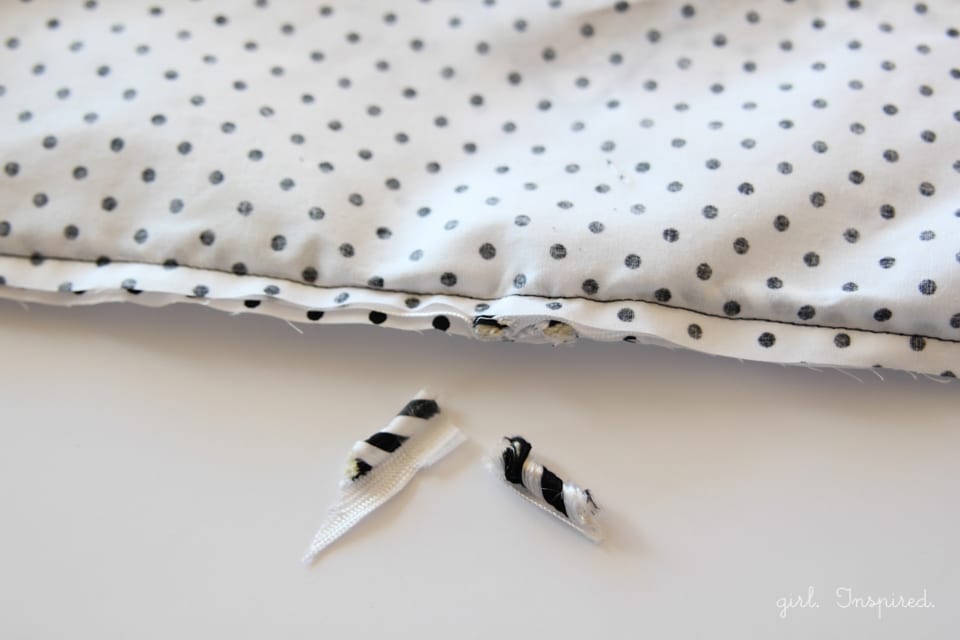
Trim the extra piping even with the edge of the pillow cover.
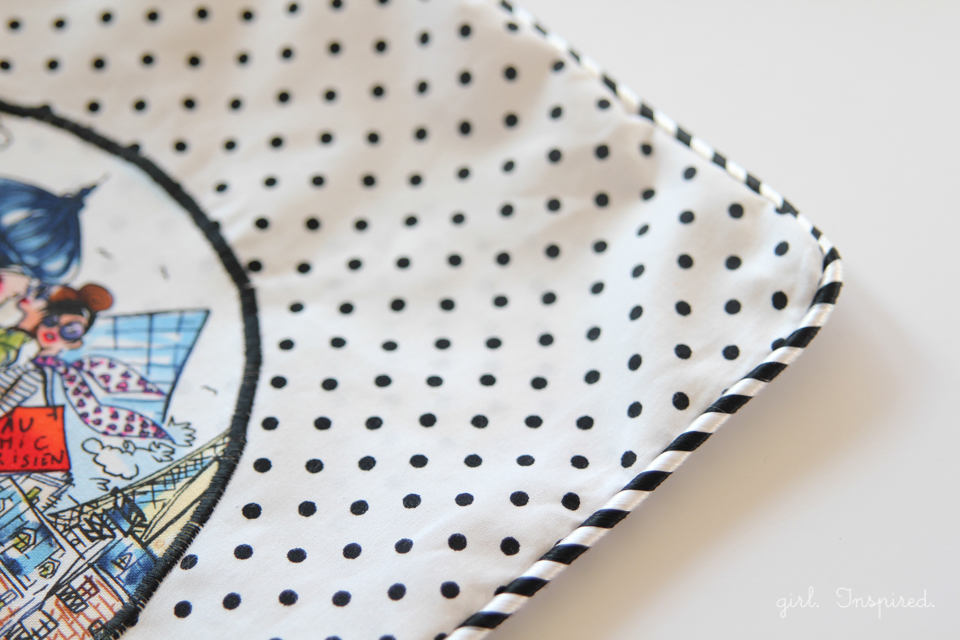
Flip the cover right side out and check your work. If necessary, go back in and restitch any areas that you didn’t stitch close enough to the edge of the piping.

And you’re all set – now you know how to add piping to a pillow cover! Pretty piped pillow, ready for decorating!!

Head over to the sewing instructions and heart appliqué free download!

Polka dot fabric and Who’s that Girl? fabric both made by Robert Kauffman (in LOVE!!! with these fabrics)
Piping from Jo-Ann


Comments & Reviews
Stacey Dalton says
Love the black and white. So chic. You make me want to make a hundred pillows!!!
Anne says
Beautiful!!! I’ve linked to your tutorials over at Craft Gossip: http://sewing.craftgossip.com/tutorial-piped-heart-applique-throw-pillow/2014/01/23/
–Anne
amandalee says
I absolutely love this!!! I love anything Paris…thanks for the tutorial.:-)