I’ve said it before and I’ll say it again. Learning how to sew a pillow is one of the easiest sewing projects with the biggest return on investment that you can learn! Change the look of a room with just a few new pillows!
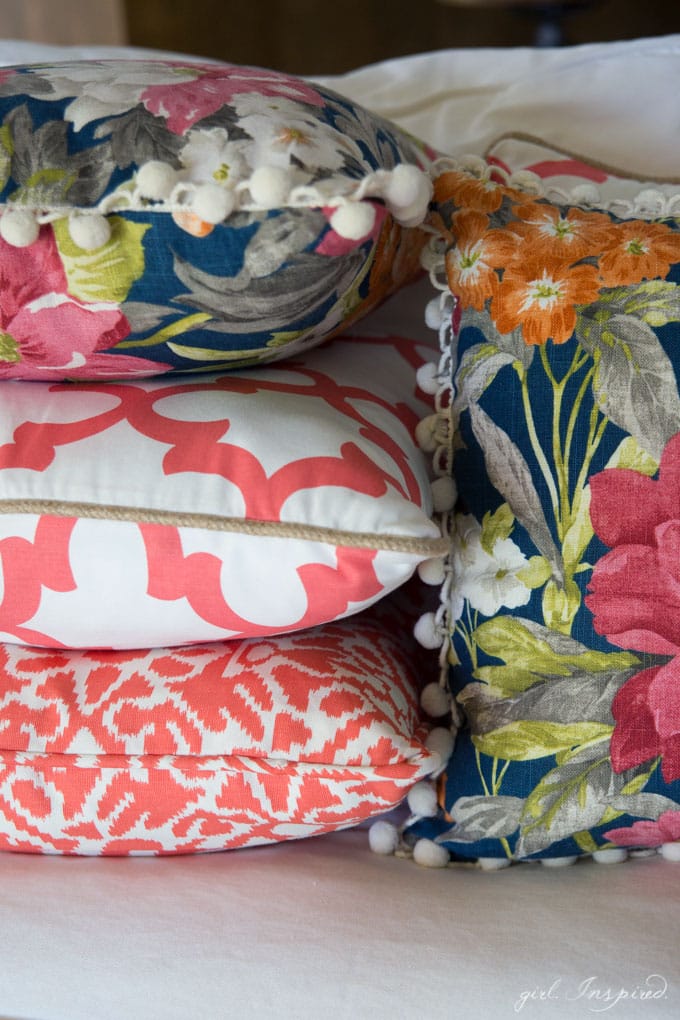
Why Should I Sew a Pillow Cover Myself
Decorative pillows are absolutely one of the easiest projects and a great way to improve your sewing skills and your space. Why? Because they’re SO simple and the end result makes a huge impact in any space. You can completely change the feel of an entire room with a good pile of new throw pillow covers. Learn to sew in a straight line and you’ve got yourself brand new DIY pillows!
The department stores are coming out with some really awesome pillows, but even if they fit the color scheme and feel I want in a room, I have a hard time shelling out the big bucks for them. Some of the nicer pillows out there cost in the $50-$100 range, and that doesn’t even include the pillow form!
I change my pillows around fairly often with the different seasons so I like to sew my own. With just a little extra effort, you can take this diy project to the next level.
Today we’re going to talk about some easy ways to make professional-looking new pillow covers for a fraction of the cost! This post contains affiliate links so that I can help you identify the same materials that I use and love in my projects! Now grab your sewing machine and let’s get started!
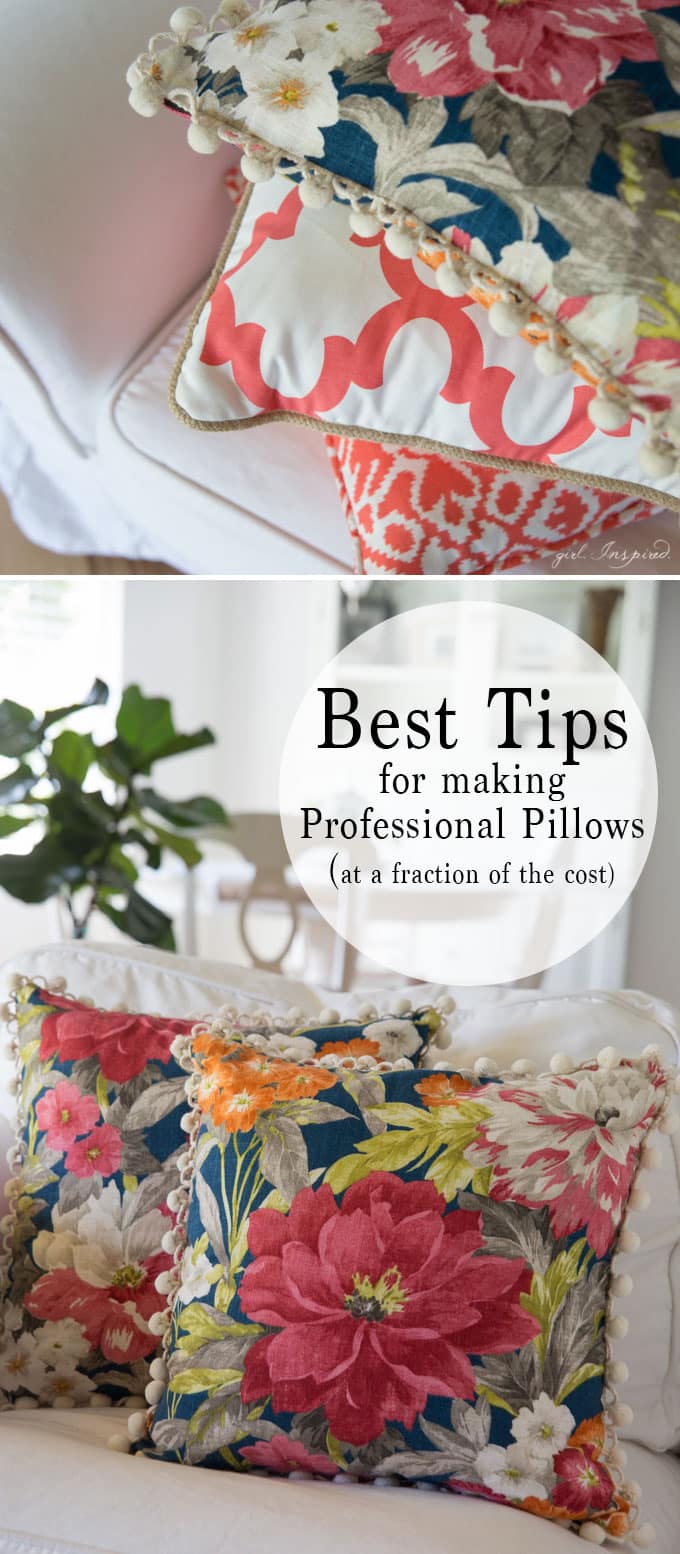
Choosing your Favorite Fabrics for the Pillow
The first step is choosing the right fabric. Sure – you can use a quilting cotton for its pretty print, but using an upholstery weight fabric is really going to help your pillows hold their shape and will also smooth out nicely over most any pillow forms.
If you do use a lighter weight fabric, consider adding a layer of iron-on interfacing to reinforce the fabric and provide structure and weight. You can also add a thin layer of batting and do some quilting. But, if you’re just going for a quick simple pillow, upholstery fabric is the way to go.
I ordered my fabric online for this project because I was having a hard time finding a variety of that perfect shade of coral that I wanted in my family room. Fabric.com has a large variety of upholstery fabrics available for ordering online. The exact prints and patterns that I’ve used in this post are no longer available, but look for:
- Cotton Twill – this is a bit more lightweight than a cotton duck, for example, but still lovely for upholstery and typically comes in beautiful prints and patterns.
- Cotton Duck – a heavy duty upholstery fabric
- Indoor/Outdoor Fabric – this is a great option, especially if you want something that can hold up to wear and tear a bit better.
- Sunbrella – this indoor-outdoor upholstery fabric is my go-to for cabana stripes and any kind of outdoor throw pillows. It doesn’t fade in the hot sun and they make so many great colors.
- Linen blend – typically a bit more expensive, but linen holds up well and has such a nice hand for upholstery.
These fabrics are all extremely affordable. The “Premier Prints” line from Fabric.com come in a huge variety of patterns all within a particular color scheme and there are many colors to choose from. For less than $10/yard – you buy the fabric for pillow covers for $5/ pillow! Even a more expensive linen breaks down to just $15 per pillow! Mix and match a few different patterns, varying the scale of the print for the best impact in the room. (The website I’ve linked to above has an “add to design wall” link that makes it beyond easy to see how different fabrics color coordinate and look side by side – I know they’ve had this feature for ages, but this was the first time I actually tried it out and it was SO helpful.)
To get started, you will need about 1 yard of fabric for every two pillows (18-inch square), as long as the fabric is at least 45″ wide from selvage edge to selvage edge.
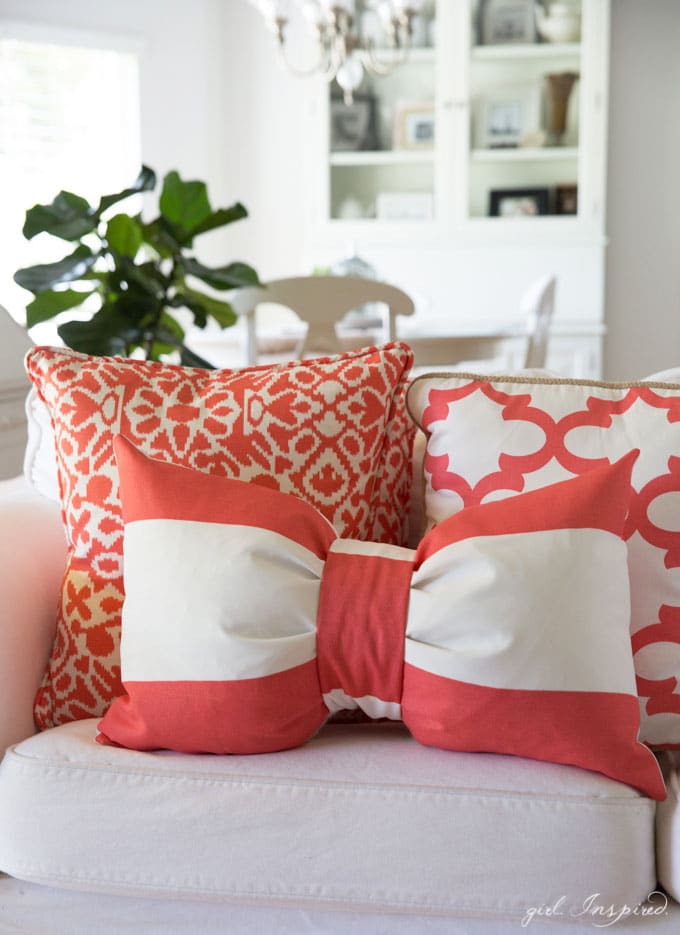
Cutting your Fabric Pieces
Envelope-style pillows are my go-to sewing technique. They are the easiest way to quickly sew a pillow and require no extra notions such as zippers or buttons. An envelope pillow cover is simple to remove and wash. It should be one of the first pillows you tackle; they are a super easy sewing project.
HOW TO MAKE AN ENVELOPE PILLOW COVER <–This tutorial outlines the details of cutting and sewing envelope-style pillows so check that out if this is new to you! If you prefer a different style pillow, I’ll talk about that a bit later.
Choose your pillow size and hence, the amount of fabric you’ll need. As long as your pillow is not larger than 22″ on the short side, you will be able to get both the front and back cover from one strip of fabric. Order the length of fabric, then, according to the long edge of the pillow. Be sure to add a little bit of wiggle room.
I almost always plan my pillow cover pieces to be the same dimensions as my square pillow insert size – i.e., 18″x18″ square fabric pieces for an 18″ pillow. With a ¼-1/2 inch seam allowance, I’ve found that this makes a cover that the pillow insert fits plumply (but not too tightly) into – no more sagging pillow covers!
- For a zippered pillow cover, you simply need two square pieces of fabric – one for the front of the pillow and one for the back of the pillow.
- An envelope-style pillow requires one square for the front piece and two smaller pieces of fabric that are overlapped to form the back piece.
If a greater seam allowance is needed, you might need to cut larger pieces – adjust as needed, but just know that a snugger pillow cover looks more professional and tailored!
For non-directional fabric and very precise cutting – you can sew two pillows from one full yard of fabric (as long as it’s 45″ wide.)
Use a rotary cutter and a cutting mat/ruler to make clean edges and straight cuts for your outer pieces. Cut each piece of fabric carefully.
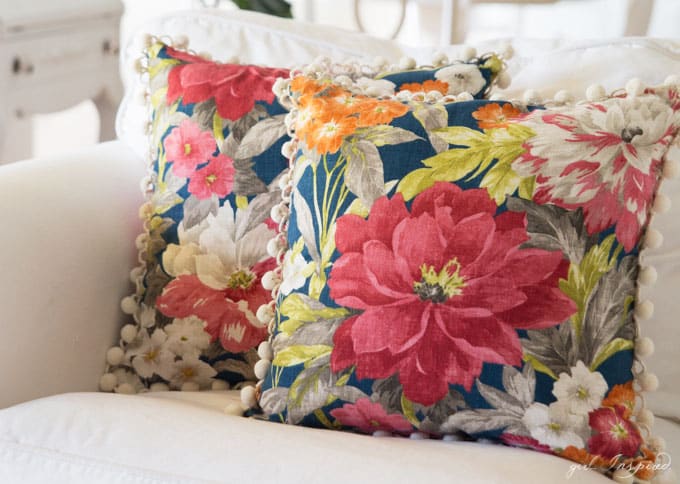
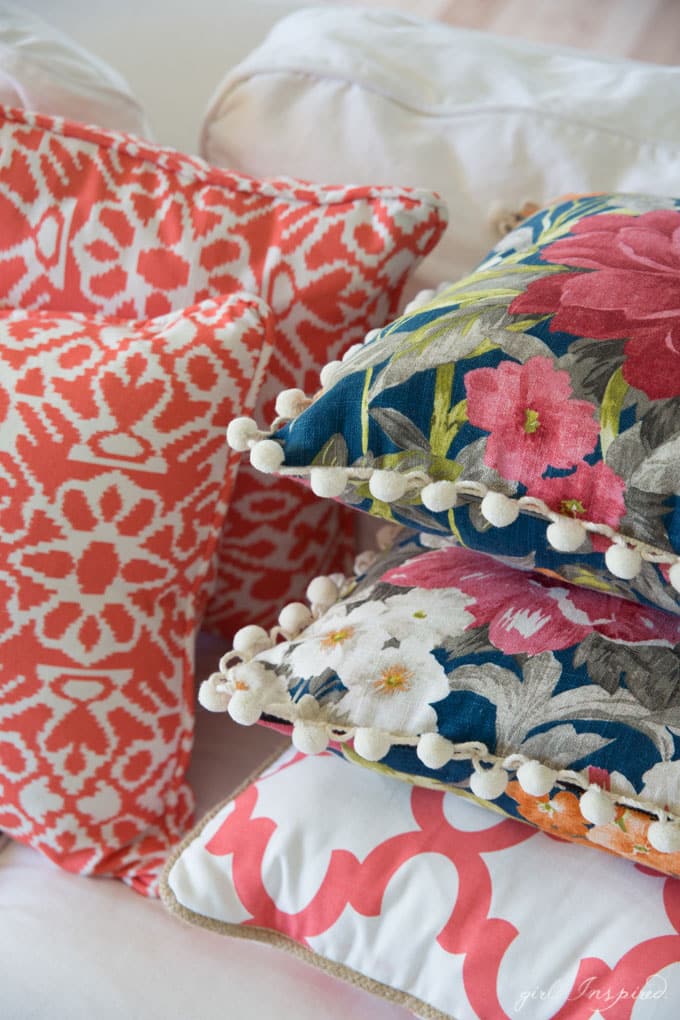
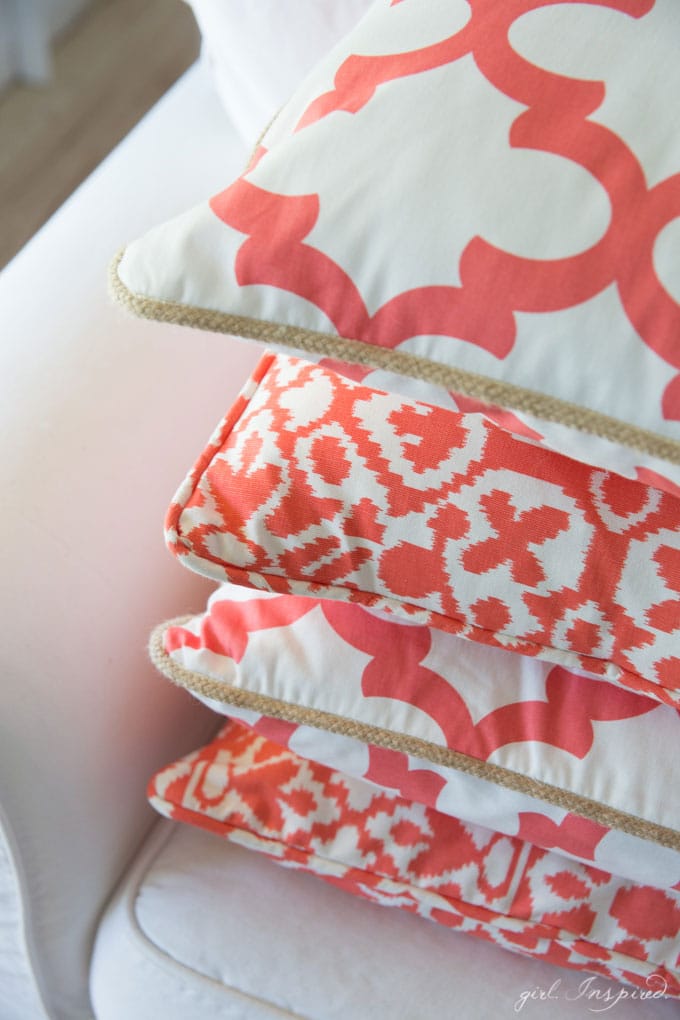
How to Make a Pillow Look Custom Made
Now let’s talk about how we’re going to take the great fabric you’ve got and turn it into pillows that look completely custom and professionally made!
You have two squares of fabric – now what? There is a super simple way and that’s by adding TRIM!! Pom-pom, tassels, ric rac, pre-made piping, and even custom piping.
You will need one continuous piece of trim to go around the perimeter of the pillow square. For an 18-inch pillow, we need 2 yards (plus a smidge to be safe – so 2 and ⅛ yards of trim.
Trim can be pricey, so plan your pillows in advanced. For two identical pillows, you’ll need 4 ½ yards of trim – purchase it in one long cut and use a coupon or look for trim sales! Without a coupon, you might end up paying around $10/pillow for trim, which ultimately will still result in an awesome pillow for way less than you’d pay for a pre-made pillow. Trim is so easy to sew in! Let me show you.
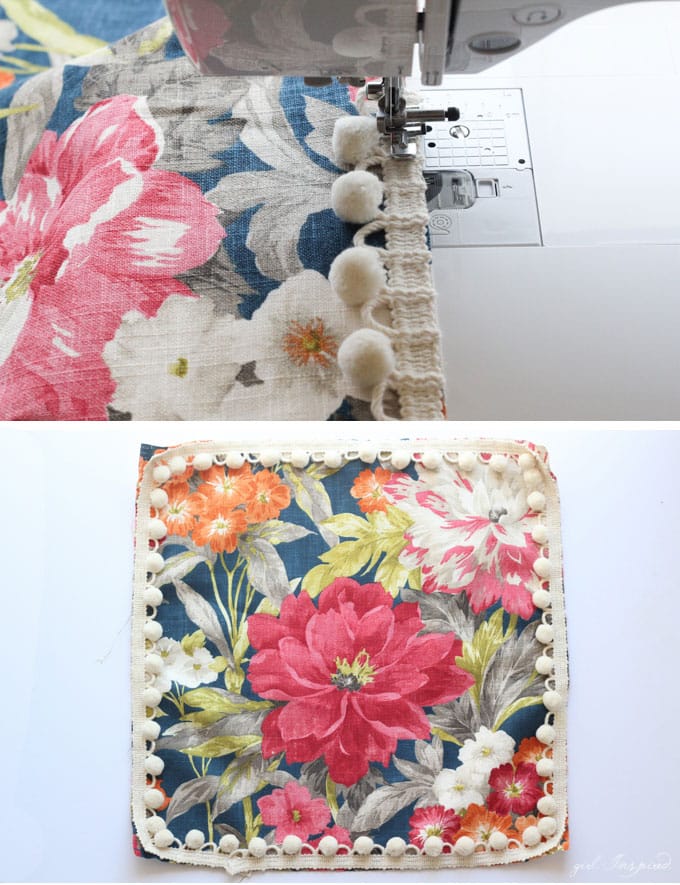
How to Add Pom Pom Trim to a Pillow Cover
- Take your 18″ x 18″ square fabric for your pillow front (or whatever size you’re making!!) and spread it out on a flat surface in front of you.
- Grab your pom-pom trim (here is the trim I used for this pillow – it’s a bit nicer than some of the pre-packaged pom pom trims and I wanted a higher quality trim to compliment my fancy fabric.
- Align the raw edge of the trim with the raw edge of the fabric and match right sides together.
- Use a zipper foot and position your sewing needle over as needed to baste the trim in place around the perimeter of the pillow. You are sewing a line such that everything toward the center (to the left) of your stitches will show on the finished pillow and everything toward the raw edge side of your stitches will fall within the seam of the finished pillow and won’t show.
- Sew carefully. Remember, you are only prepping one side of the pillow cover.
- Now, match up the back of your pillow, right sides together over the front cover (trim sandwiched between). Stitch again around the entire perimeter. I like to sew with the (wrong side of) the front cover facing up so that I can see my stitch lines where I basted on the trim. Sew just slightly to the inside of your basting stitches as you join the front and back covers. (You might notice that I’ve used a zipper in lieu of my go-to envelope style pillows in the above picture – we’re going to talk about that in just a moment…)
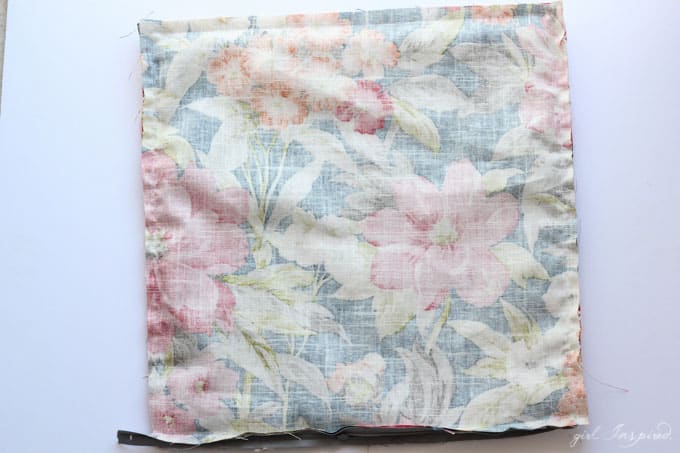
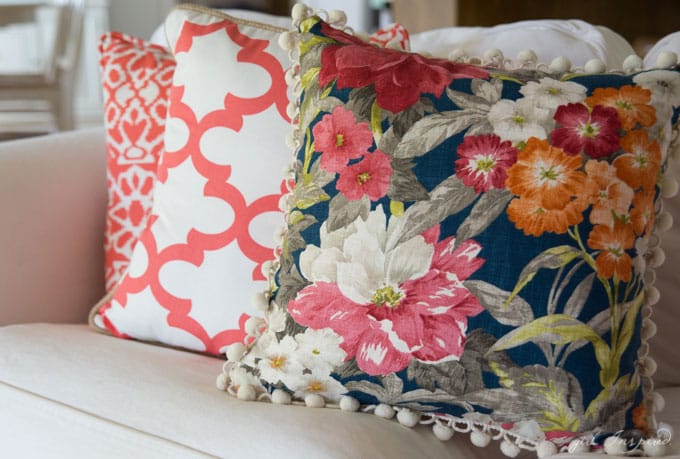
Gorgeous! Look at this totally custom and professional-looking pom pom trim on the finished pillow.
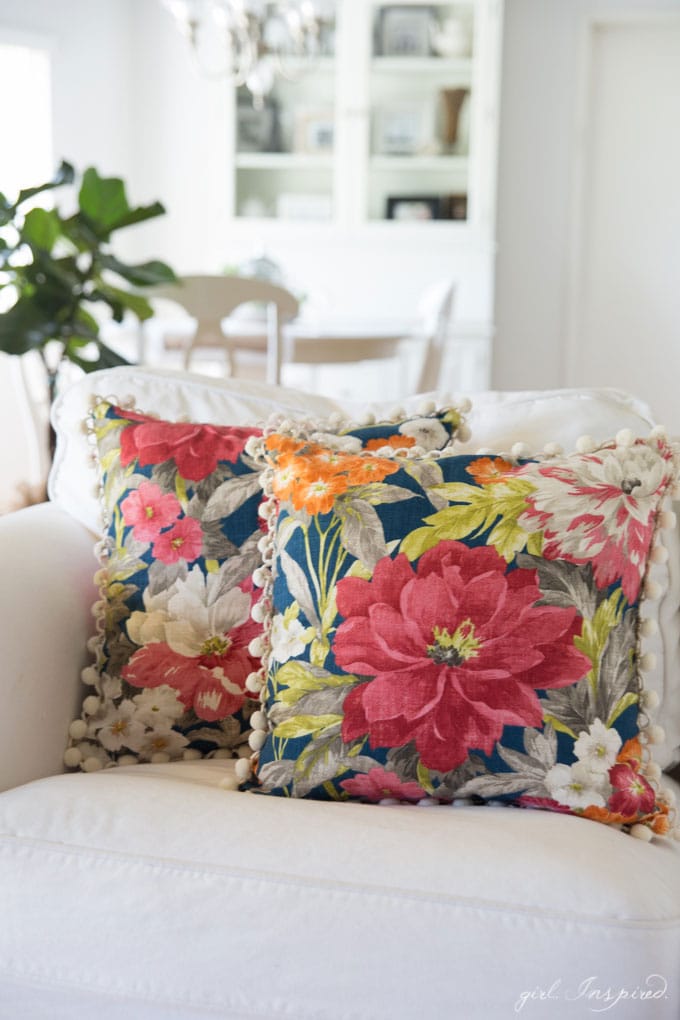
Adding Piping to a Pillow Cover
Alrighty! On to piping!! Piping is the perfect touch for a professional-looking finish on your pillows!
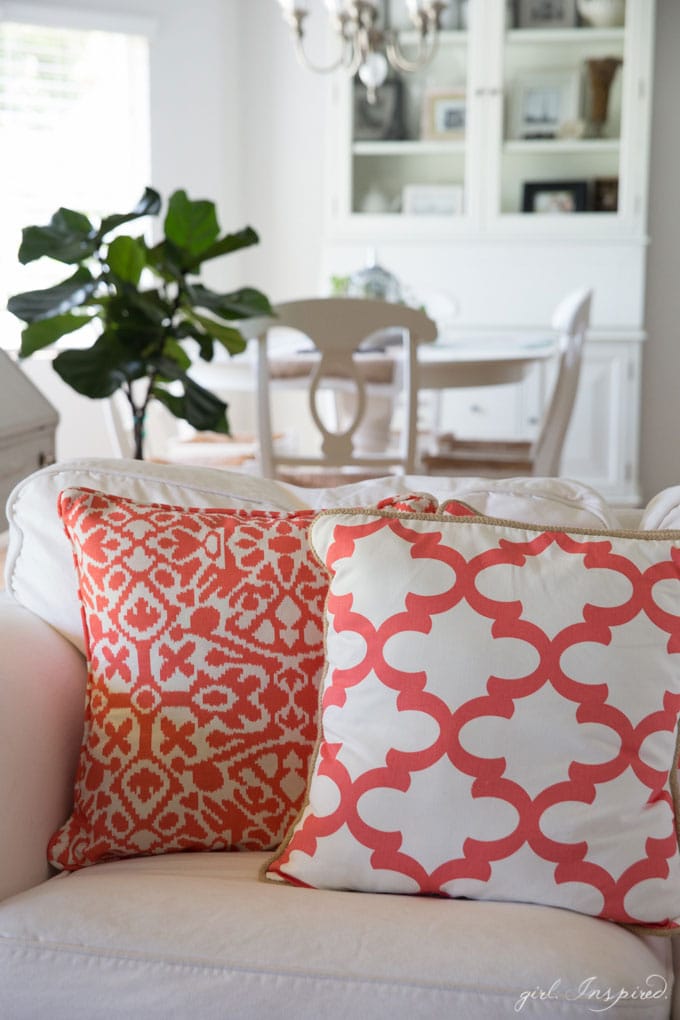
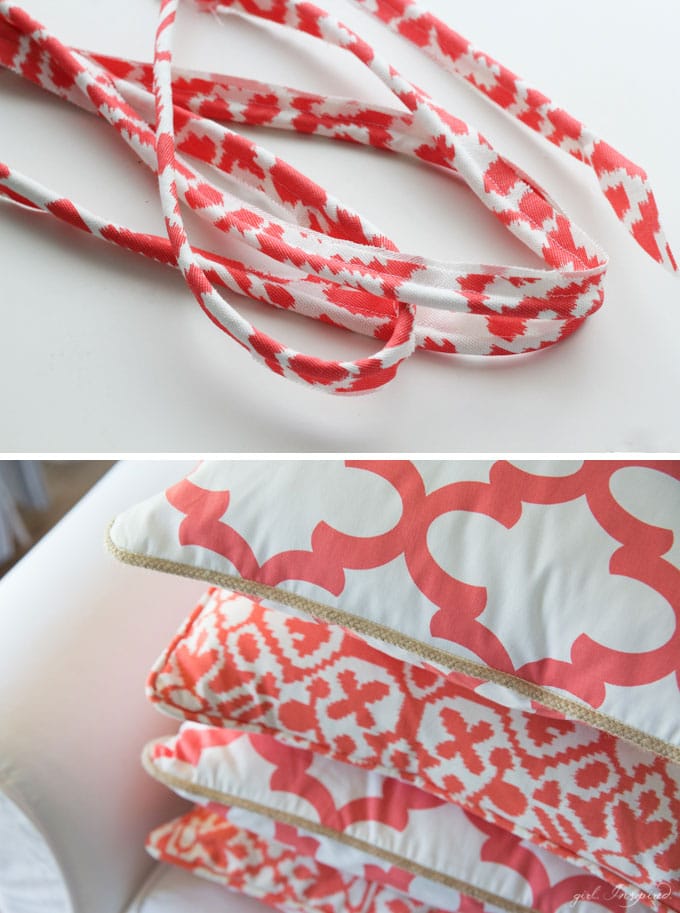
On my quatrefoil-ish pillows, I sewed in some pre-made piping (sold by the yard) where the cording is jute. Here is a similar product. I really love the jute to add some natural textures and earthiness in the room.
If you take a look, you can see what they call “lip” which is the strip of material that gets sewn into the pillow seams and is attached to the cording.
You’ll sew this in the same way as the pom pom trim – use your zipper foot and move the needle over so that you can sew right up against the base of the cording – you’ll only want the cording to show on the finished pillow, not the “lip.”
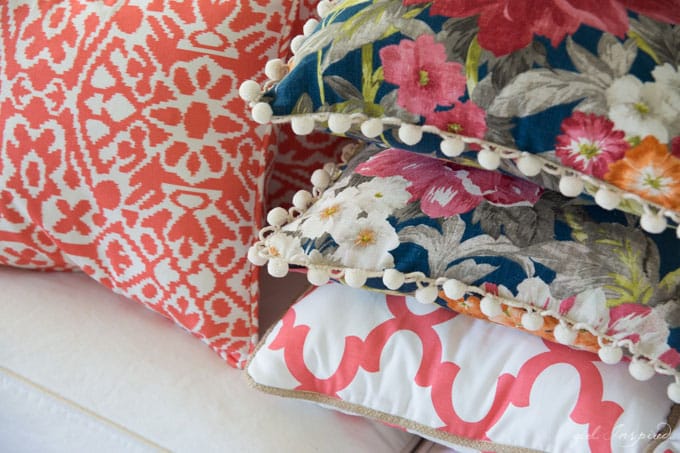
Now, you’ve sewn in some pre-made trims – the pom pom and the jute cording look awesome! But what do you do when you can’t find the perfect trim? You sew your own!
Making Your Own Pillow Trim
Piping is easy to make and you can truly customize your home decor by making piping from any fabric you want! Here is an entire post dedicated to how to make piping and how to sew piping in to a project. I’ll summarize the steps below.
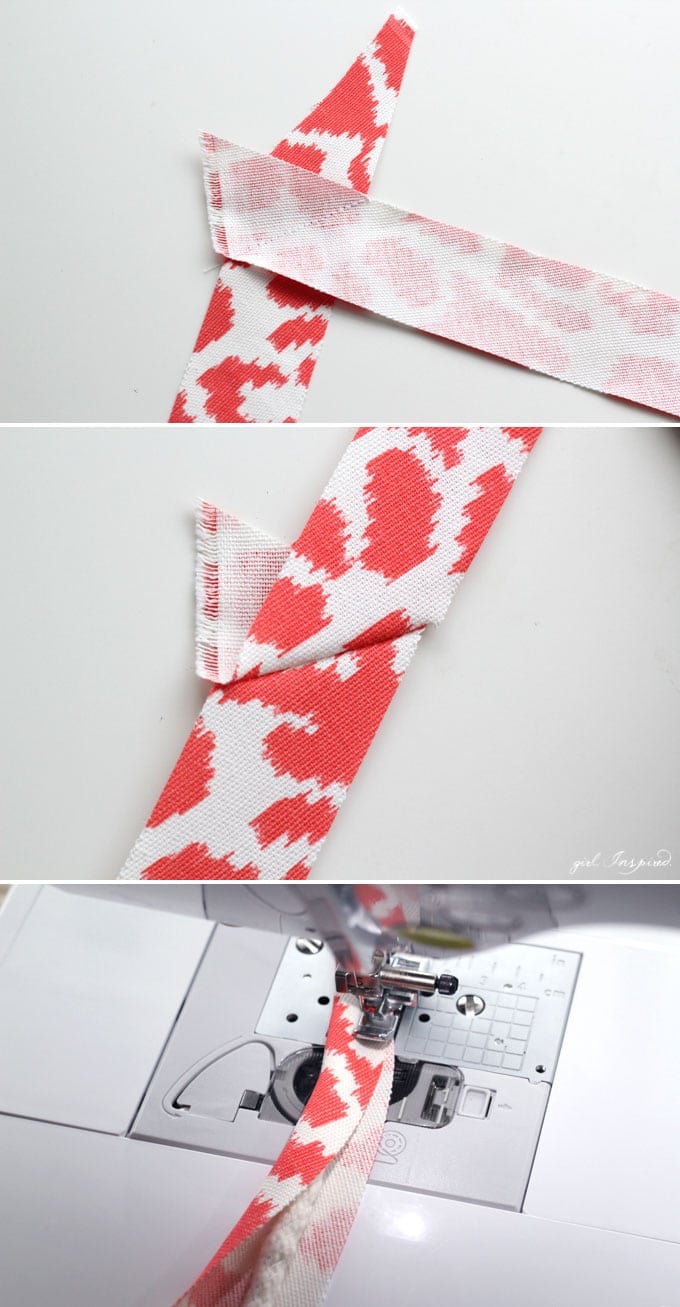
- Start by cutting bias strips of fabric in 2″ widths – click here for detailed instructions on cutting bias strips.
- Join the ends of each strip together (see image above) to make one long continuous strip, 2.25 yards long per pillow. Trim any excess from the sides of the joined strips and press the seams open.
- Measure an equal length of cotton filler piping – I used filler piping that is about 3/16″ in diameter – I like to use one that is a little more solid/dense, which is usually a bit more expensive, but still only around $1-2/yard. I buy the product in store so that I can see just the size and type I want, but I think it’s similar to this pre-packaged filler here.
- Wrap the strip of fabric around the piping filler nice and snug. Use your zipper foot and adjust your needle to stitch close to the edge of the cording. You’ll want to keep things snug by keeping the fabric wrapped and taut, but not by stretching the fabric while you sew as that will result in kinks and wrinkles on your finished piping. That’s all there is to it!
- Now sew your custom piping into your pillow seams the same way you would with the other trims we’ve discussed!
When to Add a Zipper to a Pillow Cover
Finally, I wanted to touch back on the blue floral pillows that I sewed zippers into. Although I do typically like the envelope-style pillows and used that technique on the remaining pillow covers, I do think they’re a bit more casual.
Since this fabric was just so pretty and a bit more expensive, I wanted the pillows to be as nice as possible. I also wanted to be able to flip them front/back interchangeably.
Adding an Invisible Zipper to a Pillow Cover
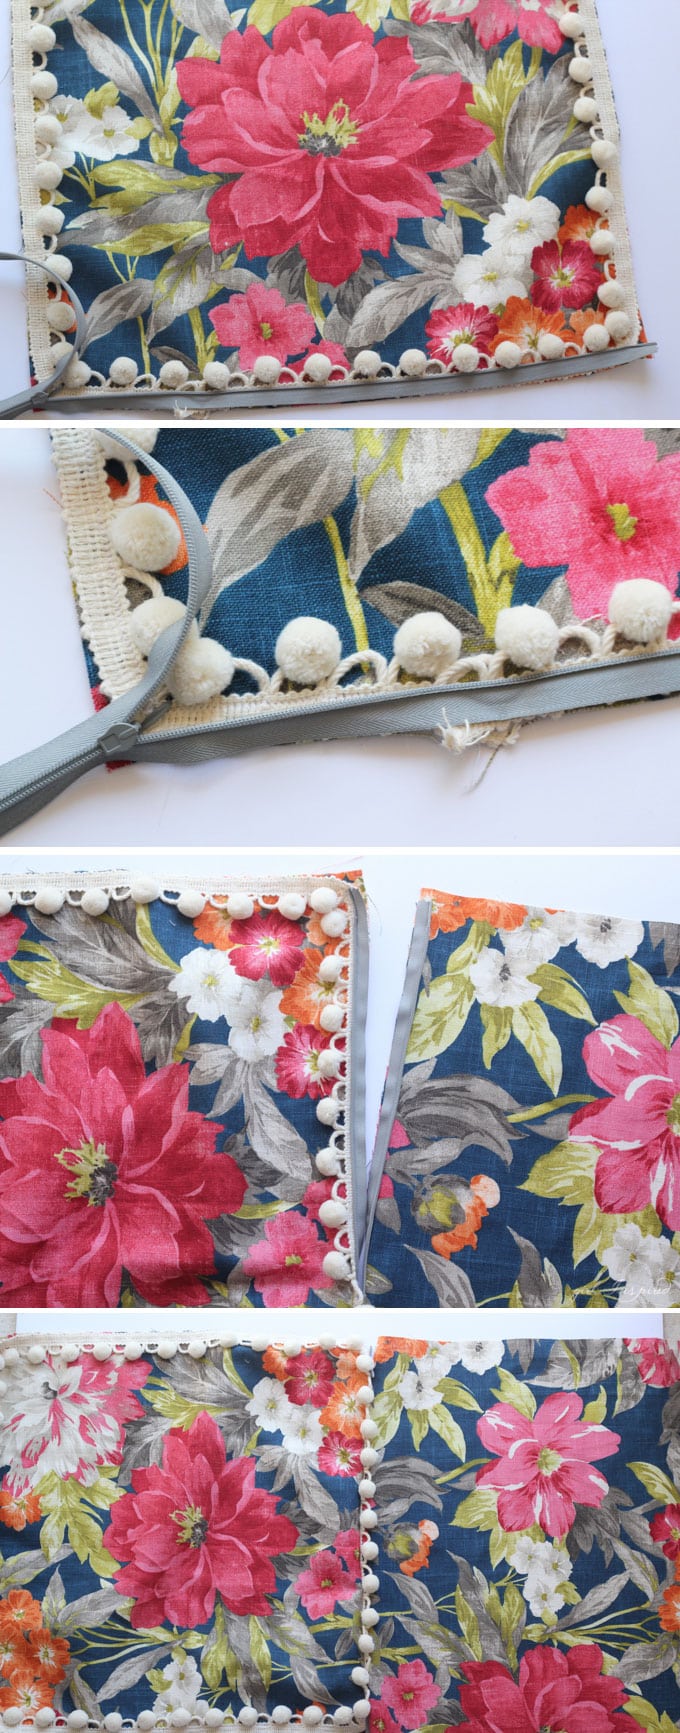
I’m not going to give super detailed instructions for sewing in an invisible zipper. Here is a tutorial for sewing an invisible zipper into a lined garment – you can follow the steps and just skip the parts where you incorporate in the lining.
- Open up the invisible zipper and press it with a warm iron following the package instructions to get the teeth uncurled from the zipper tape.
- On the bottom side of one pillow square, lay one side of the zipper, right sides matching, and aligning the raw edge of the fabric with the non-teeth side of the zipper.
- Center the zipper across the pillow so that when it zips up, it will end about 1-inch from the side edge of the pillow panel.
- Stitch with the zipper foot in a similar manner to attaching the trim. Use a regular stitch, though. Stitch just slightly away from the zipper teeth so that it is easier to zip and unzip the finished pillow with the bulk of the trim and fabric in the seam.
- Now, lay the bottom side of the back pillow cover panel alongside the front panel. Turn the other zipper half to match right sides together and raw edges with the back panel. The most important factor here is that the two sides of the zipper line up with one another – they must be positioned the same on each panel so that when the finished zipper is closed, the front and back cover line up evenly. You might consider basting the second side of the zipper into place so that you can double check alignment and then restitch. Remember to stitch just slightly away from the zipper teeth, but not much – any gap between the zipper teeth and the stitch line with show on the finished pillow – just 1/16th of an inch or so is all you need.
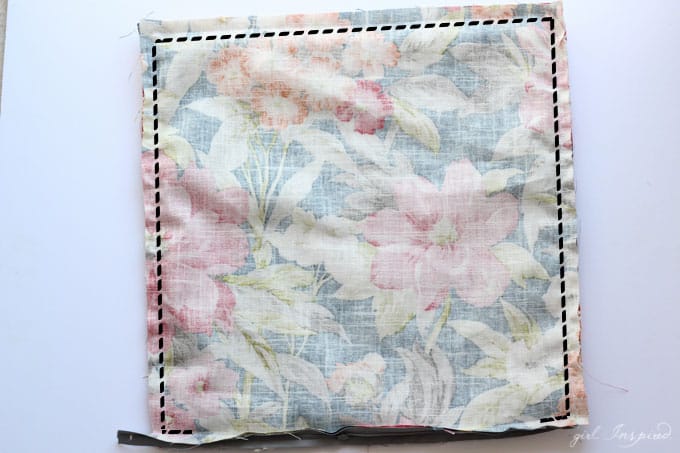
- Once both sides of the zipper are sewn on and the two pillow sides line up, you can sew around the other three sides of the pillow covers to join front and back. Sew just a bit (maybe ½-3/4″) from the side seam down along the bottom of the pillow to slightly overlap the ends of the zipper. These stitches should fall just to the inside of the zipper stitches so that on the right side of the pillow the finished seam tucks the ends of the zipper behind it.
Let’s sum it all up – how to make a pillow for your home:
- Choose upholstery-weight or interfaced fabric.
- Cut fabric to the same size as finished pillow insert so that the insert fits snuggly into the cover.
- Add pom-pom trim.
- Add pre-made piping or cording – the jute looks current and adds another dimension of texture in the room!
- Make custom piping for your pillows!
- Add an invisible zipper in lieu of envelope-style closures.



Comments & Reviews
Barb says
This was the simplest detail way of making pillows. They look amazing. Thank you
Stefanie says
You’re welcome! I’m ready to sew up a fresh batch in new fabrics!
Kelly says
What kind of material do one use for a customized throw pillow
Marian says
Great tutorial, thanks. Do you make the size of the cover smaller than the pillow size so that it fills out the cover better?
Kimberly Floyd says
LOVE the customization! Where do you get your inserts cheaply?
Ana Sullivan says
I love these! Do you have a tutorial for the bow pillow? It is so cute.
Anne says
Gorgeous! I’ve got a Craft Gossip post scheduled for tomorrow afternoon that features your tutorial:
http://sewing.craftgossip.com/?p=87917
–Anne
Charity says
I love the texture of that floral! All of your pillows look wonderful together!