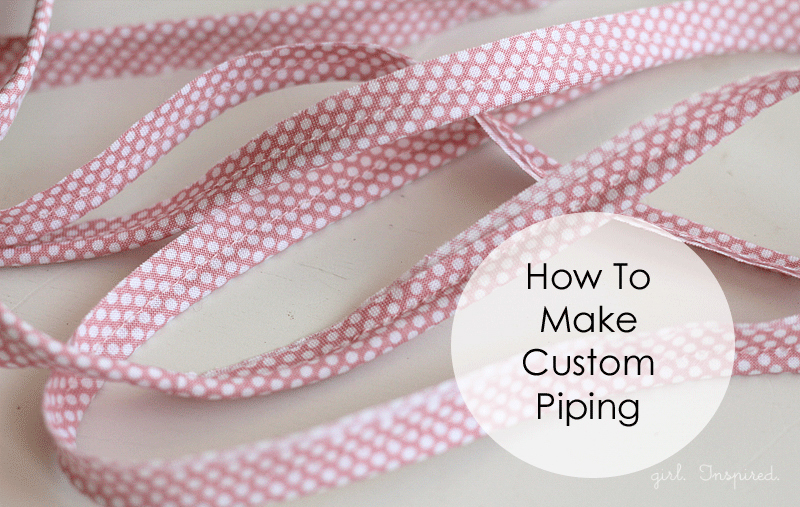
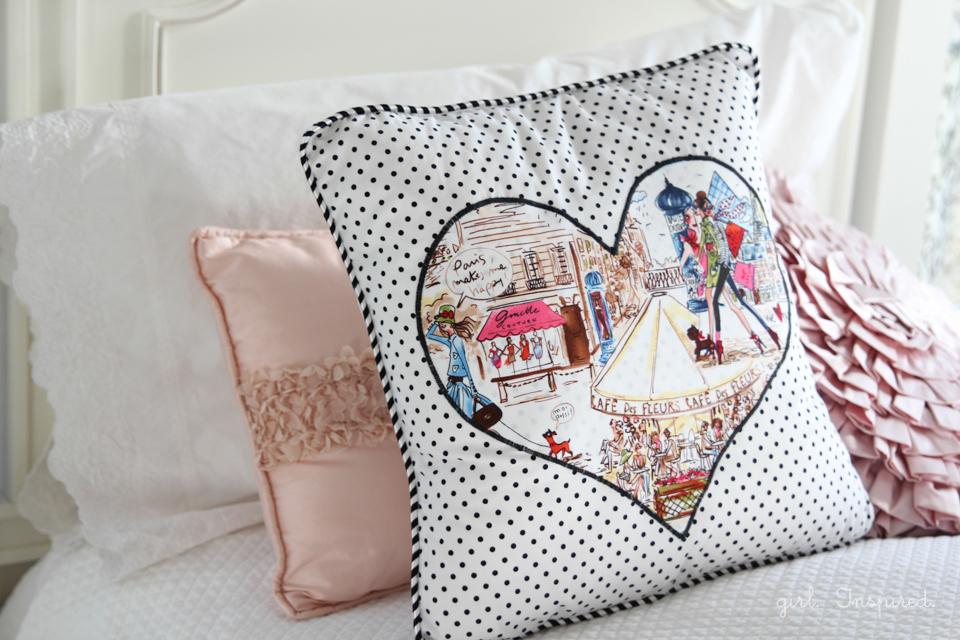
Last week, I shared how to add piping to a pillow cover and today I wanted to share this tutorial showing you how to MAKE piping – for those times that you need just the right touch on your project. Piping really adds a nice finished touch to home decor, garments, anything that you’re sewing!! Many times packaged piping that you buy at the fabric store can be quick and satisfying, but sometimes you just can’t find the right color to compliment your project. When you’re able to make your own custom piping, you are guaranteed to have the perfect piping for any project. Don’t you love the extra punch of color that piping brings to this pillow I shared last week? You can also see in the picture some custom piping I made and sewed into the pink pillow behind the new one.
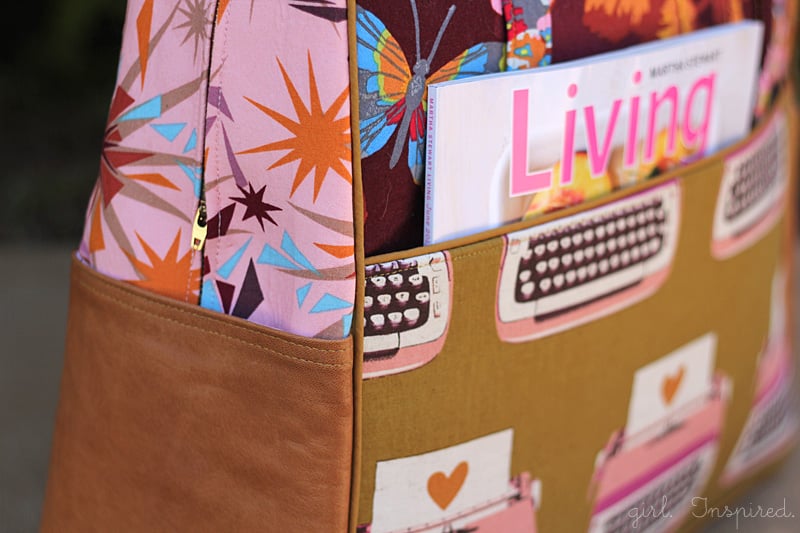
Here’s packaged piping on my Weekender Bag:
And here are a few other projects that highlight how piping can take a sewn item to a whole new level of awesome!
Piping Dress
Ruffled Crib Skirt Tutorial
Simple Zippered Clutch Tutorial
The Narita Dress
Ready to make your own piping?
It is simple. First, select the fabric you wish to use. You will need to cut bias strips from the fabric, meaning that you will need to cut the fabric on the diagonal with respect to the selvage edge (and the grain line). This is because the fabric has a lot more stretch “on the bias” and will therefore conform to the curves of your project when you use the finished piping.
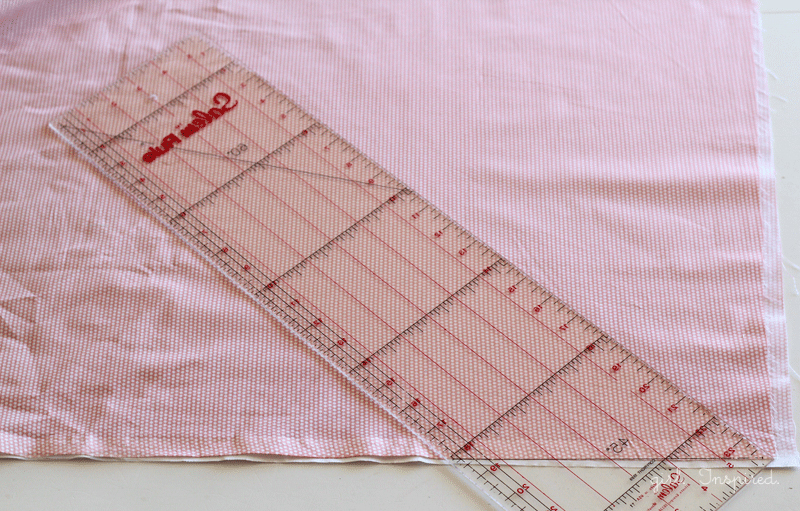
To cut bias strips, use a fabric ruler and line the 45 degree angle line (usually marked on the ruler) up with the selvage edge. Cut along the ruler. Adjust the ruler 2″ over and parallel to this cut edge and cut again. (2″ wide bias strips are a great general width, but can be adjusted depending on the intended project).
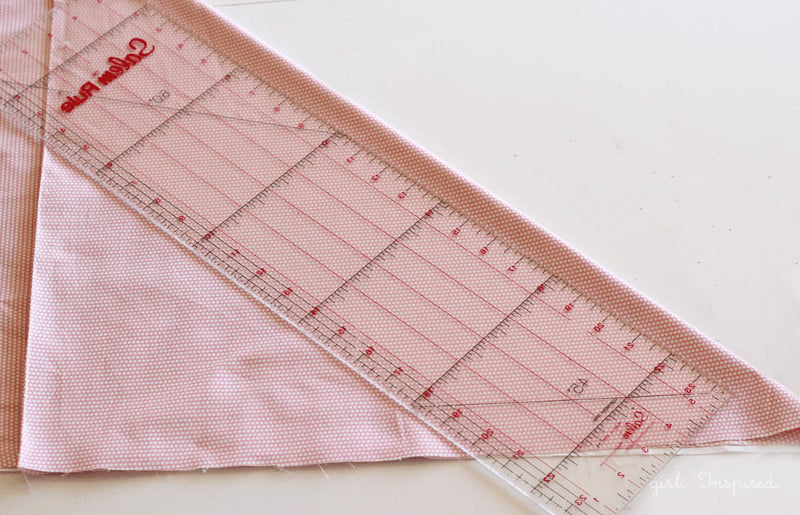
Alternately, you can fold the right-hand raw edge of the fabric down over the rest of the fabric and align it with the selvage edge, thus forming a 45 degree angle with the fabric. Then, cut along that edge to form bias strips.
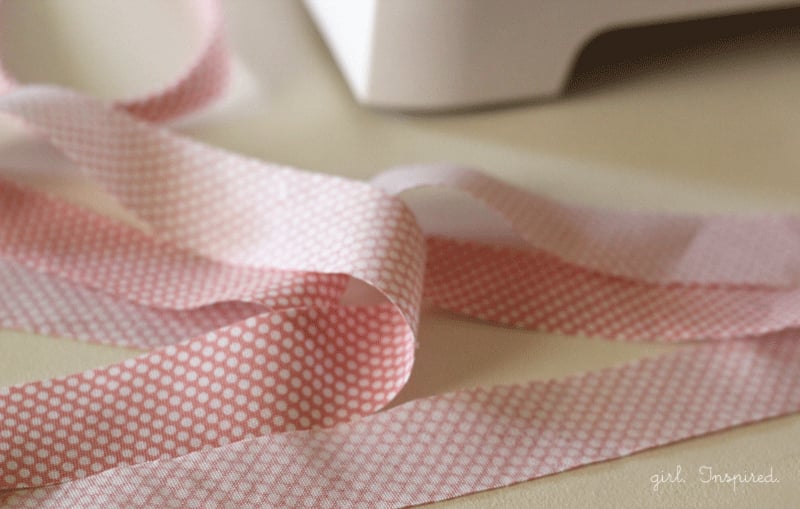
Once your strips are cut, you will need to join them together to form one long, continuous bias strip. To do this, place the two diagonal ends of each strip together, as shown below. Stitch along the line where indicated by dashes. Open up the strip and press the seam open and flat. Trim away the extra triangle overhang. Repeat with the next strip and so on.

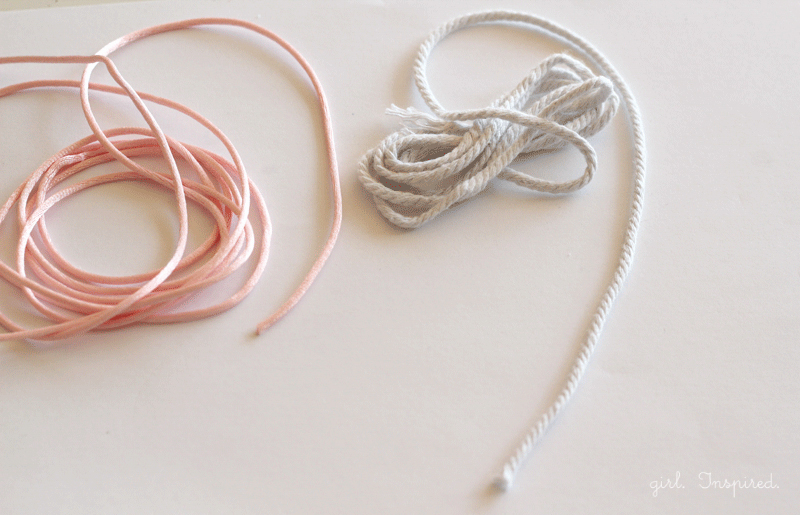
Now it’s time to choose cording to create the piping. You can use cotton rope cording or even rat tail. You will want a length of cording (and bias strip) equivalent to the length of the project (the perimeter of a pillow, for example) plus a few inches extra. Cording is sold in various thicknesses – thicker cording is great for upholstery piping while thin cording may be best suited for fine garment details.
Place the cording in the center of the bias strip and wrap the strip around the cording. Sew a zigzag stitch over the cording on the outside of the bias strip, at the very top, to hold the cording in place.
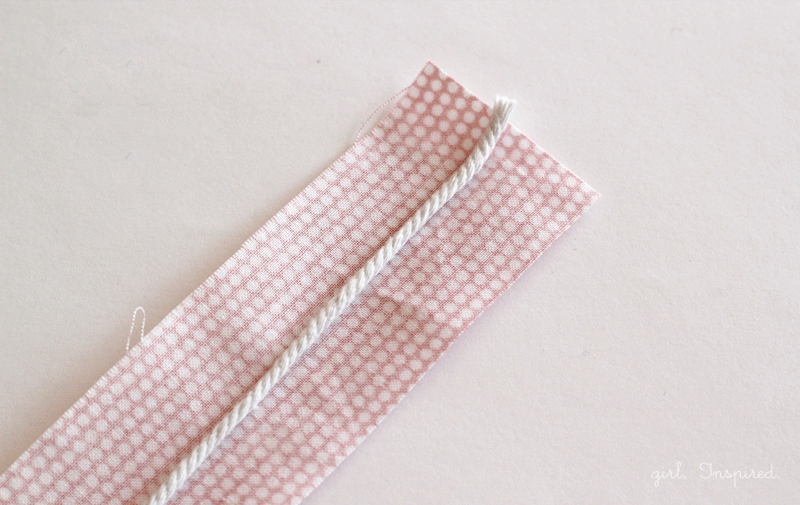
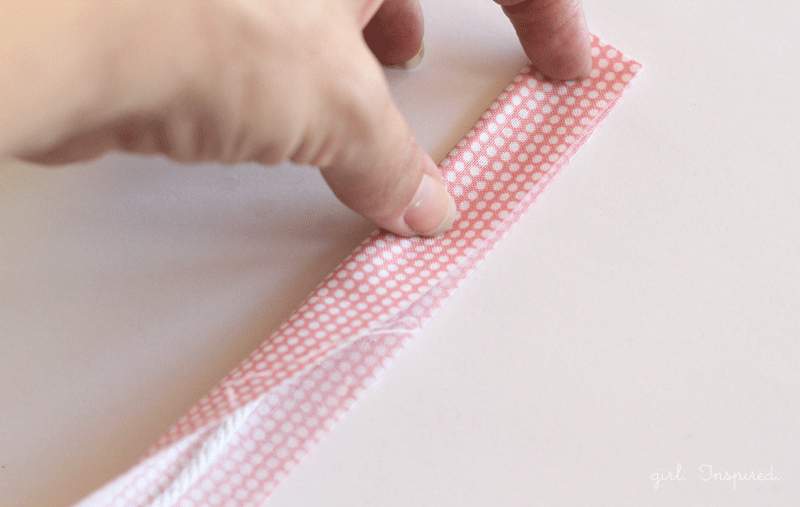
Using a zipper foot attachment (a piping/cording foot may also be used, but is not necessary), stitch alongside the cording on the outside of the bias strip, making sure the raw edges of the bias strip are even.
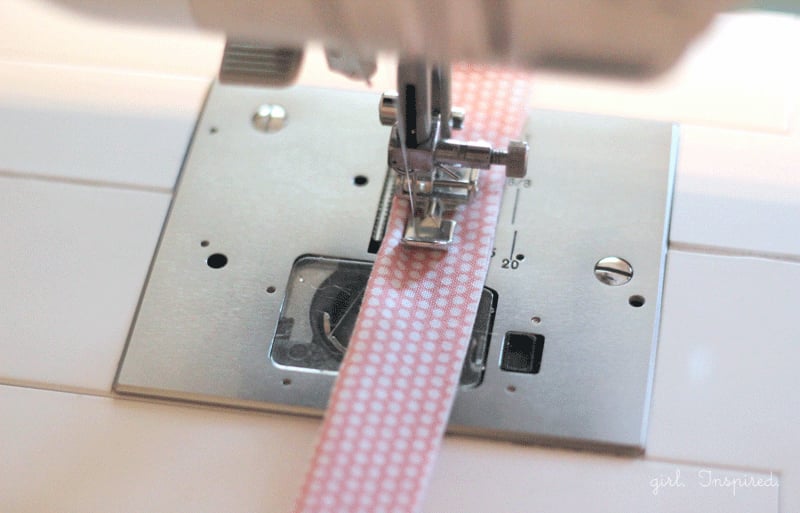
Stitch all the way down the length of cording and that is it! You now have gorgeous custom piping!
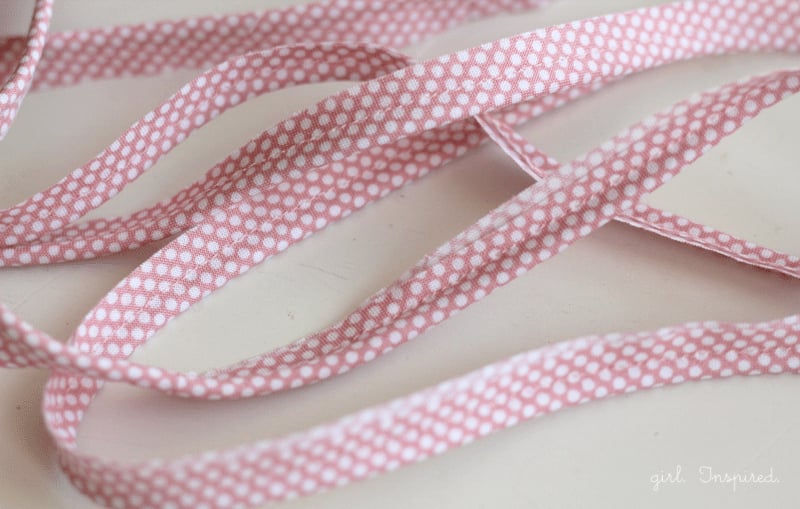
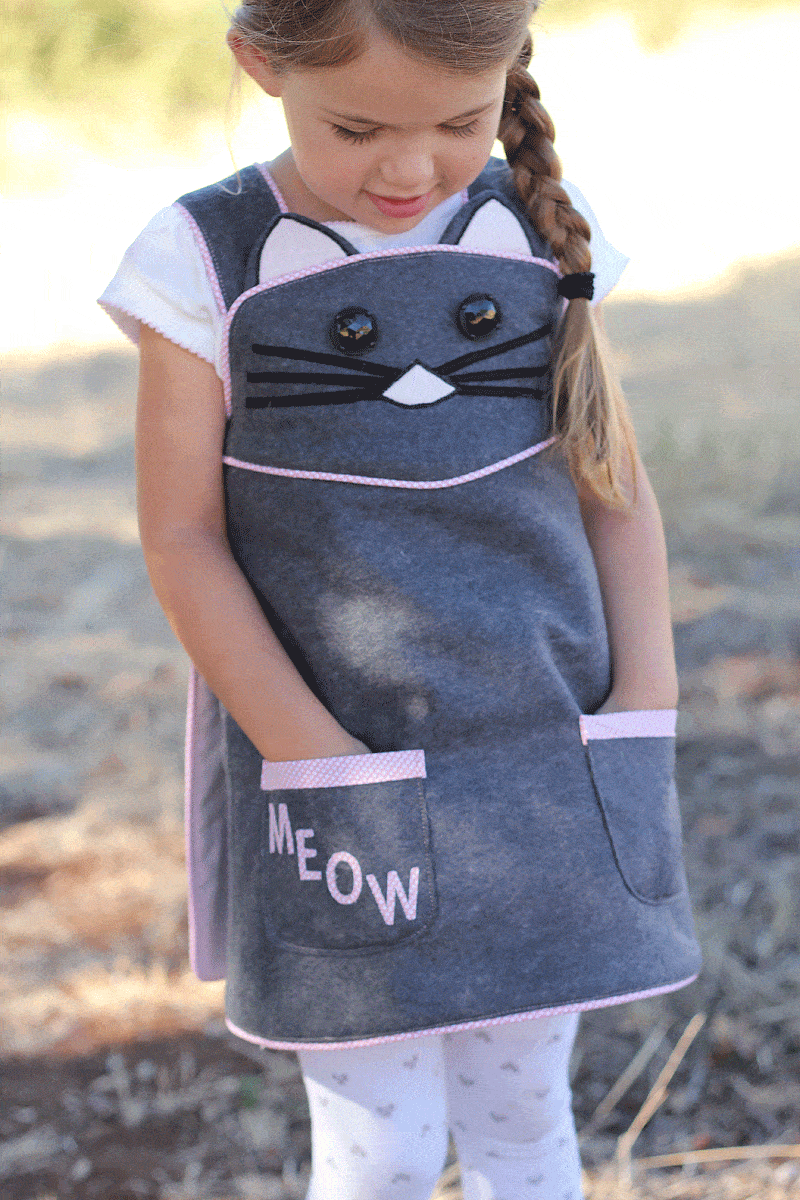
I used the pink polka dot piping for this cute kitty cat dress.
So, do you have any projects in mind that could use some custom piping to add a little oomph?!!?


Comments & Reviews
Karen Kavanagh says
thank-you
Embroiderymad says
great tutorial, thank you for sharing !!!! love the kitty. gorgeous.
Kathy H says
Thanks for the great piping tute!
And I love that kitty jumper!!
Mary L says
I agree that piping to a garment or accessory just adds that special finishing to it. They look lovely! You have made the instructions so easy that I will definitely be adding them to my new projects. Thank you once again for the tutorial!