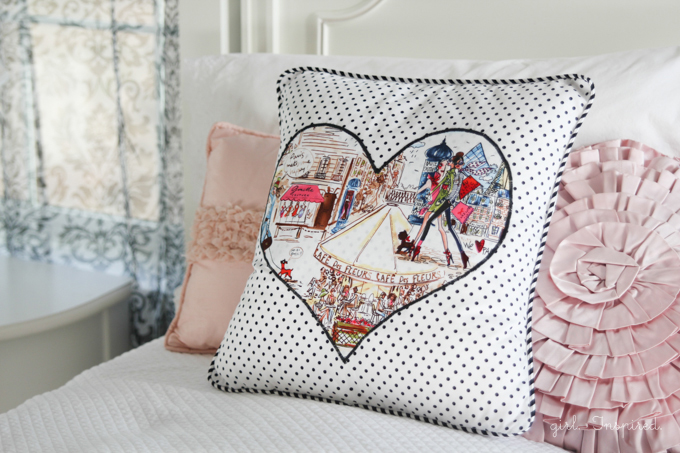
 With Valentine’s Day just days away, I wanted to share some EASY techniques for learning applique. This heart pillow is the perfect place to learn and it’s so cute, you can decorate with it year round! Once you are comfortable with the basic steps for machine applique, you can use the same supplies and steps to practice with other shapes. Let’s get started!
Supplies:
- Heat ‘n’ Bond Lite (or other sewable iron-on adhesive)
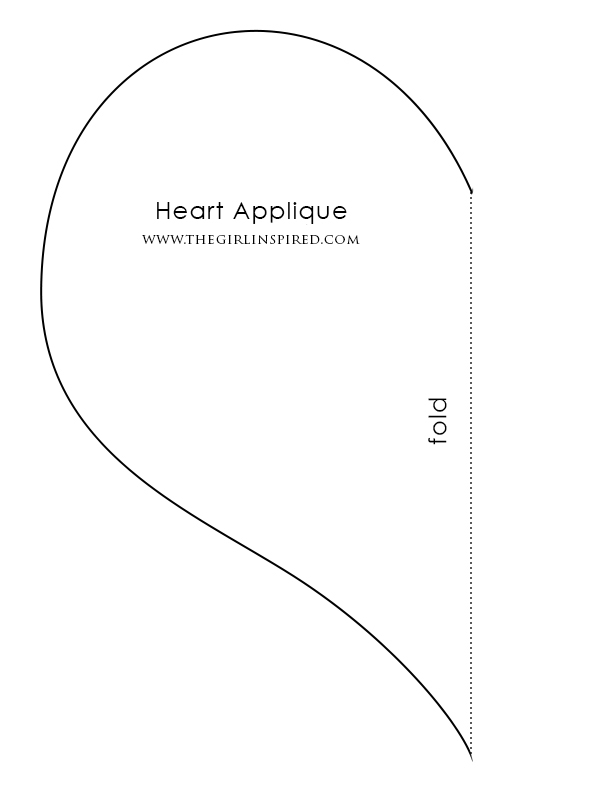
- heart template – click here to print template
- 15″ x 15″ scrap of fabric
- front and back cover for 16″ x 16″ square pillow
- iron, scissors, marking pen
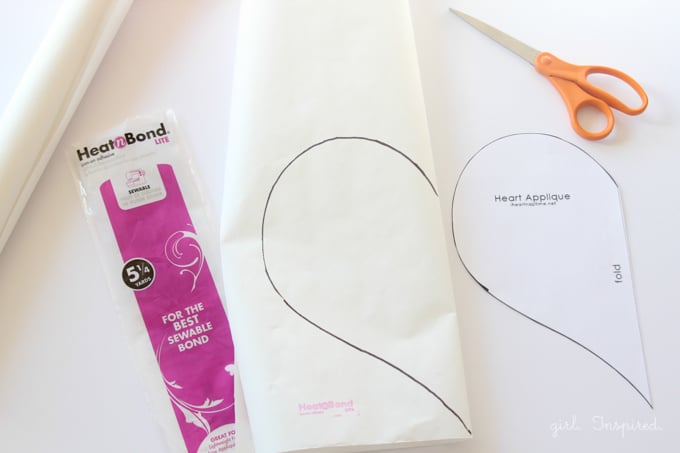
Begin by printing out the heart template. Fold a piece of Heat ‘n’ Bond in half, line up the heart template on the fold and trace around the template to transfer the image onto the paper side of the adhesive sheet.
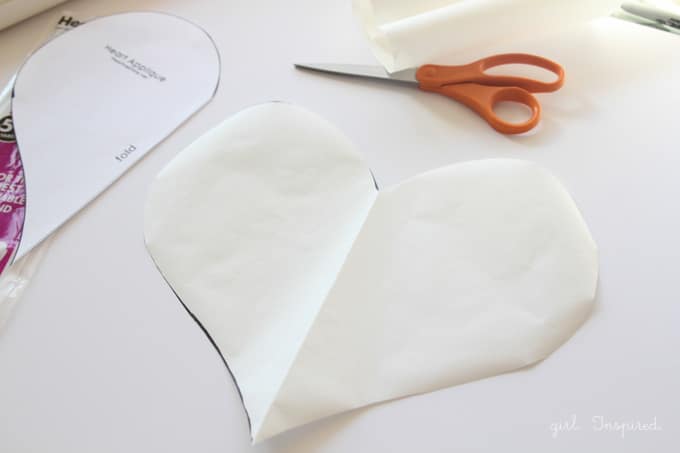
Cut out the heart shape from the adhesive.

Following the package instructions, place the adhesive side of the heart onto the WRONG side of the 15″ x 15″ scrap of fabric. Iron quickly to adhere the sheet (this is usually a quick 2-3 second press).
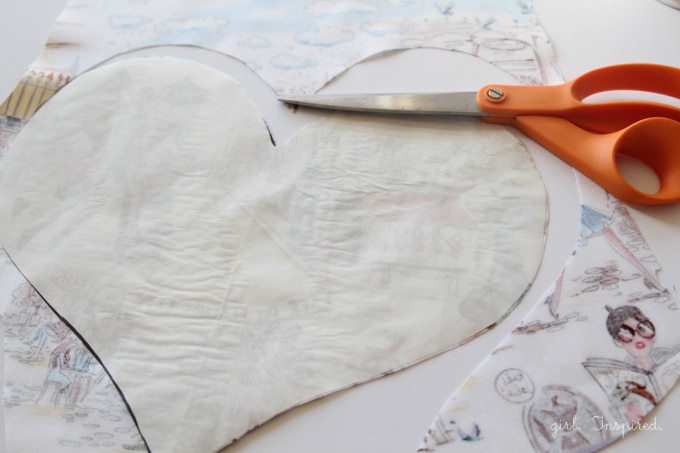
Cut the heart shape from the fabric, with adhesive on the back.

Peel the paper backing off of the fabric heart.
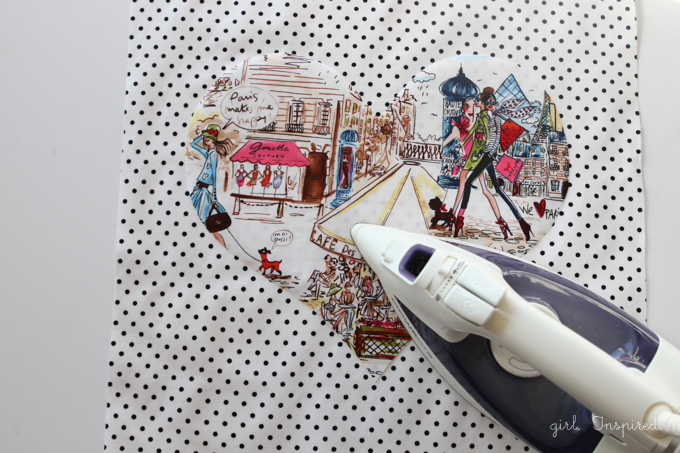
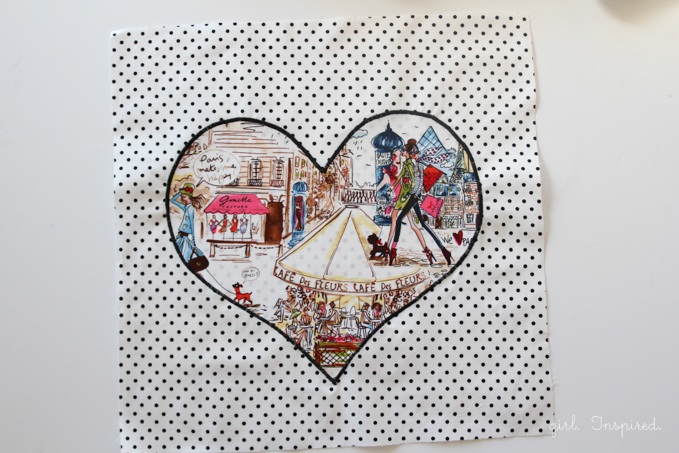
Center the heart, adhesive side down, on the right side of the pillow cover. Iron in place (again, follow the package instructions for heat setting and length of time).
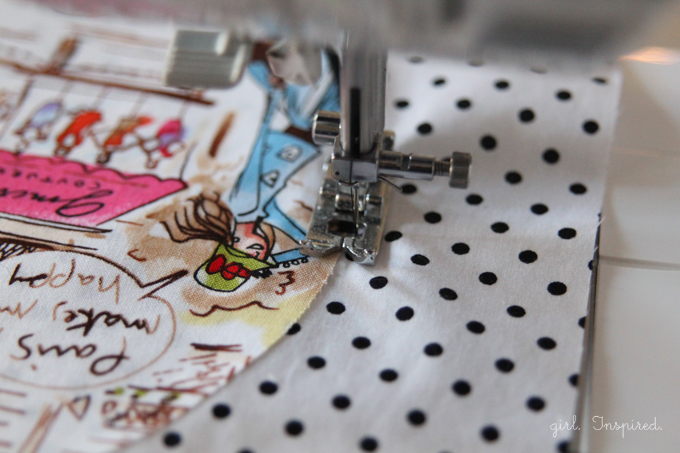
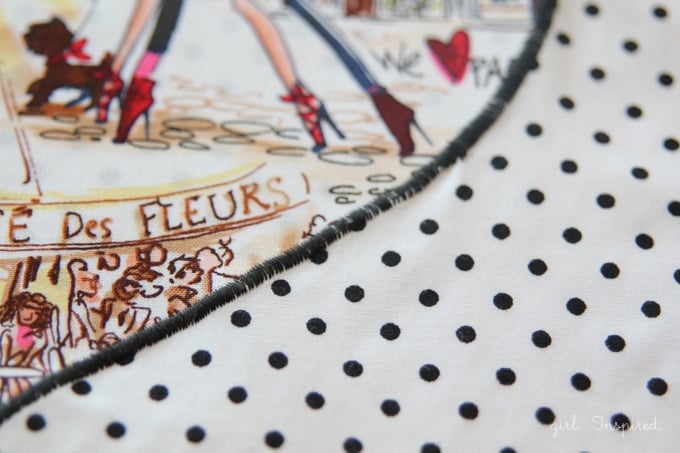
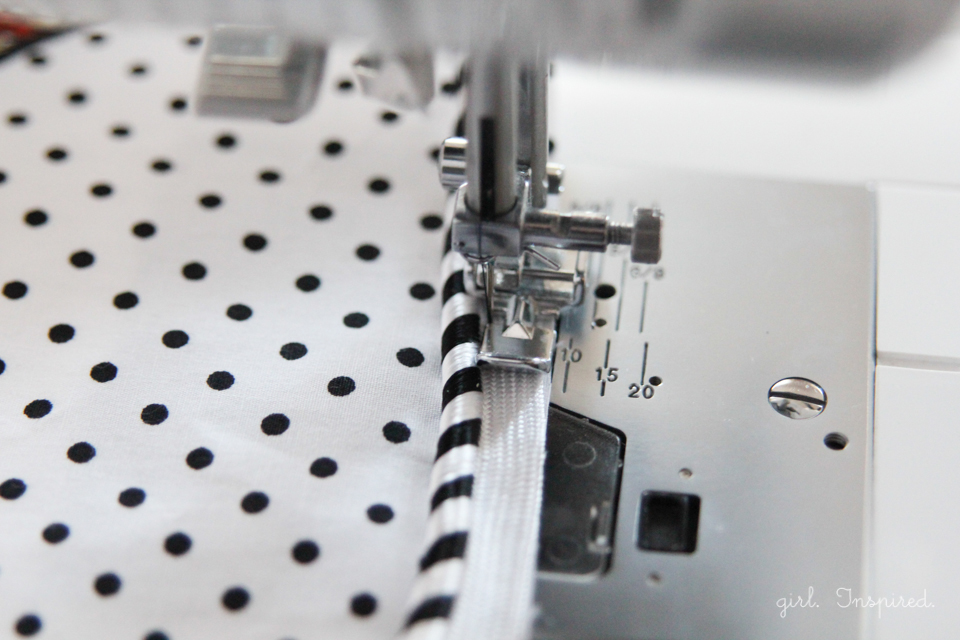
Finally, we’re going to sew a tight zig-zag stitch around the perimeter of the heart to secure it in place. This is also an opportunity to add a nice pop of color as a border around the heart. Center the edge of the heart under your sewing machine needle. Set the machine on a wide zig zag stitch so that as the needle goes from side to side, it catches the edge of the heart in the middle of the stitch. You will also need to decrease your stitch length to a very short stitch – this is what makes the nice satin-like finish on the stitch. It takes a while to go all the way around the perimeter of the heart, but just work slowly, gently manipulating the fabric under the needle for a smooth stitch all the way around. (You may want to test your stitch width and length on a scrap of fabric to get your settings just right before you stitch on your pillow cover).
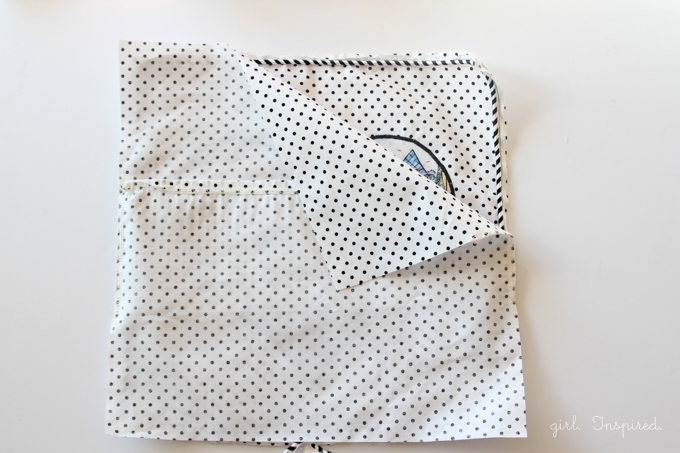
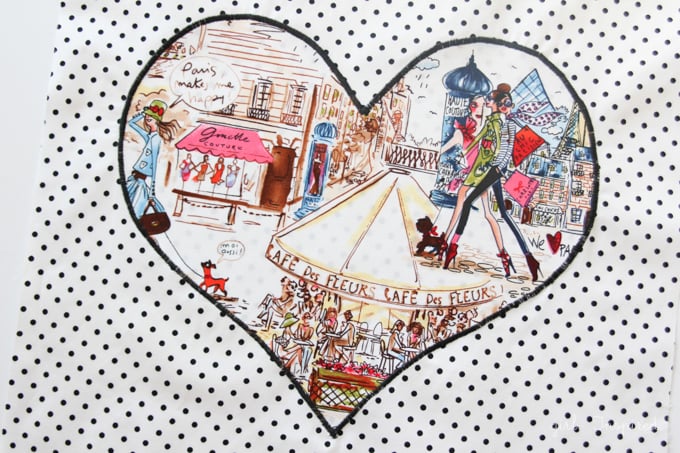
Complete your pillow by stitching the front cover to the back. You can find instructions to add piping to the edge of the pillow here if you’d like to add that step – I think it gives the pillow a really nice professional looking finish.
 You can also find the steps for making your own piping here and sewing a basic pillow cover here.
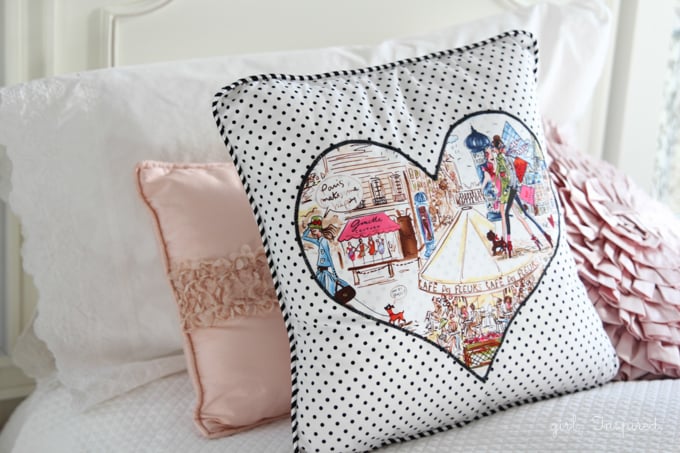

That’s all there is to it! Happy Sewing!
Looking for more Valentine’s inspiration? You might like:

14 Valentine’s Dessert Recipes


Comments & Reviews
Kelly says
Would love to know where to purchase the Paris fabric you used for the heart.
girlinspired says
Hi Kelly, If I remember right, it was a Robert Kaufman fabric.
Lanie says
So much cute right here.