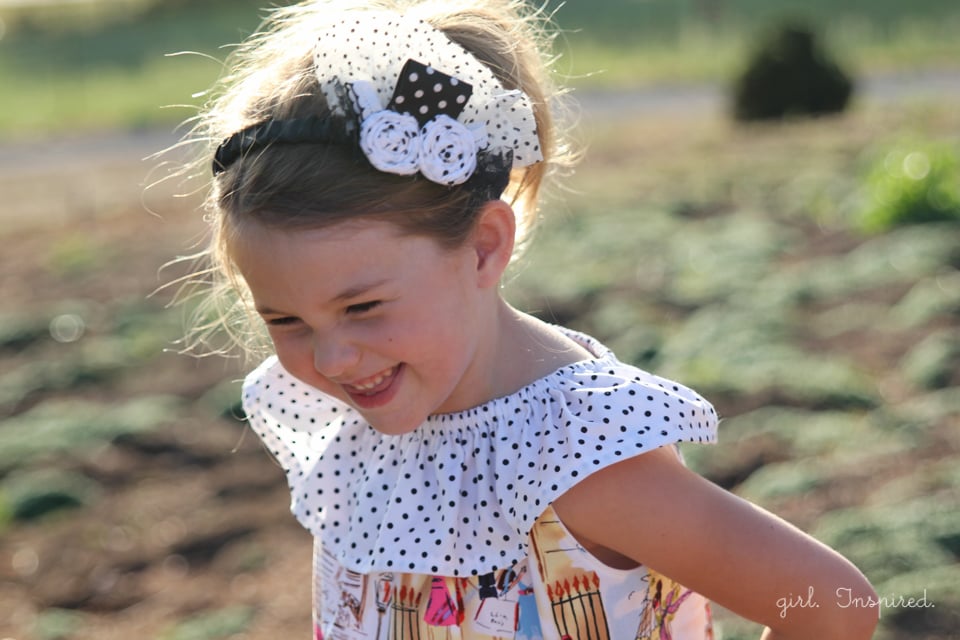
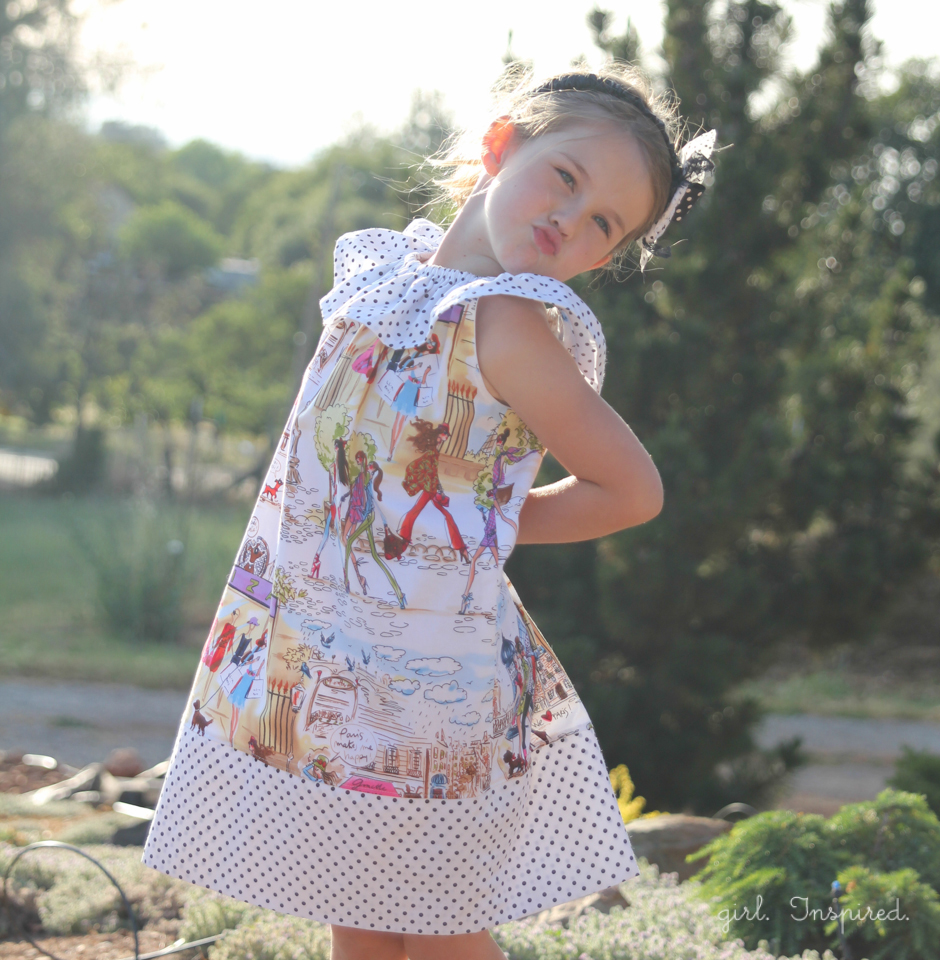
A looooong time ago, I made a gazillion peasant dresses in a cute little sleeveless version with this ruffle around the top. Loved those dresses, and so did many of you! (I threw in some links to several at the end of the post if you want to see what I’m talking about.) I’ve had ongoing requests for a pattern for this dress, so when my friend Anneliese, from the Aesthetic Nest, asked if I’d like to try her new pattern, The Prairie Rose, I was so excited to share it with you! Unfortunately, this pattern is no longer available, but I do think you can use any peasant dress sewing pattern and modify it using my instructions below. Today, I want to show you how to take the blouse pattern, which may have sleeves, and turn it into a sleeveless dress like the one I used to make!What you will Need:
- The Prairie Rose Pattern Set by WeeMuses (appears to be no longer available)
- fabric and elastic as specified in the pattern (I like to use contrasting fabric for neck ruffle and a band along the bottom), depending on size, you’ll need about ¾ yard of each fabric.
- ¼″ double fold bias tape
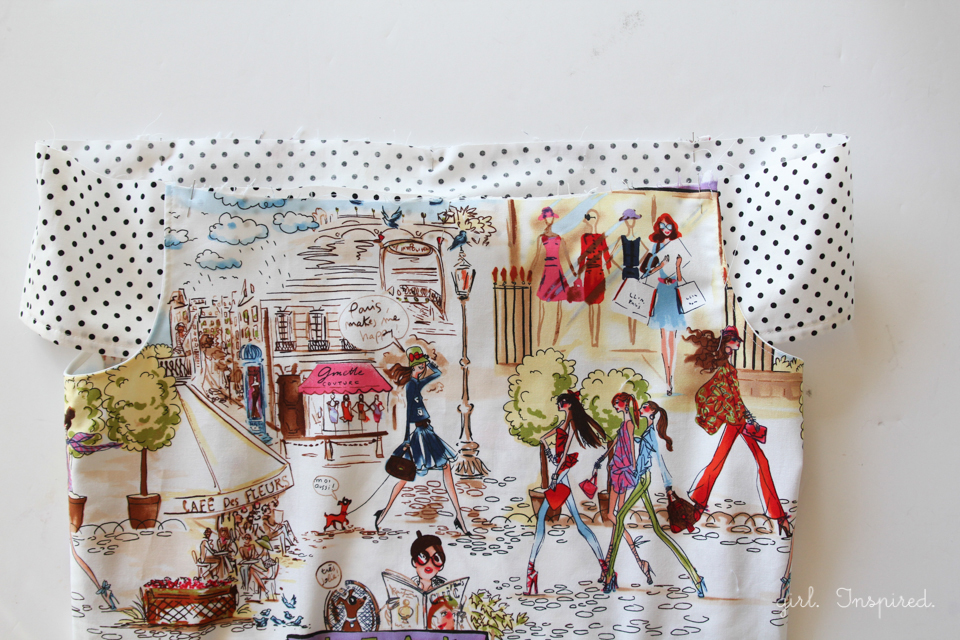
Let’s get started! You’re going to cut out the blouse front and blouse back from the pattern, extending the bodice lines down to the length of dress desired (plus hem) (if you want to use a contrasting band along the bottom, cut the dress about 5″ shorter than finished dress length.
Sew the front and back together along the side seams and press seams flat. Serge or finish raw edges if you like.

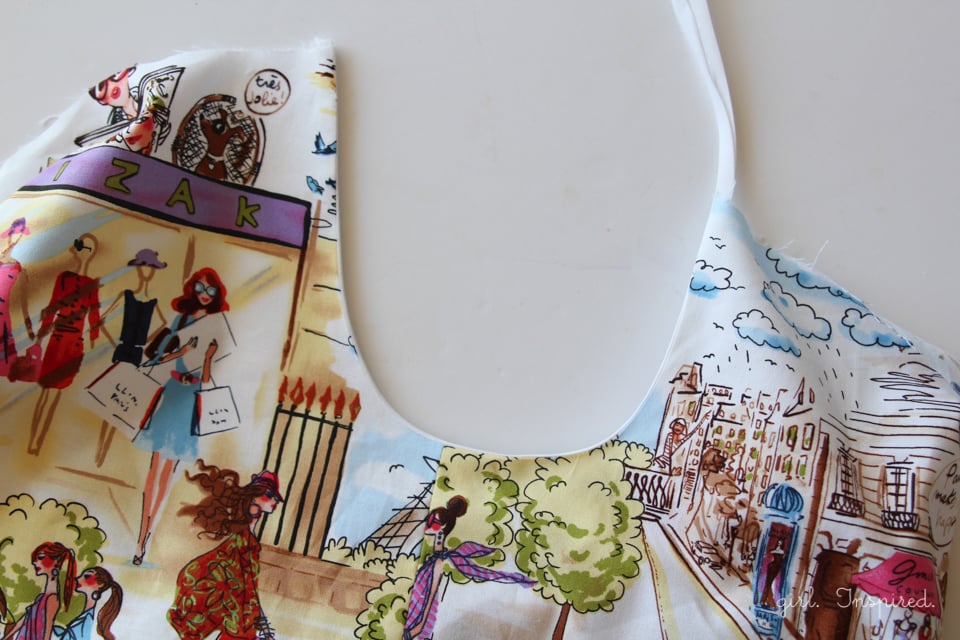
With one underarm laid out flat, open up your double fold bias tape and pin the raw edge along the raw edge of the armhole as shown.
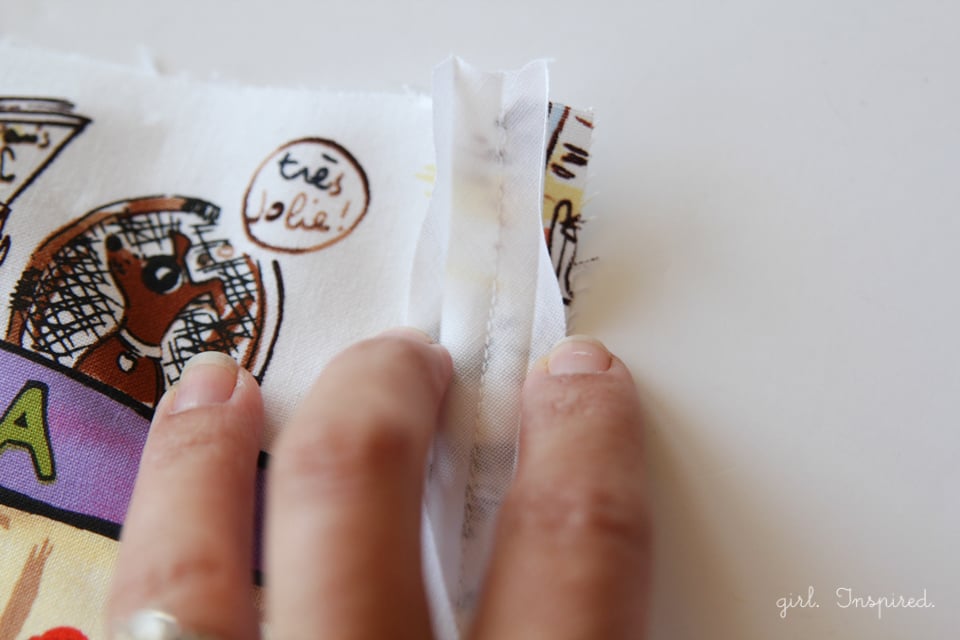
Stitch along the center fold of the bias tape, all the way around the armhole.

This next step is really important – you’re going to trim away the excess fabric so that it is nearly to the stitch line. Do not cut any part of the bias tape and do not cut into the stitching. In the next step, we’re going to fold the bias tape to the wrong side of the armhole and you want to make sure that the dress fabric is fully tucked behind the bias tape – this means that you will need to trim the fabric very close to the stitch line.
Next, iron the bias tape up and away from the seam (not pictured). Then, fold the bias tape back up so it looks like it did when it came out of the package and press it to the backside of the underarm, so it looks like the picture above.

Now, working from the topside of the fabric, stitch along the curve of the underarm, about ⅛″ away from the edge.
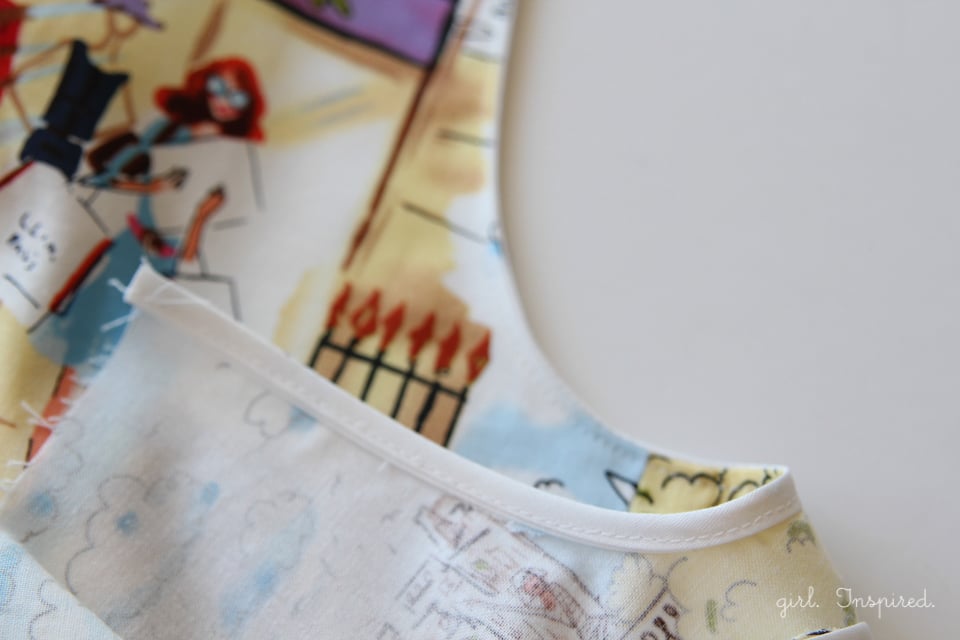
You will catch the bias tape underneath to finish the underarm off neatly. Looks good from the outside and the inside, right?
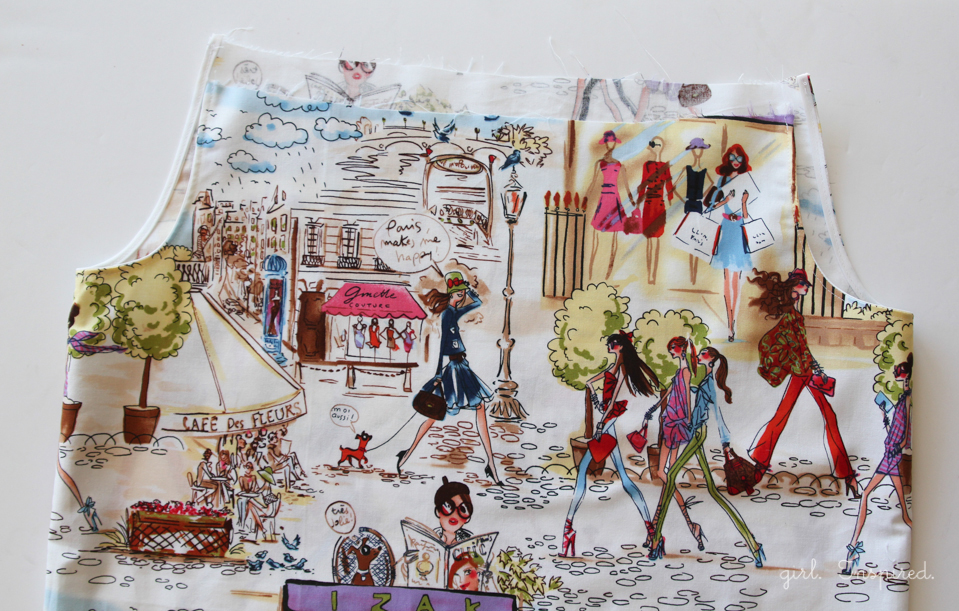
Repeat for the other underarm and you’re ready to finish the top of the dress!
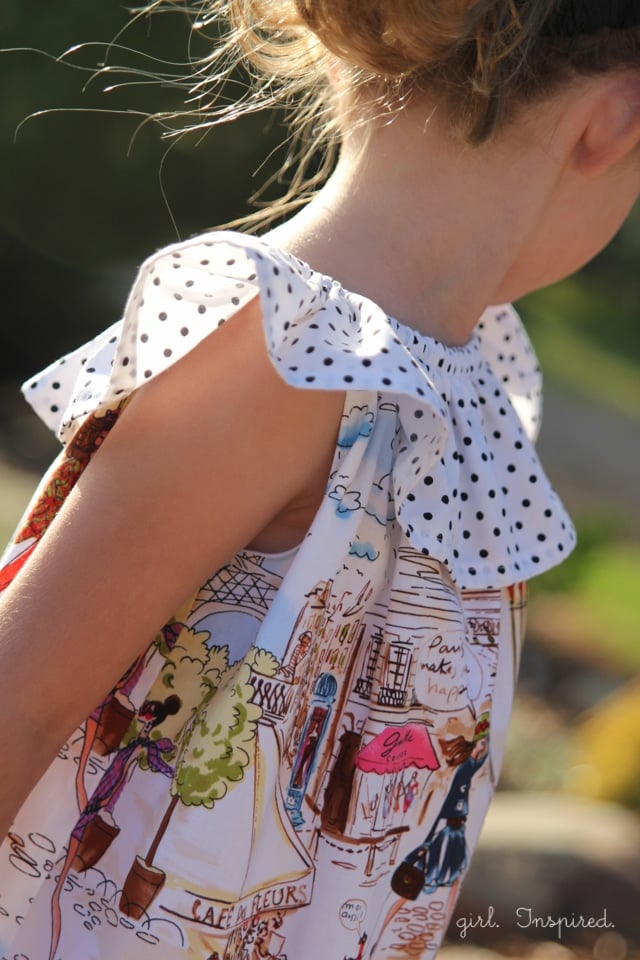
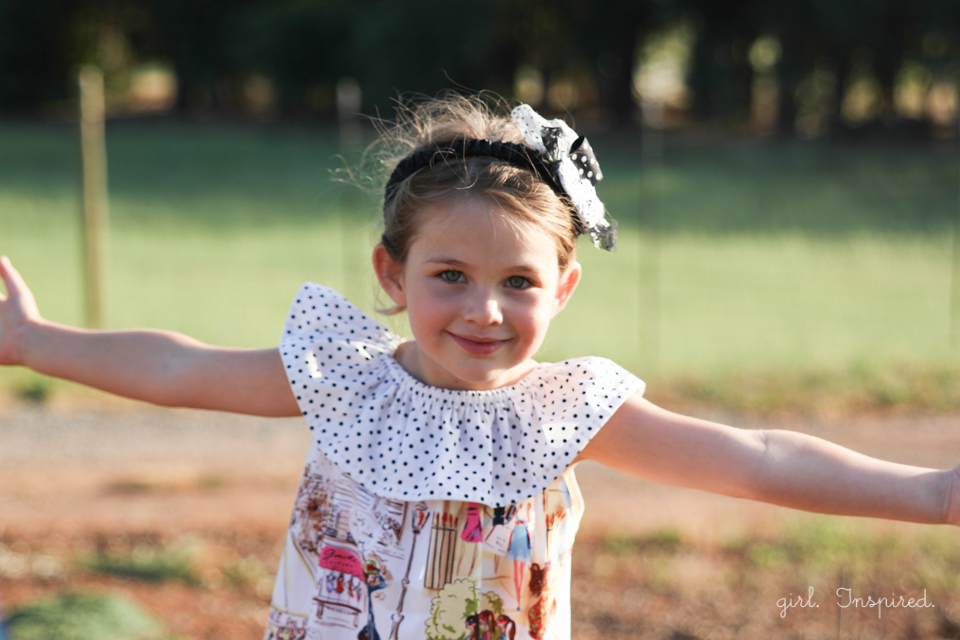
Cut, assemble, and hem the neck ruffle piece as outlined in the Prairie Rose Pattern instructions. Set it out in front of you, above the dress top, and with the raw edges pointed up.
Slip the neck ruffle down inside the dress bodice. You’re going to put this together the same way that you would with the pattern, you just won’t have sleeve pieces to match up with the neck ruffle.
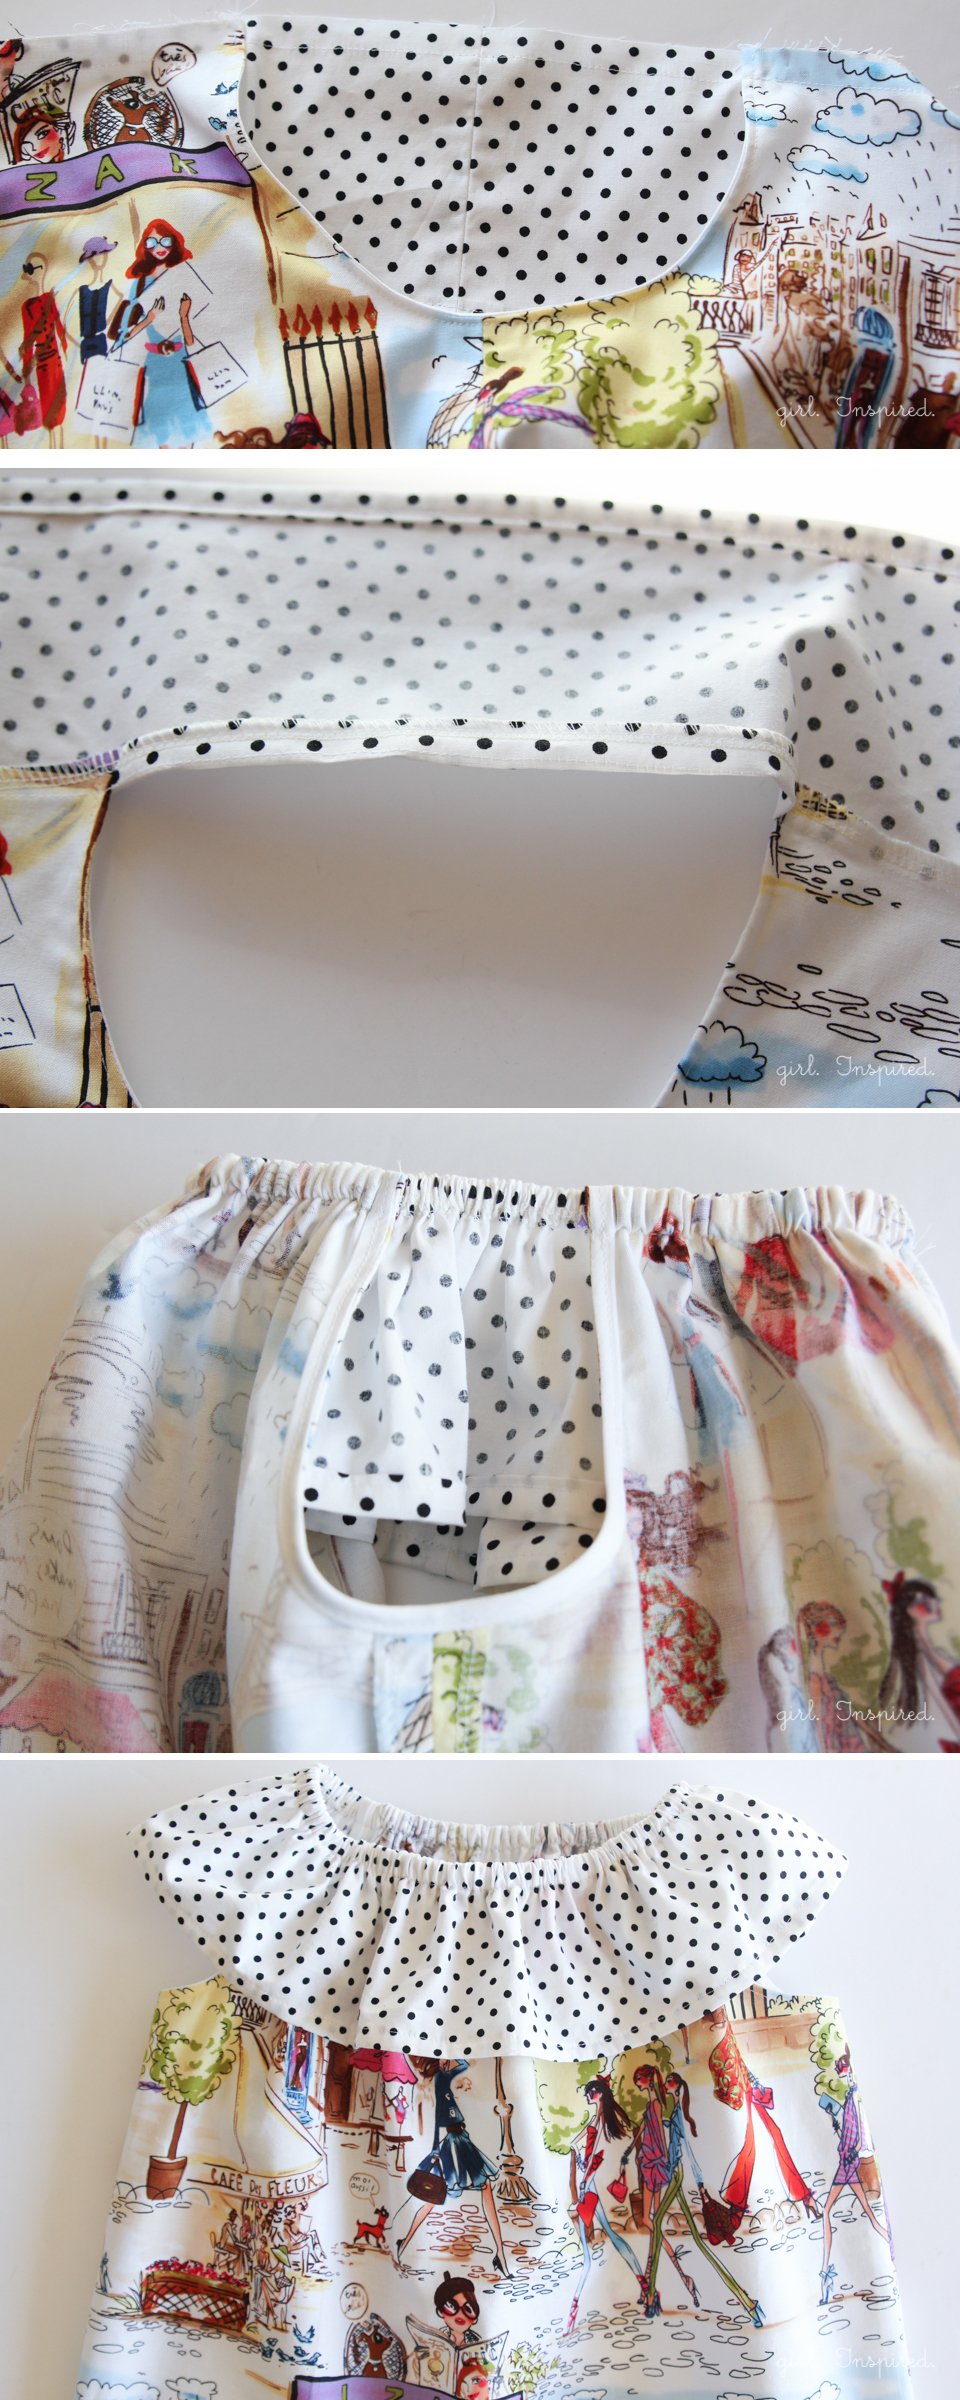
It’s that easy! You sew the casing just like it instructs in the pattern, but the ruffle makes its own casing over the shoulder rather than joining to the sleeve to make the casing. Thread that elastic through and you’re all set!
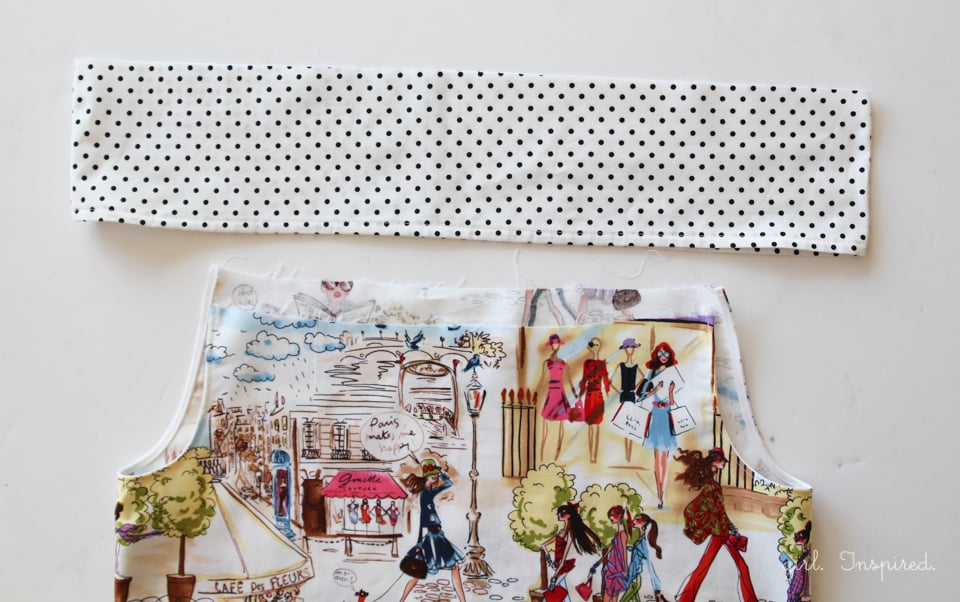
Now you can hem the dress, or add the contrasting band, OR simply continue with the pattern to finish the blouse/dress!
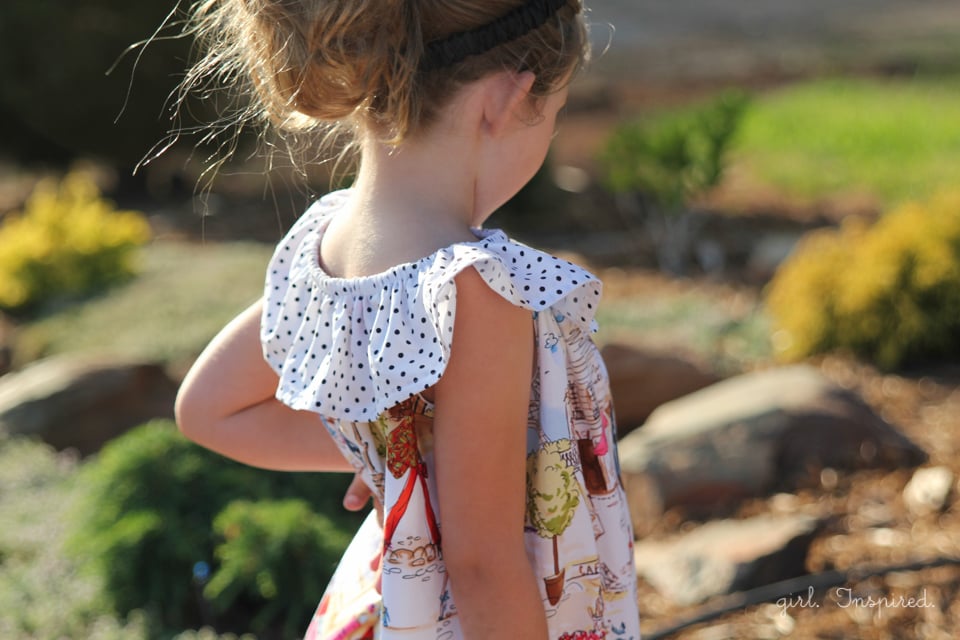
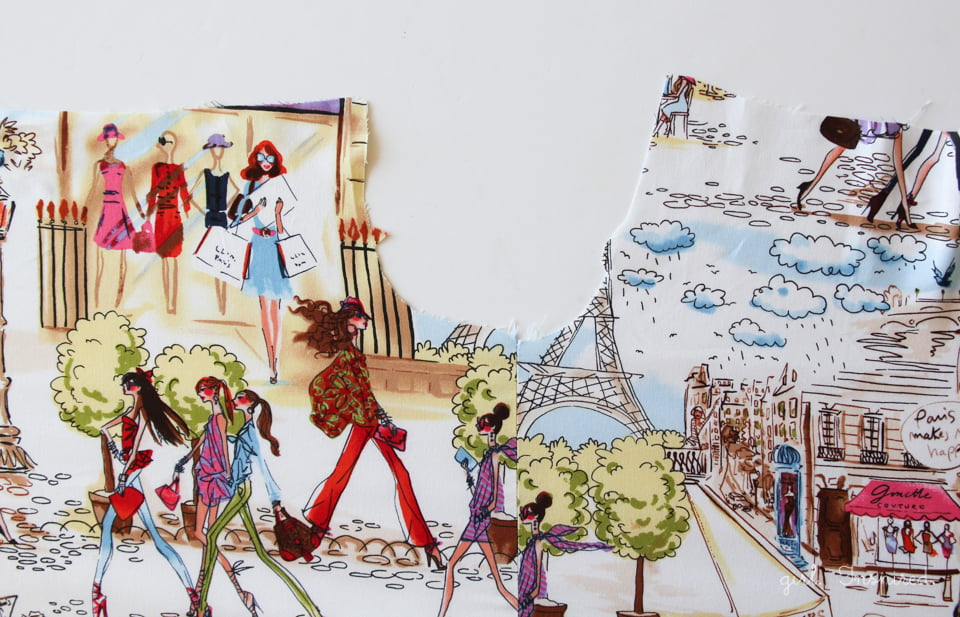
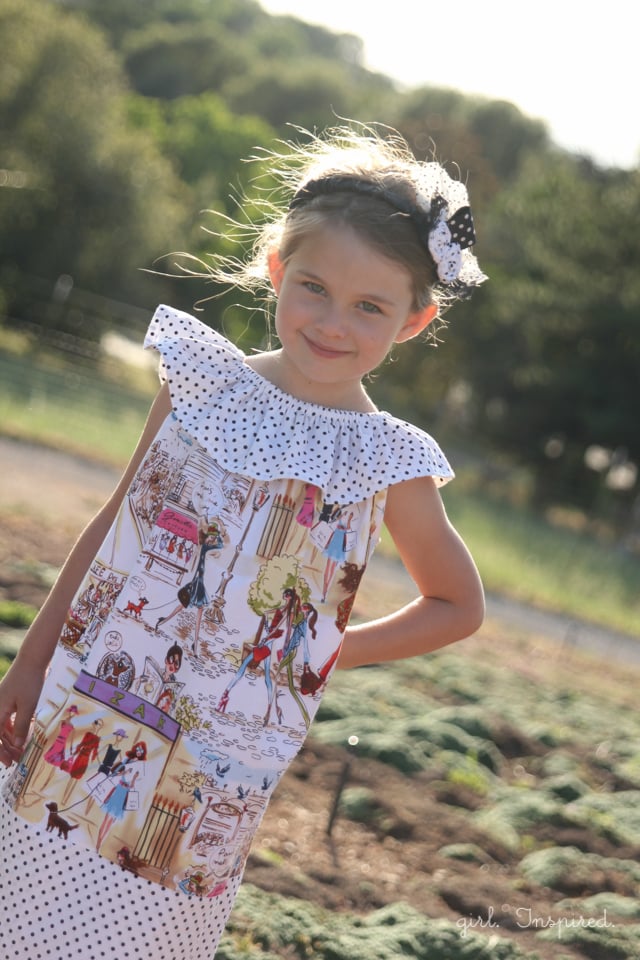
The main fabric used for this dress is called “Who’s That Girl?” designed by Izak Zenou, manufactured by Robert Kaufman (this fabric is no longer available from the manufacturer.) The print is pure awesome and if you make your little one a dress out of it she may run around hugging her “Paris dress” for days and then insist on directing the photo shoot, whilst throwing all kinds of attitude your way. Fair warning. The fabric is a winner! The black polka dot is Robert Kaufman, too.
So that’s it! Happy Sewing!
You may also like:


Comments & Reviews
HulaGirl65 says
EXACTLY what I’ve been searching for! Question? Where are the sizes? (it might be obvious, but please help a nannie aka grandmother out?) Adorable Dress! Thanks!
Rachel says
Super cute! I love how you described how to do the armholes so nicely. Mine never look quite so . . . put together. Now I want to go sew this very minute and see if I can do better! 🙂
girlinspired says
You’ll do great – have fun!!
Harriet says
Do you have measurements for the ruffle?
Terri says
So cute, easy, and fast to make. Adorable as a top, dress, or top with matching pants with a ruffle on the bottom. Exploring new worlds with this one beautiful idea.
fancy says
I just stumbled upon your page while searching on pinterest ” how to make a tutus” and I am so glad I did!! I love your tutu tutorial and these adorable dresses!! I am inspired, thank you so much for sharing 🙂
Kim says
Thank you for this…I have been wanting to make this dress pattern. Do you mind telling me the designer of this fabric. Thx! 🙂
Scottie says
Thank you so much! Very easy to follow. Cute dress and model!
June says
LOve this cute pattern. I’m retired and have started sewing again. Having raised boys, now I am sewing girl dresses and loving it. This is the perfect simple pattern. Glad I found it. Thanks.
Mi-Mi says
Beautiful directions and beautiful sewing. Thank you.
girlinspired says
Thank you so much Mi-Mi!
Jennifer says
This dress is just to darn cute,thanks for sharing 🙂
Anneliese says
Oh I love this! I may have to pull out the pattern and sew some for my own girls! Thanks so much for sharing it.
Emily says
Your bias tape finishing method is so clear and easy to understand! Thank you! I spent a ridiculous amount of time trying to figure this out with a similar pattern for Ansley’s tinkerbell dress. I’m pretty sure the pattern called for single fold bias tape. Anyway yours is much better!
Rosellen Ralph says
LOVE this little girls dress pattern. It is very simple and stylish.
Tracy Chin says
Seriously, seriously, seriously cute! I love it so much!
Kristin says
When I saw this dress I thought “we’re going to see some sewing perfection here”. Yep…the detail for the bias arms is perfection. I can tell you really focus on the details. It is adorable and I love the Parisian print you chose. Adorable dress!