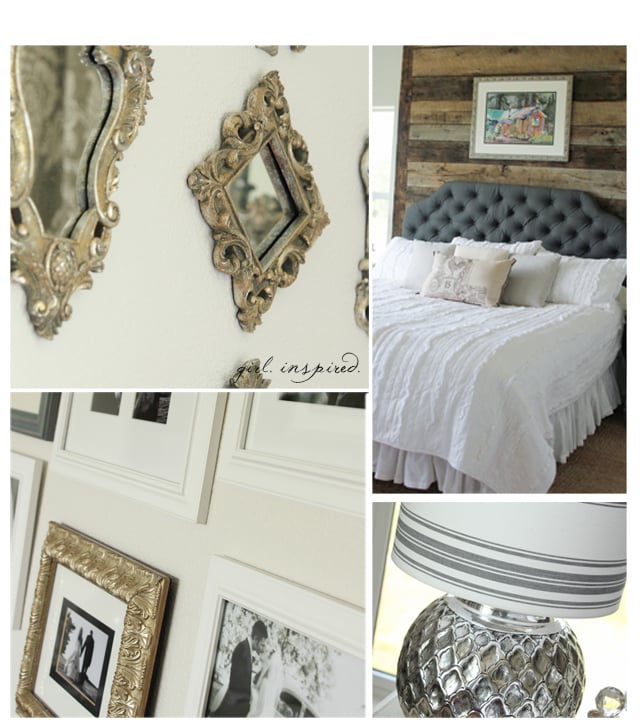
 I am so excited to finally reveal our completed master bedroom! Our bedroom has been sorely in need of a makeover since we moved in 7 years ago. Recently, I shared our plans to turn our bedroom into a beautiful retreat with the help of Sherwin-Williams paint and the ColorSnap® app, and today I get to show you the result.
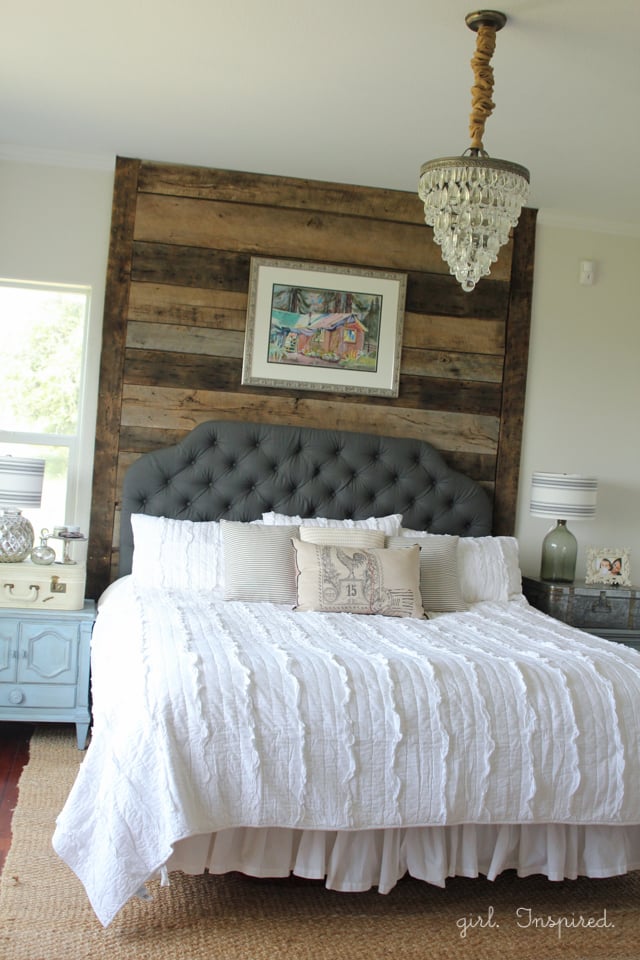
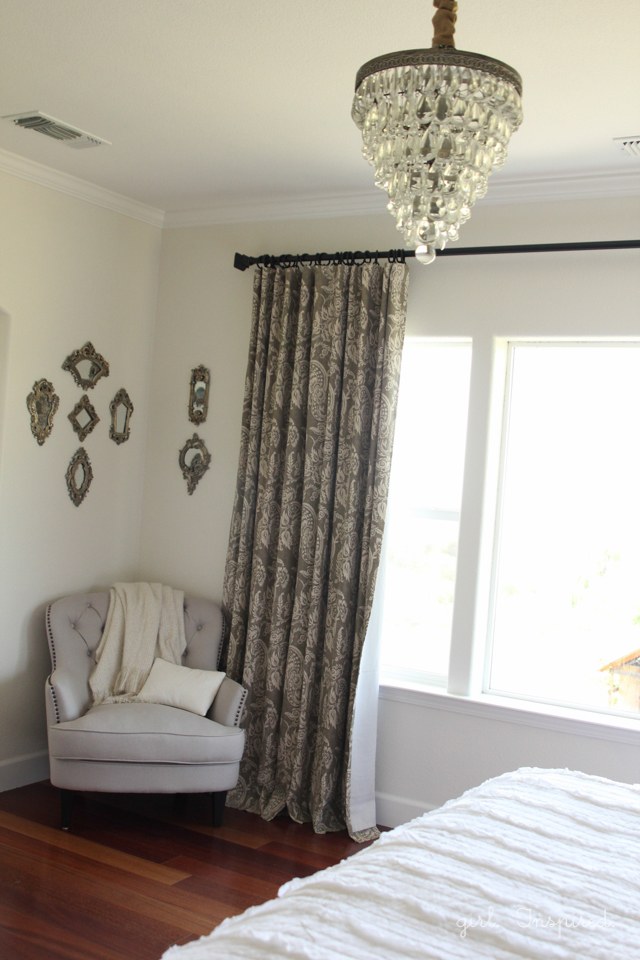 The finished room boasts a neutral color palette, the perfect blend of creams and whites, grays and browns. We installed floor-to-ceiling old barn wood on the wall behind our bed, and this became the main inspiration behind our color choices. We also used the coolest specialty paints to refinish the antique dresser with a crackle paint effect. A handmade upholstered headboard adds softness to the rustic elements in the room. New crown molding, metallic accent pieces, and gray-blue accessories pull the room together. I think our goal of creating a rustic, yet soft, romantic, and polished space was achieved – you’ll have to tell me what you think!
 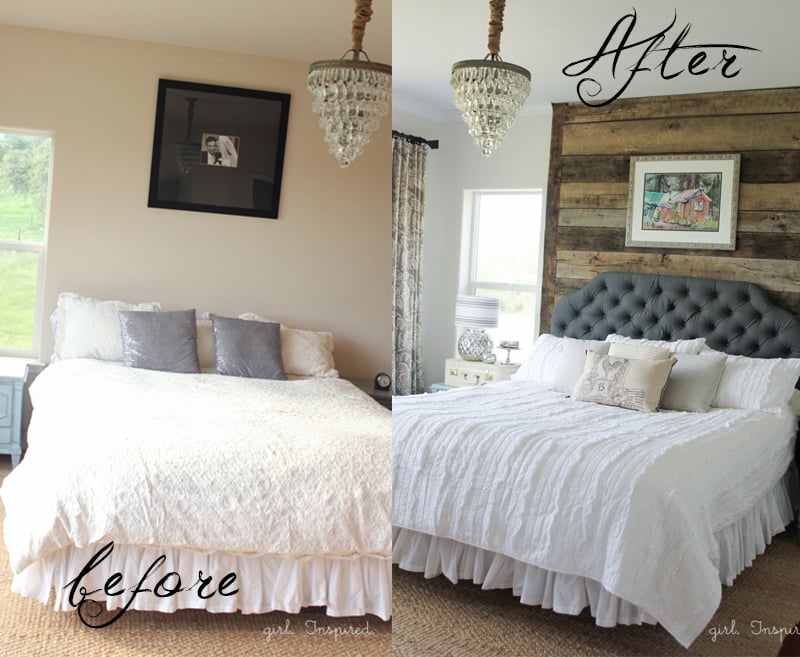 As I mentioned previously, we had purchased several elements for our room that I knew I wanted to work into the final look, but we also had quite a hodgepodge of furniture and decor. We began by clearing out the room and installing a wood wall. I found the wood for the project in a craigslist ad, was able to purchase it for just $1 a foot, and hauled it all home without a second thought. There are actually several different types of wood, and the coloring ranges from quite brown to very gray.
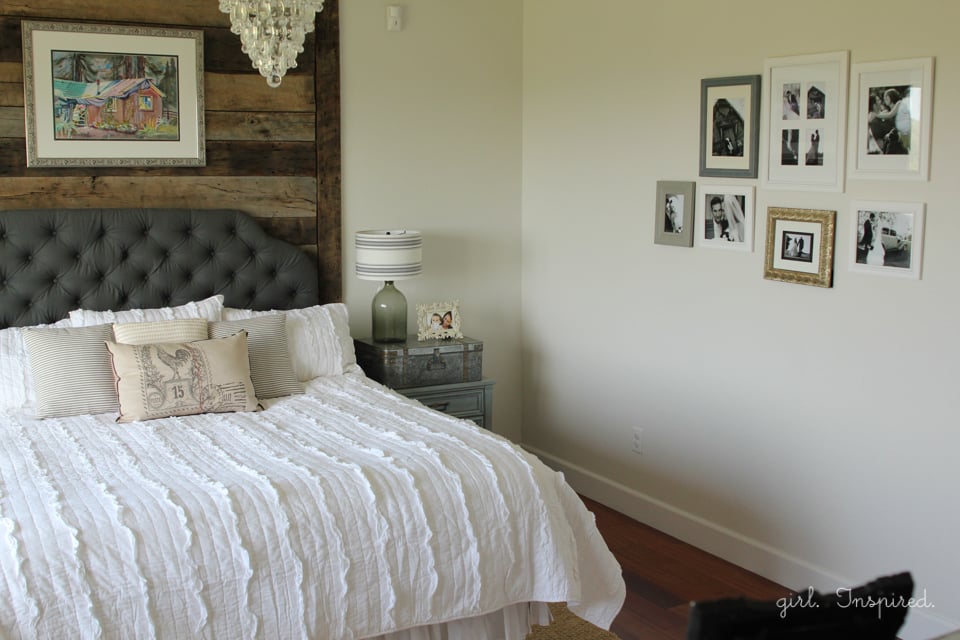
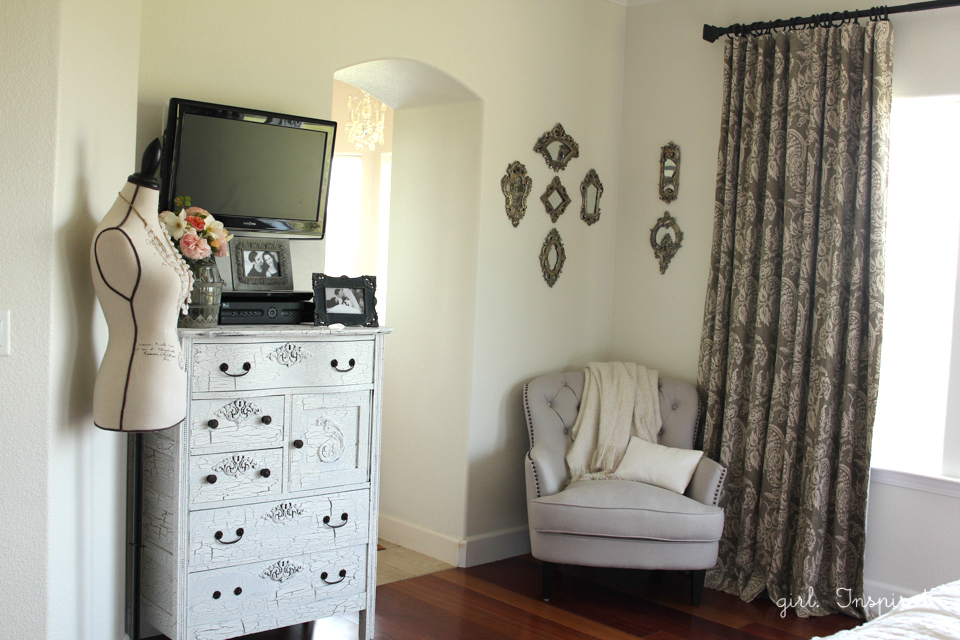 Once we were certain of the wood accent wall, I knew that we’d need to keep the paint in the room light and bright. Although we have incredible light in the room, I wanted to be careful to balance the rustic heaviness of the wood with a clean and warm white. We used SW 7013 Ivory Lace in an eggshell finish for the walls and SW 7004 Snowbound in a flat finish for the ceiling, and a semi-gloss finish for the doors and trim. With the help of the color selection tools available and the expertise of the Sherwin-Williams staff, I was confident that these two colors would work together. I think whites can be challenging to choose and this combination gave me a great result – warm undertones to reflect the wood elements in the room, but a bright, clean result for that polished look. For the trim, we used Pro-Classic Interior Enamel, which has a harder, more durable finish. For the walls and ceiling, we used the Harmony® line of paint. Not only is this product Green Guard Indoor Air Quality Certified, but the zero VOC formula actually works to reduce common household odors! I love that! Between our pets, small children, and living in the country, I am especially excited about this paint that will help my house smell fresher and improve the air quality in my home!!
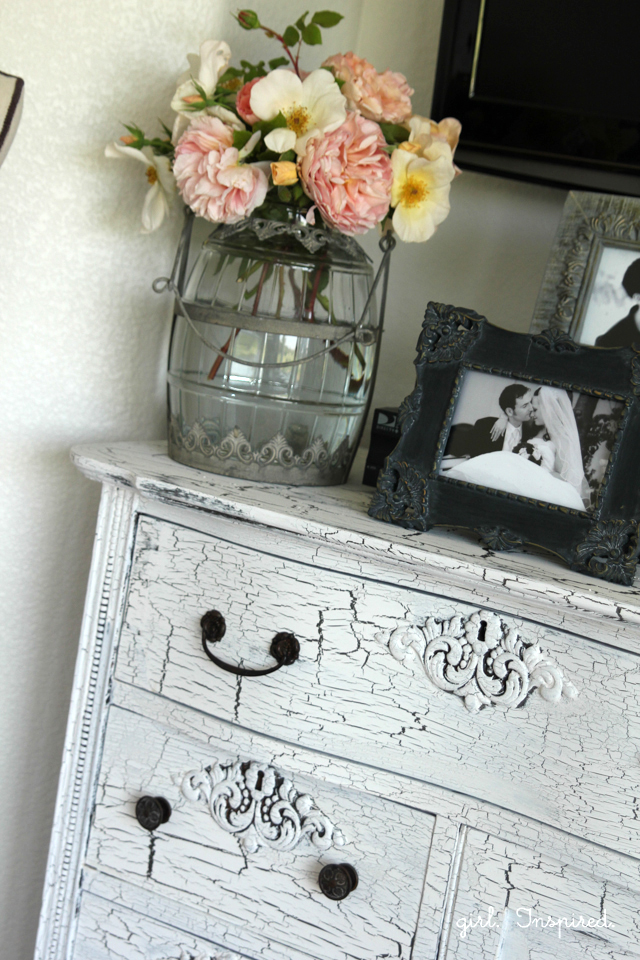
 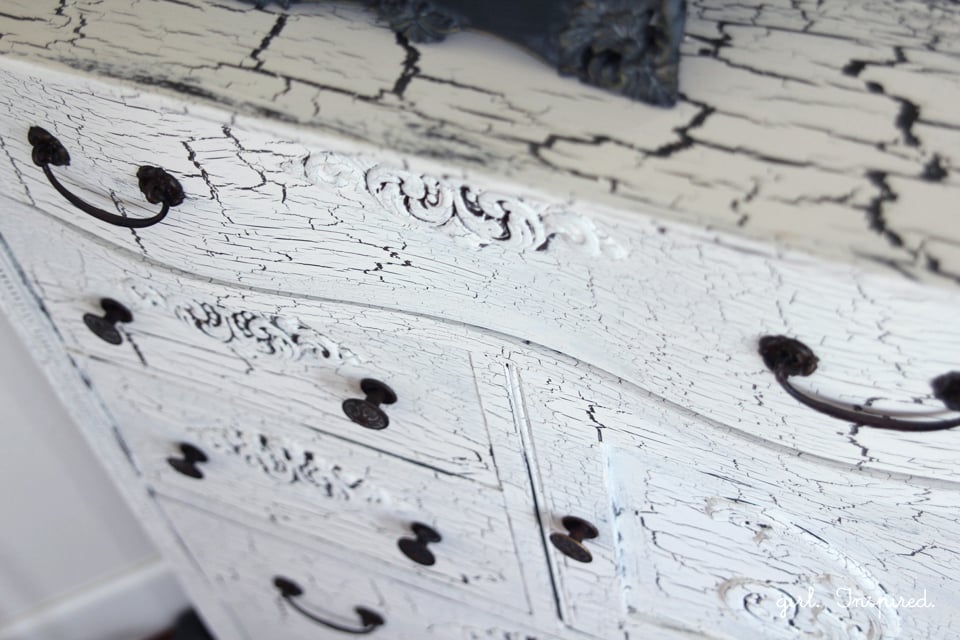 One of my favorite, favorite projects in the room is this antique dresser. I’ve had this in the room for a while, but it had a really dark, cherry stain on it and didn’t coordinate with the look I wanted to achieve.
  I stripped the dresser (which was quite the job!) and decided to try some of the specialty paints that Sherwin-Williams has available. I love the chippy, crackled look on furniture and was able to achieve an awesome finish. This was a four-step process.
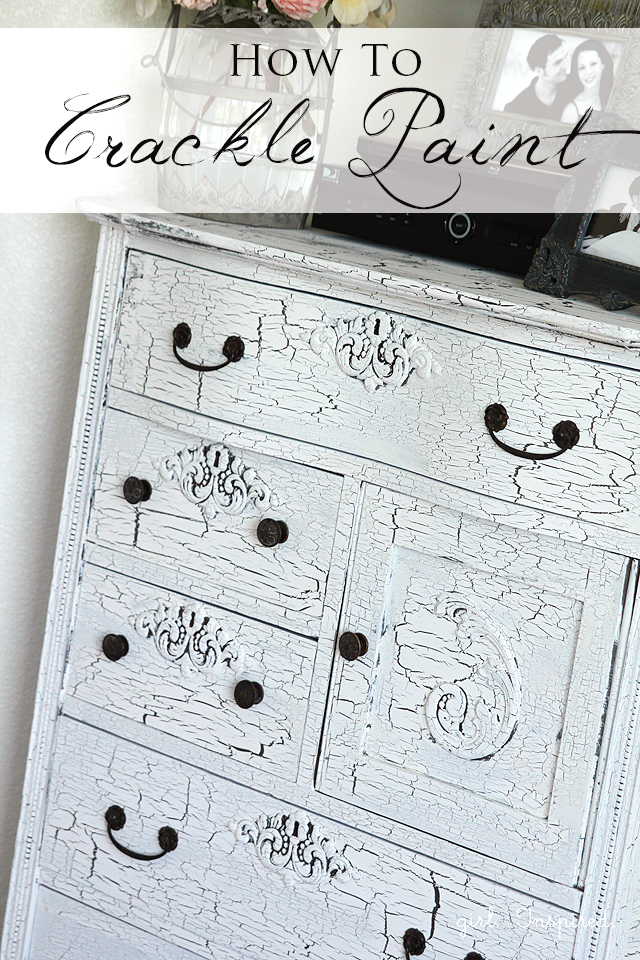
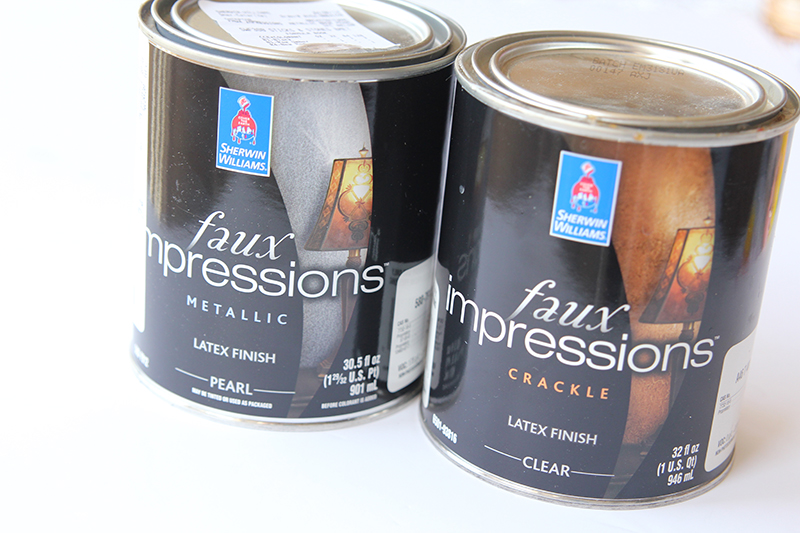
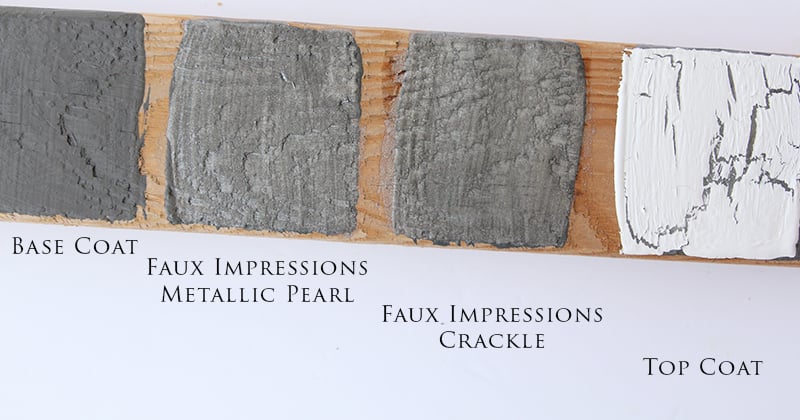 I used a base coat over the clean, sanded dresser in a dark grey color pulled from the tones in the wood wall, SW 7048 Urbane Bronze. This is such a nice rich grey-brown. I wanted to paint the whole room this color, but it just would have been too dark for my taste. I was able to use a sample quart of paint to cover the dresser (and I have plenty left over). Since the sample quarts are so cost effective, I think it’s a great way to incorporate some accent colors into the room! After the coat of Urbane Bronze, I added a coat of specialty Faux Impressions paint Metallic Pearl tinted to SW 7503 Sticks & Stones. This dries like a clear shimmer paint – with just a hint of the Sticks & Stones tint. To achieve the crackle finish, next I used Faux Impressions Crackle paint. This works similar to a crackle craft paint – you layer a generous coat of the crackle over the base paint (Urbane Bronze + metallic pearl) and let it dry for a short period of time, then paint a topcoat color over the top. You do not want to wait too long or the crackle effect won’t work, but you also want the crackle glaze to dry for a bit so that it doesn’t blend with the topcoat. For this dresser, I waited 30 minutes after applying the crackle paint before applying the topcoat – the crackle paint was partially dry and tacky in some of the areas. For the topcoat, I used my ceiling paint SW 7004 Snowbound in flat. Use long, sweeping strokes and try not to go back over an area you’ve already applied a stroke of paint to. The crackling starts within seconds and the results are fantastic! I should also note that I worked in small sections (e.g., top of dresser, one side of dresser, two drawers, etc.) so that I could control how much time elapsed before applying the top coat.
 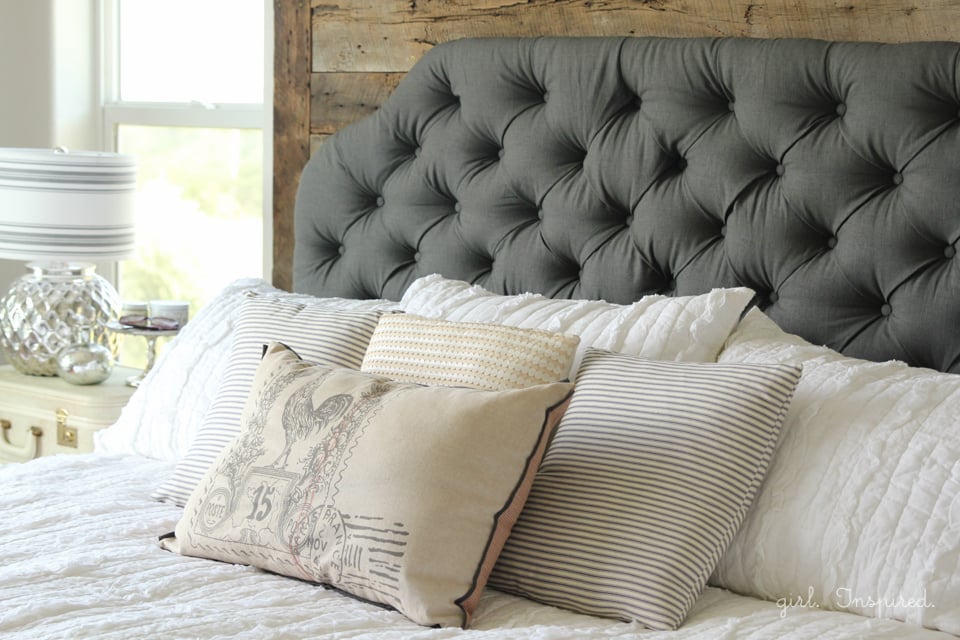 One of the final touches in the room was this gorgeous tufted, upholstered headboard. I’ve done some upholstery in the past and was feeling a little intimidated by this project, but I’m so glad I did it. I will share more details in a separate post for the headboard, but I did want to point out a couple things. First, I really think that the headboard adds softness and elegance to the room, making the whole look work. Also, it was a cinch to choose a fabric for the headboard as I had already chosen the main colors of the room. I found linen in an exact match to the Urbane Bronze color that I talked about above. It perfectly ties in the grays and browns of the wood wall, the curtains, and the crackle-finish dresser.
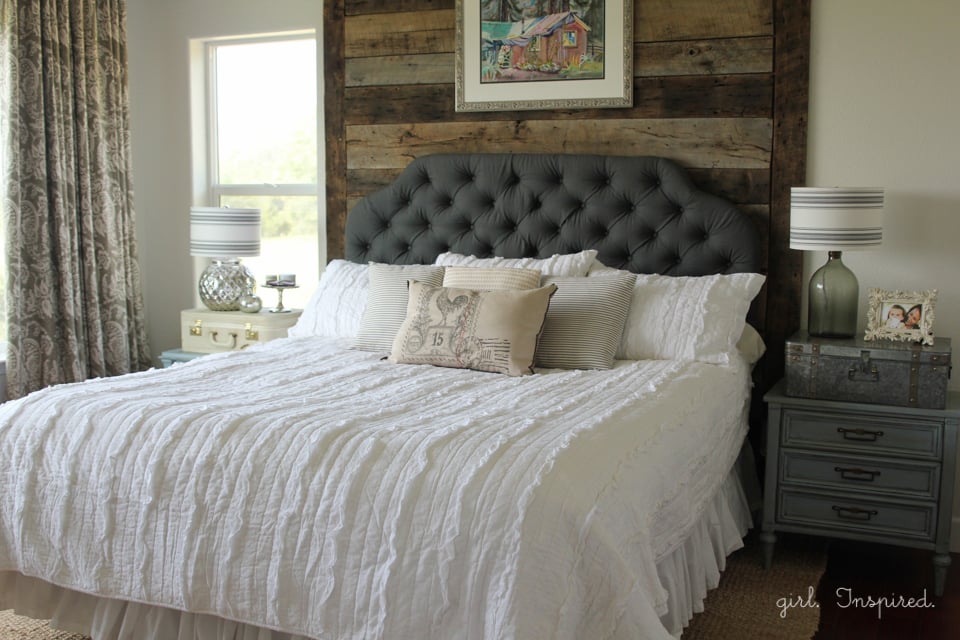
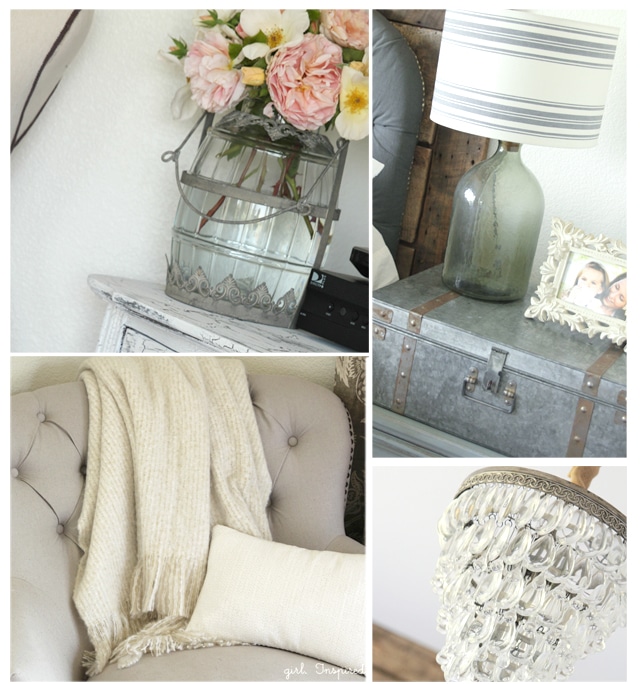 I really love the accessories in the room that add texture and warmth to the foundation set by the paint and furniture. I used soft whites, grays, and creams for bedding, pillows, throw blankets, and the accent chair. And I used galvanized metal and mercury glass to add more of that balance between rustic and polished. It is truly the perfect room for my husband and me, and we love having this sophisticated retreat of our own.
  I’m curious to know what you think of our bedroom makeover!


Comments & Reviews
Christine Biondo says
Could you pretty please tell me where the bedspread is from? I love it!
Lydia @ Thrifty Frugal Mom says
Beautiful room makeover- you created a real haven here!
Curious if you would be able to share where you got your bedspread. I’m getting ready to redo our bedroom and have been looking for a bedspread exactly like this!
girlinspired says
Hi Lydia – It’s the Shabby Chic line from Target!! Thanks for stopping by!
Lorene @Remodelaholic says
I just love everything about this room. The wood with the chandelier — it’s all gorgeous!
I work with Cassity over at Remodelaholic and we are hosting Headboard Week and a big headboard link party that we’d love to have you come join! You can join the party here — we’re picking our favorites to feature on Saturday: http://www.remodelaholic.com/2014/06/headboard-week/
Thanks! Have a great day!
Lorene @Remodelaholic
Betty C says
Tweet – https://twitter.com/willitara/status/480839652111581185
Betty C says
I love the changes you have made. I like the neutrals with a few splashes of color. I’d like to give my living room a new look.
Brian Lansford says
I love how you did the crackle-painted dresser. That’s a great way to add a little “age” to a newly redecorated space!
Kathy L says
Love the fresh look and not overly chubby chic, going to try the crackle paint on some furniture, your photos and instructions were just what I needed to be inspired to do so. Thinking my master sitting area needs a little uplift with some painting and window treatments. Great blog.
maria cantu says
I’d like to redo our bedroom.
Kristie says
I love the headboard. It looks so soft in the room.
I think my whole house needs help, as the previous owners painted every room a different color, sometimes two or three colors. And hubby only wanted to slap some white paint up and call it good.
Tabathia B says
tweet https://twitter.com/ChelleB36/status/477631505166913536
tbarrettno1 at gmail dot com