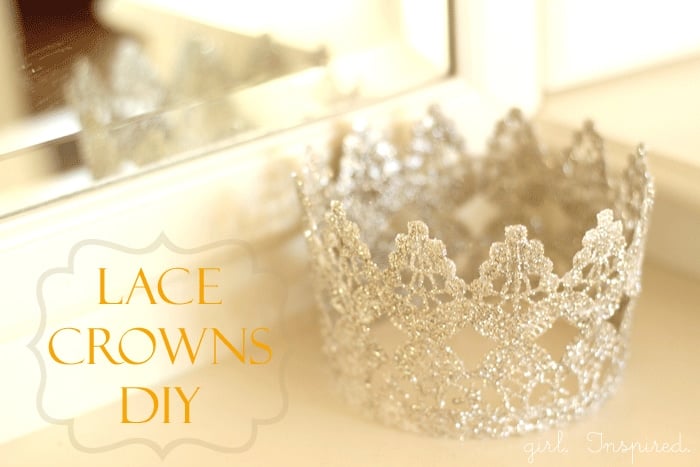
One of my most favorite DIY projects EVER are the lace princess crowns I made for the girls’ birthday parties. I was pretty pleased with myself last year when I made the first set of crowns, adding color and glitter to the ideas I’d seen online. Since then, I’ve made several more crowns and after Addison’s Princess and the Popstar party a couple weeks ago, I have some updates to my original tutorial to share.

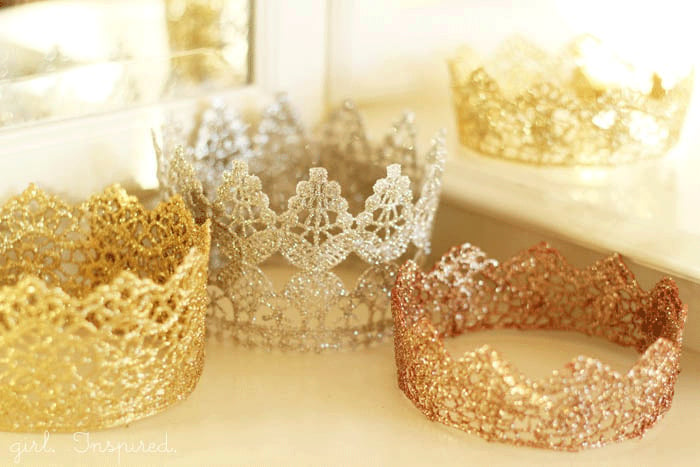
- Choosing Synthetic laces vs. cotton lace – the synthetic laces seem to hold their intricate detail/shape better than the soft cotton laces, such as the vintage trims I used in the past. Look for wider designs with a lot of variation in the trim for taller crowns.
- Saturate the trim in fabric stiffener, swipe off excess with your fingers, lay the lace flat to dry in a straight line on waxed paper. Turn several times to ensure all of the holes in the lace are clear of excess stiffener.
- This is an excellent summertime project (particularly here in the dry heat of CA – not sure how humidity effects drying time). I was able to add stiffener, dry out the lace, paint, and glitter the crowns all within about a half a day. When I made them previously in January, it took several days. After each step, I set the lace outside to dry – temperature was about 90 degrees that day.
- Apply one coat of acrylic paint to both sides in the same color as the glitter you’d like to apply. Allow to dry.
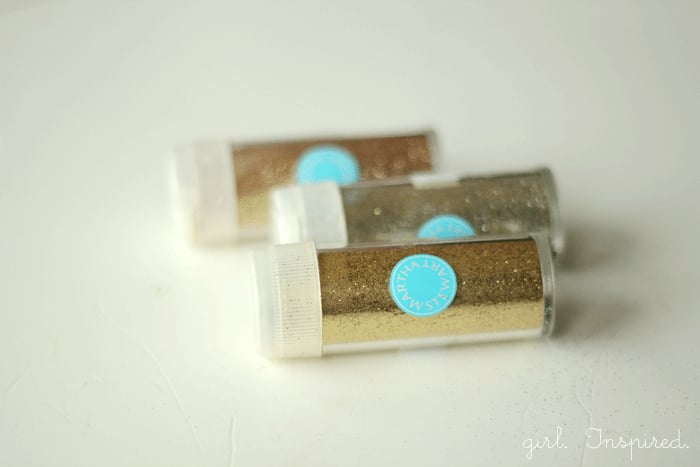
- To add glitter: choose a very fine glitter – this makes all the difference. This glitter from Martha Stewart Crafts worked a million times better than anything else I’ve tried.
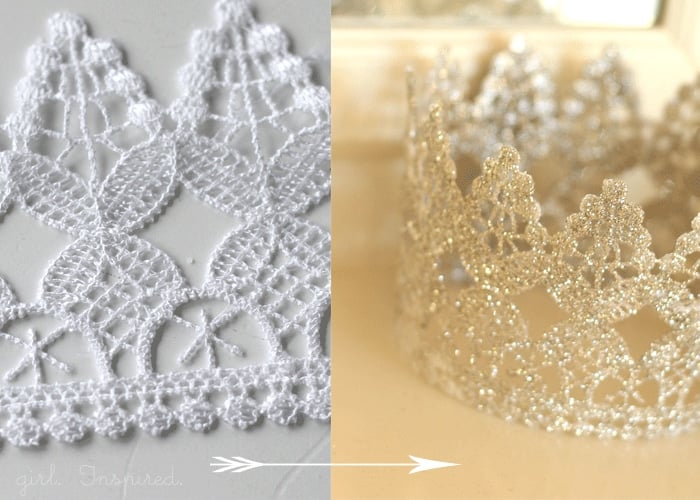
- Use a foam brush to apply a thin layer of Mod Podge over the painted lace. Sprinkle with glitter. Shake off excess glitter. Set out to dry (this doesn’t take long). Flip over. Apply a layer of glitter to the other side.
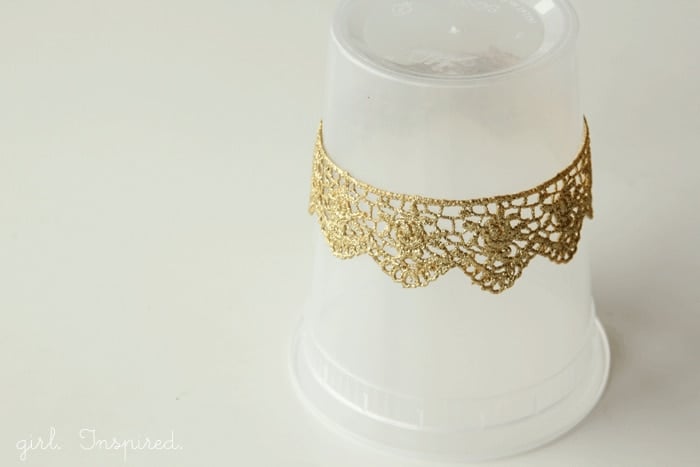
- Immediately overlap and hot glue the ends of the lace together to form a circle. Use this tip to dry the crown into the perfect circular shape. Set outside to dry for several hours or overnight.
- Store crowns the same way you dried them. I have mine all stacked on one take-out container after the next.
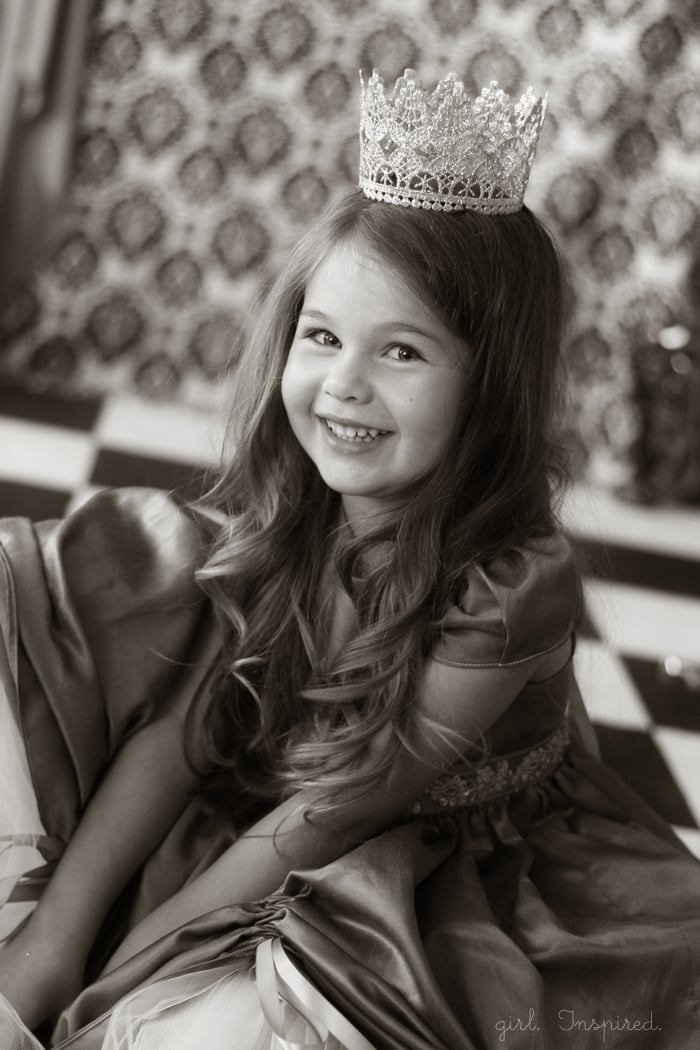
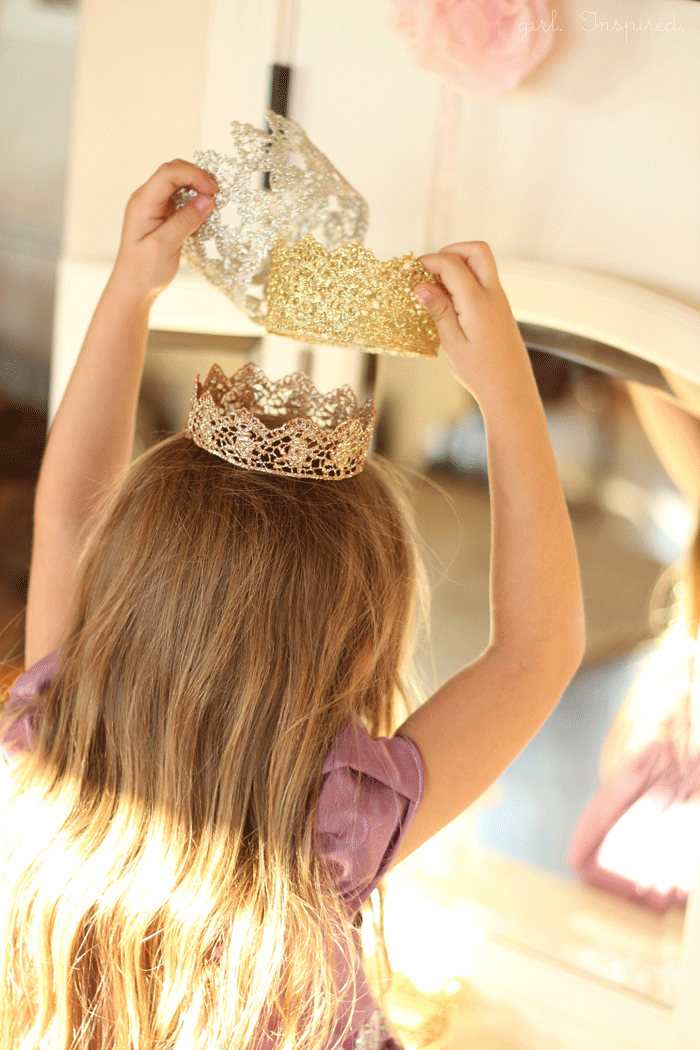
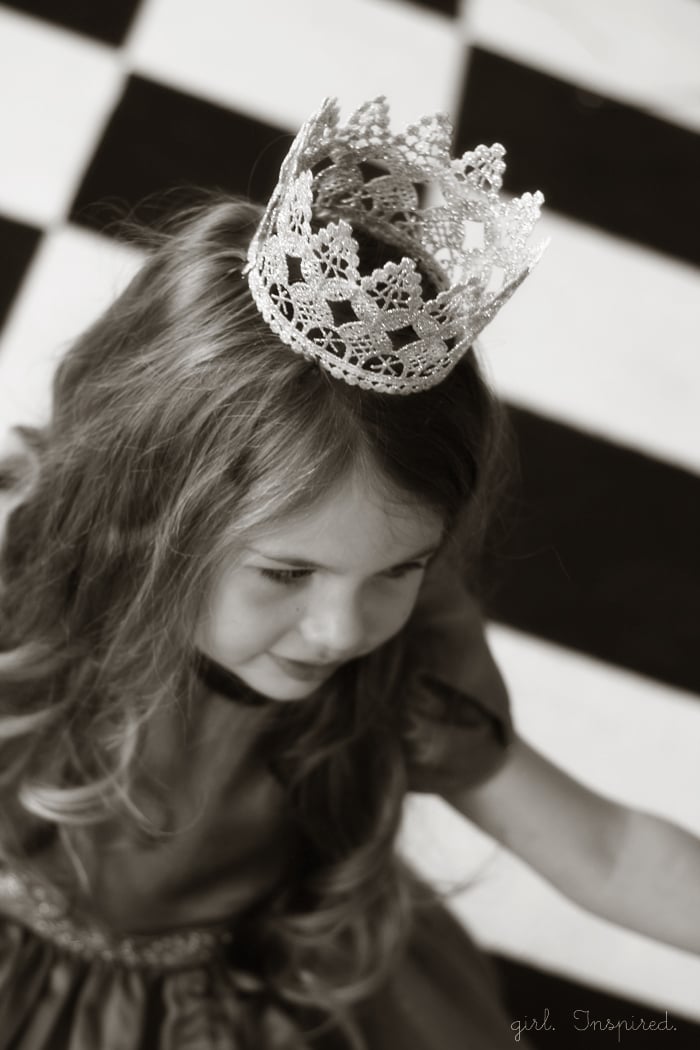
Super cute, right? I love these crowns!!! And I love knowing that I can make them in a snap in this hot weather! Have you made one yet?
For more details and pictured instructions, you can see my original tutorial here.





Comments & Reviews
Birgit says
Dear Stef,
i just discovered this tutorial through Pinterest! so going to try this at home! thank you for the inspiration 🙂
have to go now, cause I have a lot of reading to do on your site 🙂
xoxo, B
Jesse Johnston says
These are so cute and I’m am making for my daughter’s pictures! How do you keep them in her hair?
girlinspired says
Hi Jesse! I just used bobby pins and wedged them between the little holes in the crown lace.
Craftsymomma says
These are gorgeous!
I’m having trouble with the stiffness though. I applied two coats of mod podge stiffy which made them nice and stiff but as soon as I applied the acrylic paint they softened again.
Also how do you stop the glitter from falling off once they’re finished?
girlinspired says
Hi! It has been a long time since I made these, but I did use the liquid starch PLUS a couple coats of Mod Podge when I made them. Dry them for a couple days to get good stiffness. And ultimately, they are flexible – I just keep mine stored on old yogurt containers (or sour cream/cottage cheese, that size) to hold the shape between wearing.
Shine says
U are a genius!
betty says
Too cute! Where do purchase your laces?
amber says
Hello! These are beautiful! Just wondering if the modge lodge would hold the shape or would I really need to get the fabric stuff? Oh and do you think already paint with glitter in it would have the same affect?
Acsa Harper says
i love your tutorial but for some reason after I let the crown dry from the fabric stiffener and I paint them they turn out so soft and flimsy. I used acrylic paint and let the stiffer dry hard before I painted. If you have any tips please let me know. Thank you. 🙂
girlinspired says
I would suggest more coats of fabric stiffener and/or Mod Podge! Good luck!
Connie says
I am making 19 crowns for centerpieces at our Ladies day at church. Living near Houston Texas where there is a lot of humidity – I used liquid starch and attached each strip of lace to a hanger using a safety pin through a hole at the end of the lace. I hung the hangers on the patio to dry. After they were dry I used a very small amount of Mod Podge and sprinkled with glitter. The fine glitter does work better. I am still in the process – will let you know later how it went.
Margi says
I am sooo loving these adorable crowns!!!! My 1st granddaughter is due in early May 2015, and the theme for the shower is our “Royal Princess”. So while the baby girl (who will be named Charlotte), will still be (hopefully)snuggled with Momma-the rest of the party goers will be receiving some type of “regal” adornment as a favor. I thought these crowns of lace would be spectacular! When all the details have been worked out, We make sure to post photos, and tag all the correct blogs, websites, designers and creators. Thank you all for your creativity. It has been a few decades since I have planned showers of this caliber, so I’ve had to dust off my decorating chops, and grease a few squeaky wheels to get everything rolling along. Should have all together by mid-April 2015. Thank you again for your help.
Cheryl says
How very cool is your post! Your grand daughter was named Charlotte, you threw her a royal baby shower, and come to find out, the Royal baby is named Charlotte too! Congrats!
Danielle says
Hi! I Saw these on Pinterest and was immediately in love with them! Do you still recommend spray paint or did the normal acrylic paint work better?
Also, how did the glitter hold up? I LOVE glitter but it’s so temperamental I feel like I can never get it to stay in place!