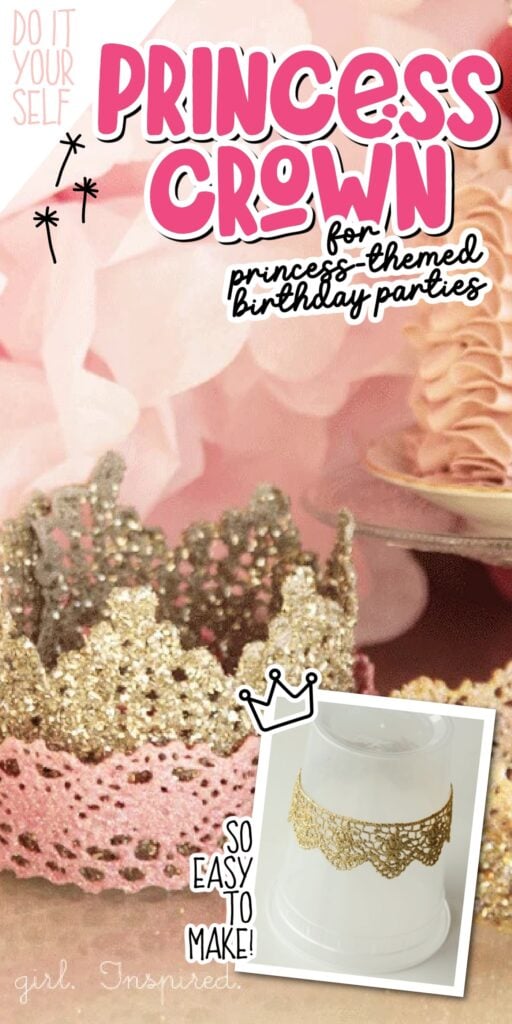
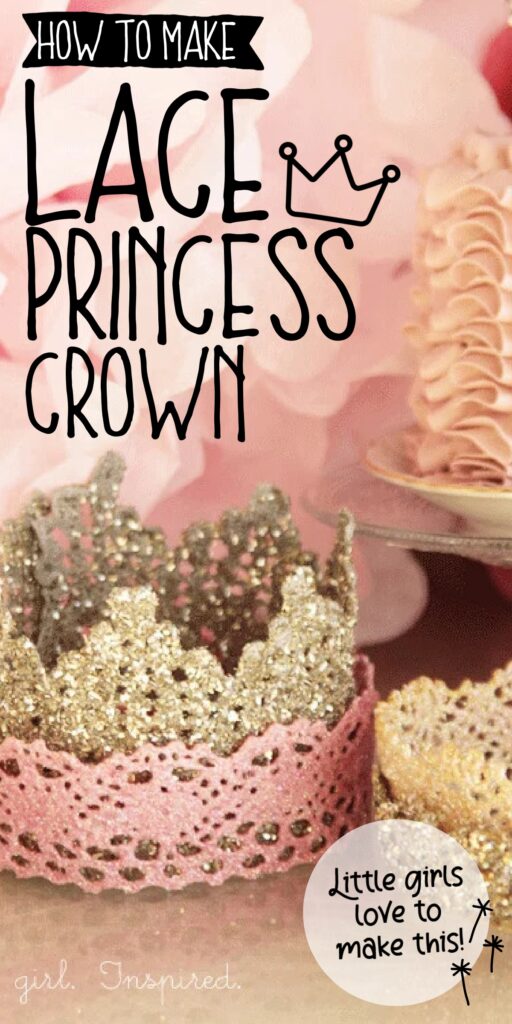
If you’re looking for a great craft project to satisfy the little princess in your life (or the princess in your heart), try these DIY princess crowns. We use craft glue or Mod Podge, starch, and any combination of new or vintage lace to bring all your sparkly dreams to life.
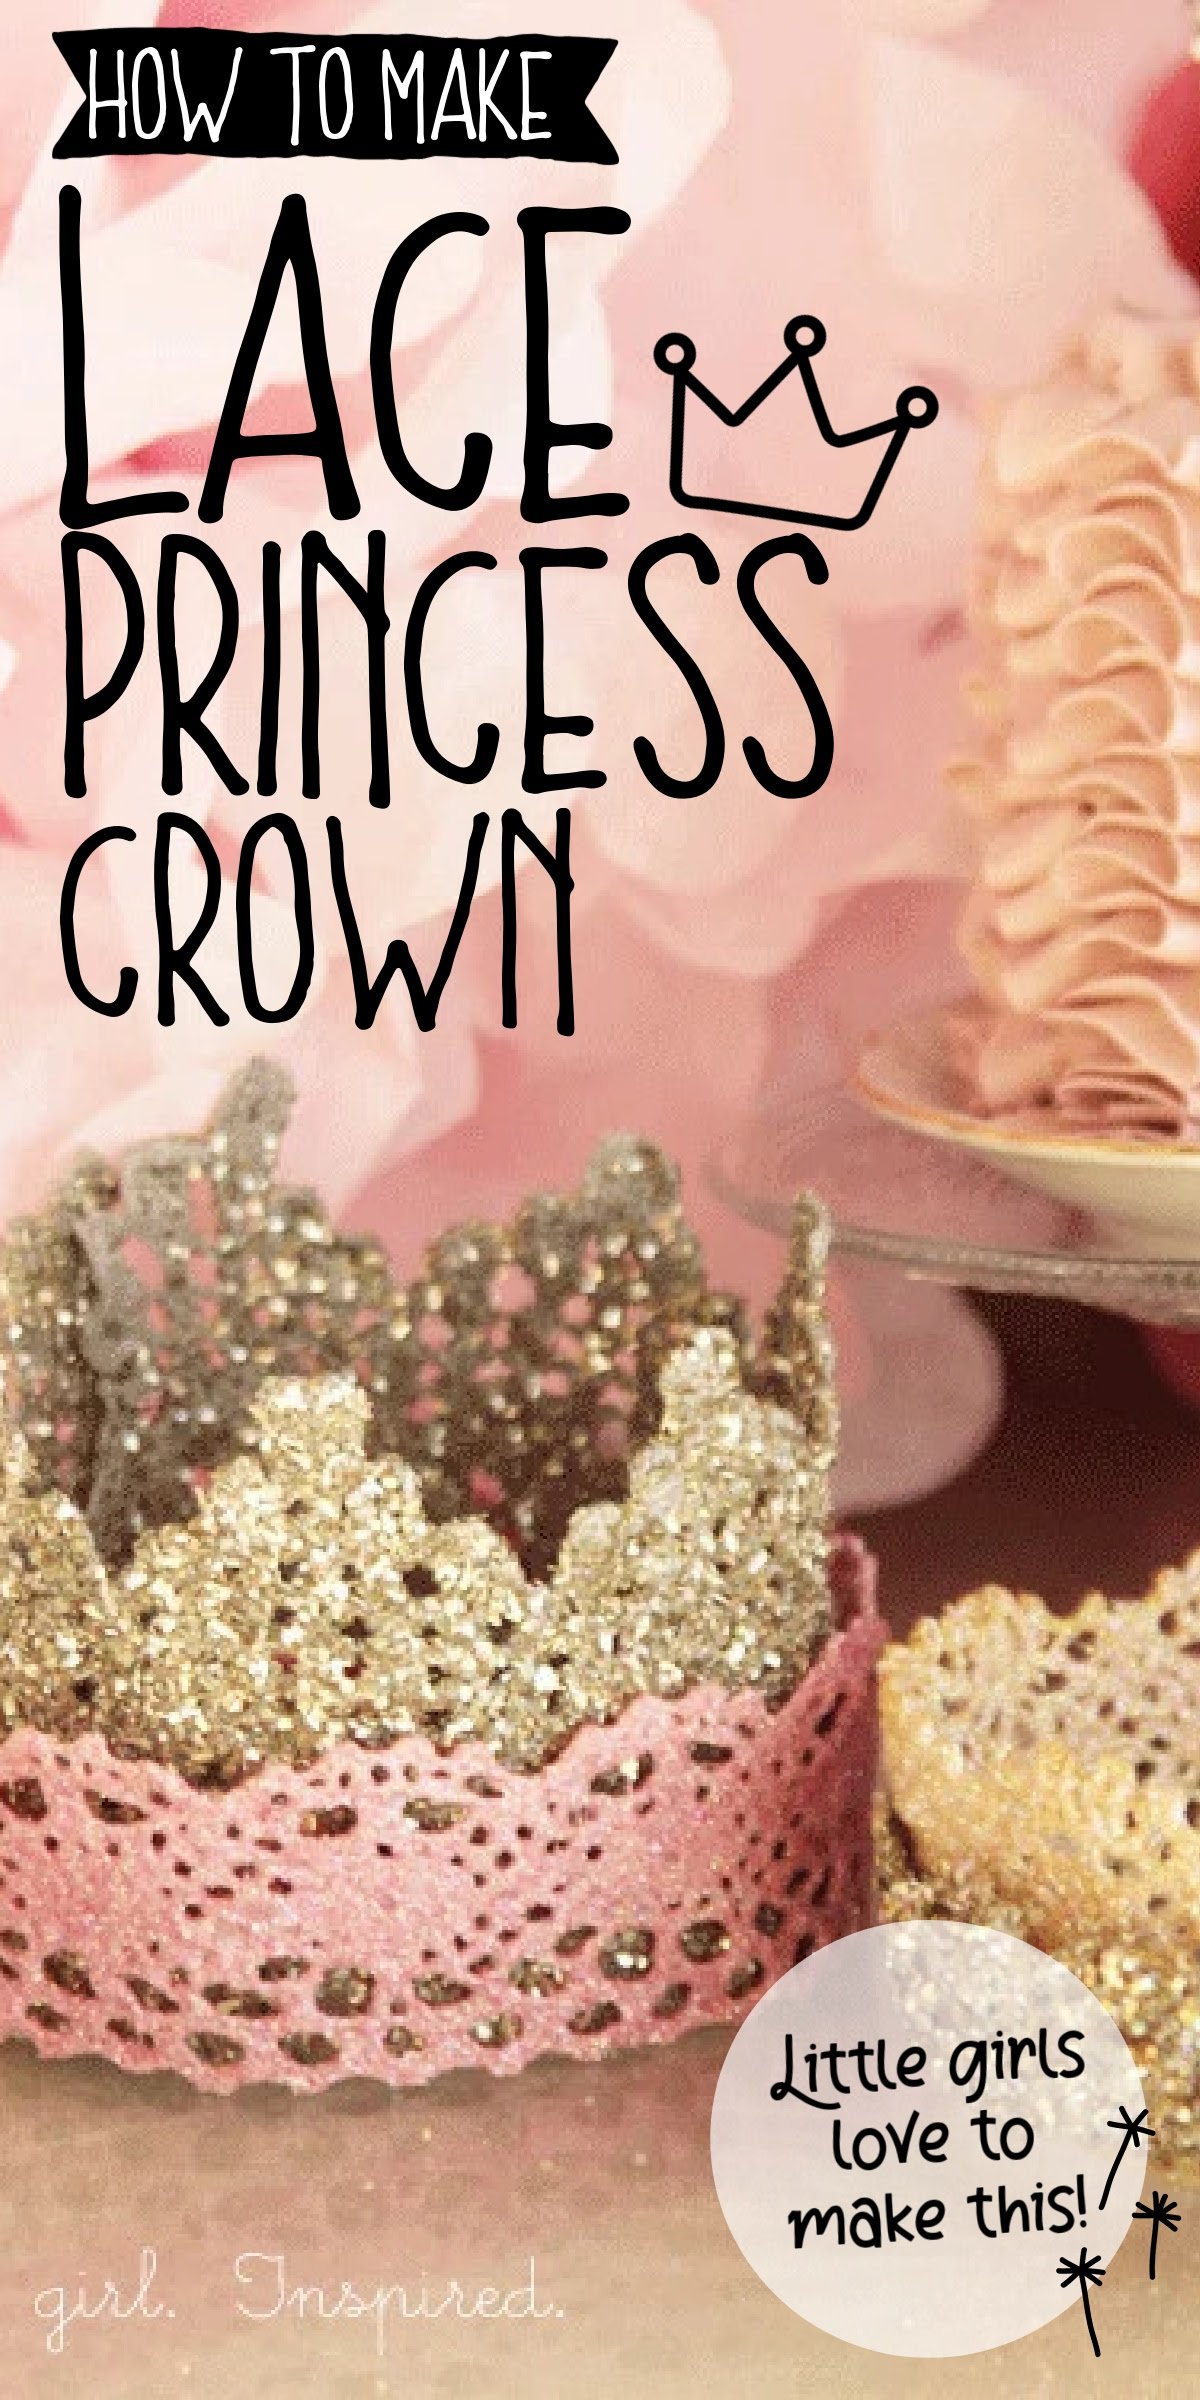
We made lace princess crowns for a number of birthday parties when the girls were itty bitty. There was the princess party where all the party guests selected from homemade princess crowns. And the little girls donned princess tiaras once again at our Princess and the Popstar birthday party.
These DIY crowns are fun to make because you can really customize them with different sizes and shapes of lace, as well as paint and glitter! Let’s get to learning how to make a princess crown!
Jump to:
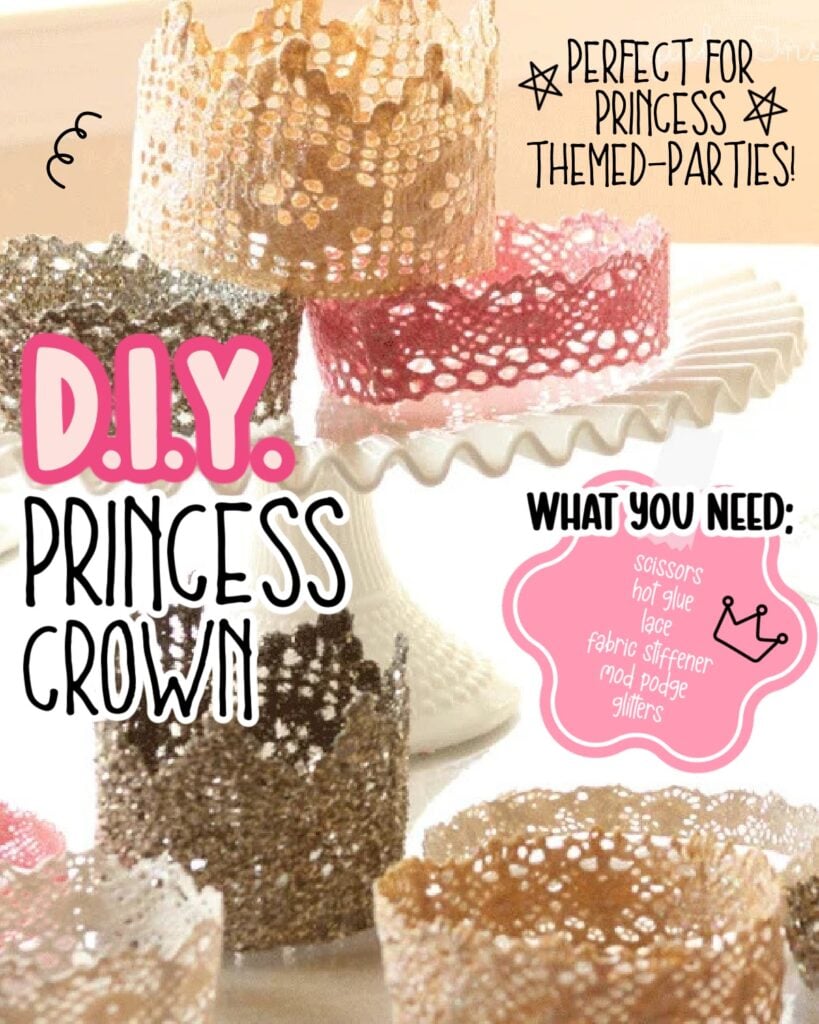
👑 DIY Crown Supplies:
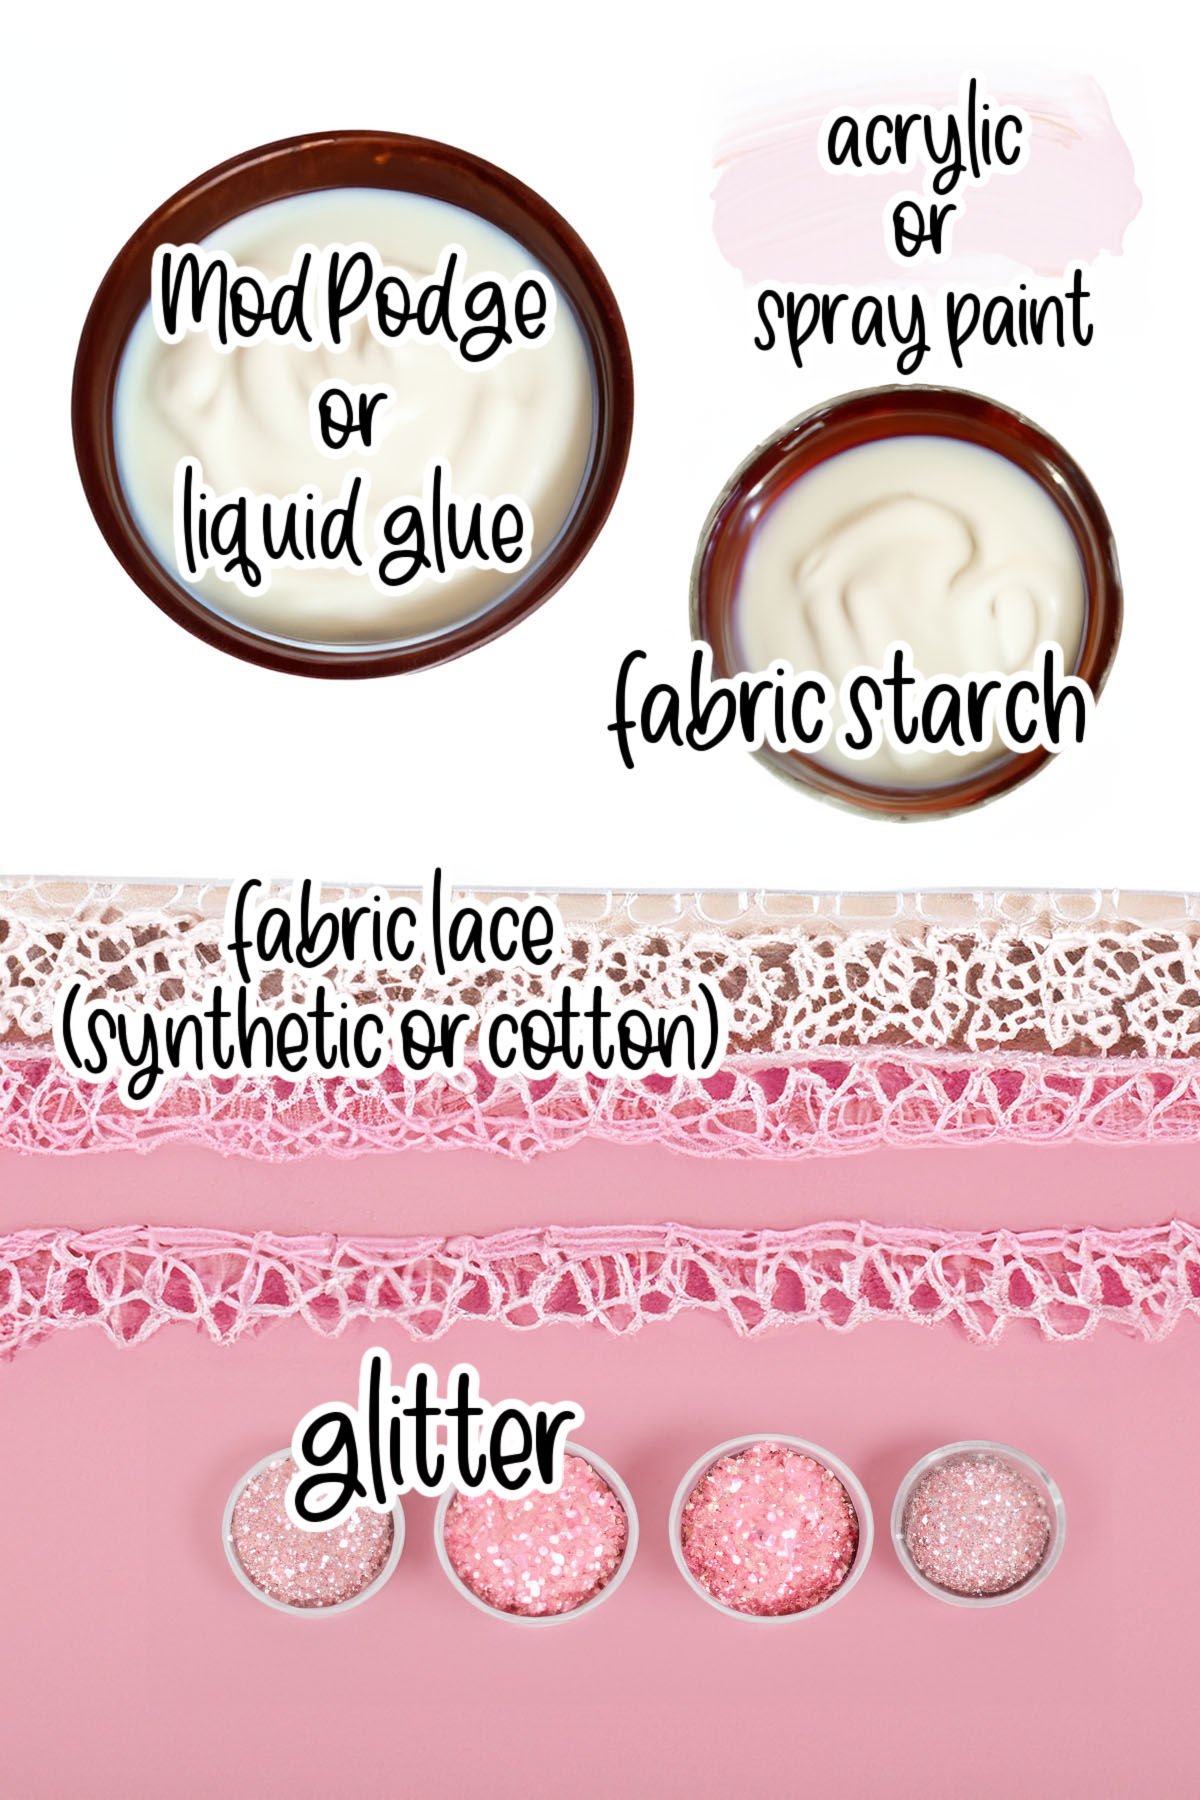
- lace – We have used a variety of laces – from vintage cotton lace to crisp, new synthetic lace. There are so many shapes and sizes. Synthetic laces seem to hold their intricate detail/shape better than the soft cotton laces, such as the vintage trims I used in the past. Look for wider designs with a lot of variation in the trim for taller crowns.
- starch – liquid fabric starch is applied to the lace and left to dry to hold it stiffly in place. We used liquid fabric stiffener. You may be able to use spray starch, but it will be much more difficult to really saturate the lace.
- paint – Acrylic paints work well and come in such a wide variety of colors. Spray paint -especially for metallic colors like gold and silver – are quick and cover well.
- glitter – Adding glitter to the crowns was my girls’ favorite part of the craft. I think that a fine glitter in a coordinating color (to the paint) looks best. Coarse glitter can also take up the bling factor. If you have more delicate, detailed lace, you’ll probably want a fine glitter.
- Mod Podge or glue – If you are adding glitter to the crowns, a nice coat of Mod Podge to seal everything in works wonders. It will also add a bit more structure and stiffness to the crowns.
- hot glue – a quick dab of hot glue joins the two ends of the lace into a perfect crown. You could also hand stitch them together, I suppose.
Optional Supplies:
You might also want a tapered food container – like a yogurt tub or a takeout container to place the crown on while stiffening. This will keep the crown perfectly round and can also give the tips of the crown a little flare.
Substitutions and Variations
- Color cotton laces with fabric dye instead of using craft paint. Please note that synthetic lace will not dye.
- Add craft jewels to the center or to the peaks of the crowns for extra sparkle.
✂️ Instructions:
PREP: Cover work area with parchment or waxed paper.
Step 1: Cut each lace piece to 15 inches long.
Step 2: Saturate the trim in fabric stiffener, swipe off excess with your fingers, lay the lace flat to dry in a straight line on waxed paper. Turn several times to ensure all of the holes in the lace are clear of excess stiffener.
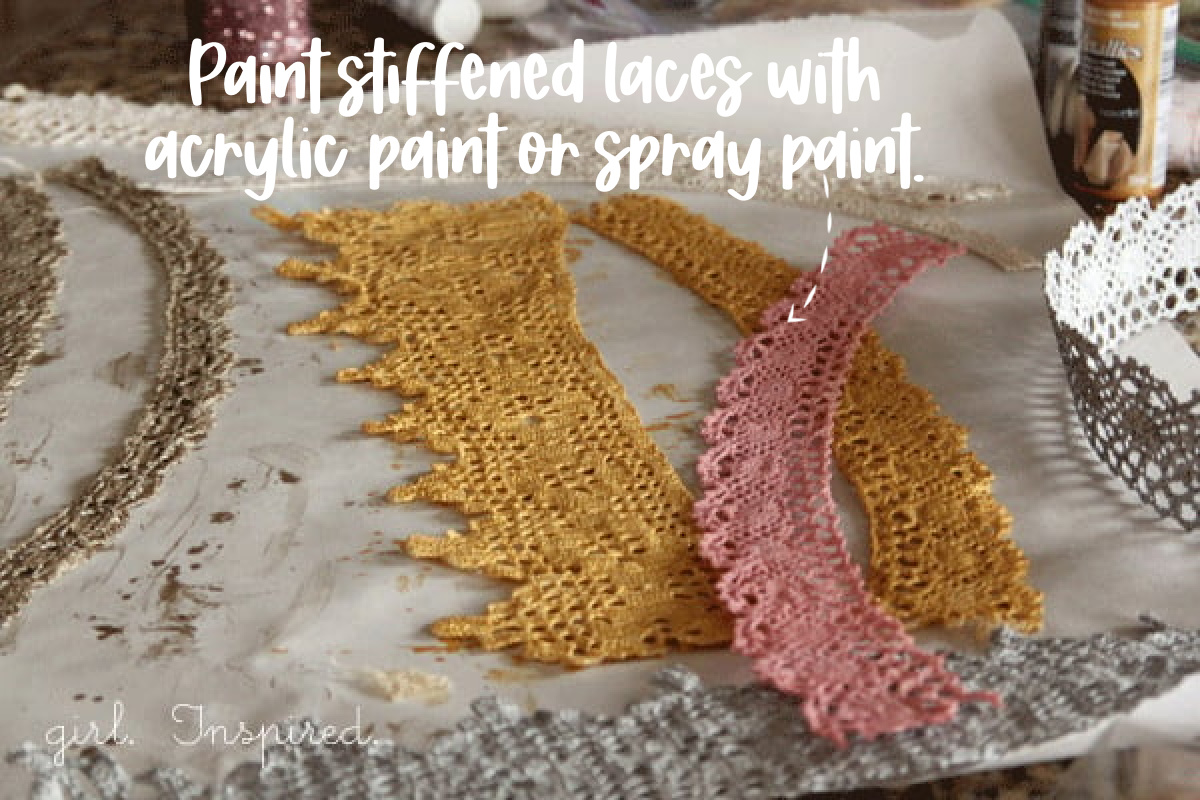
Step 3: When the lace is fully dry and stiff, paint each side. Again, take care that the cutouts in the lace do not get filled with paint. Paint one side, allow it to dry, and then paint the other side.
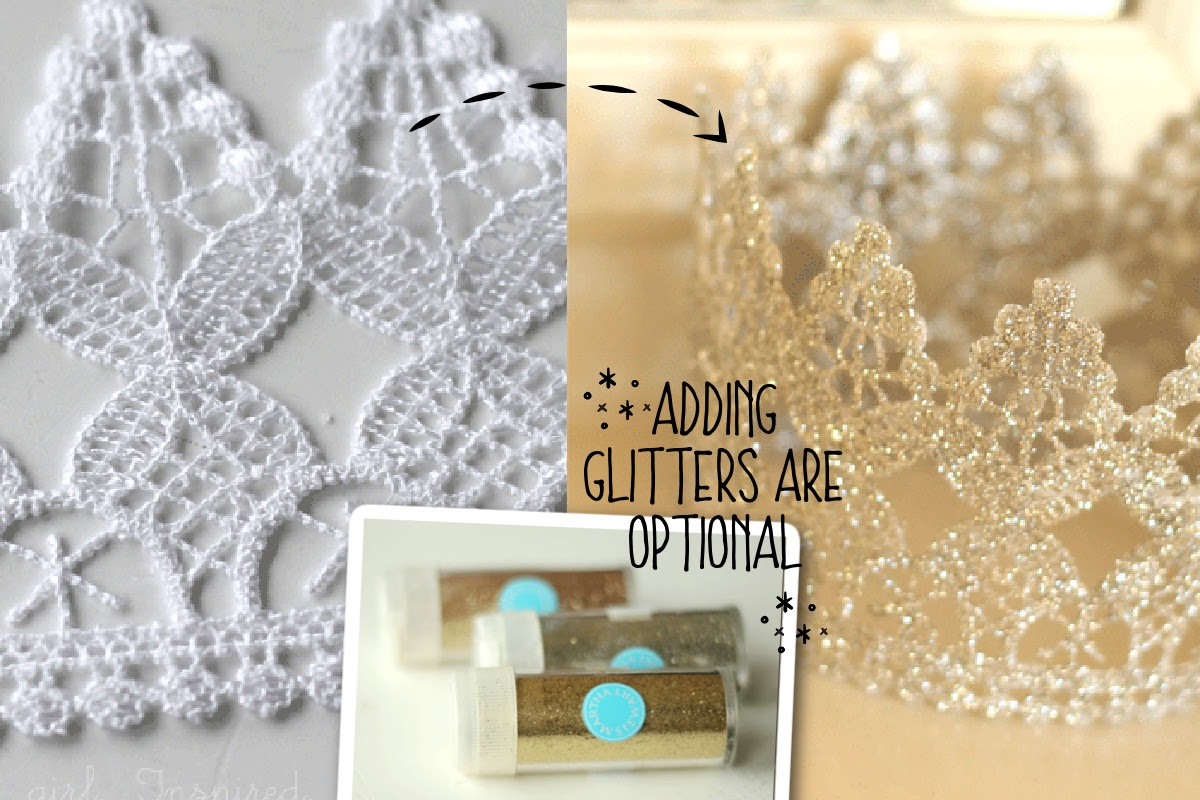
Step 4: Apply a thin coat of mod podge or thinned craft glue to the painted lace and shake with a coordinating color of glitter. Lift up the lace and tap off the excess glitter. Lay flat to dry.
Synthetic laces are easier to stiffen while maintaining the design. When cotton lace is moistened by the stiffener, you have to reshape it. It’s possible, but takes a bit more effort.
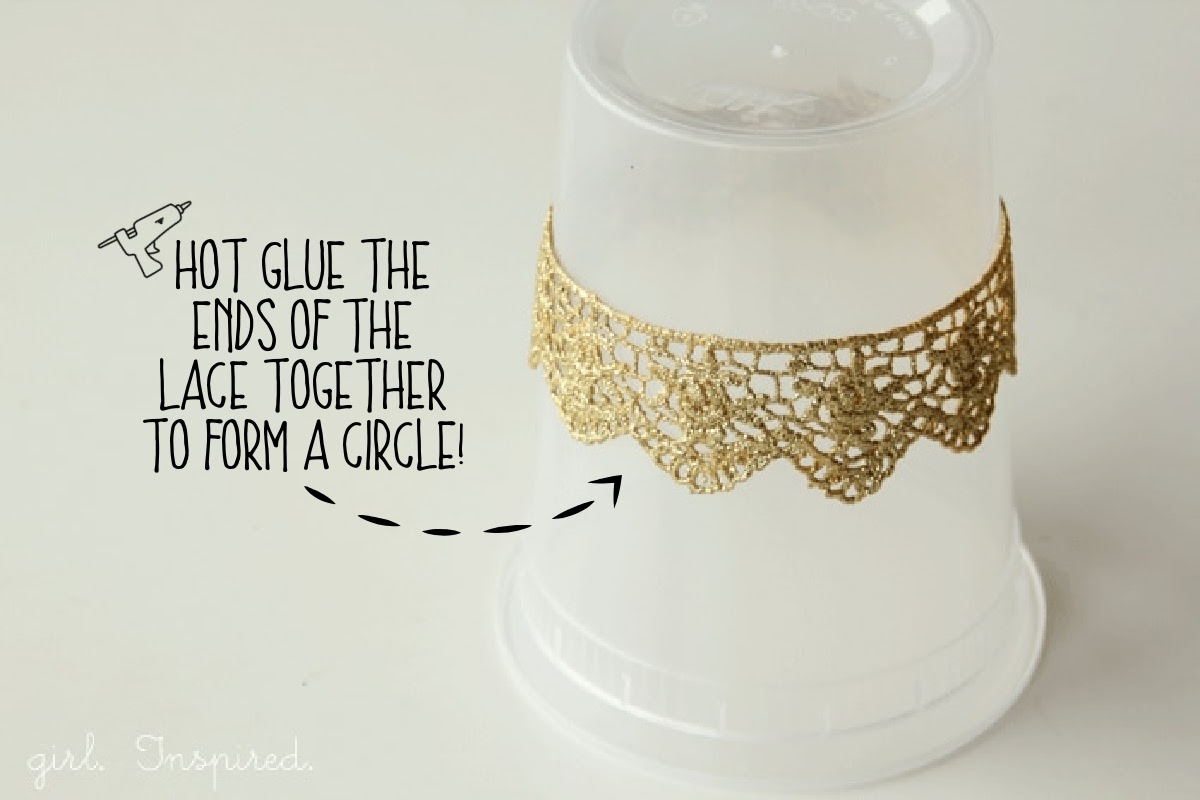
Step 6: Apply a final coat of Mod Podge over the glittered crown. Add a dab of hot glue along one edge, overlap the ends, and glue into place. Set the crown upside down on an overturned tapered container and allow the Mod Podge to dry completely. This ensures a perfectly round crown and it adds a little shape to the crown – the base is narrower than the tips.
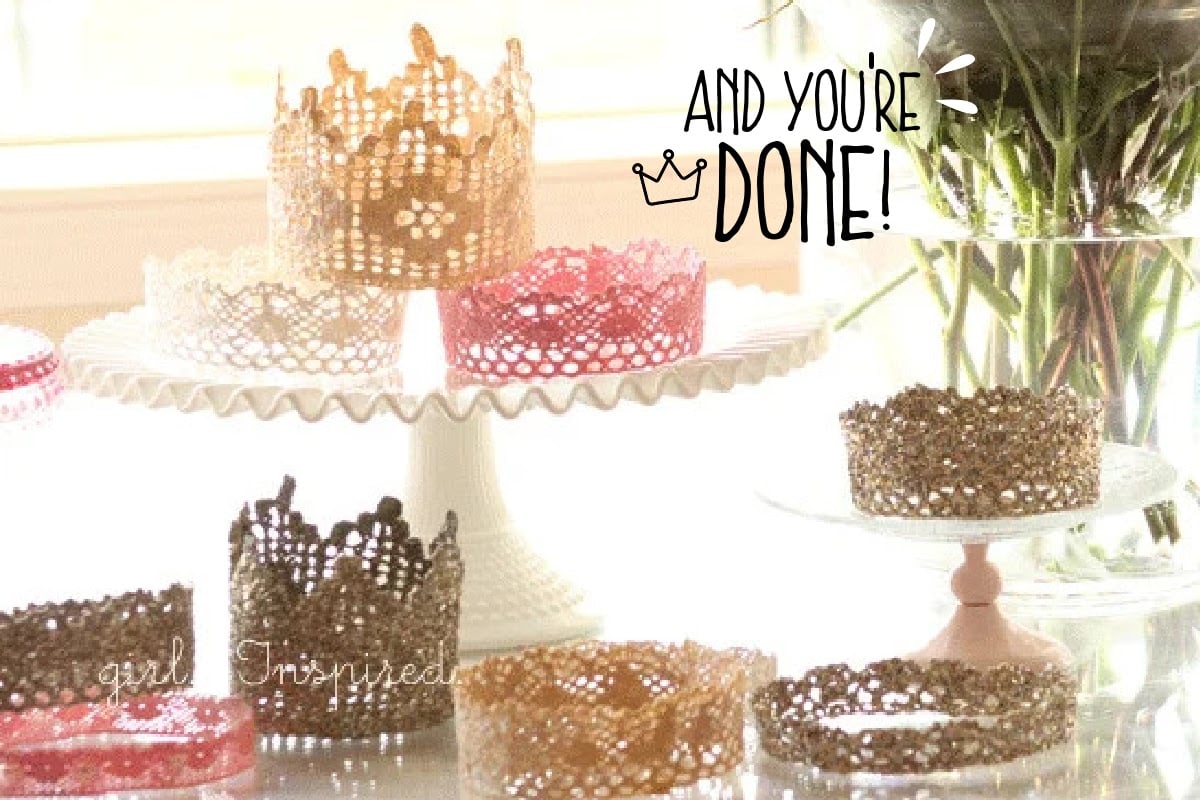
Princess Crown Tutorial Tips
- Work on a warmer day and use the sunshine and dry air to move through the project more quickly. Humidity and cooler temperatures simply mean that each step of the project will take a bit longer. It is important to completely dry out the lace between each step.
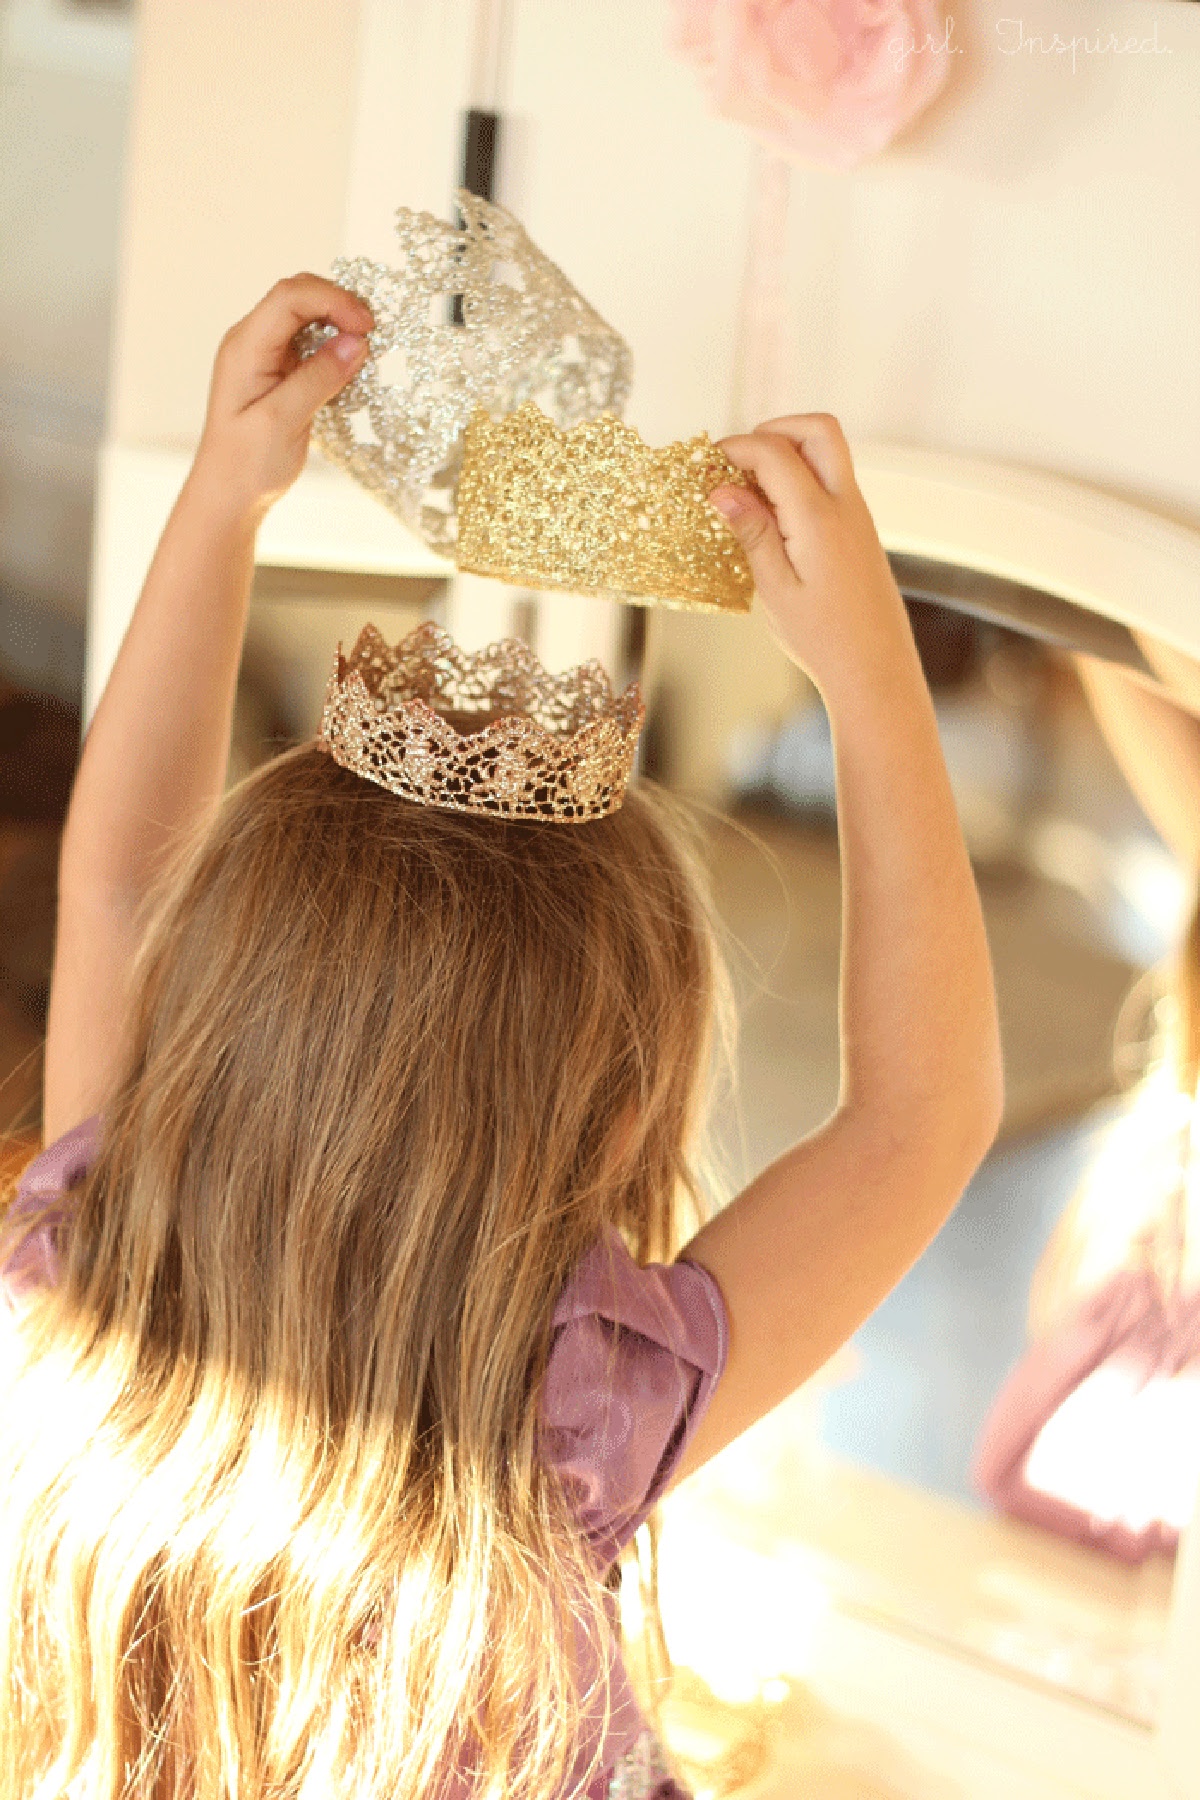
- We use bobby pins to secure the DIY crowns in the hair or on top of the head. You can also try hot gluing a little comb onto the inside of the crown to attach to the hair.
- We liked super fine glitter the best – Martha Stewart craft glitter was our favorite for this project.
- If you apply the final coat of Mod Podge to seal in the glitter, be sure to leave the very ends of the lace dry so that it doesn’t prevent the hot glue from sticking as you form the lace into a crown shape.
If you made this DIY Princess Crown or any other craft project on my website, please please leave a 🌟 star rating and let me know how you liked it in the 📝 comments below.
DIY Princess Crowns
Materials
- 15 inch synthetic or fabric lace
- ½ cup fabric stiffener
- 2 tablespoons acrylic paint
- ½ cup Mod Podge
- glitter fine grain
Instructions
- Cut lace into 15" lengths.
- Saturate the lace in fabric stiffener, working it into the lace with your fingers.
- Spread the lace out flat on a sheet of parchment or waxed paper and allow to dry completely.
- Paint one side of the stiffened lace at a time with paint. Allow to dry completely.
- Add a thin coat of Mod Podge and sprinkle glitter over the lace. Shake off excess glitter.
- Allow to dry.
- Seal the glitter with another coat of Mod Podge. Before it dries, apply a bead of hot glue to one end of the lace and join it to the other end to form a circle.
- Place crown upside down onto a tapered column and allow to dry. You want the base of the crown to rest on the narrower part of the column so that the tips of the crown flare out slightly when dried.
- Use bobby pins or affix hair combs to the crown to place in hair.
Notes
- Work on a warmer day and use the sunshine and dry air to move through the project more quickly. Humidity and cooler temperatures simply mean that each step of the project will take a bit longer. It is important to completely dry out the lace between each step.
- We use bobby pins to secure the DIY crowns in the hair or on top of the head. You can also try hot gluing a little comb onto the inside of the crown to attach to the hair.
- We liked super fine glitter the best – Martha Stewart craft glitter was our favorite for this project.
- If you apply the final coat of Mod Podge to seal in the glitter, be sure to leave the very ends of the lace dry so that it doesn’t prevent the hot glue from sticking.
- Synthetic laces hold their shape better when saturated with the fabric stiffener.



Comments & Reviews
Sarah Jane says
Such a great idea! Think I might try for my kiddos’ joint birthday party in April. I have a boy and girl…so I’ll have to come up with a boy version too. Hmmm…
www.marzenki.blogspot.com says
Ohhhh! I love those thank you for sharing this xxxx
Ali says
I found you on Pinterest too, these crowns are stunning.
Donna Peterson Neff says
I just found you on Pinterest, too! I love the lace crowns! SO sweet!
Linda March 7, 2012 says
Linda March 7,2012
I just found you on pinterest. Love your ideas they are so great, cant wait to do some of these ideas. I see one thing and say to my self I’m going to do that. Then see something else. Can’t make up my mind what to do first thank you so much glad I found you.
Sheila says
wonderful idea. found on pinterest. you could try using something like “Distress Stains,” from Tim Holtz’s line by Ranger Industries. It’s great on fabrics and comes in a huge variety of colors. I color ribbons, fabric flowers, etc. with it. thank you for posting.
Natalie@Endless Crafting says
Oh my goodness! These are beautiful! My 4 year old I going to love this! Thanks so much for sharing! Found you via pinterest!
emily says
i just want to say i made these, but i used spray fabric stiffener instead. it was so much less messy–i’d spray one side, let it dry and then do the other. i did this a few times until it was stiff enough. then, i used glitter paint at the end (instead of Mod Podge and actual glitter). again, much easier and neater!
Heather says
I found you on Pinterest with these lace crowns! What a wonderful idea. I do believe we will theme my daughters bday part off these. Thank you.
I am now a follower. (If you have a chance come check me out at http://www.teensntoddlers.blogspot.com/ thanks!)
ladygoat says
Brilliant!!
ShannyC says
Adorable!!!
In Black and White says
These are lovely – I definitely need to make one for my cousin’s little girl.
Pinkie says
These are absolutely beautiful!
Shari @For the Little Doll In Your Life says
My first thought of course was “Ooohh…party crowns for dolls!” I never would have imagined that you could paint lace.
Monica says
With 3 young granddaughters, Grandma’s gonna make these and have a princess party!!!! Oh yeah!!!