Nothing says summer fun more than a fresh batch of frozen Fudgesicles! These ice-cool treats are incredibly easy to make with only two main ingredients – chocolate fudge instant pudding and milk!
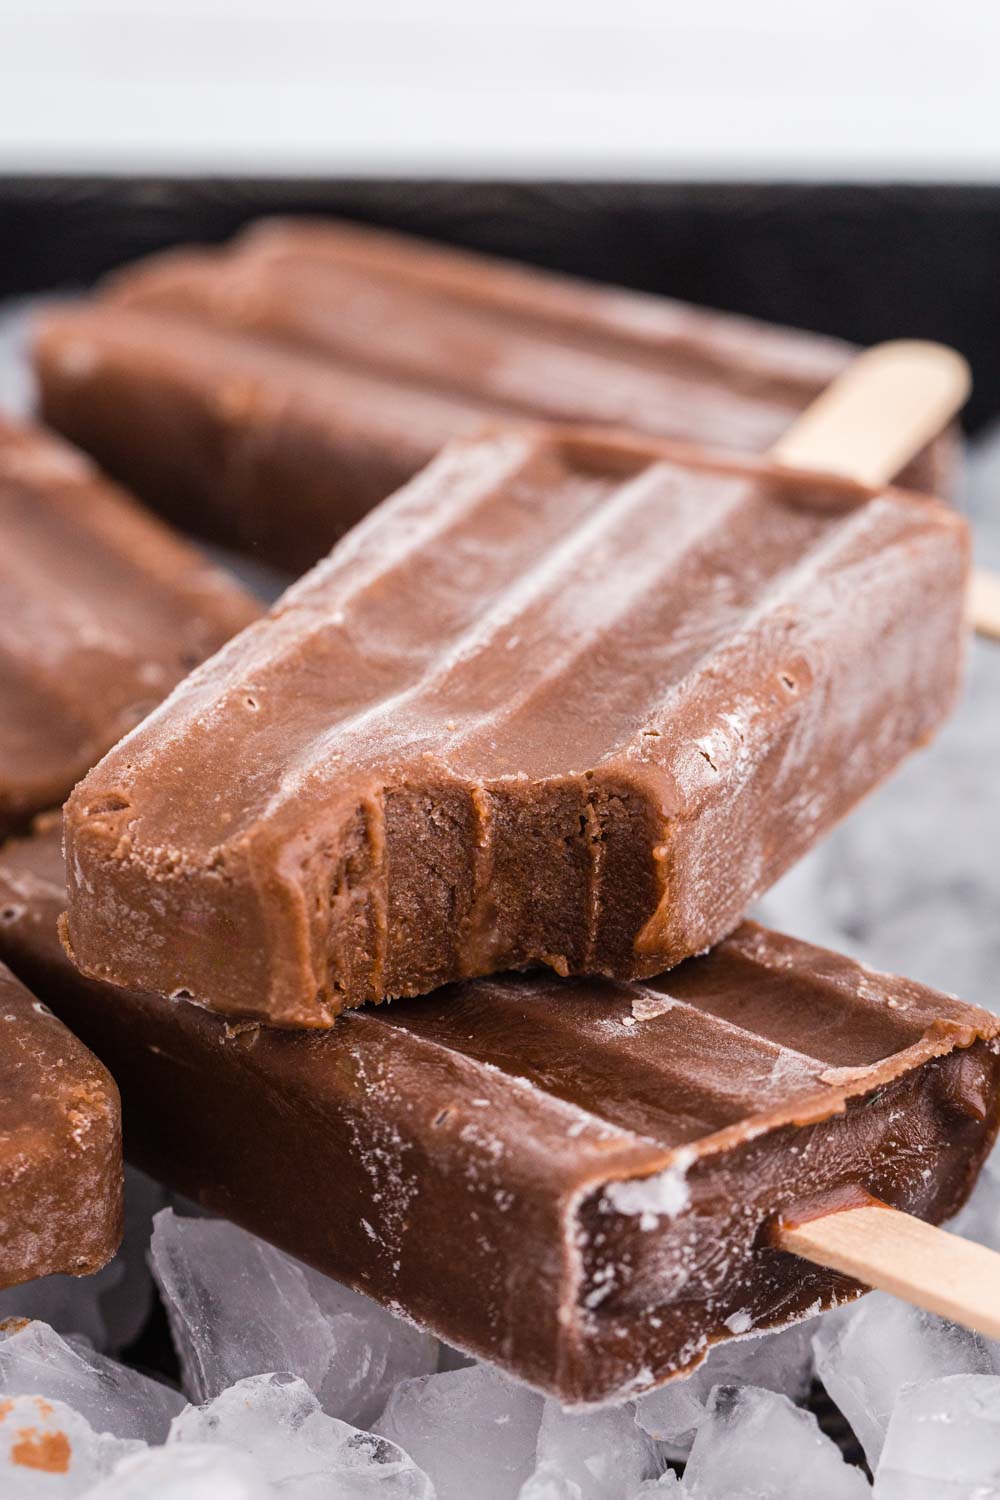
My homemade fudgesicles will only take you 15 minutes to assemble and once they’re frozen, they are decadent chocolate-fudge treats on a stick – great for backyard BBQs, pool parties, or whenever you feel like an ice-cold sweet treat.
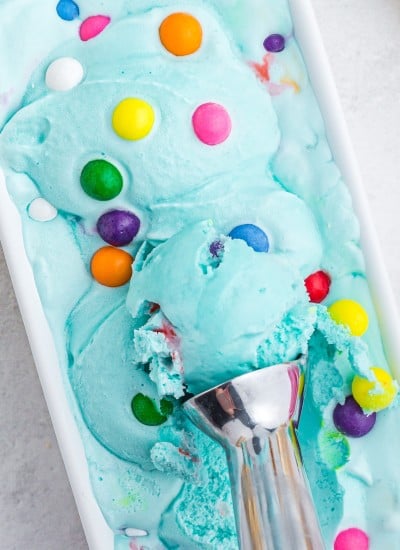
If you love frozen fun treats like these fudge pops then be sure to try my Jello popsicles and Homemade Blue Bubble Gum Ice Cream!
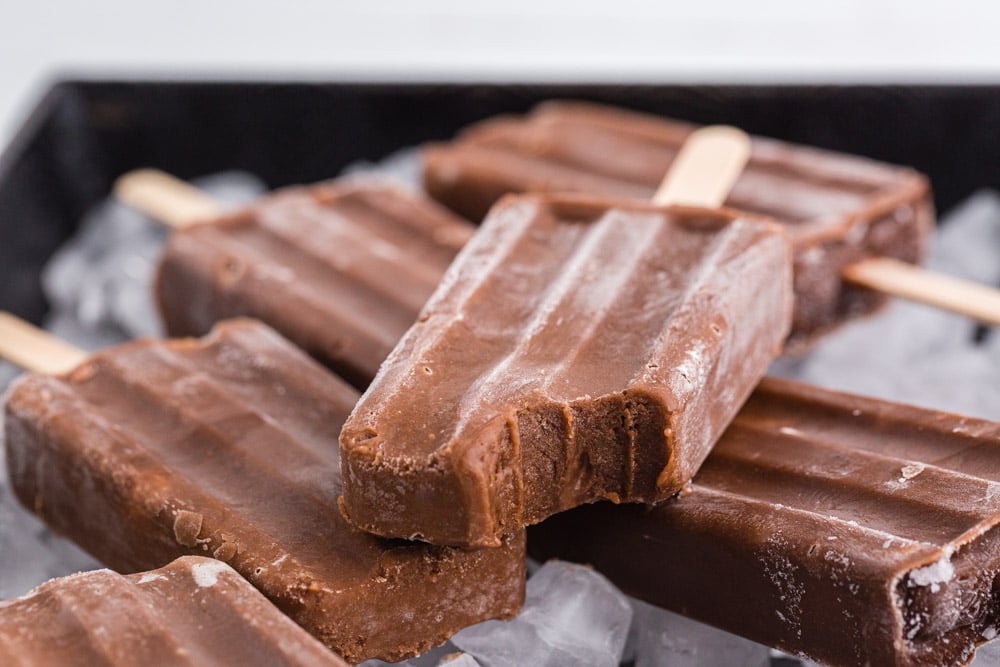
Table of contents
What are Fudgesicles?
One thing’s for sure…kids absolutely go crazy for these fudgesicles, so it’s no wonder that the individual responsible for creating the very first popsicle treat was an 11-year-old San Francisco boy back in 1905!
This young boy by the name of Frank Epperson had left his sugar soda powder drink out by accident overnight when the conditions were rather cold, causing his drink to freeze. This fruit popsicle turned profitable resulting in mass production over the years alongside another separate company that sold milk popsicles around the same time.
The feud and competition between the fruit popsicle and the milk popsicle came to an end when Unilever bought out both companies. Today, you’ll find hundreds of different kinds of popsicles, whether fruit-based, milk-based or in this case, using delicious and convenient ingredients such as chocolate fudge instant pudding!
Fudgesicle Ingredients:
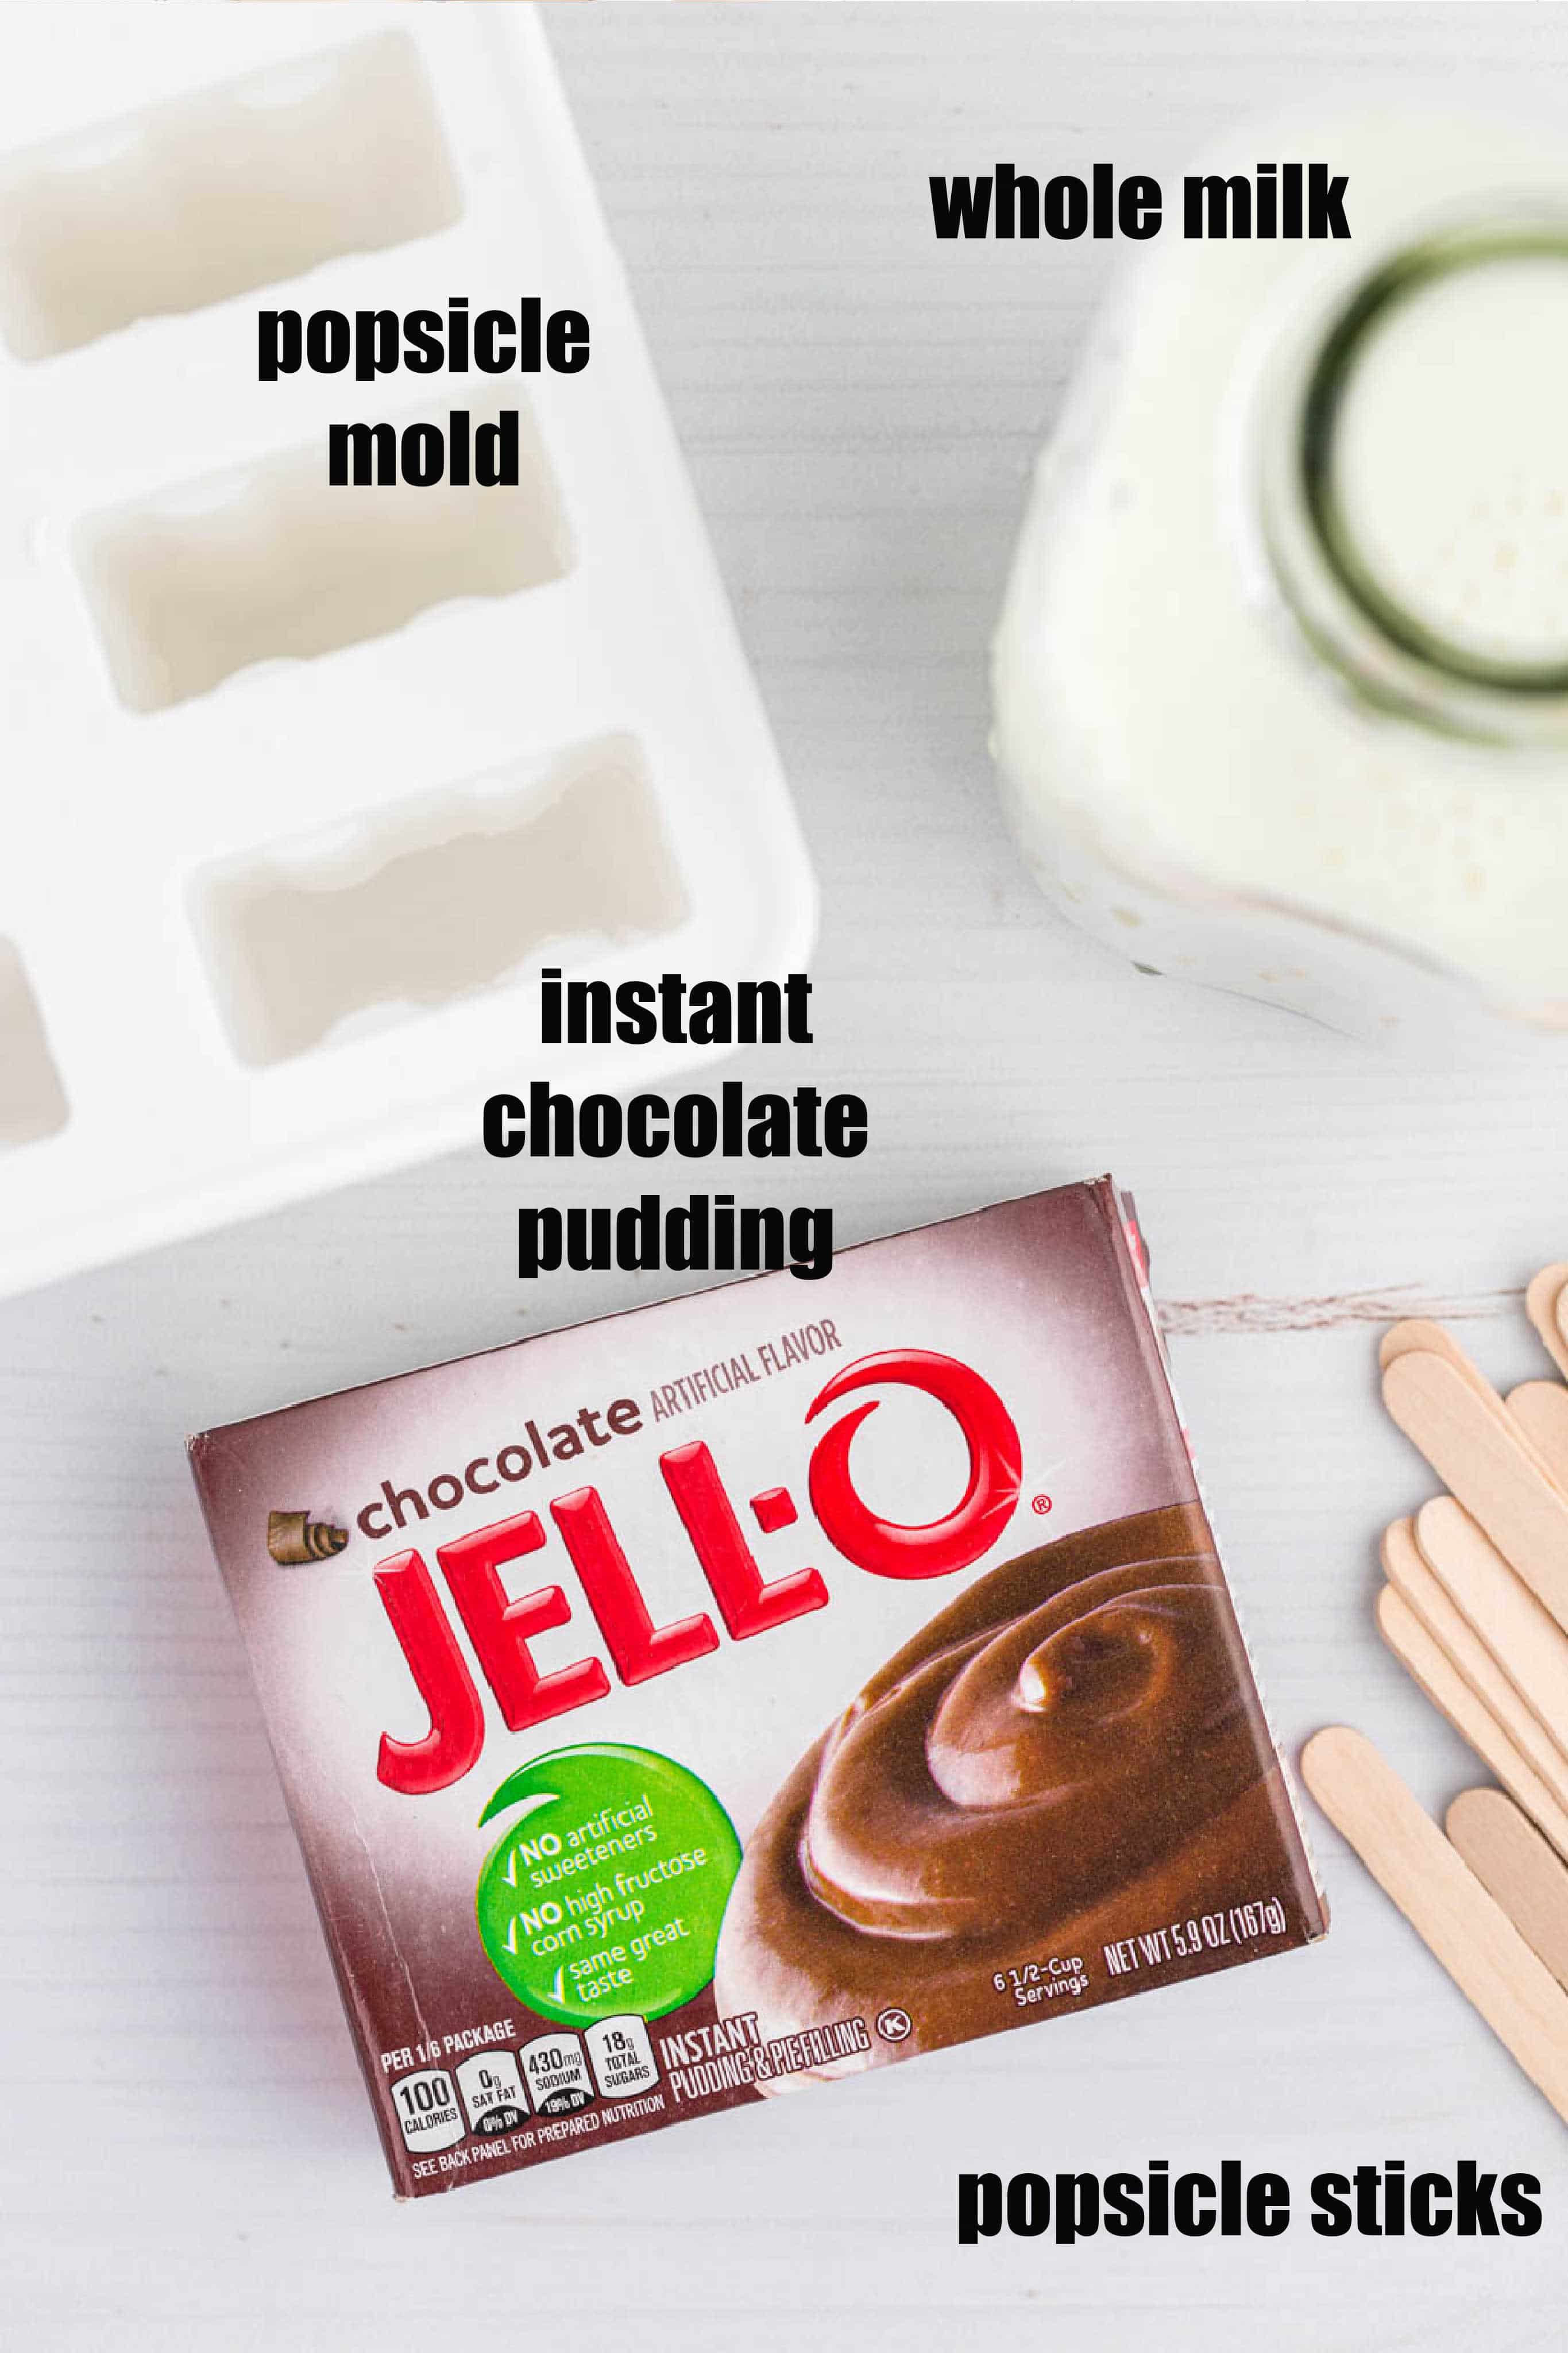
What’s needed? Not much! You simply need an instant pudding mix and a liquid!
- chocolate fudge instant pudding mix
- whole milk
How to Make Perfect Fudgesicles
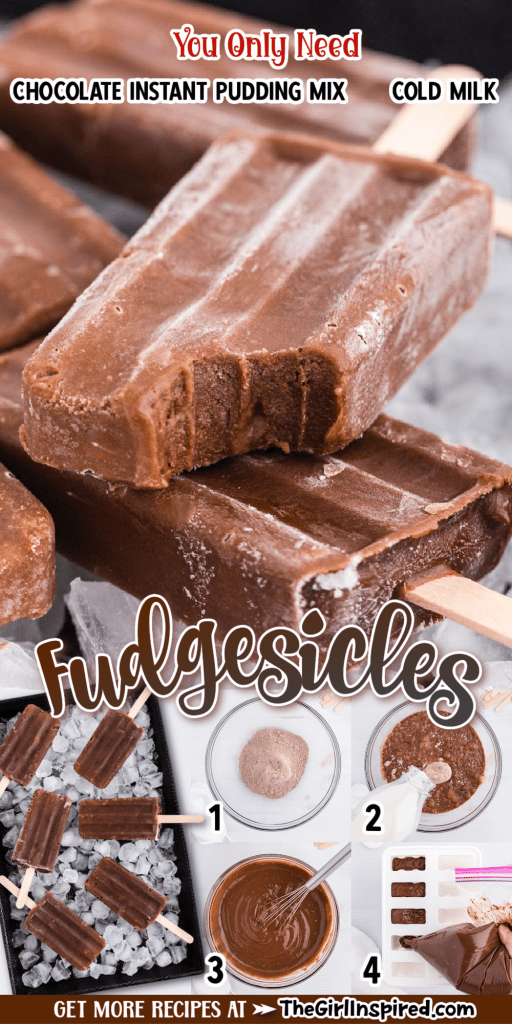
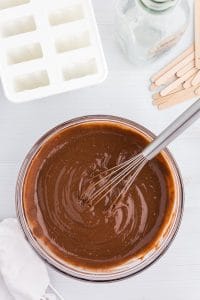
This process couldn’t be easier. First, you will whisk together the milk and instant pudding mix. Continue whisking until the pudding thickens, just as you would if you were making a bowl of pudding.
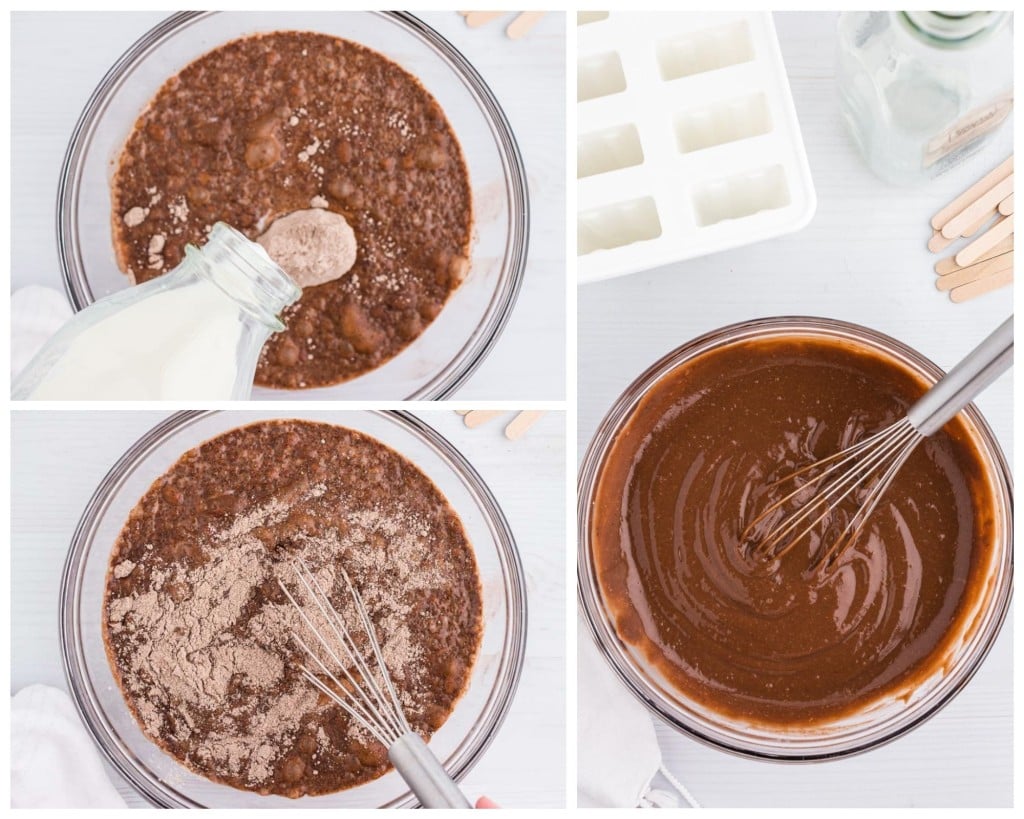
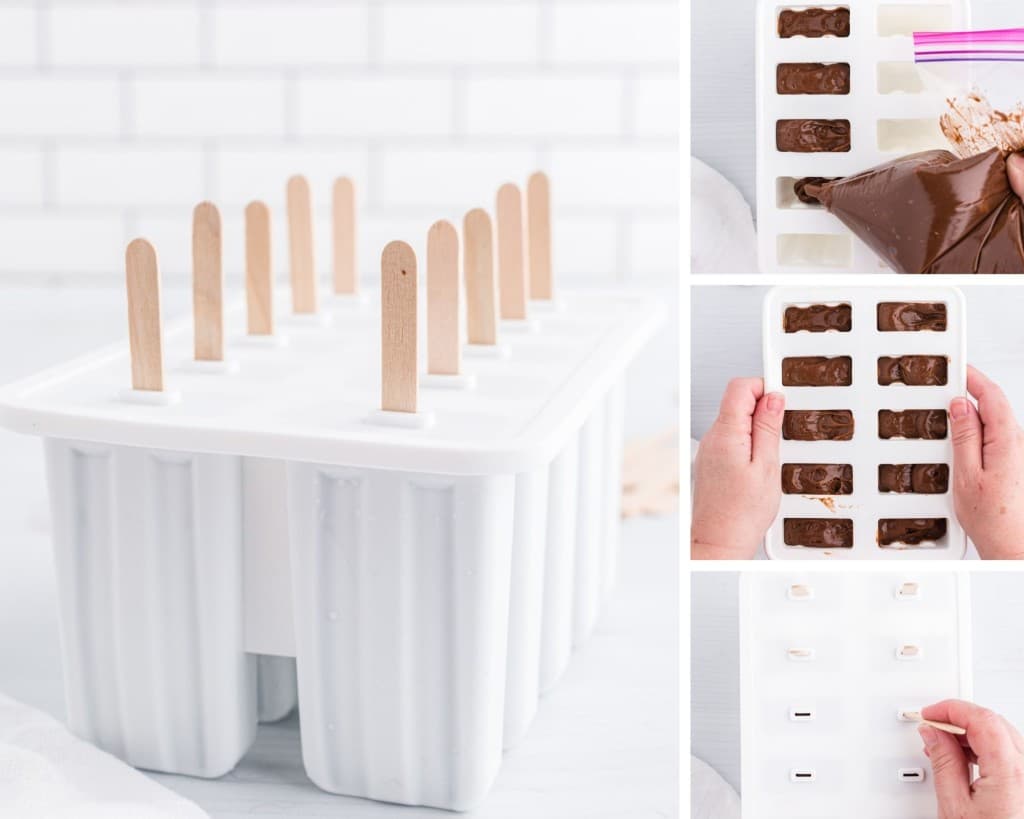
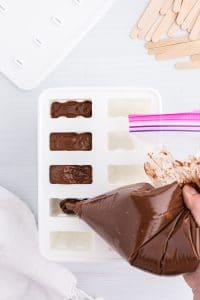
Once the mixture is ready, it’s time to transfer it into the popsicle mold. Because the cavities are small and deep and the pudding is thick, I like to load the pudding mix into a big ziploc bag, snip off the corner, and pipe the pudding down into the molds. You could also use a piping bag.
Tap the popsicle mold onto the counter to help the pudding settle down into all of the molds. Top off any of the cavities, as needed.
If you use a popsicle mold like mine (aff), it comes with a nifty lid to help you perfectly place the popsicle sticks. Snap that into place and then add your popsicle sticks.
Now, FREEZE those fudgesicles for about 8 hours or until they are fully firm.
Variations and Substitutions
- Regular chocolate pudding mix gives a nice milk chocolate flavor which I personally prefer over darker chocolate fudge pudding. It’s up to you and your taste preferences. Make an assortment of milk and dark chocolate fudgesicles to keep things interesting and provide variety for the family or for parties that you host.
- You can use full-fat regular milk, full-fat coconut milk, or non-fat milk. The whole milk option will make rich and creamy fudgesicles while the non-fat milk will create icier fudgesicles.
- While I haven’t made this fudgesicle recipe dairy-free, I’m sure that something like almond milk or soy milk could work too.
- Drizzle some melted white chocolate or dark chocolate over the frozen fudgesicles and then flash freeze just prior to serving.
- Mix in chopped raspberries and chocolate chips into the pop mixture for delicious texture just before you pour it into the molds.
- For a deeper chocolate flavor, add cocoa powder into the blender with the rest of the ingredients.
- For sweeter-tasting fudgesicles, blend some honey or maple syrup into the mixture.
- Use a gluten-free pudding mix for gluten-free fudgesicles.
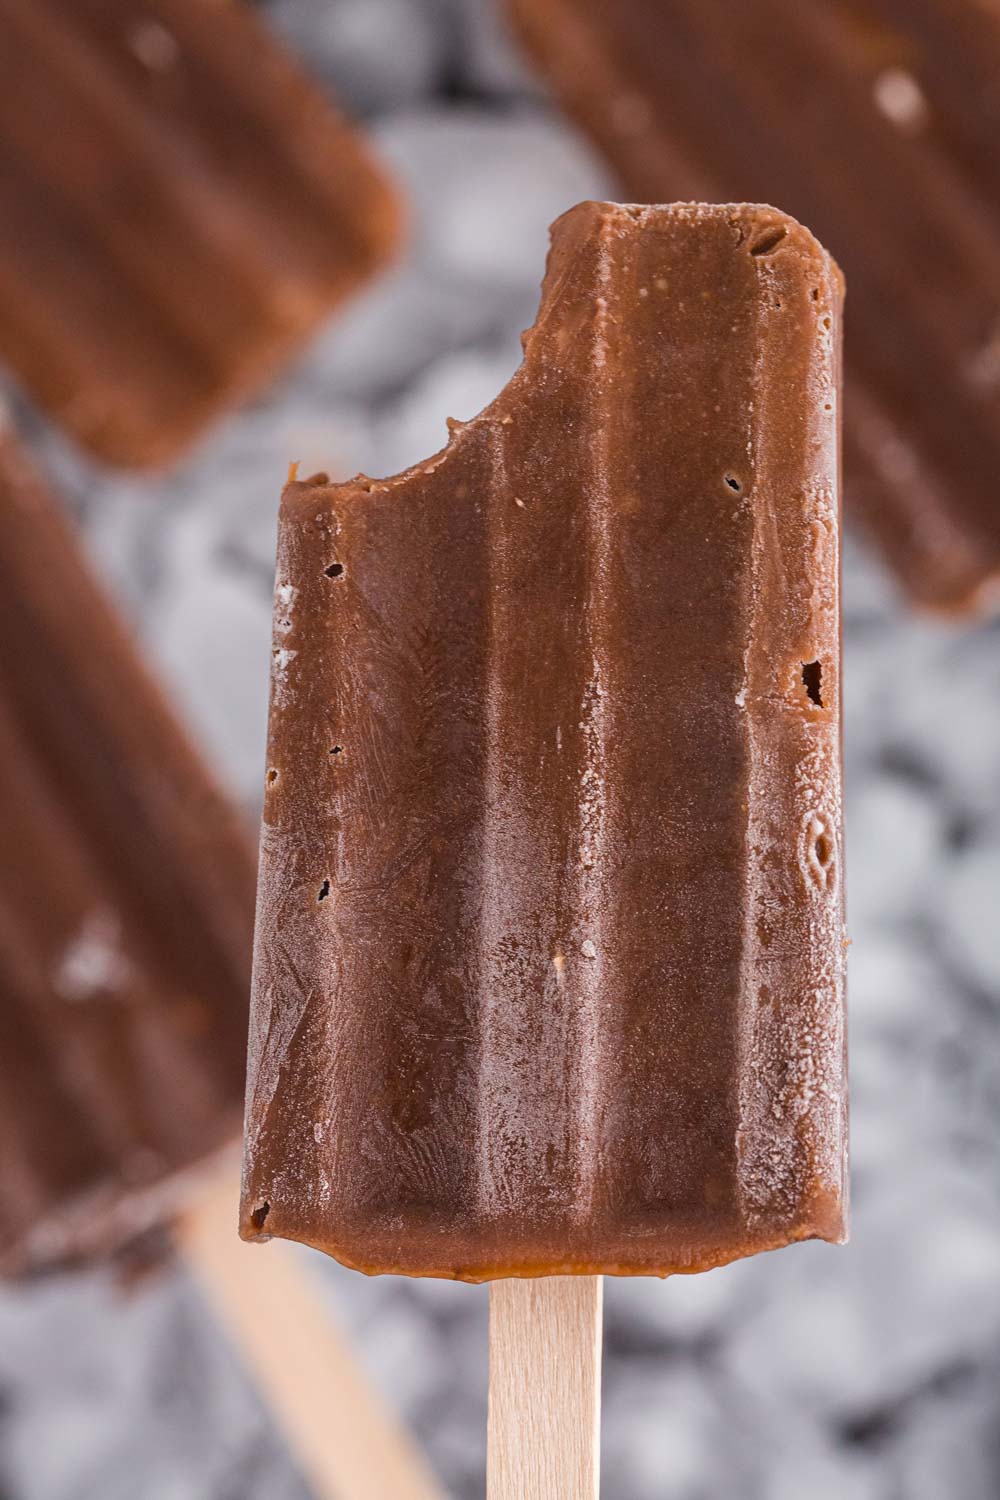
Store these fudgesicles in the freezer until serving. They should last for up to 6 months, although I recommend eating them within 3 months to avoid crystallization that can take place in popsicles that are frozen for long periods.
Here are my preferred methods of storage that you can try when freezing your fudgesicles:
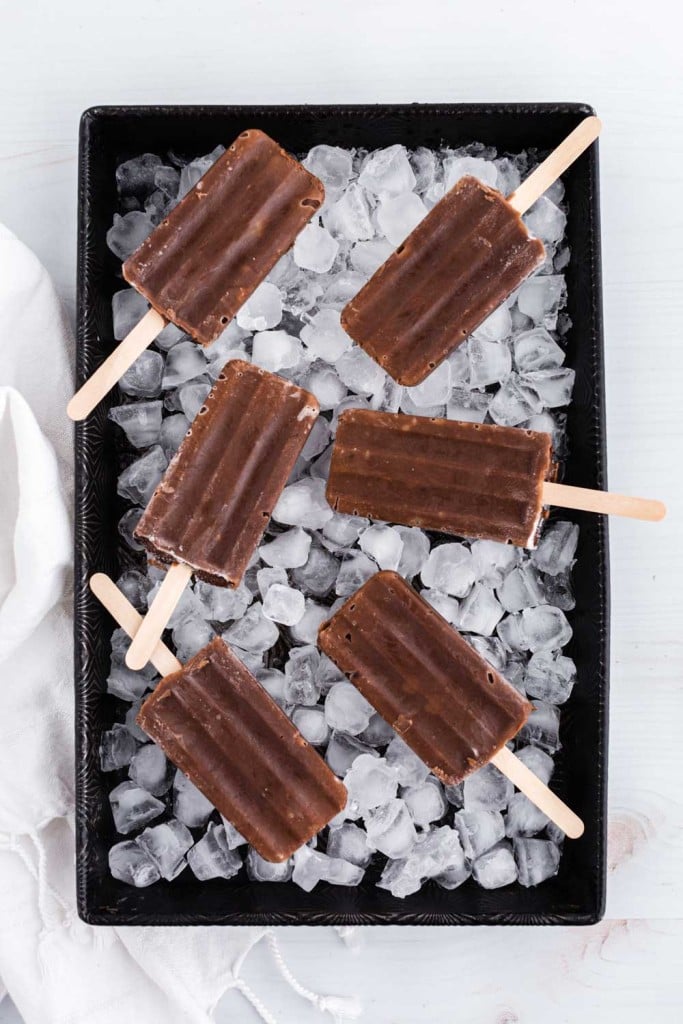
1. Store them in an airtight Ziploc bag with sheets of parchment paper between them to keep them from sticking to one another.
2. Store them in these super convenient Plastic Popsicle Bags or Wax Paper Sleeves, which can then be stored in an airtight Ziploc bag or container.
I deliberately didn’t specify what kind of chocolate instant pudding to use because it doesn’t actually make that much of a difference. Go ahead and use a chocolate instant pudding that you have used in the past and that you enjoy.
Here are some ideas of the brands of chocolate instant pudding available at most stores:
JELL-O Chocolate Fudge Instant Pudding
Godiva Chocolate Instant Pudding Mix
My T Fine Chocolate Fudge Pudding
Hershey’s Milk Chocolate Instant Pudding
Simply Delish Natural Instant Chocolate Pudding – A great low-carb or keto option!
To make fudgesicles, you’ll need the following supplies via affiliate links:
Food Grade Popsicle Sticks;
Popsicle Mold – this is the one I used for my recipe; and
Popsicle Sleeves for easy storage (optional) – how fun are these?? Otherwise use some normal parchment paper to separate the fudgesicles so that they don’t stick together in storage.
Of course, if you have one of those popsicle molds with paired plastic popsicle sticks and bases then go ahead and use those. It just means that you won’t be able to make and store a larger batch of fudgsicles than the number of molds you have at any given time.
Tips For Making Fudgesicles
- Regular chocolate pudding mix gives a nice milk chocolate-y fudgesicle which I personally prefer over darker chocolate fudge pudding although it’s completely up to you and your taste preferences. Making an assortment of milk and dark chocolate fudgesicles is a great way to keep things interesting and provide variety for the family or for parties that you host.
- You could use full fat milk or nonfat milk. The whole milk option will make rich and creamy fudgesicles while the nonfat milk will create icier fudgesicles.
- Use a piping bag or a gallon size Ziploc bag with the corner snipped off to pipe the pudding into the molds for ease and to avoid mess.
- Tap the molds on the counter to help the pudding pack down into the mold and remove most of the air bubbles.
- When filling your molds, make sure not to fill them to such an extent that they start to “bulge” with pudding. The ingredient quantities in my recipe provide just enough pudding to fill 10 x 3.25 oz. molds.
- Go ahead and make a double batch of these delicious fudgesicles by merely doubling the ingredients called for. This is a great option if you have 20+ molds or you could wait for the first batch to freeze, transfer those into storage and then make a second batch, making sure to clean the molds in between batches.
More Summer Favorites to Try
Fudgesicles
Ingredients
- 5.9 oz. package of chocolate instant pudding mix
- 3 cups cold milk
Instructions
- Prepare pudding according to package instructions: whisk together pudding mix and cold milk for about 5 minutes or until thickened.
- Fill the popsicle mold with pudding mixture – a piping bag works great!
- Be sure to insert popsicle sticks into the filled molds before freezing.
- Freeze fudgesicles for about 8 hours until very firm.
- Molds can be dipped in warm water for a few seconds to help loosen the fudgesicle before pulling them out.
- Place frozen fudgesicles on a sheet pan lined with parchment paper to store in the freezer.
- Storage:
- Keep fudgesicles frozen until serving. Frozen fudgesicles can be stored in an airtight Ziploc bag with sheets of parchment paper between them to keep them from sticking to one another.
Would you like to save this?
Notes
Nutrition
Make this recipe?
Share it with me on Instagram @girlinspired1 and follow on Pinterest for more!


Comments & Reviews
Lois Greene says
They are in the freezer now. I gave it 4 stars as it was easy to make and I am hoping they will be delicious! Thanks for this easy recipe.