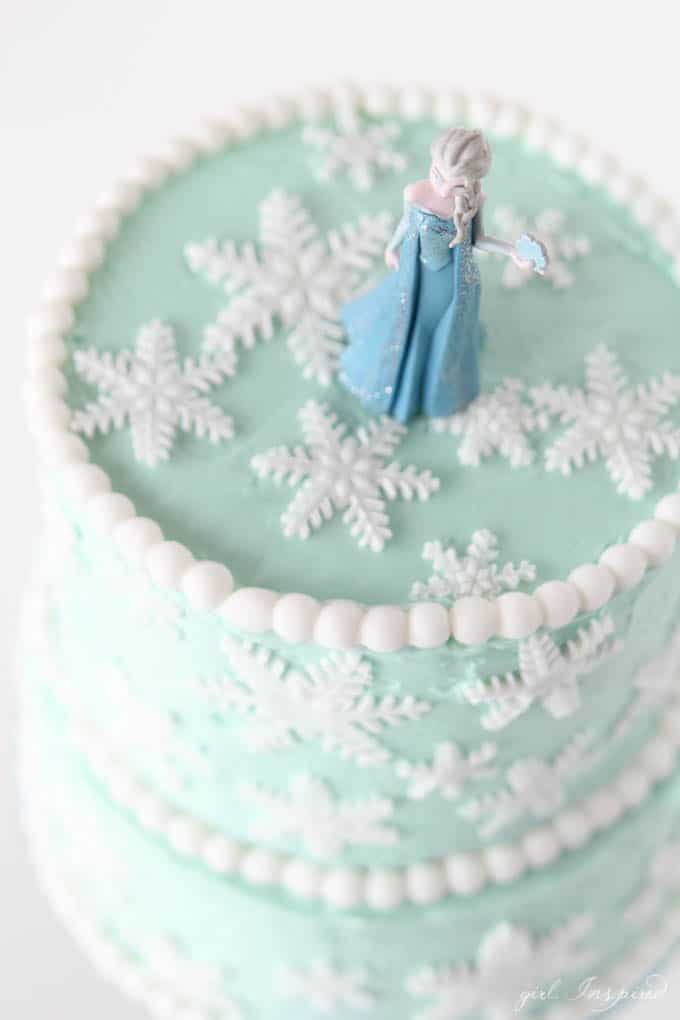
Looking for an easy to make Frozen inspired snowflake cake that will impress? A little while back I tried to create snowflakes that I could put on top of cakes and cupcakes – I printed some simple designs out on the computer and then piped them onto parchment paper using royal icing with the designs underneath – like tracing paper. It was a disaster. The snowflakes piped out great and looked nice, but as soon as I tried to peel them up, they broke into a million pieces. Even with thicker piped lines, I couldn’t get good results. Then, I came across these super cool snowflake punches for fondant. They were inexpensive so I decided to give them a try.
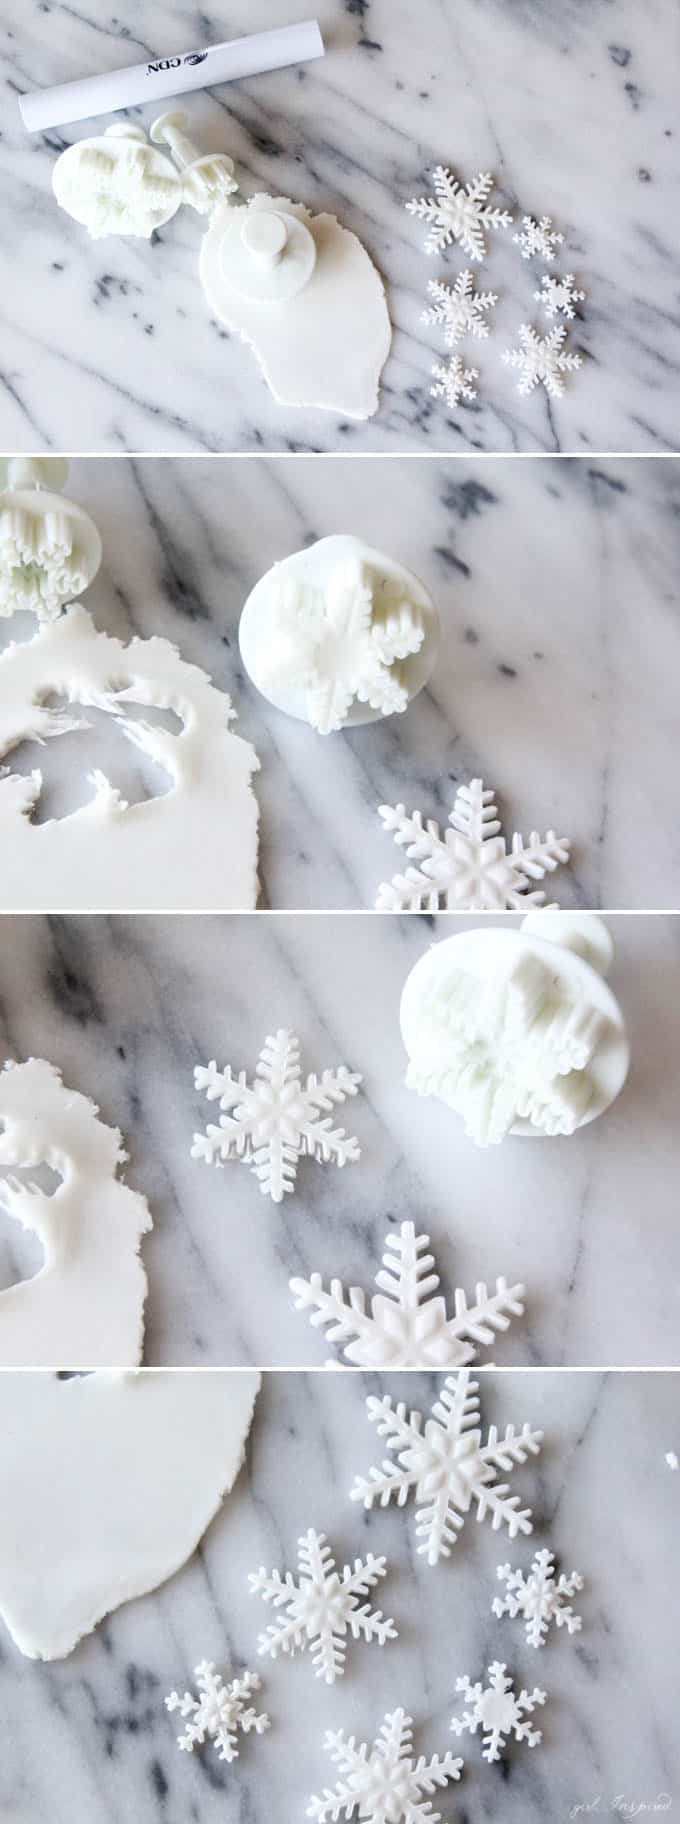
I used the Decorator Preferred Fondant from Wilton that is easy to get from Jo-Ann – it’s super convenient to use pre-made fondant and this kind is easy to work with. Dust your work surface with cornstarch, then roll out a piece of the fondant to about ⅛″ thick. Dust the snowflake punch with cornstarch also so that it doesn’t stick. Because these punches are plastic, I found that they didn’t slice off the shape as smoothly as maybe a metal cutter would. However, if I wiggled the punch back and forth in the fondant, then I was able to get a fairly clean punch. I found it easiest to lift the snowflake up and out of its spot, then press the punch down onto a clean area of the counter. When you press the lever on the top of the punch, it indents the additional details into the snowflake and also pushes the snowflake out of the cutter. There are three different sizes and I made quite a pile of variety. The snowflakes can dry on wax or parchment paper until hard or you can use them while they’re still soft.
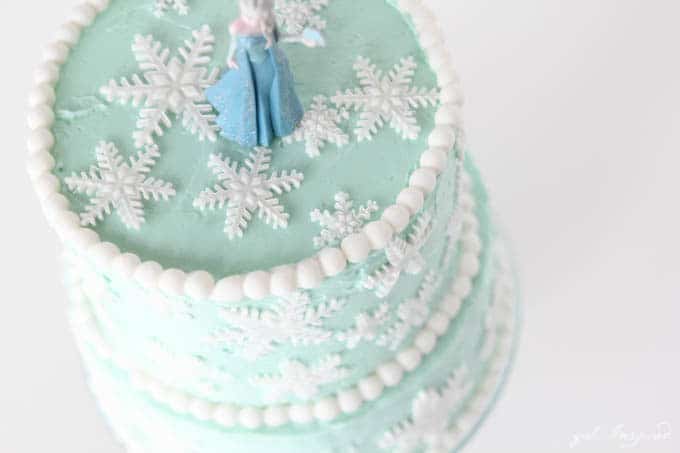
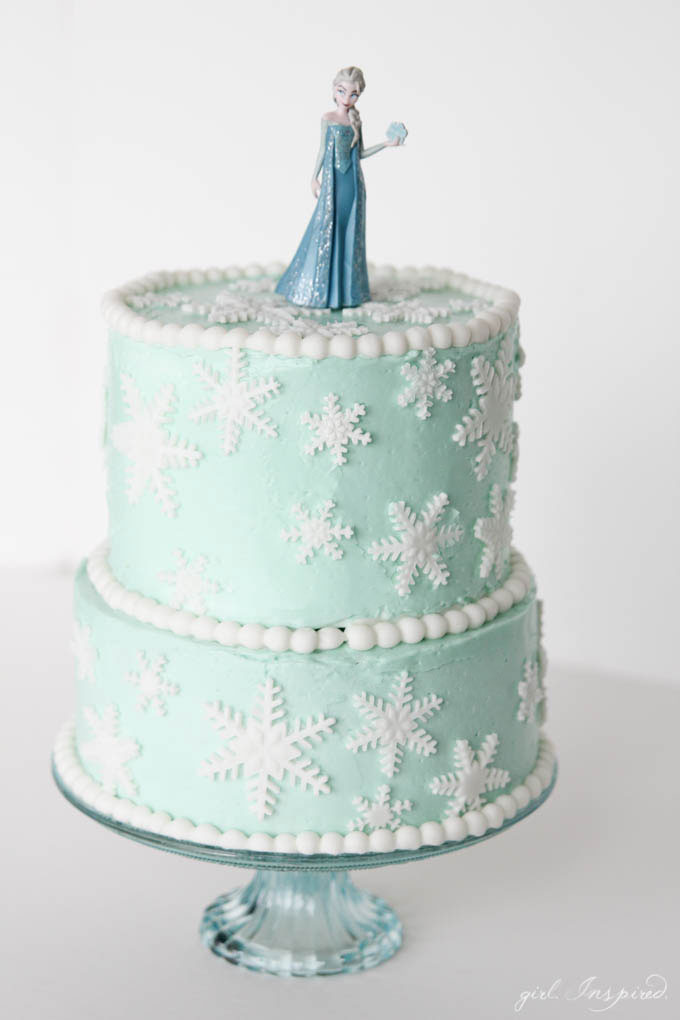
Now, what in the world could a house full of little girls possibly do with a pile of fondant snowflakes? Make a Frozen inspired snowflake cake, of course. I tinted some buttercream with two shades of blue food coloring – Americolor #160 Electric Blue and Americolor #128 Turquoise. Just a dot of each for a nice, pretty pastel aqua.
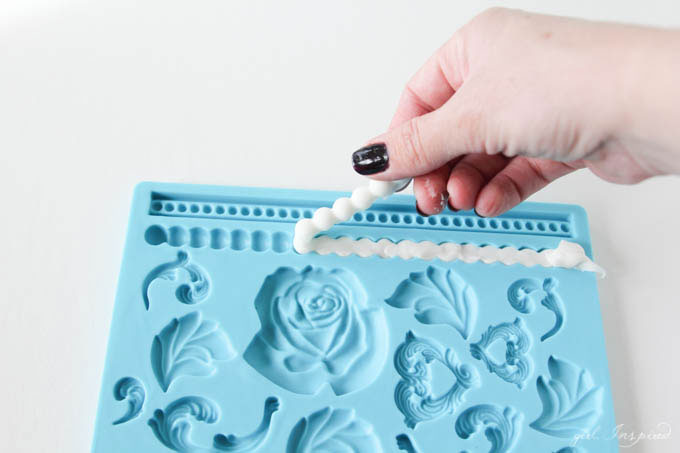
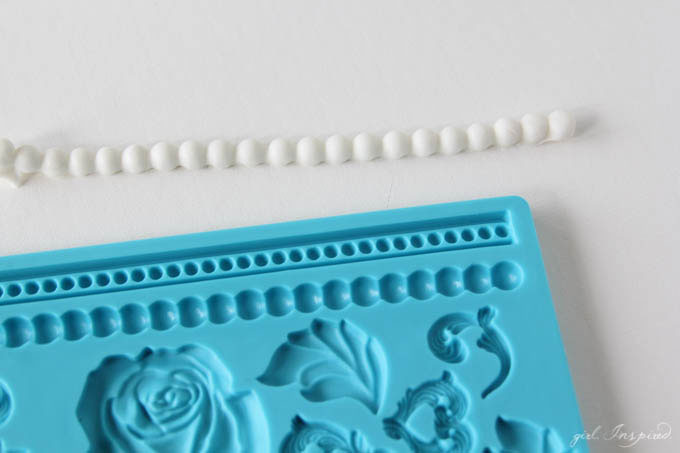
After layering on the snowflakes in a random pattern, I made a fondant beaded border from this cool silicone fondant mold made by Wilton. This mold couldn’t be easier to use – squish the fondant in, scrape off the excess from the top, pull the beaded border out. The border needs to be used while soft so that you can curve it around the shape of the cake. If you’ve ever cursed over imperfectly piped beaded borders, you’ll love this mold!
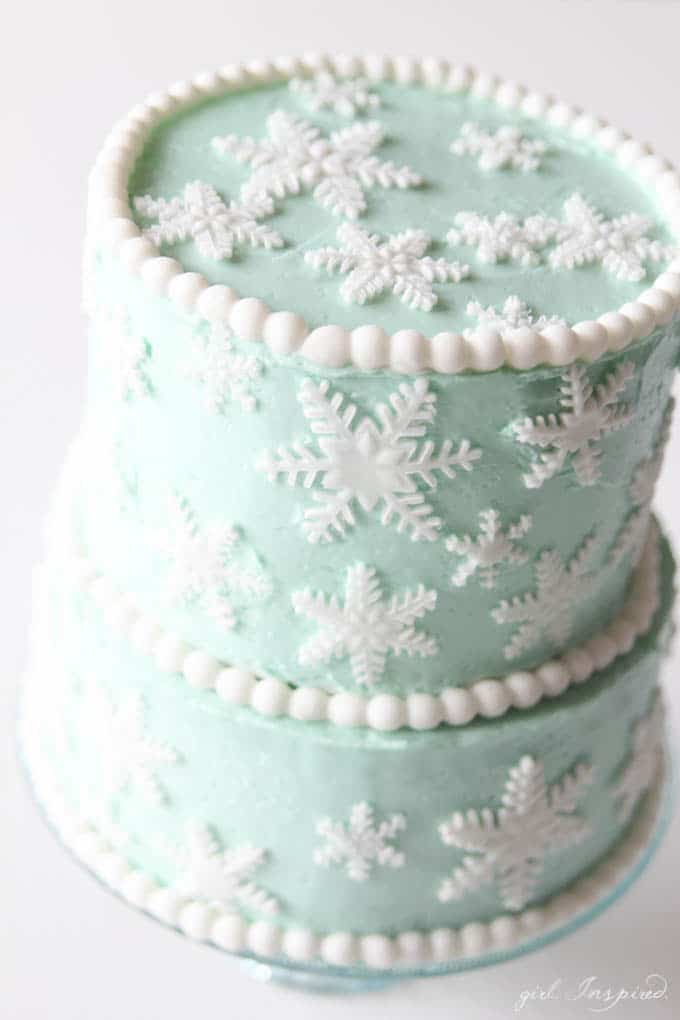

So there you have it! Gorgeous cake decorations that anyone can do because it’s all about the tools! Have fun!!
Links to supplies listed below:
Wilton Fondant and Gum Paste Silicone Mold Baroque – beaded border
Americolor Soft Gel Paste Food Color, Electric Blue
Americolor Soft Gel Paste Food Color, Turquoise
PME Plunger Cutters, Snowflake, 3-Pack
These are all affiliate links to Amazon Prime products so, you know, if you need them by the weekend – well, here you go!


Comments & Reviews
Sarah says
Gorgeous! What size pans did you use for your layers? Is that three layers on the top?
marissa | rae gun ramblings says
that turned out amazing and you make it look so doable! I’m want to play with those punches
Amy Hindman says
I wish I had known about these for Anne’s birthday in January!