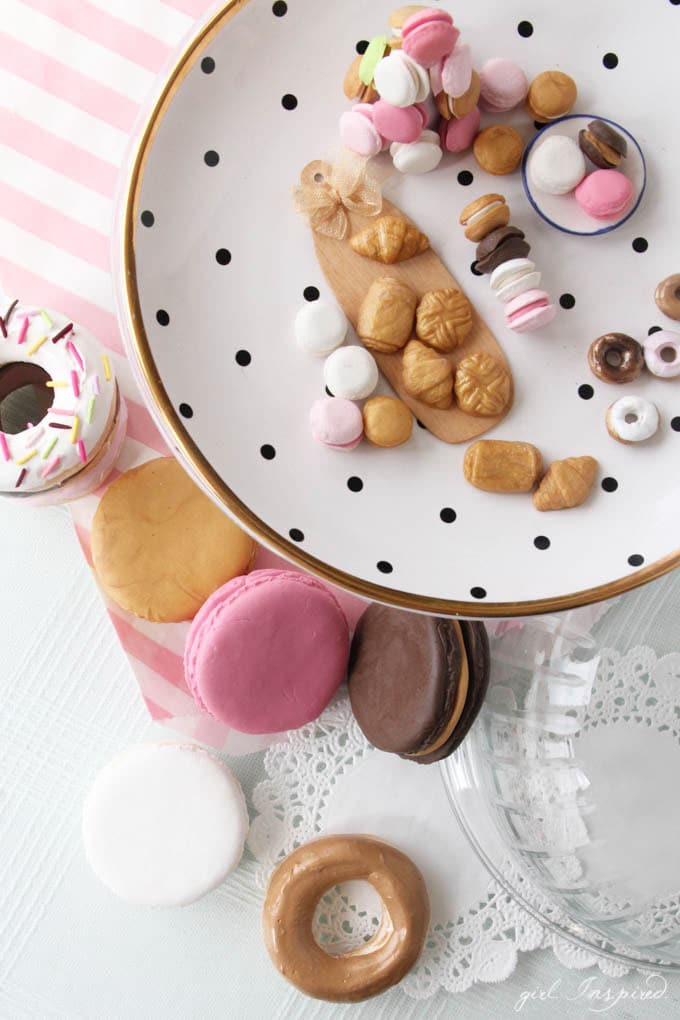
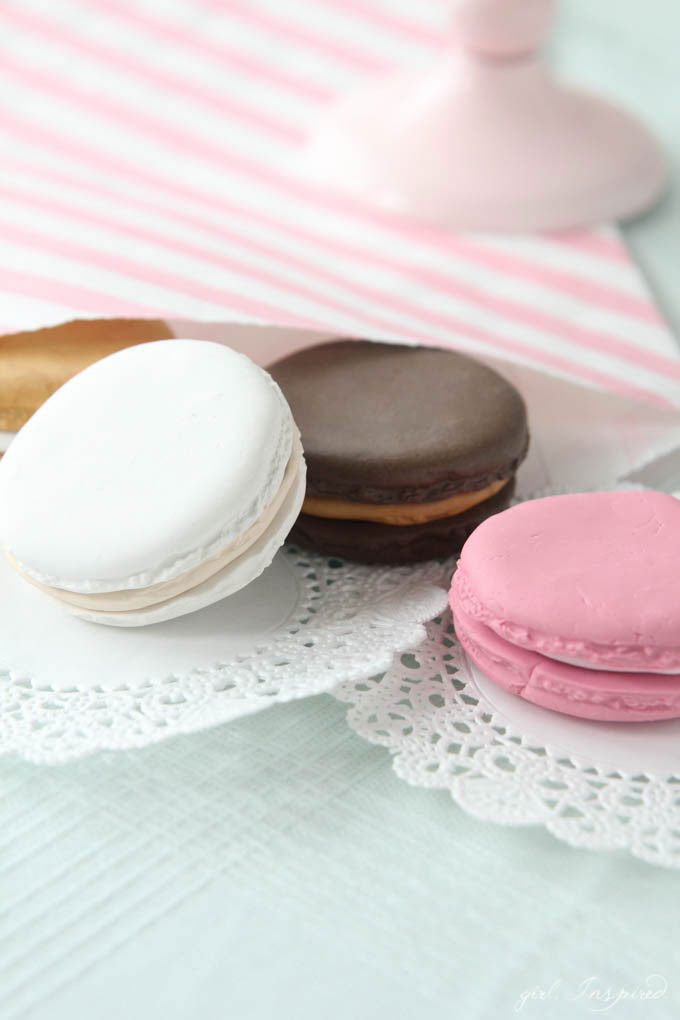
I was searching for dollhouse cuteness on etsy a while back and came across the most adorable silicone molds for making your very own dollhouse-sized treats. Silicone molds are fun because you can use them over and over again, the molded items turn out perfect every time, and they’re so easy, even kids can mold stuff and feel like pros! I quickly ordered up a variety of miniature molds including cupcakes, macarons, and itty-bitty croissants! There was also a mold for a regular size macaron and I couldn’t pass that one up either!
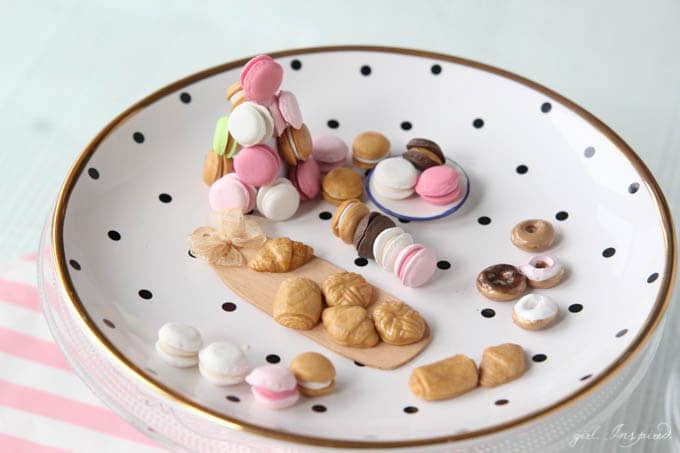
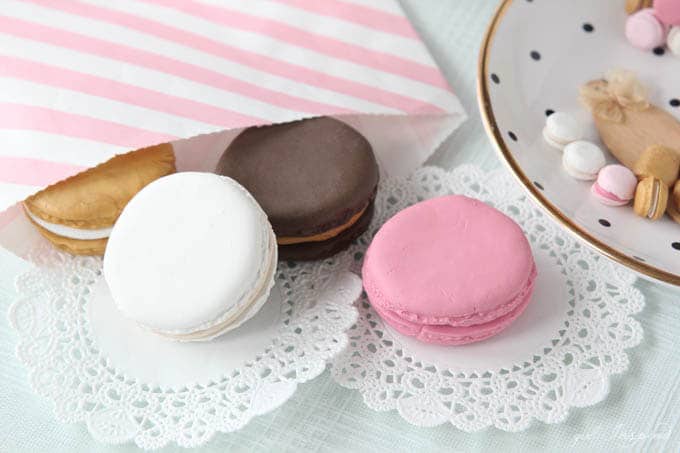
Because the molds make it so simple to create miniature clay food, there is not much of a tutorial to discuss. You simply use your favorite colors of oven-bake clay and start playing. Work the clay between your fingers to get it soft and pliable (I like the Sculpey brand because it’s typically pretty workable straight out of the package). You can mix colors together to create custom shades of clay. You can also mix white into a brighter color to tone it down a little.
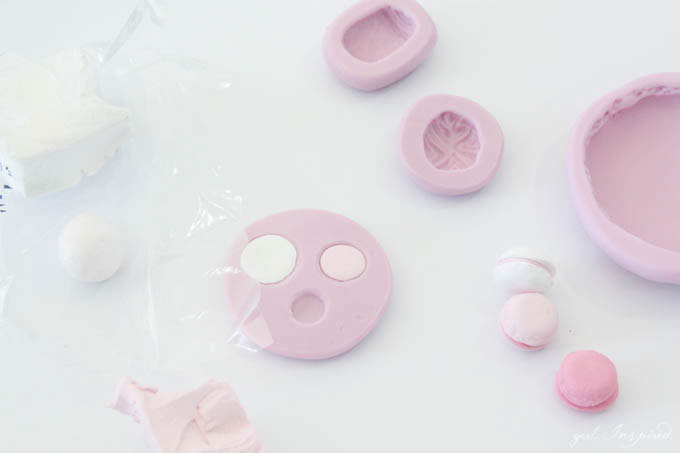 When your clay is ready, press it into the mold, scraping off any excess from the back, then gently pop it out of the mold. Set your molded pieces on a piece of parchment paper placed on a baking sheet. When all your pieces are ready, bake according to the package instructions (usually 275 degrees for 15 minutes per ¼ inch thickness). Use E6000 to glue pieces together. I baked the tiny macarons already assembled and they join together in the oven. For the larger macarons, I pressed the three parts together before baking so that they would fit together nicely, but peeled them back apart for baking. Then, I glued the pieces together after they were done baking – I thought they were pretty thick to bake pre-assembled.
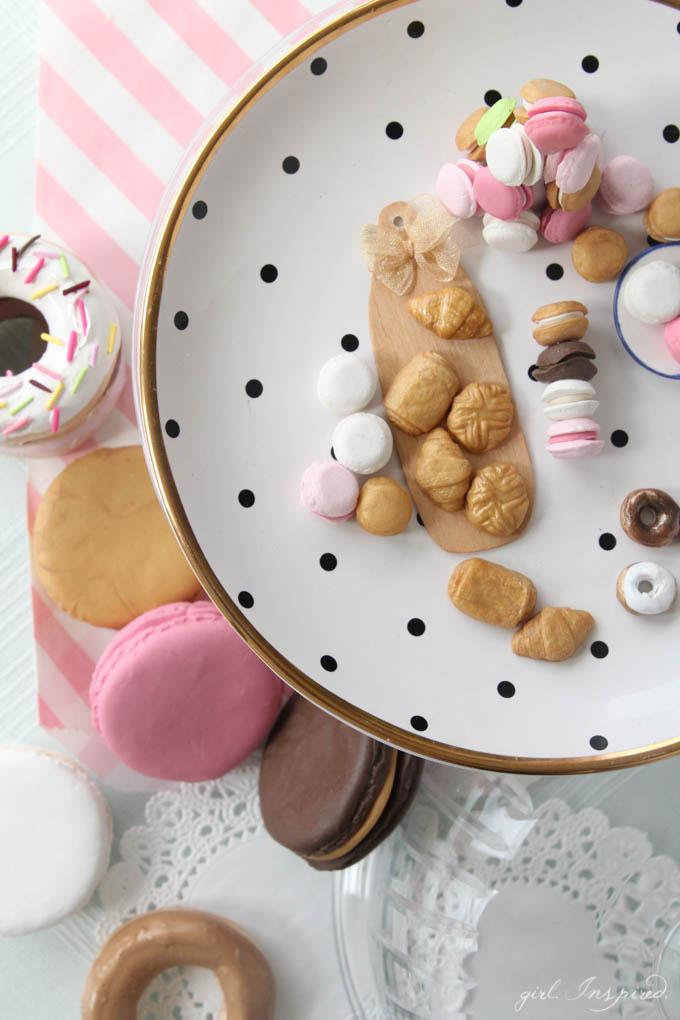
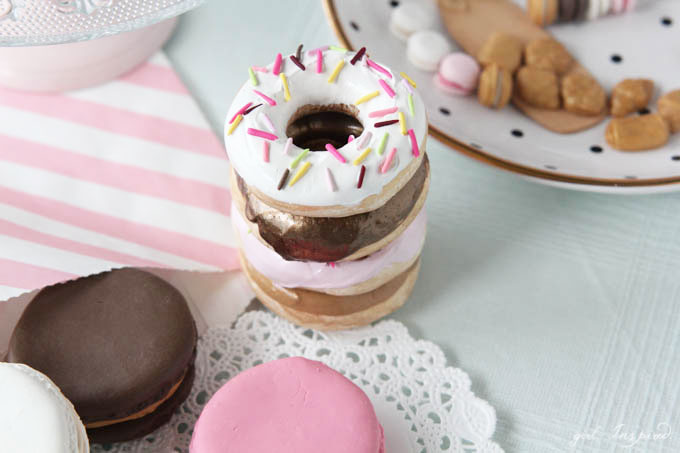 While I was in the faux food making business, I pulled out some clay donut forms that I made a few years ago, but never finished. I had used this donut tutorial and it worked pretty well to form the donuts. I was so wrapped up “in the kitchen” last week that I didn’t look up the painting portion of the tutorial again and just winged it. I used a gold glaze mixed with craft paint – the original tutorial is much more detailed and looks super realistic. The best part was making the glaze frosting – I actually had a BLAST doing this – and then decided they needed sprinkles.
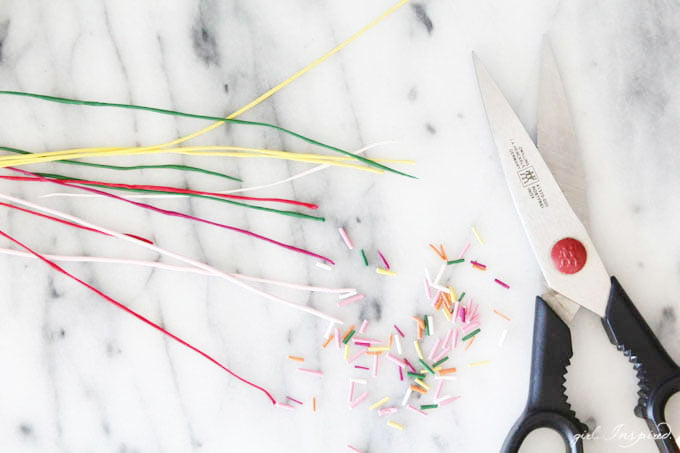 Sprinkles were fun using the clay as well. I found the easiest way to do this was to roll long, super skinny ropes of clay, bake them for 10 minutes at 275 degrees and then snip the ropes into sprinkles using my kitchen shears. Fast and awesome! Add the sprinkles to the “frosting” right after you dip the donuts; otherwise the glaze will dry too fast and the sprinkles won’t stick.
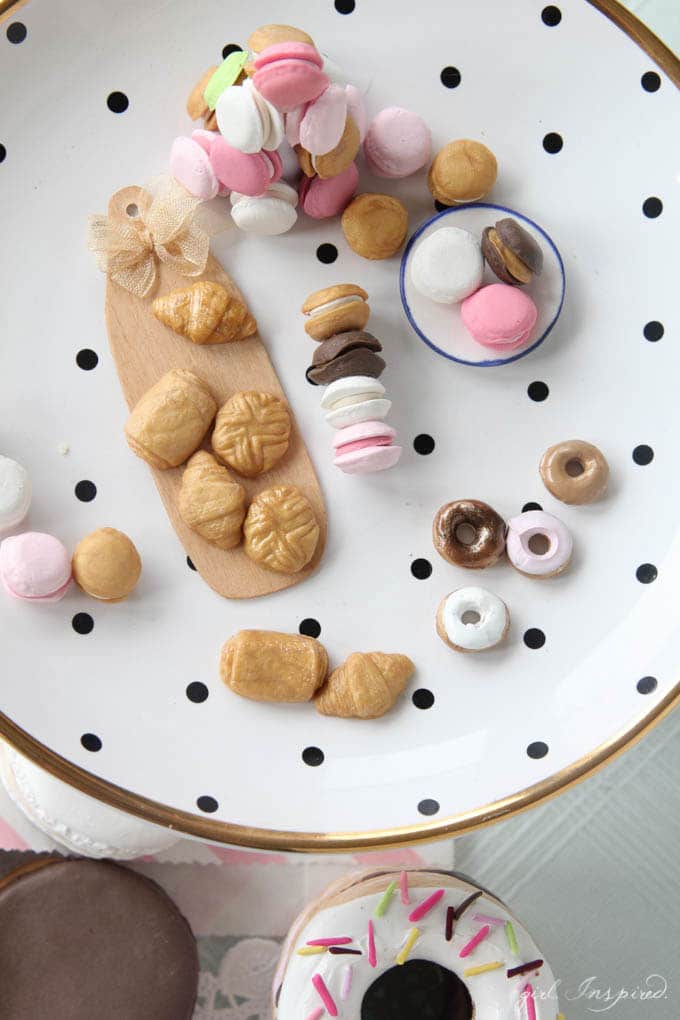
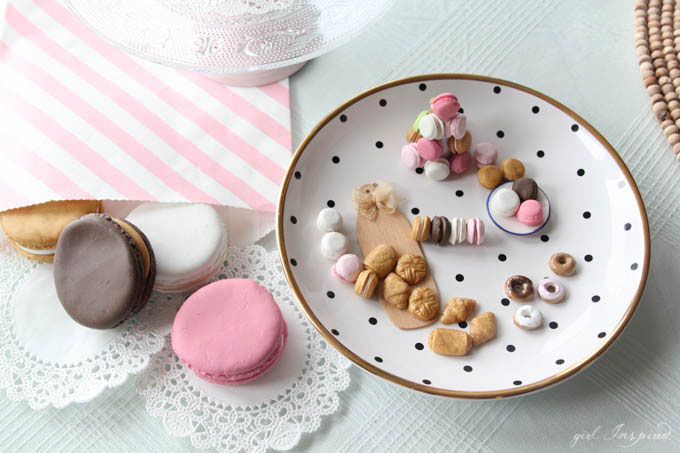
You know you want to make a pile of miniature clay food now, don’t you? So gratifying!! I told the girls I was going to get my own dollhouse so I can make lots of treats and keep them all for myself. My husband wasn’t too keen on the idea, but maybe that’s because I said I was going to keep it on the kitchen counter – ha!
You can find the silicone molds here: Petit Miniatures Have fun!!


Comments & Reviews
brook says
can you do these without molds? if so can you post it
marissa | rae gun ramblings says
shut up! these are so stinking adorable!!!
Amy Hindman says
These are amazing!!
Susan says
i can’t believe how real they look! Such a cute addition to any play kitchen 🙂
Abby says
Oh my word, these are so so adorable!!! Perfect for your little princesses! I would love to make these with my girls once Hattie stops putting everything in her mouth!