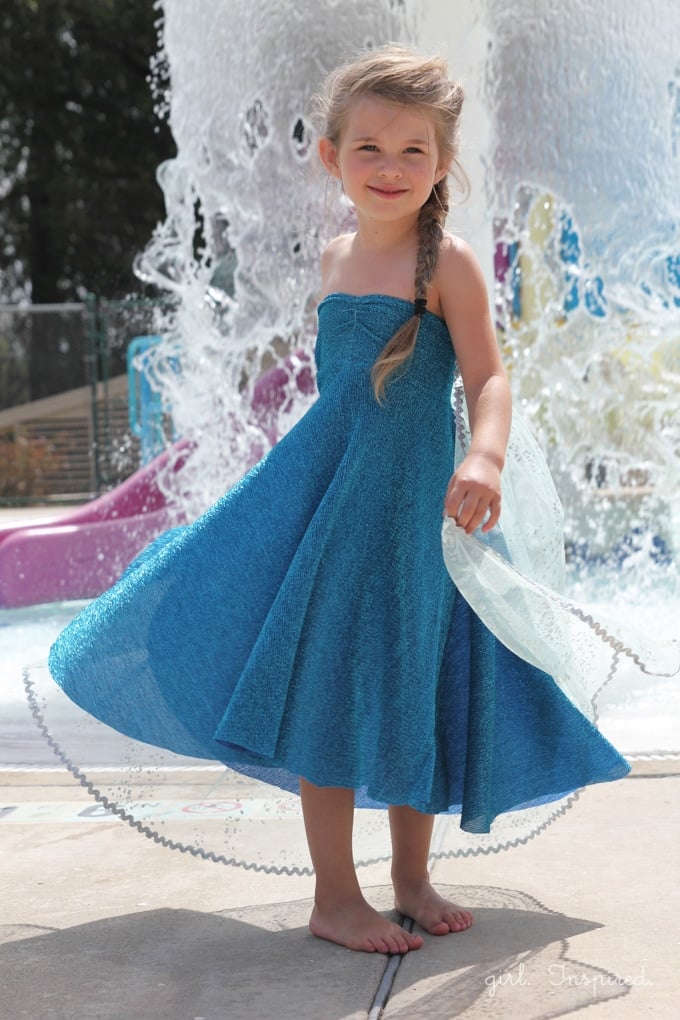
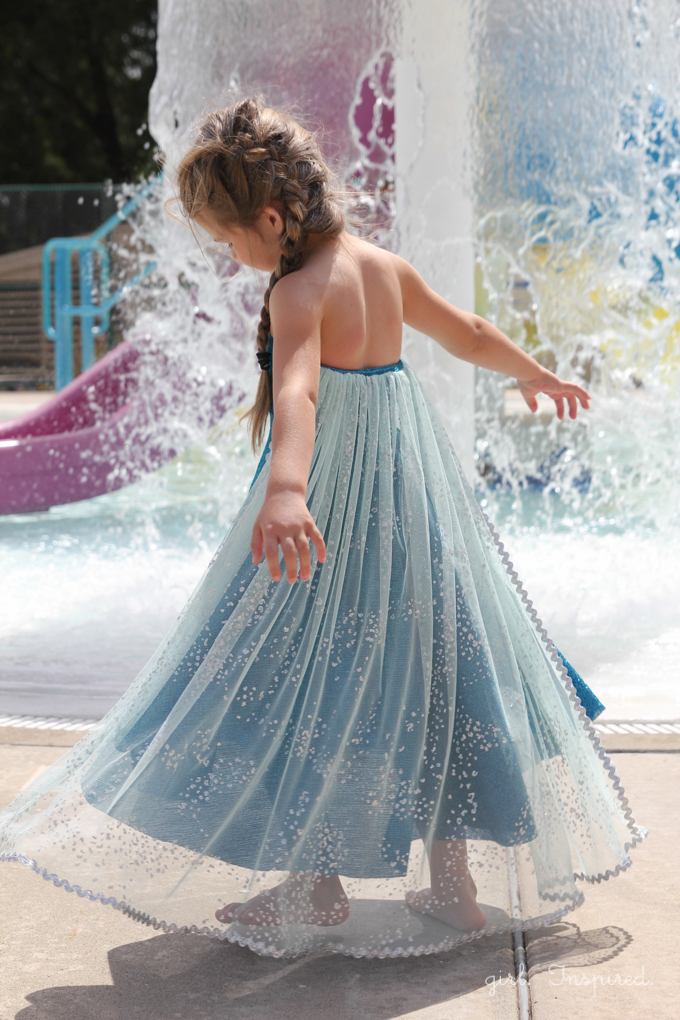
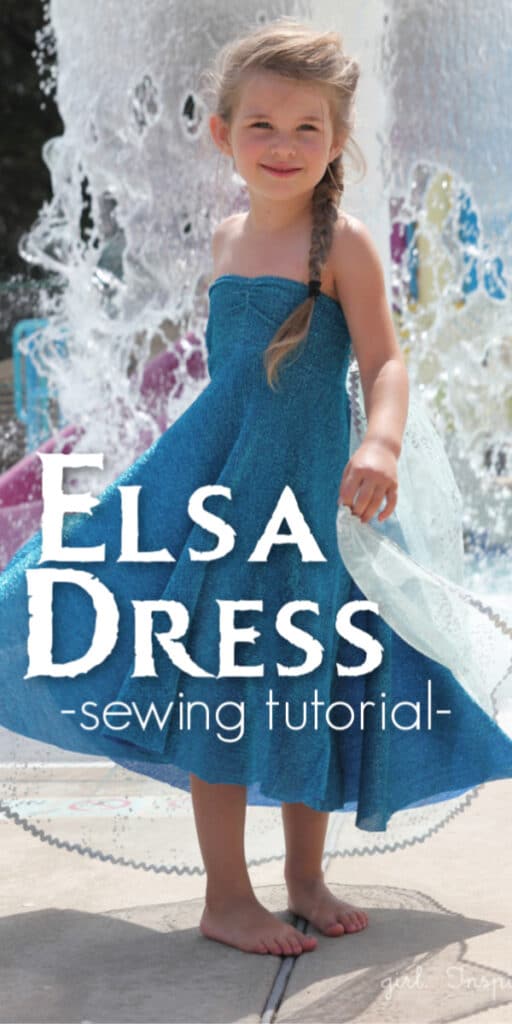
I am really excited to share this sewing tutorial with you. If there is one thing that Addie requested for her Frozen in Summer birthday party, it was for sure an Elsa Dress. (of course!) I struggled with how to make a dress in true Elsa spirit, but that would also be appropriate for a summer pool party! After some playing around, I came up with a kid-approved success – a strapless, knit dress with a circle skirt and attached cape.
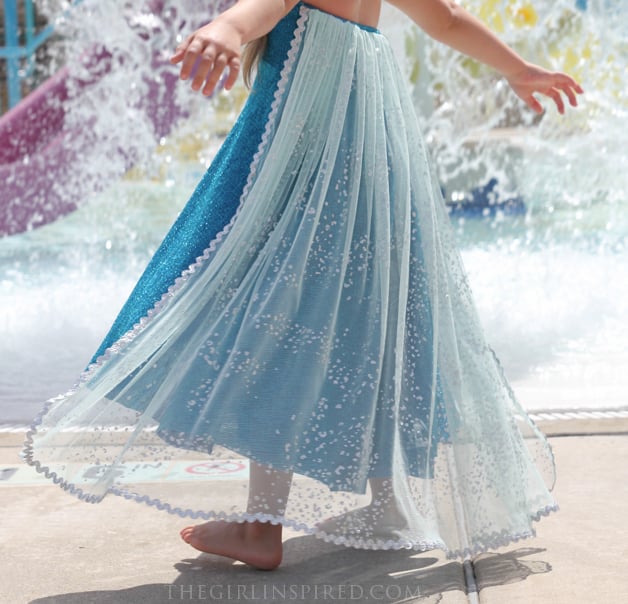
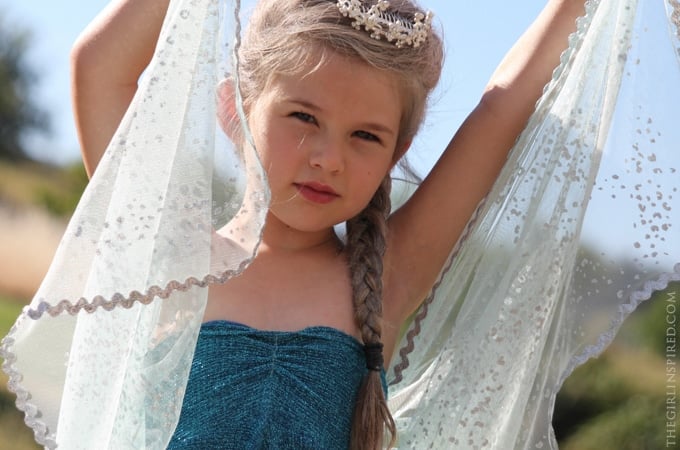
This little Elsa was quite pleased with the result. I have put together an Elsa Dress Tutorial at the request of my ever-encouraging social media friends. Since I wasn’t quite sure what I was doing, I probably didn’t take all the little steps along the way that I normally would, but I hope you are able to take these basics and create this dress for your own Frozen fan! This is a quick sew, too; you should be able to finish it in 1-2 hours.

I purchased this ribbed, shimmery knit from Jo-Ann – probably in the costume section. It’s a different sort of fabric and feels almost papery, but it surprisingly wasn’t itchy on Addison, so there’s that. The netting that I used was snatched from a fabric by the pound bin at Michael Levine’s Loft in L.A. last year. You could use tulle, but I think you’ll probably want to search for something with more drape, like a chiffon.
Supplies:
1.5 yards of stretchy knit for main dress
1 yard of netting for cape
silver metallic ric rac (2 packages)
⅜″ lightweight clear elastic
Instructions:
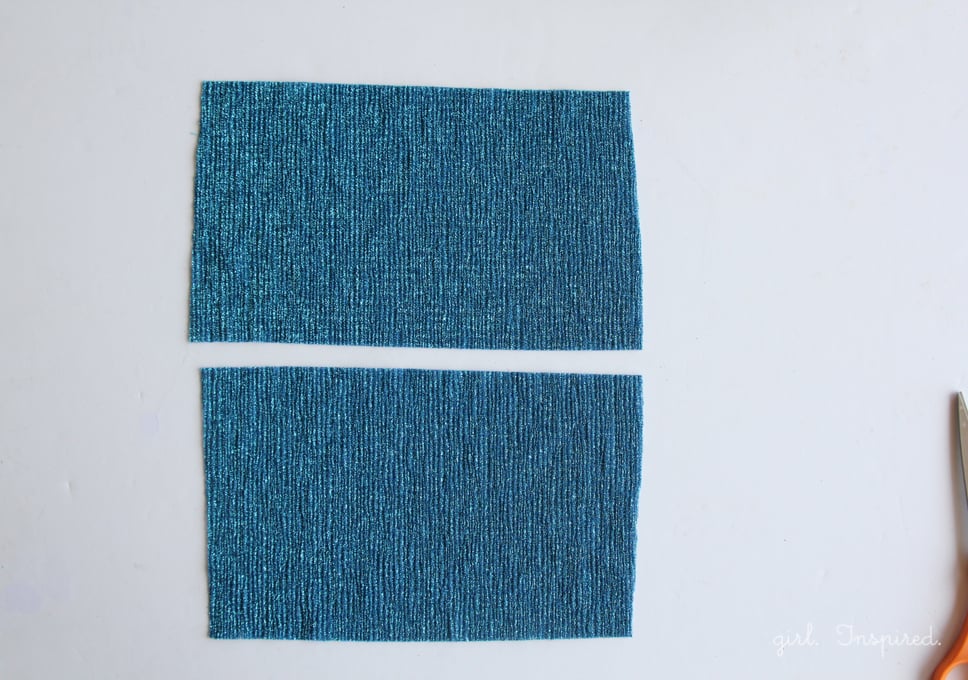
1. Begin by cutting two pieces for the bodice – one front and one back. The width of each piece should equal ½ chest measurement – ½ inch. My working measurement was 22″ so I cut each piece 10.5″ wide. The length of each piece should be from about the underarm to the high waist – mine was 5″.
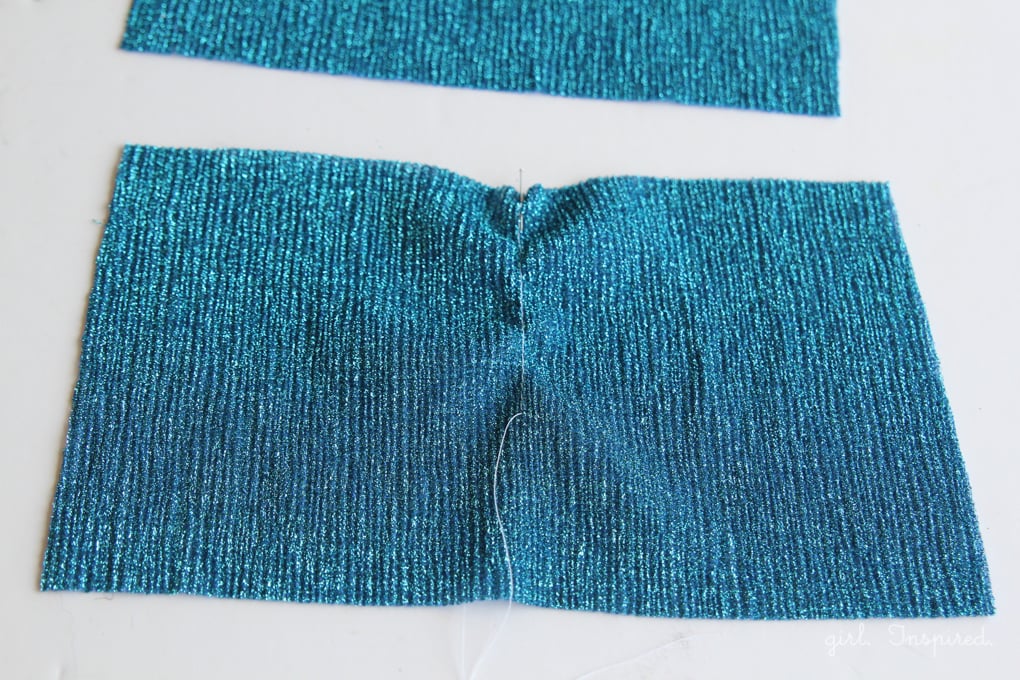
2. Mark the center of the front piece at the top. Stitch from the top center about ⅔ of the way down using a long gathering stitch. Pull the bobbin threads from the top and bottom to create the ruching effect for the front bodice. You’ll want to pull them enough to create a defined gathering, but not so much that the length of the bodice changes dramatically.
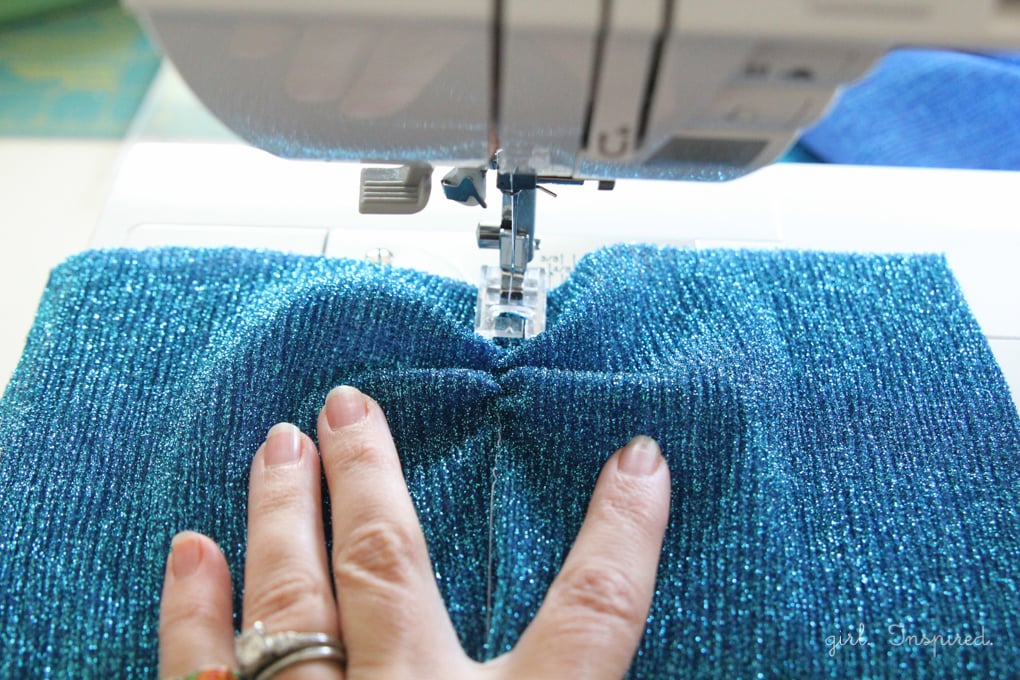
3. Sew directly over the top of your gathered portion using a regular stitch. Backstitch well at the beginning and end of the section (also consider stitching over the entire section twice for reinforcement.) Please note: You are going to attach clear elastic around the top of the bodice and then turn it under and hem – do not gather the very top ½″ for easier hemming.
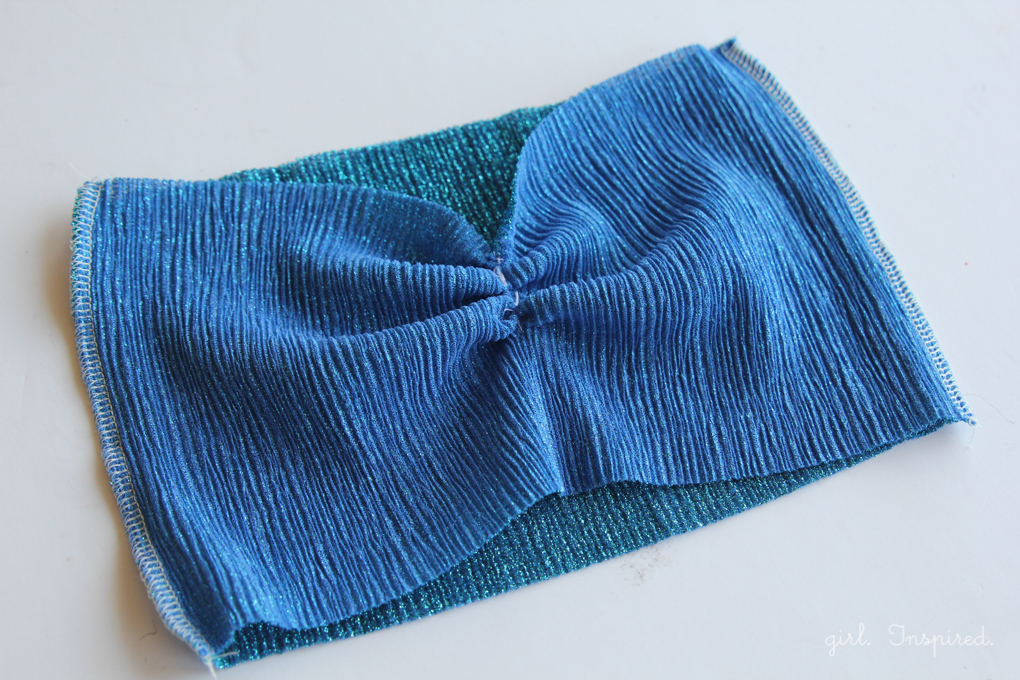
4. Place the front and back bodice pieces right sides together and sew together the side seams – you can use a serger if you have one; otherwise, use a stretch stitch or a narrow zig zag stitch.
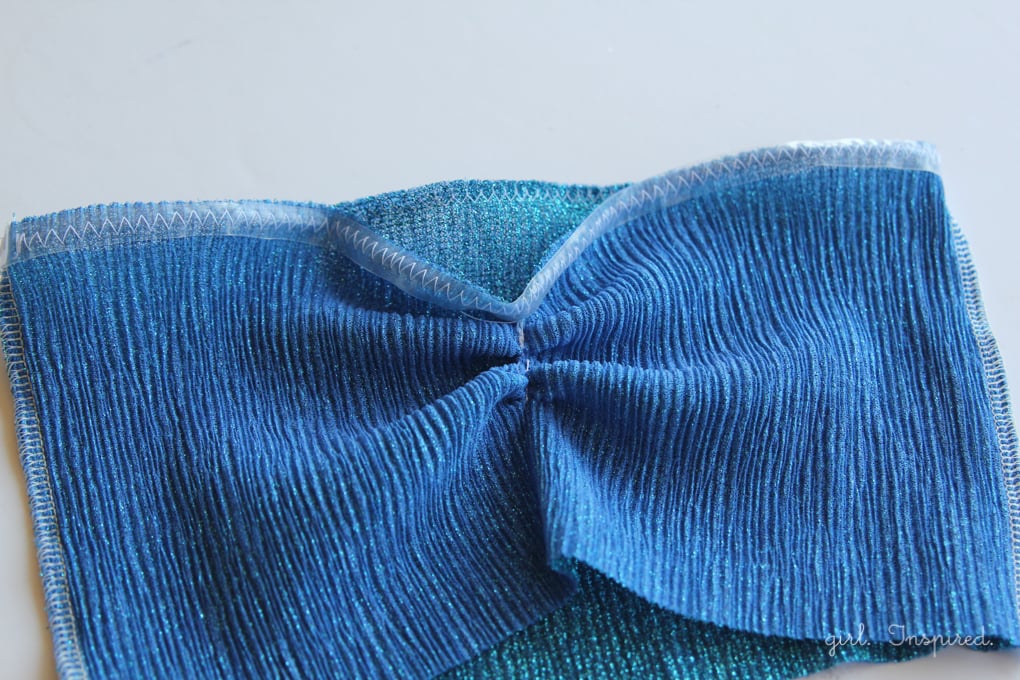
5. Use a zig zag stitch to attach clear elastic all the way around the top of the bodice. Stitch the elastic onto the wrong side and align it with the top edge of the bodice.
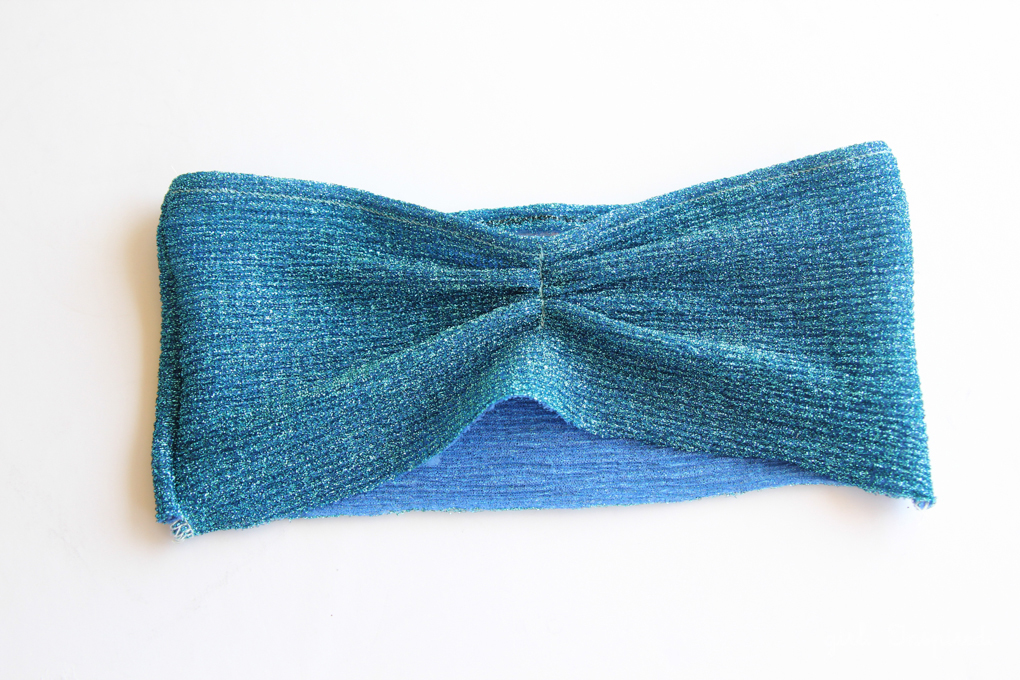
6. Turn the raw edge and elastic toward the wrong side of the bodice top and stitch in place. It is important to use a stretch stitch or a narrow zig zag stitch here to ensure stretchability in the finished garment for dressing.
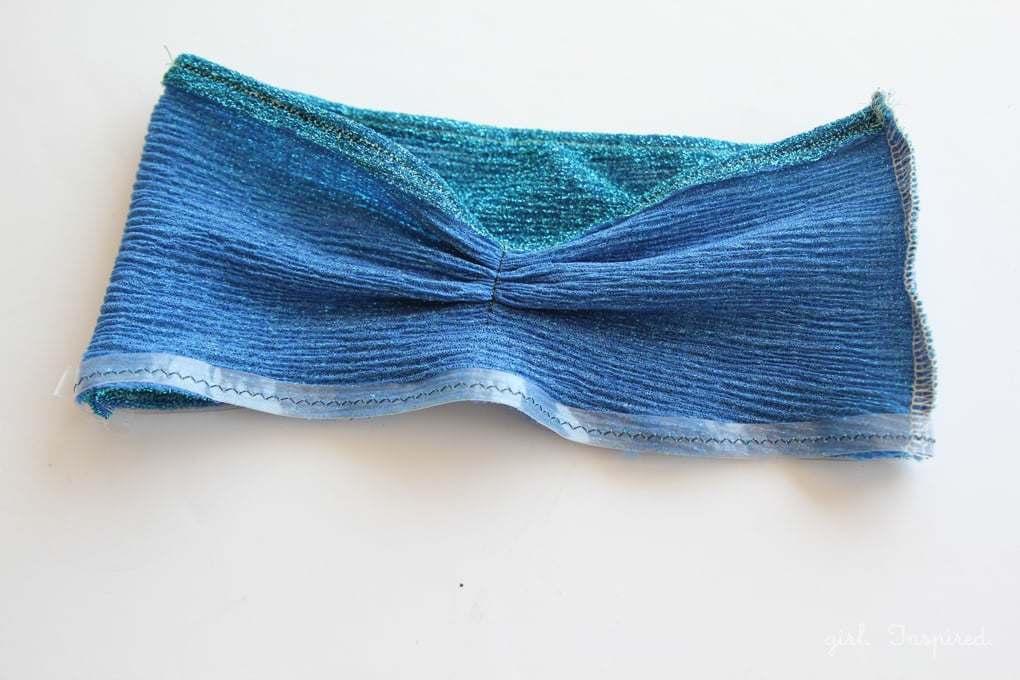
7. Use a zig zag stitch to attach clear elastic around the entire bottom of the bodice (sew onto the wrong side of the fabric).
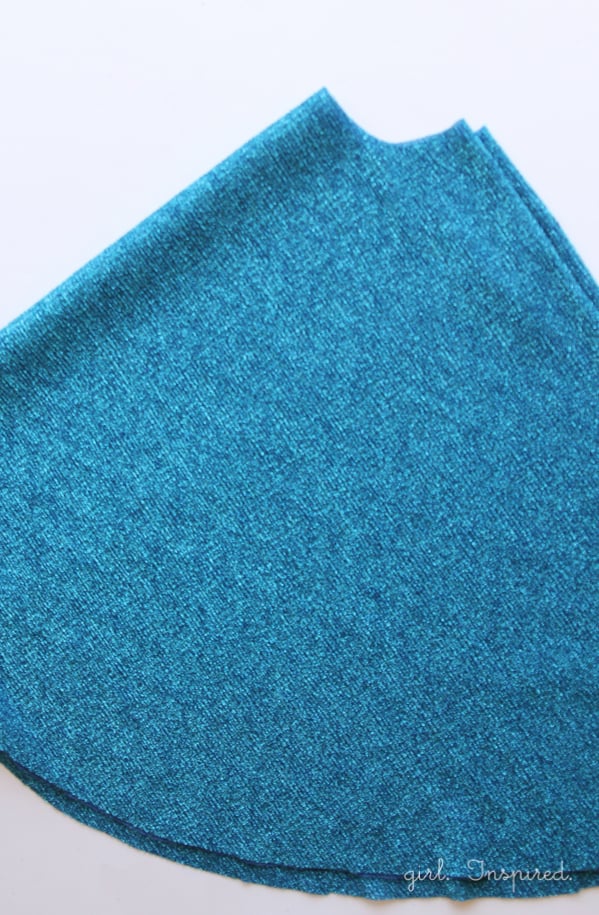
8. The key to creating a flowing Elsa dress is to use a circle skirt for the bottom half of the dress. Cut out your circle skirt based on the length from the high waist to the floor (or desired bottom of dress – I didn’t hem mine). The waist hole for the skirt should be the same perimeter as the bottom of the bodice. So…my perimeter was 21″ and I can use math to figure out that the radius for cutting my waist is [21″] divided by 6.28= [3.34]. Or the radius equals the perimeter divided by 2, then divided by pi (3.14). Cut out your circle skirt – this tutorial may be helpful if you need help with making a circle skirt pattern.
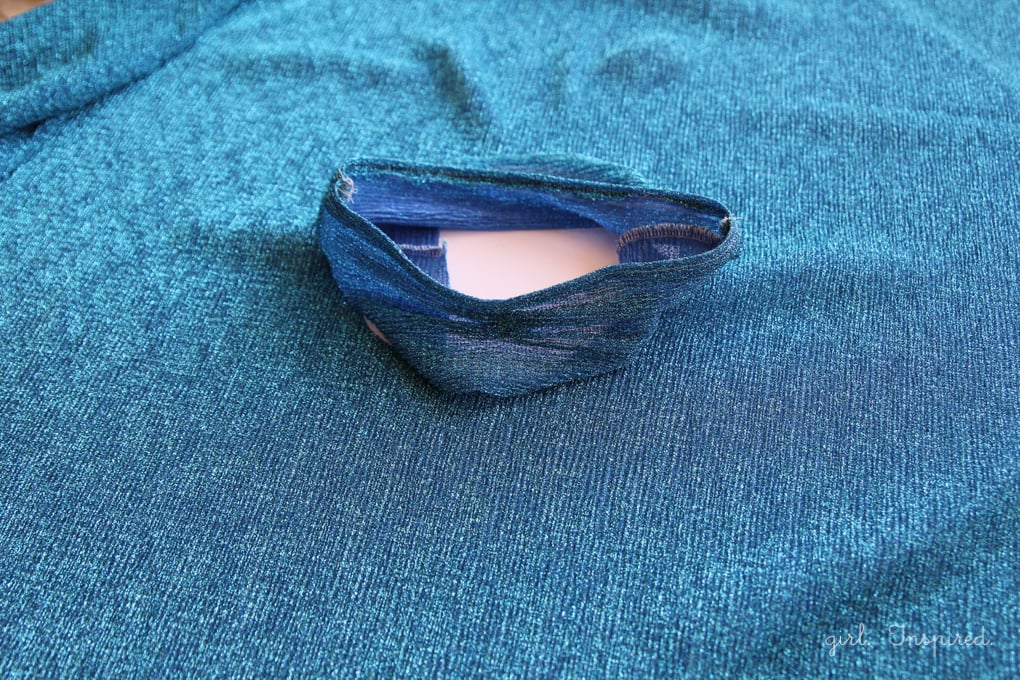
9. The above picture shows how the finished bodice piece will attach to the waist opening in the circle skirt. Join the raw edge of the bottom of the bodice piece to the raw edge of the waist opening, right sides together. Serge or sew using a stretch stitch. Now the main part of the dress is done.
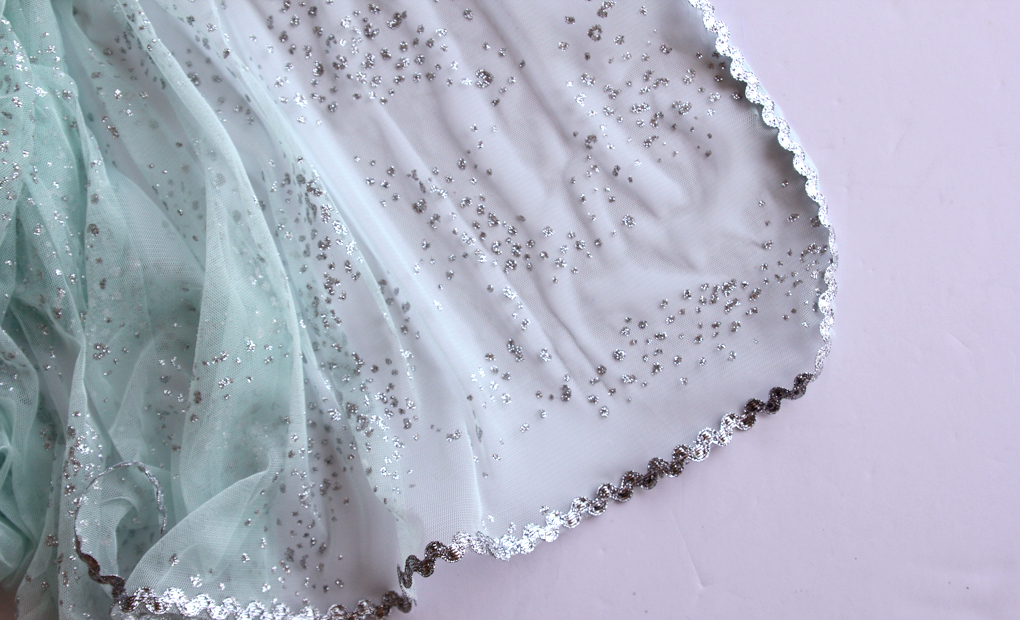
10. If you’d like to attach a “cape”, you will need to cut a piece of netting equal to the length you desire – measure from the underarm to the floor and cut from selvage edge to selvage edge. You can curve the two bottom corners of the netting – see this tutorial for help on that concept. Attach ric rac along all edges except for the top edge. I simply stitched the ric rac on the top side of the netting. If you think that your fabric might fray, you will need to serge or hem the edge of the fabric before attaching the ric rac.
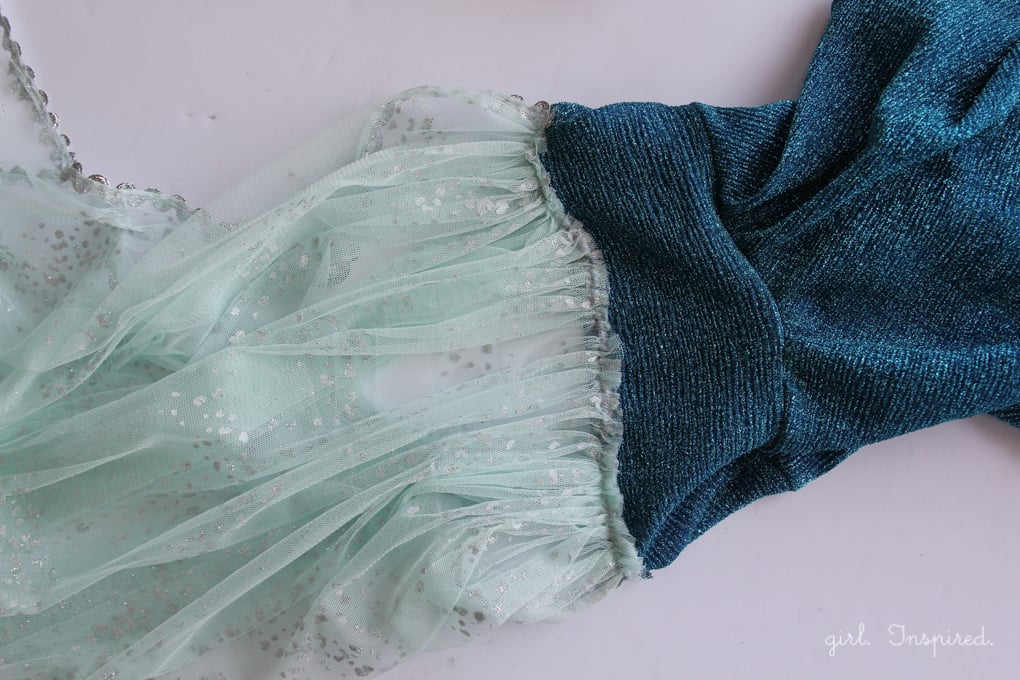
11. Sew a long gathering stitch all the way across the top of the netting piece and gather until it is the same width as the back bodice. Lay the dress out in front of you with the back bodice right side up. Pin the gathered netting right side down along the top edge of the back bodice (you are not matching edges here and it will feel a little awkward, but it makes this really easy). Use a stretch or zigzag stitch to securely attach the netting to the back bodice.
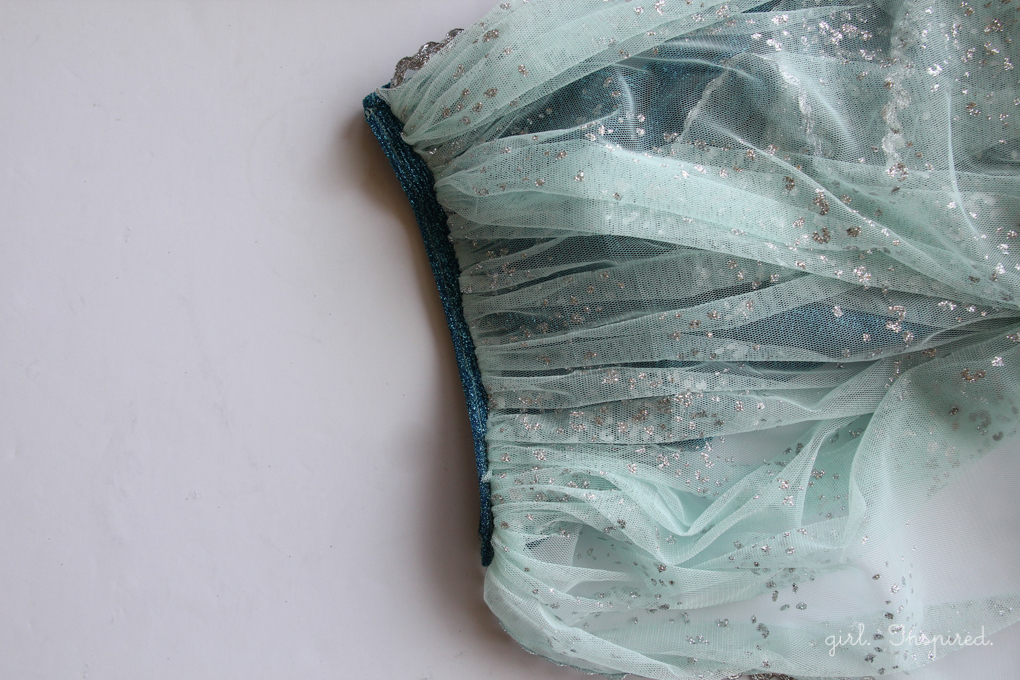
12. When you have finished stitching and you flip the netting down, you will see your raw edge folded under and the dress is complete!
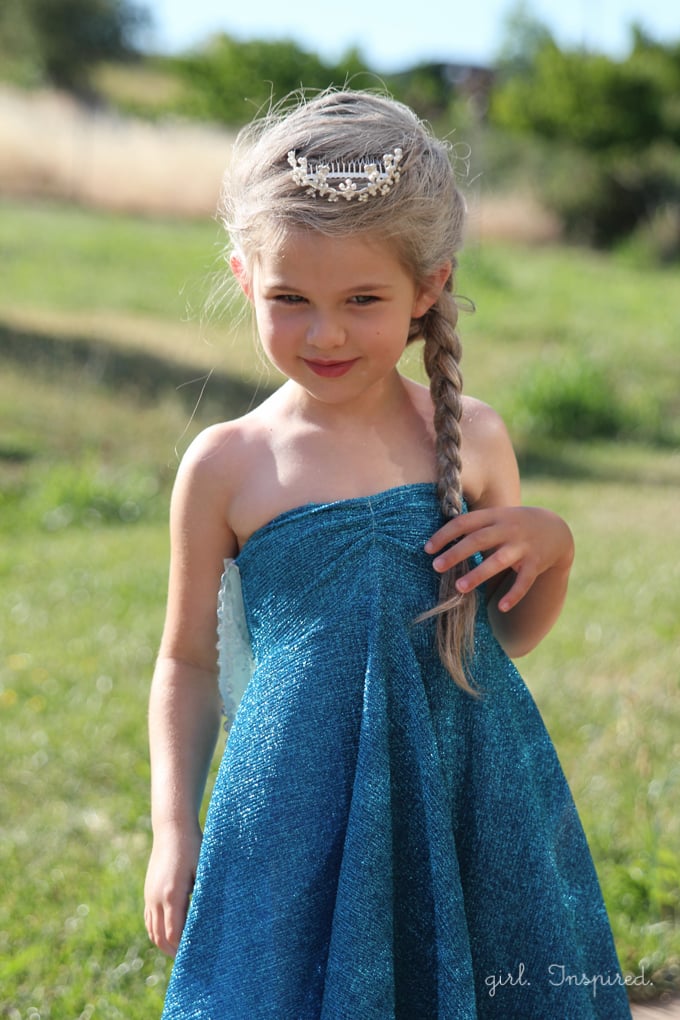
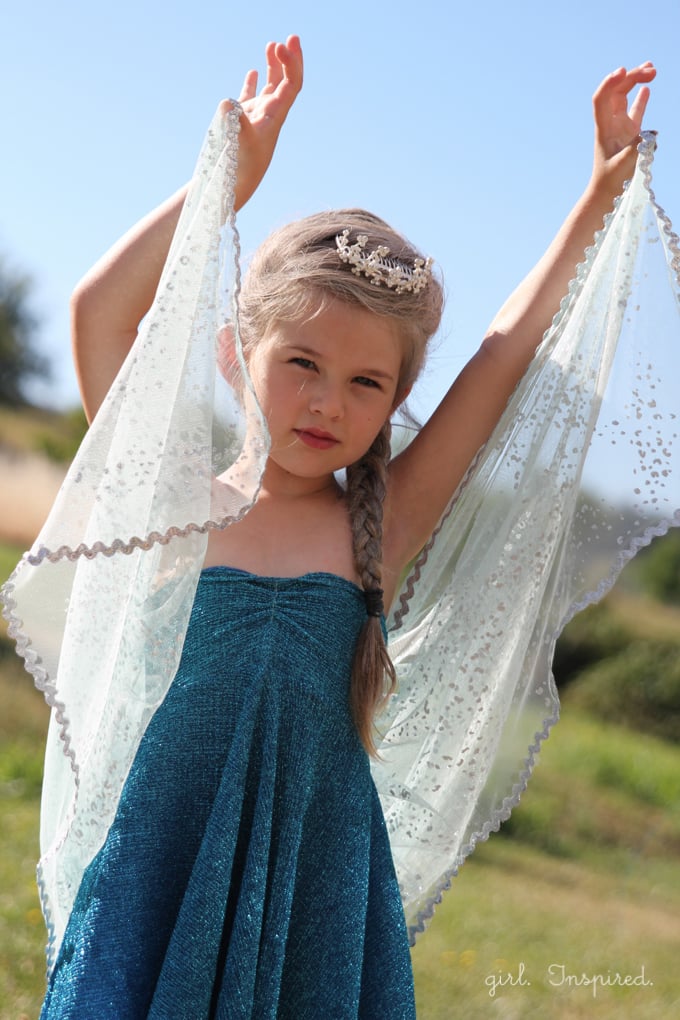
Now that the dress is done, you can add a few accessories if you like to complete the look. We picked up a really cheap crown from Hobby Lobby or you could make your own crown from lace. I also sprayed her hair with a white shimmer hair color from the beauty supply store. It was kind of nasty, but she totally loved it – was mostly faded by the time we got to the pool and then of course it washed out as soon as she started playing in the water, but it was fun for a couple pictures!! I picked up a pair of white gloves from Toys ‘R’ Us for a few bucks which she loved every moment of the three days leading up to her party and was then tired of them. Overall, the dress held up great. It stays up quite well, considering it’s strapless on a little girl and has the weight of the cape on the back – she pulled it up from time to time, but that clear elastic really holds it together!
Alrighty friends, see you soon!
You might also like:



Comments & Reviews
nancy says
I am making this for my great niece and I’m new at sewing. I have one question when you cut the inner circle for the waist the # was 3.34 that is 3 3/4 of an inch is that correct? By the way your tutorial is very easy to follow for a beginner. Thank you so much for sharing. I also used the little mermaid tutorial. I’m currently making these costumes for her play dress up wardrobe. Thanks a lot for sharing.:)
Lou-Ann Estey says
What a lucky young lady to have such a talented mom. I hope I can pull this off too. I have never worked with the clear elastic or tape but I am going to look for it and practice with it. I have four grand daughters that I love to take themed pictures of (yellow dress day, blue shirt day) can’t wait to see if I can get them in princess dress day! Maybe in all different colors! Thank you so much for sharing.
CJ says
Thanks SO MUCH for this tutorial. I used it to make an Elsa dress for my daughter who is almost 8. An Elsa dress in her size was not readily available in our town, so I bought fabric at Walmart instead. I have never made a garment before, but it turned out well! The fabric was a shiny blue knit. Half circle skirt instead of full circle because I underestimated the amount of fabric I would need, took in the waist a little after it was all done just for fit purposes on her, added lace sleeves to hold it up over the long-sleeve white shirt she’ll need to wear under it on Halloween because this is the Midwest. Same lace for the cape, and the lace already had a scalloped edge so I didn’t need to do anything to the bottom. You gave excellent instructions, highly adaptable to ANY size. I finished it this afternoon and had a little girl running around singing “Let It Go” with glee. Thank you!!
Karen Thompson says
Thank you so much for this tutorial! I actually found the same fabric at Joann ‘s, made this for my grandaughter before her Disney Land trip, added a couple of straps and lined the bodice with one of her old t-shirts. It was so fun to make, now I need to make one for the other grandaughter!
Deb says
Hi karen. How did you add straps? I’m concerned about the dress staying up.
alison says
Love it! Will try it for sure!
Melissa Toper says
I made this Elsa dress for my daughter yesterday and I cannot thank you enough for sharing it! I was a little worried about the “stretchability” of the top since I could not find a fitting knit, but it works (luckily 7 y/o’s don’t have curves yet!!). I posted the pics on FB and cannot believe the response, thank you again for sharing! I think those mermaid skirts might be next!!
girlinspired says
Yay!!!! Thanks for sharing, Melissa! I’m so glad it worked for her – I can’t see your pictures, but I’m sure she is shining!! Good job, mama!
Kalea says
This dress is so cute! I might make it for my Halloween costume this year. (Maybe adding sleeves since it will be a little cold.) I am a beginner, but I think that maybe I could make this!
Margy D says
I am so excited to make this for my grand daughter’s Halloween costume (with a few modifications for cooler weather!)
But, did you wash the fabric first?
Thank you!
Arijana says
OH my!!! Finally a dress I actually like! Thank you so much for making and sharing this! You are truly a life saver. My little girl is turning 3 in September and I have to make her this dress for her Frozen themed Party!
Thanks again!! OMG so excited right now 🙂
yeymy says
I need dress
Kimberly says
Thank you so much for this dress pattern! I’m a beginner sewer (I can hem pants cause my legs are horribly short) and I was just able to make the dress. The fabric I used was a little thinner and it made it tough for the bodice, but in the end it turned out great and my daughter won’t take the dress off now 🙂 thank you thank you!!
Lara says
This is my favorite of all the dresses i looked up w easy to follow instruction s this was the first dress i made i posted it on facebook and google+ and i nentioned ur website too thanks soo much she luvs it
Natalia says
Of all the dresses I looked up, this is my favorite one. Just loved it, my niece is gonna love it.
girlinspired says
Aw, thanks so much, Natalia! Lucky little niece!!
peggy says
You did a beautiful job on explination of this. I am a beginner sewer and i feel i can do this. Thank you so much for sharing. You have a beautiful daughter. She is blessed to have suchna wonderful mom!
girlinspired says
Thank you so much, Peggy, that’s so sweet!
Sally says
Thank you so much for sharing your pattern! Writing from Scotland where my daughter has spent the first week of the school holidays watching Frozen and I rashly said will Mummy make you an Elsa dress! I love the twirly skirt idea! Thank you again, Sally