This melt in your mouth cut out sugar cookie recipe (no chill time!!) yields soft, buttery cookies with a slightly crisp edge and a delicate hint of almond. You may have just stumbled upon the BEST, easy to follow, chewy sugar cookies recipe.
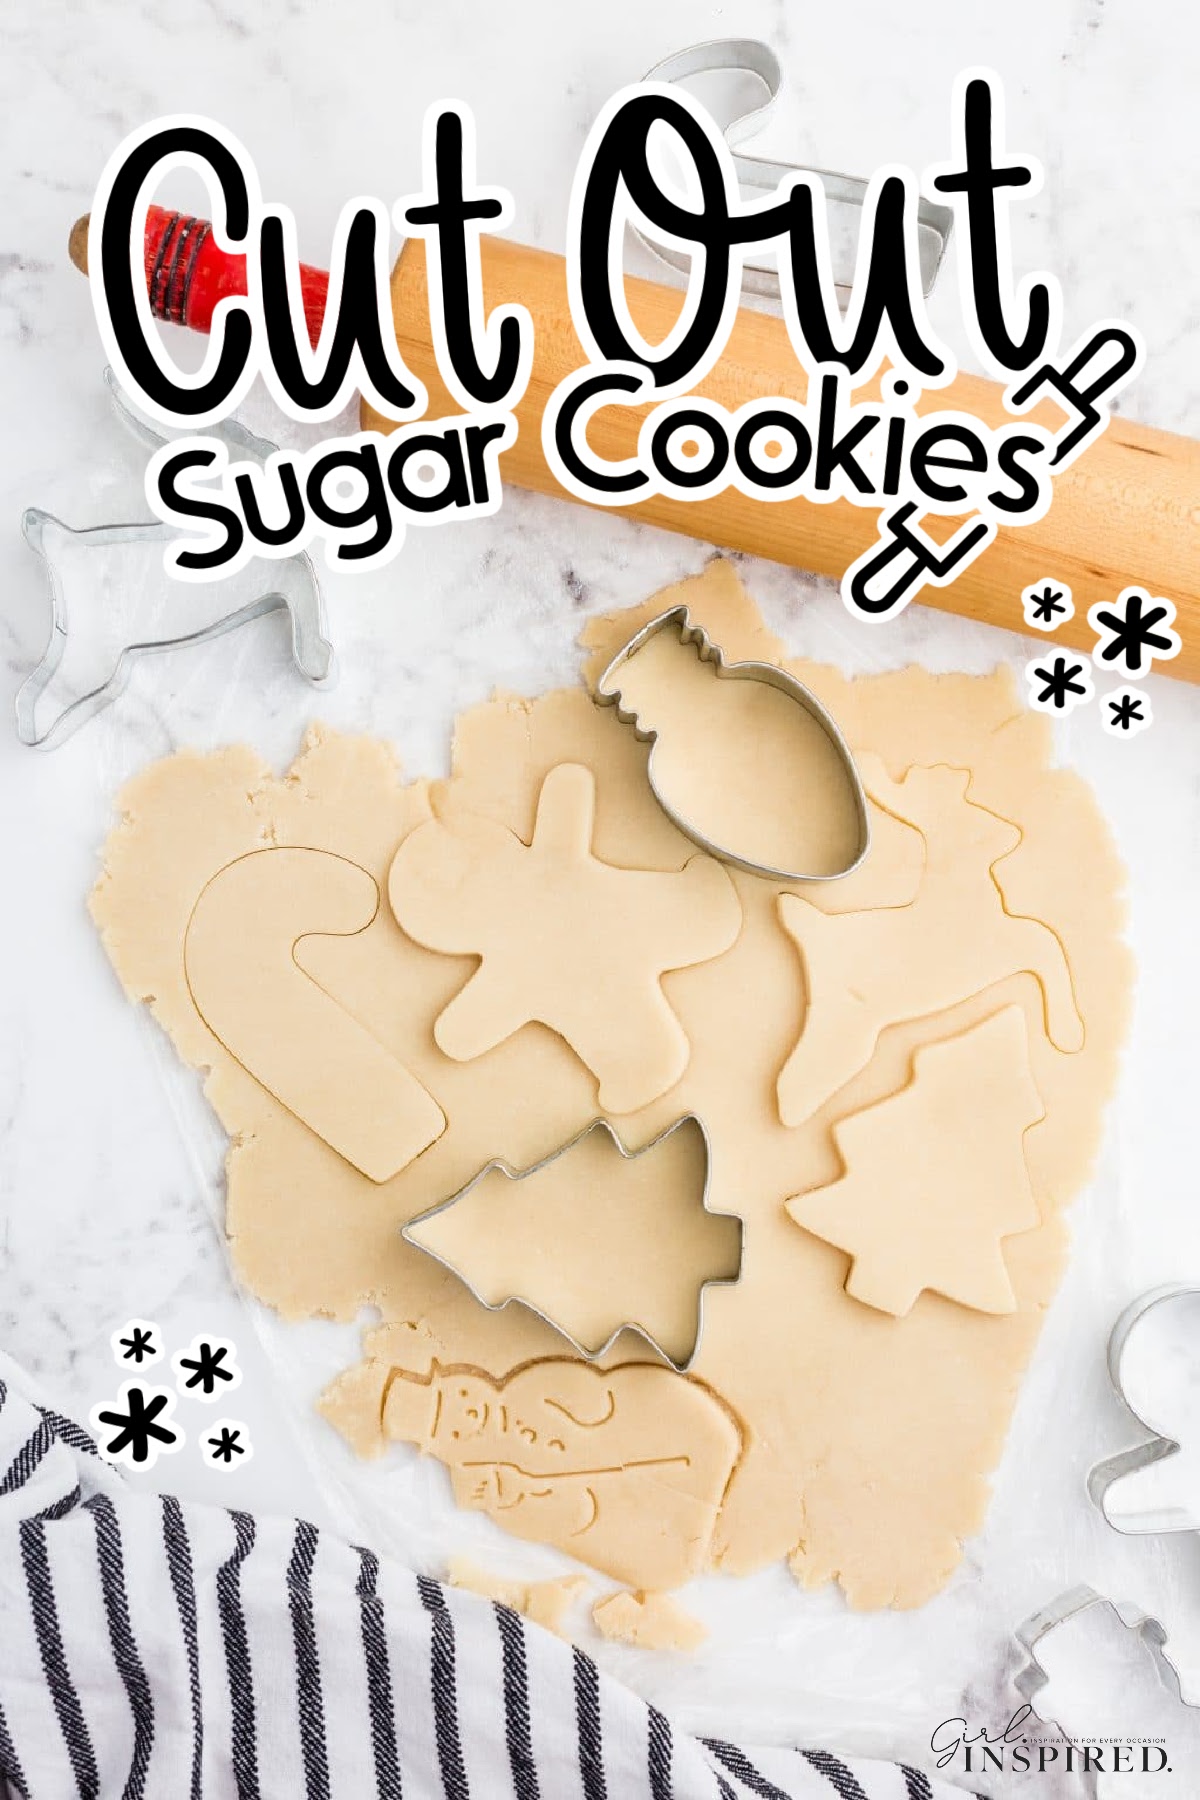
With simple ingredients, these easy sugar cookies can be ready in under 20 minutes. Decorate with icing and sprinkles or enjoy plain while cozying up with a nice cup of tea or some holiday Italian hot chocolate!
If you’re a fan of sugar cookies, you should also check out this copycat Lofthouse cookies recipe. Soft pillowy cookies slathered with a thick coat of icing are a little more involved, but definitely a must-try! Amish sugar cookies and ultra soft sugar cookies are great for drop and go Christmas cookies.
We also love using this cut out cookie recipe to make the BEST Candy Cane cookies complete with peppermint marshmallow cream frosting.
Jump to:
What are sugar cookies?
There’s a reason why tried and true cut out Christmas cookies remain a fan favorite. This centuries-old cookie is made with only a handful of ingredients and it’s the best sugar cookie recipe for cut-outs. It consists of butter, sugar, flour, eggs, and vanilla, or in this case almond extract. A simple cookie that delivers on taste and function!
With a cut out sugar cookie recipe, specifically, you want very little leavening ingredients so that the cookies do not puff or spread too much and turn your pretty cut out shapes into indistinguishable blobs! There are no eggs and just a touch of baking soda in this chewy cookie recipe.
⭐️ Ingredients:
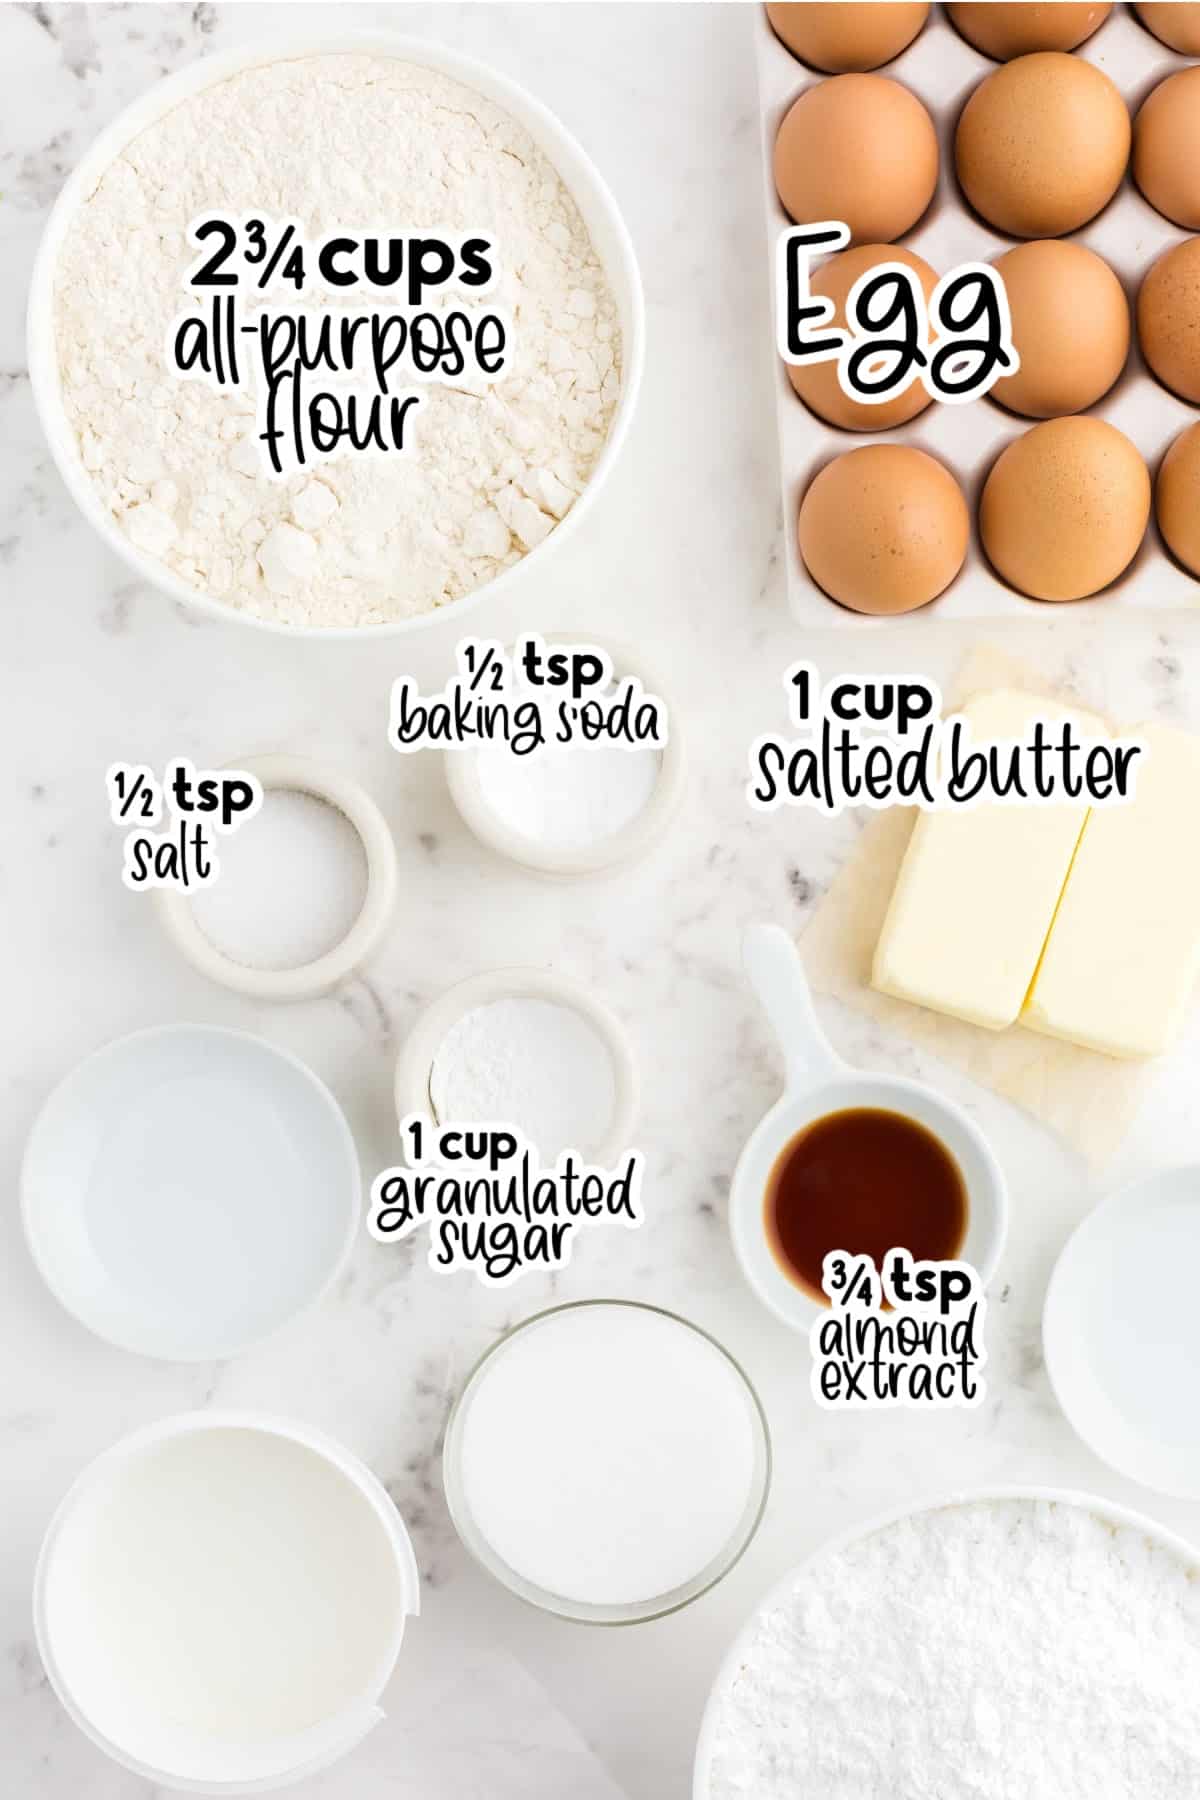
- Salted butter -Softened. To cut down on prep time, keep the butter at room temperature earlier on (at least 20 minutes) before starting. You can also use unsalted butter but will need to ad in about a ½ teaspoon of salt to season.
- Granulated sugar – Because, sugar cookies.
- Egg – Room temperature as well. Having ingredients all starting out at one temperature will make for even baking.
- Almond extract – Using almond extract instead of vanilla is a preference. You can definitely swap one for the other. Both will add their own lovely individual flavor. Get crazy and use them both together!
- All-purpose flour – Stick to all-purpose if you can. If you do end up going rogue and trying something different, keep me posted on how that goes.
- Salt – The magic of salt is that it brings out the natural flavors of, well, everything!
- Baking soda – This will help give the cookie the shape that doesn’t spread out too far and gives it a bit of a rise (almost yeast-like).
For a full list of ingredients and their measurements, 📋 please view my printable easy recipe card at the bottom of the post.
Optional Garnish:
These cut-out cookies are delicious as is, but of course they make the idealistic base for all the decorating you could ever dream of. Royal icing, a nice vanilla buttercream like we use on our vanilla buttermilk cake, cream cheese buttercream frosting, or marshmallow cream frosting are all delicious. Royal icing is best for detailed decorating, though it’s typically regarded as not tasting as good as a buttercream.
Top these with crushed candy canes, all the Christmas sprinkles, or any candy that you like. We even use rolled out Starburst and mini marshmallows to top these cutout sugar cookies and make adorable Santa cookies.
Substitutions and Variations
- Flavors – Vanilla extract is the standard flavoring in most sugar cookies. We use almond extract in this recipe (my mom’s recipe) and the flavor is a million times better, in my opinion. You can certainly use vanilla instead or in addition to the almond extract. Also try this imitation vanilla, butter, and nut flavoring – it’s rich and delicious.
- Colors – Add red or green gel-based food coloring to your dough.
- Roll dough into a log, chill for 30 minutes, then slice into even ½″ slices and place on cookie sheet for quick round cookies.
🔪 Instructions:
PREP: Preheat the oven to 350°F and line a baking sheet with parchment paper; set aside.
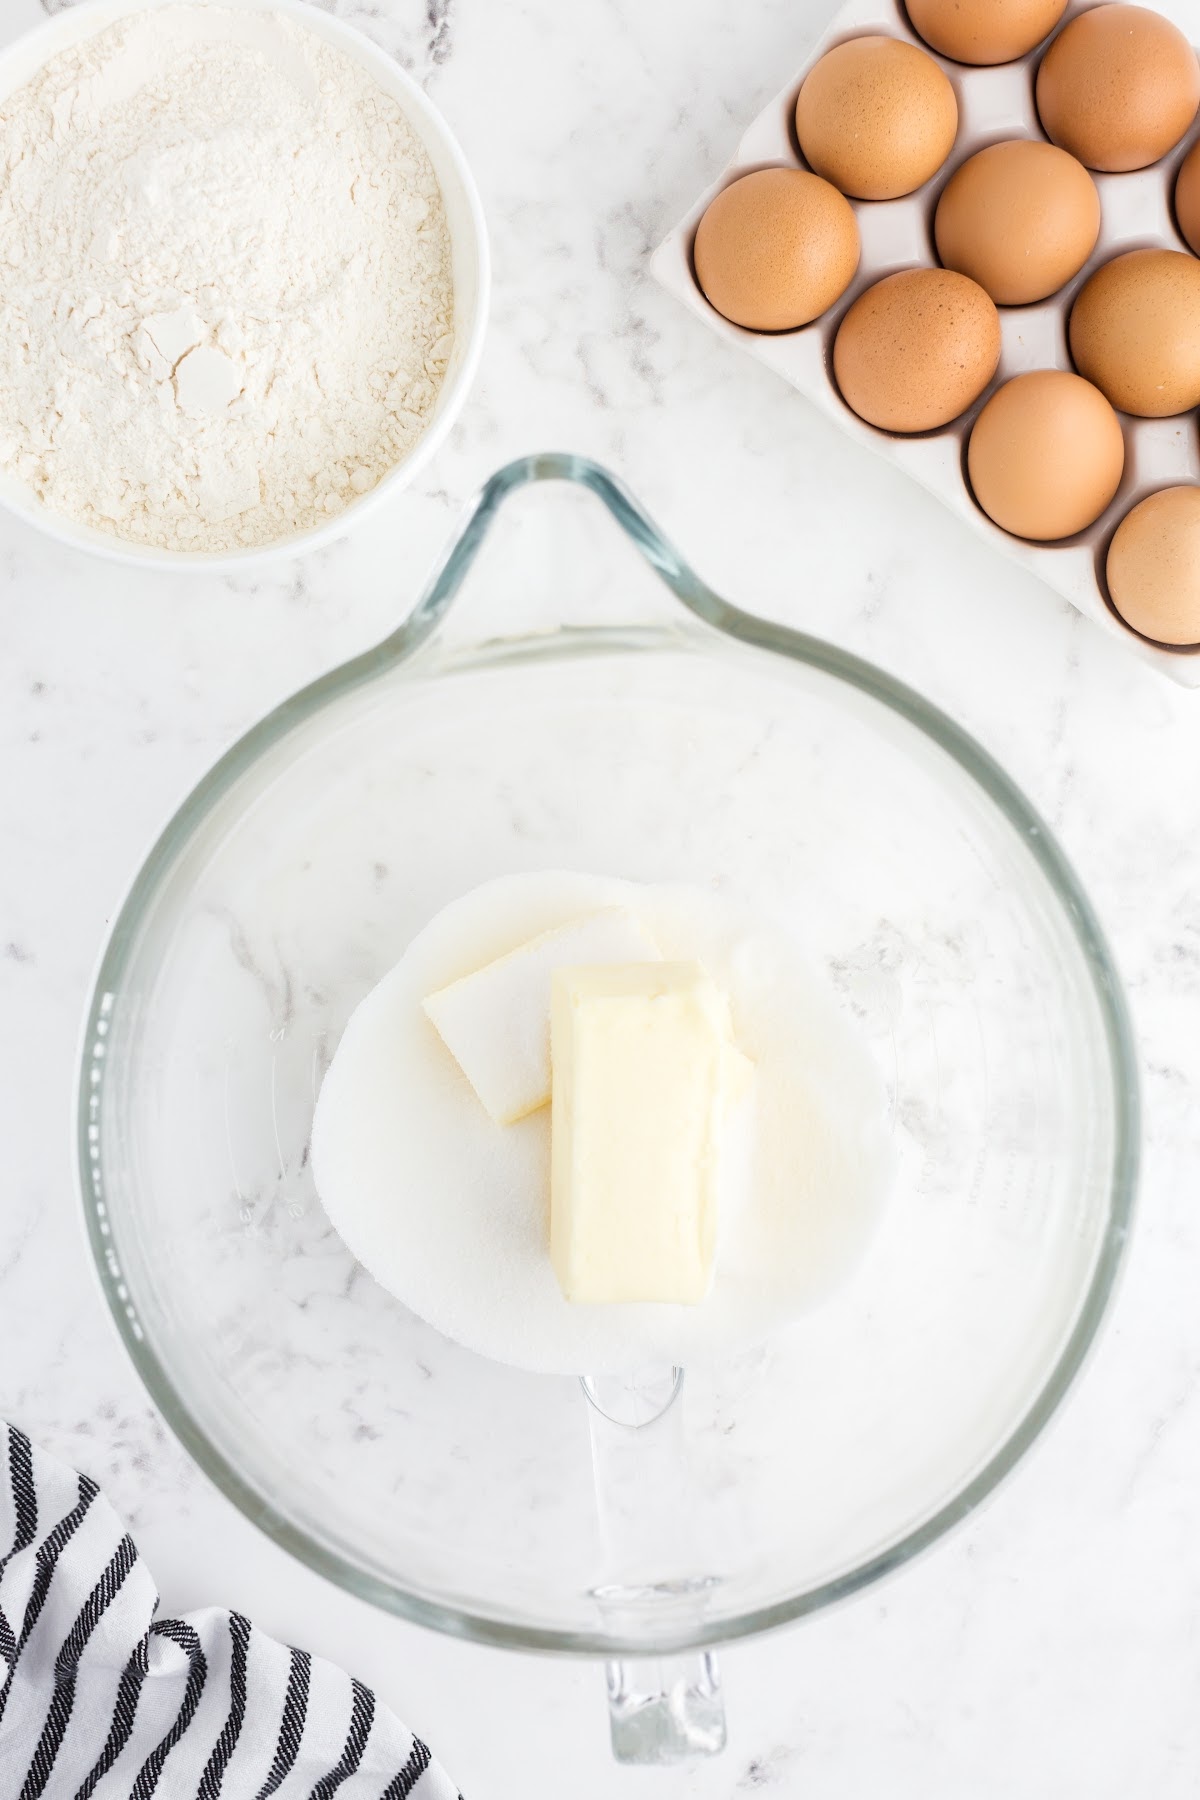
Step 1: In the bowl of a stand mixer or a large bowl using a hand mixer, cream together the butter and sugar.

Step 2: Then, add the egg and almond extract and continue beating.
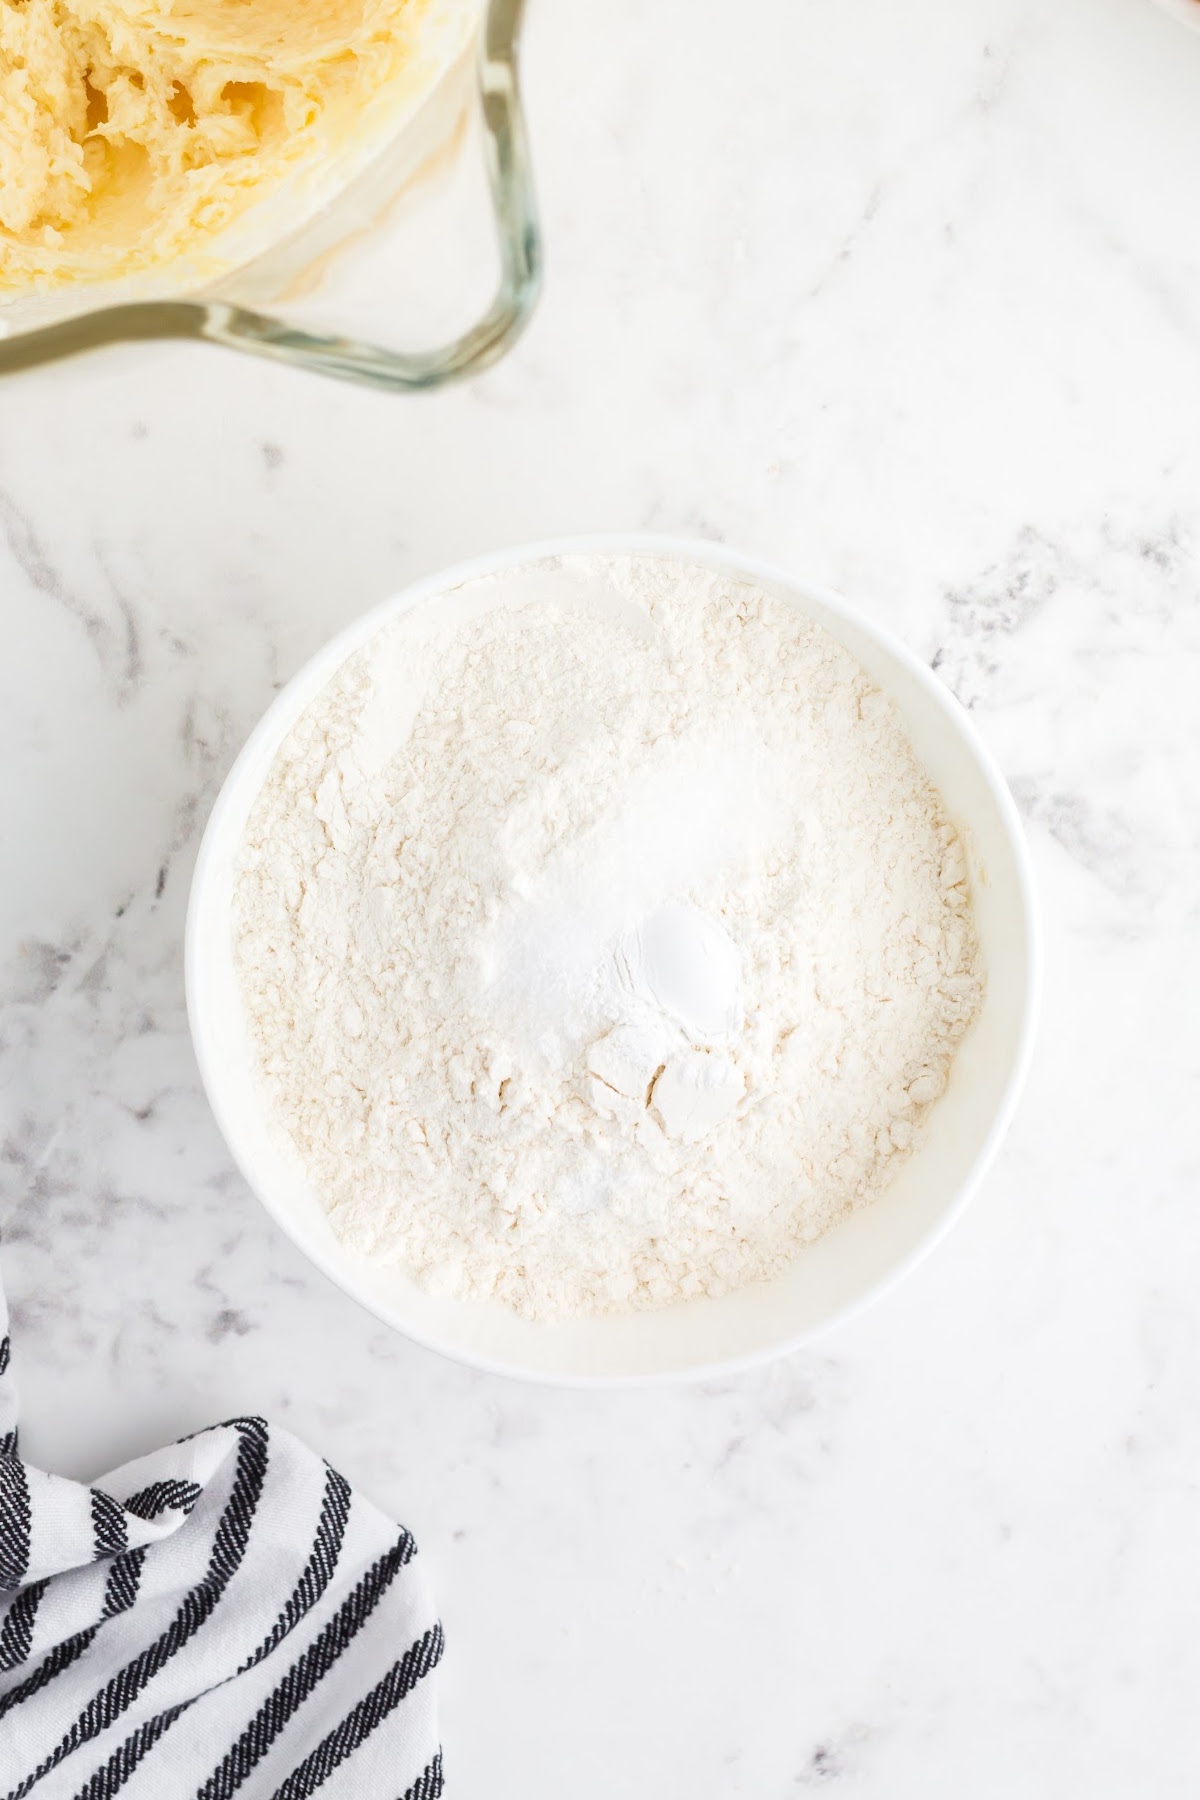
Step 3: In a separate bowl, sift together the flour, salt, and baking soda.
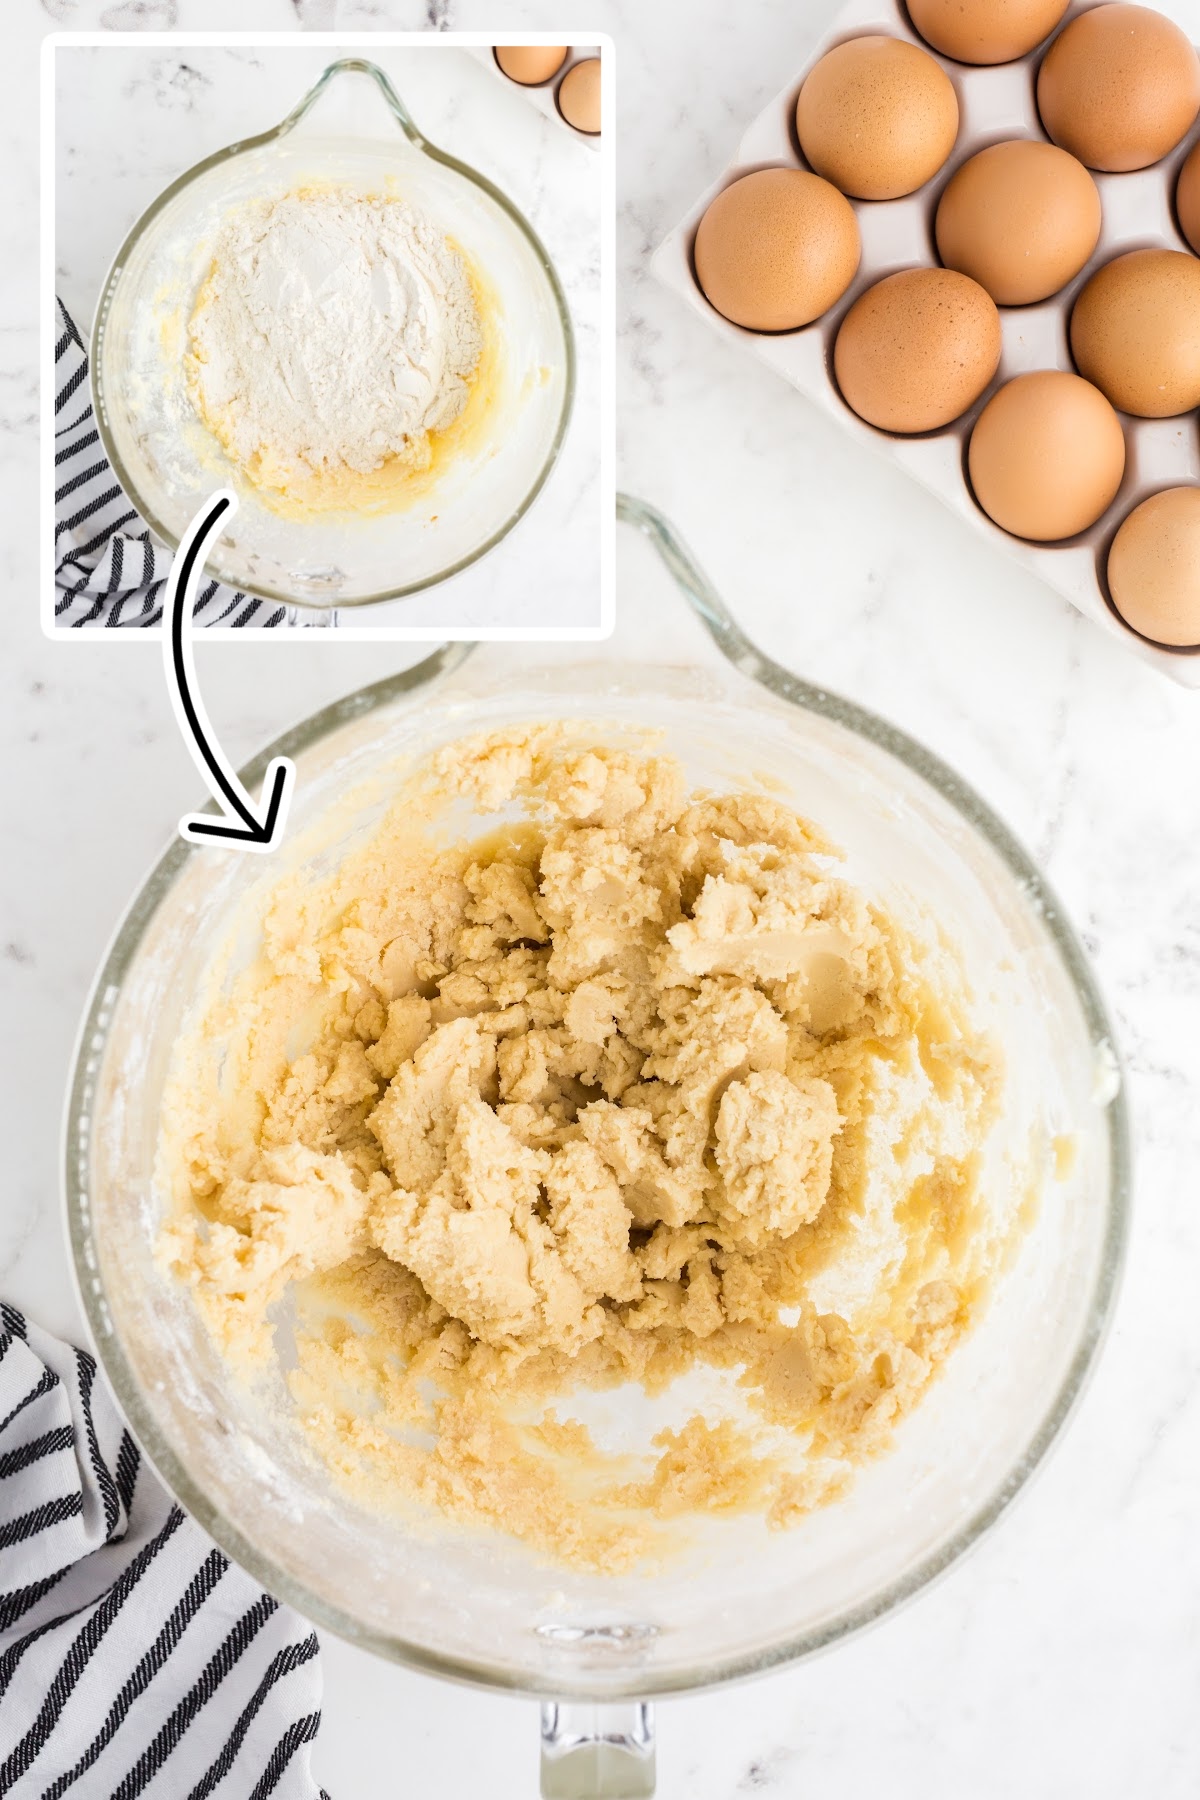
Step 4: With the mixer on low speed, carefully add the dry ingredients (flour mixture) to the dough mixture. Mixing on low keeps the mess at bay. Don’t overmix though. Just mix until the dry ingredients are incorporated.
Step 5: At this point, you can divide your dough into two sections, wrap each ball of dough in plastic wrap (flattened slightly into a disc), and refrigerate until you are ready to roll out the dough and cut into sugar cookie shapes. Chilling the dough isn’t necessary.
Pro Tip: If you do find your dough a little too soft (this can happen too) chill in the fridge for about 20 minutes before rolling it out. If your butter was softened appropriately and your house isn’t overly warm, no chill time should be needed.
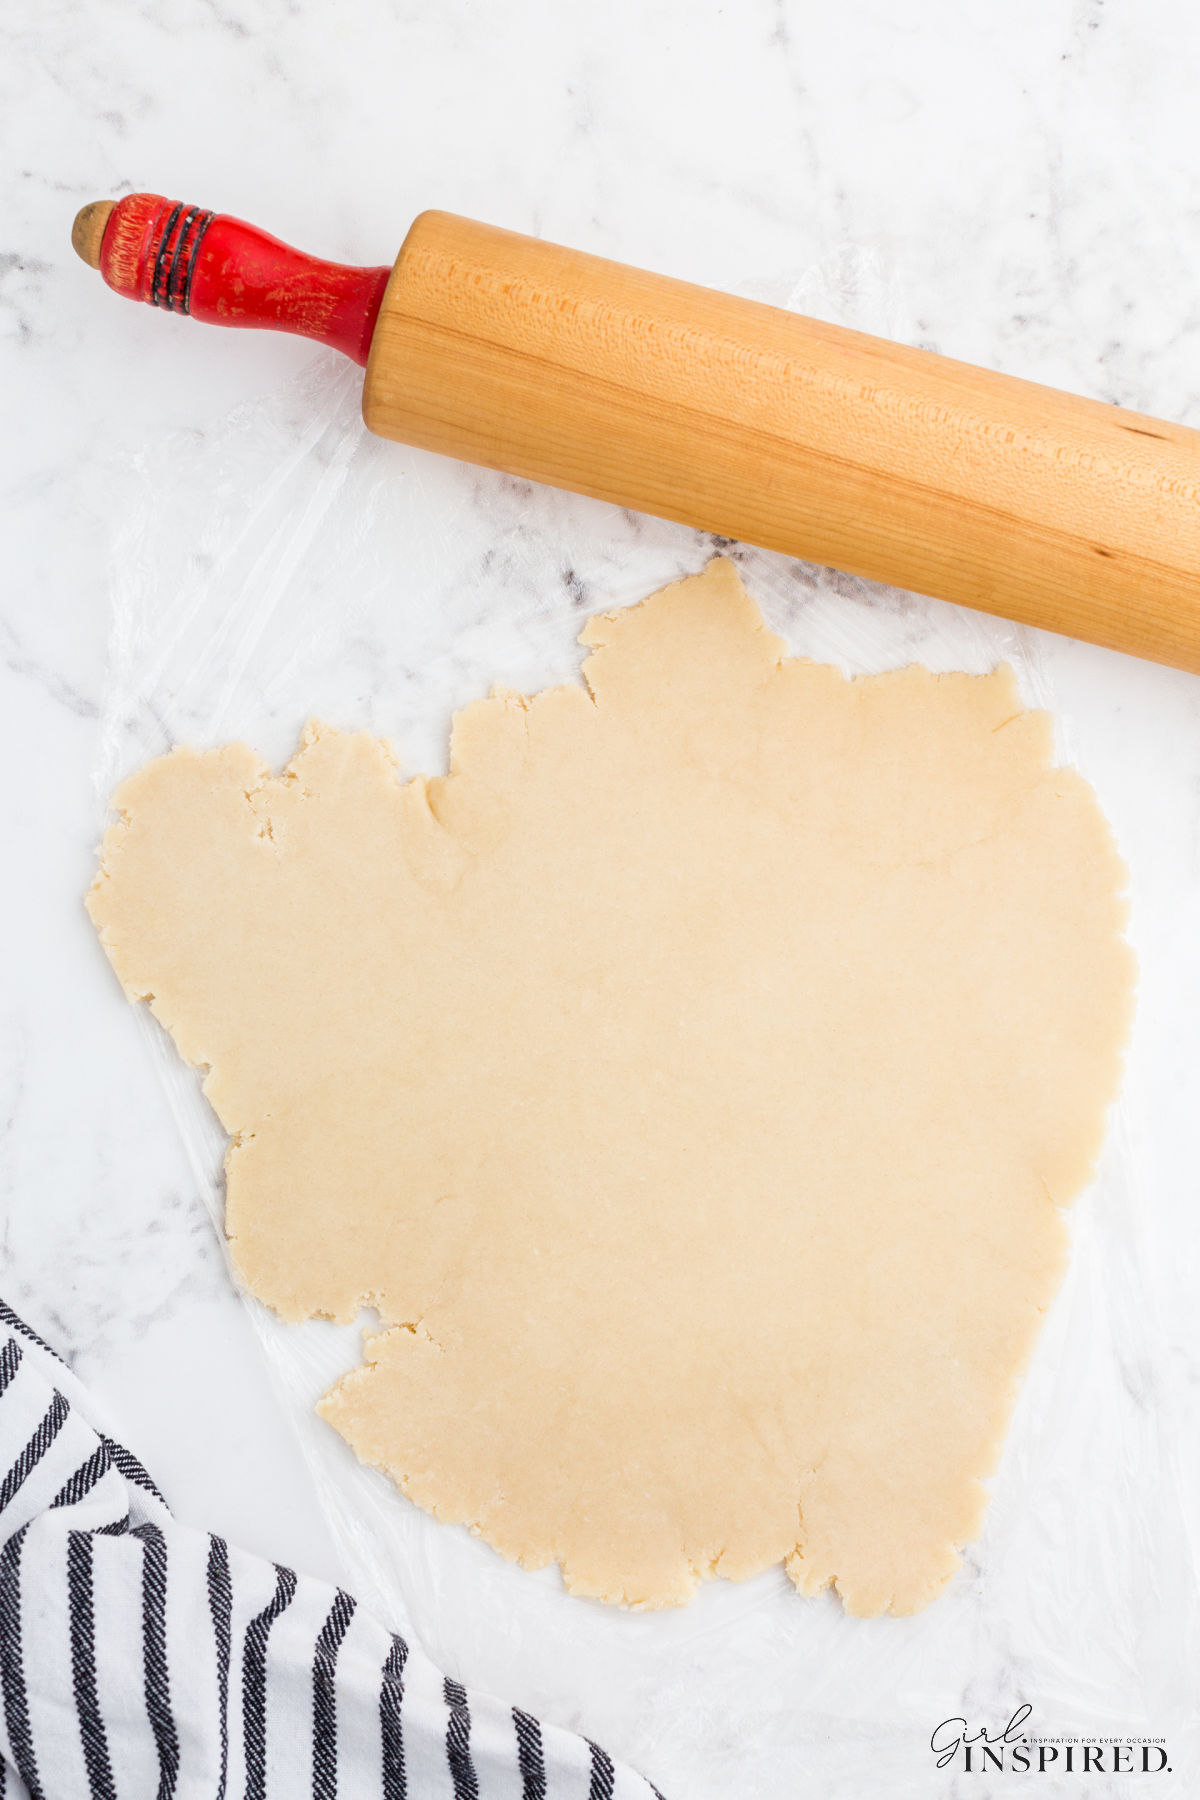
Step 6: Grab two sheets of parchment, wax paper, or plastic wrap. Place the dough in between the sheets and roll out the dough until about ¼″ – ½″ thick. The important part is that all cookies baked on the same sheet are the same thickness!

Step 7: Using your favorite cookie cutters, cut out as many shapes as your dough provides.
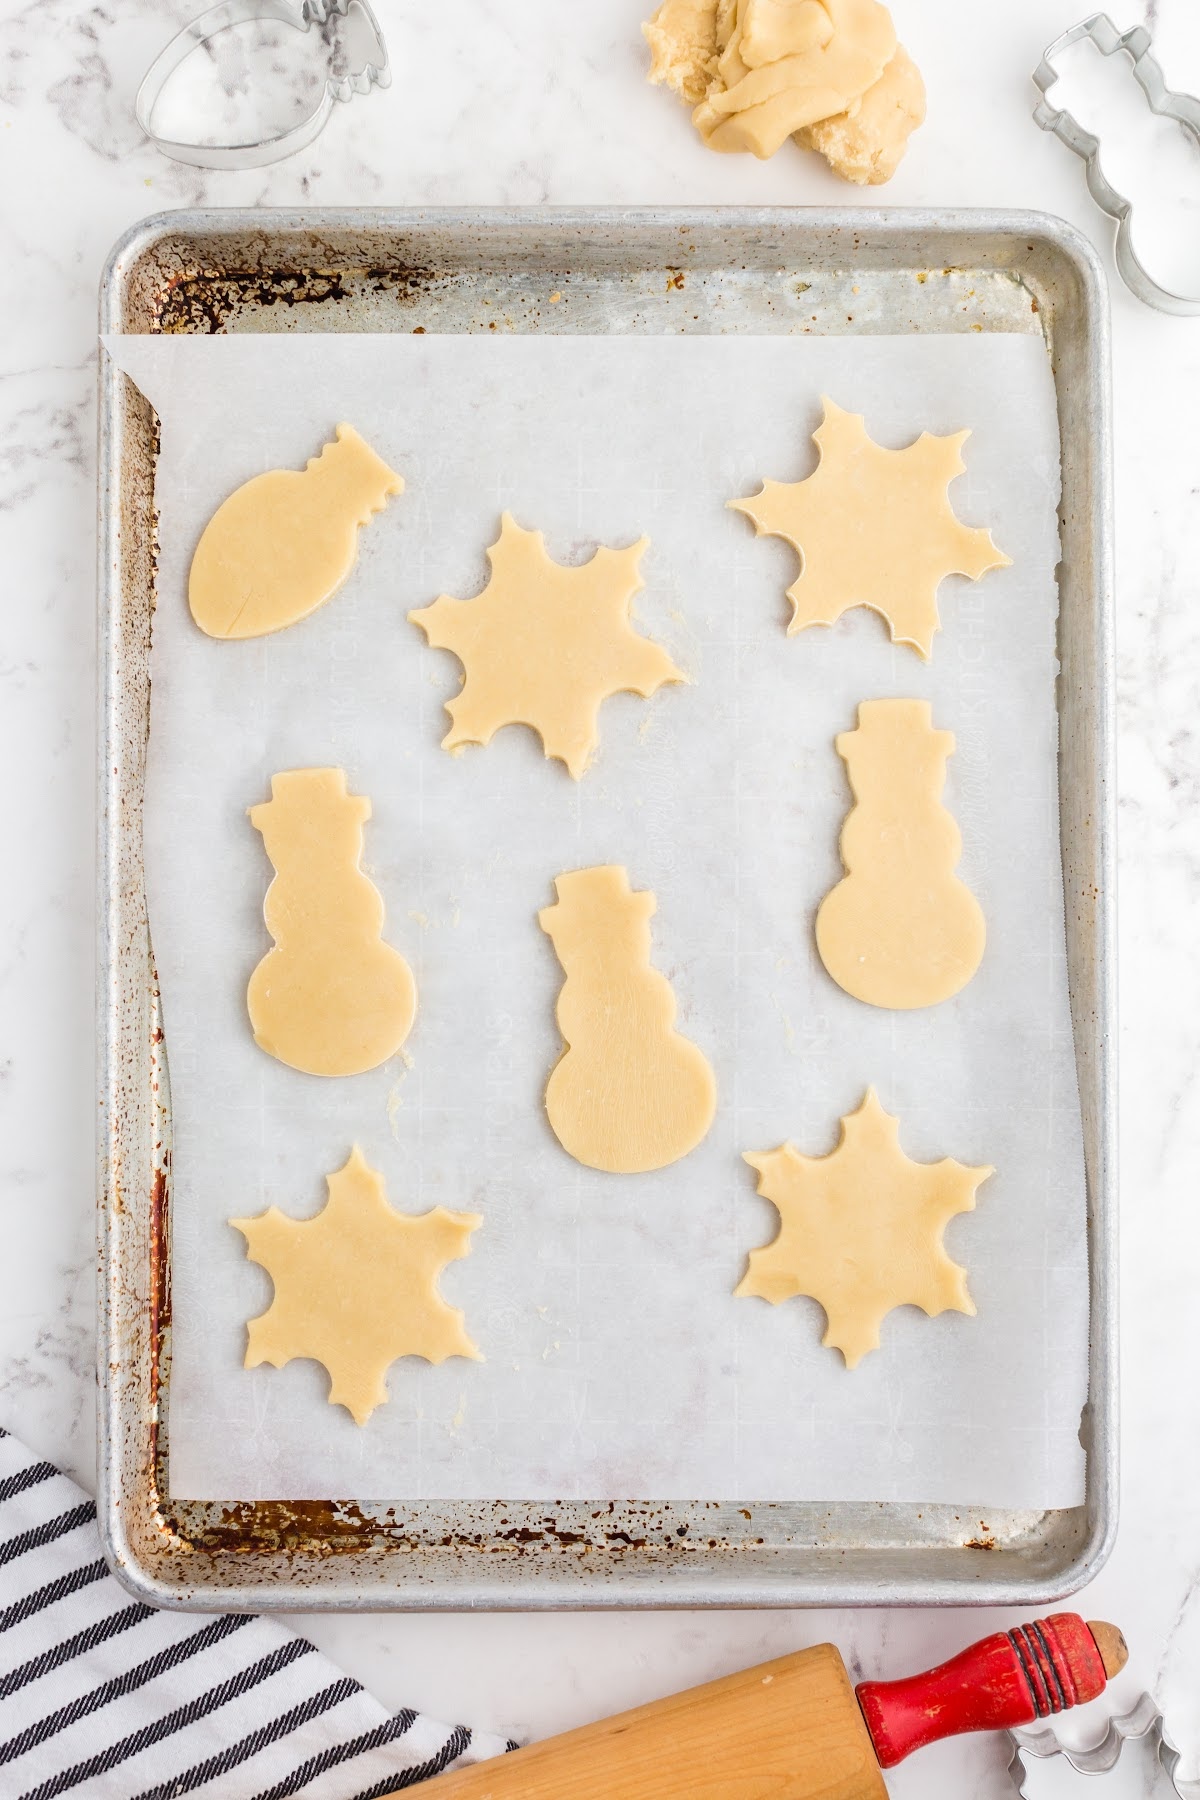
Step 8: Transfer cut out shapes to the prepared baking sheet. The cookies do not spread much, but you do want to give them an inch or so between cookies.
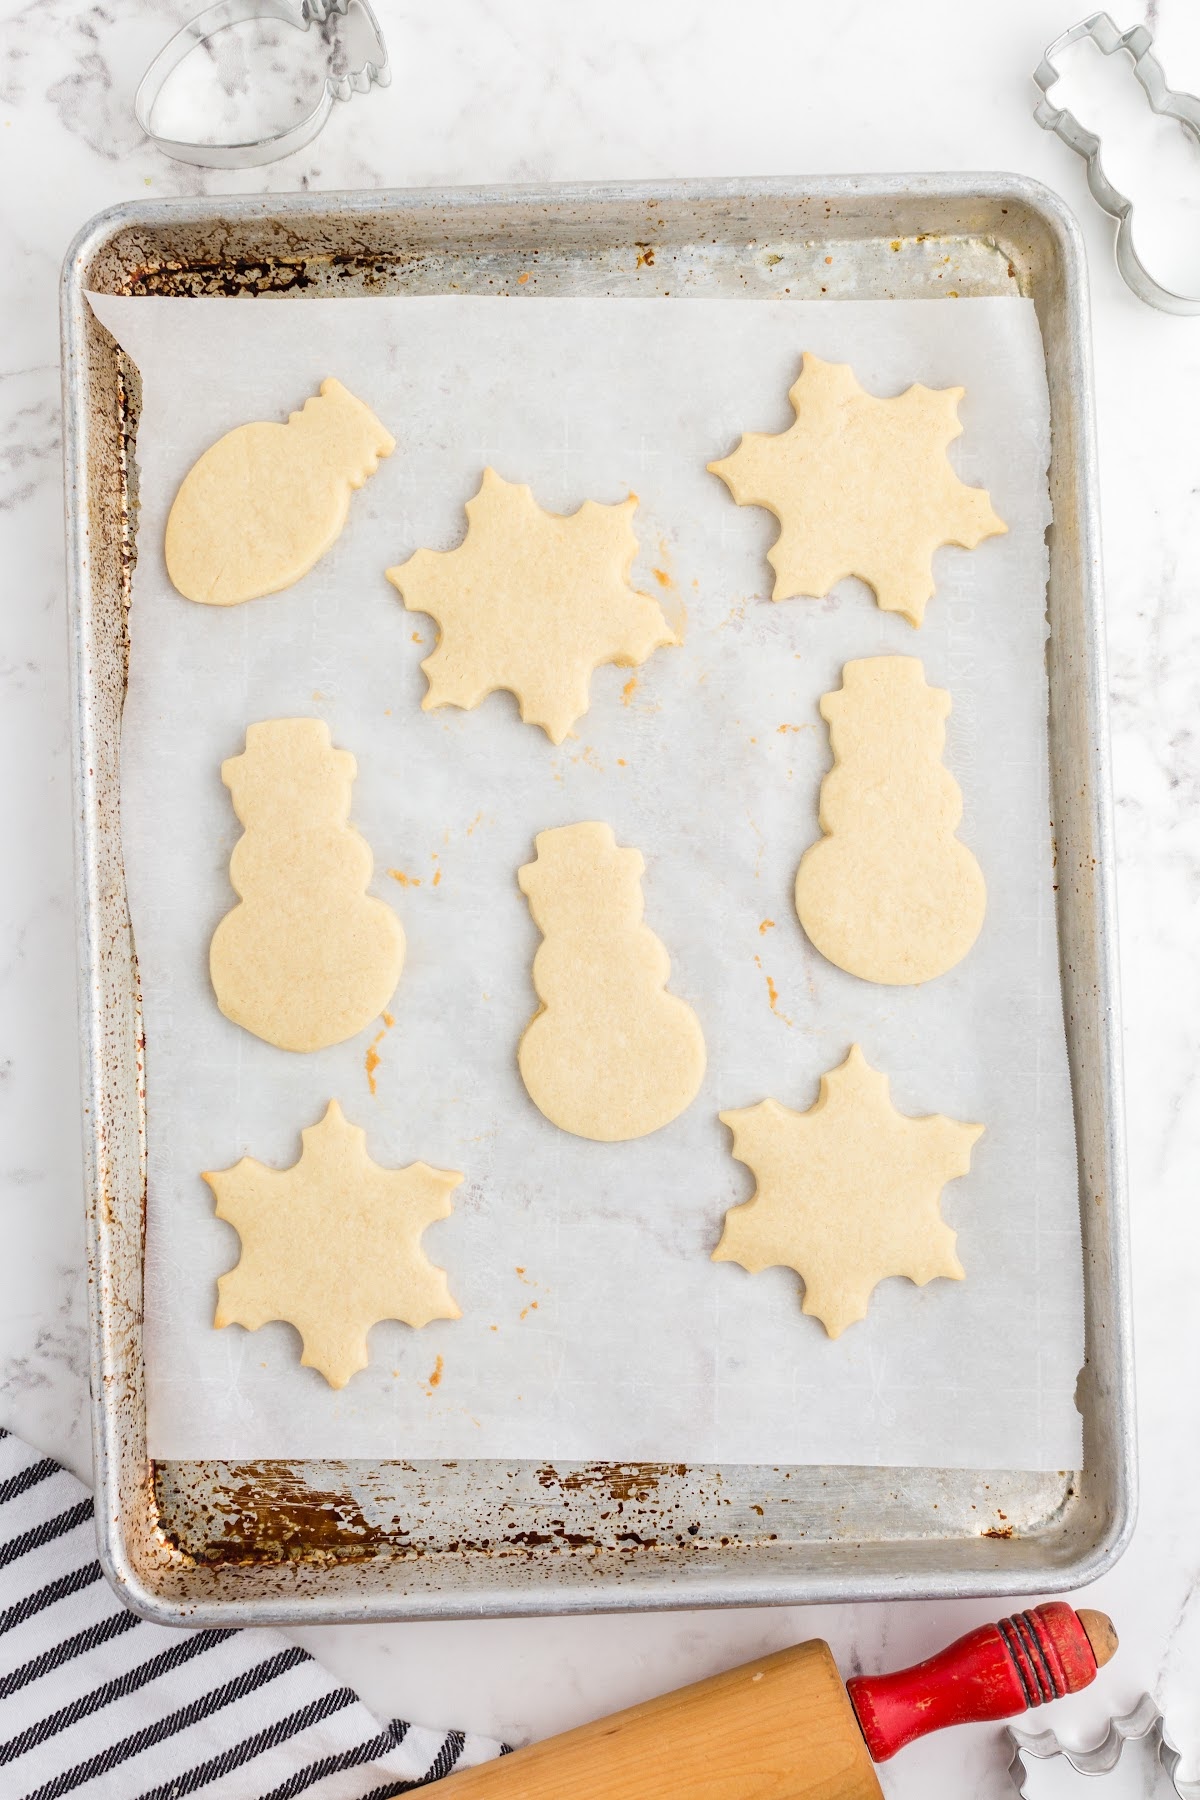
Step 9: Bake cookies until the bottom of the cookies are just slightly golden brown – so slight you can just barely see the browning, but it’s there. Watch your baking time, these don’t take very long so don’t stray too far once they are in the oven. 8 minutes is usually the perfect amount in MY oven, but your oven may be slightly different. They won’t be soft and chewy if you overcook them and you certainly don’t want them to burn!
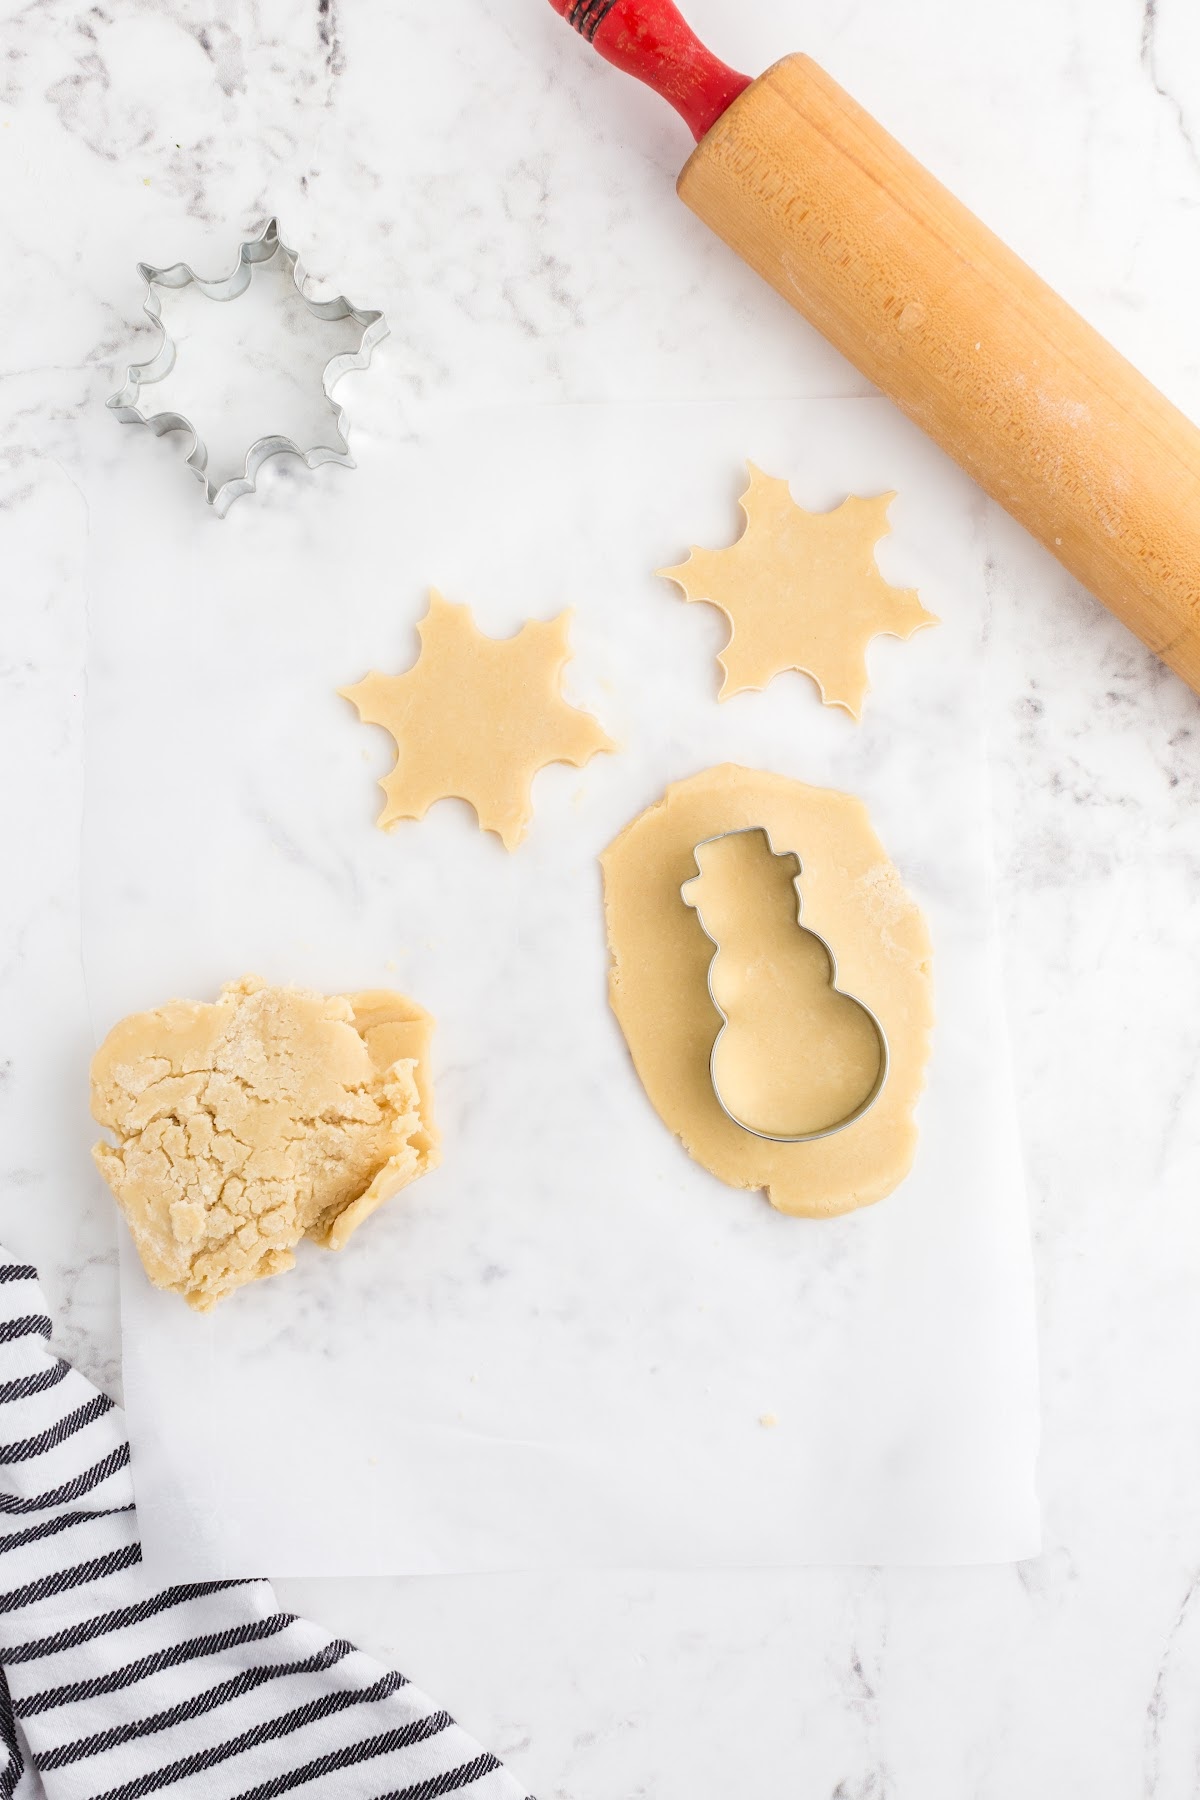
Step 10: Scoop up the remaining dough, form it into a ball, and re-roll it to get even more cookies. The more you work the dough, the warmer it will become. The shapes may be more difficult to transfer to the cookie sheets. The dough also becomes tough the more you sprinkle with flour and roll it around. I try not to re-roll the scraps more than once. Continue baking cookies.
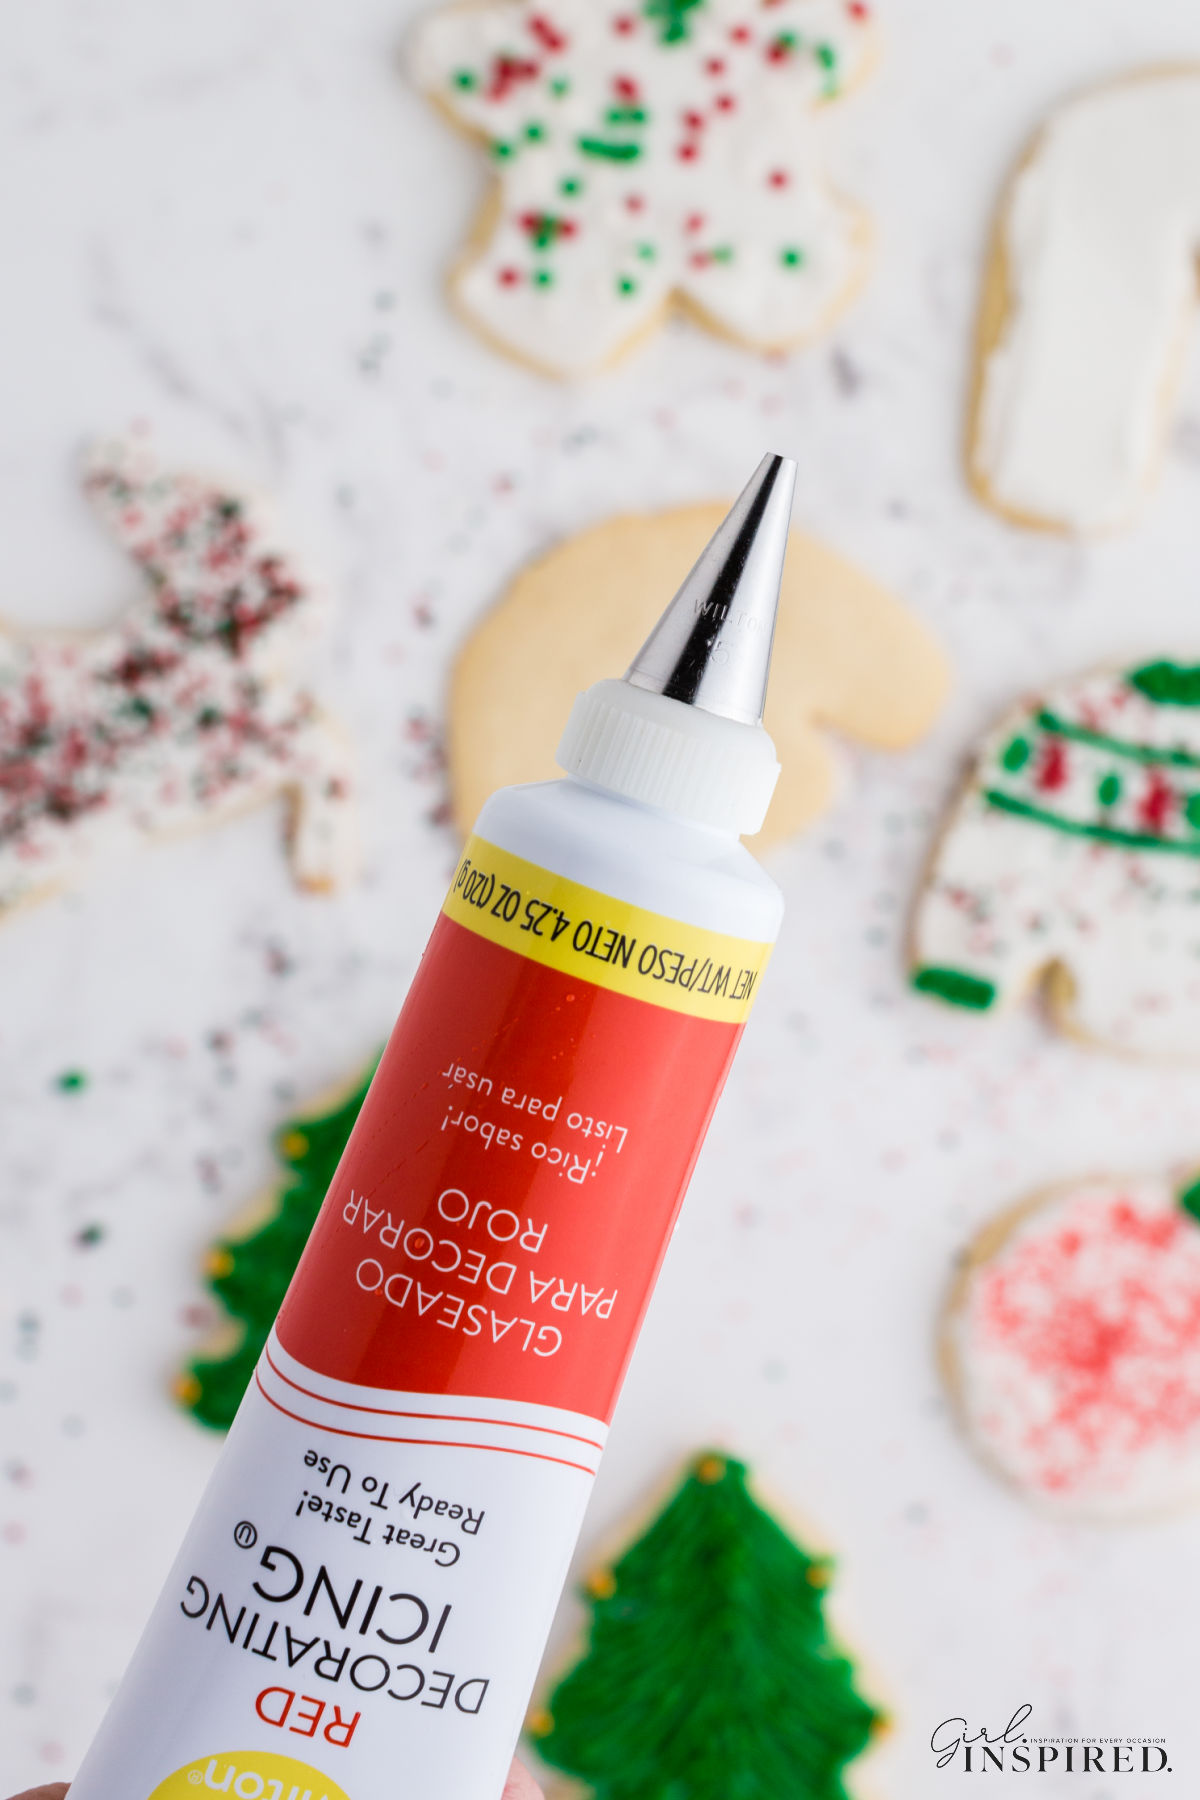
Step 11: Once completely cooled on a cooling rack, have so much fun decorating them. Make sure you grab one before they’re gone!
Icing cookies is a ton of fun and with a simple sugar cookie icing, it’s easier than you might think. I even found these tubes of pre-colored frosting and my simple cake decorating tips screw right onto the tubes! It does not get easier than that!

So, grab your ingredients, put on some Christmas tunes, and make the most of this holiday season! Oh and don’t forget to leave a couple of cookies out for Santa!
Recipe Tips for this Cut-Out Sugar Cookies No Chill Recipe
- This creaming process of fat and sugar is the foundation for many baked goods. It helps beat and hold the air into the mixture which gives way to a wonderful texture. You can’t beat cold butter so this is why it’s important to get everything to room temperature.
- The best part is there is no chill time needed so you’ll be able to whip up a batch of soft cut out sugar cookies in a pinch.
- I like to divide my dough into two sections. Then I can work on one section at a time for rolling out and cutting shapes. Plan your shapes to maximize the number of cuts on one sheet of dough, then re-roll the scraps. You’ll then have a second fresh chunk of dough to cut out the remaining cookies. Remember that over working the dough leads to tough and dry cookies. It also warms the dough unnecessarily, which can turn your detailed cut out shapes into blobs.
- If using very detailed cookie cutters or shapes with small and intricate corners, flour the cookie cutter well, make sure the dough is rolled on the thicker side ⅜″, and sprinkle the top of the dough lightly with flour. Be sure the dough is fairly cold.
- The dough freezes well, which comes in handy when you have unexpected company at your door, or when it’s 10 o’clock at night and your kid tells you they need a dozen cookies for school by the next morning.
- You will need a rolling pin – I’m always collecting vintage rolling pins because I just can’t resist a cute red handle. Any smooth rolling pin will do! Dust the rolling pin with flour to prevent it from sticking to your dough!
- COOKIE CUTTERS come in every shape and size imaginable! I had a lot of fun with my newest set of Christmas cookie cutters (ref) and they arrived on my porch in a day! Everyone loves a simple round cookie though and you can even just use the top of a glass or mason jar to cut out perfectly shaped round cookies!
Recipe FAQs
For a fun and festive idea, add some gel food coloring to your recipe for extra flare. Add it in to the butter/sugar mixture just before adding the flour.
I love checking kitchen stores and cute new shops when I travel. And, of course, I’m always on the hunt at antique stores for a fantastic vintage cookie cutter. BUT, you can find cookie cutters almost anywhere. In fact, I picked up this multi-pack of Christmas cookie cutters on Amazon. (referral link)
Yes, you definitely can make the dough in advance. Wrap tightly in plastic wrap or place in a freezer ziploc bag and refrigerate for 3-5 days or freeze for up to 3 months! The dough, even frozen, thaws enough to roll out in a matter of minutes!
Yes you can freeze your finished cookies! I love to make a big batch of cut out cookies early in December and then we can pull out whatever we need when the girls have friends over and want to do some cookie decorating or when it’s time to pick some special cookies for Santa! Just store in an airtight container in the freezer.
This recipe is excellent for cutting out shapes because it has no eggs and very little baking soda in the recipe. Therefore, the dough does not puff or spread much at all. Unlike some recipes that have no baking soda or baking powder, this one does puff just ever so slightly – this makes it my absolute favorite because the finished cookie has a nice soft, slightly chewy texture that you can sink your teeth into. Chill your cutouts right before baking for the least amount of puff, though it’s not necessary.
If you tried this Cut Out Sugar Cookie Recipe or any other recipe on my website, please please leave a 🌟 star rating and let me know how you liked it in the 📝 comments below.
Cut Out Sugar Cookie Recipe (No Chill!)
Ingredients
- 1 cup salted butter, softened
- 1 cup granulated sugar
- 1 large egg
- ¾ teaspoon almond extract
- 2 ¾ cups all-purpose flour
- ½ teaspoon salt
- ½ teaspoon baking soda
Instructions
- Cream together butter and sugar in the bowl of a standing mixer or with a hand mixer.
- Add in egg and almond extract and beat together well.
- Sift together flour, salt, and baking soda and add to butter mixture.
- Mix until combined and the dough comes together.
- Dough does not need to be chilled, but can be wrapped in plastic wrap and stored in the refrigerator (up to 3 days) or freezer (up to 3 months) until ready to bake.
- Preheat oven to 350°F.
- Roll out dough between two sheets of parchment, waxed paper, or plastic wrap to ¼"-½" thick.
- Use cookie cutters to cut shapes. Transfer to baking sheets lined with parchment paper.
- Bake for 8-10 minutes or until the bottom of the cookies are just barely showing a bit of browning.
- Remove from oven and let cool for 2-3 minutes before removing cookies from baking sheet and transferring to a cooling rack.
- Frost, if desired, when cookies have cooled completely.
Would you like to save this?
Notes
Nutrition
Make this recipe?
Share it with me on Instagram @girlinspired1 and follow on Pinterest for more!


Comments & Reviews
Chris says
Made these today with my son. They were awesome. The dough was easy to work with. Crispy/chewy and so buttery! I did not use the almond extract, used vanilla instead, I was worried my kids wouldn’t like the almond extract. I put the pans in the frig for 5 minutes before I baked them and they did not spread or puff too much. They held their shapes perfectly and looked great. Well, as great as they can look with an imperfect baker and 12 year old boy decorating them. This is definitely my new go to cut out sugar cookie recipe. Thanks for a great recipe.
girlinspired says
Thank you so much, Chris! This is the recipe I always made at Christmastime with my mom. So happy to hear you’re making memories with your son. Happy Holidays!