
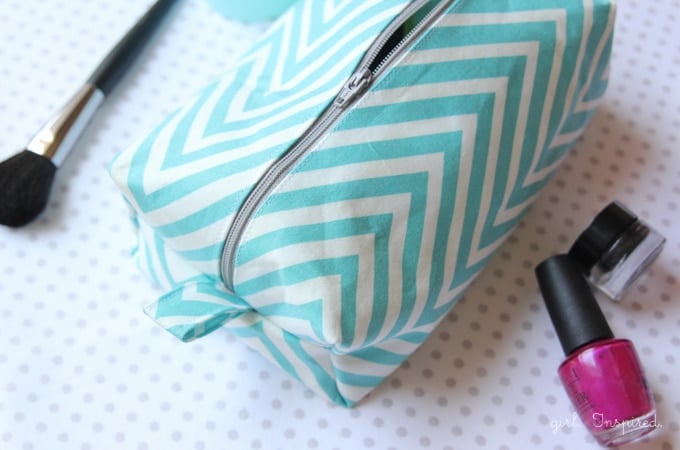
Let’s start with the super simple cosmetic bag tutorial! You will need:
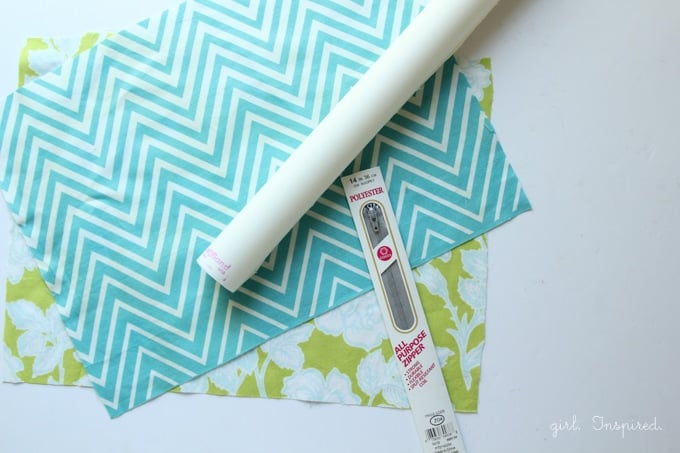
- main fabric – 12″ x 16″
- lining fabric – 12″ x 15.5″
- two-sided, sewable fusible web such as Heat ‘n’ Bond Lite – 12″ x 16″
- 14″ zipper
- small piece of remnant fabric – 7″ x 3″
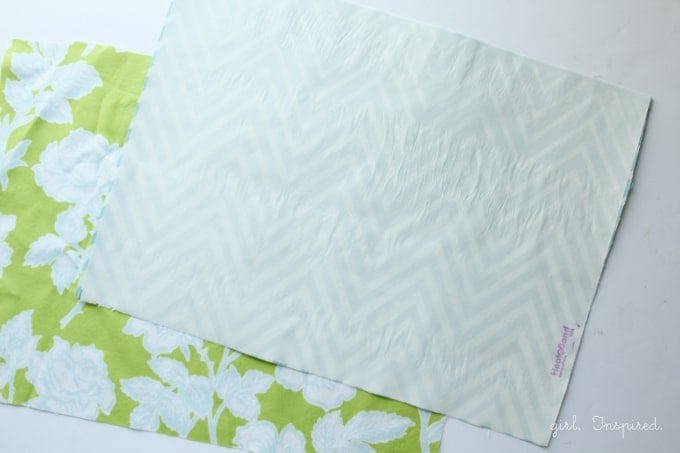
Step 1: After cutting your fabric pieces to size, follow the package instructions to fuse one side of the fusible web to the wrong side of your main fabric piece. Peel off paper backing.
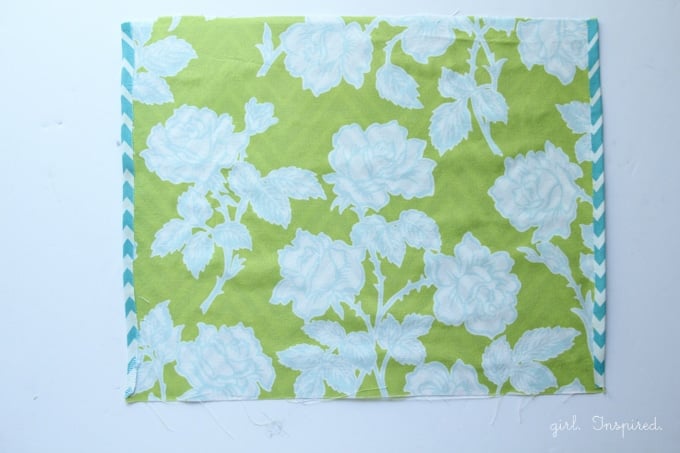
Step 2: Place lining fabric, wrong side down, onto the fusible web/backside of main fabric. Center the lining fabric – you should have about ¼″ excess of the main fabric on each side. Fold the excess main fabric/webbing over the side of the lining fabric and iron (following package instructions) to fuse the two pieces of fabric together. Be sure no excess fusible web comes into contact with your iron. Fuse the two brics across their entire width.
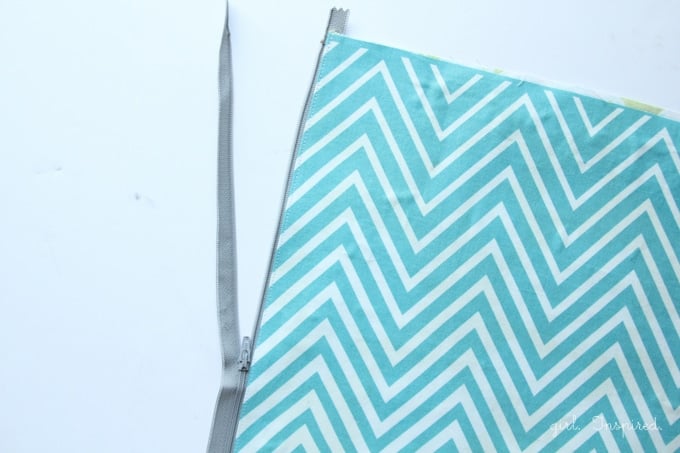
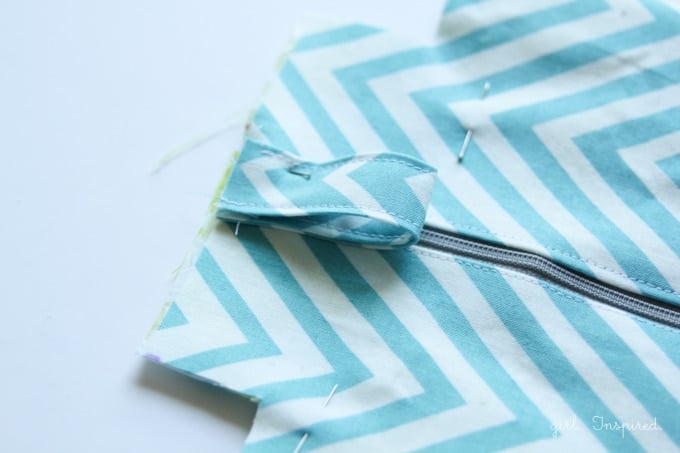
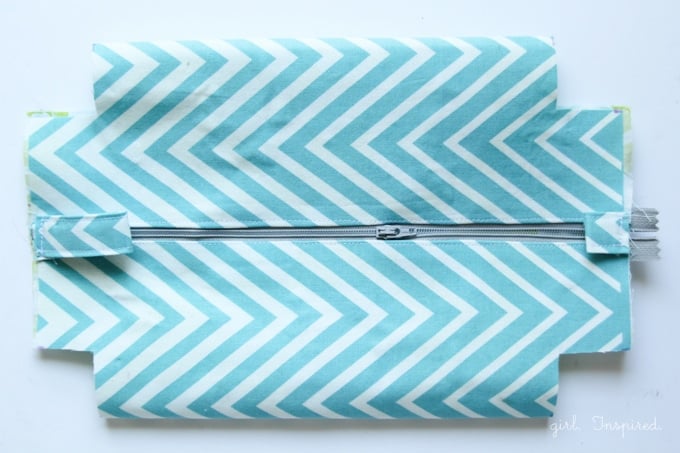
Step 3: Open the zipper. Place the zipper stop approximately ½″ from the top edge of your fused rectangle. The folded edge should lie close to the zipper teeth. Pin in place if desired (I just held it and sewed). With a zipper foot on your sewing machine, sew the fabric piece to the first side of the zipper as shown above.
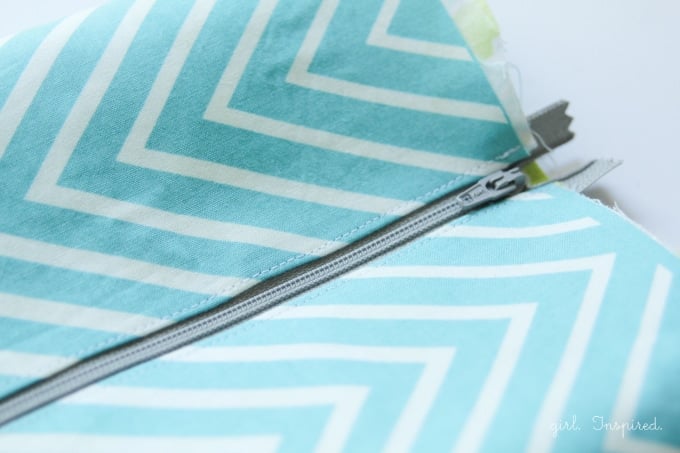
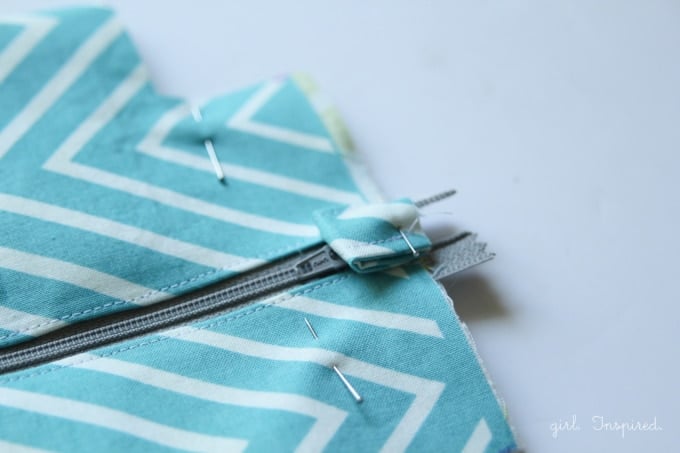
Step 3: Wrap the fabric piece around to form a tube and sew the other folded edge to attach it to the other side of the zipper. You will likely need to have the zipper open to maneuver the project in your sewing machine. Be sure that the top edge of the both sides align so that the zipper is straight.
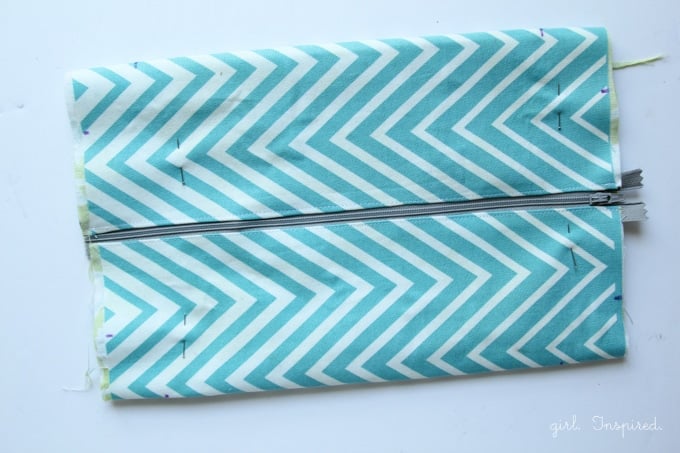
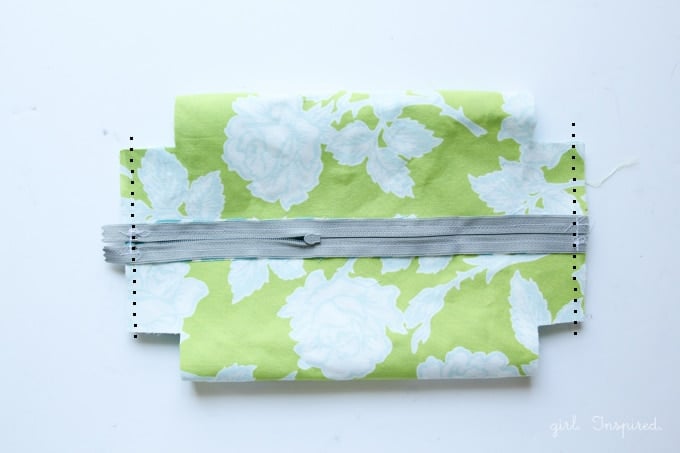
Step 4: Lay your project flat in front of you as shown above. Measure to center the zipper exactly. Pin the project together to hold the zipper centered in place. Measure 1.5″ along each side from the corresponding corner and make a mark.
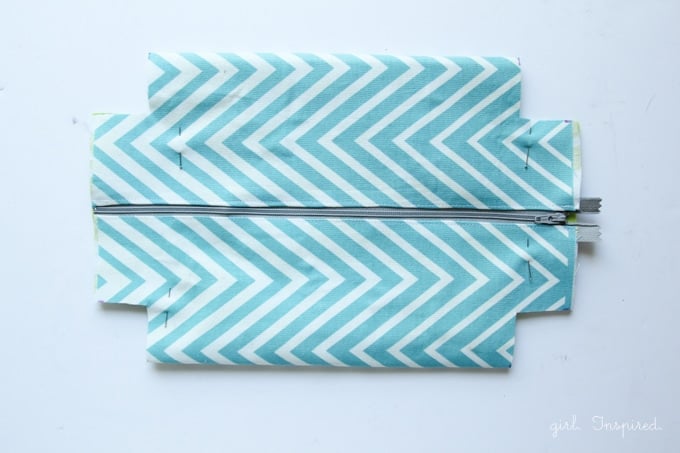
Step 5: Using your marks as a guide, cut through both layers of fabric to remove a 1.5″ square from each corner. Set aside for a moment.
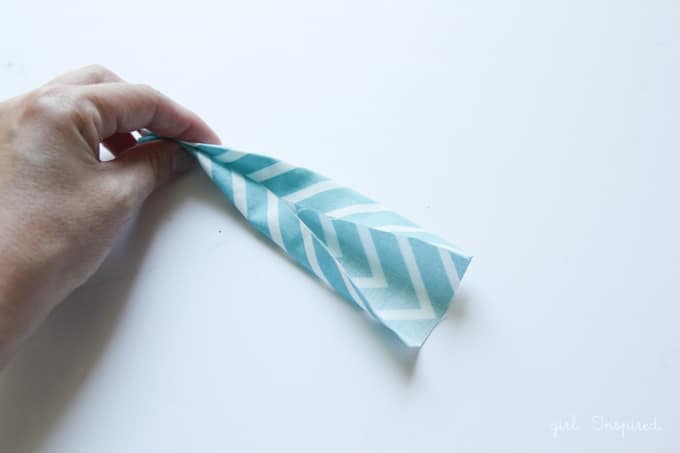
Step 6: With your 7″ x 3″ fabric remnant, fold and press it in half along its length. Press each side in to the center crease and refold to form a strip with no raw edges along its length.
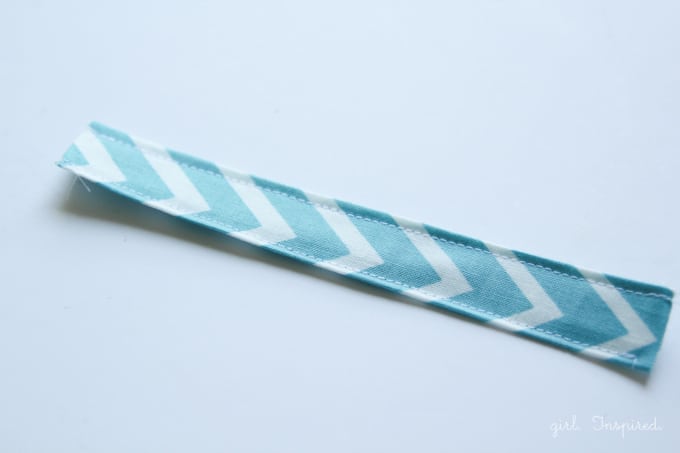
Step 7: Edgestitch down each side as shown.
Step 8: Cut the strip into two pieces – one measuring 2.5″, the other measuring 4.5″ in length. Fold the longer strip into a loop and pin it to the top layer of your cosmetic bag, centered over the zipper, and at the end opposite the zipper pull (when closed). Baste in place using a ⅛″ seam allowance. Be sure you sew the loop only onto the top layer with the zipper.
Step 9: Pin the smaller strip in a loop centered over the zipper pull as shown. (Your loop will be slightly larger than the one shown.) Baste in place using a ⅛″ seam allowance. Be sure you sew the loop only onto the top layer with the zipper.
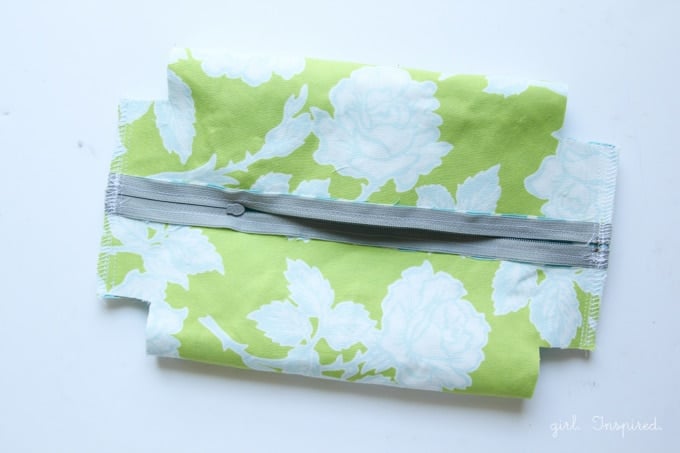
Step 10: Almost done…here’s your bag with the tabs basted in place. Now, turn your bag inside out and trip any excess fabric or zipper.
Step 11: Recenter the zipper. Sew using a ⅜″ seam allowance through both layers of the bag along each of the open ends.
You can serge to finish the raw edges neatly as they will be visible on the inside of the bag.
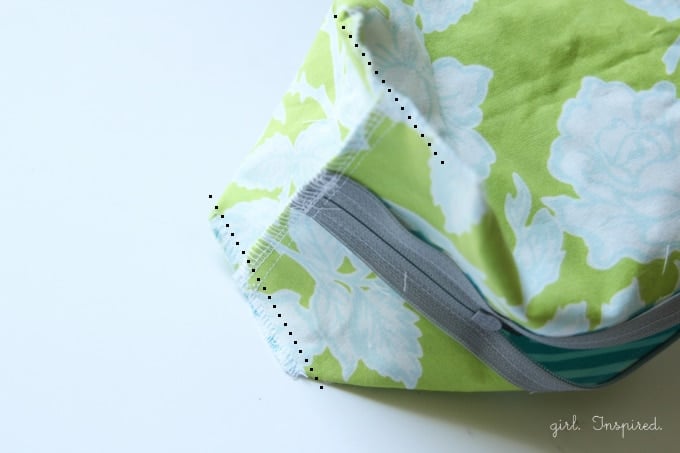
Step 12: Lastly, open up each cut square around the corners and match the raw edges to form a straight line (they will actually be a tiny bit off because of the seam from the previous step, but it works just fine). Sew to form the boxed of corners. Serge these seams if you wish.
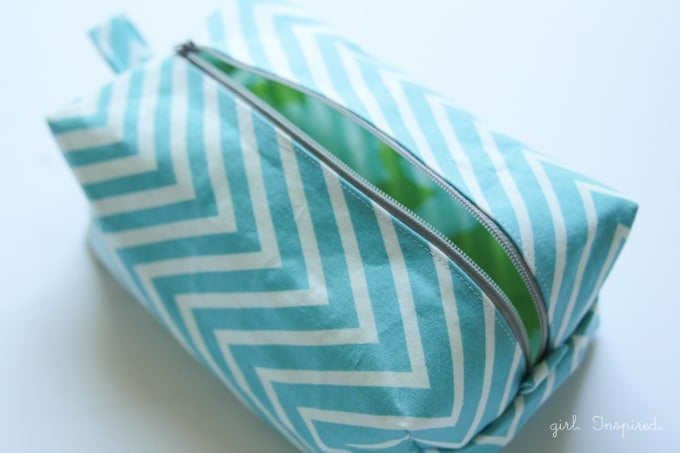
Turn the bag right side out through the open zipper and get ready to fill it up!!


Comments & Reviews
anonymous says
AWESOME! I’m 12 and made this for my mum’s 50th and it was a super easy diy which she’ll love! Thanks so much for the simple steps! 10/10!