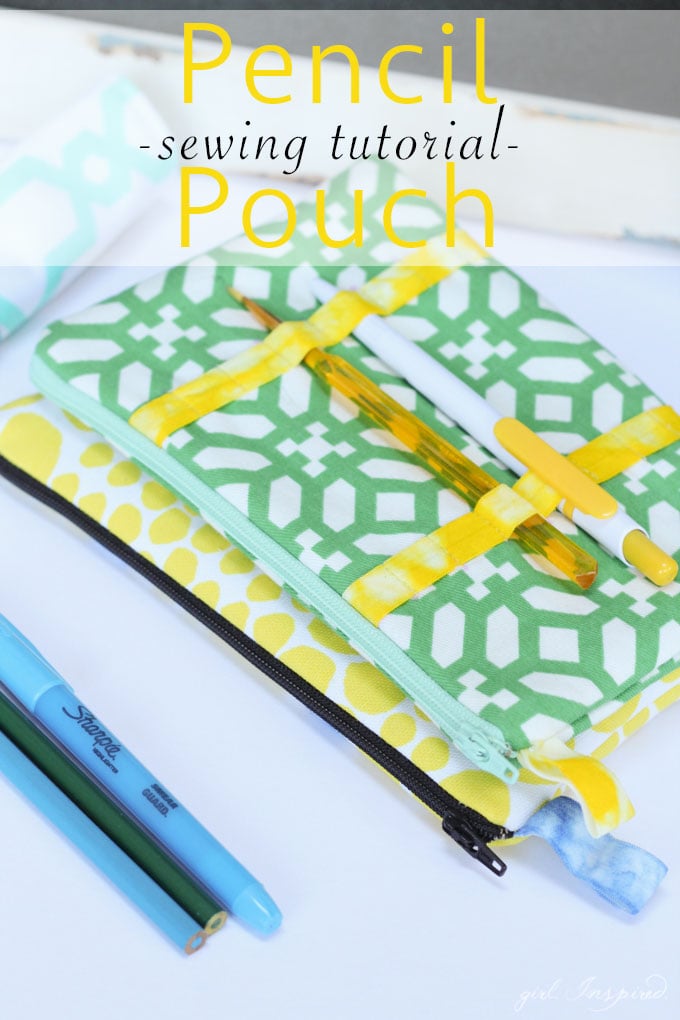
Looking for a great little gift to sew up? Pencil pouches are such a universal gift – EVERYONE has stuff to stash and personalization is easy with so many wonderful fabrics out there! You’ve probably sewn these before – and know that you can sew them together quickly once you’ve mastered the basics. This makes pencil pouches an ideal gift for lots of people on your Christmas list!
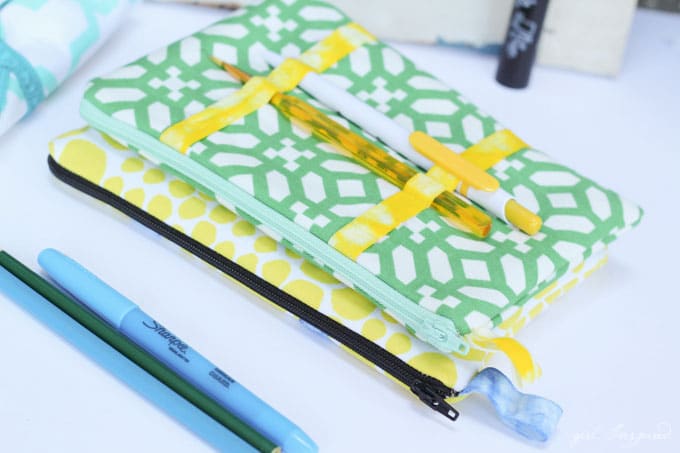 I like trying variations on my standard zippered clutch sewing tutorial like today’s cute pouch with elastic slots on the outside for easy access to your favorite pen! It’s such a fun way to add some visual interest and a little pop of color, along with being totally useful! Let’s get started!
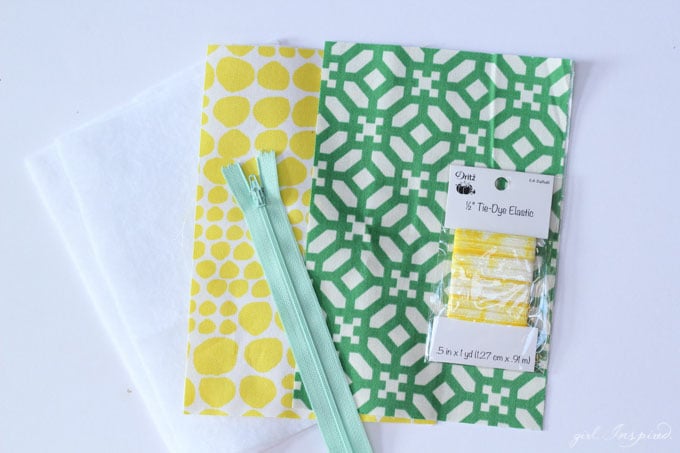 SUPPLIES:
¼ yard of upholstery fabric for main
¼ yard of upholstery fabric for lining
¼ yard of Pellon 987F or Fusible Fleece interfacing
9″ or longer all-purpose zipper
1 package ( 20 inches needed) ½″ wide elastic (choose a fun decorative elastic!)
disappearing ink fabric marker
zipper foot
All supplies shown were purchased at Jo-Ann Fabric & Craft Stores.
Step 1: Cut two rectangles, measuring 9″ wide by 6″ tall, from your main fabric, your lining fabric, and the fusible fleece interfacing. You will have six rectangles in total.
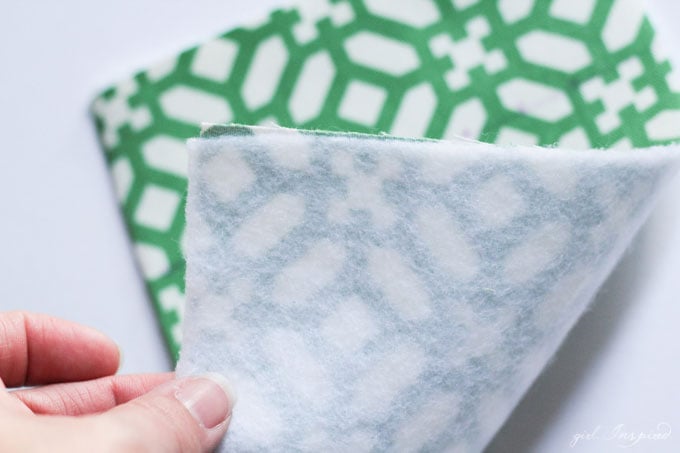
Step 2: Follow the package instructions to fuse the fusible fleece interfacing to the wrong side of each main fabric piece.
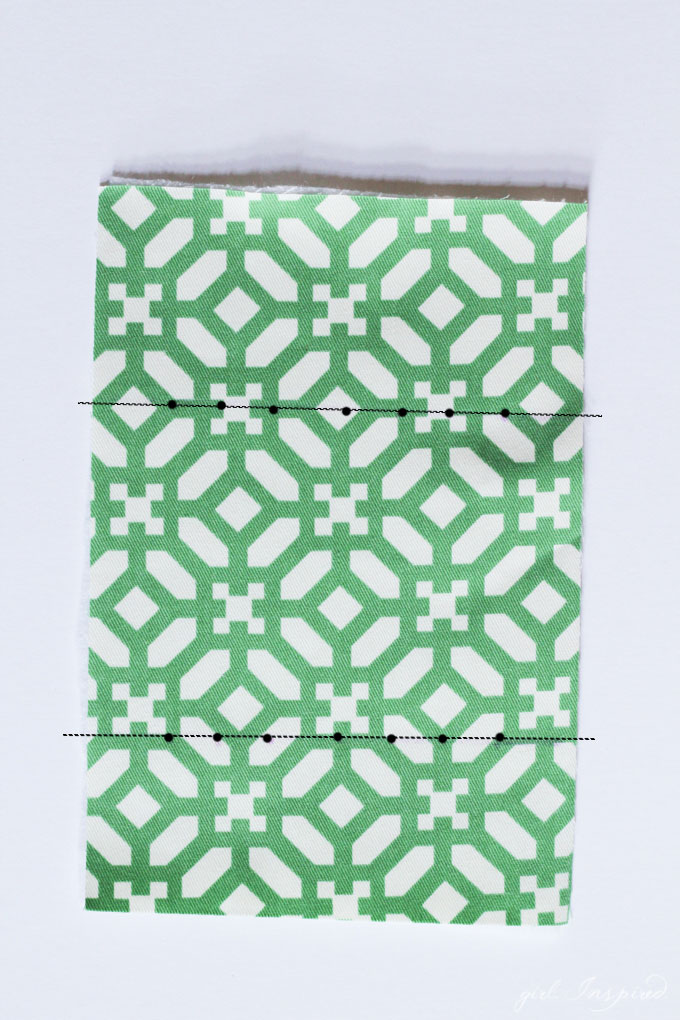
Step 3: Next we will mark the exterior pouch piece for adding the elasticized sections. Position one main piece running vertically as shown in the picture above. Using a disappearing ink fabric marker, make a horizontal line 2 ½″ down from the top and another horizontal line 2 ½″ up from the bottom. Now, beginning at least 1″ in from each side, make 5-7 dots spaced ⅝″ apart on the top and bottom line. Be sure that the dots on the top line up vertically with the dots on the bottom.
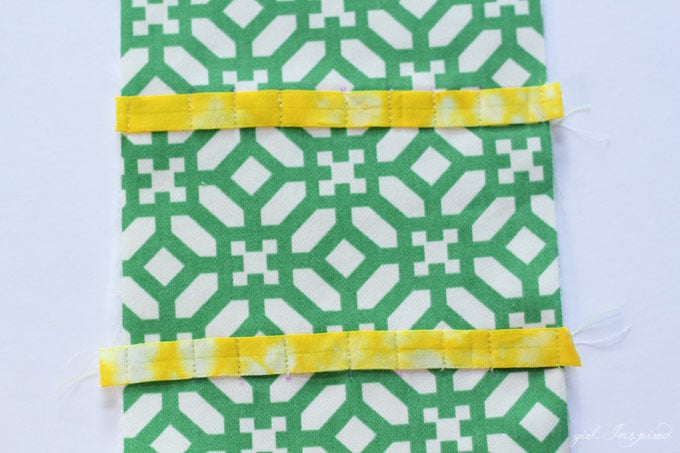
Step 4: Cut two pieces 7″ long of the elastic. Align each piece with one of the horizontal marked lines, placing each to the inside (toward the center) of the marked lines. Baste the elastic close to the edge of the panel. Keeping the elastic straight with the marked line, stitch short, vertical lines at each mark to form the sections in which the pens/pencils will slip. Be sure to backstitch (or stitch up and back on the same line a couple times) to make sure the threads won’t pull loose during use. These short stitches should be about ½″ long or enough to completely extend across the strip of elastic.
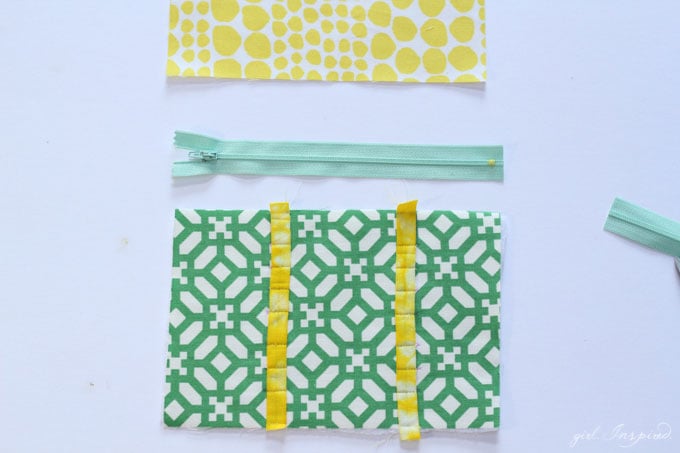
Step 5: Time to assemble the pouch! Lay out one main piece of the bag with right side up. Set the zipper, right side up, on the table above the main piece. Measure the zipper to ensure that the metal stops at the top of the zipper align ½″ in from the top side edge of the main piece. The zipper should end (with the metal or sewn stop) ½″ from the other top side edge. Adjust your zipper length as needed by following the instructions on the zipper packaging.
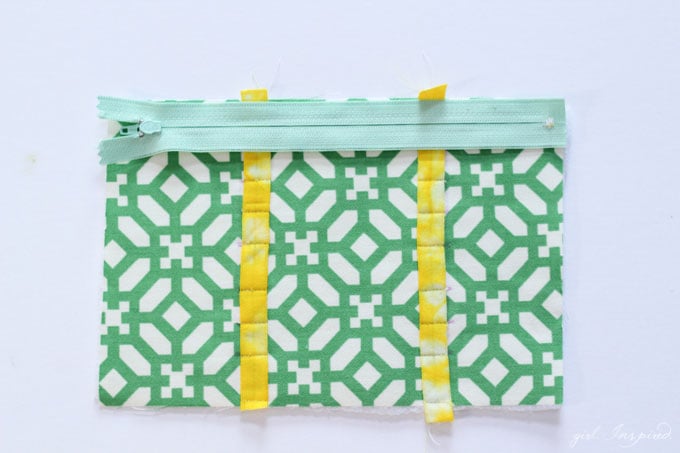
Step 6: Flip the zipper down onto the main pouch piece as shown. The top side of the zipper should be facing the right side of the bag.
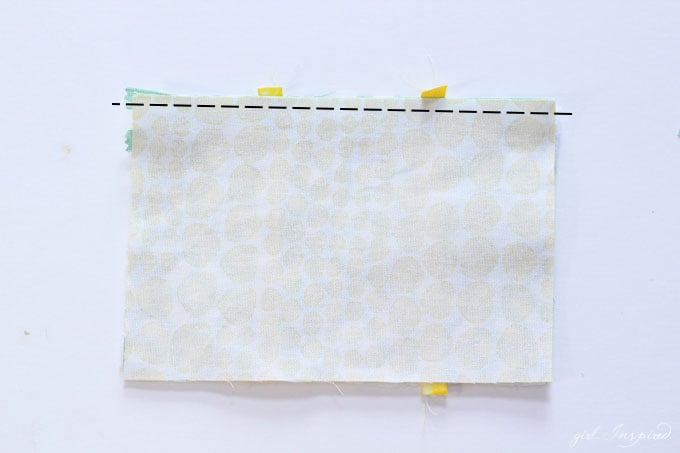
Step 7: Place one lining piece right side down over the zipper, aligning the raw edges of the pouch pieces with the zipper edge aligned and sandwiched between. Stitch close to the zipper without stitching through the zipper teeth.
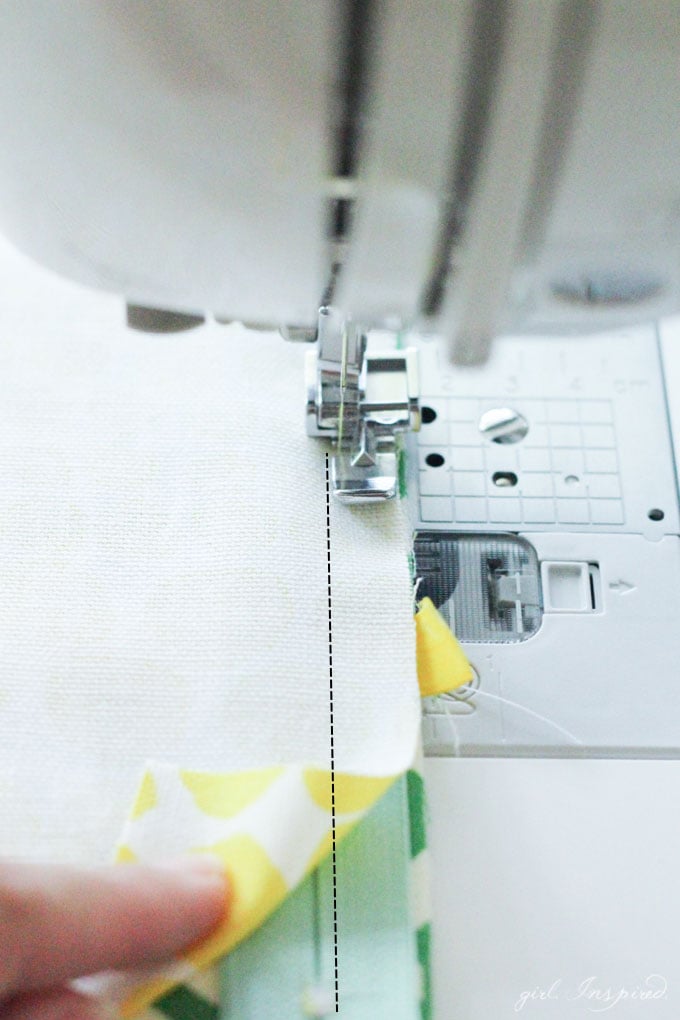
A zipper foot on your sewing machine will be helpful for this.
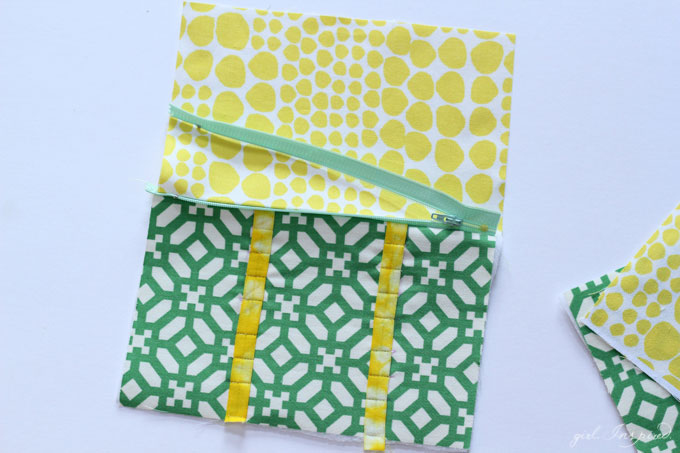
Step 8: In order to sew an even distance from the zipper teeth down the length of the bag, you will need to adjust the zipper pull part way through sewing. Stitch about ½ way down the bag top starting at the end opposite the zipper pull. Backstitch and remove the pouch from the machine (or simply maneuver while still in the machine); move the zipper pull to the opposite end and continue sewing along the same line. When you’ve finished, open up your seam and your project should look like the picture above.
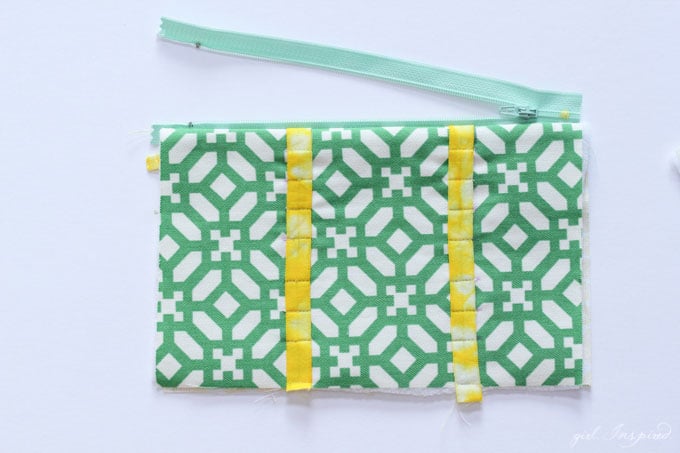
Step 9: Fold the main and lining pieces so that their wrong sides are facing each other and press the material away from the zipper.
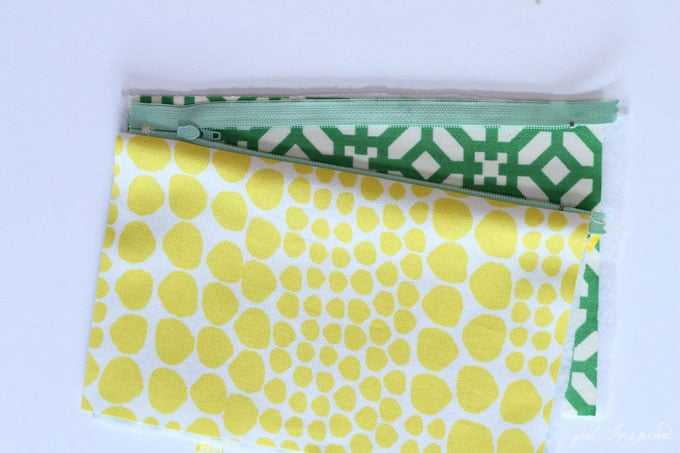
Step 10: Time for the other half – Place the other exterior piece right side up in front of you. Flip the other side of the zipper right side down aligning the outer edge of the zipper with the top raw edge of the exterior piece, as shown.
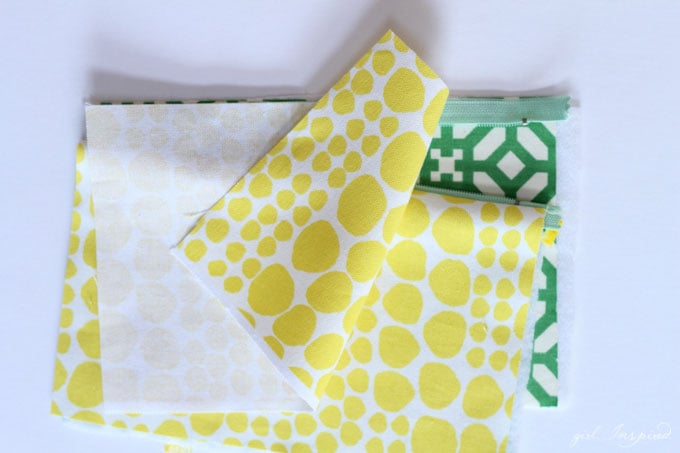
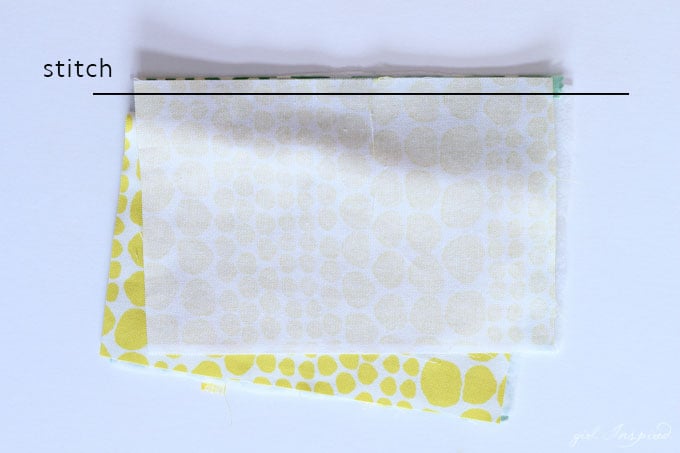
Step 11: Place the other lining piece over the exterior piece, sandwiching the remaining zipper half between. Stitch the same way that you did for the first half of the pouch.
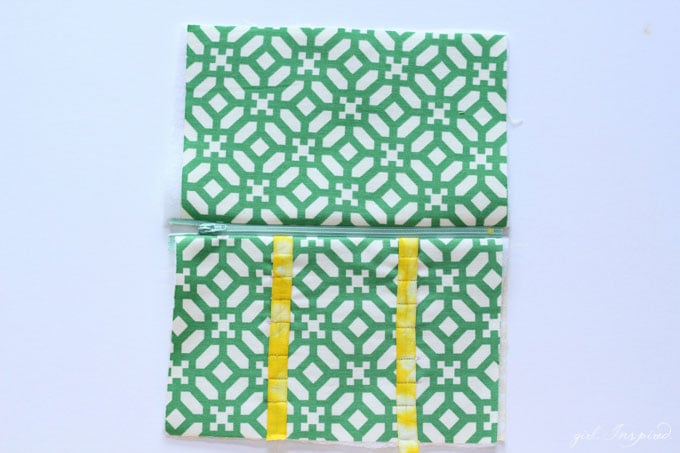
Step 12: Press well. Your will now have two sides of the pouch as pictured.
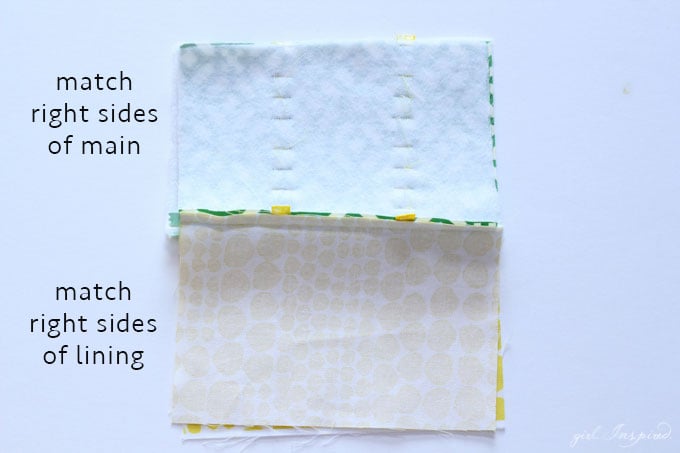
Step 13: Pick up the two exterior/main pieces and separate them from the lining pieces. Match the exterior pieces right sides together and the lining pieces right sides together with the zipper in the center.
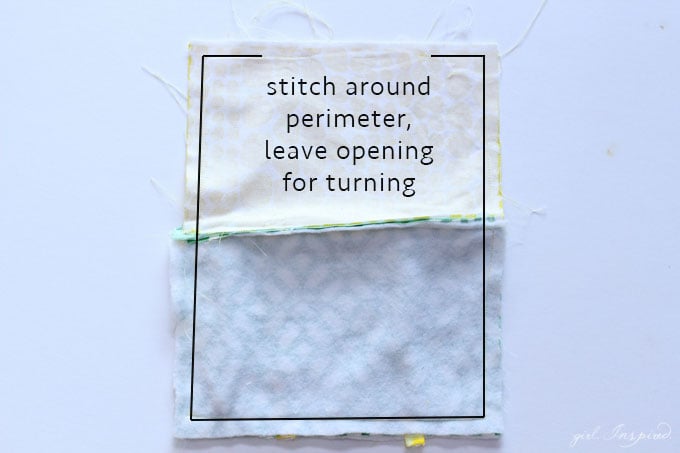
Step 14: Stitch around the perimeter of the bag as shown, using a ½″ seam allowance. Leave a 4″ opening in the edge of the lining for turning. Fold your seam allowances around the zippers in the same direction. If you’d like to include a small elastic loop in the side seam just below the zipper pull, you can do this now before stitching. Cut a 4″ piece of elastic and join the raw ends to make a loop – place the loop just below the zipper in the side seam of the exterior pieces with the looped end facing inward and the raw ends aligned with the raw edge of the fabric. (not pictured)
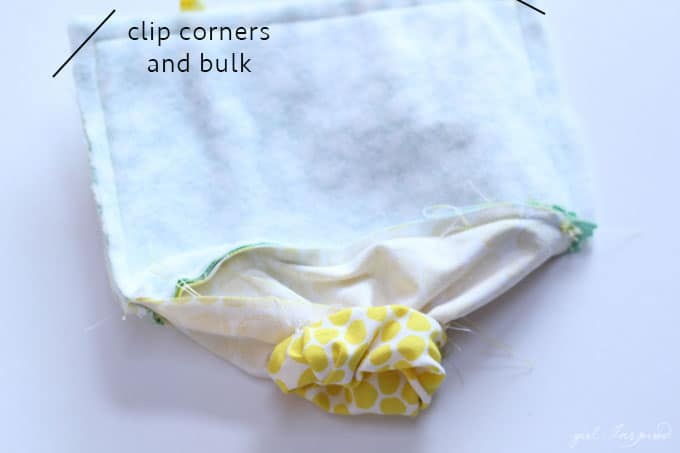
Step 15: Clip all four corners close to the stitching without cutting through the stitches. Trim out any bulk in the seam allowance from the fusible fleece that you can. Turn the bag right side out through the opening left in the lining.
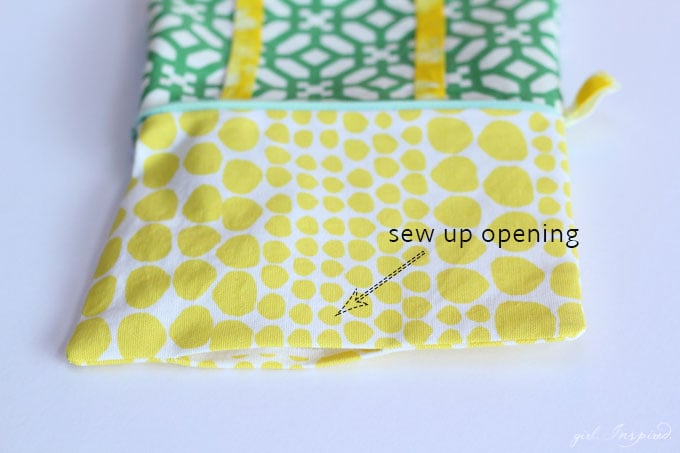
Step 16: Slip stitch the lining opening closed or use your machine to sew close to the edge. If you use your machine, the stitches will be visible on the inside of the pouch, but no one is likely to ever notice!
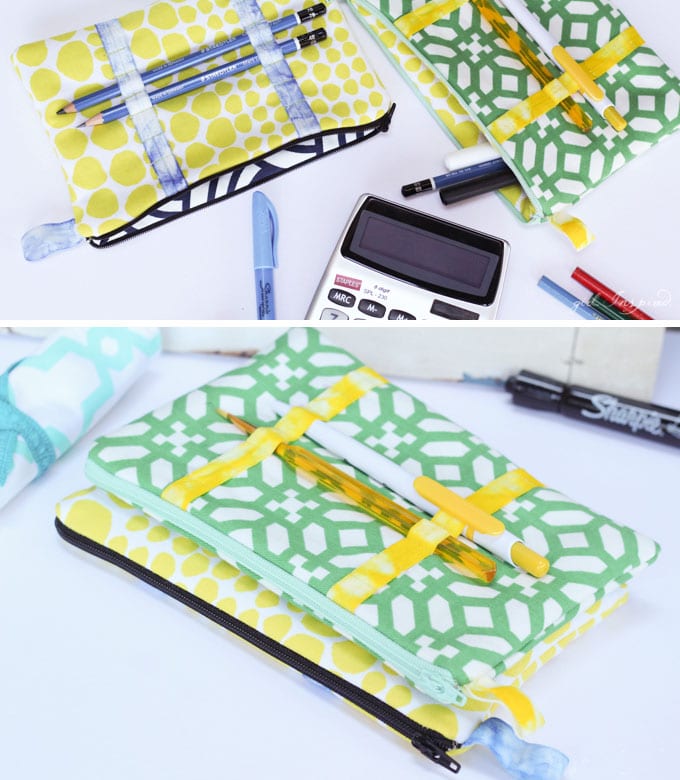
Tuck the lining to the inside of the pouch and give it a final press. You are done!! Wasn’t that fun? Now you can make one for everyone!


Comments & Reviews
Vontina says
I love the tutorial; I am leaving my comment for the contest.
Lise says
Oh love this pouch and holds your pens/pencils… love the tutorial will make this
Anne says
A pouch with a spot to clip your pen on the outside! Love it! I’ve got a Craft Gossip post scheduled for tomorrow that features your tutorial: http://sewing.craftgossip.com/?p=85615 –Anne
girlinspired says
Thanks so much, Anne! I guess I’m super lazy if I don’t even want to rummage around inside the pouch to find the pen!