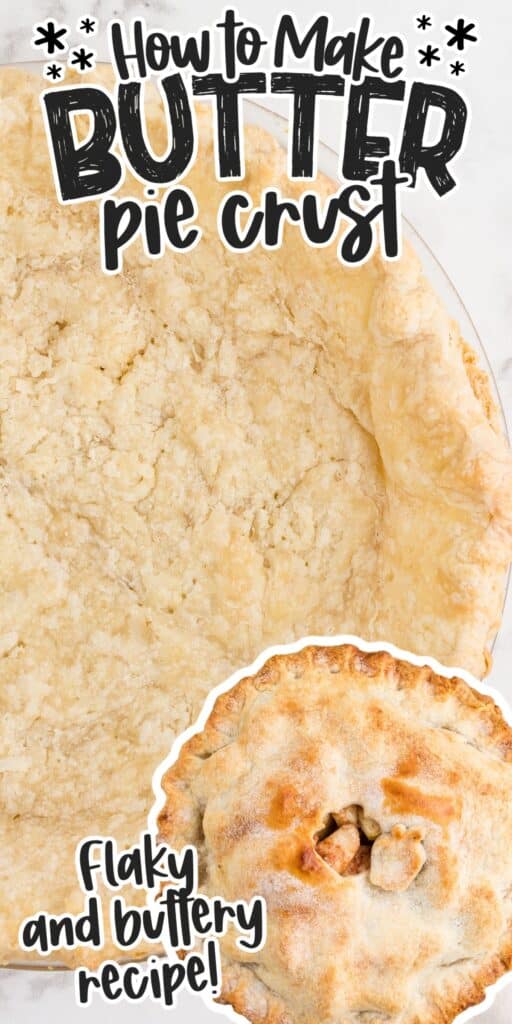
A homemade butter pie crust is an absolute recipe staple and this crust requires just the basic ingredients and a quick whirl in the food processor for buttery, flakey perfect pie crust every time. Why buy store-bought pie crust when you can easily make your own homemade pie crust?!
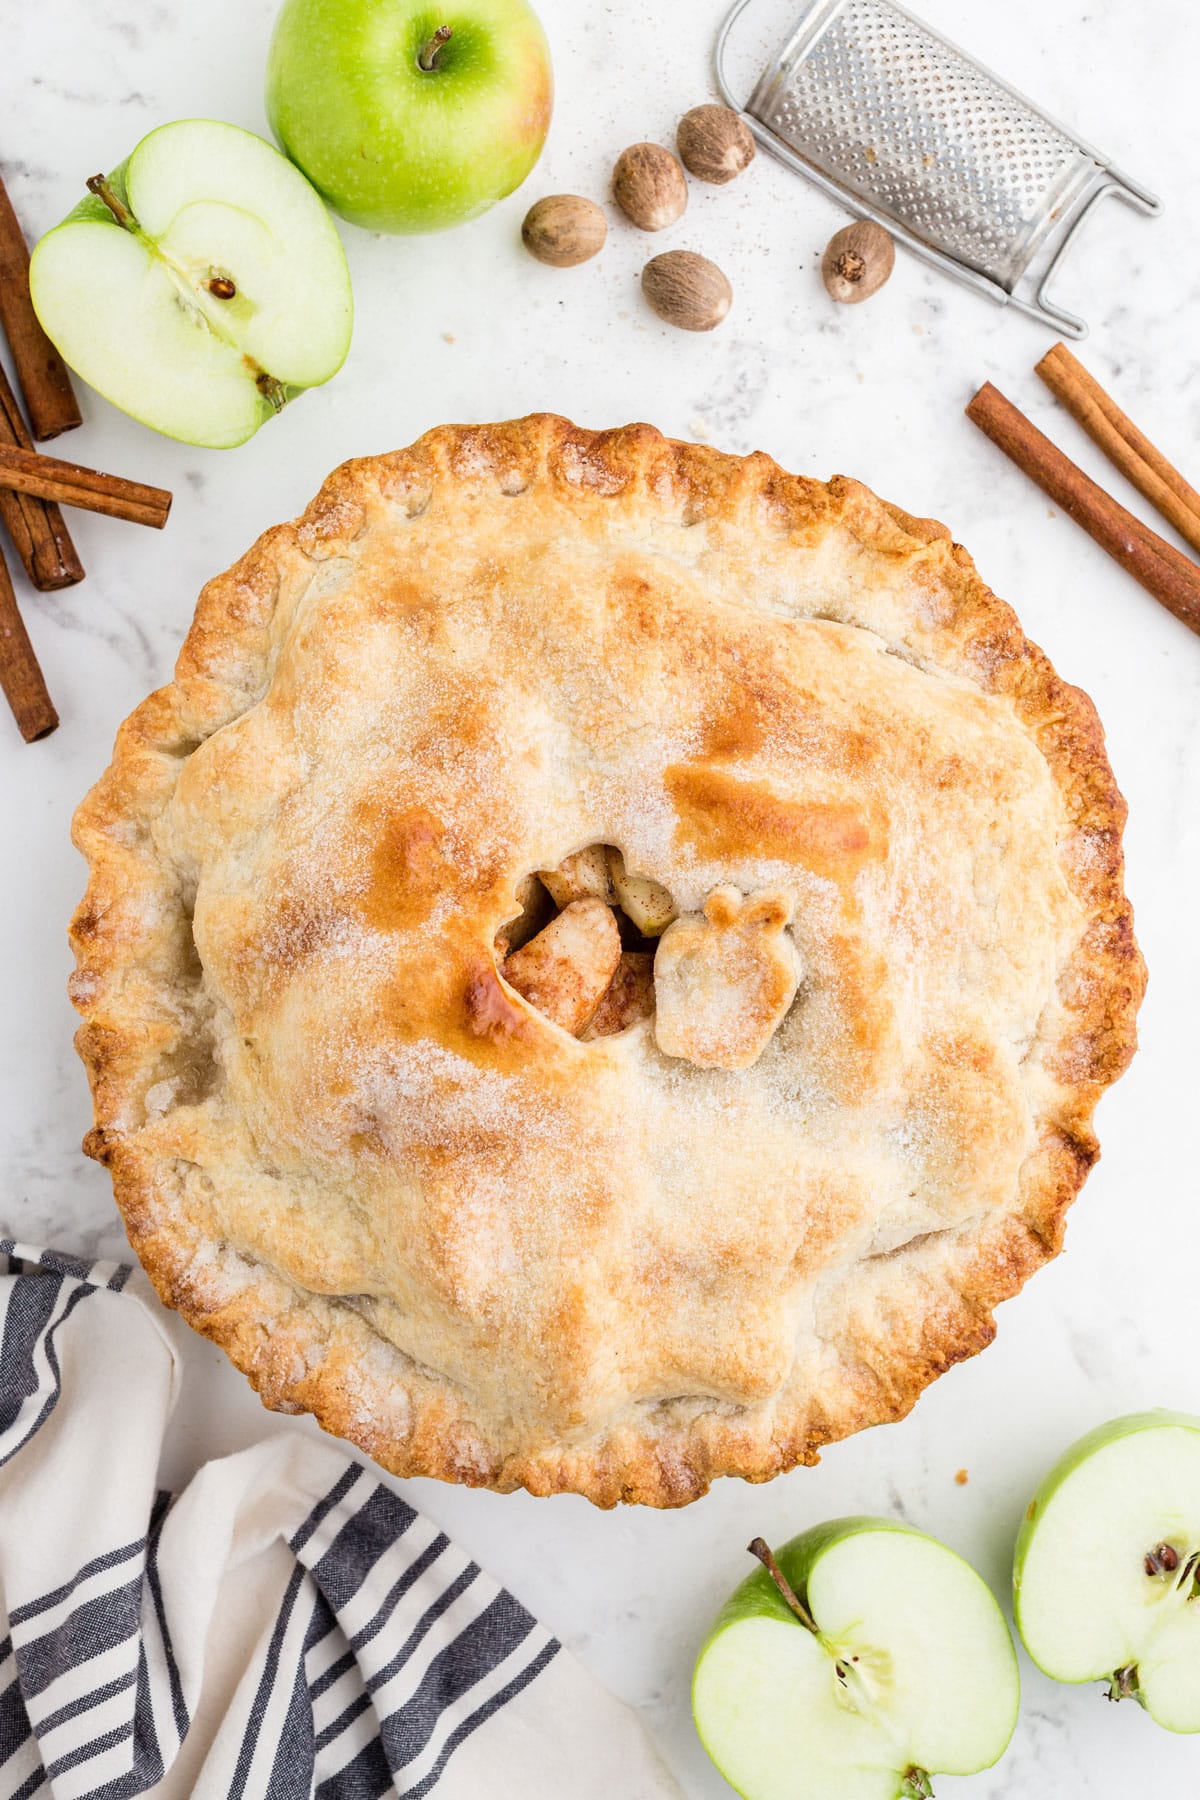
I’m a strong believer that almost all things “homemade” taste superior to what you’ll find at your grocery store chain. This flaky pie crust with a smooth and tender texture works well for both sweet and savory pies.
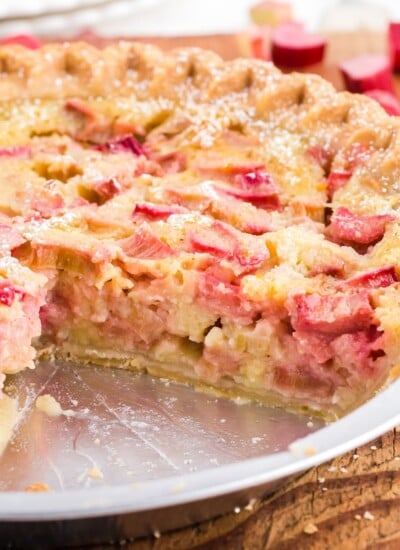
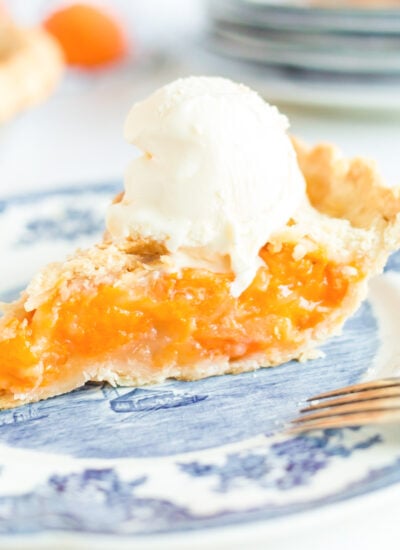
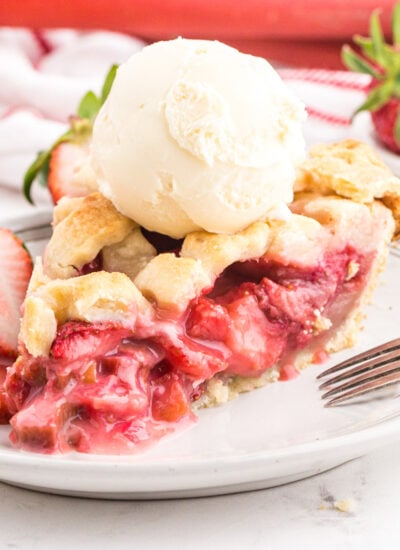
This recipe achieves the perfect pie crust for no-bake pies, like this Delicious No Bake Eggnog Pie or our Chocolate Cream Pie, where you can pre-bake the crust and just add your no-bake filling. It is, of course, also ideal for the more traditional baked pies like apricot pie, strawberry rhubarb pie, lemon meringue, and classic apple pie with a pie top crust.
Jump to:
Pro Tip:
The Butter Pie Crust dough can be frozen for up to 6 months too, which means that you can make a large batch well ahead of any busy holiday season to save you time and energy!
What is Butter Pie Crust?
Butter Pie Crust is a simple pie crust made with just four ingredients in total – cold butter, flour, salt, and ice-cold water. The cold unsalted butter is added to the dry ingredients until coarse crumbs are formed. The dough is then chilled prior to baking which helps to create a flaky crust. It’s perfect for no-bake dessert pies and tarts or for traditional pies that require a pie crust top with egg wash.
What are the Ingredients for a Buttery Pie Crust
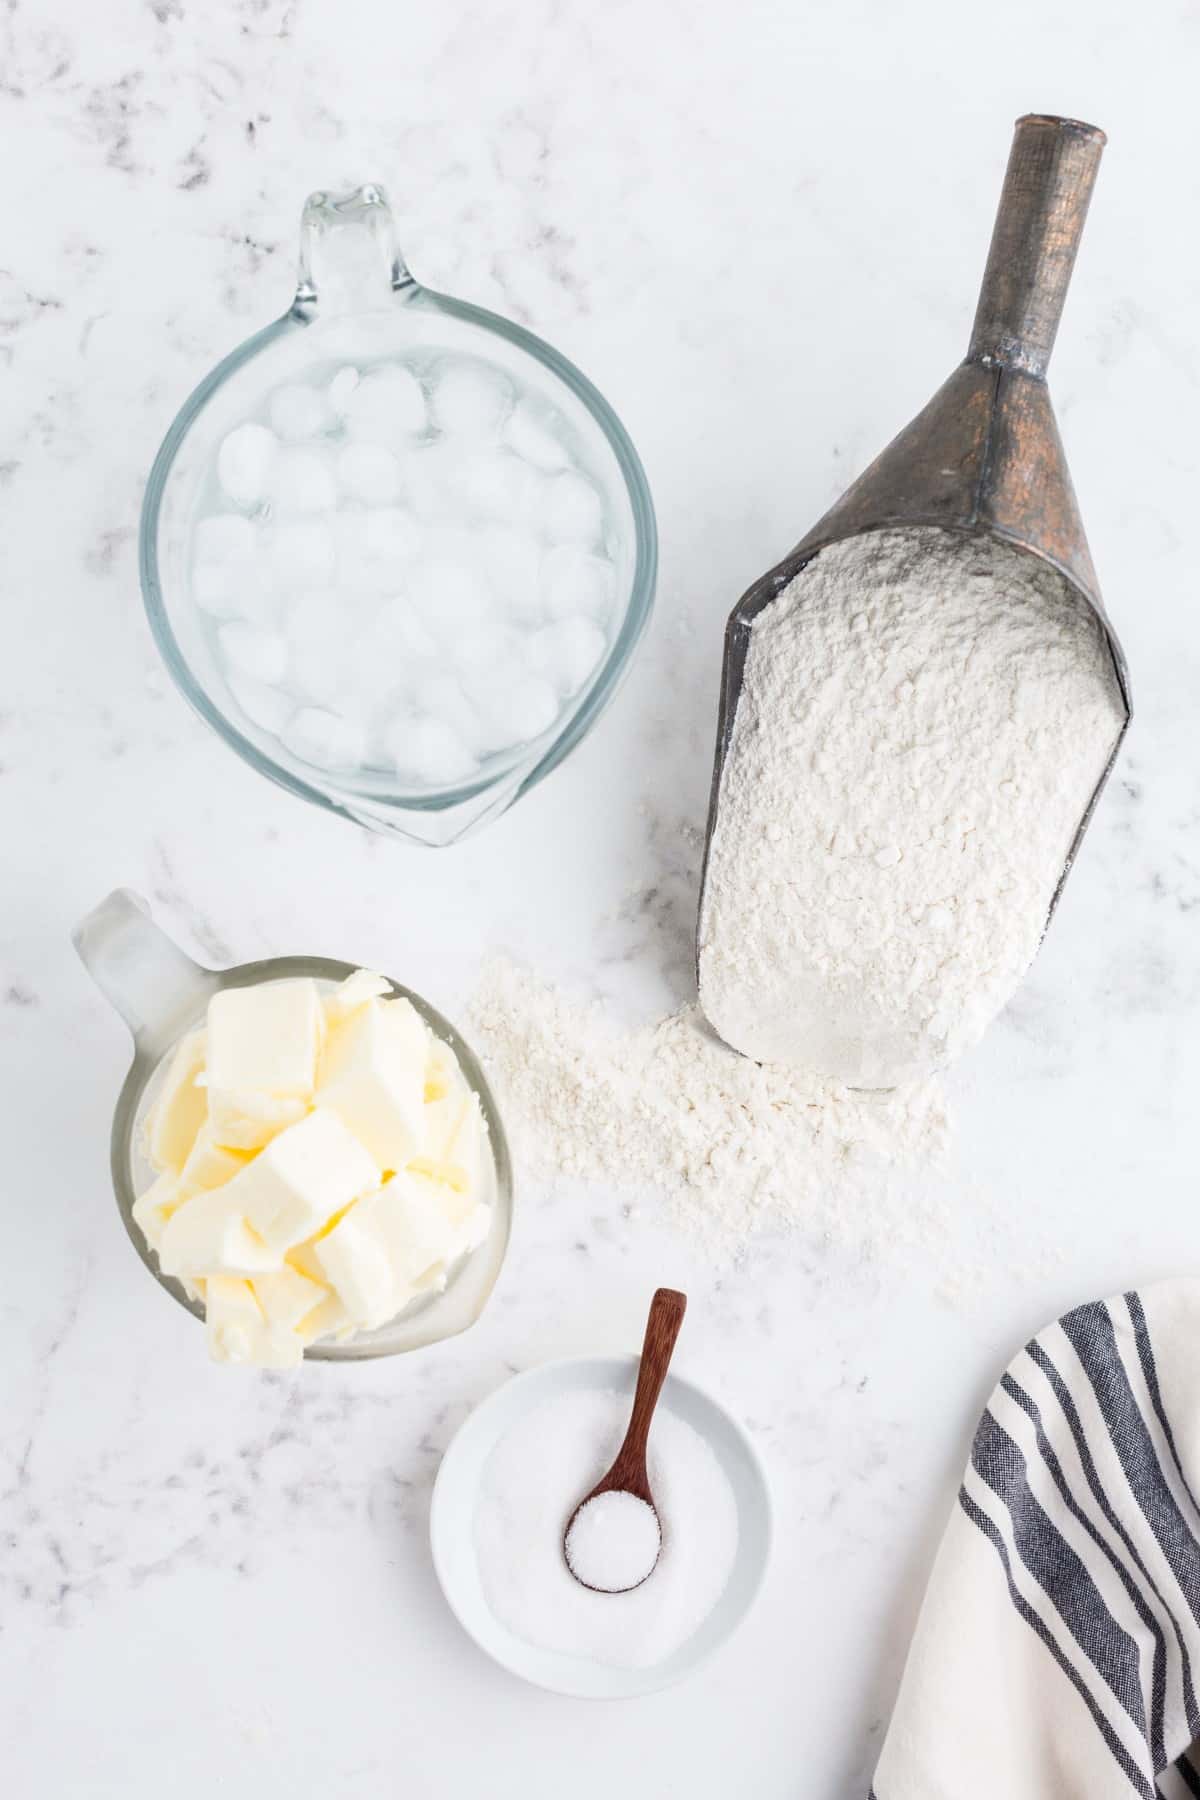
- All-purpose flour
- butter – I always prefer unsalted so that I can control the amount of salt in the crust, but if you use salted butter, simply reduce or omit the salt
- salt
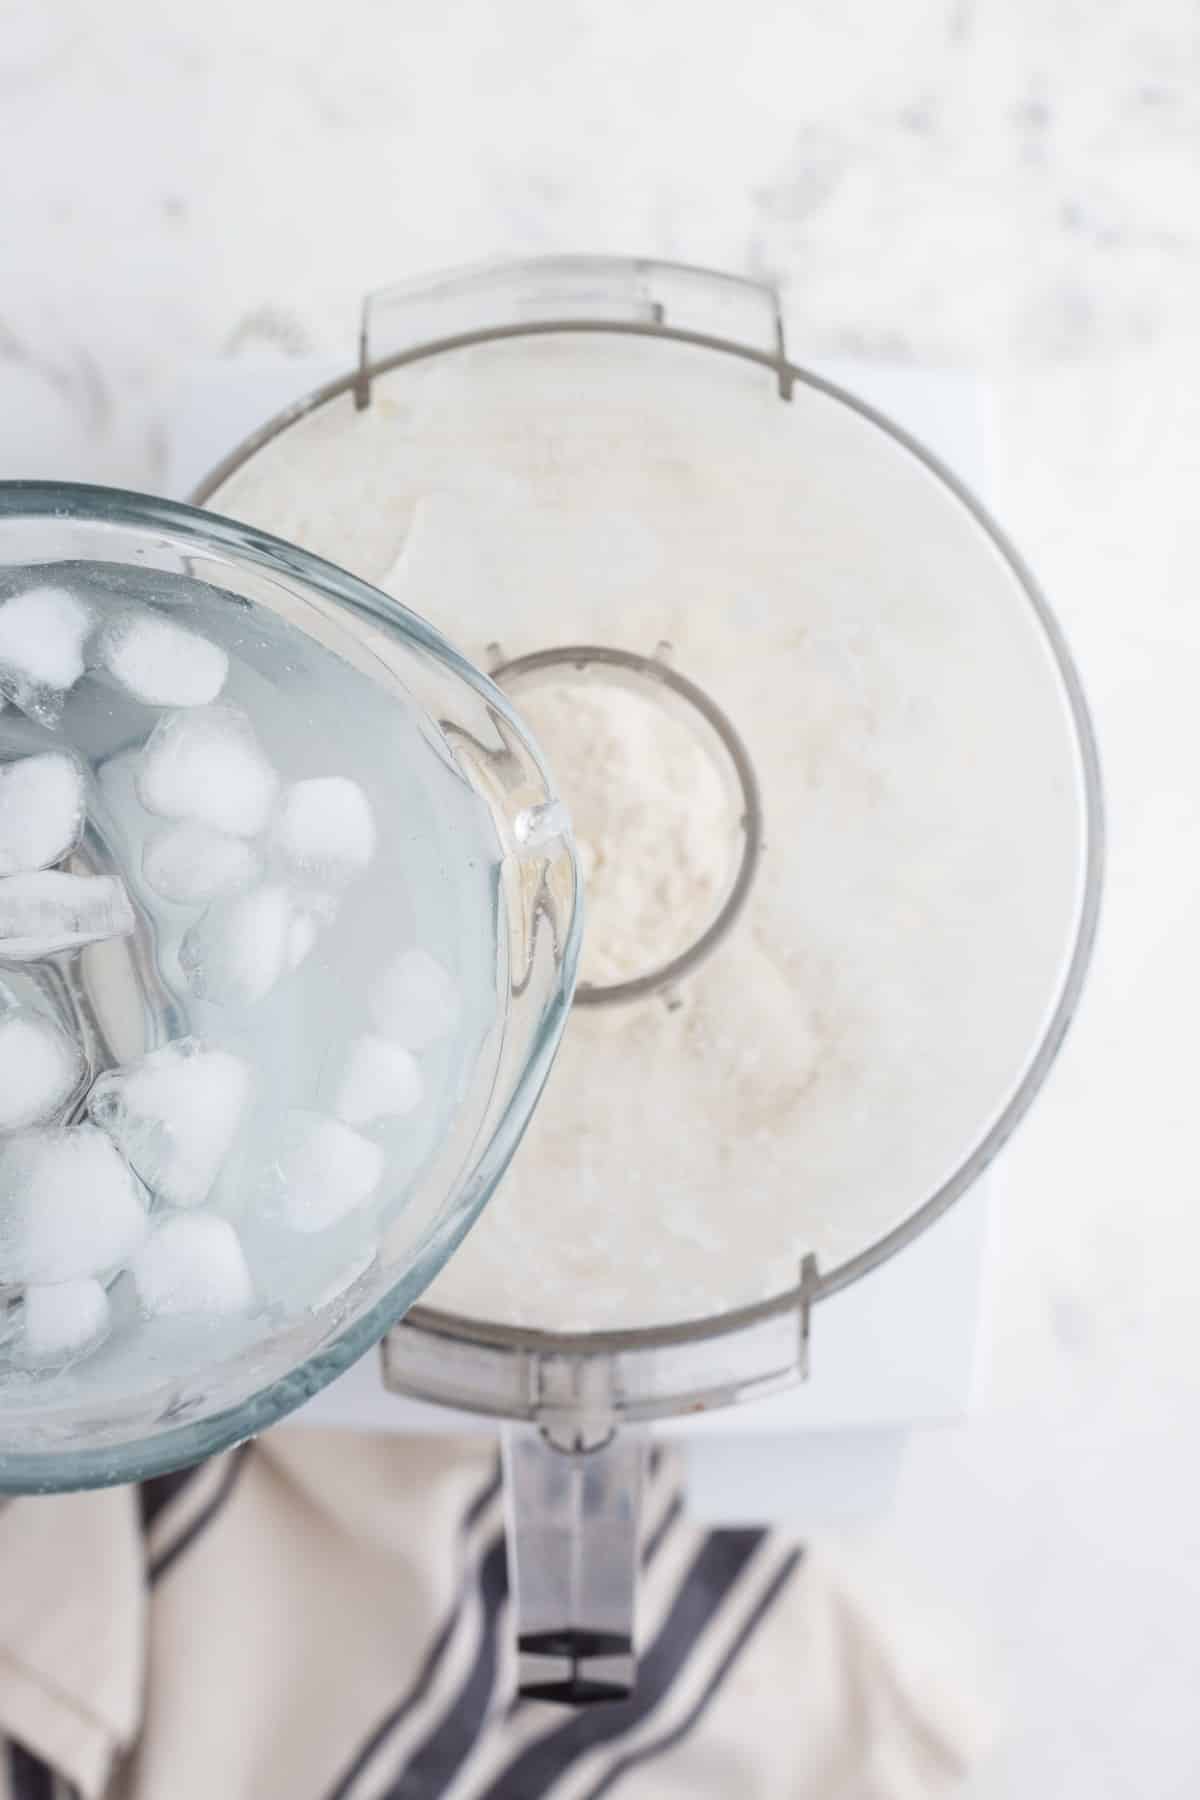
- ice cold water – fill a cup with ice and add water, leave it to set a few minutes while you’re gathering your other ingredients. Then, just pour your cold water directly from its icy bath when you add it to form your pie dough.
Variations
- You can make your pie crust with oil (vegetable oil or canola) instead of butter ; you’ll be making an Oil Pie Crust – it’s a quick and easy recipe resulting in a flaky crust, though you might miss that rich buttery flavor.
- You can add some flavoring to your butter pie crust such as vanilla extract, almond extract, or even some zest so long as it doesn’t clash with the flavors of the pie filling.
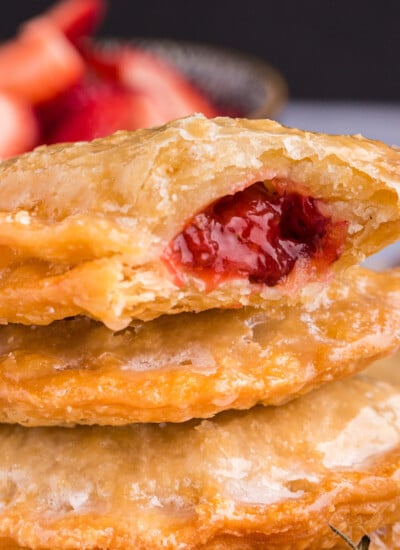
- This butter pie crust can be baked in a standard round pie dish for one large pie or you could make mini pies and tarts with smaller-sized baking dishes. It’s also a great basic crust for making hand pies. Just be mindful that you will need to adjust the baking time accordingly for smaller-sized pie crusts.
Let’s Make the Pie Dough!
Prep: For the ultimate flaky and tender crust, the butter and water need to be as cold as possible. Cut the butter into ½ tablespoon size cubes and place them in the freezer for 5-10 minutes. Fill a glass with ice water to get the water well chilled.
Mix: Spoon the flour into a measuring cup for accurate measuring and transfer to the bowl of the food processor. Add the salt and give everything a whirl.
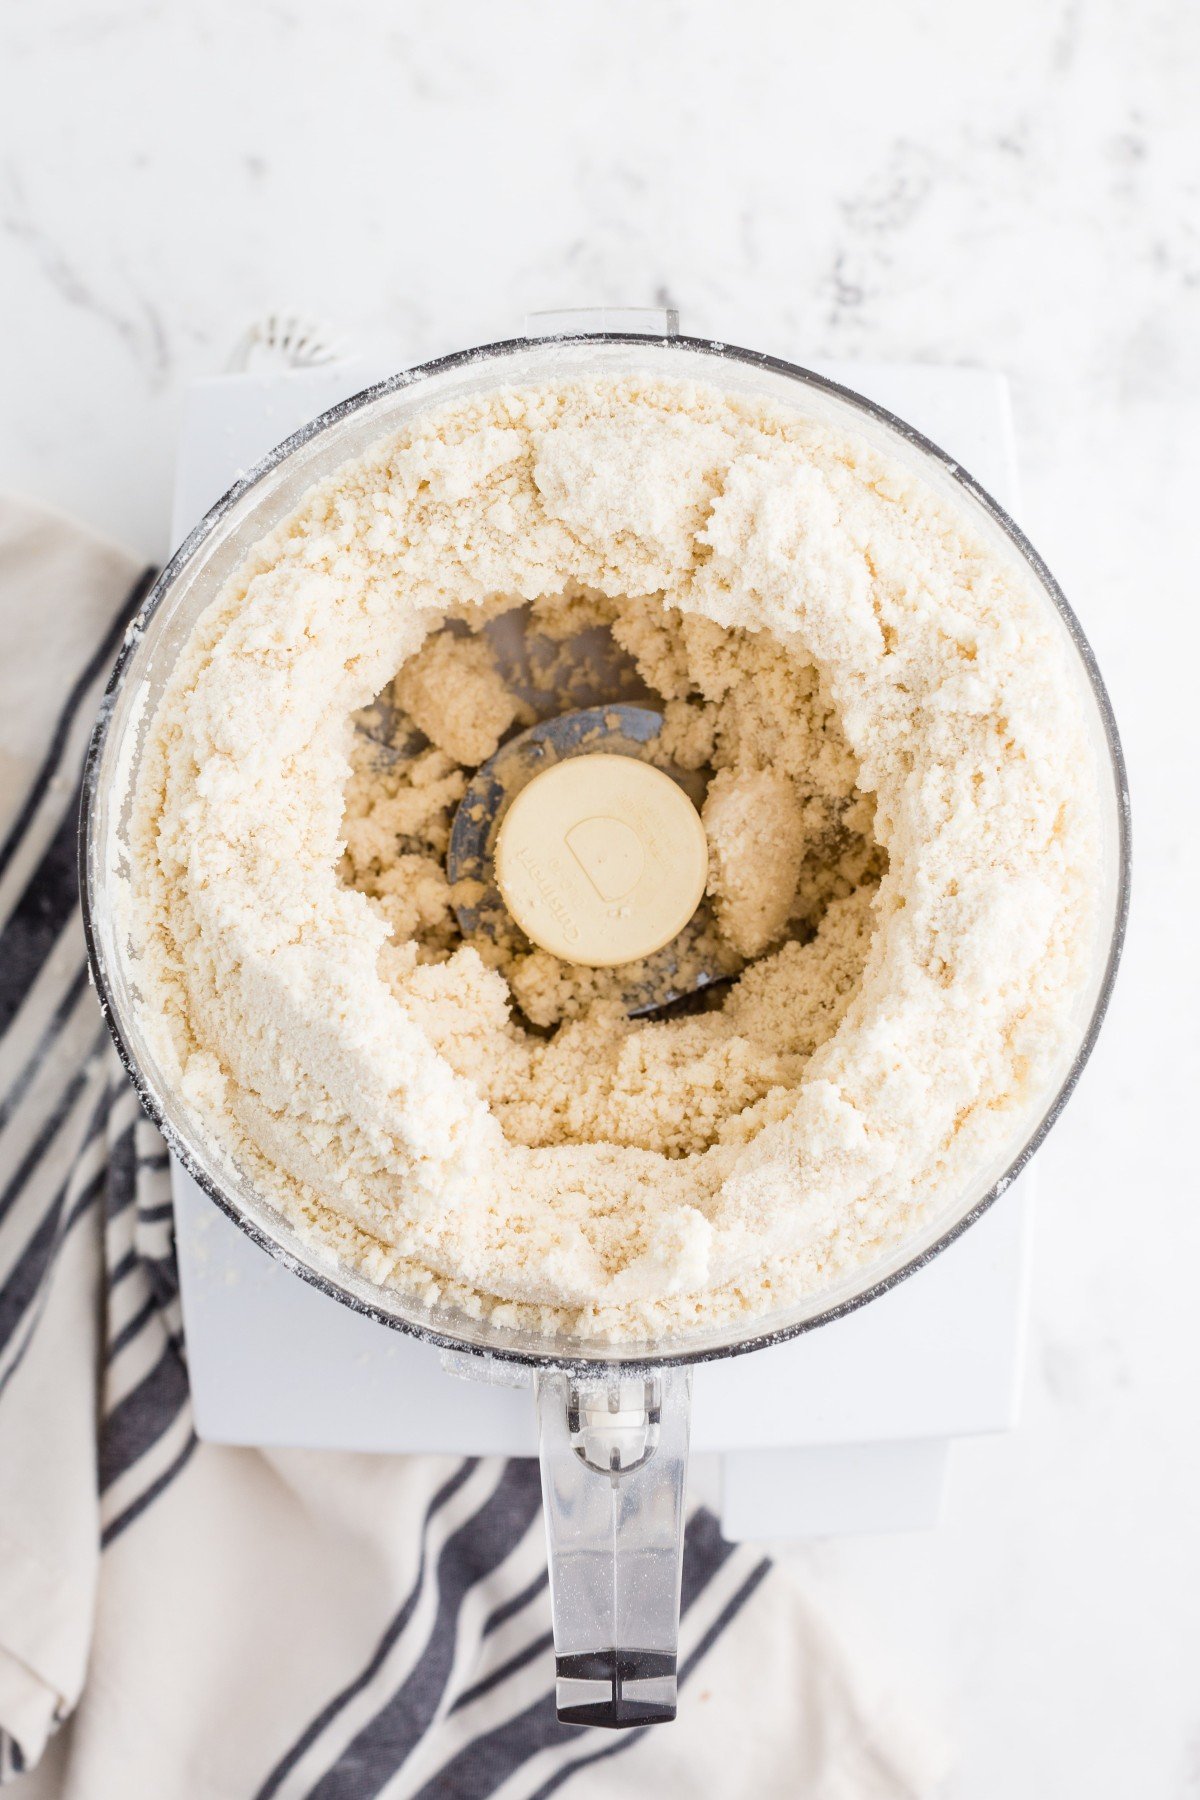
Quickly take the butter from the freezer and toss it in with the flour mixture. Pulse the food processor several times to cut the butter into small pea-sized pieces. Those pieces of butter are what will melt during baking, creating air gaps in the crust that produce flakiness and tenderness, so it’s important not to pulverize the butter into a paste.
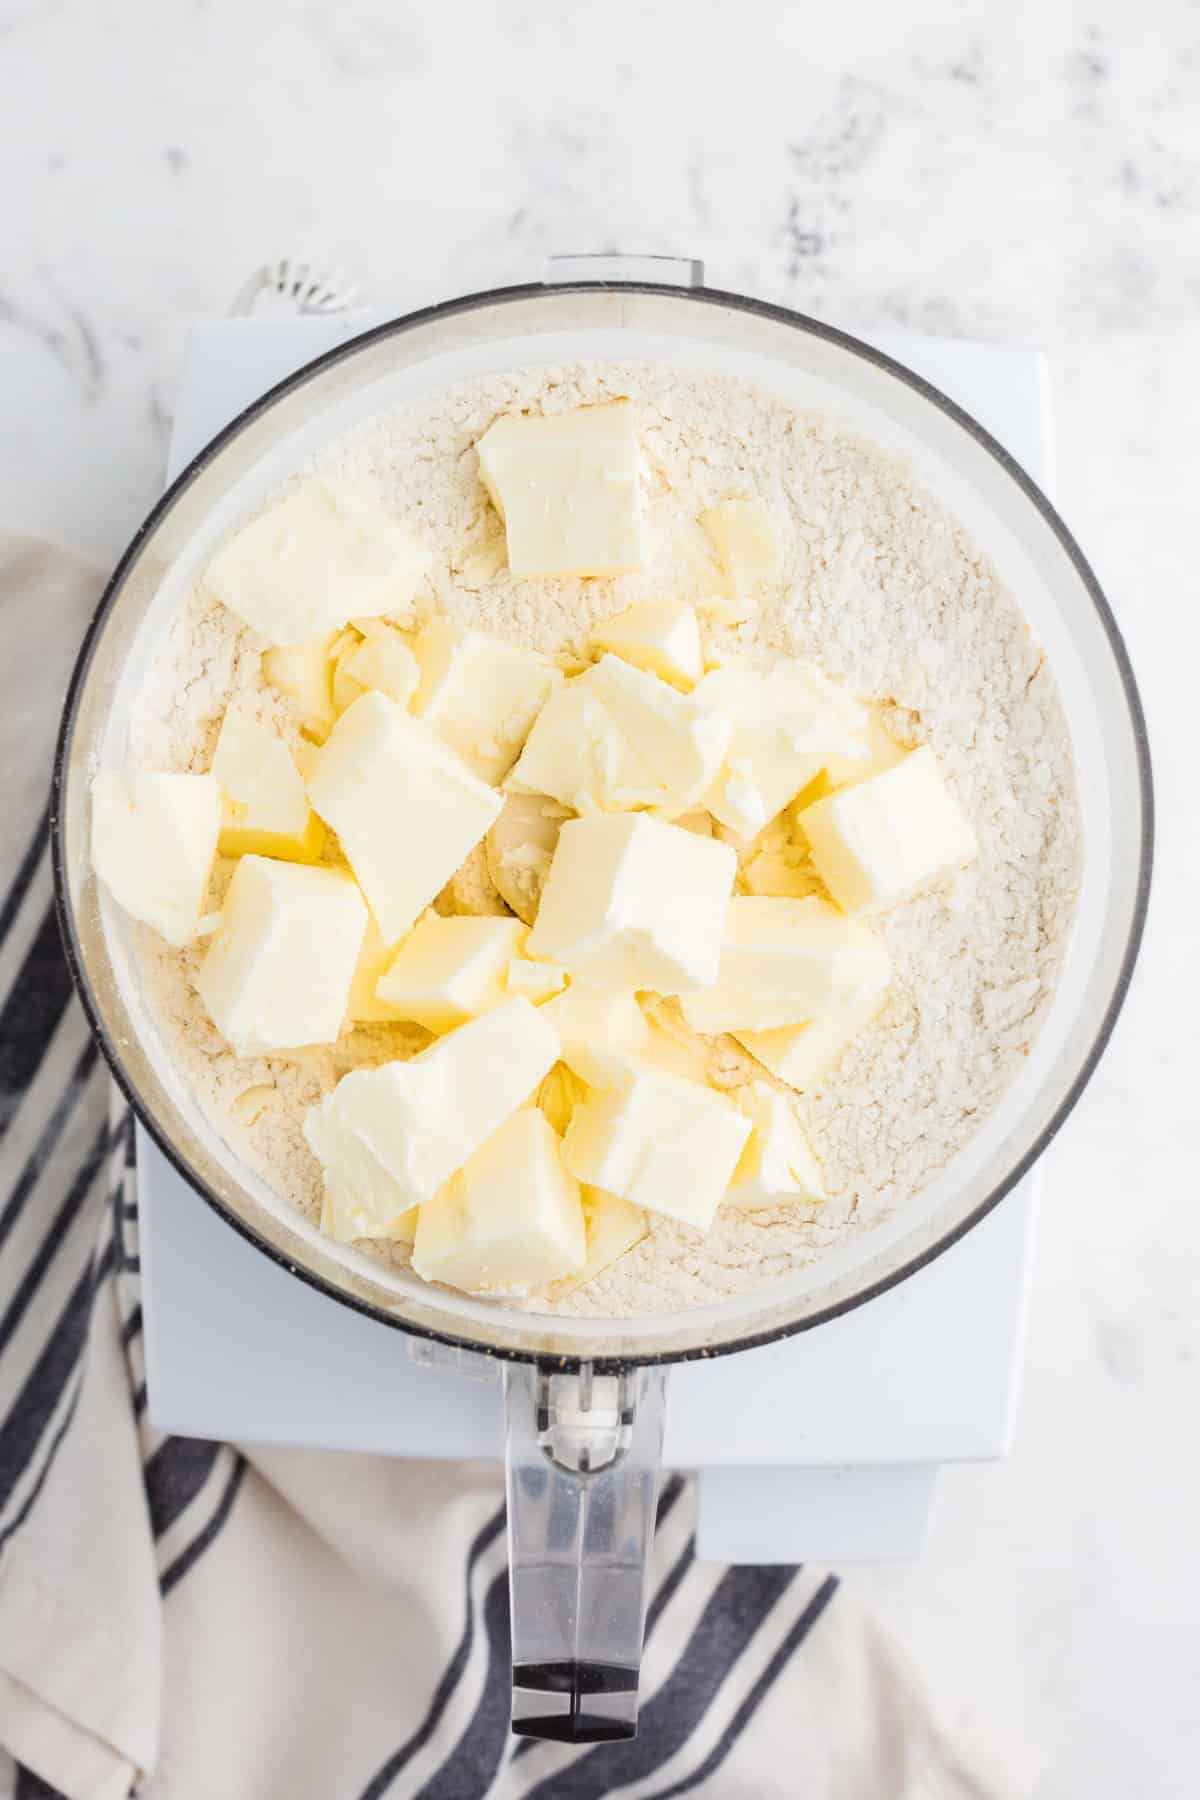
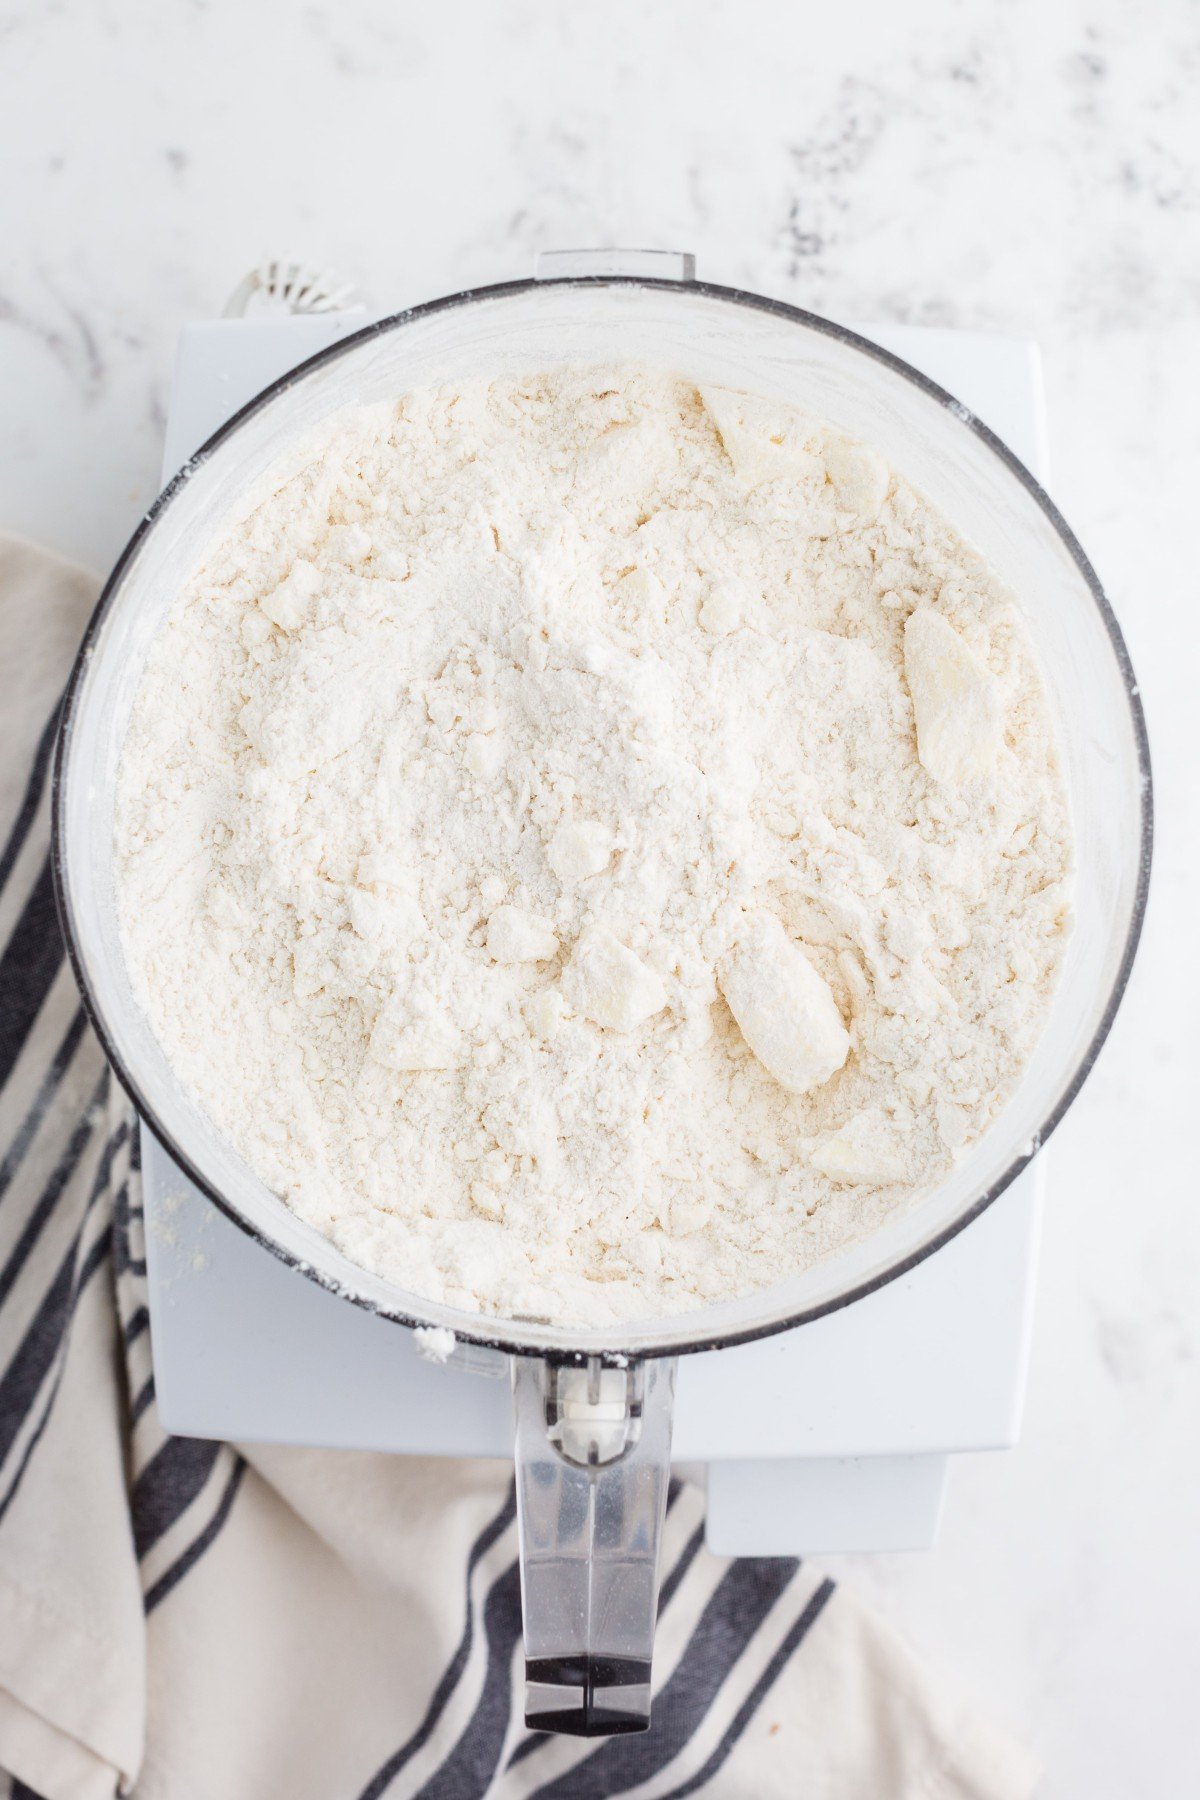
Add the ice water: Adding just a couple tablespoons at a time, drizzle the ice water through the top opening in the food processor while pulsing. Add just enough water until the dough pulls slightly together. You’re looking for just a subtle change in the texture of the flour mixture.
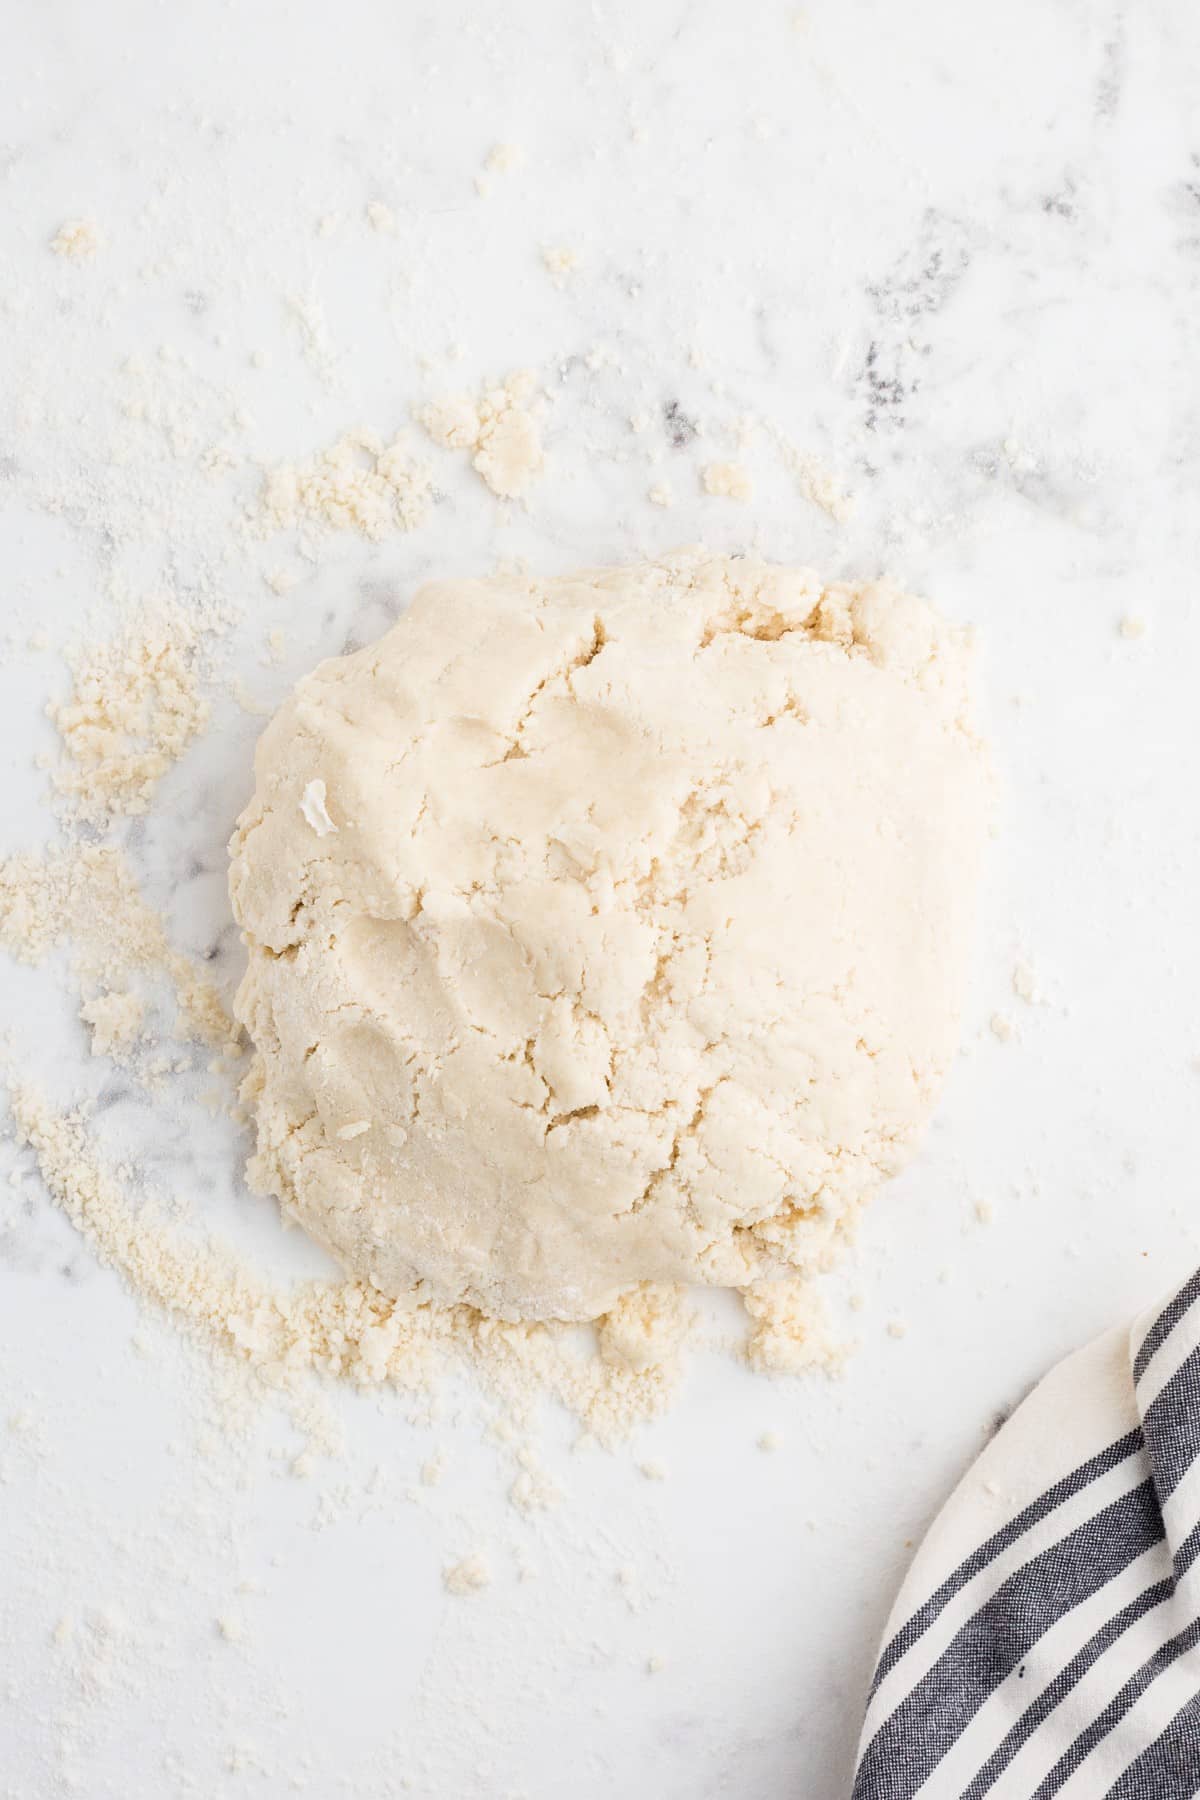
Turn out the dough: Pile the dough onto a lightly floured surface and bring it together quickly with your hands. Try not to handle the dough too much – we don’t want the heat from your hands to heat the dough. Make a loose ball with the dough. You can wrap it with plastic wrap and freeze at this point or divide it in half and chill it for 30 minutes before rolling out the pie crusts. I like to pat my balls into a disc shape so that they already have a flat top as a jump start for rolling out. They also stack neatly in the fridge or freezer this way.
How to Roll Out Dough for Pie Crust
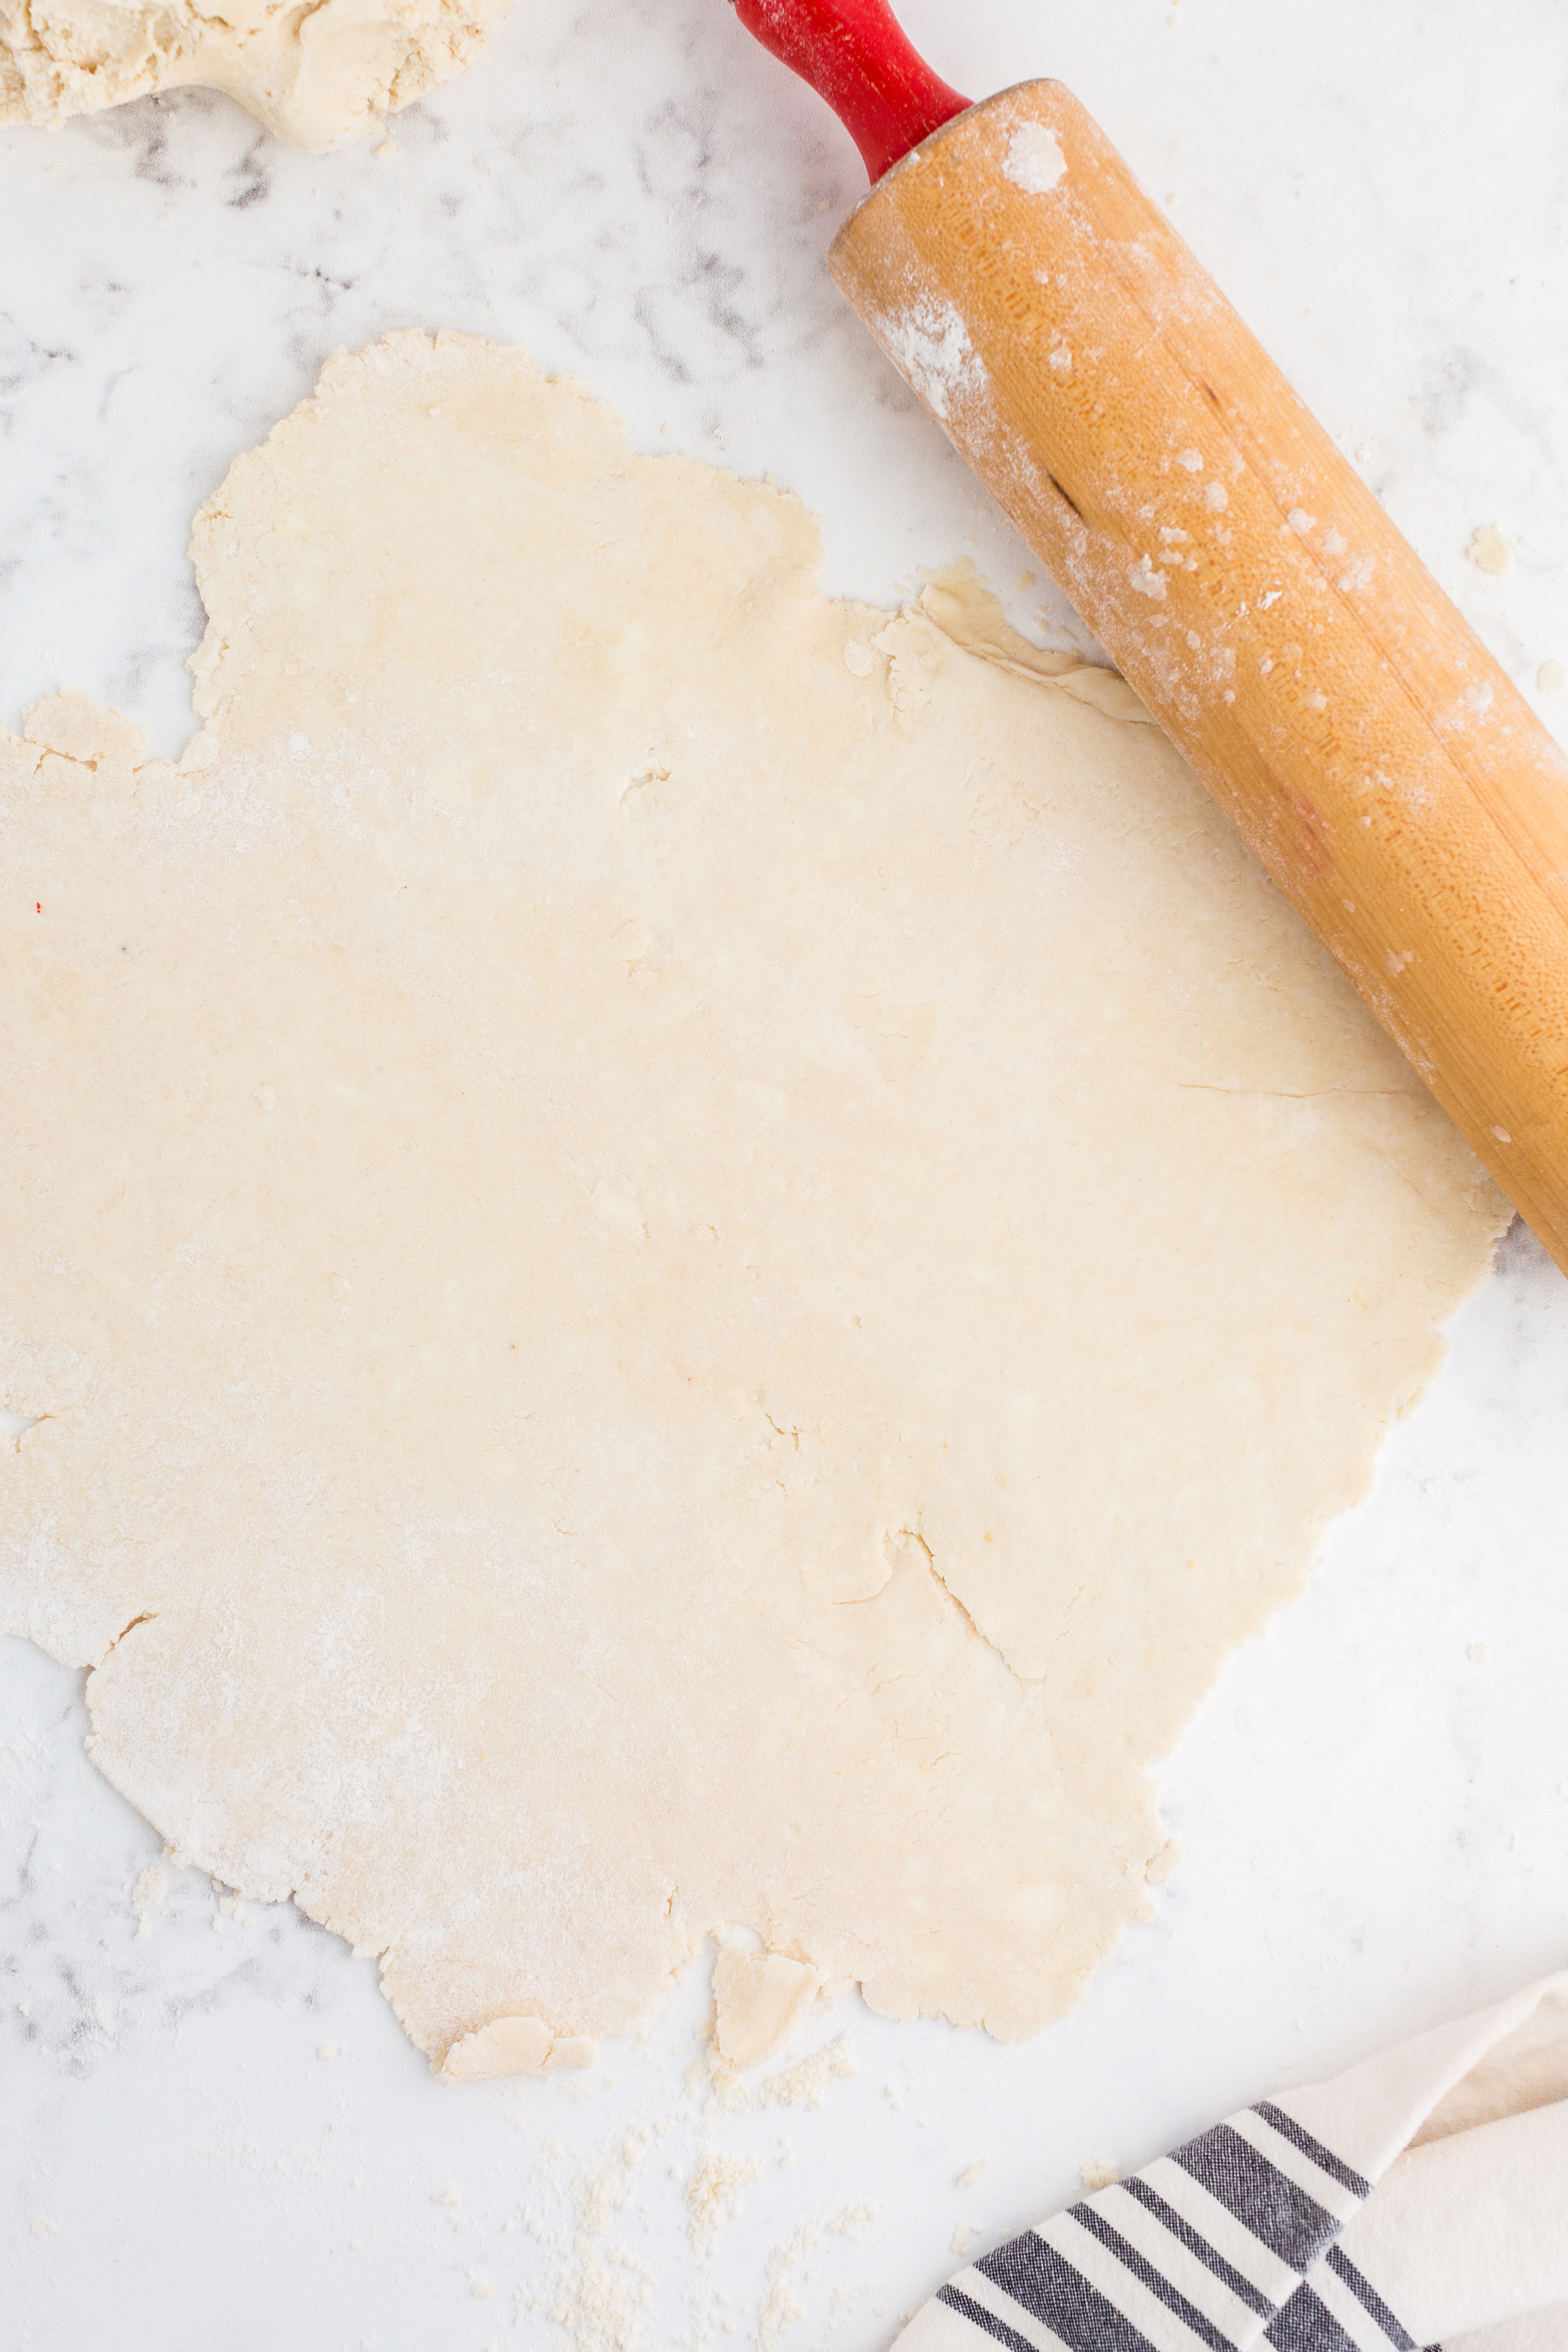
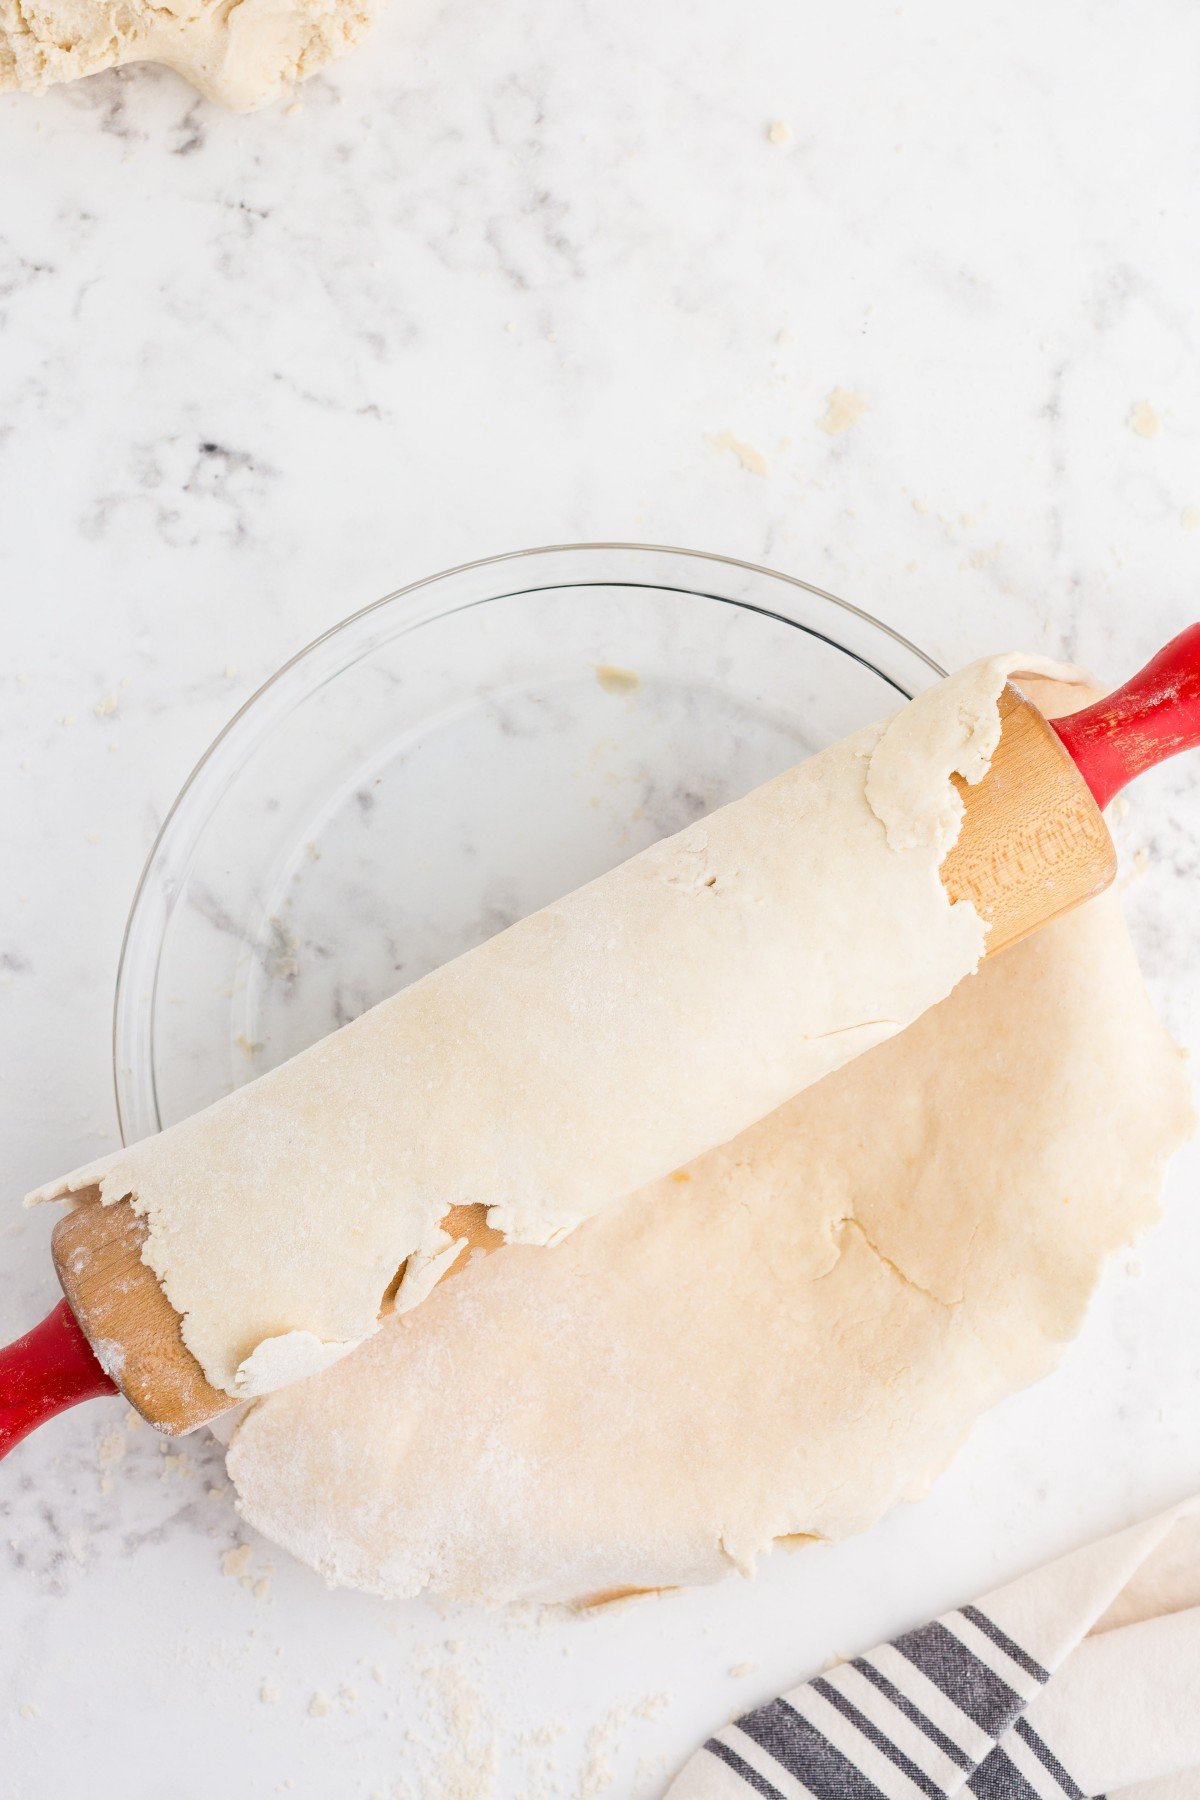
After the dough has chilled, it’s time to roll it out. Unwrap one of the discs of dough and place on a lightly floured surface (or on a sheet of plastic wrap or parchment paper.). Roll the dough into a circle about 1″ larger than your pie plate. Roll the dough up on itself (be sure it’s floured and COLD) and then unroll it into the pie plate. Presto!
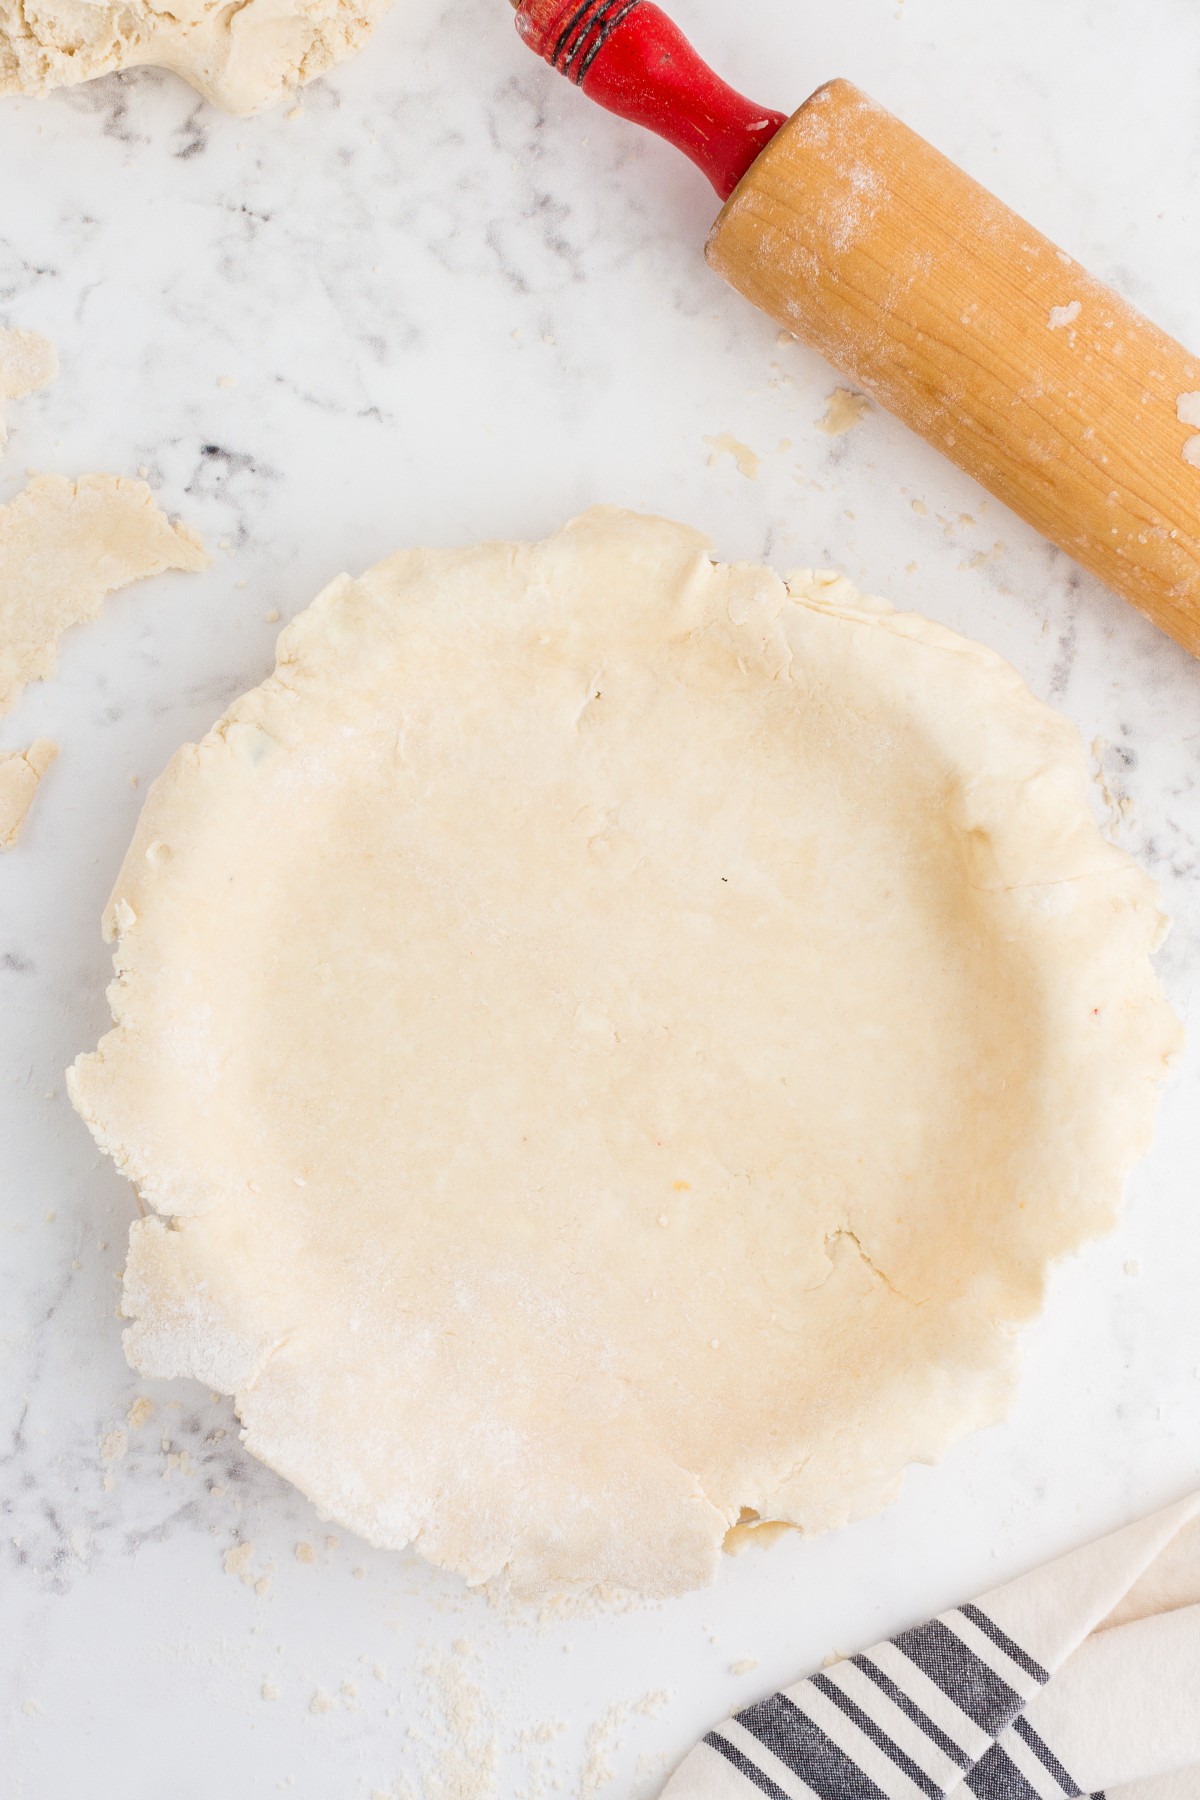
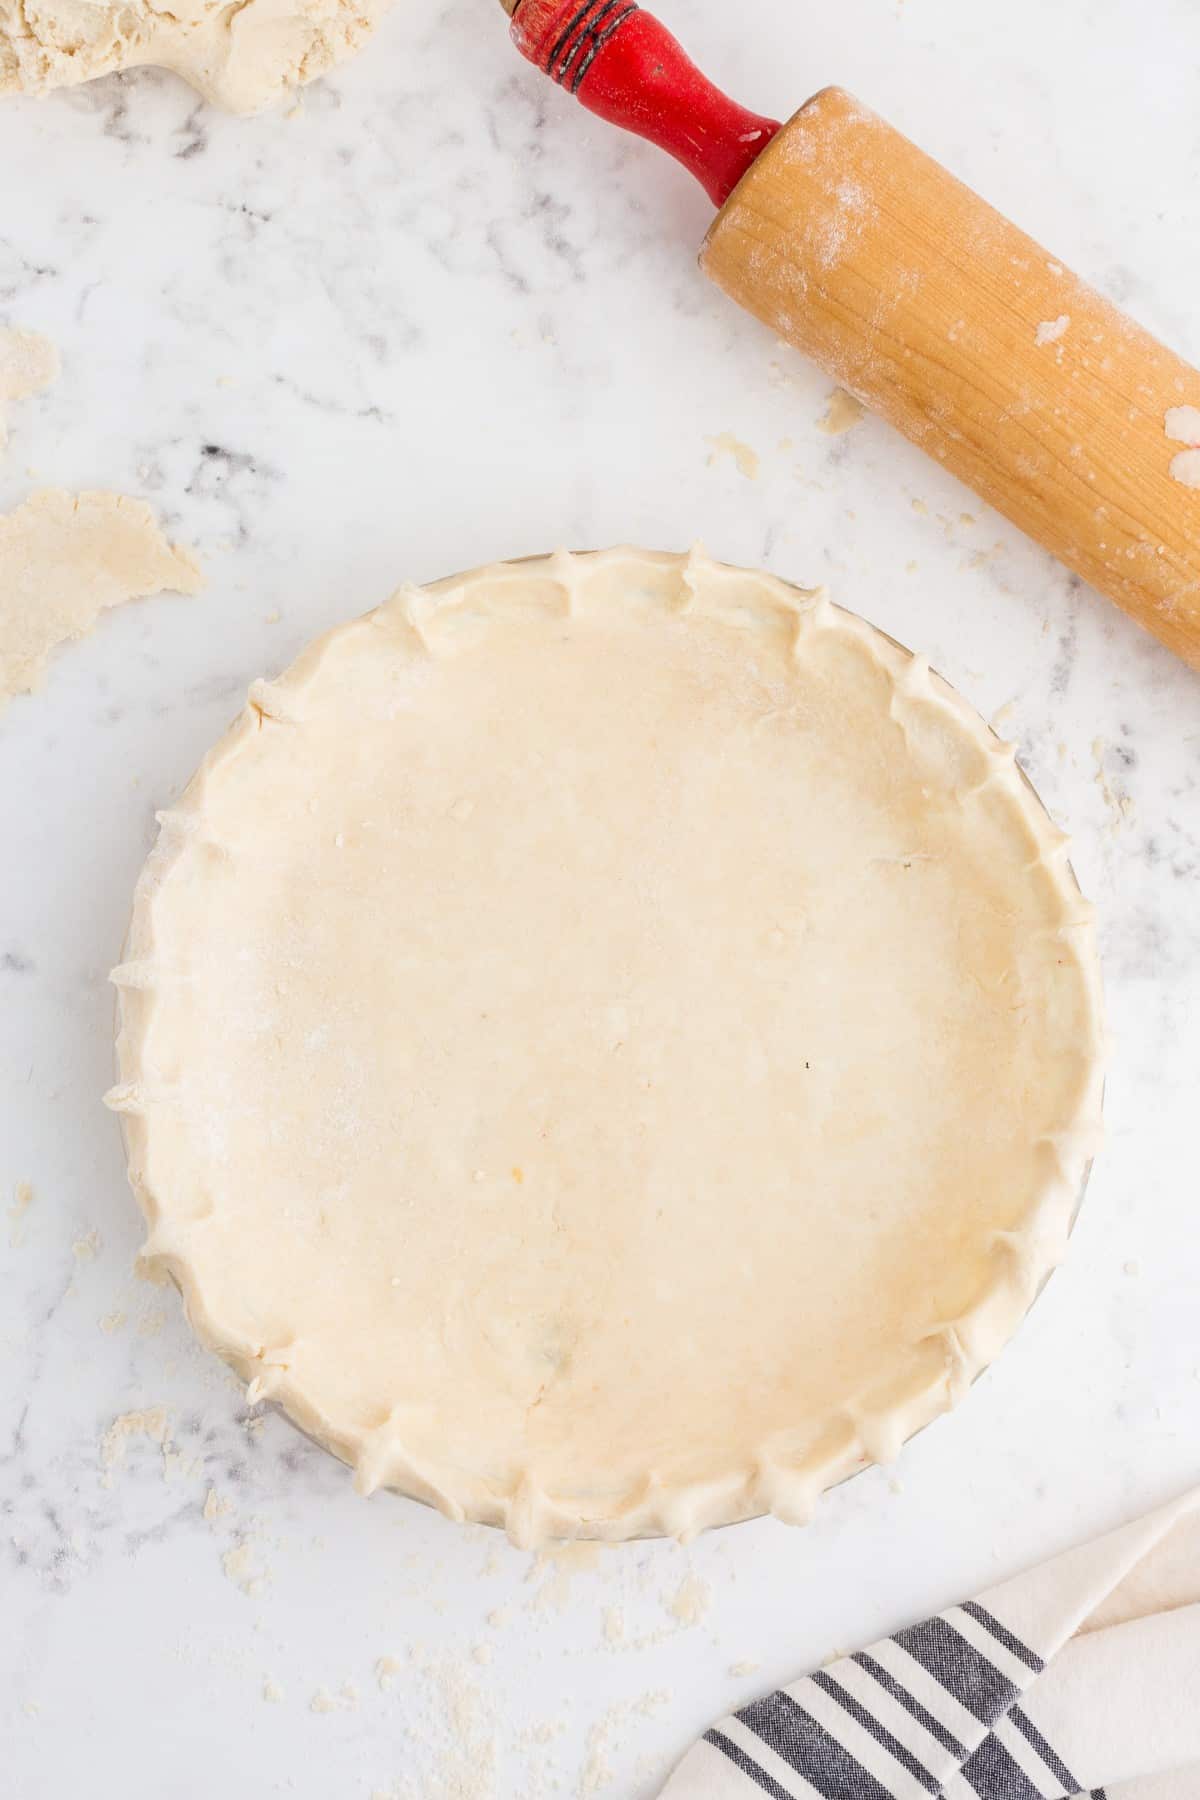
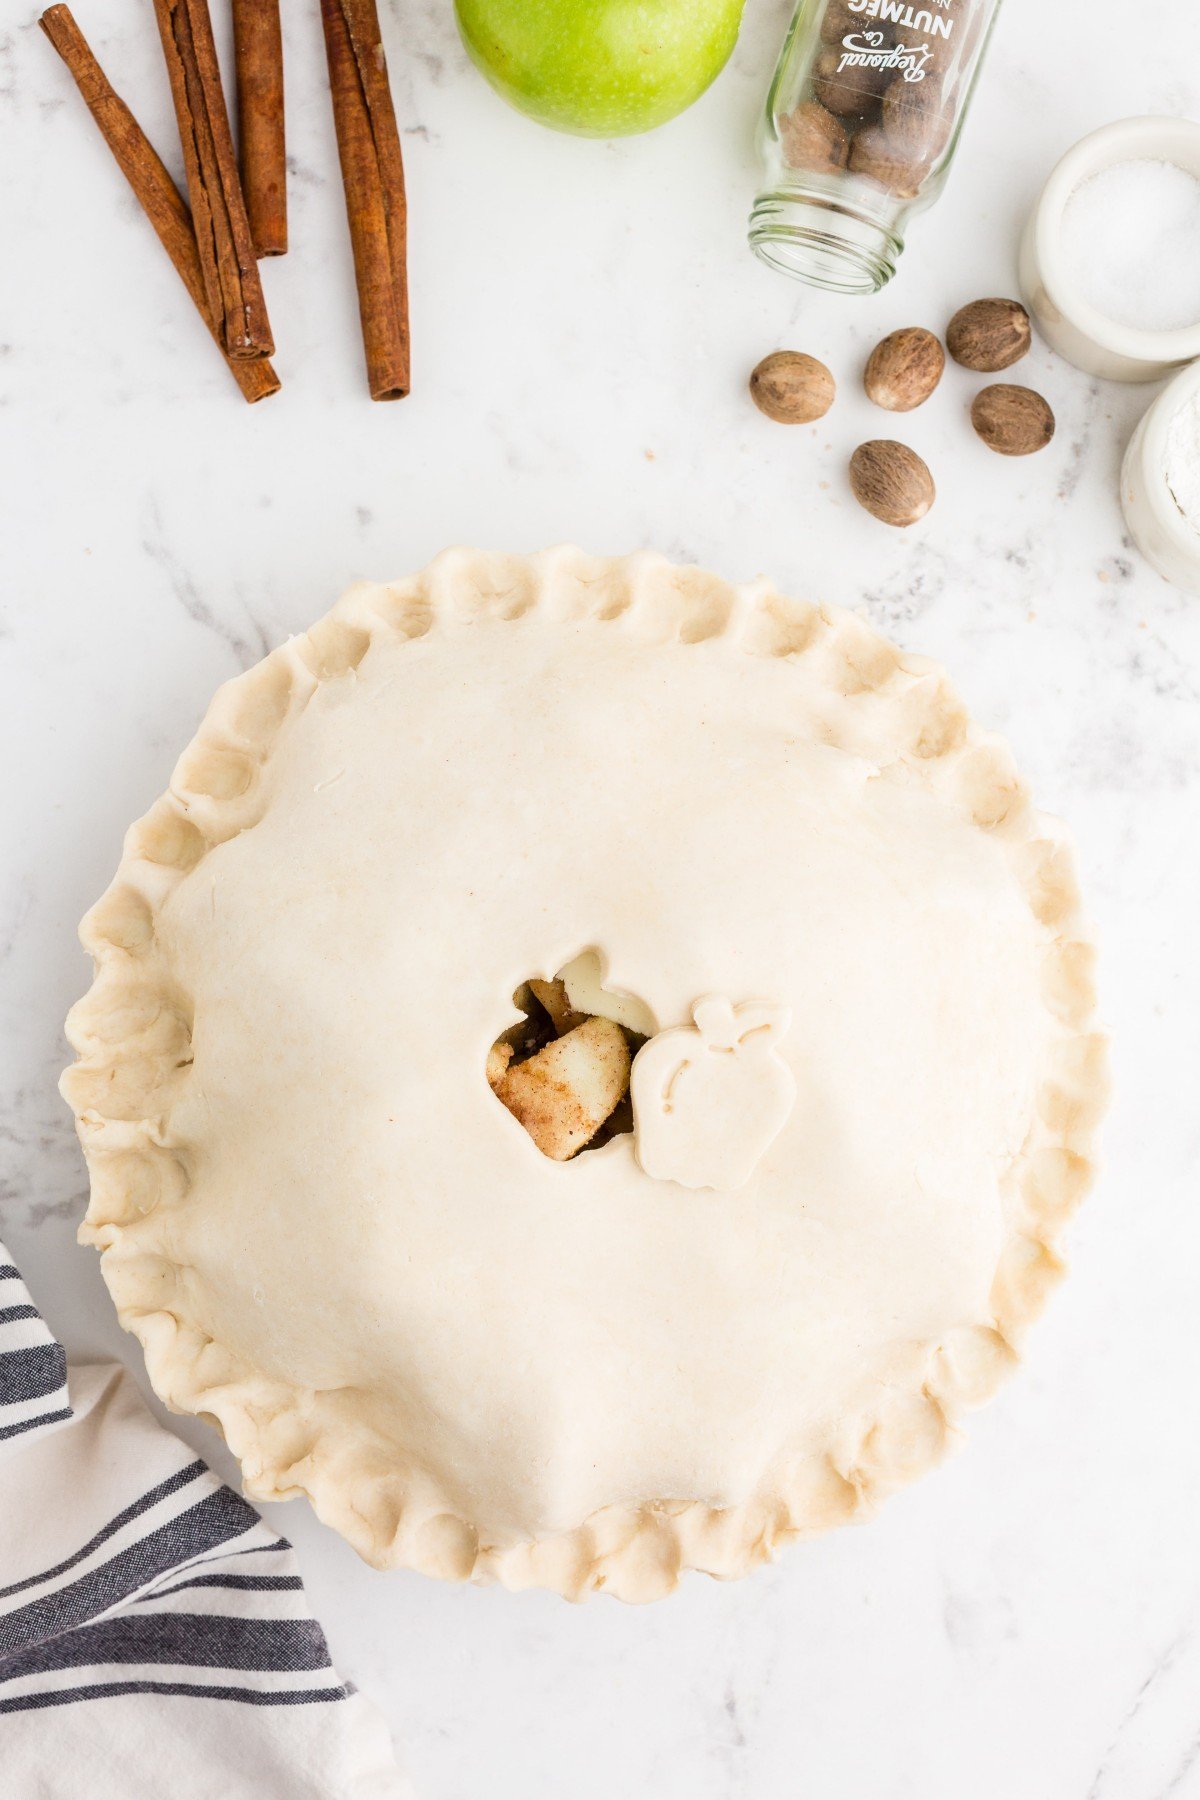
For a single crust pie crust, like you might use for a lemon meringue pie or a quiche, fold under the edges around the pie and crimp. Now it’s ready for blind baking. Alternately, roll out the other disc of dough in the same way. Fill your pie and then top with the second crust. Fold the edges under together and crimp!
How to Pre-Bake or Blind Bake Pie Crust
Blind baking a single pie crust is used when you’re making a no bake pie like coconut cream or a chocolate pudding pie. You might also blind bake a pie crust when you need to give it a jump start because the bake time is too short once the pie is filled. Pre-baking the crust, in this case, helps prevent a soggy crust. The biggest challenge when you blind bake a pie crust is that the crust shrinks and/or the bottom puffs up leaving you without a nice cavity to fill with pie filling.
Chilling the pie crust will help with the shrinking issue. We are also going to poke little air holes into the crust across the bottom and sides. Line the crust with aluminum foil and fill with pie weights to hold the crust down during cooking. Cook the crust most of the way – until it starts to dry out and then go ahead and remove the foil and pie weights and bake it 5-10 minutes longer until it’s nice and golden brown.
Tips For Making Butter Pie Crust
- If you find that your pie dough is crumbling while rolling it out, try adding a small amount of ice water to it and then place it back into the refrigerator to chill before you try to roll it out again. The added water and refrigeration will lock in the moisture, helping the crust to roll out smoothly for a tender and flaky crust that won’t fall apart.
- To help keep your pie dough as chilled as possible, try to keep all of your ingredients as cold as possible at all times. It’s also important to not overhandle pie dough as the heat from your hands will warm it up and affect the tenderness of the baked crust.
- The ice water added helps solidify the fat from the butter in the pie dough which will ensure a flaky, tender crust. Make sure that you don’t substitute warmer water for the ice water.
Recipe FAQs
Yes, definitely! In fact, most pie recipes that involve wet fillings such as fruity pies require a pre-baked crust so that the pie crust doesn’t come out soggy and undercooked. Other instances where it’ll be necessary to pre-bake your pie crust are when making no-bake pies such as pudding pie.
To pre-bake this Butter Pie Crust, simply follow steps 10-16 of the recipe directions above.
While it is possible, I don’t usually recommend freezing pre-baked pie crust of any kind as it tends to affect the freshness of the pie crust. The freezing and thawing process can also alter the texture of the pie crust.
For best results, stick to freezing unbaked pie crust instead!
Freezing unbaked pie crust is a great way to save yourself time in assembling your pie. Simply mold your pie crust in a pie dish and then wrap it in plastic wrap, making sure that you press plastic wrap gently against the shape of the pie crust, getting rid of as much excess air as possible (to prevent freezer burn).
When ready to use, thaw the crust out at room temperature, making sure that it’s soft enough to bake but is still chilled.
It’s super simple! Once made, wrap your butter pie dough tightly in plastic wrap and then store it in a freezer-safe bag or container for up to 6 months. When you’re ready to make use of it, thaw it at room temperature for about 60-90 minutes which will be just enough time so that you can roll it out without it losing its chill!
Chilling your dough helps the gluten in the dough relax which means that your pie crust is less likely to shrink when baked. It will also ensure a smooth crust that won’t crumble.
Our Favorite Pies Made with Butter Pie Crust
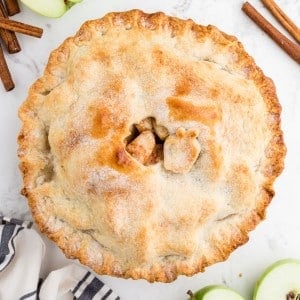
Butter Pie Crust
Ingredients
- 2 ½ cups all-purpose flour
- ½ teaspoon salt
- 1 cup unsalted butter cut into cubes and placed in freezer
- 5-8 tablespoons ice cold water
Instructions
- Whisk together flour and salt in a large bowl or food processor.
- Add butter cubes/pieces from freezer.
- Cut butter into flour using a pastry blender until mixture resembles a coarse flour and small beads of butter are still visible. Alternately, pulse in the food processor until the butter is broken down into the flour mixture, but there are still some larger chunks of butter remaining.
- Sprinkle 4 tablespoons of ice water (ice removed) over flour mixture and stir (or pulse) briefly. Add 1 tablespoon of water more at a time until dough begins to stick together if you squeeze it with the palm of your hand. If using the food processor, pulse while simultaneously drizzling the ice water in through the top of the lid until dough starts to clump together and pull away from the side of the bowl.
- Divide the dough into two sections and pat each section into a disc shape. Wrap with plastic wrap and refrigerate for at least 30 minutes.
- Place one chilled disc of dough onto a lightly floured surface. Use a floured rolling pin to roll dough out into each round about 1” larger than your pie plate. Flip your dough often while rolling to ensure it doesn’t stick to your work surface.
- Flour your rolling pin and roll dough up on the rolling pin to transfer to pie plate.
- Roll dough out into pie plate and nestle it down so that it fits smoothly up the sides.
- To pre-bake the crust (for non-bake pies like chocolate cream or a pudding pie):
- Fold excess dough under itself at the rim (trim if there is more than enough to fold under. Pinch dough or press edges with a fork to make a finished edge.
- Preheat oven to 375°F.
- Gently press aluminum foil down into the pie crust and fold up over the edges. Fill foil-covered crust with pie weights (dry beans or dry rice also work).
- Bake for 15 min. until sides and edge of crust appear slightly dry and cooked.
- Remove pie weights and aluminum foil.
- Prick bottom and sides of pie crust with a fork and return to the oven.
- Bake 15-18 minutes longer or until the crust is light golden brown and flaky.
- For fruit pies or baked pies, follow the instructions accompanying the pie recipe. Typically, fit the dough into the pie pan, fill with pie filling, and roll out the second disc of chilled dough to make the top pie crust. Fold under the top and bottom crust edges together and pinch to seal all the way around the pie.
Would you like to save this?
Notes
- Keep ingredients as cold as possible at all times.
- Handle crust as little as possible to prevent heat from your hands from transferring to the dough and also to maintain a tender crust.
Nutrition
Make this recipe?
Share it with me on Instagram @girlinspired1 and follow on Pinterest for more!





Leave A Reply!