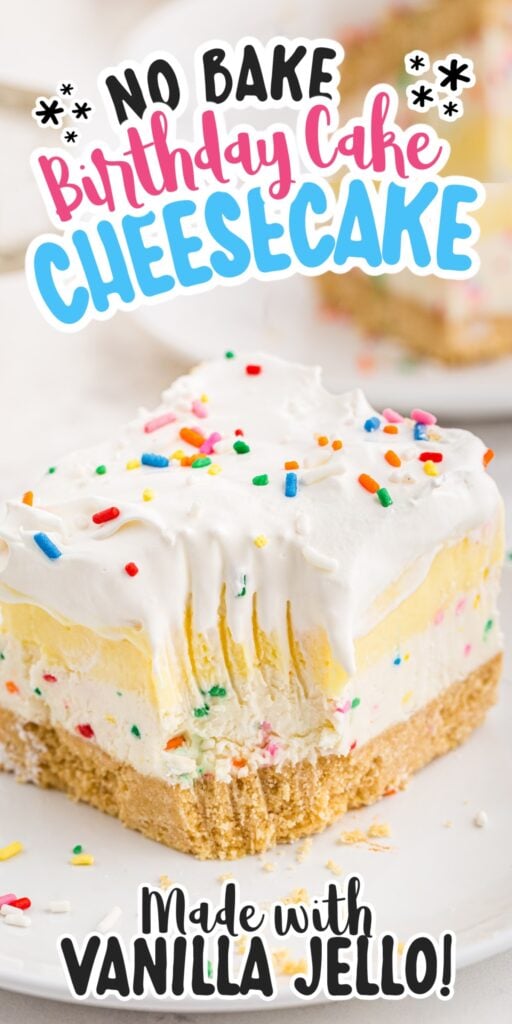
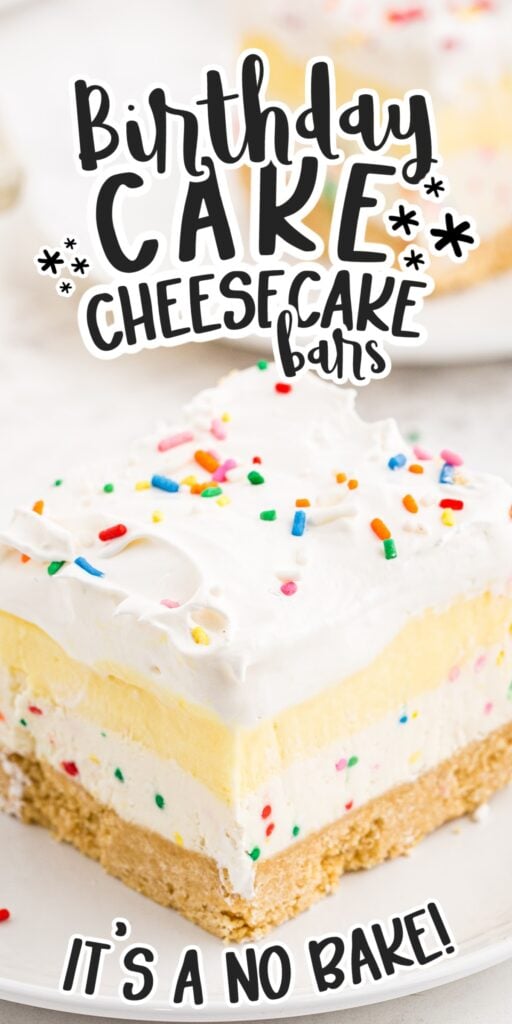
Birthday Cake Cheesecake Bars are a fun and delicious twist to the original Pillsbury cake mix by including layers of cream cheese and vanilla pudding mixture on top of buttery crushed vanilla Oreo cookies then topped with cool whip and colorful sprinkles!
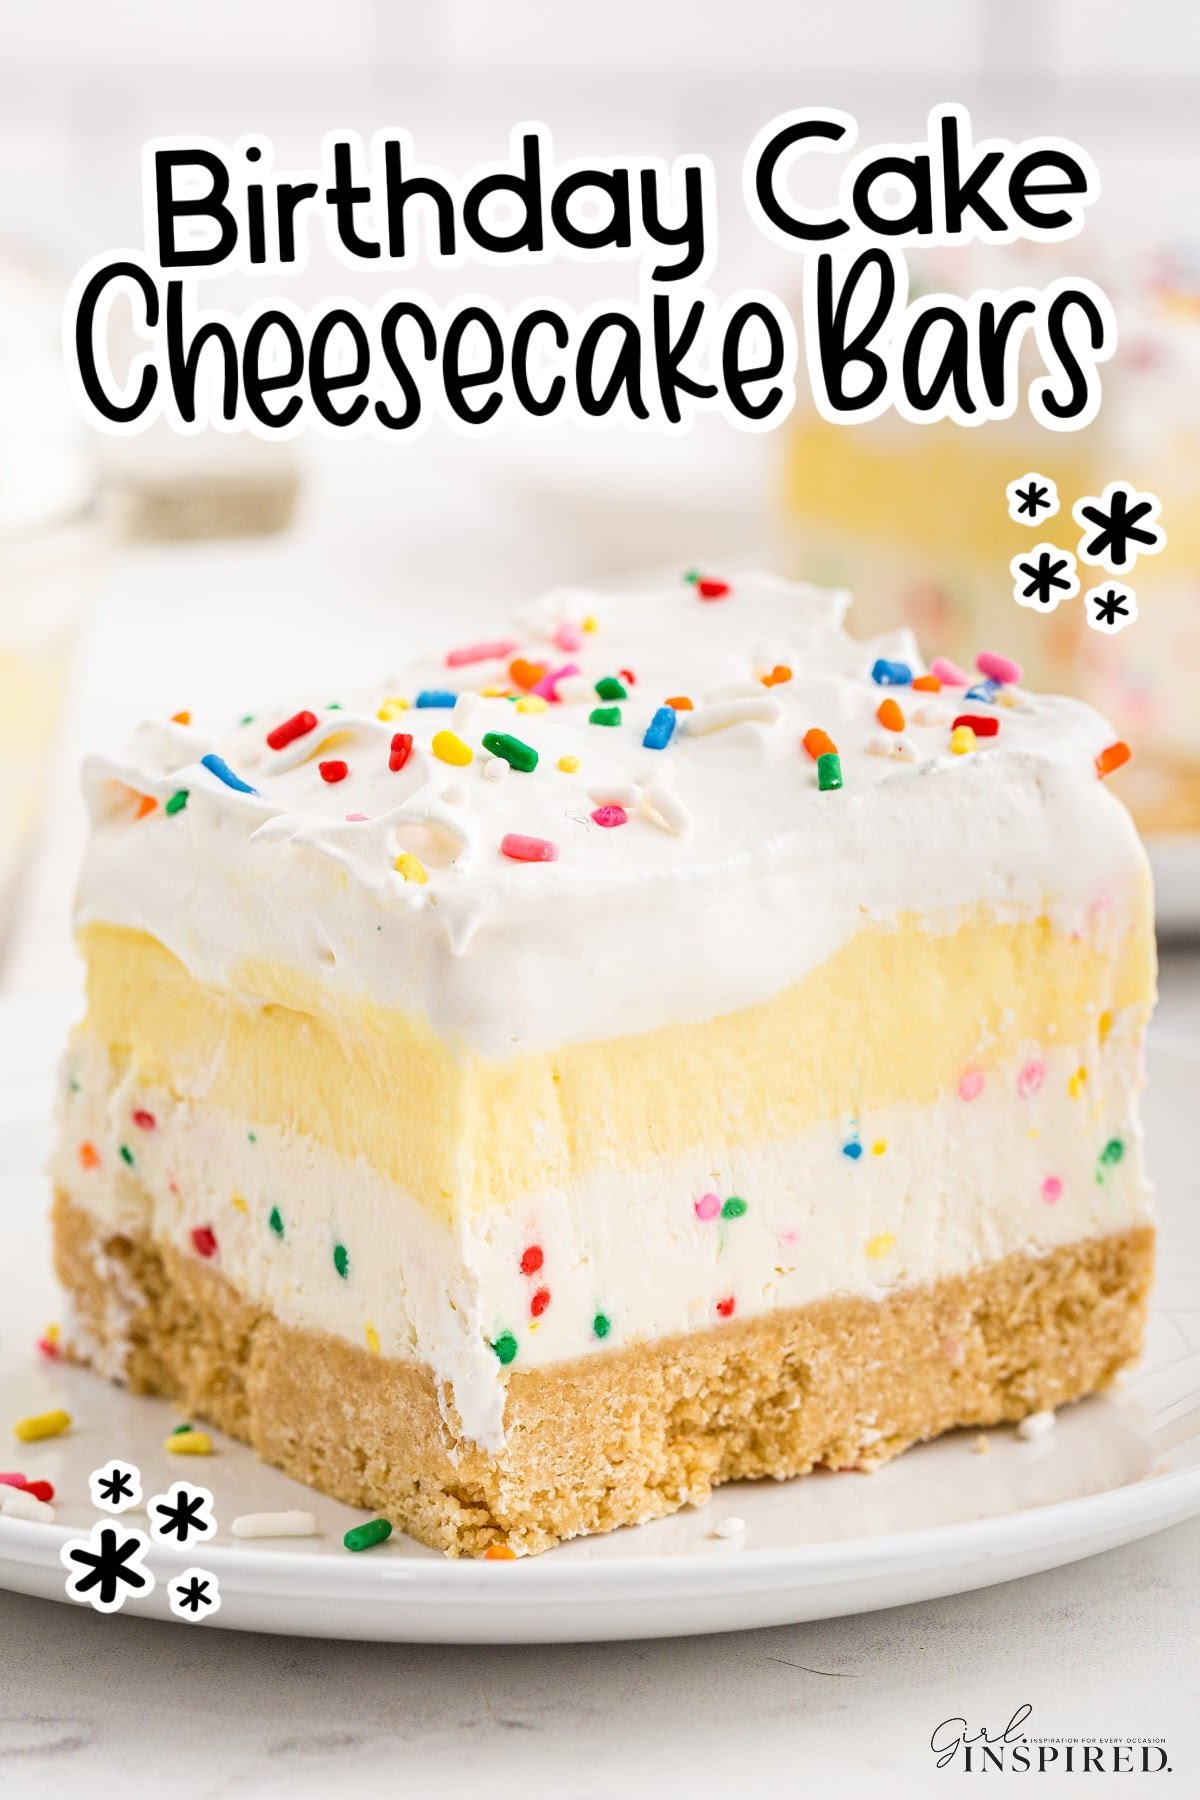
This no-bake happy birthday cake cheesecake bars recipe is perfect for children’s birthday parties or a special occasion alongside Rainbow Popcorn, Homemade Blue Bubble Gum Ice Cream, and Funfetti Cake. While I’ve made the base with crushed vanilla sandwich cookies, you can easily use this Graham Cracker Crust instead.
Make this colorful and scrumptious birthday-inspired cake the day before or well in advance by storing it in the freezer. It’s incredibly easy to make and is sure to be a hit! If this cake gets you excited, you may also like to try similar desserts such as Brownie Bottom Cheesecake, No Bake Oreo Cheesecake, and Strawberry Cheesecake Trifle.
Jump to:
Why You’ll Love these Cheesecake Bars
- This recipe allows you to enjoy the best of traditional funfetti birthday cake combined with no-bake cheesecake bars! You no longer have to choose.
- This dessert is freezer-friendly which means that you can prepare it ahead of time for added convenience.
- Birthday Cake Cheesecake Bars is a bright and colorful fun dessert, perfect for celebrations such as parties, baby showers, or other special occasions.
🍰 Ingredients:
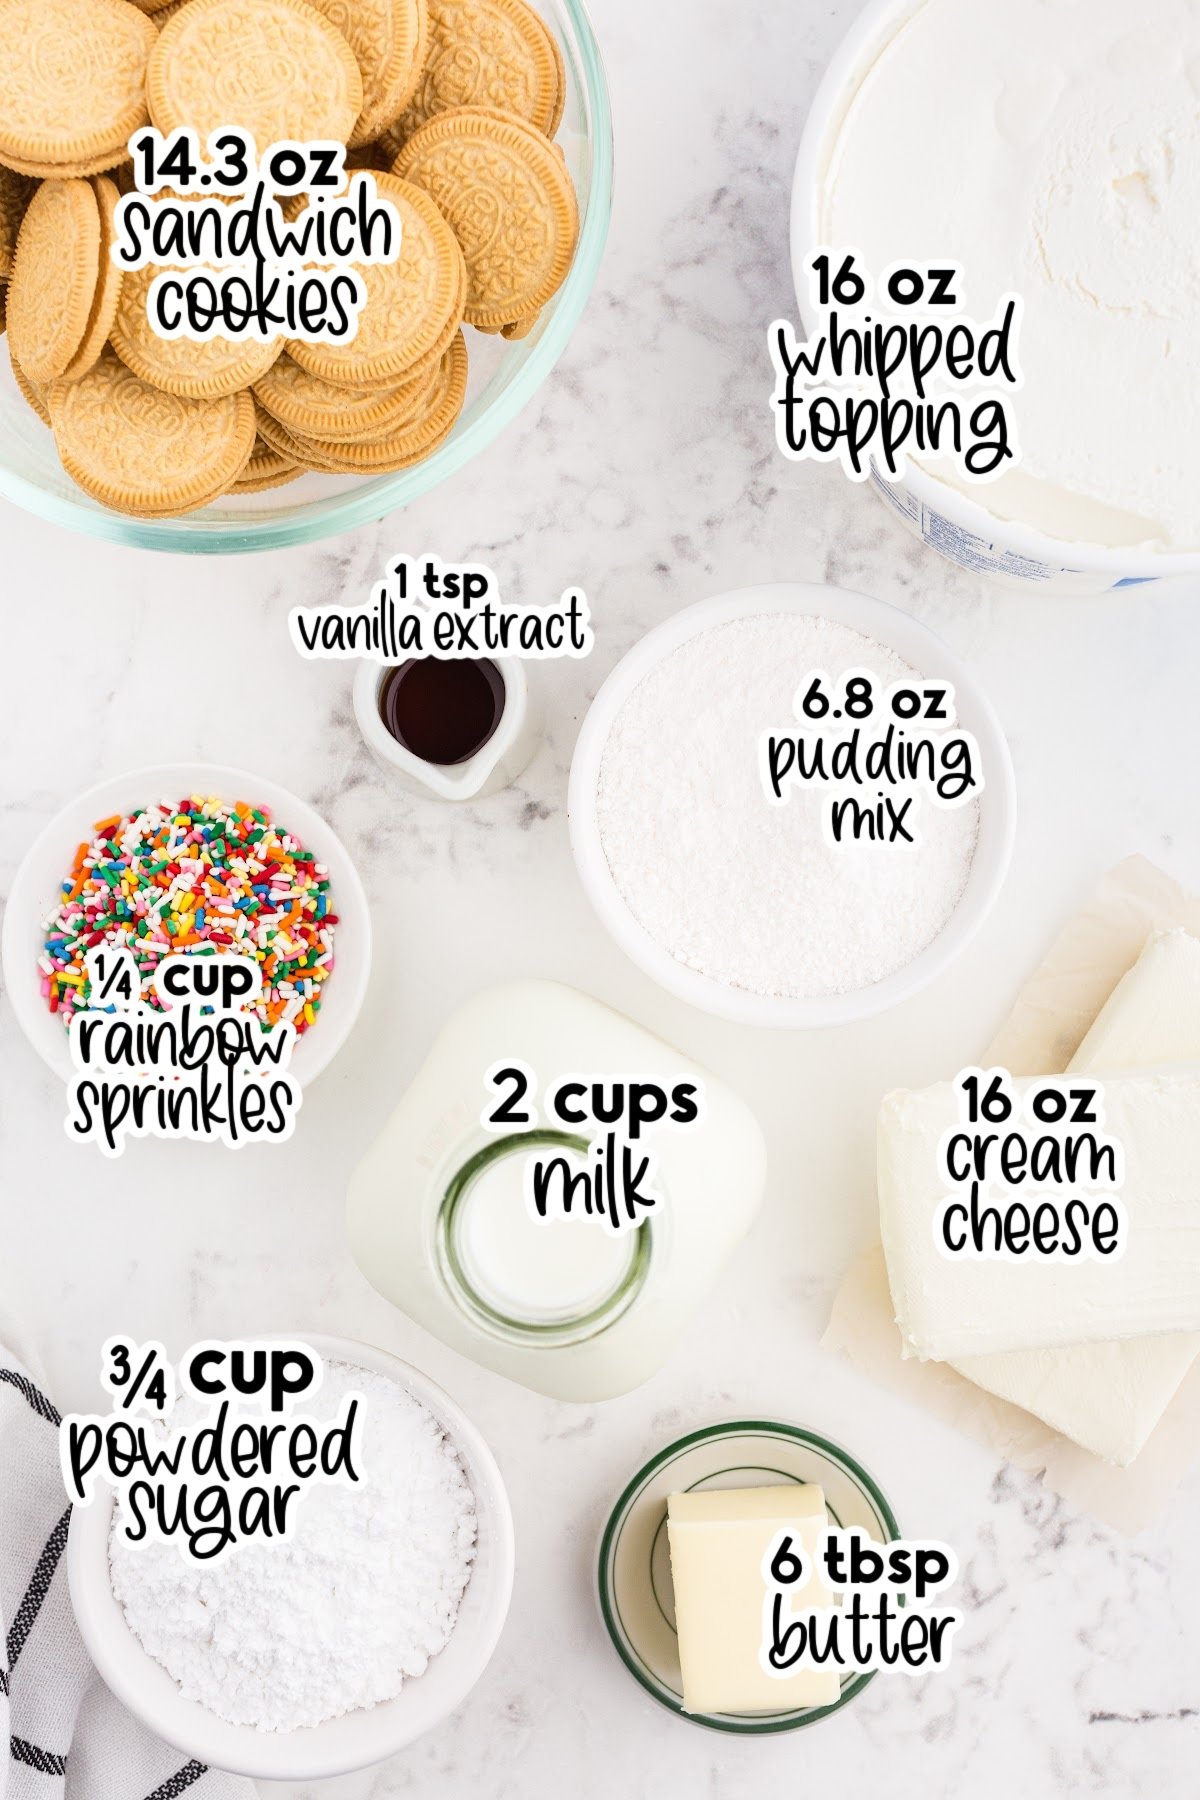
- Vanilla sandwich cookies – choose your favorite store bought brand for this golden oreo crust
- Butter – salted butter
- Cream cheese – softened cream cheese to room temperature, this is for the layer of cheesecake
- Powdered sugar – helps sweeten up this dessert
- Vanilla extract – vanilla adds a nice warm flavor to the batter
- Frozen whipped topping – Cool Whip
- Rainbow sprinkles – lots of sprinkles for the bursts of color in the cheesecake and also for garnish on top
- Vanilla instant pudding mix – You can use whichever brand you prefer
- Whole milk – whole milk helps keep this thick and creamy
For a full list of ingredients and their measurements, 📋 please view my printable recipe card at the bottom of the post.
Substitutions and Variations
- You can use unsalted butter if that is what you have on hand. Just be sure to add in ½ tsp. of salt into the mixture.
- A fan of graham crackers? You can also try a graham cracker crust. Then also crush up some graham cracker crumbs and sprinkle on top of the finished cake.
- Or try Nilla wafers instead of the vanilla cookies on this crust.
- Instead of using vanilla pudding mix (or white chocolate pudding), use a chocolate pudding mix or another flavored pudding mix of your choice.
- Chocolate Oreos can be used instead of the vanilla variety for the cake’s crushed cookie base.
- Use different tones of one color for your sprinkles if you are making this cake for a specific theme, e.g. blues or pinks for baby shower gender reveals.
- If you prefer, you can use homemade whipped cream in place of the Cool Whip on top of the cake.
🔪 Instructions:
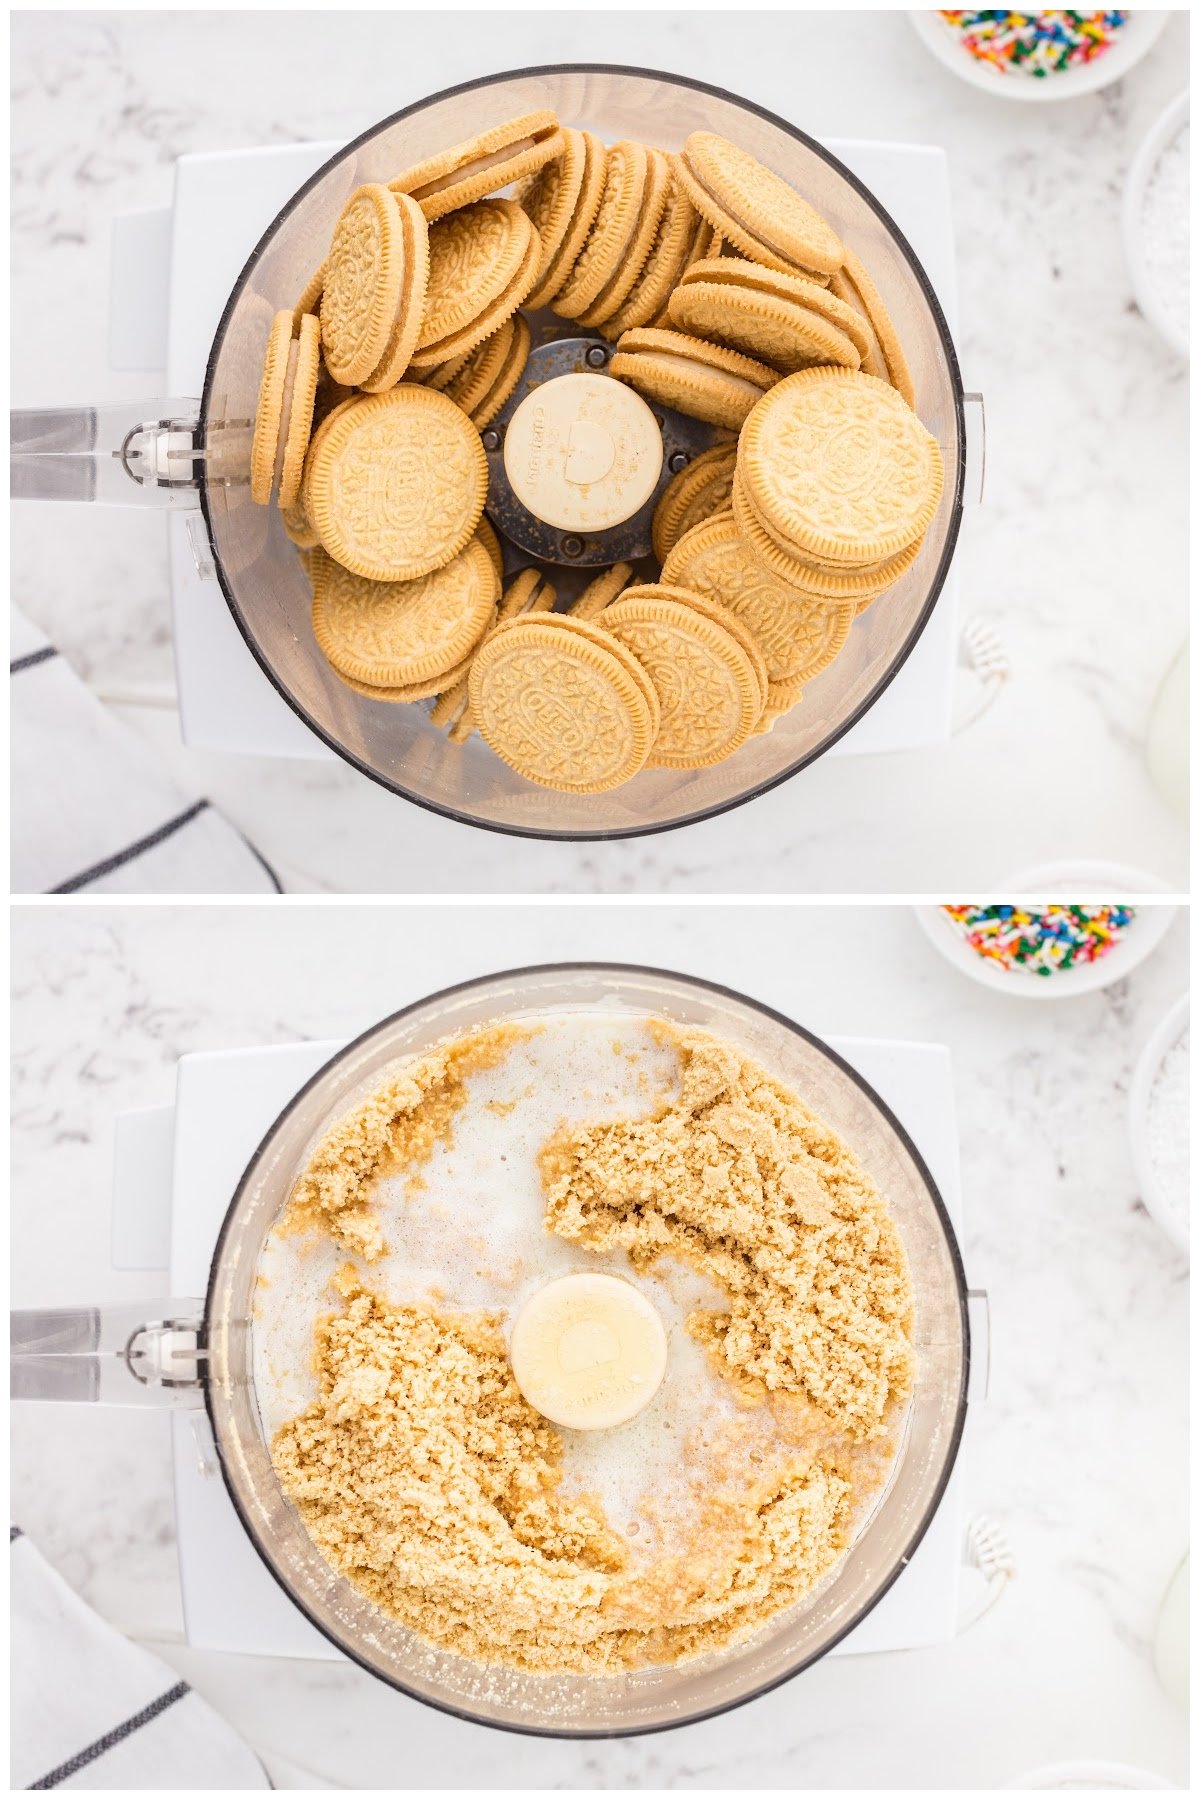
Step 1: Crush golden Oreos (or vanilla sandwich cookies) in a food processor until fine crumbs are formed. Add the melted butter and pulse a few more times to combine the butter and cookie crumbs.
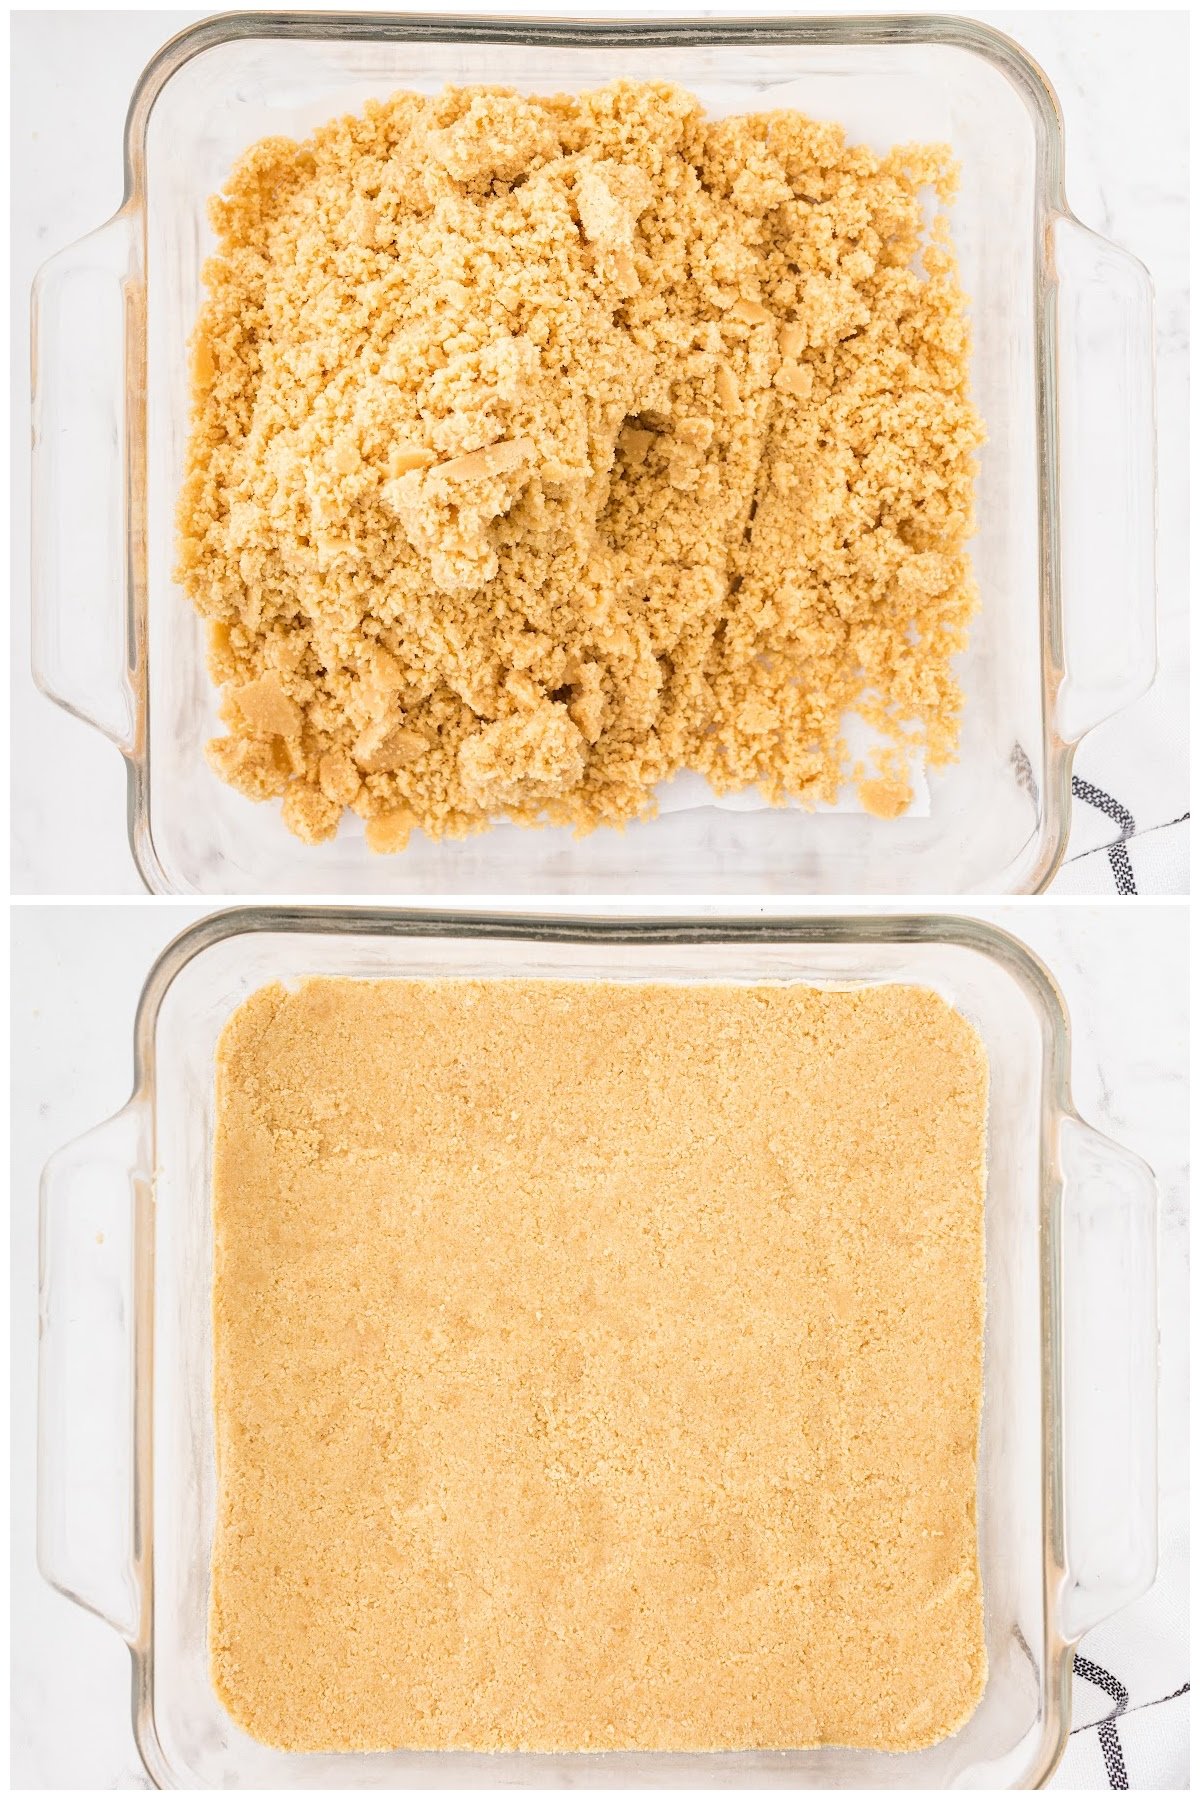
Step 2: Add the crushed cookie mixture to the prepared baking dish and press down with a spatula or clean fingers so the base is even and covers the entire bottom of the glass dish. Add the glass dish to the freezer for 10 minutes to set.
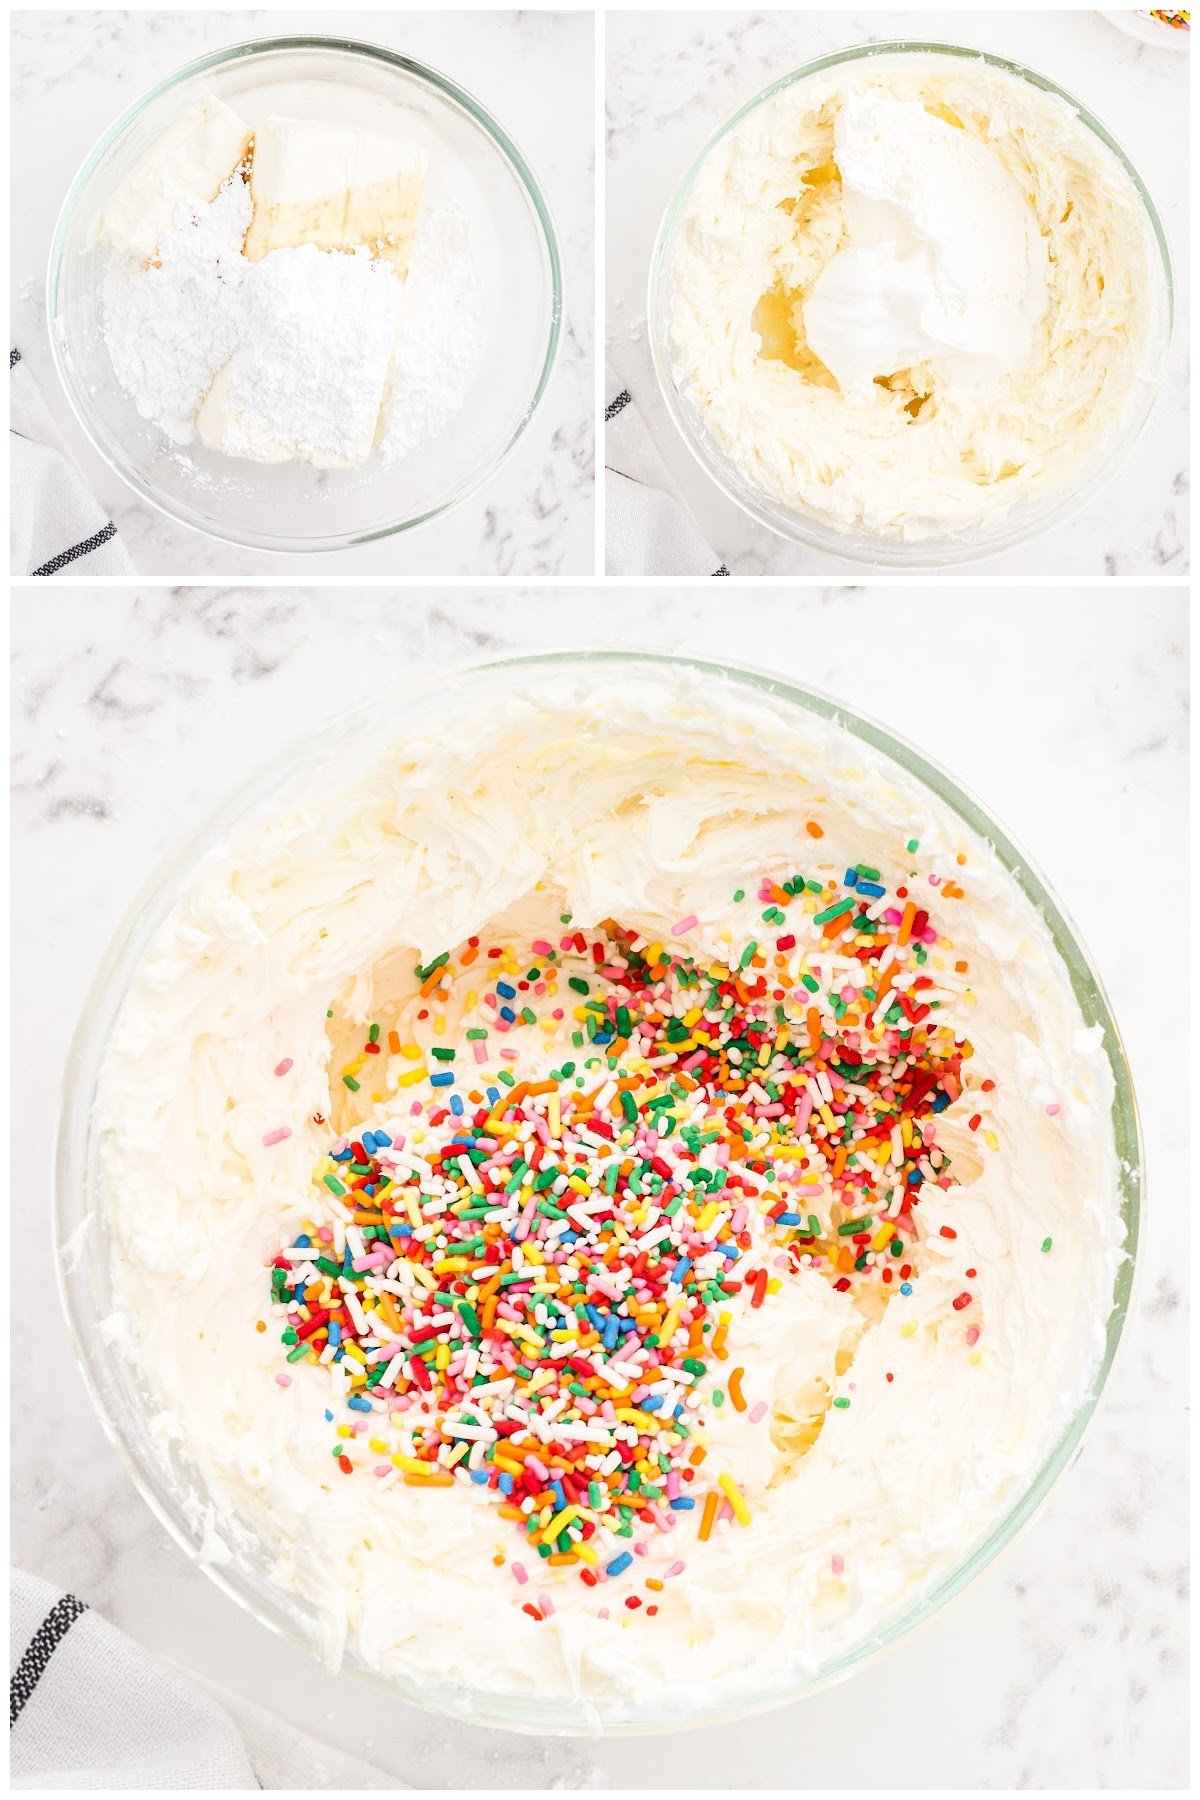
Step 3: Using a stand mixer or electric hand mixer, beat the cream cheese with powdered sugar, vanilla extract, and whipped topping until it has a smooth and creamy consistency. Using a rubber spatula, scrape the sides of the bowl and then gently fold in the rainbow sprinkles.
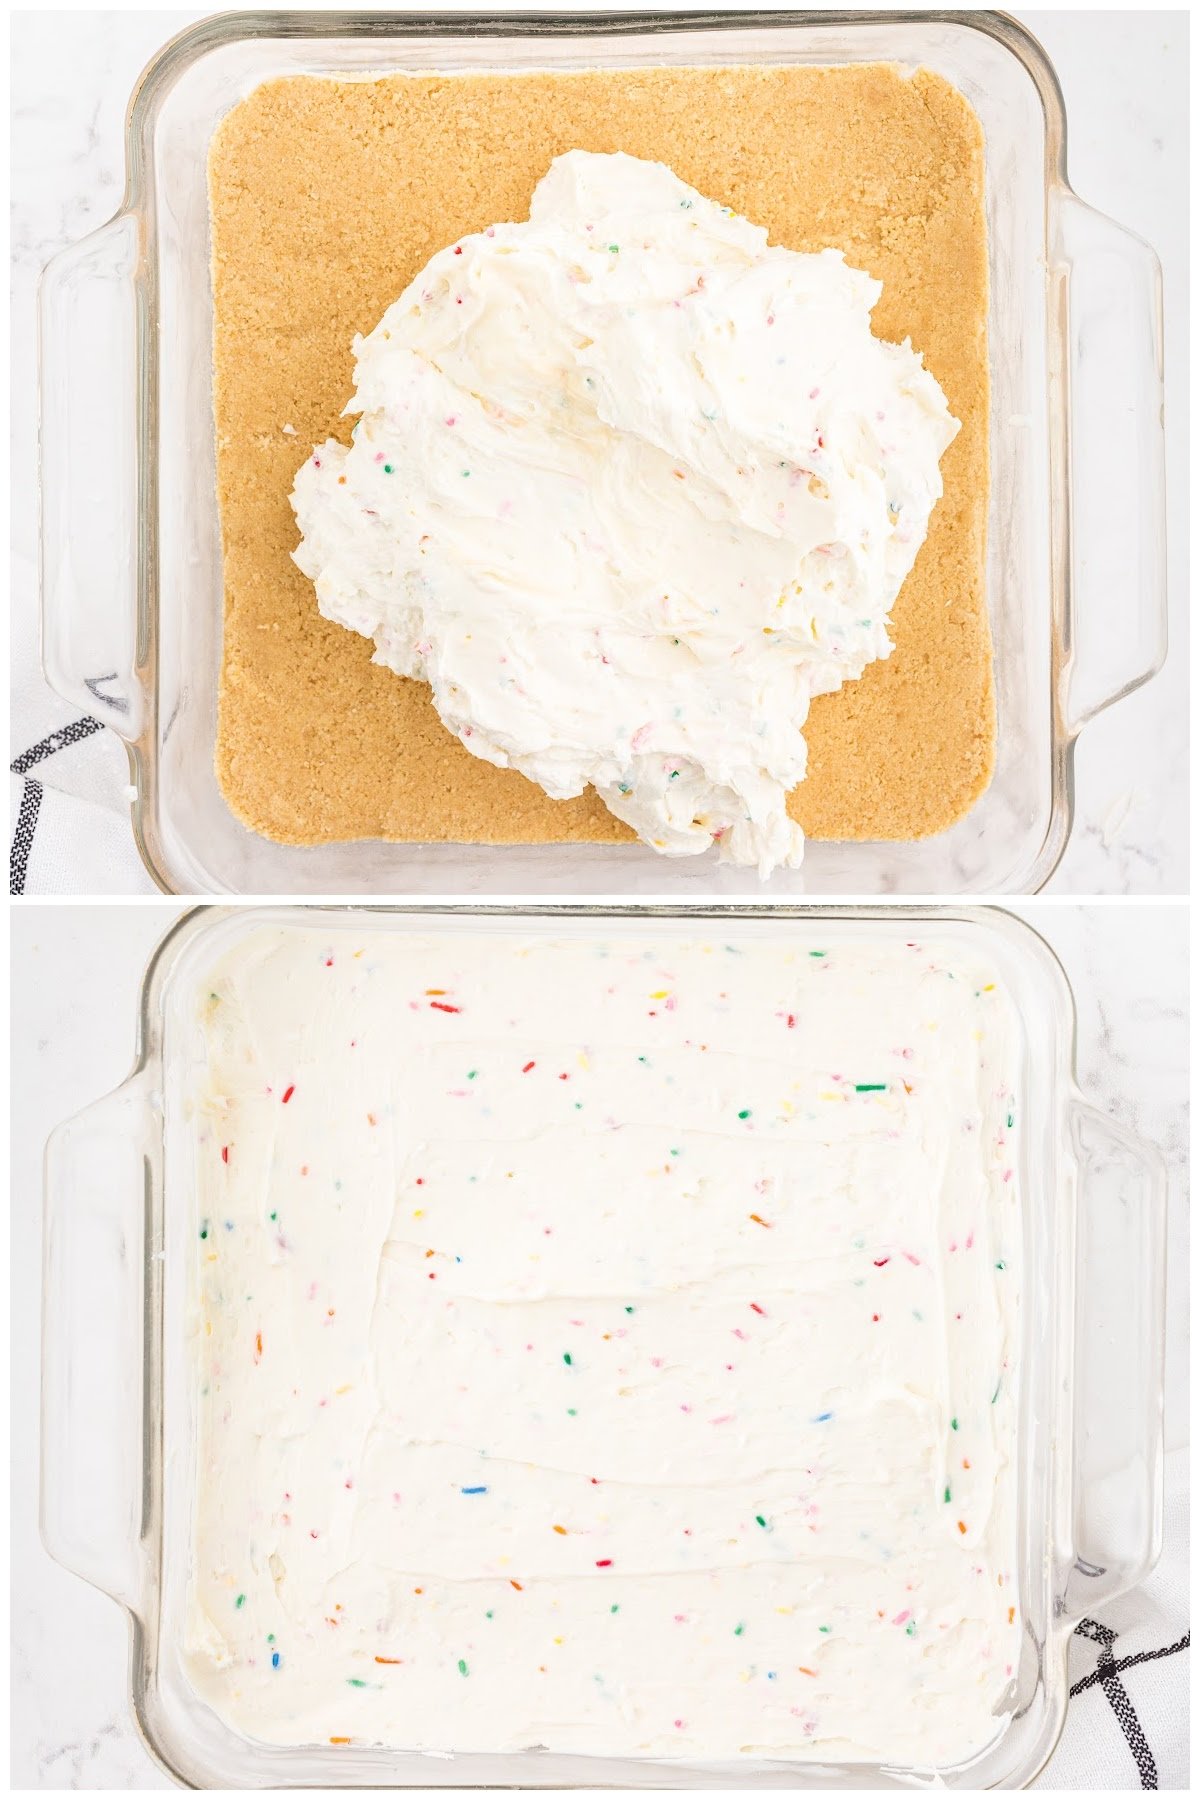
Step 4: Pour mixture of cheesecake batter over the prepared pie crust. Place the dessert back into the freezer to chill while preparing the next layer.
PRO TIP: Check that the type of sprinkles you have don’t easily bleed. Some sprinkles have their color painted on which is indicated on the packaging and those types do tend to bleed even if folded gently into the cheesecake filling. Rainbow jimmies are typically a safe bet.
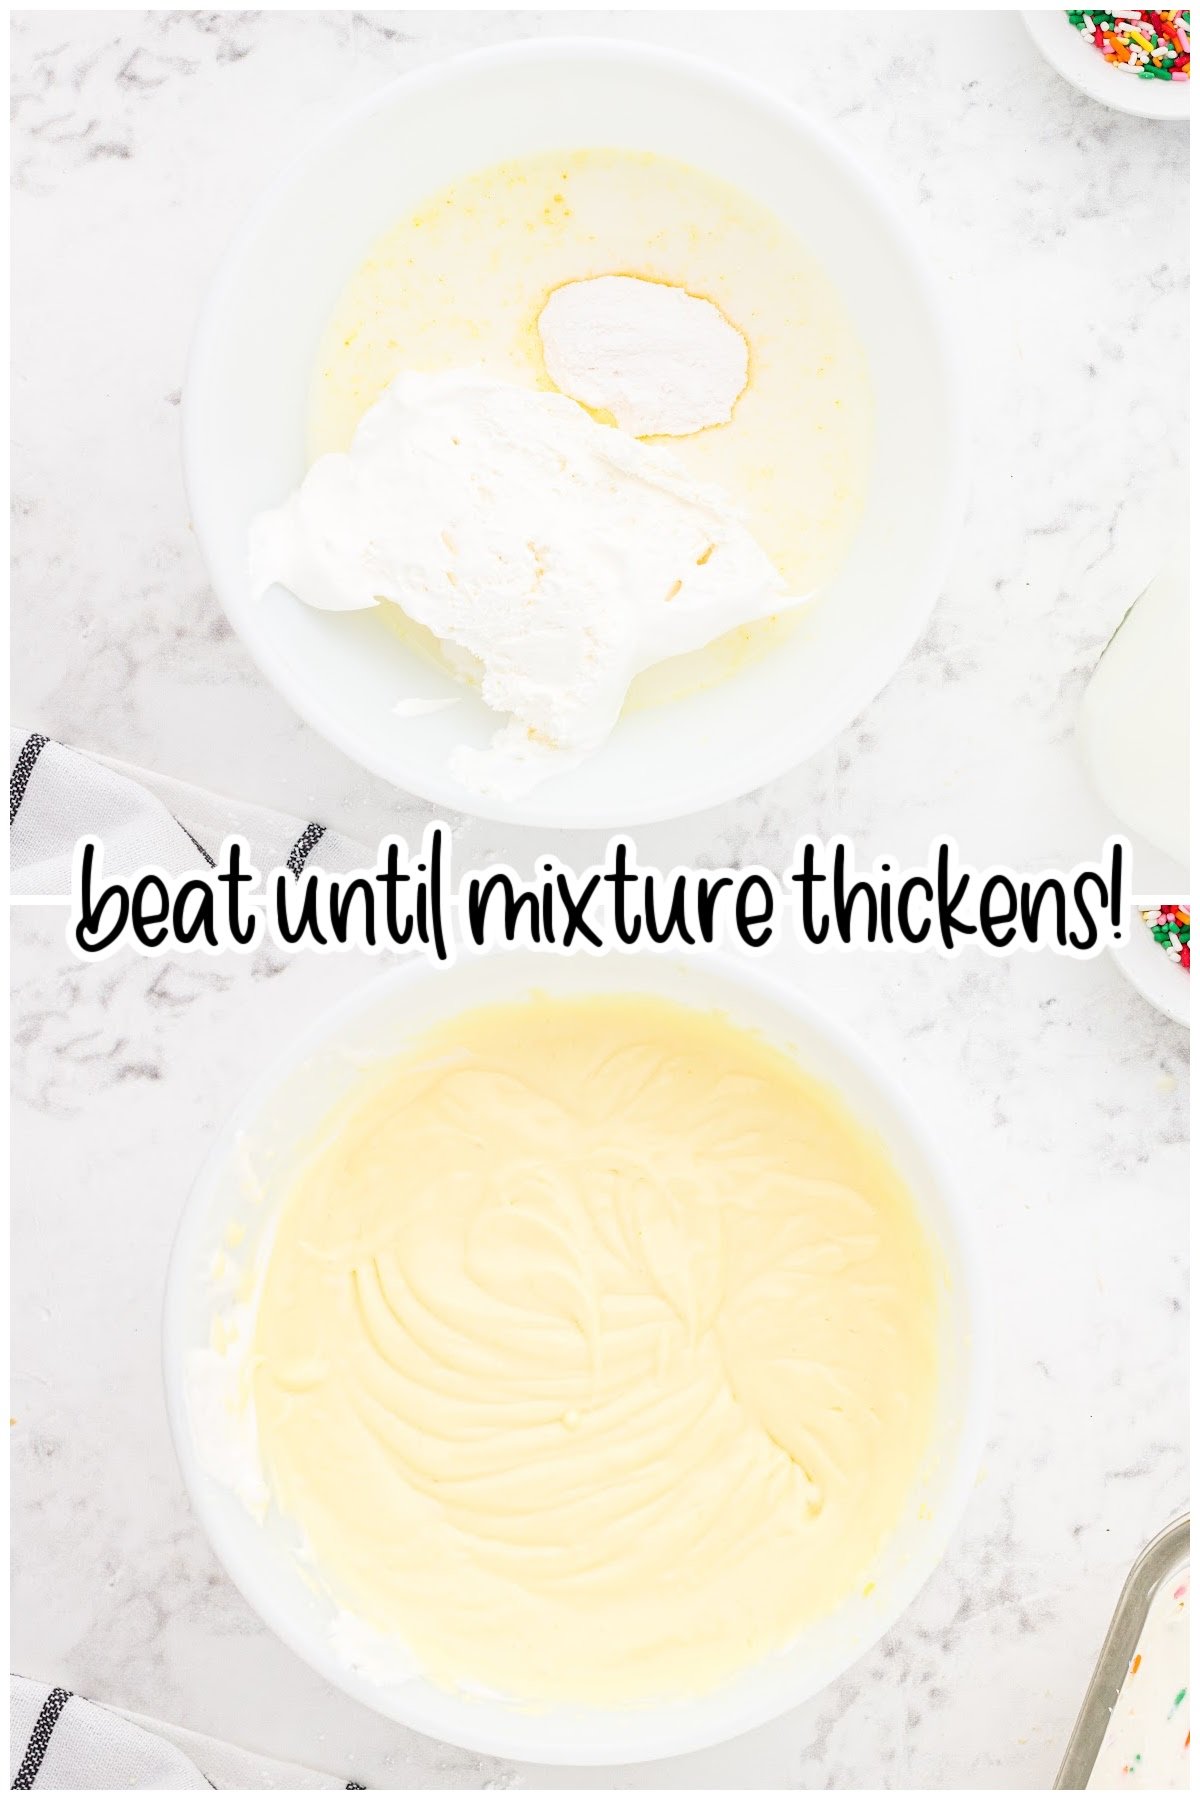
Step 5: While the dessert is in the freezer, combine the ingredients to make the vanilla pudding layer in a large mixing bowl.
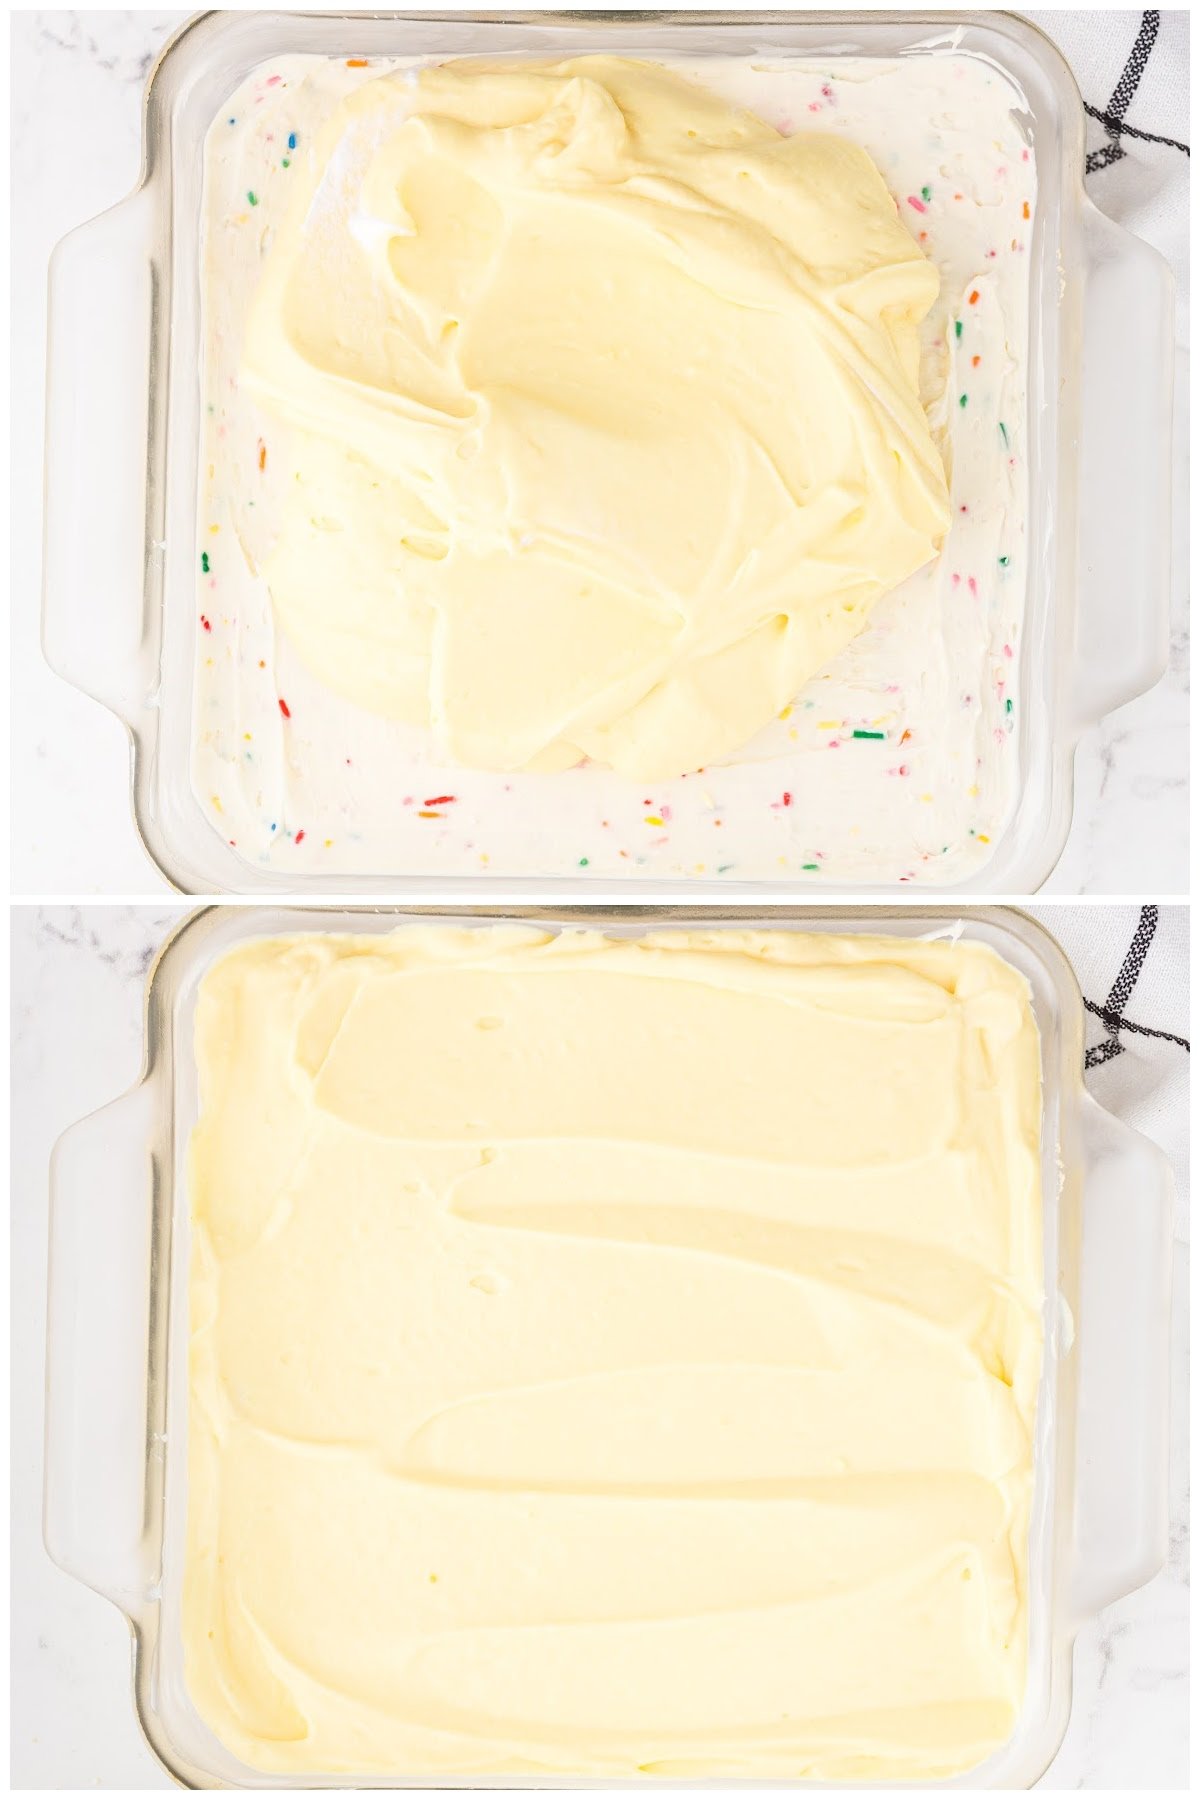
Step 6: Spread the pudding mixture over the top of the cheesecake layer and chill the dessert in the fridge for 30 minutes or until the pudding has set.
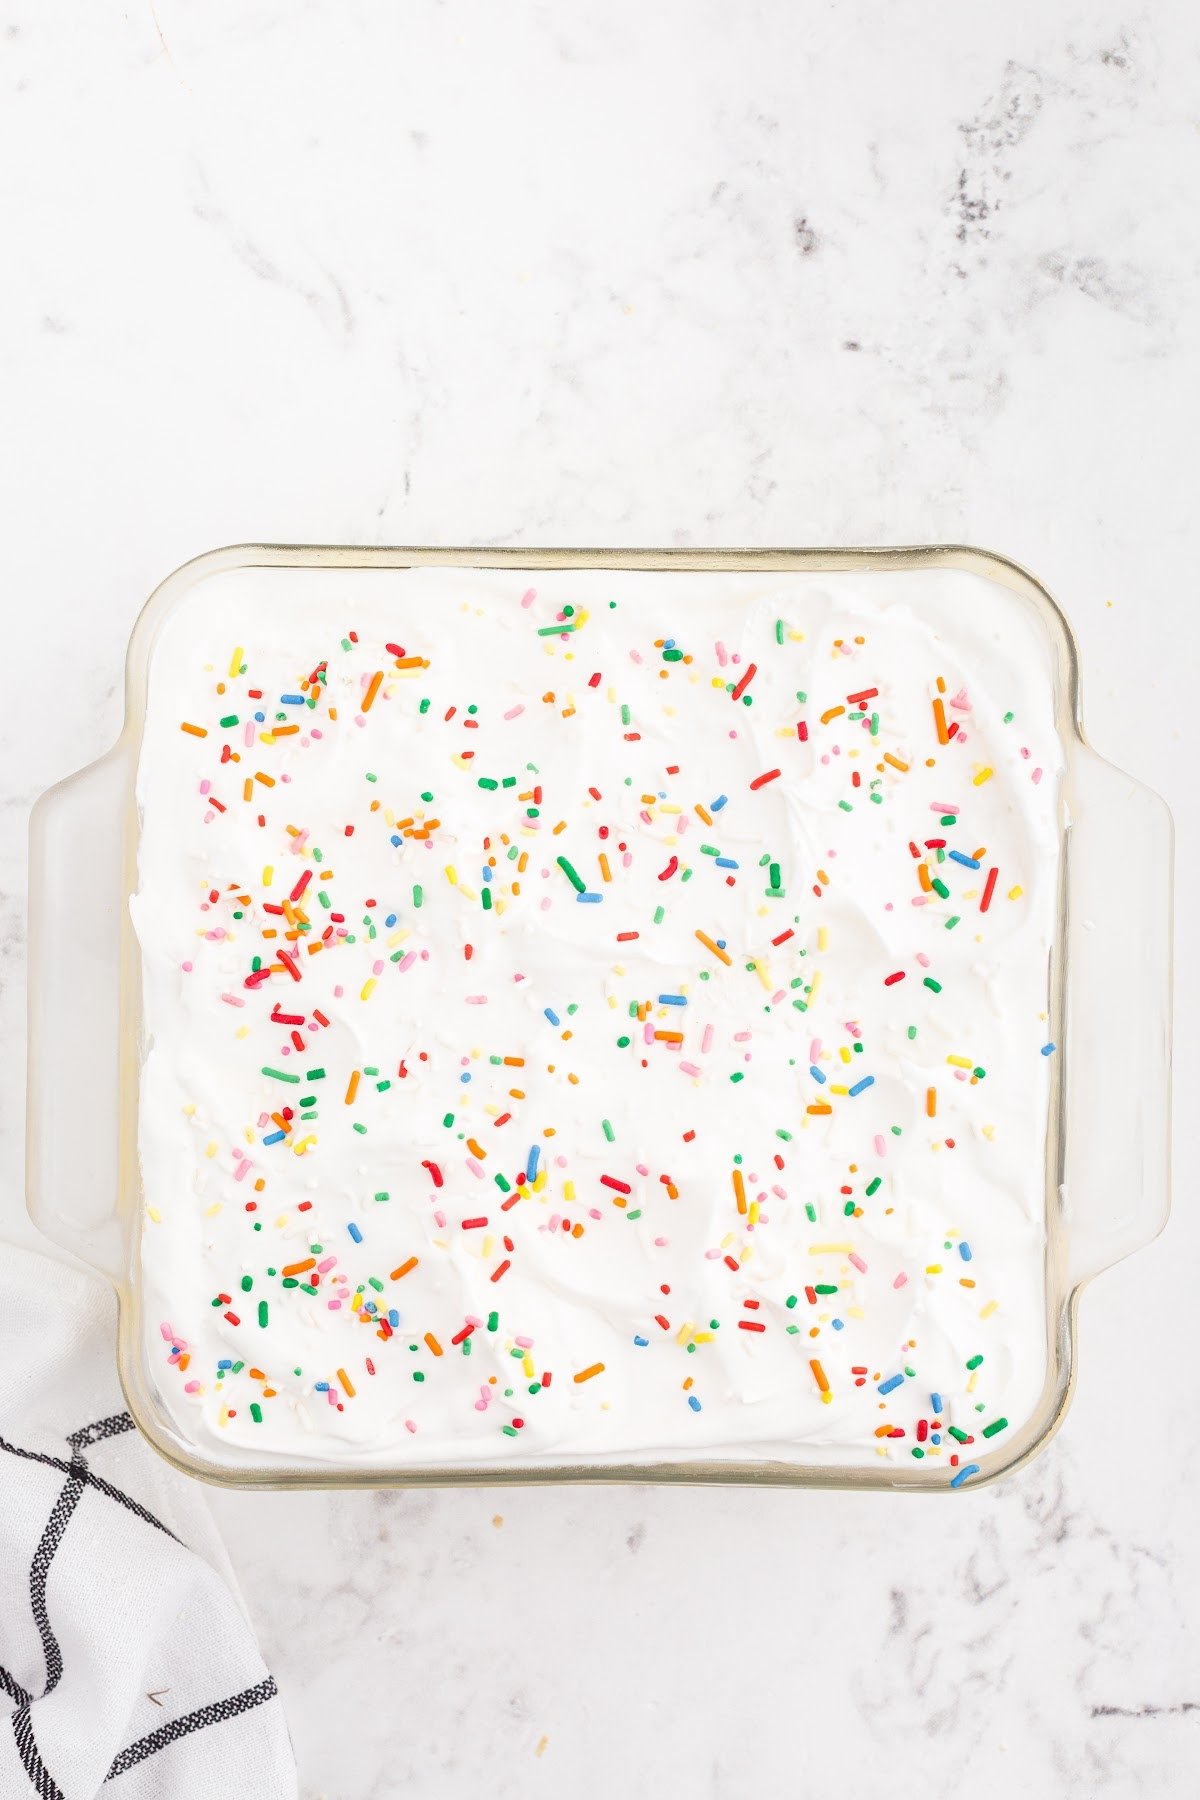
Step 7: Once the dessert has chilled and set, top it with any extra whipped topping and add additional rainbow sprinkles. Chill this birthday cake cheesecake bars dessert in the fridge until ready to serve.
GARNISH/SLICE/SERVE: Serve a slice and enjoy! You can enjoy this solo or with fresh fruit or a scoop of vanilla ice cream.
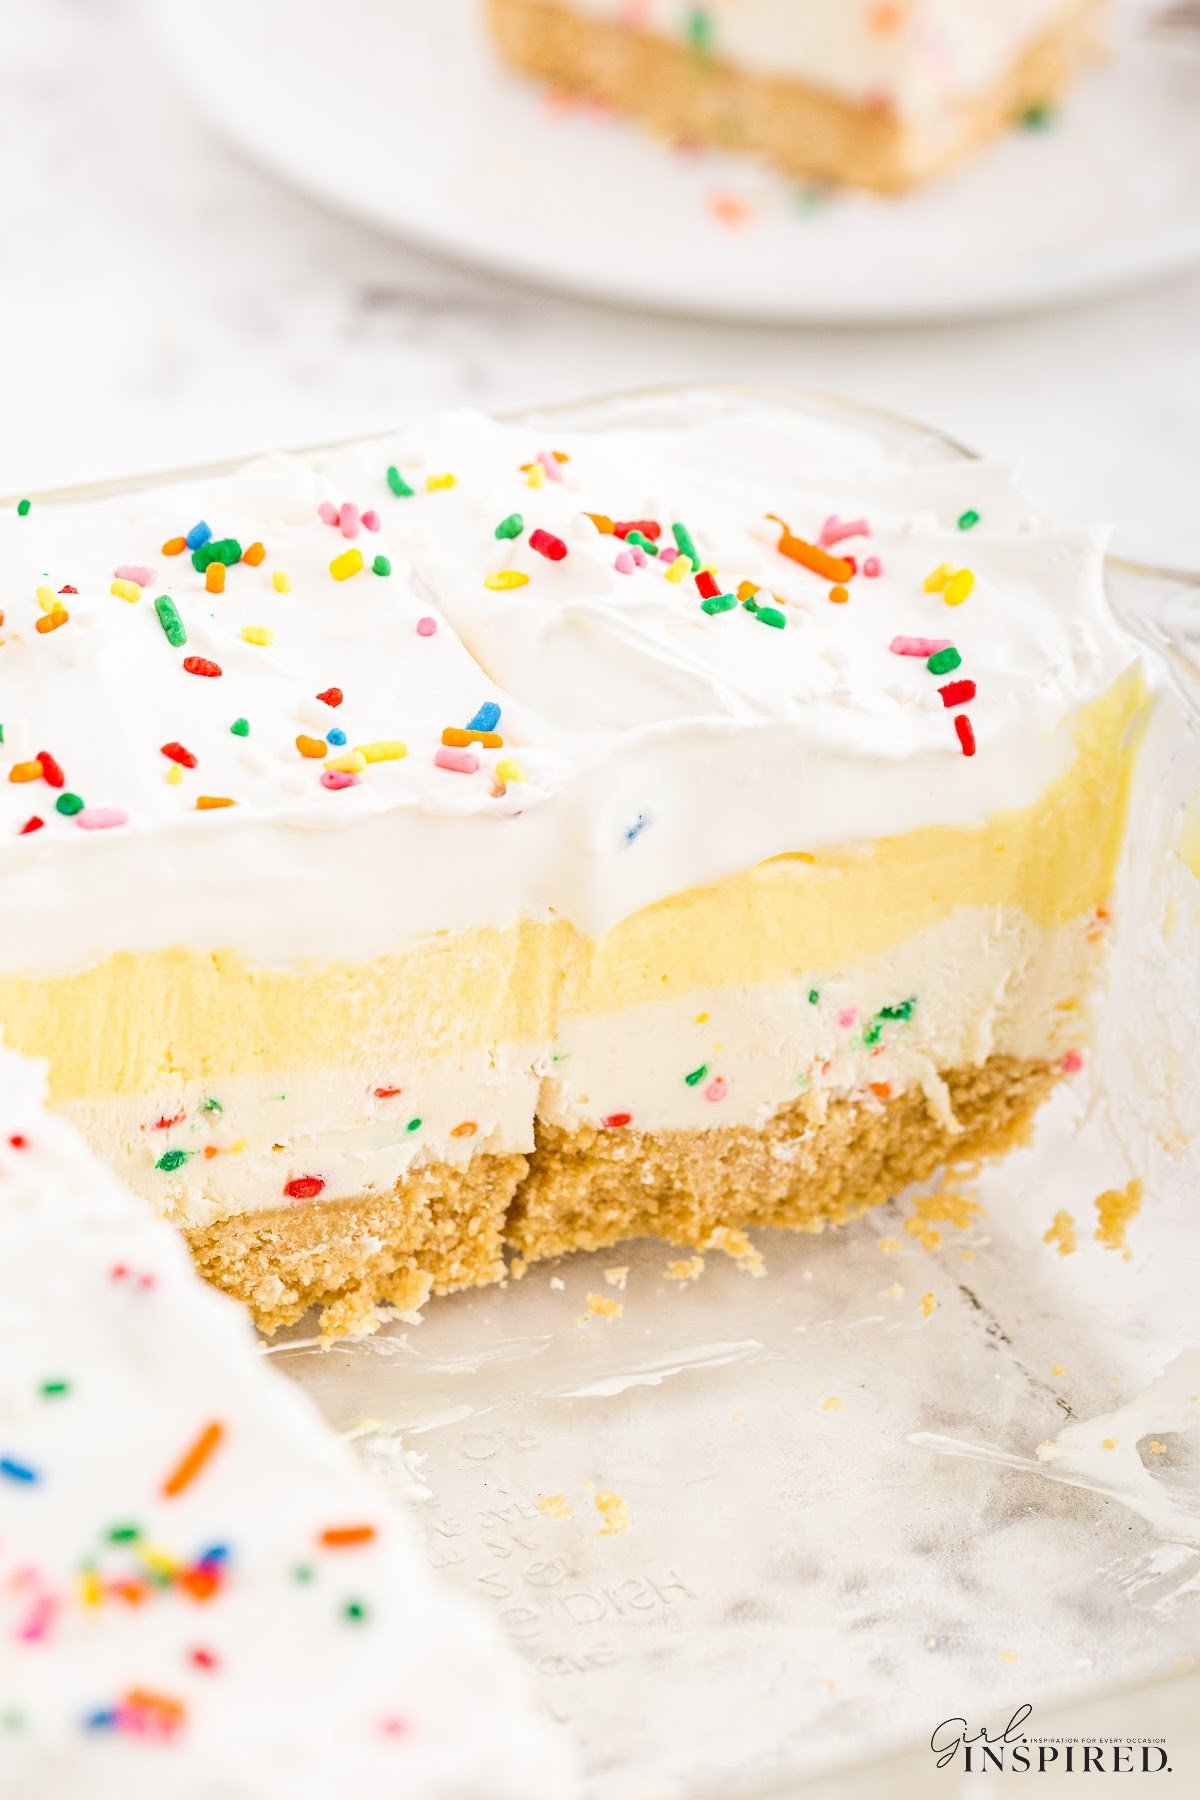
Tips for making Funfetti Cheesecake Bars
- When first making this cake, my one concern was whether the sprinkles would bleed when mixed with the cream cheese mixture. It’s always best to check the sprinkles you purchase for possible bleeding before stirring them into the mixture. Some of the nonpareil type sprinkles have the color “painted” on as listed on the packaging and this is a good indication that those particular sprinkles will bleed. “Jimmies” are typically safe to mix in without bleeding, while most nonpareils will bleed.
- You can also add some vanilla cookie crumbles to the top of your cake in addition to the sprinkles.
- I used whole golden Oreo cookies for this oreo cookie crust but you could use other brands of vanilla sandwich cookies instead if you like.
- Whenever making cheesecake filling, it’s best for the cream cheese to first soften at room temperature before combining it with other ingredients as this will ensure a smooth and creamy consistency without any lumps in the dessert.
Fun Fact
Back in 1989, Pillsbury introduced its vanilla cake mix with multicolored sprinkles called “Funfetti” and ever since then, it’s been a well-known birthday party staple for kids around the globe with various homemade modifications introduced.
My Birthday Cheesecake recipe takes inspiration from the classic funfetti cake and marries it with a delicious layered no-bake ingredients such as a cheesecake filling, vanilla pudding mix, and whipped topping!
It’s not just fun to look at, it’s super delicious and puts a smile on any little face that gets a slice.
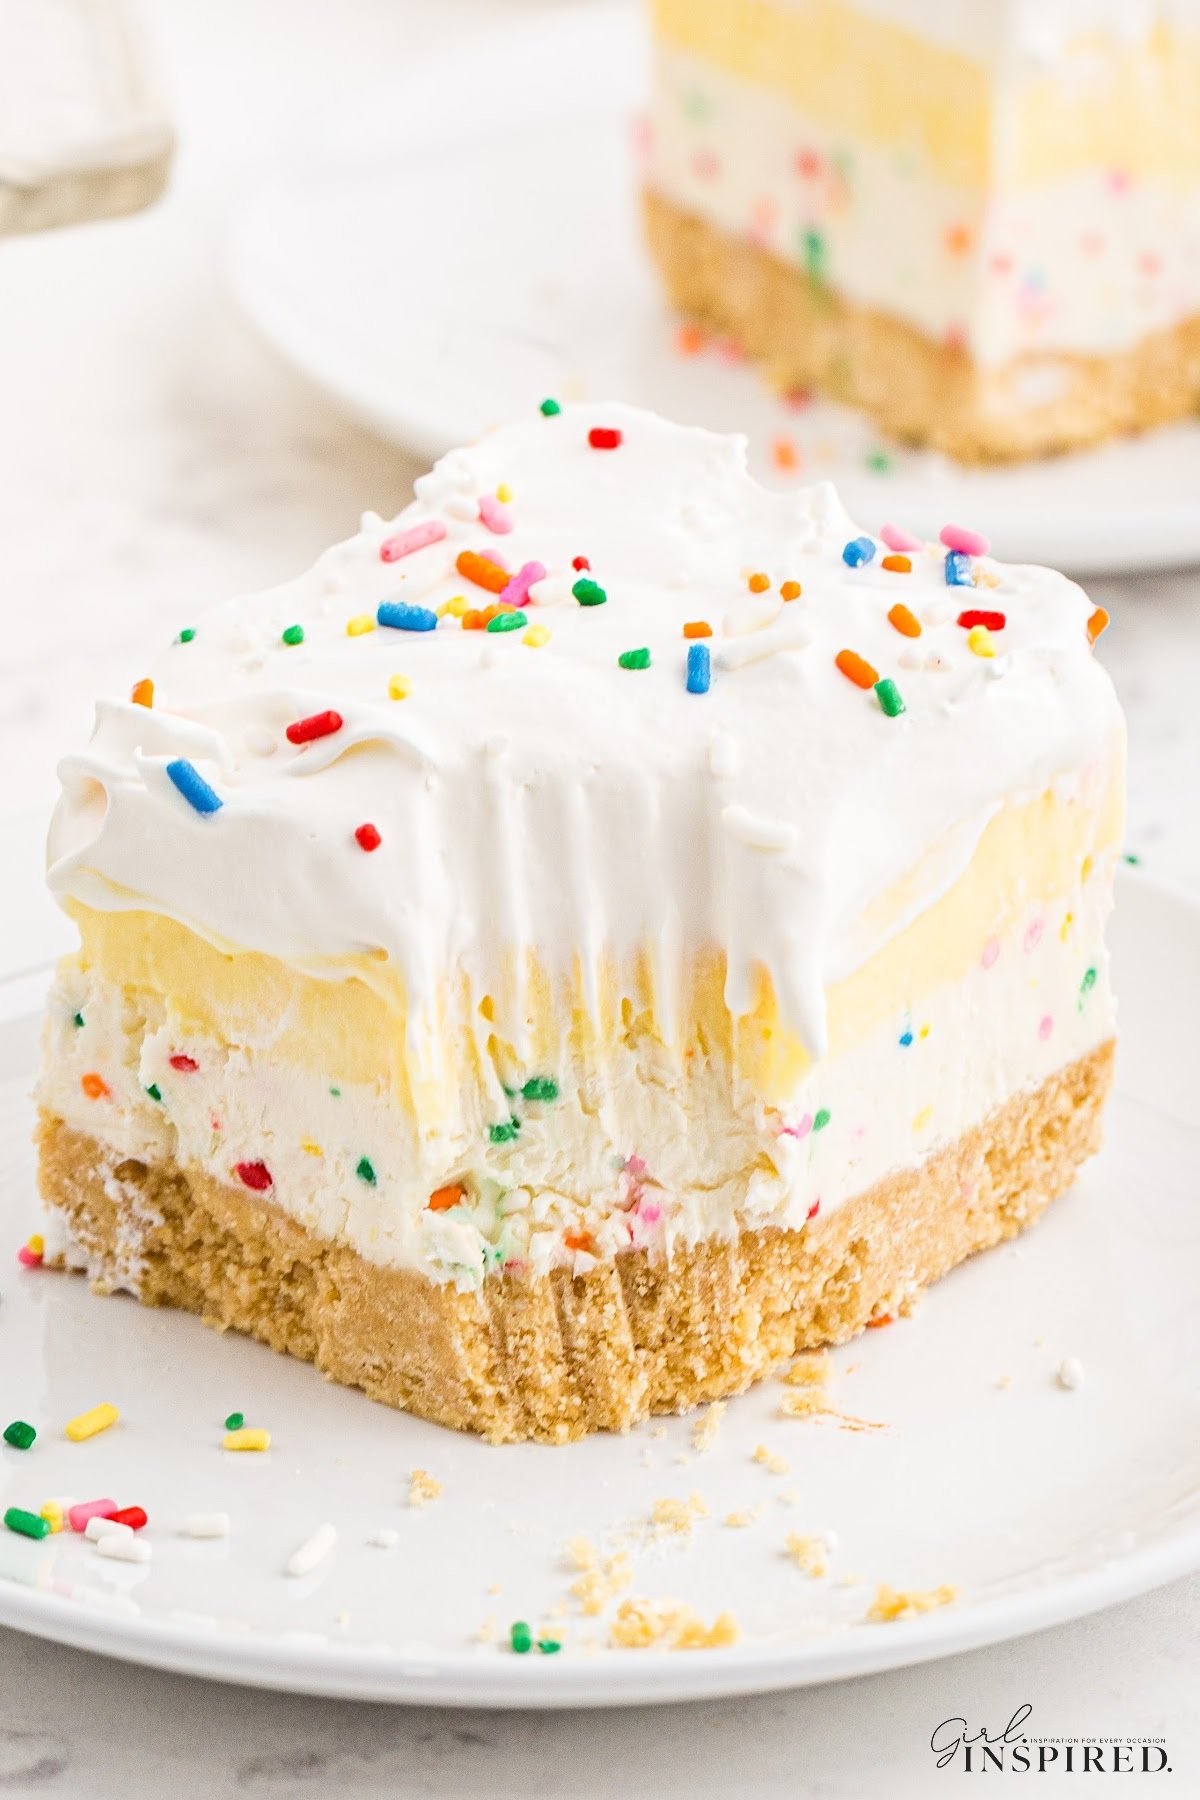
Recipe FAQs
This birthday cake can be stored in the refrigerator in an airtight container or covered in plastic wrap for up to 7 days but shouldn’t be left at room temperature for an extended period of time due to the cream cheese and whipped topping.
Yes! You can also freeze this cake for up to 3 months which is great if you have leftovers or if you are making it ahead of time. Store it in an airtight container in the freezer and then allow it to defrost in the refrigerator prior to serving.
More Scrumptious Cake Recipes To Try!
If you tried this Birthday Cake Cheesecake Bars Recipe or any other recipe on my website, please leave a 🌟 star rating and let me know how you liked it in the 📝 comments below.

Birthday Cake Cheesecake Bars
Ingredients
- 14.3 ounce vanilla sandwich cookies (approximately 36 cookies, 2 ½ cups when crushed)
- 6 tablespoons salted butter melted and cooled (plus more for greasing dish)
- 16 ounces cream cheese softened to room temperature
- ¾ cup powdered sugar
- 1 teaspoon vanilla extract
- 16 ounce frozen whipped topping Cool Whip, defrosted and divided
- ¼ cup rainbow sprinkles plus more for garnish
- 6.8 ounce vanilla flavored instant pudding mix 2 x 3.4-ounce packages. White chocolate pudding can also be used.
- 2 cups whole milk
Instructions
- Butter an 8×8 glass baking dish and set aside.
- In the bowl of a food processor, crush vanilla sandwich cookies until small even crumbs form. Add melted butter and pulse until combined.
- Press cookie/butter mixture into the greased baking dish and place in freezer for 10 minutes to chill while preparing the next layer.
- With a hand mixer or in the bowl of a standing mixer, beat together cream cheese, powdered sugar, vanilla, and 1 cup of frozen whipped topping until smooth and creamy (about 5 minutes.) Add in sprinkles and stir just until combined.
- Spread cream cheese mixture over the chilled cookie crumb layer and place back into freezer for another 10 minutes.
- With a whisk or beater, combine both packages of pudding mix, milk, and 1 cup of frozen whipped topping. Whisk until combined and mixture begins to thicken.
- Spread pudding layer over the chilled cream cheese layer and chill for 30 minutes or until pudding is set.
- Gently top whipped topping, creating swoops with the back of a spoon or spatula (you may have leftover whipped topping). Top with more sprinkles. Chill until ready to serve.
Would you like to save this?
Notes
- When first making this cake, my one concern was whether the sprinkles would bleed when mixed with the cream cheese mixture but I was pleasantly surprised to discover that they didn’t! Regardless, it’s always best to check the sprinkles you purchase for possible bleeding before stirring them into the mixture. Some of the nonpareil type sprinkles have the color “painted” on as listed on the packaging and this is a good indication that those particular sprinkles will bleed. “Jimmies” are typically safe to mix in without bleeding, while most nonpareils will bleed.
- You can also add some vanilla cookie crumbles to the top of your cake in addition to the sprinkles.
- I used vanilla Oreo cookies for this cake but you could use other brands of vanilla sandwich cookies too if you like.
- Whenever making cheesecake filling, it’s best for the cream cheese to first soften at room temperature before combining it with other ingredients as this will ensure a smooth and creamy consistency without any lumps in the dessert.
Nutrition
Make this recipe?
Share it with me on Instagram @girlinspired1 and follow on Pinterest for more!



Comments & Reviews
Jennifer Riley says
This recipe is DELICIOUS! I made it for a coworker’s birthday and get frequent requests to make it again. I follow the recipe and use a 9X13 pan.
Patty says
recipe calls for 2 cups milk but instructions did not say when to add the milk
Stefanie says
In step 6, you add the milk in to make the pudding layer. Enjoy, Patty!