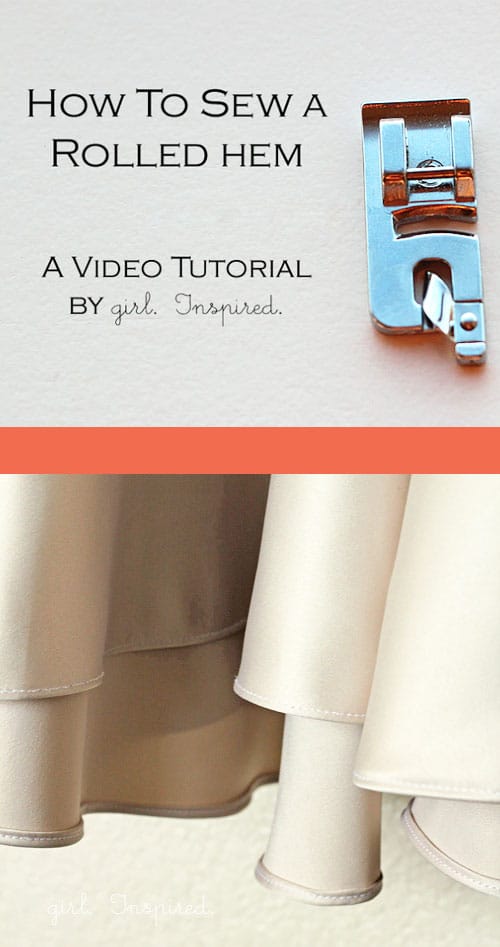
The rolled hem presser foot is just another amazing little device that makes my sewing life a million times easier. Using this sewing machine attachment makes hemming sheer and slippery fabrics an absolute breeze. The fabric takes very little preparation and the little foot does most of the work. Let’s dive in and learn how to sew a rolled hem.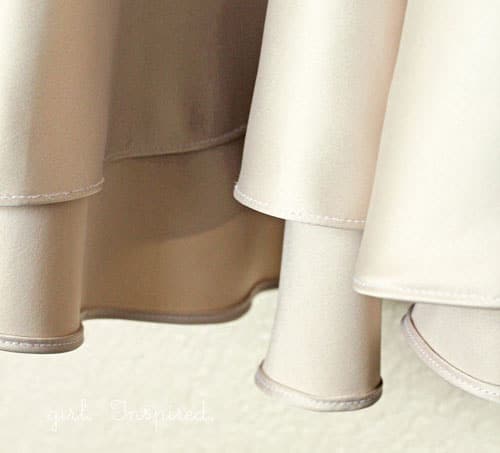
Today, I’m hoping to share my technique to easily use this tool. I thought it would be fun to see how I perform on-screen, so….I recorded a little video tutorial. I discovered that I say “um” a lot and throw in a bunch of unnecessary pauses between my overly detailed babbling. But, I think it will give you a quick picture of how I get my special presser foot to work its magic for me. And I hope it helps you with your next tricky hem!!
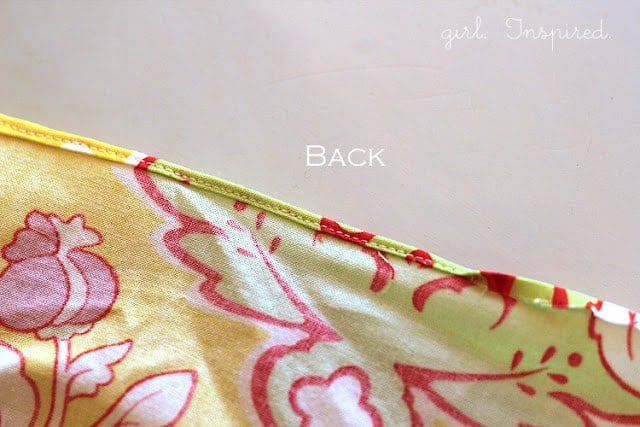
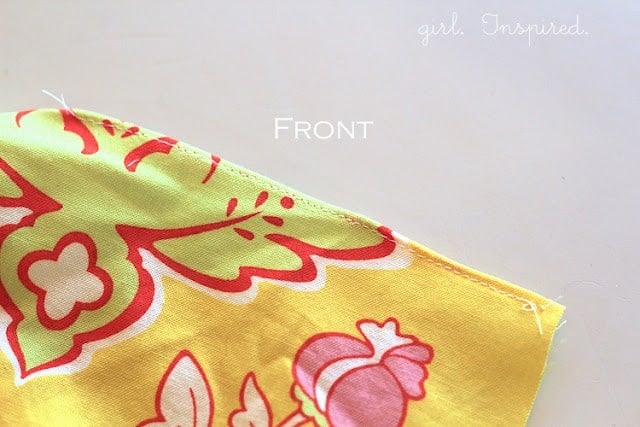
Did you find the video helpful? I have a couple close up pictures below of the finished rolled hem.


Comments & Reviews
Norma Jean says
Have always had trouble with rolled hems never thought to press the 1/8 hem first before inserting it into the guide thanks I think if I do that first I will have less problems
Lenna says
Thank you for your video. I think it would be great to have videos on sewing a rolled hem through a seam that is served or flat open 5/8 seam. Also how to use a rolled hem on a curved seam.
I appreciate your sharing of knowledge, we all get to learn
Sincerely
Lenna
BJ Marley says
I have had trouble getting it started. I’ll have to try again using your tips.
Rose says
great tutorial .. it makes the sewing very easier for me.. with much love .. <3
shannon says
Hi! LOVE this tutorial – great video and super clear. Quick question – I need to buy a rolled hem foot but I have been given the options of 4 mm, 5mm, and 7mm. Which do you use? Thanks again and keep doing your great work!
Kathy Childress says
Thank for your help. Would you also show how to cross a seam? Do you press the seam open or to one side?
girlinspired says
Hi Kathy!
I do usually press the seams open. If they are too bulky for the rolled hem foot, I sometimes lift the foot and wiggle the fabric out of the roll, then just hold the fabric rolled in place and sew over the seam, then wiggle it back into the foot to continue sewing. Hope that helps!
LisaT says
Perfect timing! I just purchased a rolled hem foot for my Pfaff from ebay and am trying to sew altar cloths for church and was struggling with the beginning couple of inches — this has helped immensely! Thanks!
Carol Nieman says
That is so cool. I don’t even sew! But my daughter in a genius. (No…..really). ;o>
suphala says
Great idea.Thanks for the video,it’s is very helpfull
Didi says
Thank you very much for this easy to understand tutorial. I’m going to try it today. That’s one extra sewing foot that came with my machine down, now to figure out what the other 6 do. 😉
Embroiderymad says
Great tutorial, now I know how to use the rolled hem foot, thank you
Jayne says
Thank you so much for this tute. Off to do my rolled hem now!
Nisa says
U made my day ! Tq for ur sweet tutorial. its looks easy but perhaps it works practically for me. I will try on it.
Krungy GD says
I have some material falling like chiffon, can I use the same technique?
I can’t sew neatly. some parts of the material can’t be rolled.
If you have a technique to solve it please let me know as soon as possible ..
bjorkiagadzotica612@yahoo.com
carolshelbylane says
Wouldn’t you mark 1/8″ LESS instead of 1/8″ more? If you want the hemline 1” from the cut edge, you will end up cutting off 3/4 inch and folding 1/4 up into the two 1/8″ folds.
I’m anxious to pull my rolled hem attachment out and practice – I usually do perfect narrow hems by free-folding and stitching near the edge, but I’ve had trouble on shears and loosely woven fabrics.
Nancy Nelson says
You will want to cut 1/4″ beyond where you want the hem to end up. Think of it as a 1/8″ double fold hem.