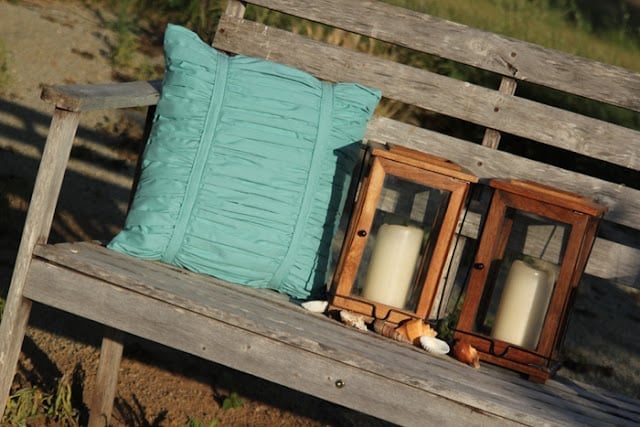
While Graham worked on the chicken coop this weekend and the girls insisted on being indoors, I stared at their unfinished quilts looming on my sewing table. I need to get started on the third quilt top, but I just haven’t gotten the motivation. So what did I do? I made throw pillows. Thought I’d try out an idea to copy the ruched bedding I’ve spotted in retail stores. I needed easy and this technique totally worked and was indeed easy!
Ruched Pillow Instructions:
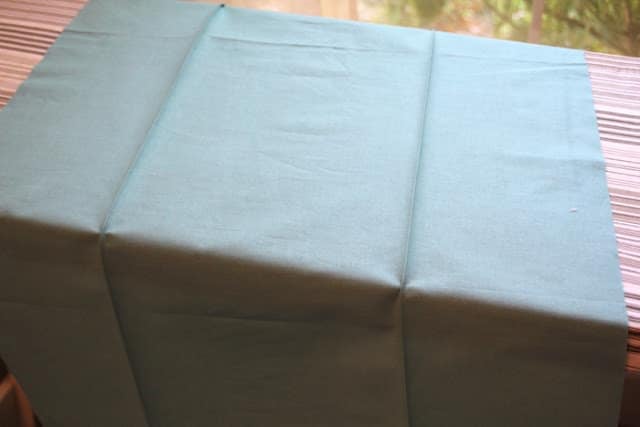
For a 16″ finished throw pillow, I cut a strip of fabric 18″ wide from selvage to selvage. Draw a line 5″ in from each side, parallel to the long edges.

Fold and press on these lines (press right sides together if your fabric has a right side).
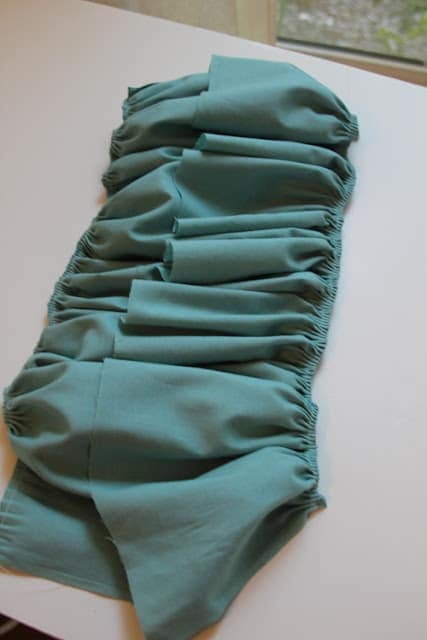
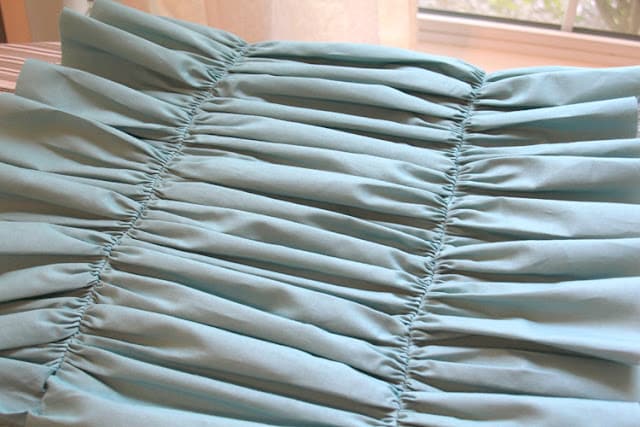
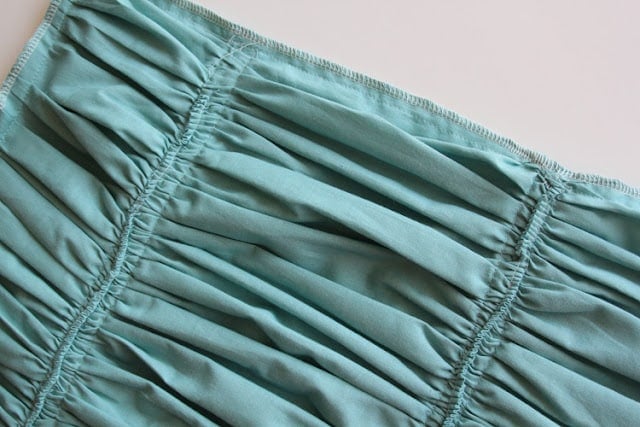
Now, just gather all the way down these two folds – I ran the folded edges through my machine with the ruffler foot and the finished length came out perfect to make a 17″ square pillow top. You don’t need the ruffler foot though, you can run a gathering stitch and cinch it up.
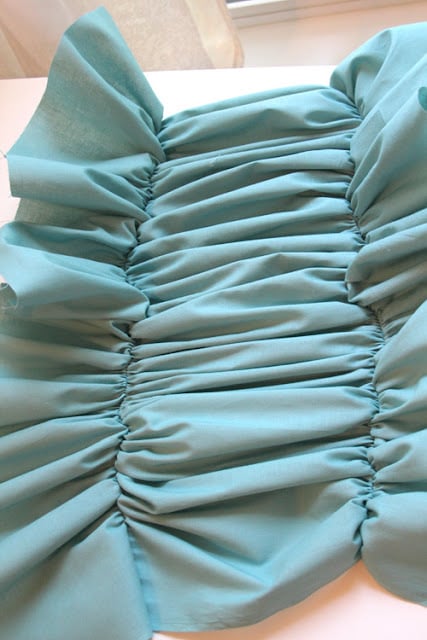
Next, press open your folds. Wah-la! Your gorgeous ruching. As you press the gathers open, shape the pillow top into a nice square. The better your press and shape the gathers now, the easier it will be to stitch the pillow top to its back in a neat square.
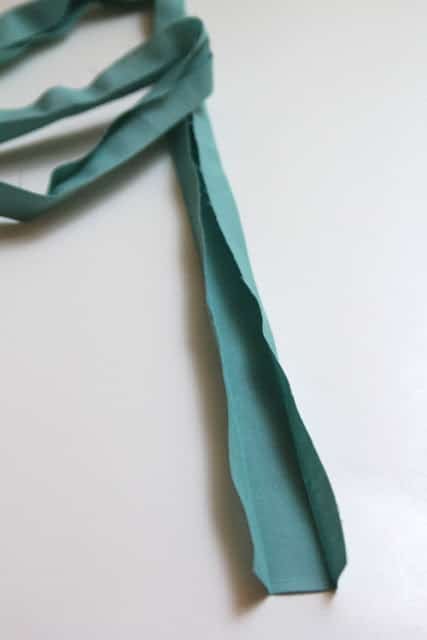
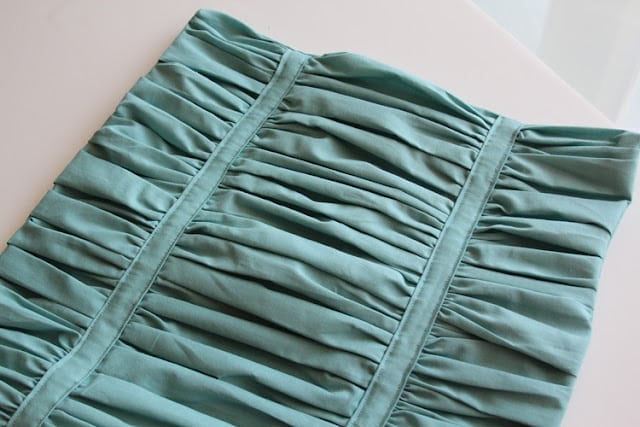
To secure and finish the gathered seams, I cut a 2″ strip, and folded the sides in to make a ¾″ wide strip of fabric.
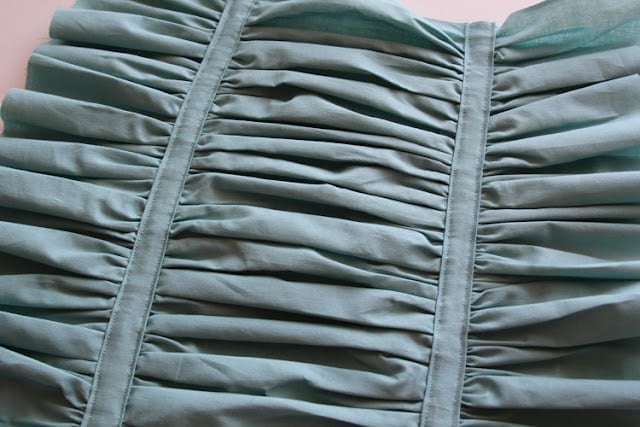
Place the strips over your gathered seam on the right side and stitch down each edge.
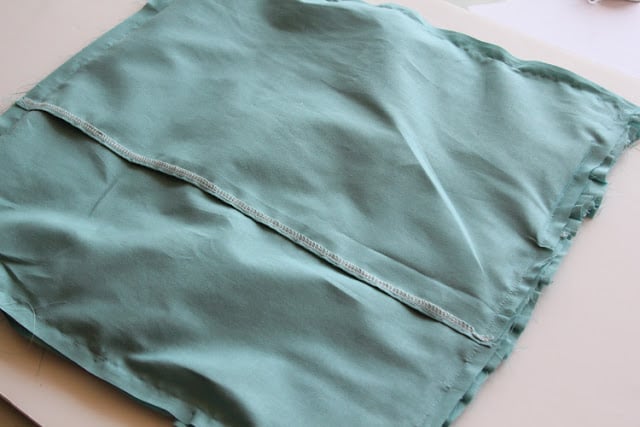
Finally, take the pillow top and stitch it to a 17″x17″ backside for your pillow using a ½″ seam allowance. (I like to use envelope backs for my pillows – here’s a great tutorial: Super Simple Throw Pillows).
Turn the pillow right side out and check to make sure everything is sewn right and the cover fits the pillow. Then, turn the cover inside out again and trim the corners and serge or finish the edges.
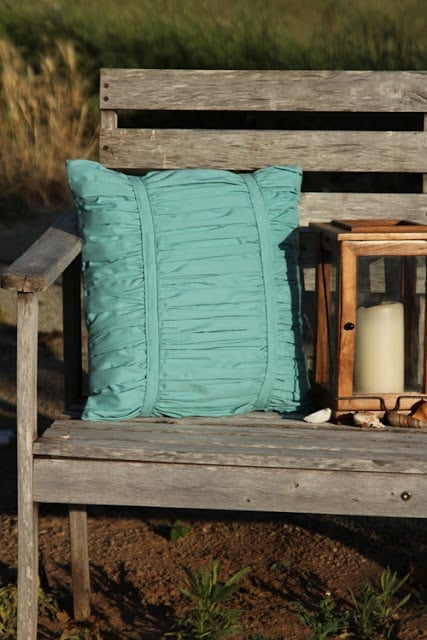
Turn it right side out again and press. That’s it! Pop your pillow in and enjoy!
So fun, right?

Linking this project up at Tatertots and Jello and Positively Splendid!


Comments & Reviews
Calator prin Romania says
Do you mind if I quote a few of your articles as long as
I provide credit and sources back to your blog? My blog is in the exact
same area of interest as yours and my users would definitely benefit from a lot of the information you provide here.
Please let me know if this alright with you. Appreciate it!
– Calator prin Romania
Ingrid says
Yoooo. Best ruching tutorial ever!! Been searching for 3 hours. Phew. Thanks
Maribeth says
Thank you for this tutorial. We are broke students at the moment and this was a huge help. Wish I could share a picture, my pillow cover looks amazing!
Kimmer says
I really like this pillow. You mention that you cut the fabric 18″ wide, but you don’t mention how long the piece is since it will shorten with ruching. How long was your piece for a 16″ pillow?
Sandy Sullivan says
I’m guessing the length was the width of the fabric, probably 44or 45″.
tutoring online says
Thanks for the great post on your blog, it really gives me an insight on this topic.
Anonymous says
thanks for sharing..
Sew Set says
this pillow is just gorgeous Stef. So funny, I get so excited when I see my friends have uploaded things into SewSet – always makes my day!!!
I featured this as one of today’s top patterns – love it!
Thanks again, and have a great morning!
– Jess