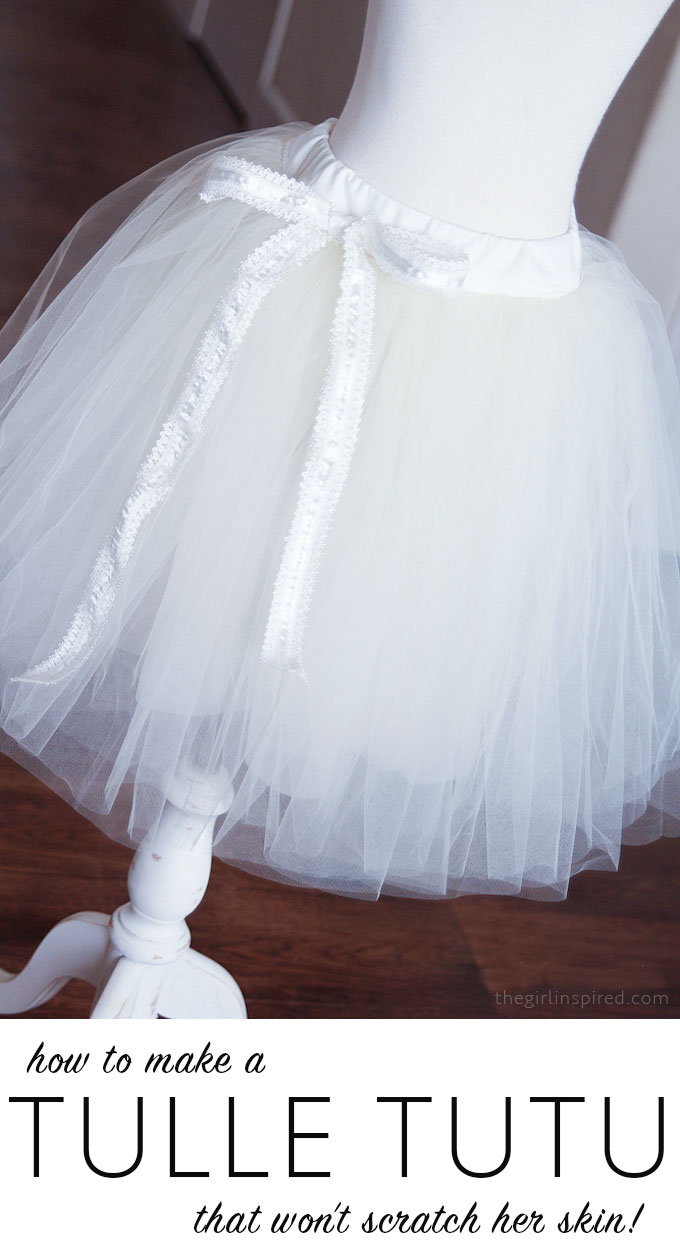
If you’ve ever wondered how to make a tutu for your little one that is soft on her skin and simple to sew, this is the tutorial for you. Tulle is inexpensive, hence making this a cheap sewing project, but the satisfaction of being able to sew a tutu skirt for your little one is invaluable!
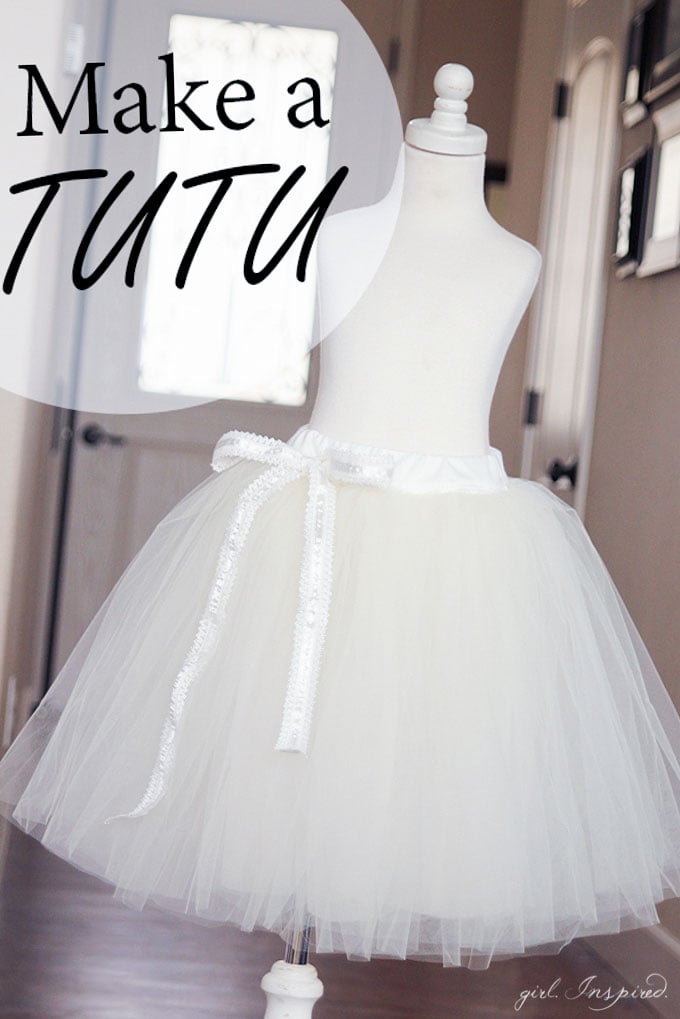
I’ve made a tutu or twenty in the last few years. They’re great for dress-up and also serve as a nice pettiskirt under big, fluffy dresses. I needed to make a new one in a bigger size to go under Olivia’s costume for the Nutcracker, so I took a few extra minutes to snap some pictures of the process.
Tutus are inexpensive to make , but take a little time since you’ll be gathering quite a lot of tulle to get the desired puff effect. I finish the gathered skirt with a soft lining and knit waistband so that the tulle isn’t scratchy against the kids’ skin. Have someone in mind that would like one? You can use this same set of instructions to make a baby tutu and even a tutu for an adult. I’ll show you how to make a tutu for anyone right now!
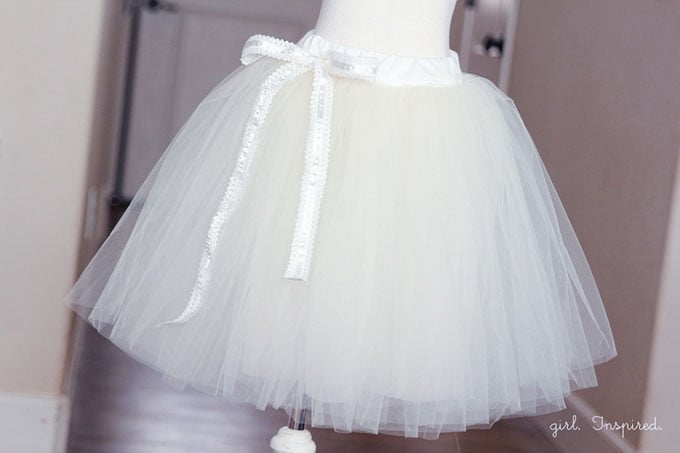
Supplies:
5 yards lightweight tulle
½ yard lining fabric
¼ yard thick knit
1 yard ¾″ elastic
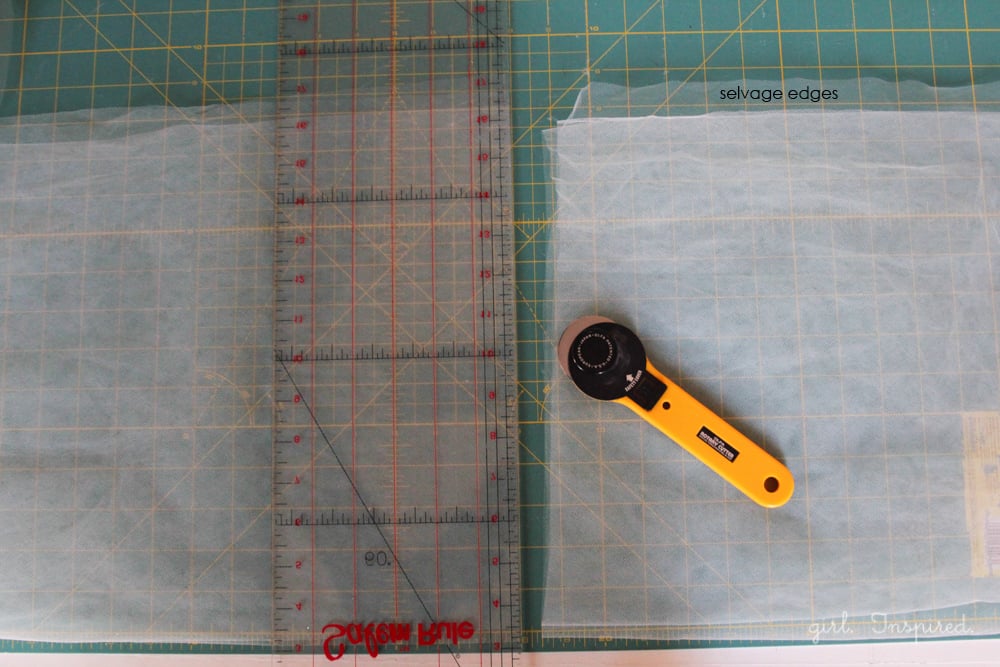
Begin by cutting your tulle into at least 10 sections. For this longer tutu, I cut each section 18″ long, giving me exactly 10 lengths from the 5 yards of tulle. The length to cut the tulle will depend on how long you want the skirt – measure from your child’s waist to the desired finished length of the skirt and cut all lengths of tulle according to this measurement. Fold the tulle on your cutting mat, matching selvage edges and then folding one more time – this makes it easier to cut with a rotary blade. Use a rotary cutter for the smoothest edge on the tulle.
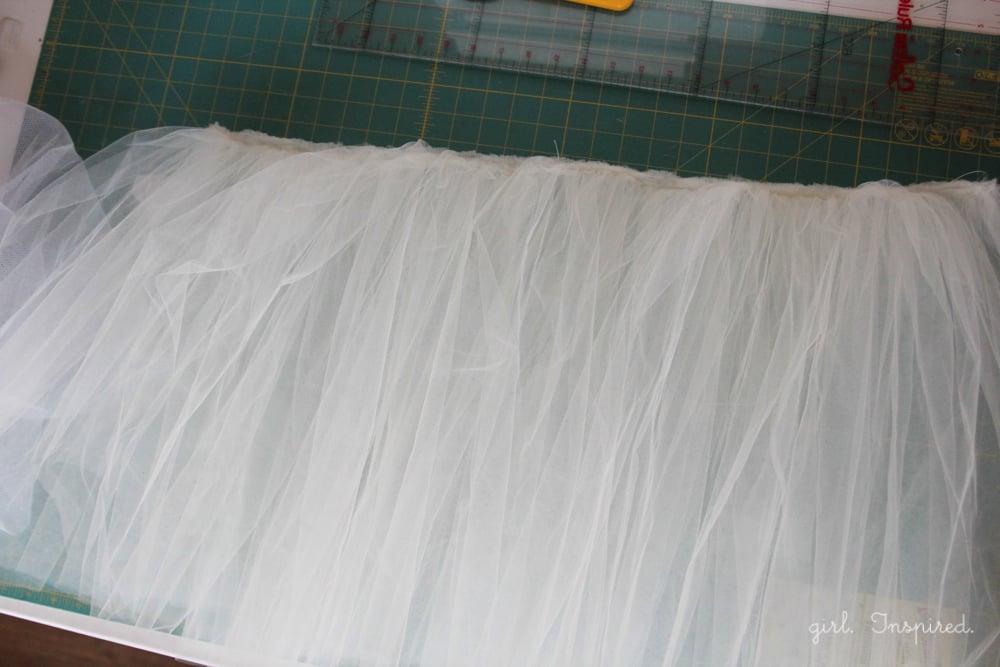
Next, gather each section of tulle along the long side. Feed each piece of tulle into your sewing machine right after the previous so they’re all connected. I like to use a ruffling/gathering foot (affiliate link) to gather the tulle quickly – if you don’t have one, you can set your machine to a long, loose stitch length and then pull the bobbin threads when you’re done to gather the tulle by hand.
Regardless of the method, gather all of the tulle as tightly as possible. Next, we’re going to fold the gathered length of tulle back and forth on itself to make one skirt piece. Measure your child’s waist and add 7″ to find the skirt width. Fold the skirt back and forth on itself to make one skirt piece equal to this determined skirt width and stitch the layers together across the top.
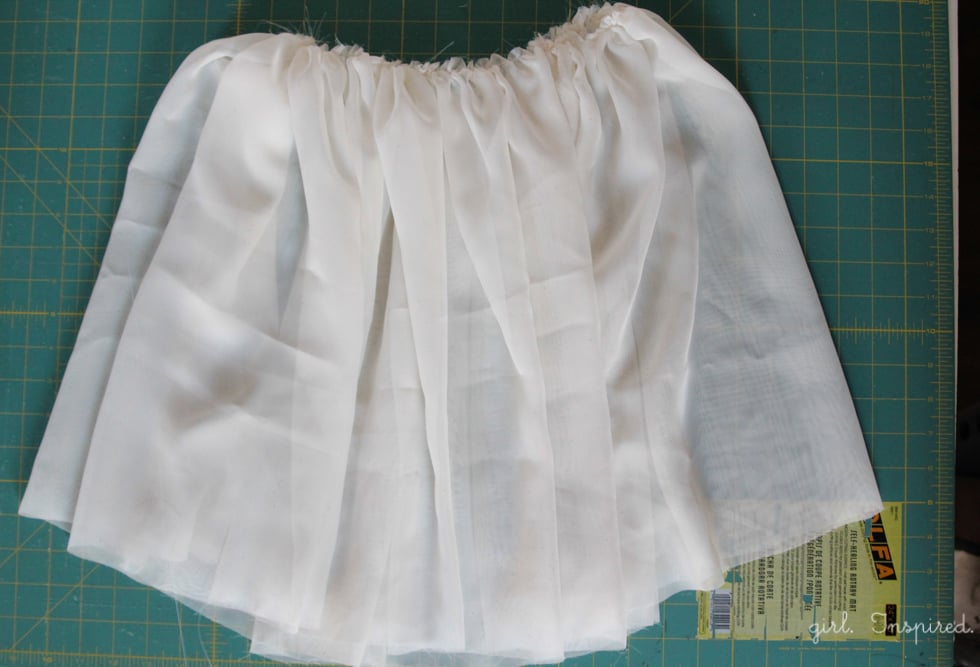
Cut one piece of lining from selvage edge to selvage edge and about ¾″ shorter than the tulle layers. If you’re going to hem the lining (e.g., if the fabric frays), cut the lining piece the same length as the tulle layers and hem with a narrow hem so that it’s just slightly shorter than the tulle. Join the short ends of the lining and stitch together to form a tube. Sew a gathering stitch around the top of the lining and gather it until it measures your child’s waist measurement + 7″.
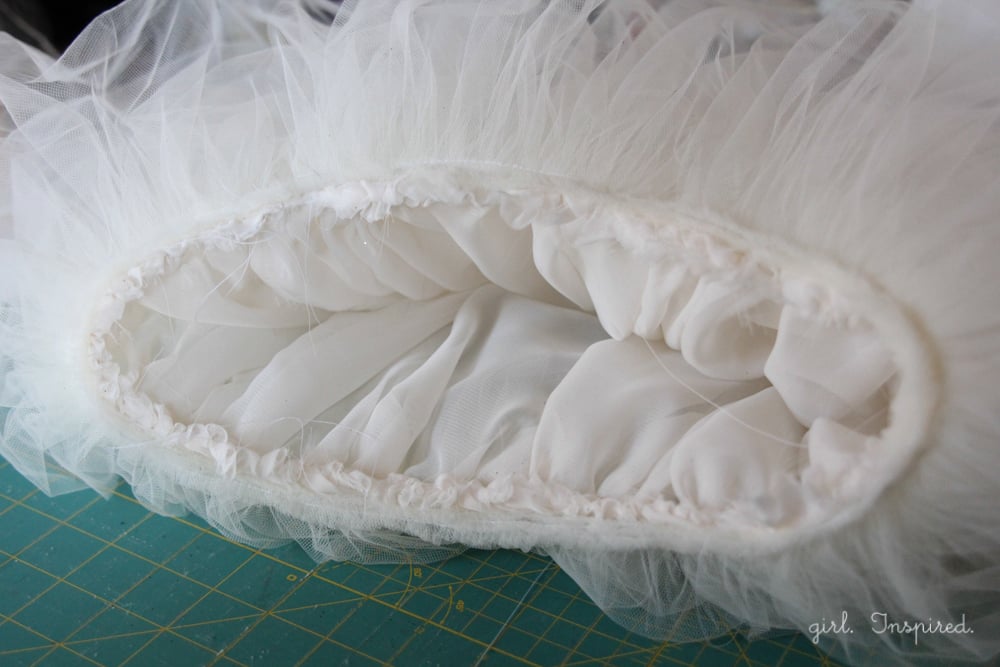
Stack the lining under the tulle and stitch the two together around the top.
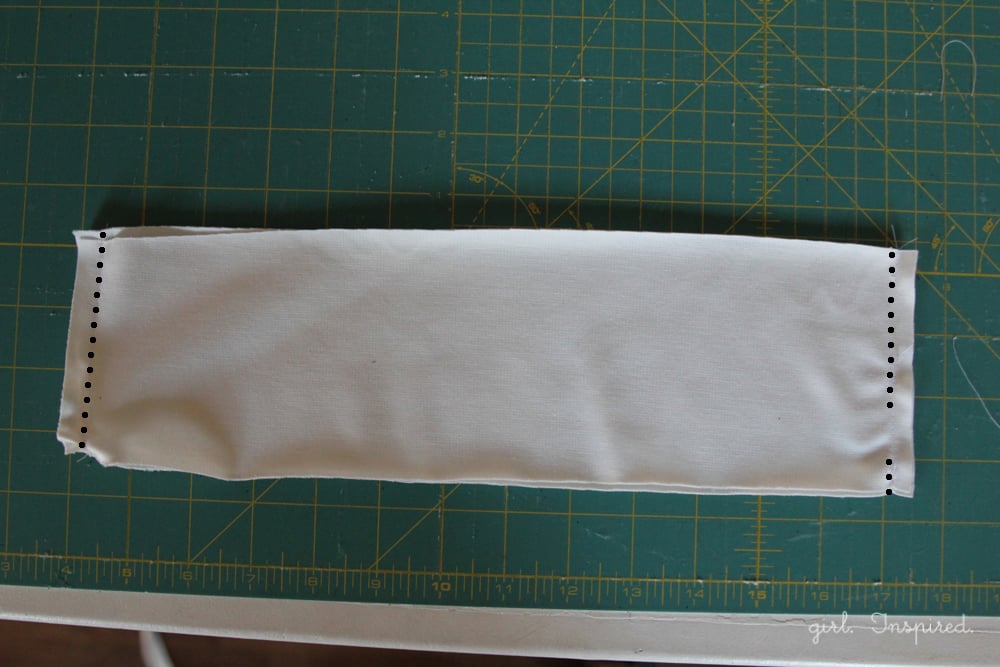
For the waistband, cut two pieces of knit 5″ wide by ½ the waist measurement + 4″. Sew the short sides together on one side with a ¼″ seam allowance. On the other side, sew 3.5″ down one side, leave a 1″ opening, and sew another .5″ to the edge. This is the opening we’ll put the elastic through later.
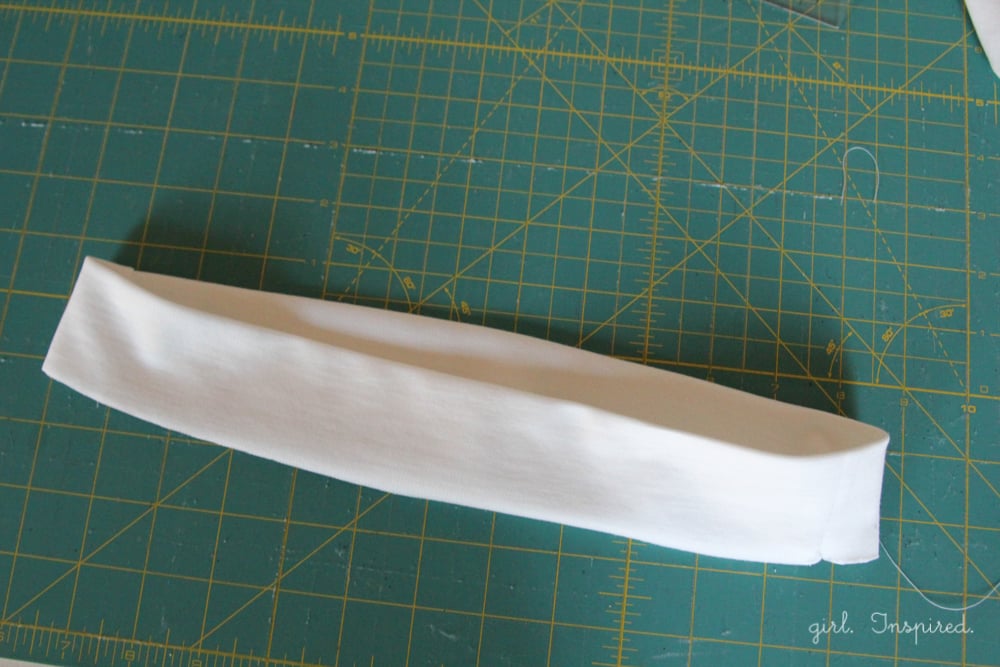
Now, fold the waistband wrong sides together and press a crease into the top.
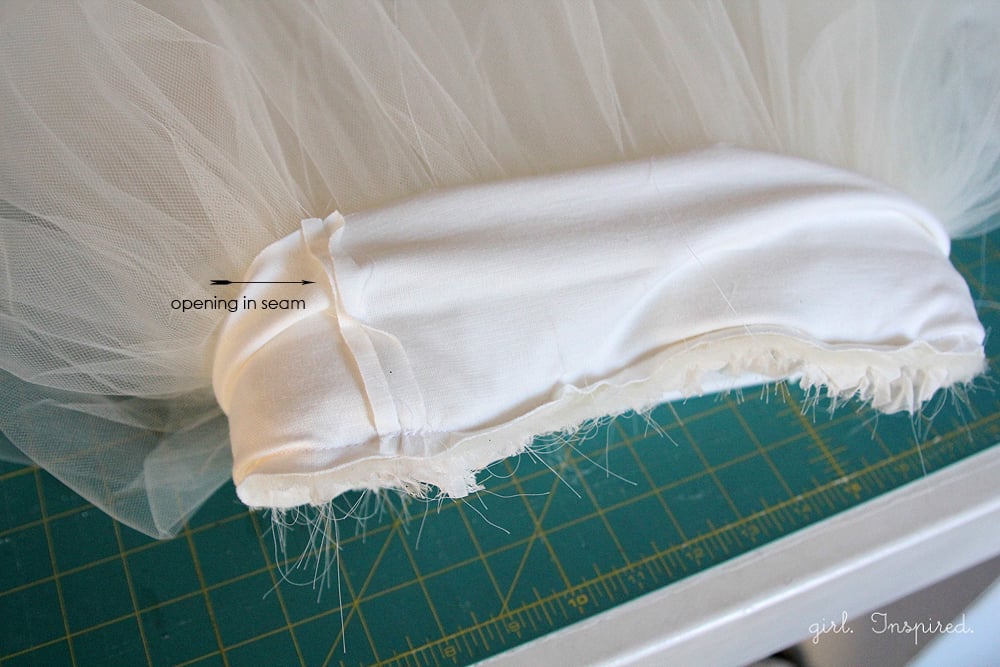
Open the waistband up, match the raw edge and right side of the the waistband to the raw edge of the right side of the tulle/lining skirt and pin. Be sure that the side of the waistband with the opening is further away from the waistband (so that it will end up on the inside of the skirt when finished). Stitch the waistband to the skirt using a straight stitch and ⅜″ seam allowance.
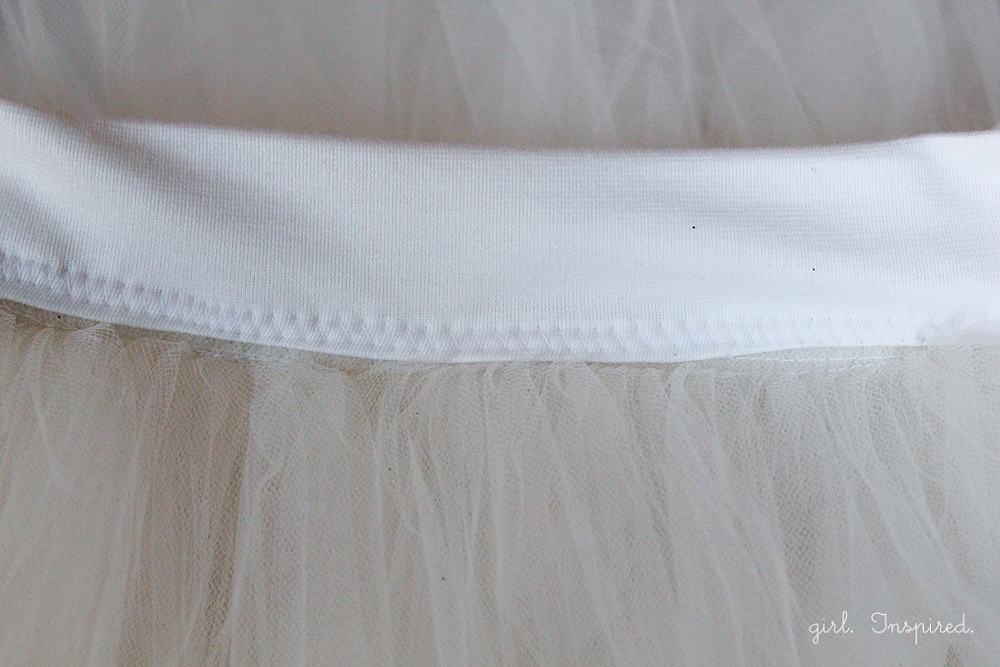
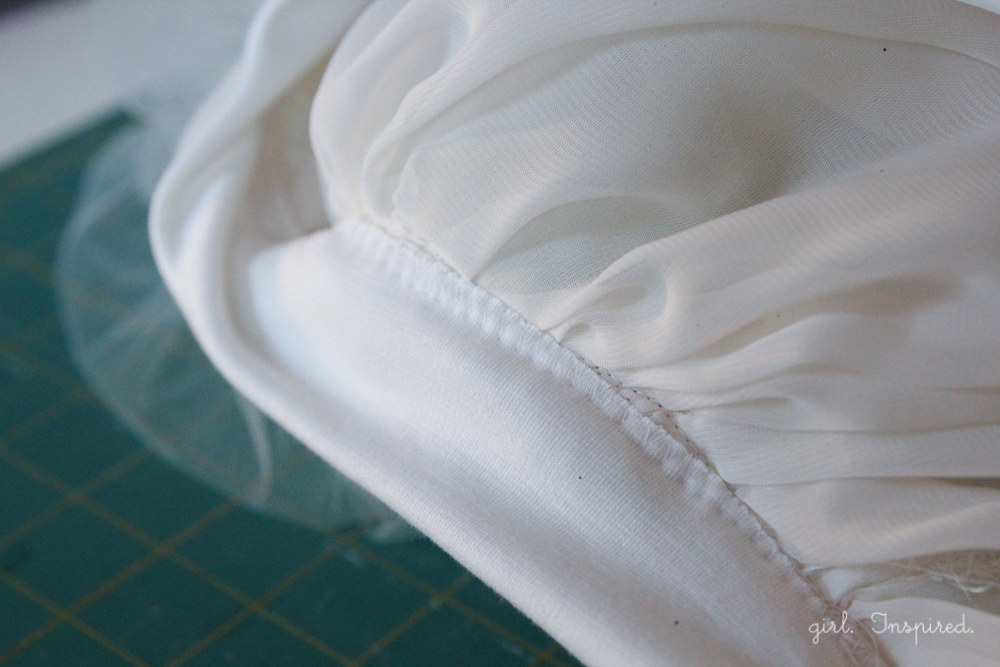
Turn the waistband up and to the inside along the top pressed fold. The raw edge of the inside waistband should fall over the stitch lines on the inside of the skirt. Pin if needed. From the TOP of the skirt, use a zigzag stitch to finish the waistband, being sure to catch the raw edge on the inside of the waistband. Remove the gathering stitches from the tulle if you wish.
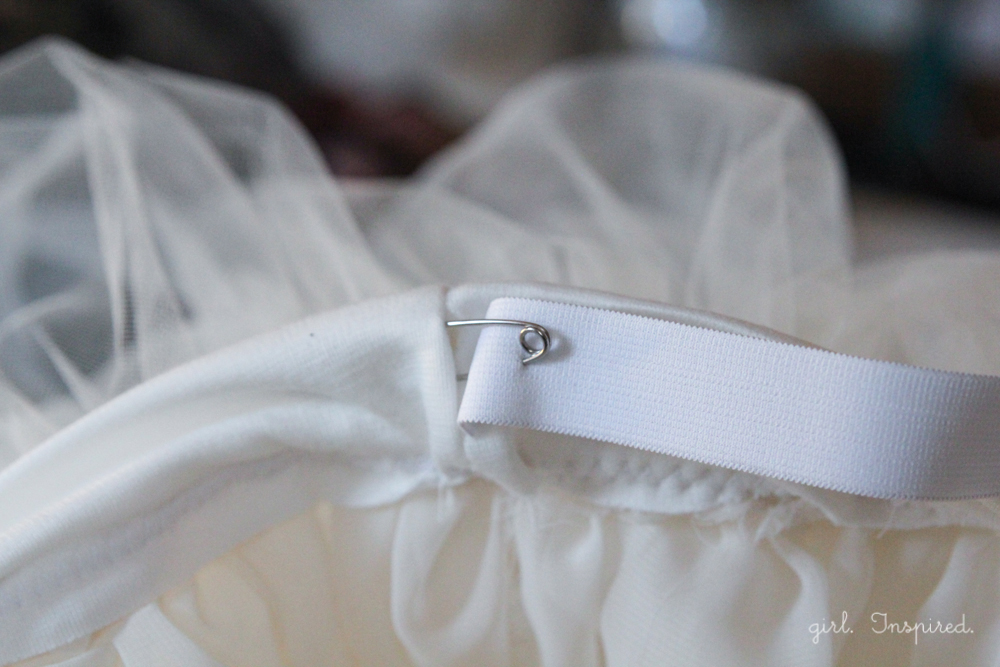
Measure a length of elastic equal to or 1″ shorter than your child’s waist measurement. Use a safety pin to feed the elastic through the opening on the inner waistband.
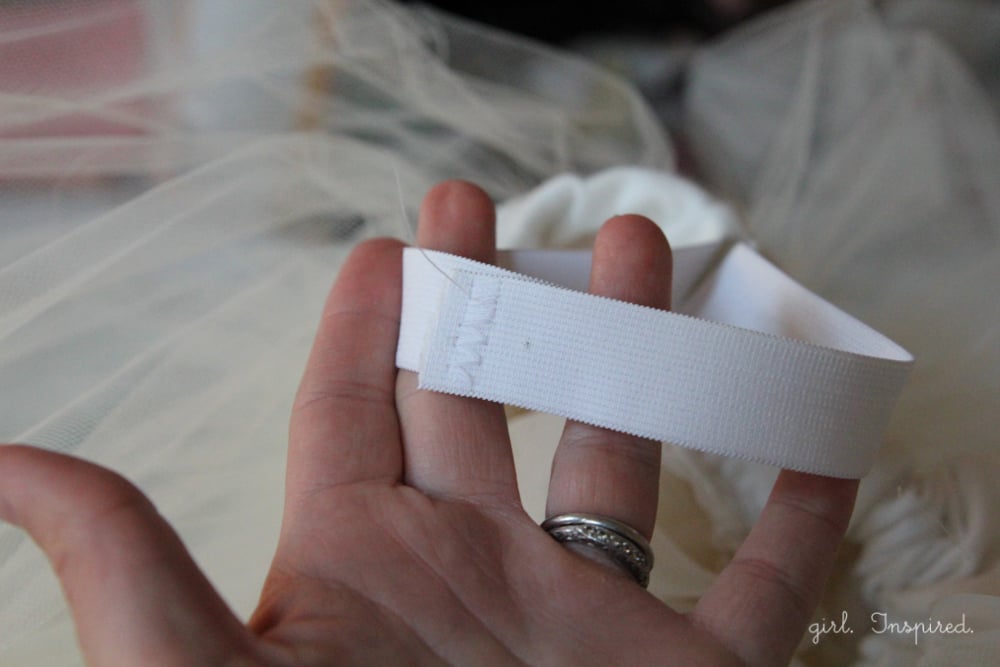
Join the two ends of elastic together and stitch with a zig zag stitch back and forth over the elastic several times. Pull the waistband to slip the elastic back into the opening and you’re done!


Comments & Reviews
Theodosia Ventour says
Hi there I love the tutu tutorial but just in case as I’m quite new to sewing. But once you gather the tulle do you sew the seams together or do you leave it open? Sorry if it’s a silly question. 😳
girlinspired says
You just leave it open! It’s gathered so closely together, you won’t notice the separations.
Virginia says
LOve this tutu tutorial !! It’s so fluffy !! So full !!! …the amount of material would be good enough for an adult ?
Savannah says
I’d love to have this tutu for a party, buuuuuttt…I do not own a sewing machine and I’m not sure I’d have time to make one if I did seeing that I haven’t used one since high school and it was under the supervision of my grandma to ensure I didn’t ruin anything. Is it at all possible I could pay for two of these to be made?
Octoberlove says
This is perfect!! Ive been looking for a tutorial for a tutu that i can attach a bodice to and this may work. Your tutu look so neat and pretty.. im glad i came across your blog,years later..lol.
Pat C says
Thank you for the great tutorial!!
My daughter is getting married, and I am in charge of making a flower girl dress for my granddaughter/her niece . She will be 13 months at the time of the wedding. And your tutorial is perfect! I love that the tutu is lined and you have enclosed the elastic. It is going to be perfect!!!
Tracy says
Thank You, My direction comprehension isn’t the best but I have been trying to find a good way to make a waistband for a ‘Princess skirt”. I am not seeing where you sew the tulle together at a side seam. Are there no side seams except on the lining? Thank You.
Lea Armbruster says
Thank a lot for sharing this one. Loved it very much!! Glad that I learned it here how to make tutu. Now is the time to make my own. Thanks for the idea and really loved it.
Beautiful tutus for babies. So loved this one. Nice colors and very adorable.
Anna Kroijer says
This is such a wonderful tutorial!
I can not wait to make one for my twin, she will love as an aspiring ballerina.
Kathryn says
Hey!
I’ve been looking EVERYWHERE for a good tutorial on how to make one of these that actually looks nice! Every year for Halloween, my mom and I make my costume and next year I wanted to be the black swan (portrayed by Natalie Portman in The Black Swan). Since I’m 16, I’ve never actually dealt with tulle before because my mom says it’s awful to work with, but with the way you explained it, it doesn’t seem all that bad 🙂 Thank you so much!
~Kat
Luna Merza says
so beautiful. I want to make one for me and my baby!
kassie says
i just LOVE how the tulle just flows like a graceful river
Robin says
Thank you very much for this tutorial. My daughter does not like tulle to touch her skin. This was a great tutorial and it was exactly what I wanted. I was just extremely frustrated with wrestling 12 yards of tulle. (my daughter is 9 and wanted it very fluffy). My gathering stitches kept breaking while I was serging the tulle to the underskirt. I totally missed the line where it said to stitch the tulle together after gathering so I just tried to stitch it to the underskirt while gathered. PSA: this does not work out and causes much cursing. I stopped, seam ripped the liner from the tulle, re-gathered, and serged the tulle together, then I serged the underskirt tulle, and waistband in one step. That worked out great. I topstitched the waistband with my regular machine. It was a bit wavy, but that’s ok since it’s going under a costume. I know more than I did for next time….if I ever decide I’m crazy enough to wrestle tulle again.
Martine says
Hi!
I just found your tutorial and I’m seeking to make the skirt of this dress (http://www.cortana.es/en/novias/top-bucol-falda-peonia/) by myself. Do you think it’s doable, especially for a beginner?
Love,
Martine
girlinspired says
Hi Martine! That dress is gorgeous! I think you could follow the same basic steps – although they list “cotton tulle” and “silk organza” – the skirt of that dress is definitely not the inexpensive polyester tulle I used here. Chiffon would give you that look, too. The waist looks to be a fixed width versus elastic and it ties in the back – I think this would be easy to do, too. So very pretty – I’d love to see it when you’re done!
Stephanie says
This is great! I can’t wait to try it out. I do have a question though, would you use a white lining for a coloured tulle? I would like to do this in a blue colour to make a “frozen” dress but am unsure if I should use white or a blue lining. What do you recommend?
girlinspired says
You will likely see the lining through the tutu, so I would definitely recommend using blue if you want it all to look blue. Have fun!
Amie says
It’s finished and she loves it! For next time… I need more width on the liner so there’s more give for kicks. Make sure liner is same color as tulle (I used bright blue tulle). The liner showed through the tulle way more than I thought it would. Possibly a little more tulle (my daughter wanted a 20″ length skirt). Maybe overlap the tulle 1/2″ when feeding in each new piece. I did all gather, no “fold over” and I did not stitch the gathered tulle before attaching the liner.