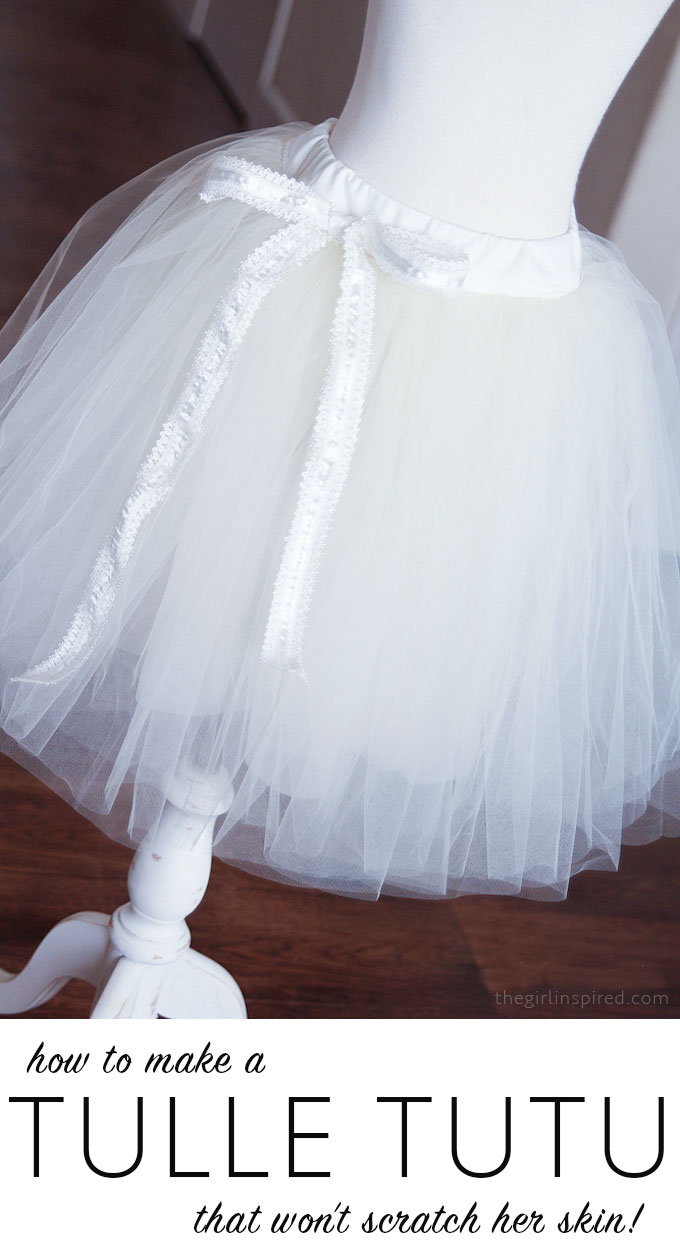
If you’ve ever wondered how to make a tutu for your little one that is soft on her skin and simple to sew, this is the tutorial for you. Tulle is inexpensive, hence making this a cheap sewing project, but the satisfaction of being able to sew a tutu skirt for your little one is invaluable!
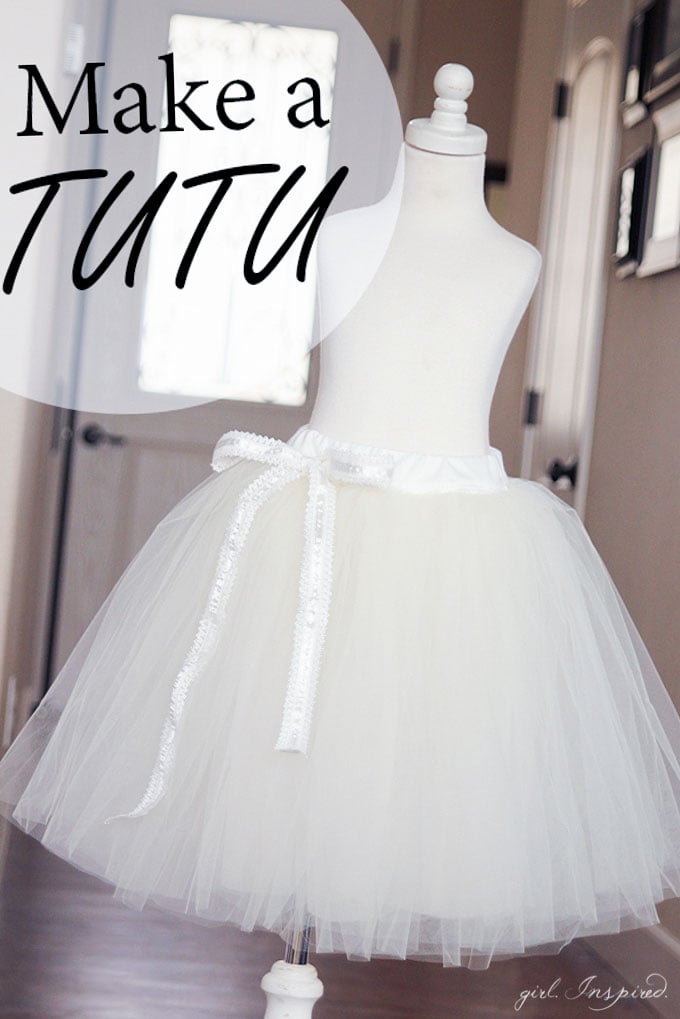
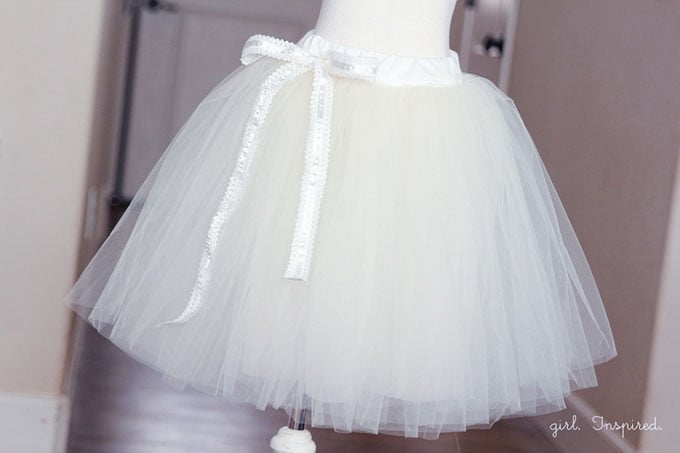
I’ve made a tutu or twenty in the last few years. They’re great for dress-up and also serve as a nice pettiskirt under big, fluffy dresses. I needed to make a new one in a bigger size to go under Olivia’s costume for the Nutcracker, so I took a few extra minutes to snap some pictures of the process.
Tutus are inexpensive to make , but take a little time since you’ll be gathering quite a lot of tulle to get the desired puff effect. I finish the gathered skirt with a soft lining and knit waistband so that the tulle isn’t scratchy against the kids’ skin. Have someone in mind that would like one? You can use this same set of instructions to make a baby tutu and even a tutu for an adult. I’ll show you how to make a tutu for anyone right now!
Supplies:
5 yards lightweight tulle
½ yard lining fabric
¼ yard thick knit
1 yard ¾″ elastic
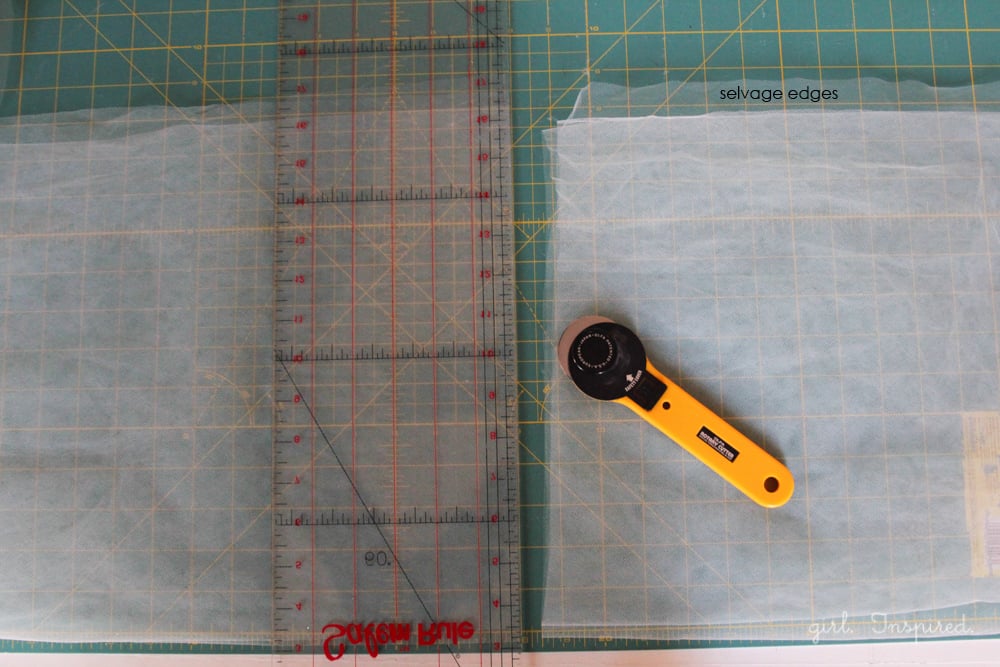
Begin by cutting your tulle into at least 10 sections. For this longer tutu, I cut each section 18″ long, giving me exactly 10 lengths from the 5 yards of tulle. The length to cut the tulle will depend on how long you want the skirt – measure from your child’s waist to the desired finished length of the skirt and cut all lengths of tulle according to this measurement. Fold the tulle on your cutting mat, matching selvage edges and then folding one more time – this makes it easier to cut with a rotary blade. Use a rotary cutter for the smoothest edge on the tulle.
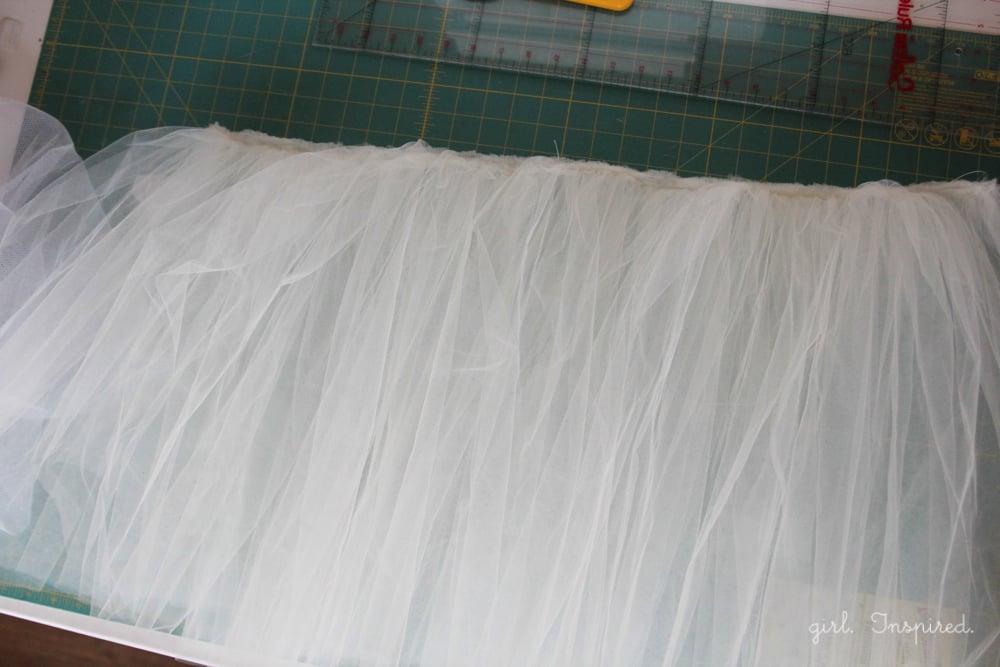
Next, gather each section of tulle along the long side. Feed each piece of tulle into your sewing machine right after the previous so they’re all connected. I like to use a ruffling/gathering foot (affiliate link) to gather the tulle quickly – if you don’t have one, you can set your machine to a long, loose stitch length and then pull the bobbin threads when you’re done to gather the tulle by hand.
Regardless of the method, gather all of the tulle as tightly as possible. Next, we’re going to fold the gathered length of tulle back and forth on itself to make one skirt piece. Measure your child’s waist and add 7″ to find the skirt width. Fold the skirt back and forth on itself to make one skirt piece equal to this determined skirt width and stitch the layers together across the top.
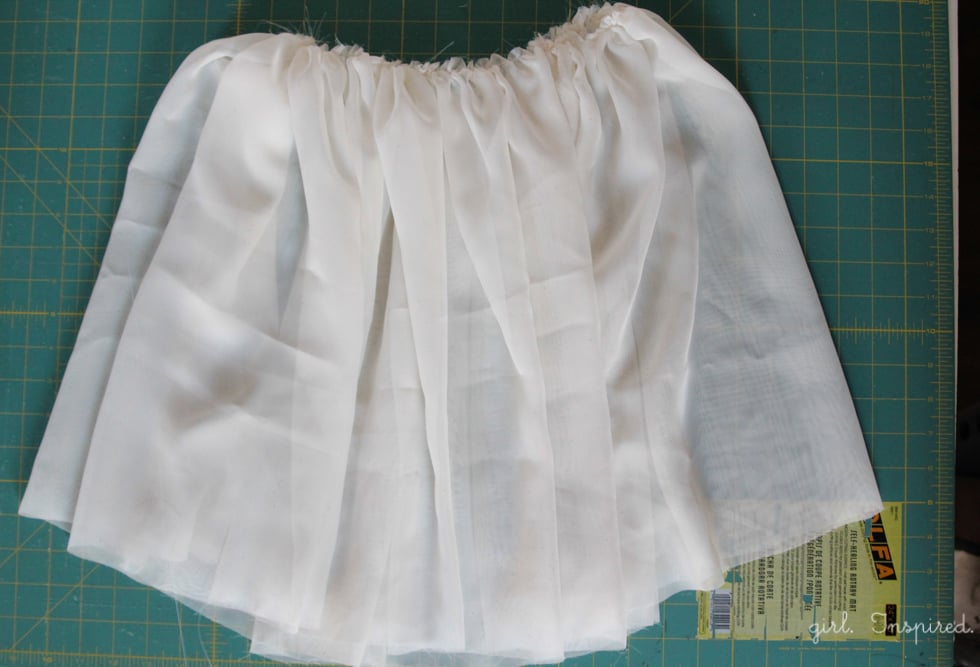
Cut one piece of lining from selvage edge to selvage edge and about ¾″ shorter than the tulle layers. If you’re going to hem the lining (e.g., if the fabric frays), cut the lining piece the same length as the tulle layers and hem with a narrow hem so that it’s just slightly shorter than the tulle. Join the short ends of the lining and stitch together to form a tube. Sew a gathering stitch around the top of the lining and gather it until it measures your child’s waist measurement + 7″.
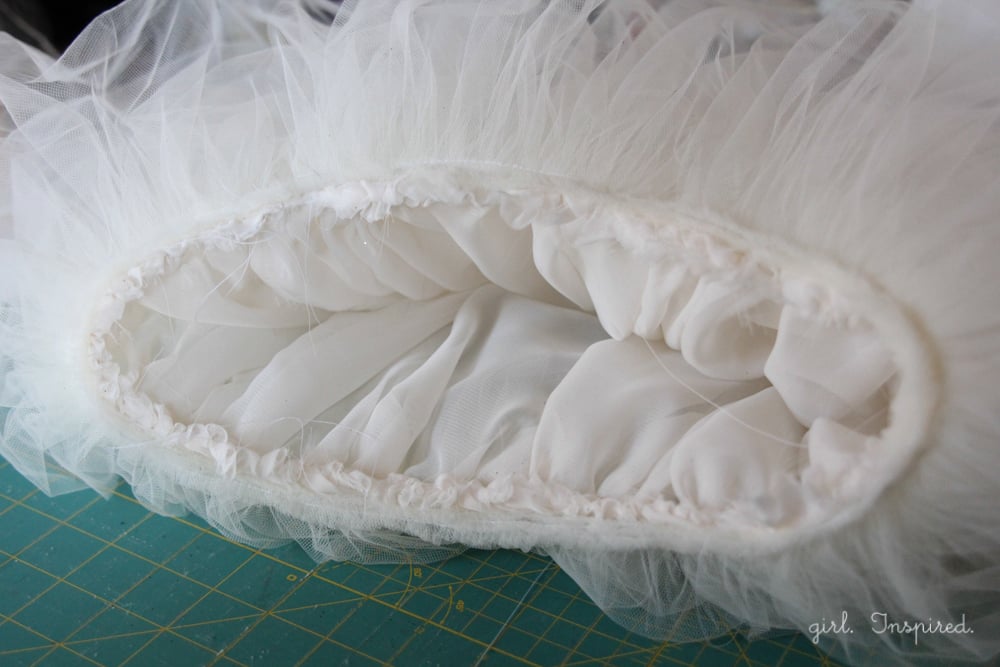
Stack the lining under the tulle and stitch the two together around the top.
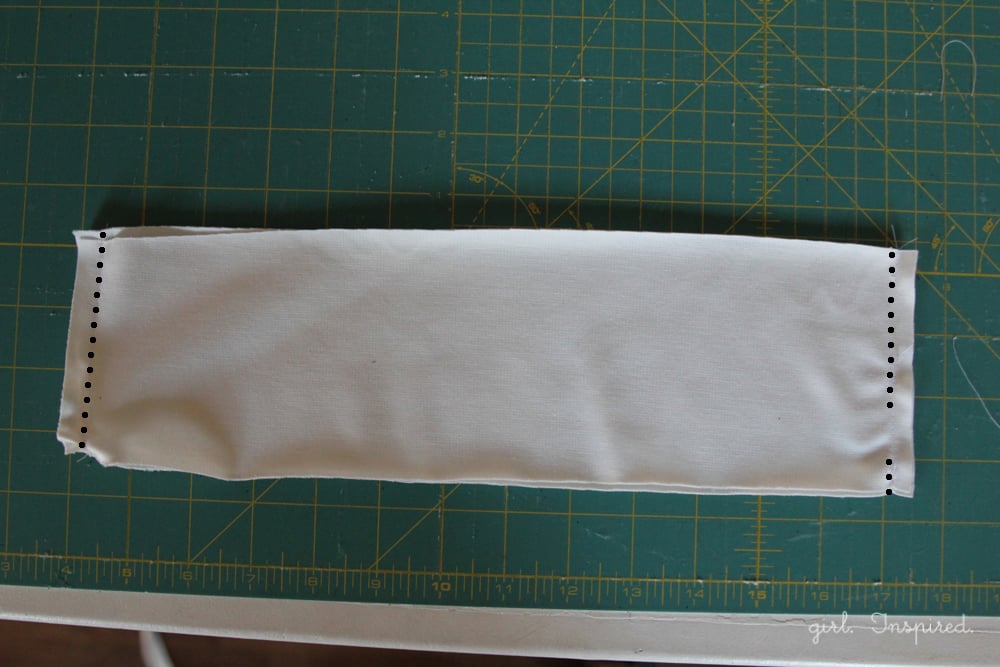
For the waistband, cut two pieces of knit 5″ wide by ½ the waist measurement + 4″. Sew the short sides together on one side with a ¼″ seam allowance. On the other side, sew 3.5″ down one side, leave a 1″ opening, and sew another .5″ to the edge. This is the opening we’ll put the elastic through later.
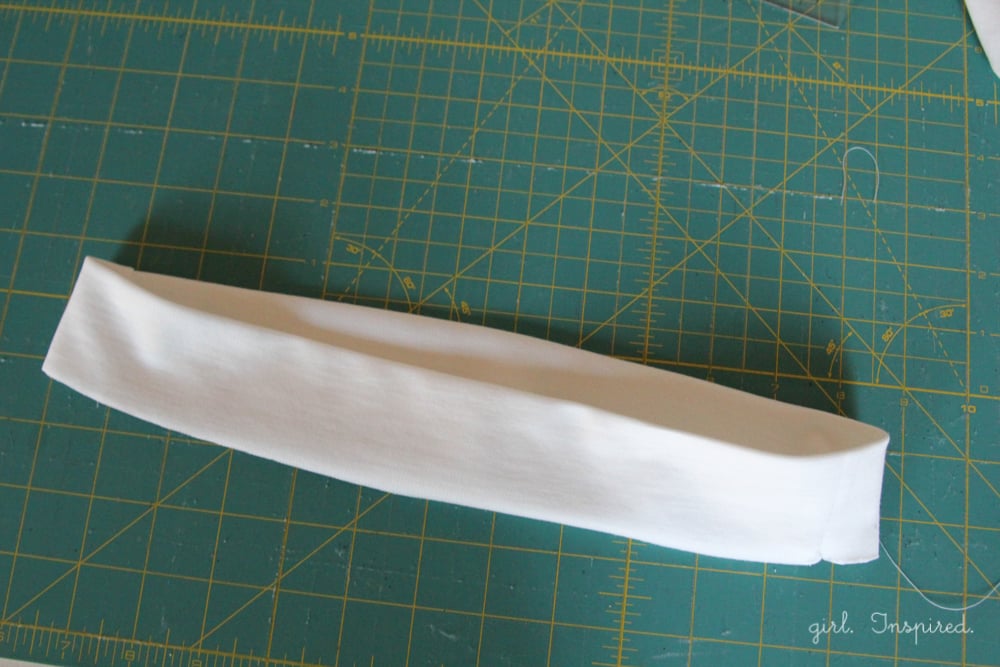
Now, fold the waistband wrong sides together and press a crease into the top.
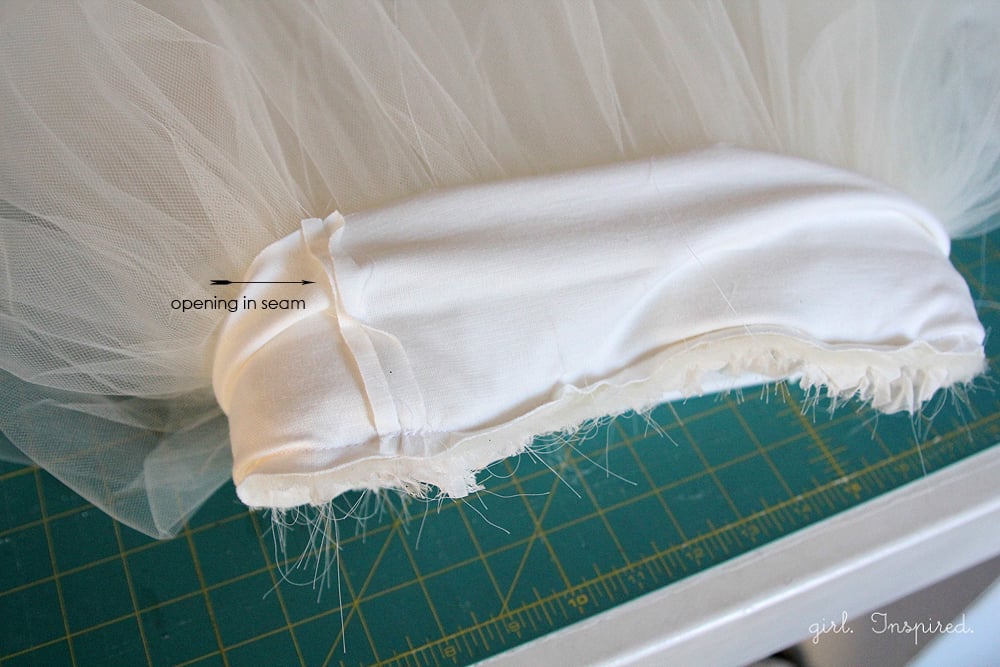
Open the waistband up, match the raw edge and right side of the the waistband to the raw edge of the right side of the tulle/lining skirt and pin. Be sure that the side of the waistband with the opening is further away from the waistband (so that it will end up on the inside of the skirt when finished). Stitch the waistband to the skirt using a straight stitch and ⅜″ seam allowance.
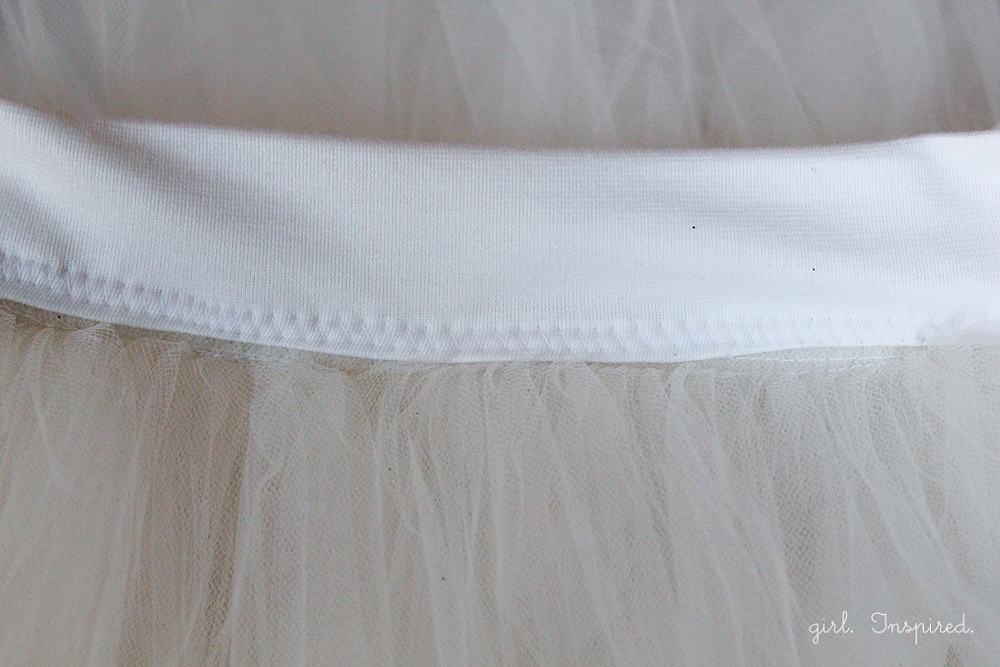
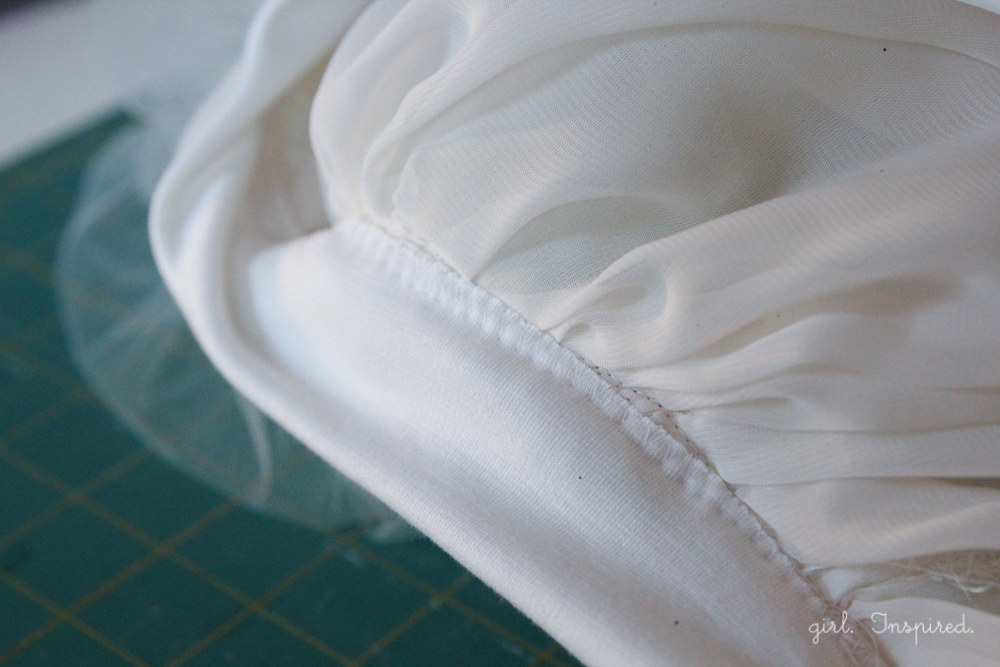
Turn the waistband up and to the inside along the top pressed fold. The raw edge of the inside waistband should fall over the stitch lines on the inside of the skirt. Pin if needed. From the TOP of the skirt, use a zigzag stitch to finish the waistband, being sure to catch the raw edge on the inside of the waistband. Remove the gathering stitches from the tulle if you wish.
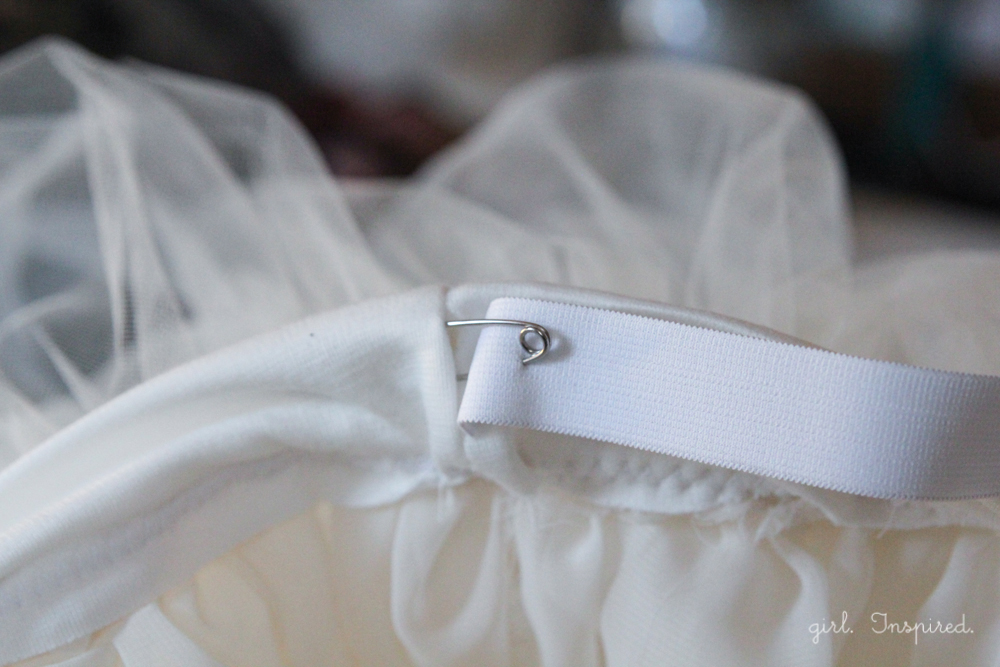
Measure a length of elastic equal to or 1″ shorter than your child’s waist measurement. Use a safety pin to feed the elastic through the opening on the inner waistband.
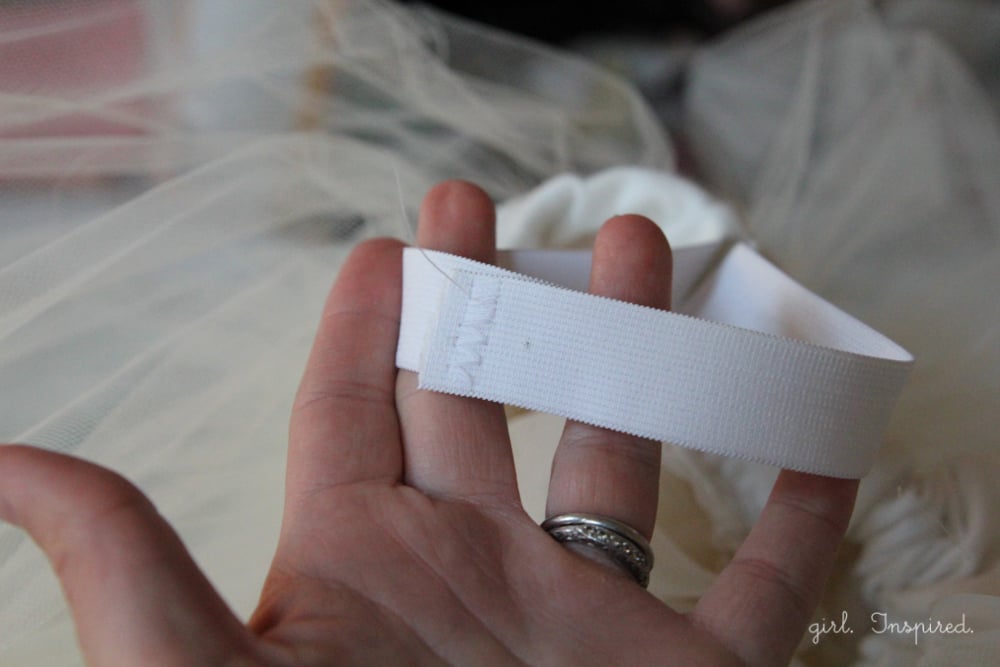
Join the two ends of elastic together and stitch with a zig zag stitch back and forth over the elastic several times. Pull the waistband to slip the elastic back into the opening and you’re done!


Comments & Reviews
Wendy says
Hi
I need to attach a tu tu to a leotard for my daughters ballet show, would this still work instead of attaching to a waiste band
It looks a brilliant pattern
Thanks
girlinspired says
You might be able to make it work – be sure you use a good stretch stitch and stretch the leotard while you sew the tutu on – otherwise, there won’t be any stretch once the tulle is secured.
Hannah says
Hello!
This is the best tutu tutorial I have ever seen. I am just about to sew all the ruffled there together. Everything is going perfect so far! I’m so excited. I’m making this for my senior solo costume. 😉
girlinspired says
Aw, thanks! Have fun!
Ella says
I just used this tutorial to make three pink tutus. They came out beautiful. The only thing I changed was to use two widths of fabric for the lining, or it was too straight.
Rosellen Ralph says
Since this is an older post you might not answer this and that is ok. I’m not very computer savy but would like to pin a lot of your posts especially this one! Would it be possible for you to put a pin button somewhere on the post? Maybe there is and I’m not seeing it, or maybe there is another way to pin something and I don’t know how. I LOVE your blog! Keep up the good work!
girlinspired says
Hi Rosellen! I’ll work on that! I used to have one, but it was causing some problems on my site, so I pulled it off and never put up a new one! Thanks for the reminder!
Jackie says
What did you use for the lining?
girlinspired says
I just used a lightweight silky lining fabric, a polyester.
Mac says
What a truly inspired tutorial! My three daughters regularly participate in pageants,and I sew all their dresses. Trouble is, the pettiskirts I have purchased online are either cheaply made or I end up adjusting length,which is just more work! Because my girls wear both cupcake,and floor-length dresses,I need several pettiskirts for each of them. I love a big,fluffy skirt and soft tulle lends a fairytale effect you don’t get with stiffer material. Many other tutorials complicate the steps required,so thank you for breaking down the instructions,and providing clear pictures:) Now I’m looking forward to getting started!
Cassandra says
This tutorial is so great. Making this for a friend, and I have one question. Why do you cut the tulle in sections? Why not just wrap it around in a circle, what is the purpose of cutting the tulle, gathering it, and sewing it back together?
Thanks! 🙂
girlinspired says
Hi Cassandra, Good question. When you’re cutting the tulle, that will be how long the tutu drops from your waist to the knee (or hem). You cut it and then each piece will be like 60″ wide by whatever length you need for the finished length of the skirt. You gather each piece along that 60″ side so it makes a short, very gathered section, which is still the length you need it to be to drop from waist to hem. Once you have all the gathered sections together, you fold them back over themselves so that the skirt is a few layers thick and then it makes your nice, puffy tutu! Hope that helps!
Marla Mollicone says
HI,
First of all, lovely tutu and tutorial! I am a very beginner sewer and trying desperately to make one for my daughter for halloween. I tried it tonight and I definitely screwed up somewhere cutting my sections. This may be a silly question, but when you said you cut ten 18 inch sections, was those sections folded at all or just a single layer of tulle? Did you only sew together 10 sections, or was it folded a few times for 20 or 30? I did a single layer, 10 sections, and then sewed them all together one after another. It looked very long I thought I was ok. When I pulled the bobbin thread and gathered in all up, the piece was only about 17 inches long. I then looked at your next step and knew I was in trouble as my daughter’s waist is 21.5 inches and you said to add 7 inches to make a rectangle of 28.5 inches by folding it onto itself. You can see my dilemma (hehe) i didn’t even have the required 18.5 inches for one rectangle, much less folding it;)
Can you help me here? Did I really miss something?
Thanks for bearing with a very beginner sewer;)
cheers,
Marla
girlinspired says
Hi Marla, That’s so frustrating, but you sound in good spirits! Your yardage of tulle is going to be 60-72″ wide, most likely (sometimes more sometimes less), depending on how it’s sold – it will say the width on the end of the bolt – and then you have that width by whatever length (number of yards, probably 10 or so) that you buy. When you cut it, your cutting sections along the length, so each section will be (let’s say 18″) by 60″ wide. I usually fold it 4-6 times, matching the selvage edges and then folding again, so that it’s manageable to cut the section – does that make sense? Then, you’ll have 10 sections that are each 18″ long by 60-72″ wide. You gather each piece along that 60″ side so it makes a short, very gathered section, which is still the length you need it to be (18″) to drop from waist to hem. Then you’re connecting each gathered section together to get your long piece of super gathered tulle, which will become the skirt. I hope that helps!!
Marla Mollicone says
Thanks! It did help!
I tried again and it is much longer;) Made a few mistakes but all in all not bad for a first effort!
Ouisa says
I cannot wait to use this tutorial to make a Minnie Mouse tutu for Halloween! Thank you, this was very helpful!
Justine says
Thanks so much for the tutorial Stef! It’s so clear and well written and lovely photos as well. Would you believe I had never made a tutu and I have been sewing over twenty years? Lily wanted one and I had no idea. Your tutorial guided me through it.
Golda Adelman says
I was wondering if you could use a stretchy satin instead of the thick knit so she can wear it as a skirt with a shirt tucked in?
Pauline says
Thank you for this great tutorial.
Pauline
Aria says
I love this tutorial!!!!!
For a tutu for me, I was wondering if I would need more tulle. I am 5’8″ if that helps at all. Thank you again
Stella says
Hi,
I came across your tutorial and was very impressed that I felt brave enough to create one, almost identical to yours, for my 2.5year old daughter.
She is besotted with it and convinced age is a “princess ballerina”!
Thank you.
Sherry Phillips says
After several not so great attempts, NOW I think I can make a tutu! I thank you and my great-granddaughter will thank you (as soon as she starts talking)!