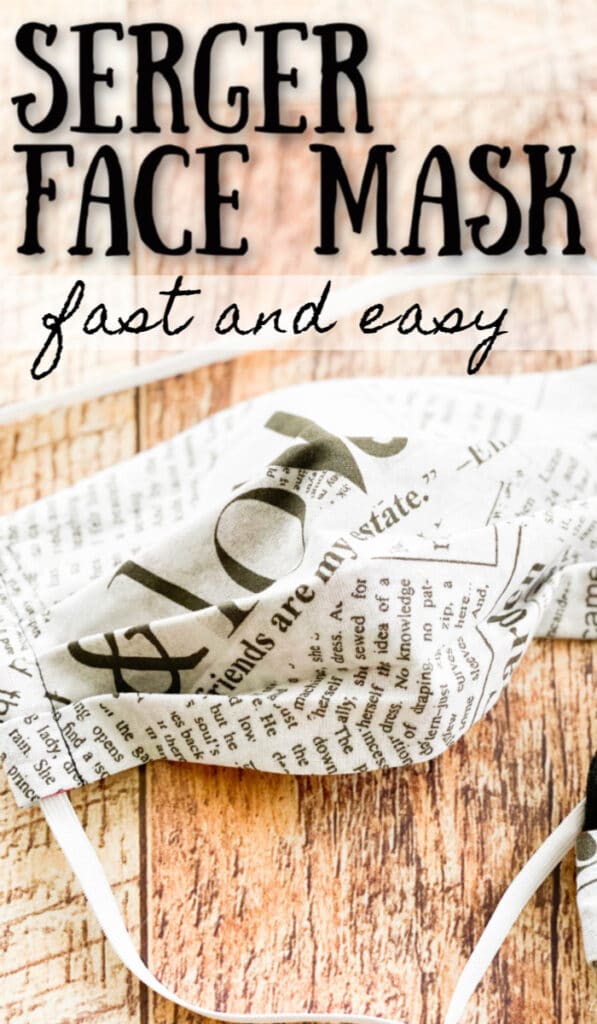
If you need to sew face masks in bulk and/or as quickly as possible, this serger face mask version is going to be the best tutorial for you. These masks would be suitable for professionals to wear with their other coverings to increase the longevity of effective protection. They are also appropriate for running errands (ESSENTIAL ERRANDS), providing a visual cue to remember social distancing protocol, and preventing you from touching your face, mouth, and nose.
Watch the Video Tutorial and then scroll down for step by step instructions:
Use of the serger for this mask makes it incredibly quick to sew, with secure seams. Sewing machine only instructions are included. Elastic CAN be used, but is not necessary to make a serger face mask.
Need a NO SEW tutorial for face coverings? Try this 5-minute tutorial!
Need a Homemade Mask with a filter pocket? Try this video tutorial!
Time needed: 10 minutes
How to Make a Fast and Easy Serged Face Mask
- Gather your materials
PREWASH and DRY all of your fabric. Use a high thread count quilting cotton (100% cotton) and cotton flannel.
You will need two square of fabric cut to medium 10.5″ wide x 7″ tall for adults and 9″ wide x 7″ tall for kids.
You will also need one strip of ¼″ wide elastic OR one strip of 1″ wide stretchy knit fabric.
Pipe cleaner, twisty tie, or wired ribbon piece, 5″ long (optional)
Cording Foot for Serger (optional) affil
One safety pin
Serger and sewing machine
Filters that can be sewn into masks, though not washable (optional) affil
This will make one mask.
- Preparing to sew.
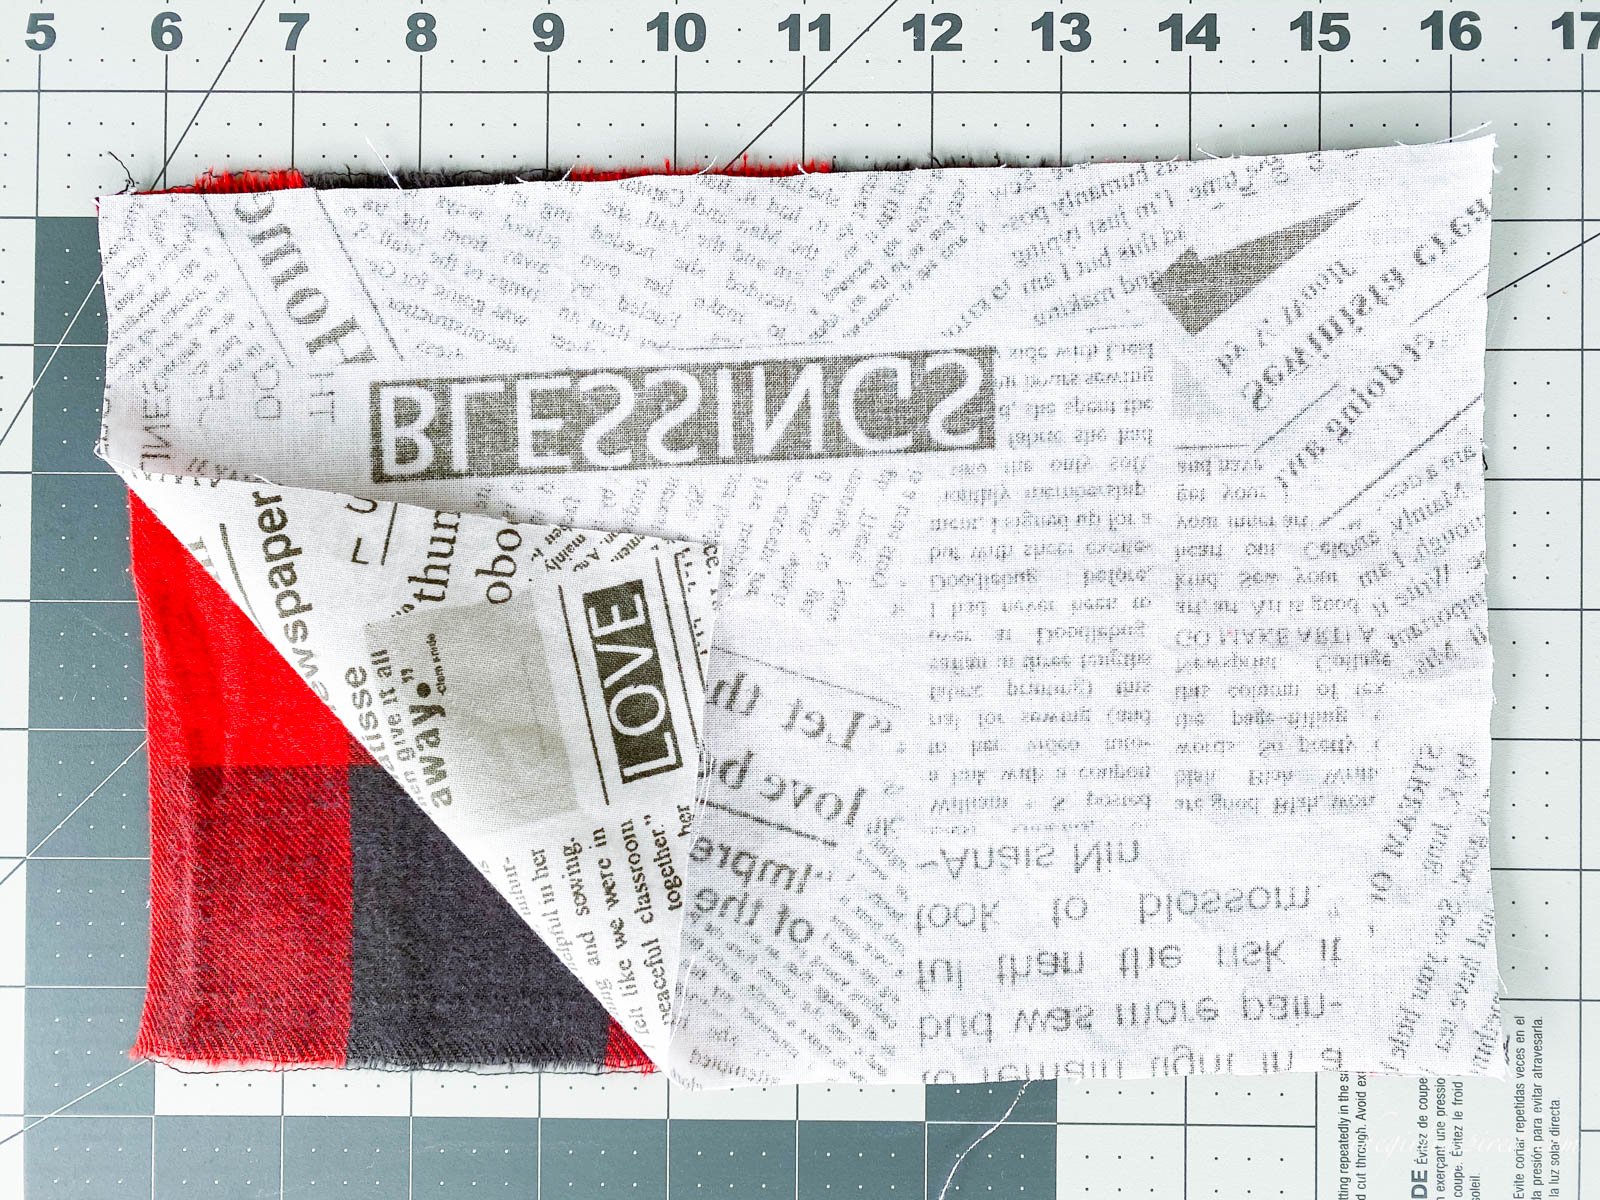
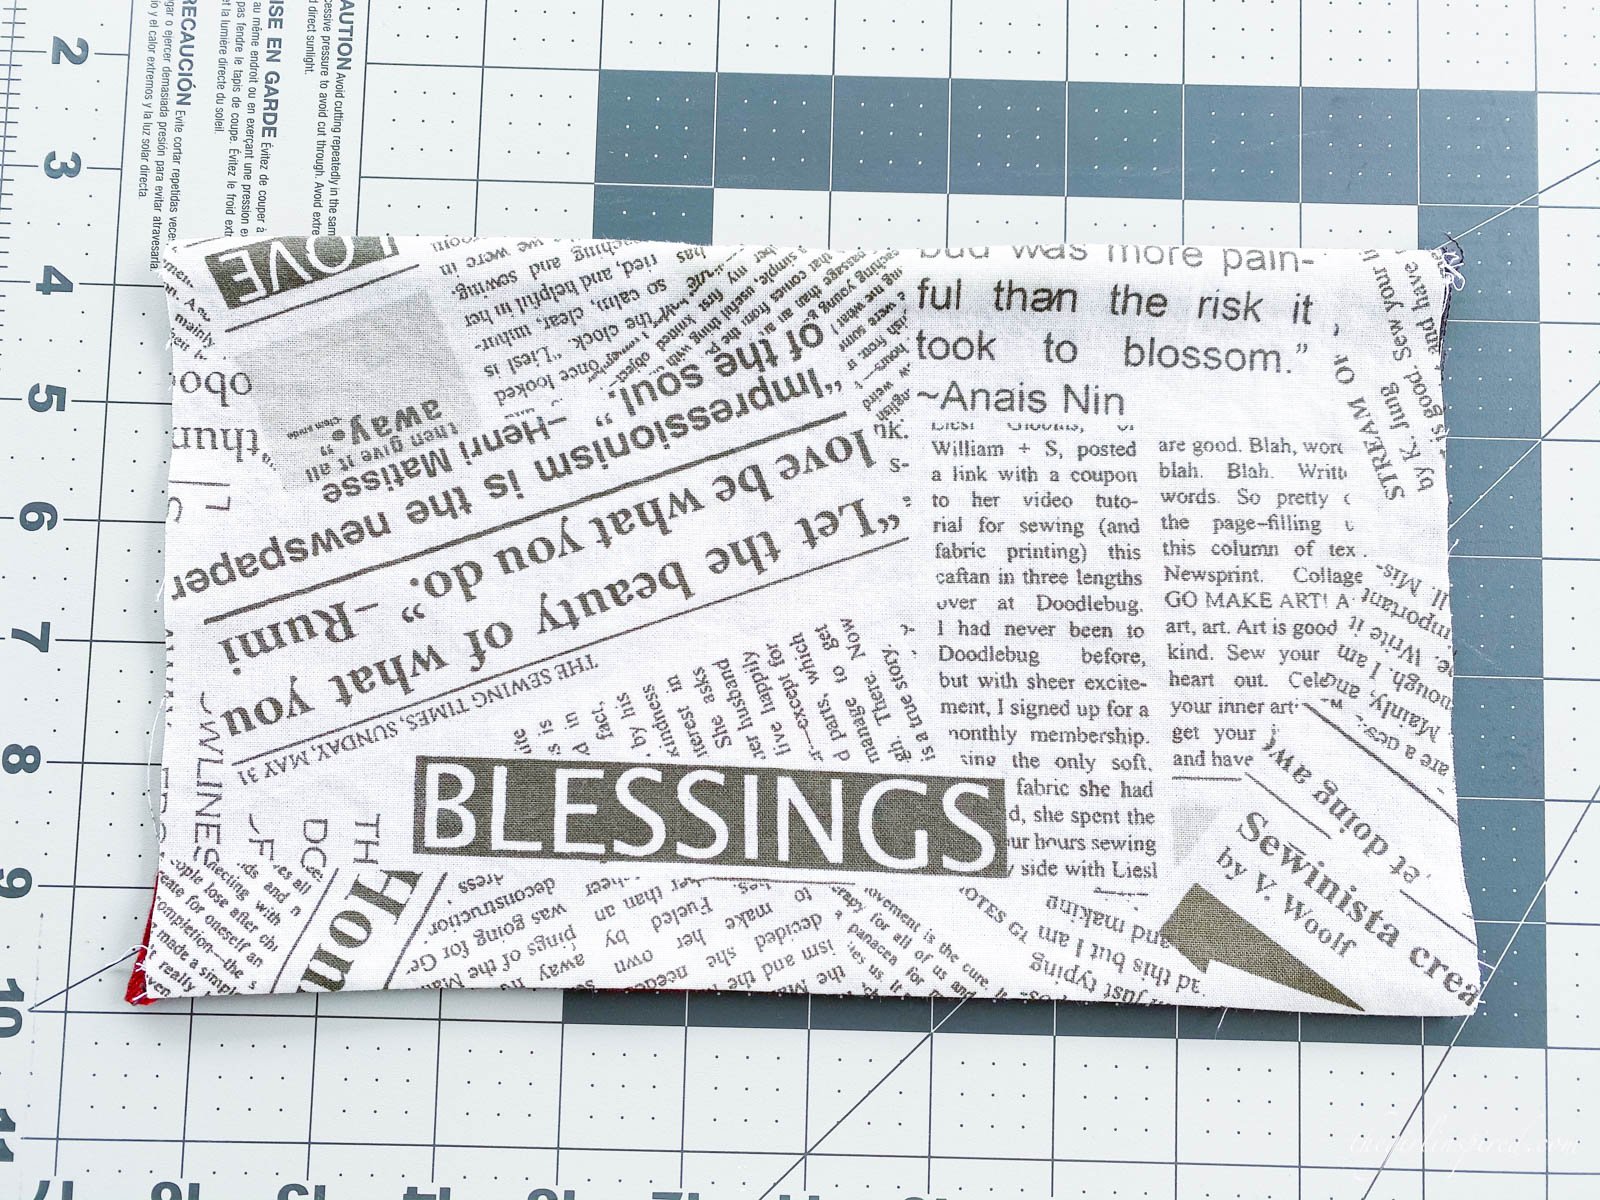
Place the two pieces of fabric, right sides together, making sure the edges are aligned.
- Nose Shaping Piece
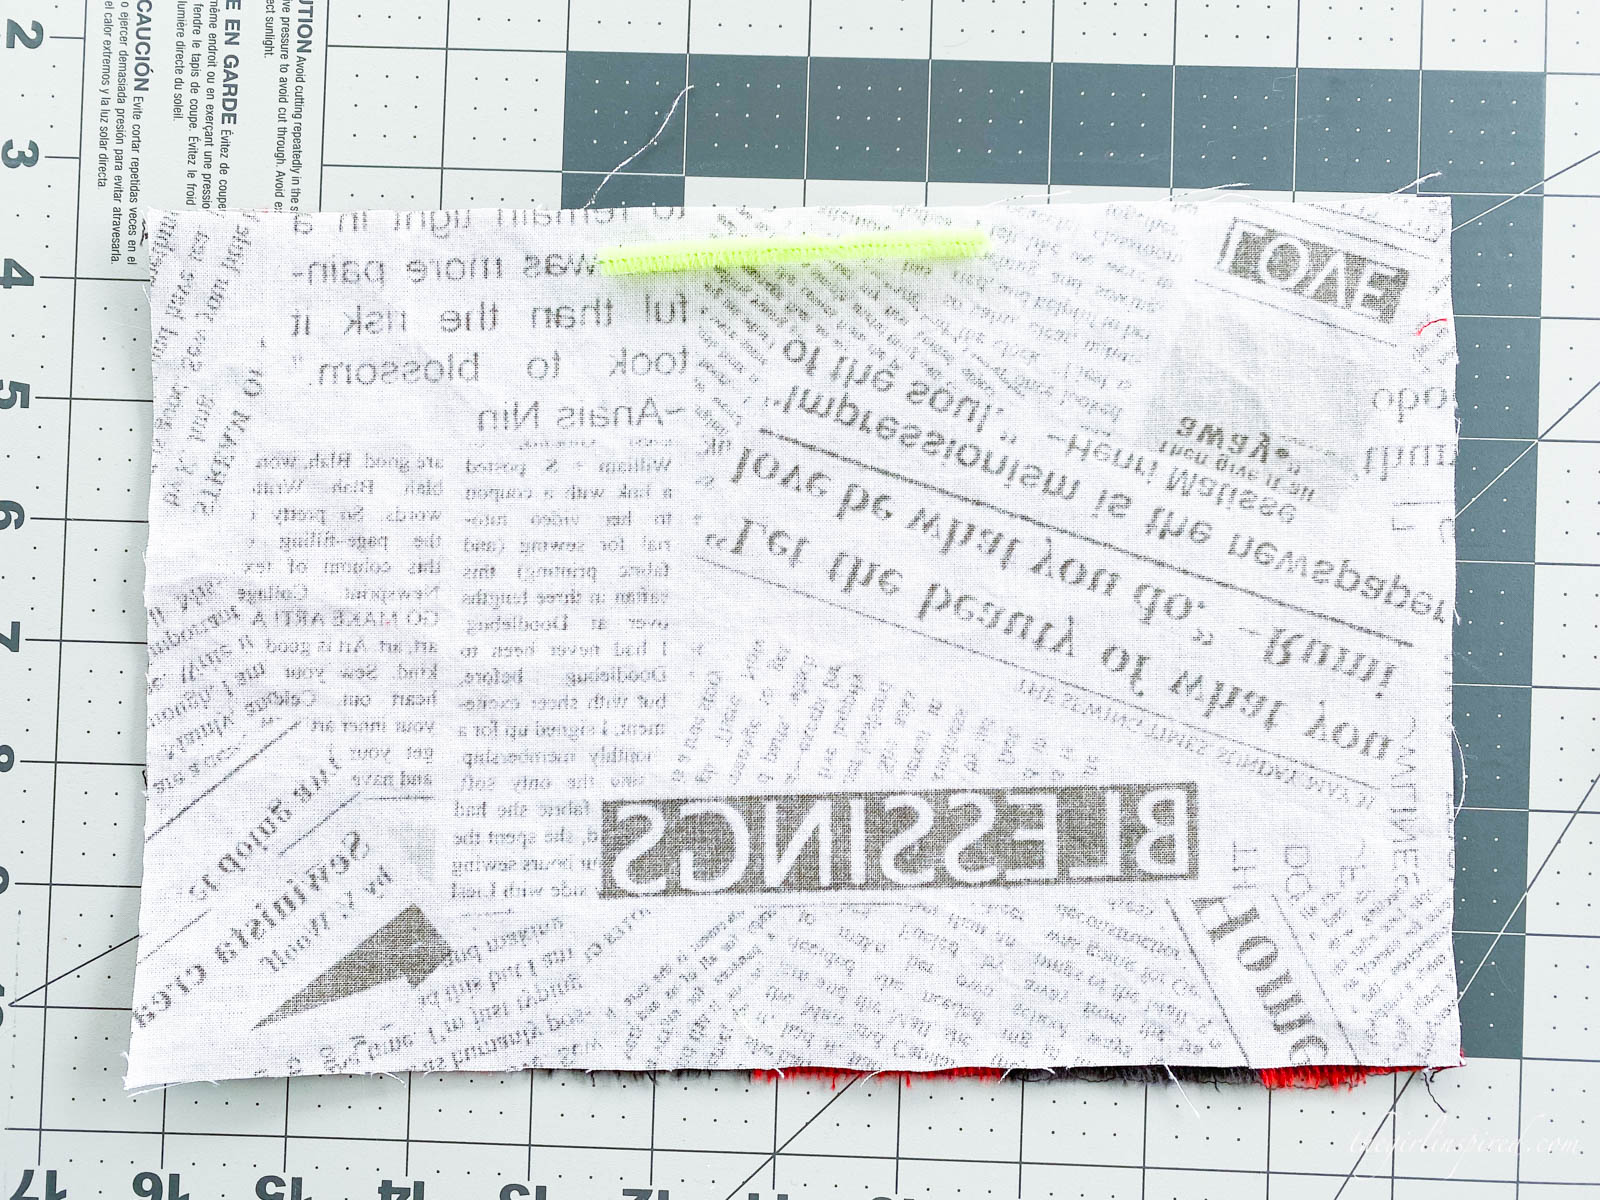
Twisty ties work really well as nose shapers, but if you do not have a twisty tie, try a pipe cleaner or wired craft ribbon. Place the wire piece in the top center of fabric. Either side is fine.
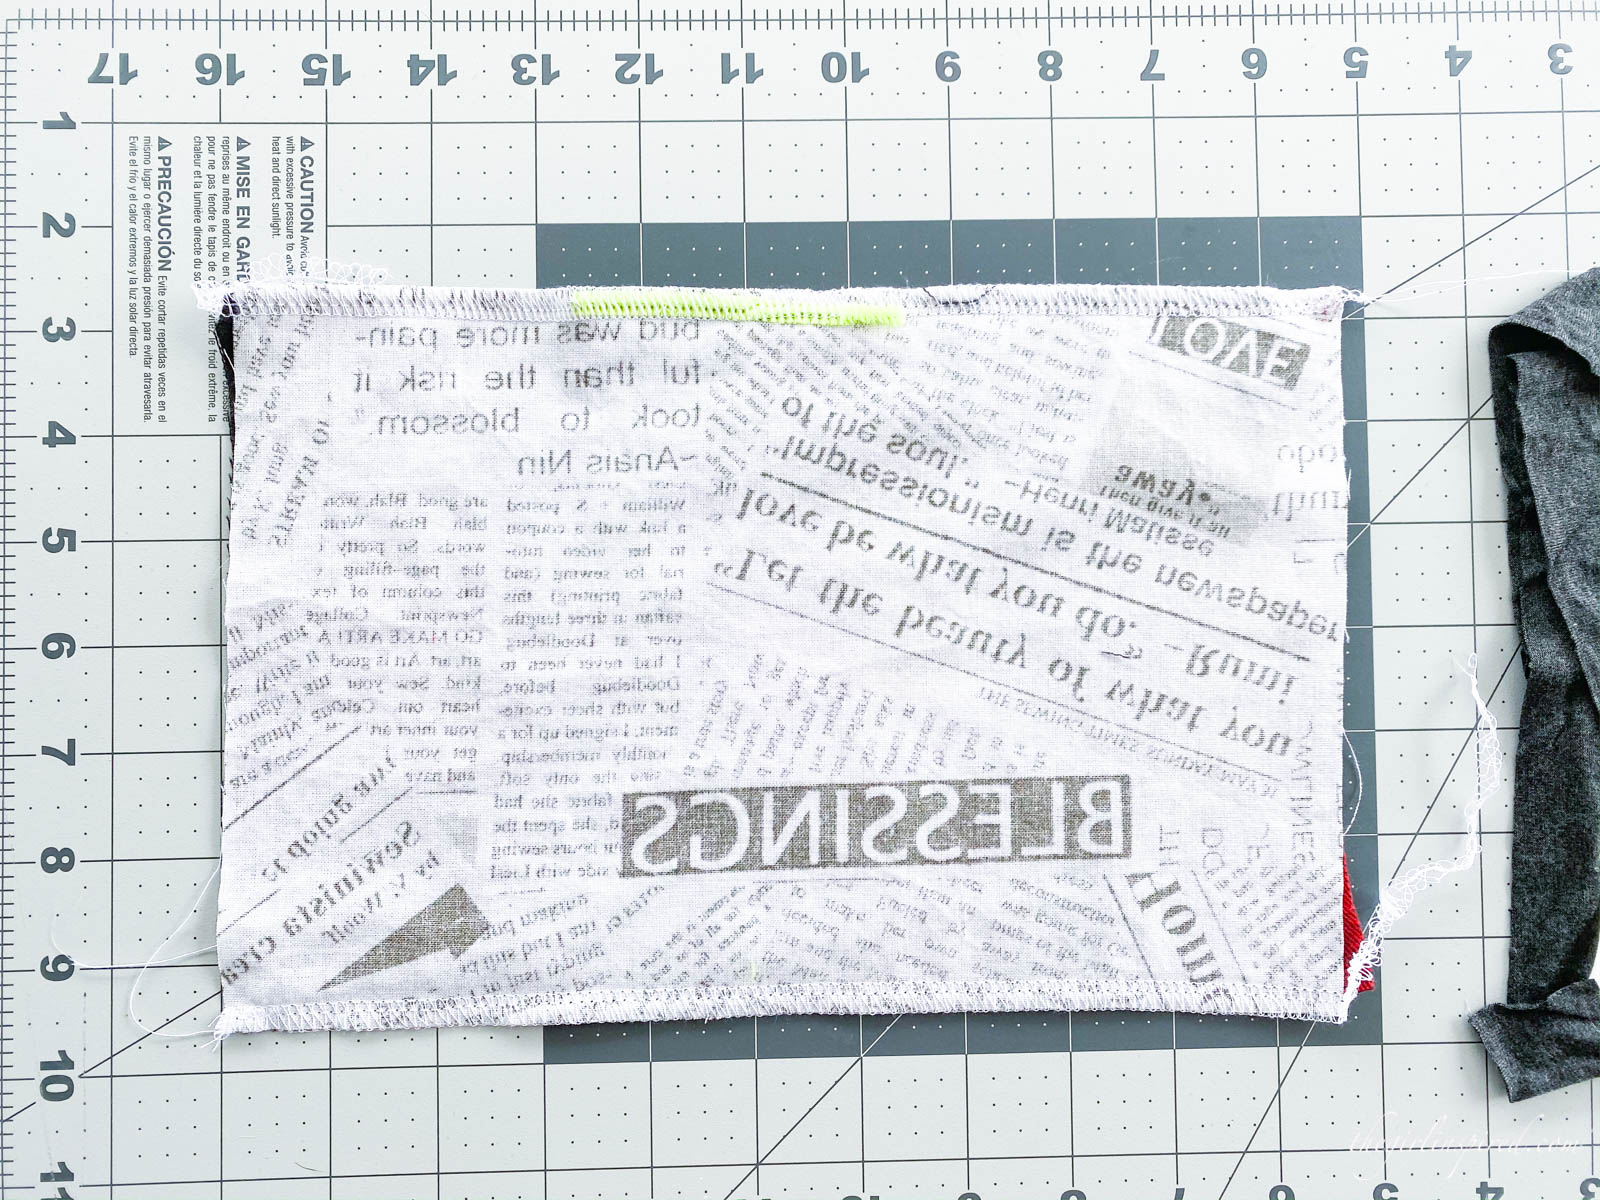
- Serge top and bottom edges of mask.
Sew the top and bottom pieces together using your serger. If you have a cording foot for your serger, this is ideal to make sure you don’t catch the wire under the needles. If not, just line up that pipe cleaner to run between your two needles. It’s a short piece of wire and slowing down on this part will only take you a brief second. If you do not have a serger, sew together the top and bottom edges on your sewing machine (with a zig zag stitch over the wire piece.)
- Turn tube right side out and press.
Turn the fabric right side out, working the seams out and pressing the mask into a perfect rectangle shape. Press really well. Use a little steam to get everything sitting as flat as possible.

- Turn upside down.
We’re going to start forming the pleats. With the front face mask fabric up, turn the mask so that it is upside down.

- Form the first pleat.
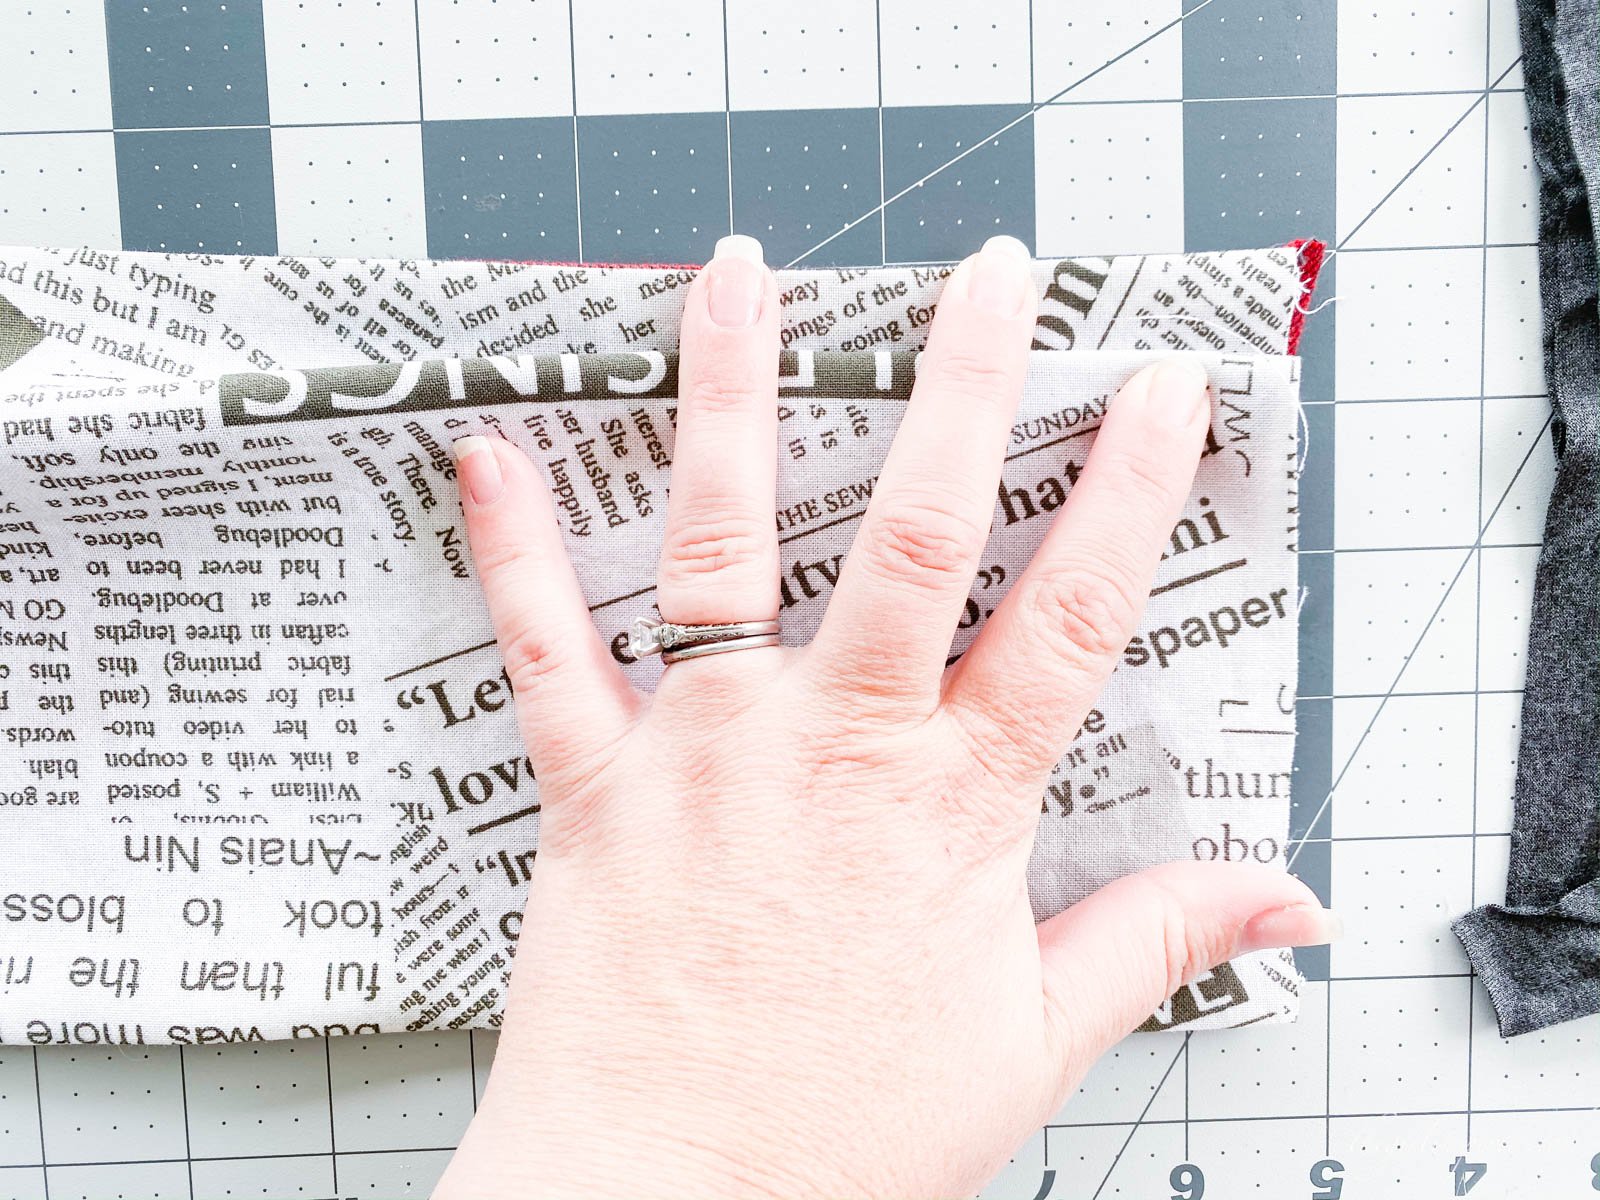
Give the fabric a light mist to help you form crisp pleats as you iron. Pinch the side edges and form your first pleat pointing away from you (you want your outside pleats to be facing down. I found it easiest to fold the pleats away from me so I’m going to start at the new “top” edge (because, remember, our mask is upside down right now.) Make sense? Form that first pleat and press really well.

- Form remaining pleats.
Sequentially form two more pleats to create a pleated mask size of 3″ on each side.

- Serge edges to secure pleats.
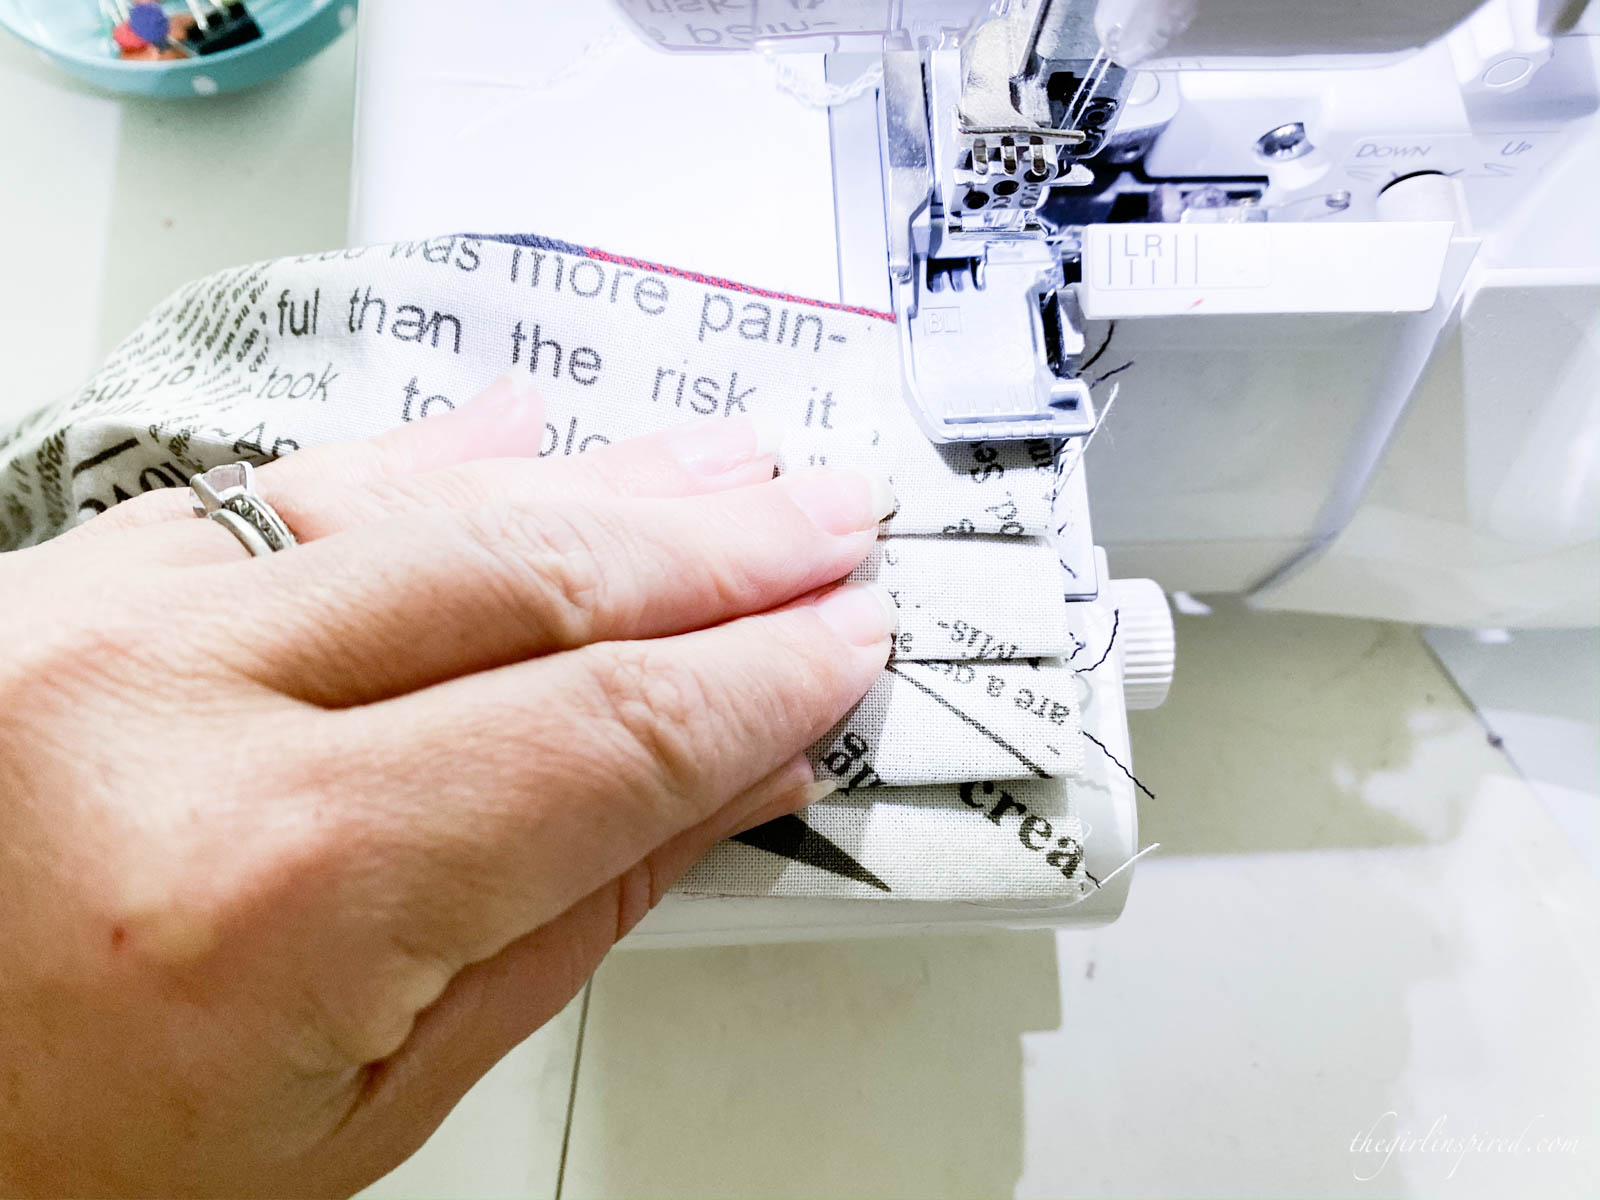
If you have pressed your pleats well and used a little steam, you shouldn’t need to pin your pleats before sewing them. Being able to omit pinning will increase your sewing speed tremendously. Use your hand to hold the pleats into place while you serge up each edge of the pleated mask.

- Trim threads.
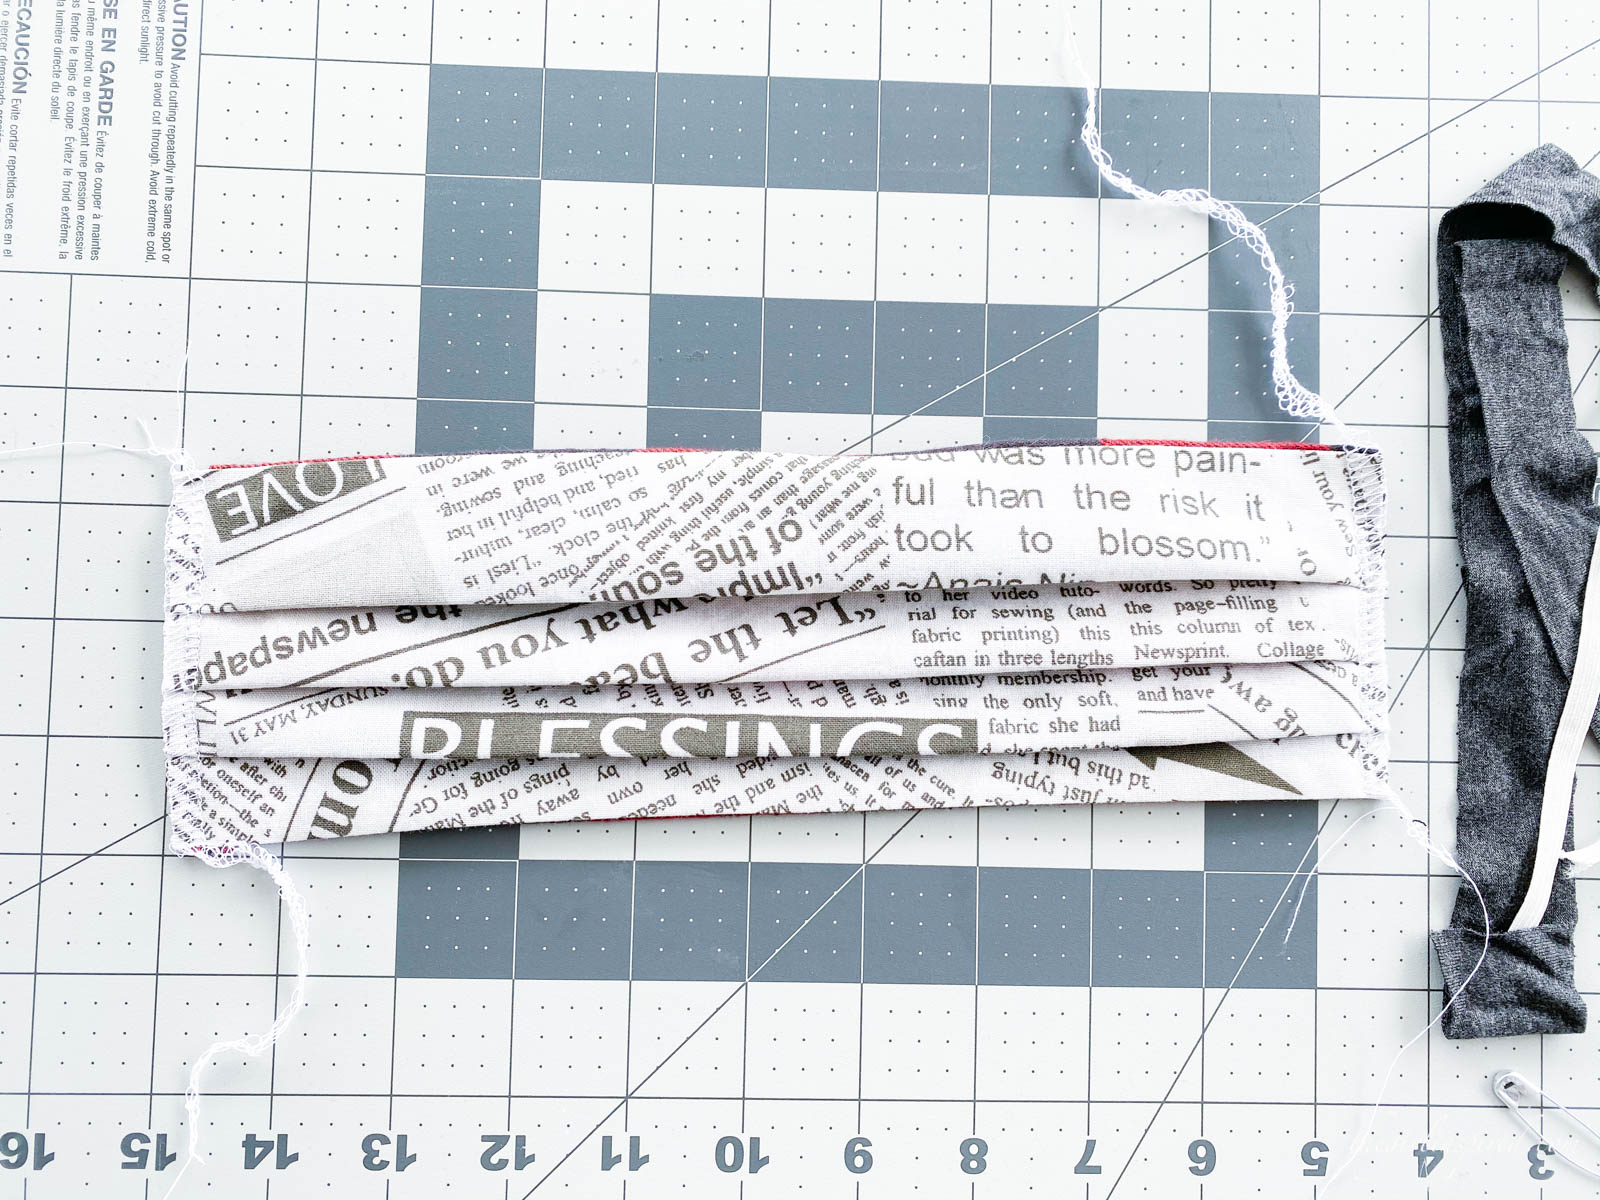
Almost done. Trim off your extra serger threads. If you do not have a serger, you can replicate the step by sewing a wide and short zig zag stitch along each side of the mask.

- Create tunnel for straps.
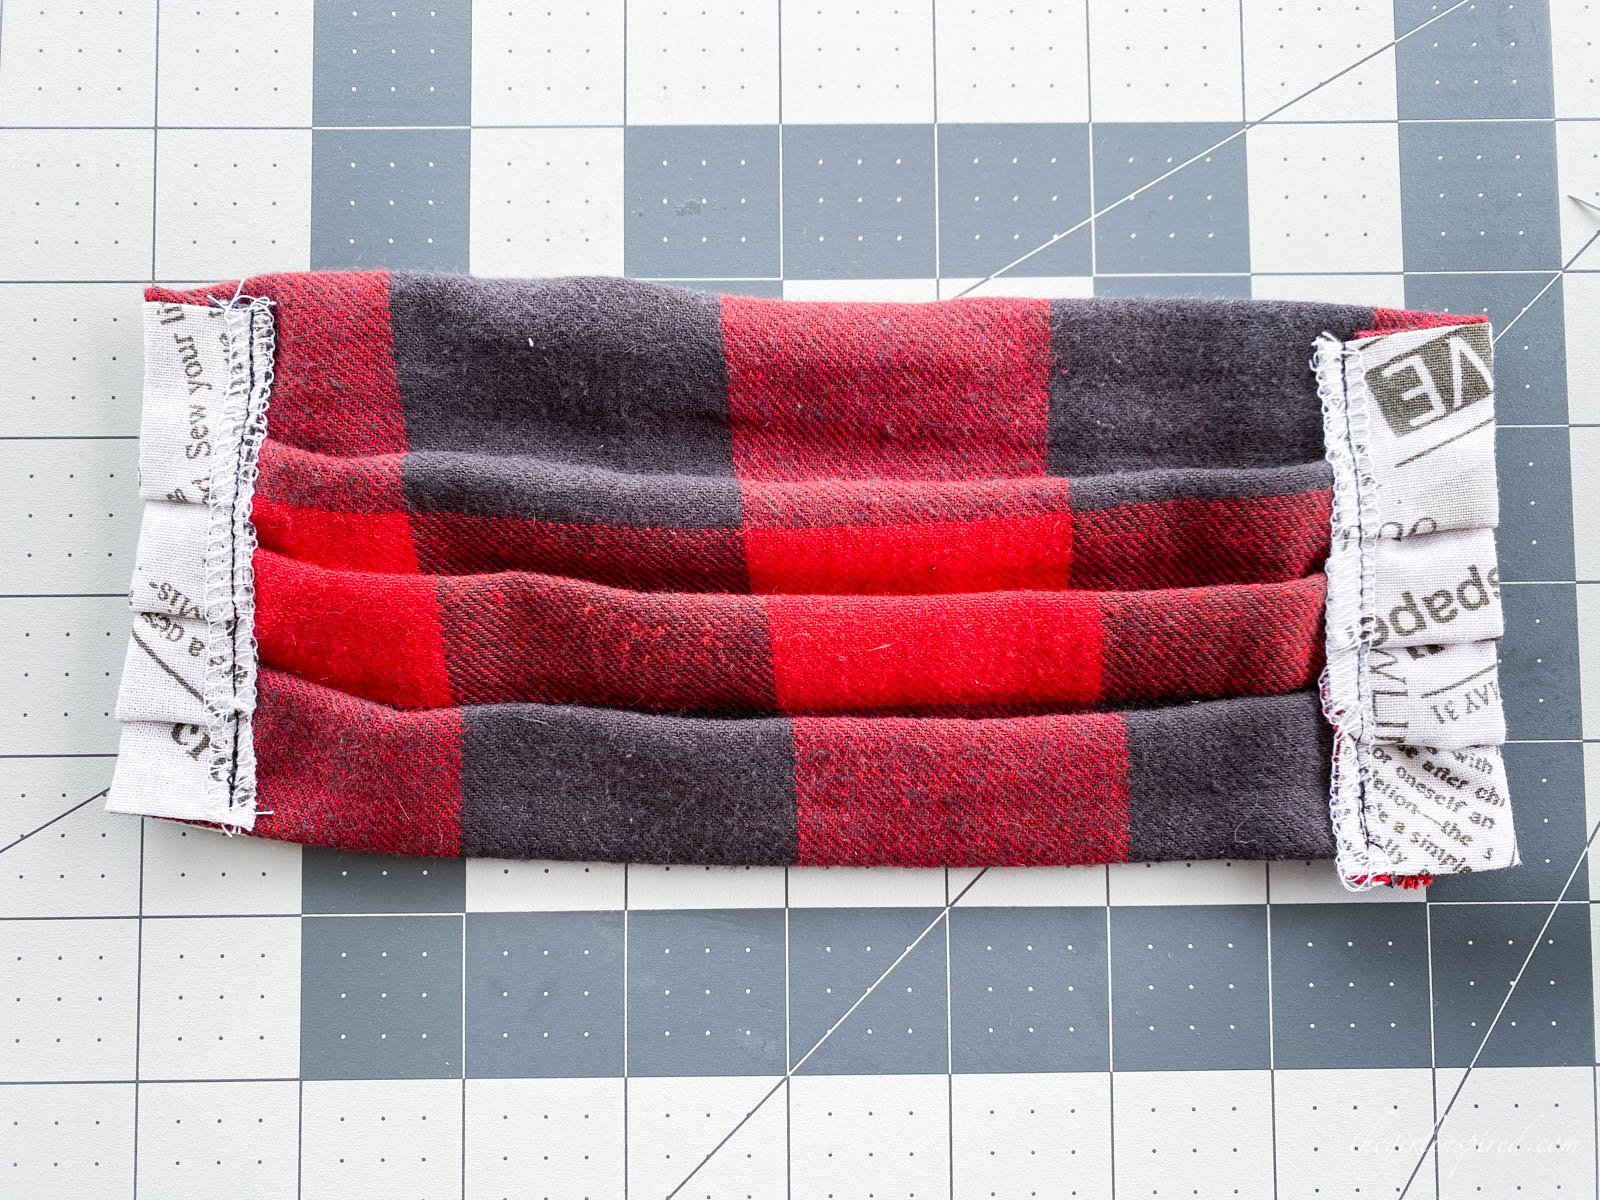
To finish the mask, we need a place to secure the straps. Simply turn each side of the mask to the back by about ½″. It can be tricky threading your elastic or knit straps through the pleated tunnel, but by leaving ample room (½″), this is no problem. You can press this seam or even pin it, but guess what? You don’t need to do either of these things and sewing the mask will be much faster if you just turn the sides and hold with your fingers as you swivel to the sewing machine.

- Stitch.
Use your sewing machine to quickly stitch a single seam right along your serged threads. Work from the back of the fabric so that you catch the whole length of the side. Easy peasy!

- Prepare straps.
Now we just need to add straps. For one mask, you need one 30″ length of ¼″ elastic, elastic cording, or 1″ wide knit strapping. If you don’t have elastic or knit fabric to cut up, grab a t-shirt out of the donate pile and cut that into 1″ strips! Place the mask in front of you, top side up and front side up.

- Add safety pin.
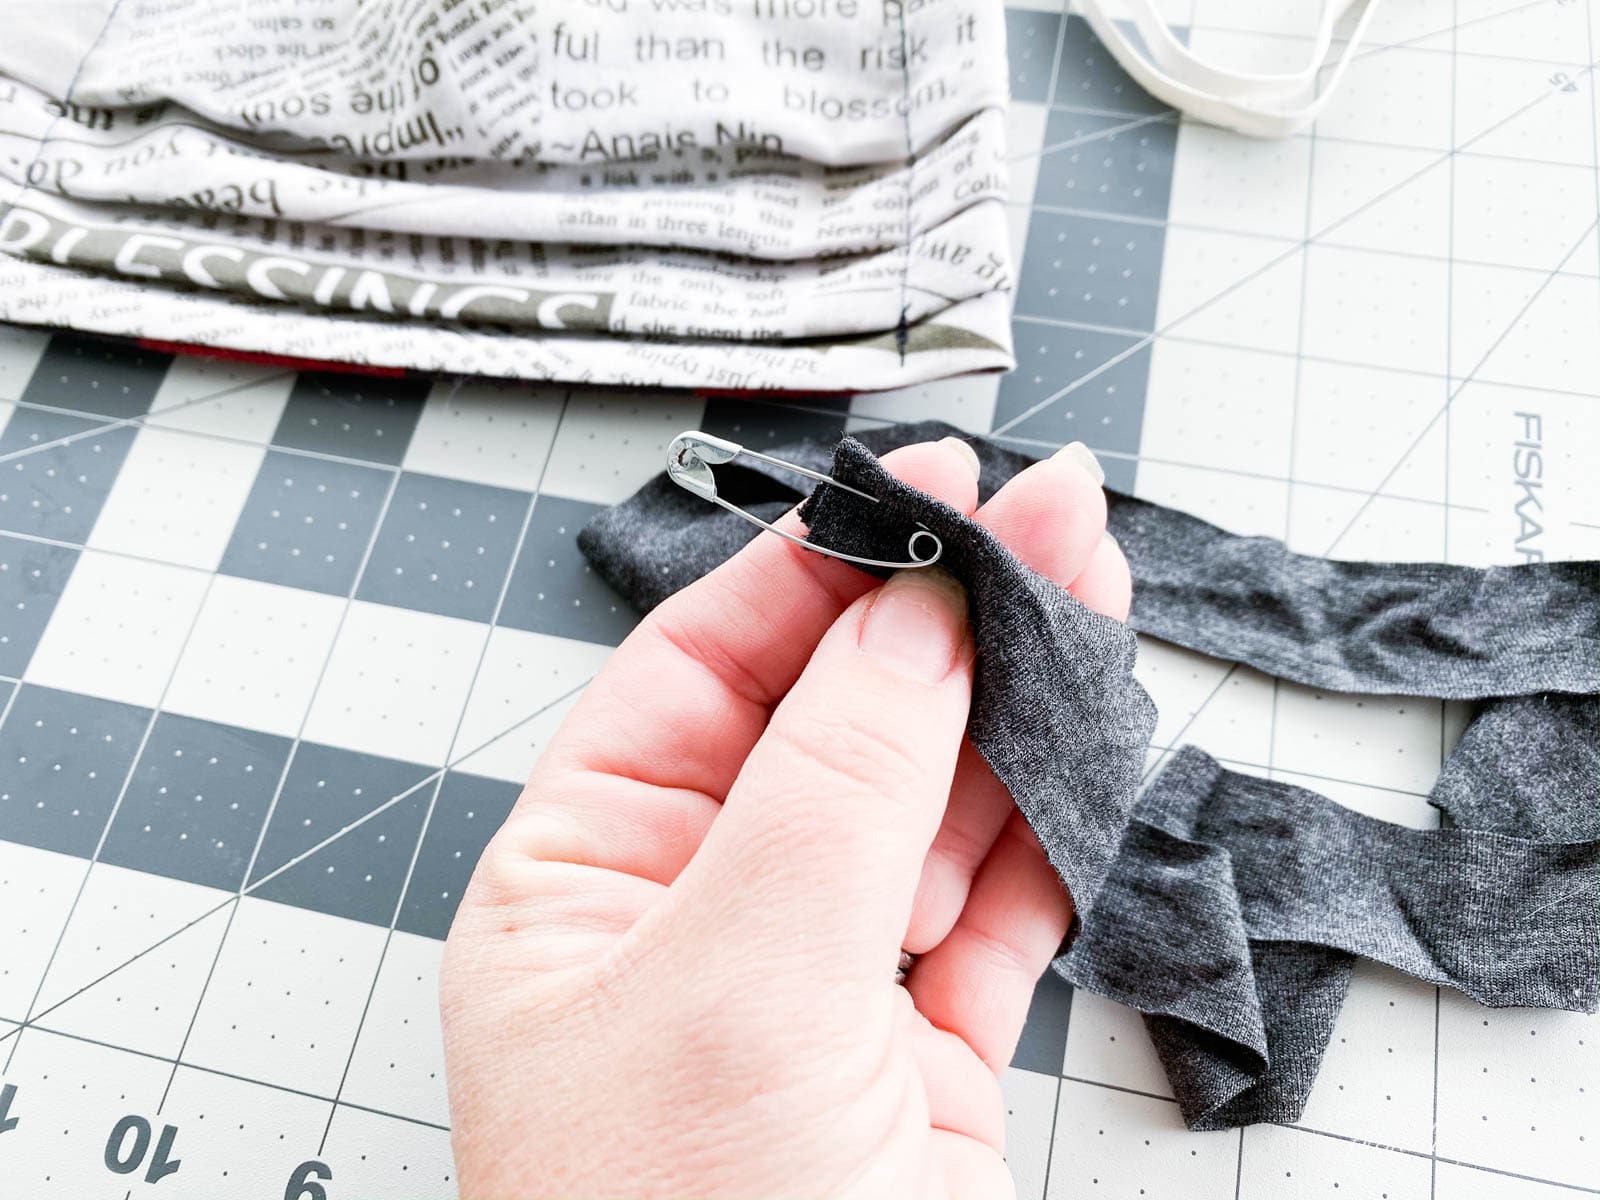
Place a safety pin securely in the end of the strap piece so that you can easily lace the strap through the mask side tunnels.

- Add strap.
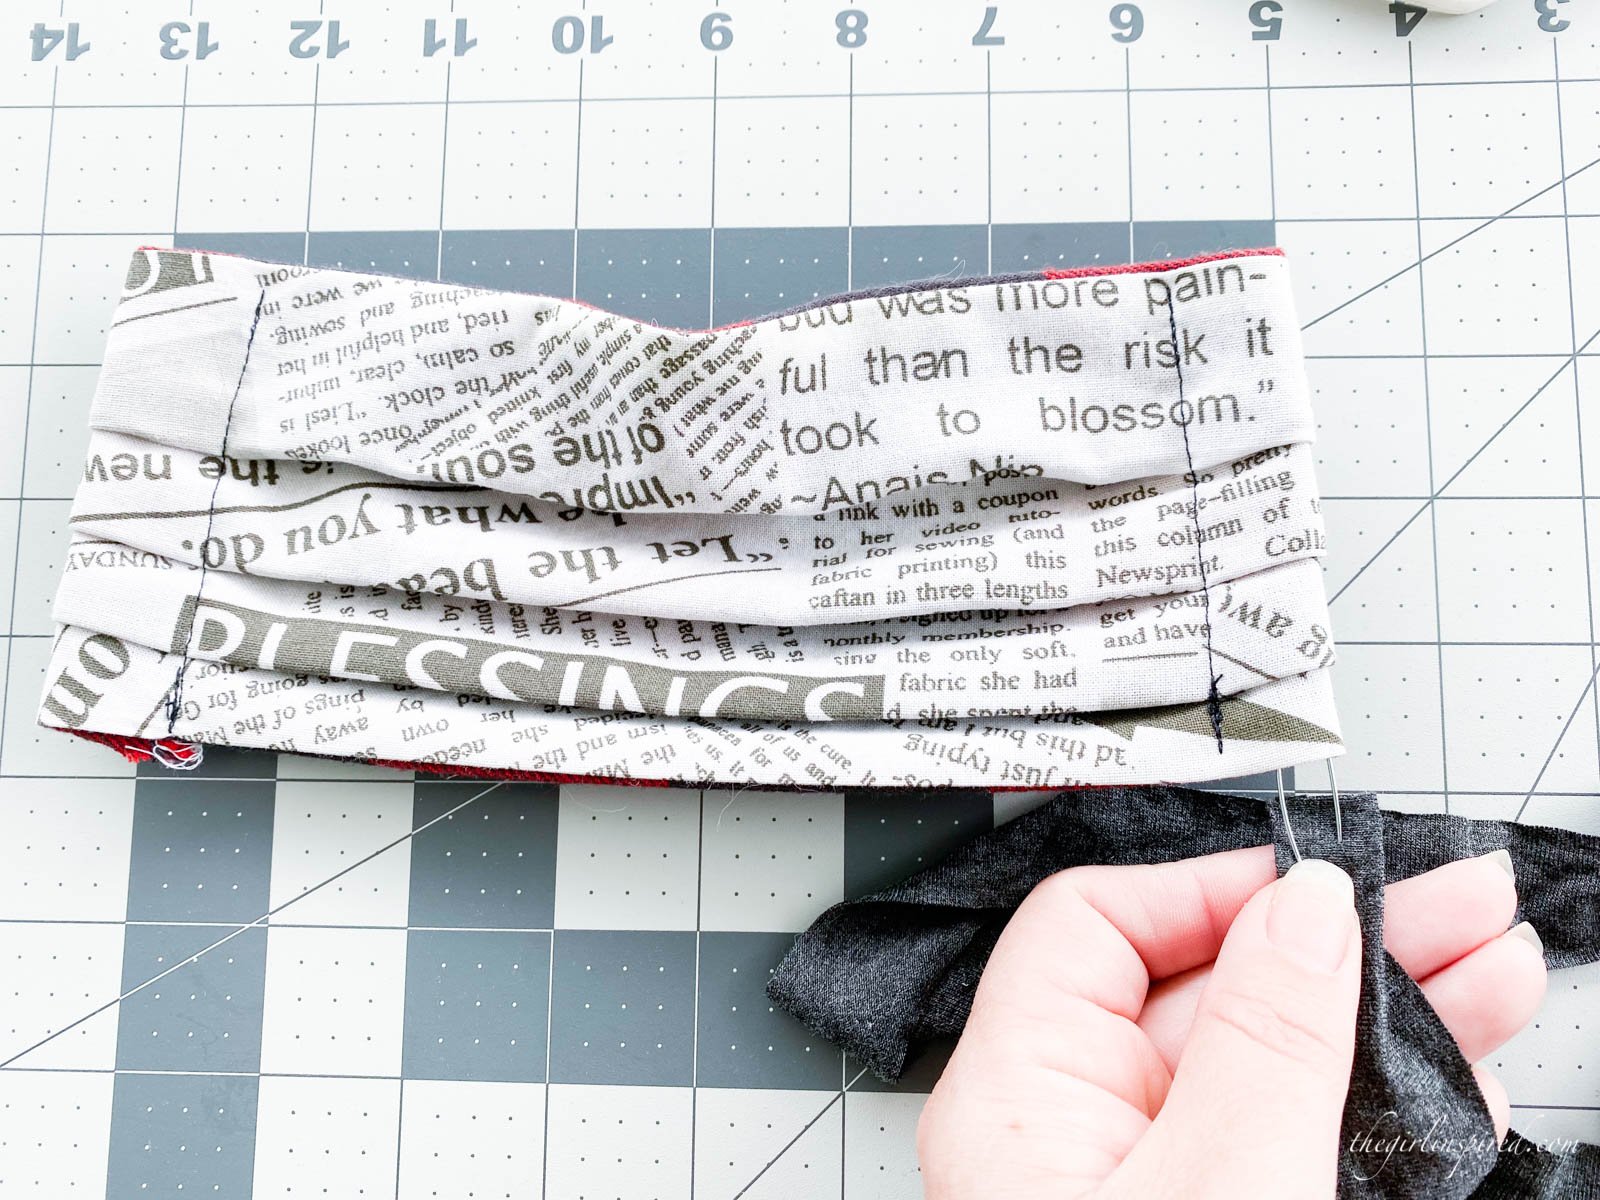
With the mask in front of you, insert the safety pin into the bottom right hand side of the mask as shown. Wiggle the pin up through the tunnel until you can grab onto the pin and pull the strap up through the top. Do not pull the strap all the way through and out the other side!

- Continue lacing strap.
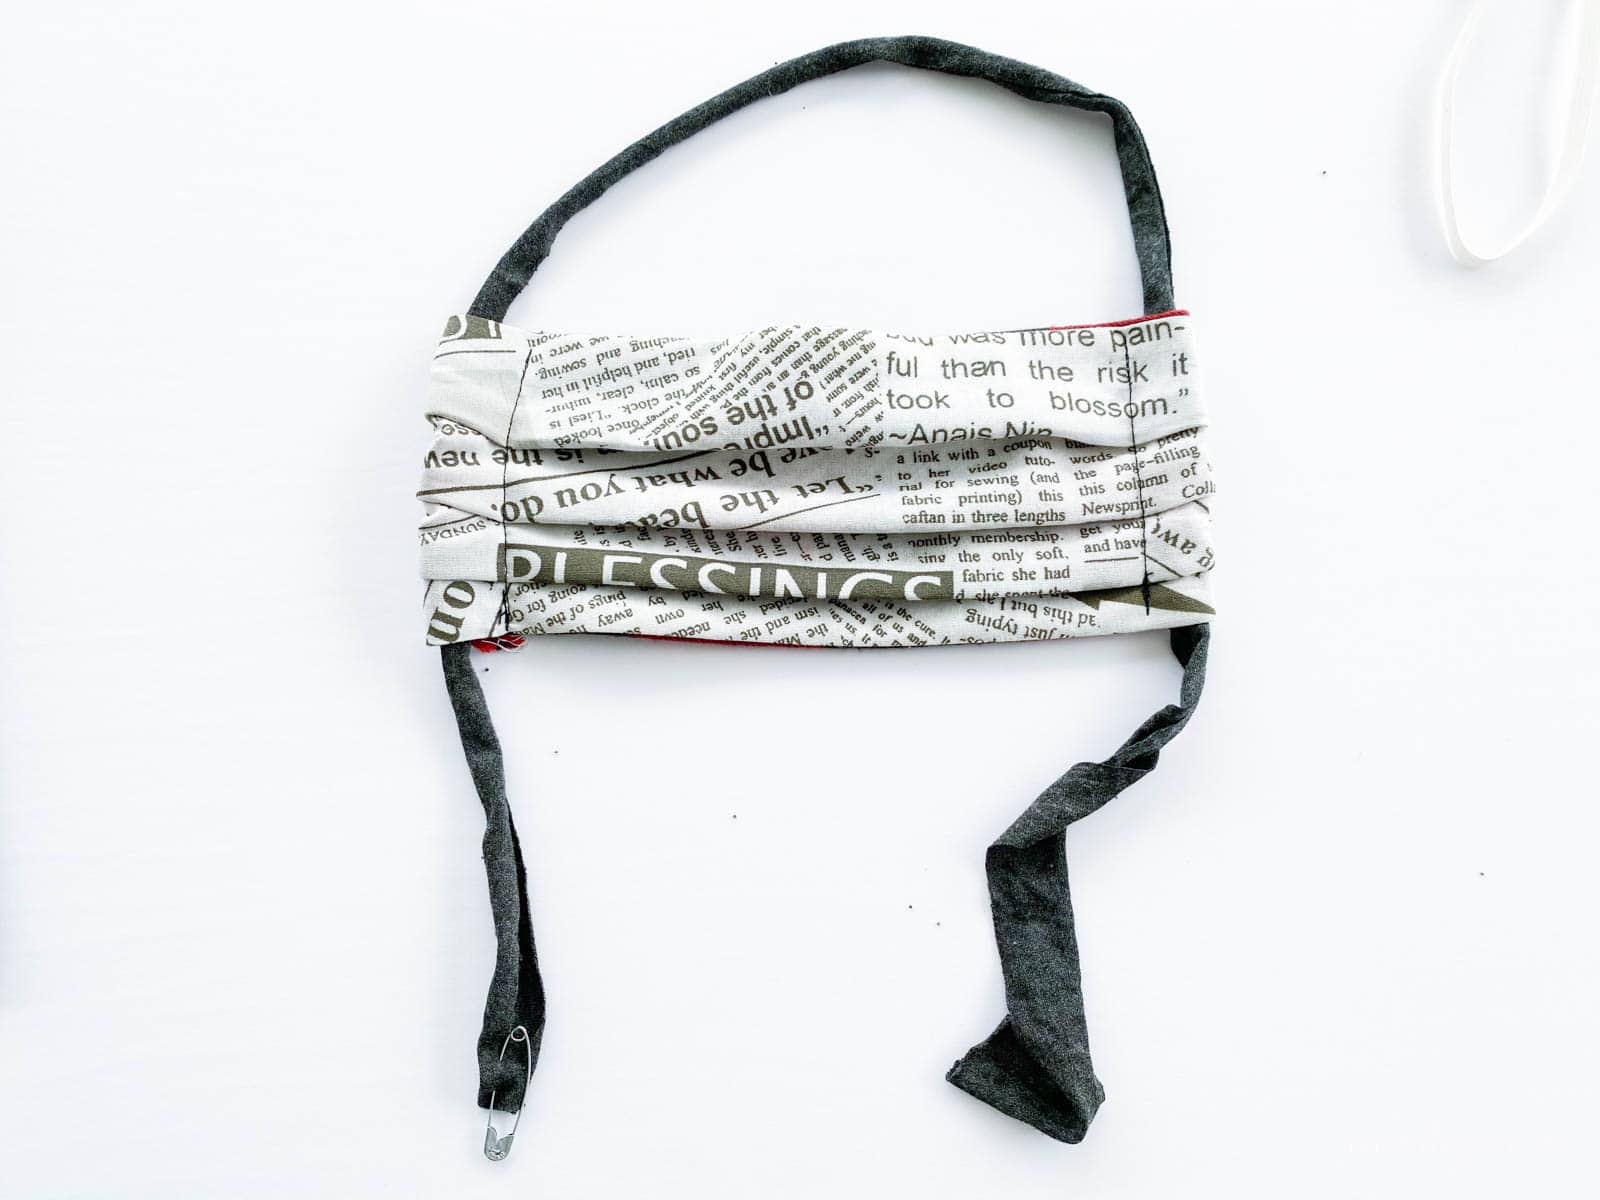
Insert the pin through the top left tunnel and repeat to pull the strap back down the other side. You will have a connected strap across the top and two loose straps on each side of the bottom.

- Finish line!
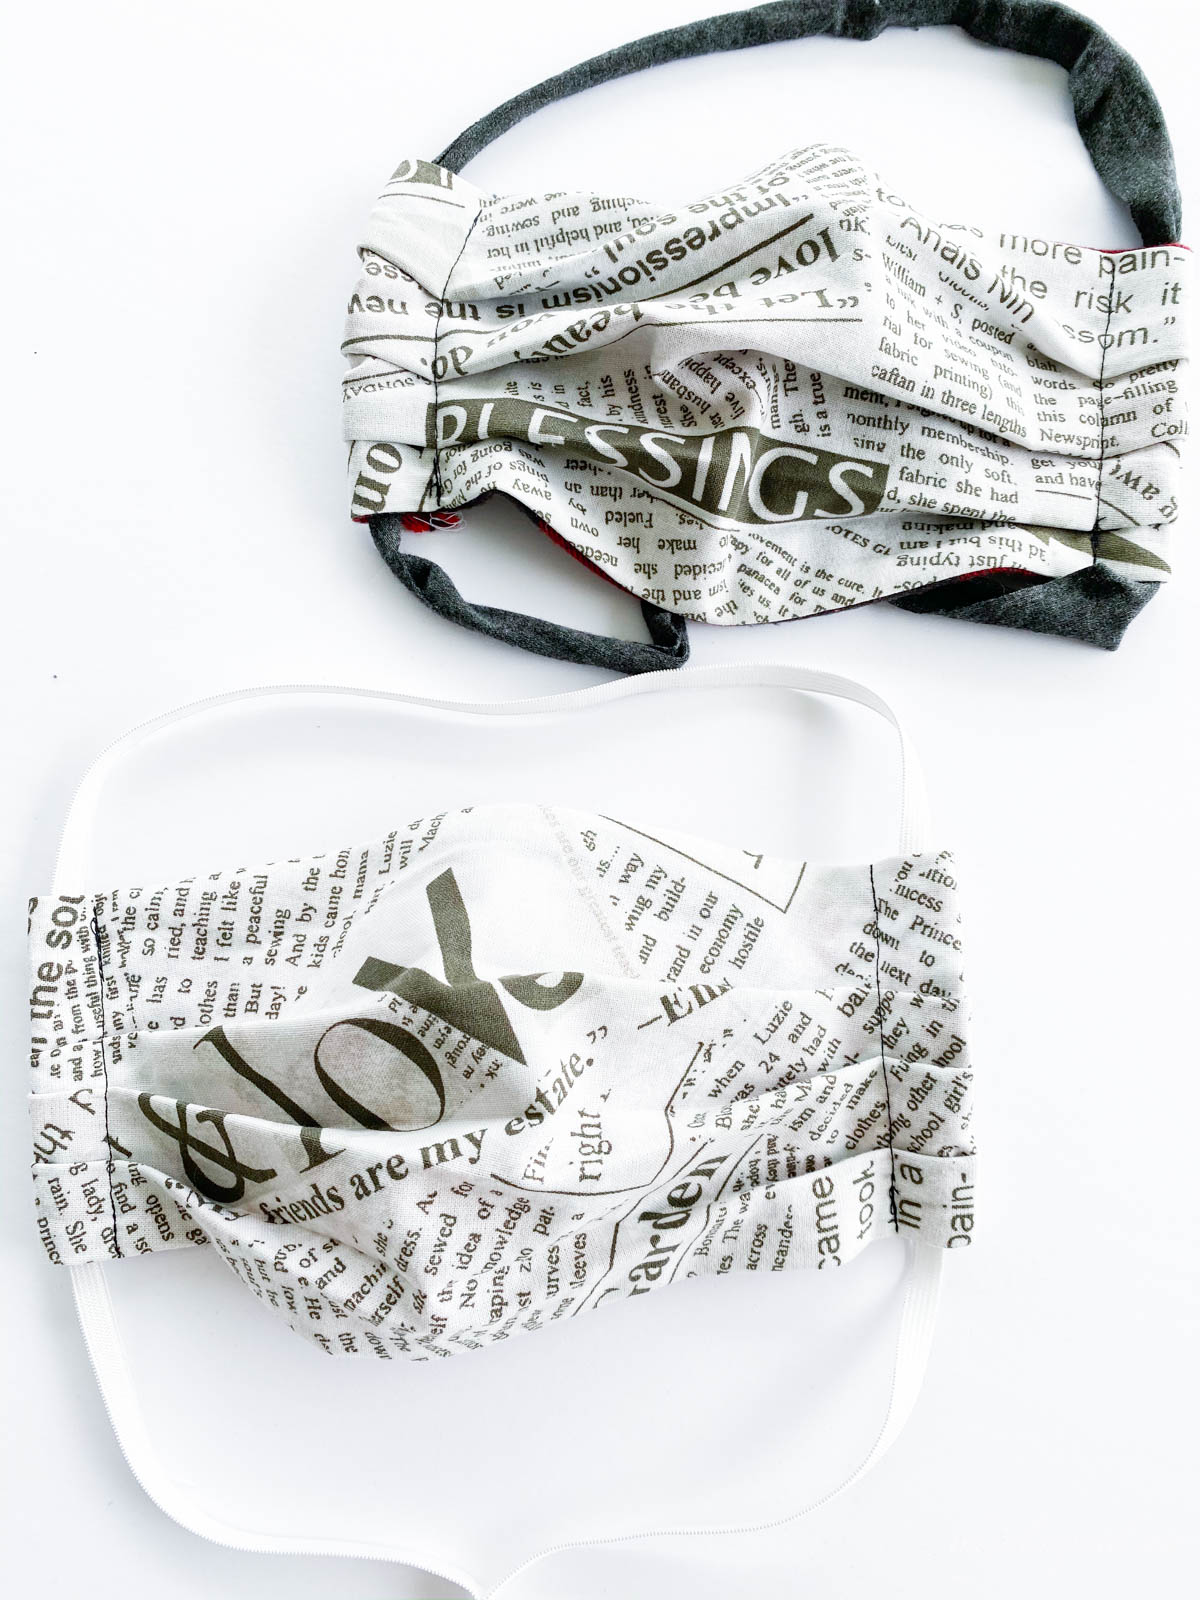
Remove that safety pin and you’re all done! Once the mask has been fitted on the wearer, adjust the straps so that there is a comfortable fit and then tie off the bottom straps in the back of the head! Cut any excess strap if you wish. If you want to cut the top center of the strap and then tie the tops each side to the bottoms of each side, you can have a mask that has the two straps that just go around the ears.

This mask is SO easy to sew using a serger. It’s comfortable, too! There is no need to worry about fit with the adjustable straps.
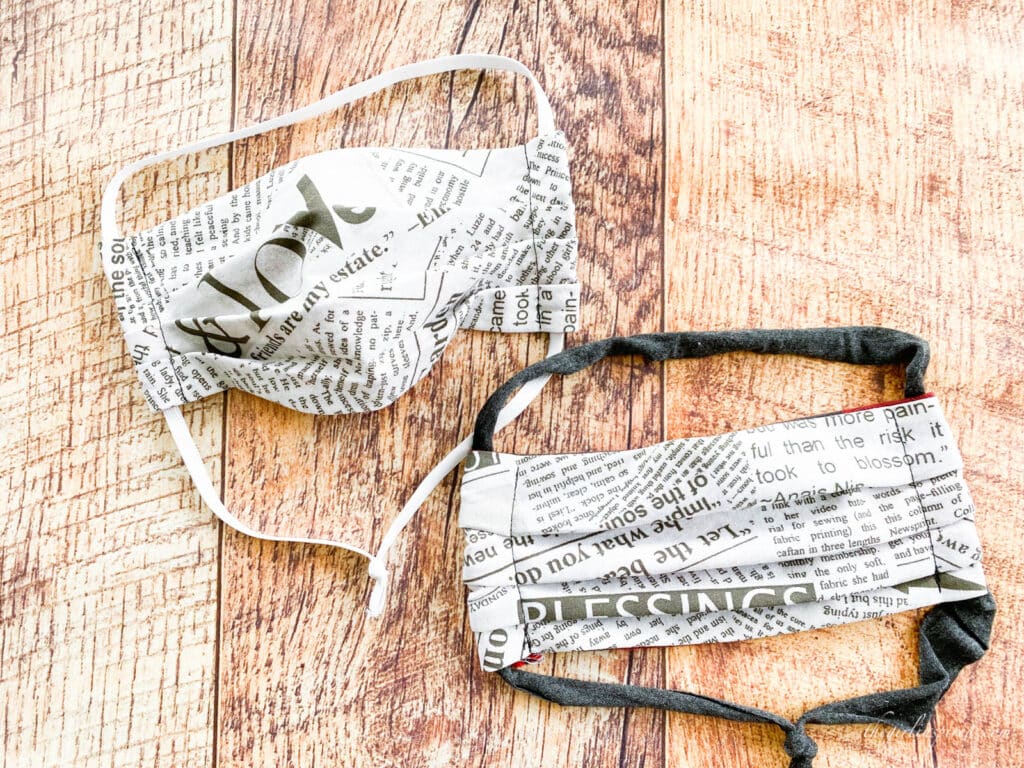
Tips for Speeding up Face Mask Sewing:
- Create these Serger Face Masks assembly line style (see steps below.)
- Enlist help with cutting or stringing the straps from other members of your household.
- Skip pinning steps and use steam to press and hold shape in place while stitching.
- Use an overlock machine to secure the pleats and create the strap tunnel in one step.
- Skip the nose shaper and serge the top and bottom edges of the mask with right sides out to eliminate the need to turn and press the tube.
Create Serger Face Masks Assembly Line Style
- First, cut all the pieces of fabric. Match selvage edges of fabric, then fold in half again. Cut a strip 7″ wide the length of the fabric from selvage to selvage. This is the height. Leave the fabric folded and cut the 10.5″ width through all four layers. Bam! Four layers done. Repeat with multiple fabrics.
- Serge the tops and bottoms of all masks together at the same time.
- Turn and press and form the pleats for all masks.
- Serge the ends for all masks.
- Turn under the side edges to form the strap tubes for all masks.
Sewing serger face masks assembly line style will decrease the number of times you are getting up and down from your chair or moving to different machines and the ironing board. You can also serge the masks one after another without cutting threads between which is a huge time saver!
As always, please defer to the CDC website for safe practices regarding all things health related. This tutorial and information is for educational purposes only and does not constitute advice from a medical or disease-related agency.
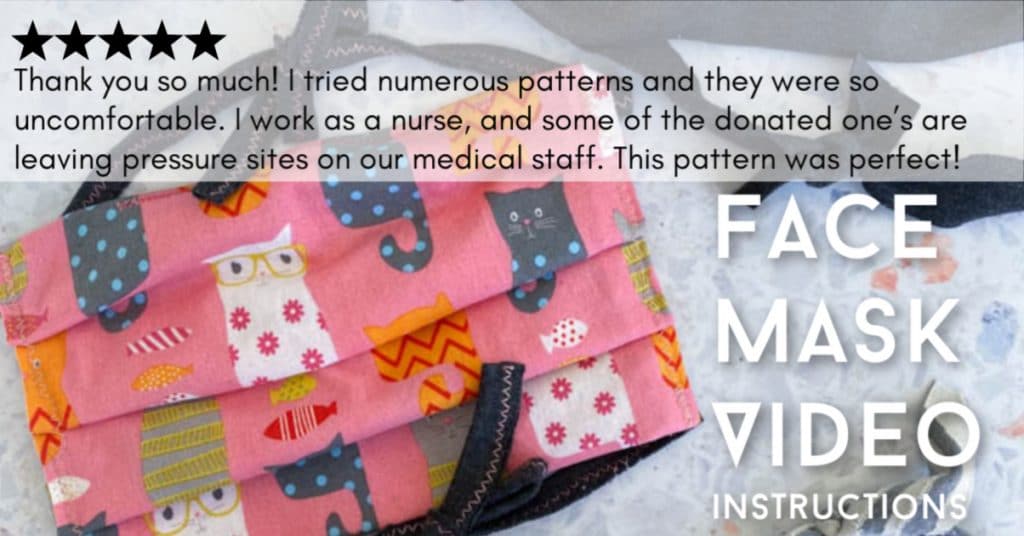
There is a video and free pattern download available for a sewn face mask without elastic and with a filter pocket. Please visit the Homemade Face Mask Video and Pattern here.
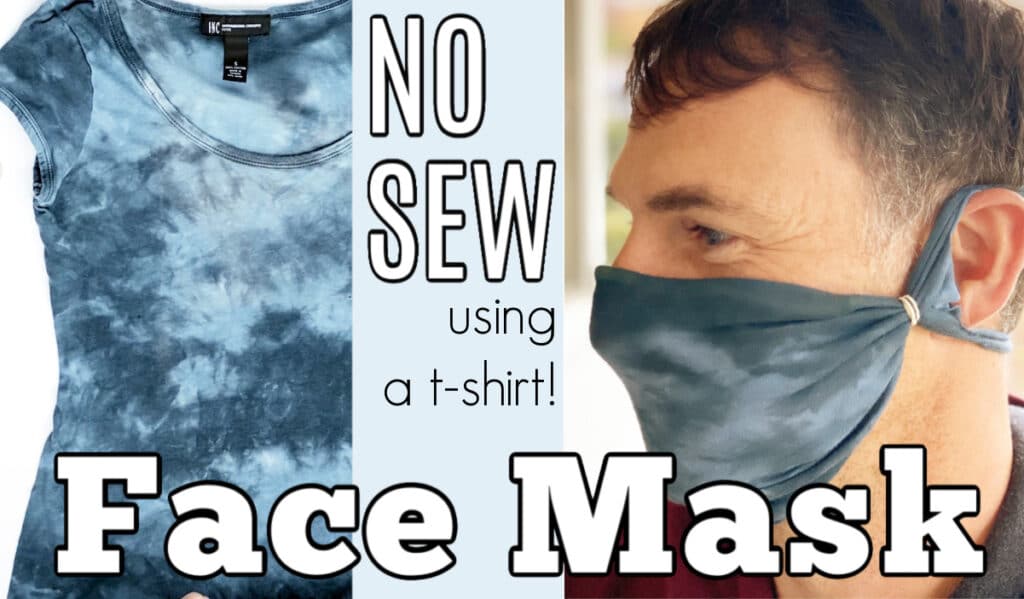
Make a NO SEW face mask from a T-shirt – Video and free printable instructions. The knit is stretchy and soft and anyone can make one from home – there is a pocket to insert a filter and nose shaping piece as well.







Comments & Reviews
Lisa says
I made this but used elastic through each side to have ear loops 🙂
Thanks!!
Colleen says
You did a nice job on your tutorial
girlinspired says
Thank you!!
black lives matter says
Thank you so much for the mask templates.
anti racism shirt says
Thank you so much for the free pattern.. it is very much appreciated!!Stay healthy and safe!
Nancy says
Stupid question: how do you put it on? I understand the top of the strap goes around the top back of the head, but the bottom strap?
girlinspired says
Yes, then you just pull the two bottom straps and tie them where it’s comfortable around the back of the neck. You can see it in action in the video towards the end.
Matt Claren says
Informative article, learnt something
Appreciation
L says
Thank you. I especially like the idea of serging all the tops in a line, then all the bottoms, etc. Do you think there’s a way to use the serger exclusively? How would you serge the channel? If the pleats didn’t add bulk, you could serge a blind hem. How about serging a channel onto the side rather than rolling over the pleats to make the channel? Also how are you securing the thread ends?
girlinspired says
The serger really does make everything go soooo much faster. I think you’re right that a blind hem would be too bulky over the pleated fabric. I think if you have a coverstitch machine set up alongside your serger, that could make the channel quick, too, because you could probably do the channel and secure the pleats all in one step. But my second serger is buried in my sewing room remodeling mess right now. Unless you were making many many many, and could do all the steps with the serger and then convert it over to coverstitch, it doesn’t seem like it would be time efficient to convert back and forth on one machine. Does that make sense? Also, I’m not securing my threads because I don’t think they’re going to be used a million times over, BUT if you wanted to secure threads, you would serge off the edge just a couple stitches, then turn the end back under the serger and serge over your stitching back the other way. Gosh, I hope that makes sense. I’ll have to do a video at some point.
Pamela Frame says
Turn off the knife and you can do the whole thing with serger.
Carrie says
Thanks for that tip,i just got a new serger because my sewing machine bobbin lost a screw,i want to help make masks but wasn’t sure what to do on the seam for the straps
Ann says
Ann says this is a great idea!!
Thelma says
This is so much easier than the straps I was sewing for the ears. Thanks and God bless
Colleen says
Great pattern & tutorial. I broke a needle on my serger making my son’s. I was using jersey cotton on one side & cotton on the other. My machine couldn’t handle the thickness. Best to stick w/two pieces of cotton.
girlinspired says
I nearly broke a needle on my regular machine trying to go through two layers of pleated jersey. The flannel flattens out nicely like quilting cotton and is a little softer.
OrlandoRiche says
Hello. And Bye.
rebecca says
Great simple pattern…todays project/bordom buster.
Mary says
Great tutorials! I have been watching many and find yours to be wonderful. Don’t know why I hadn’t thought of your stringing with a 30 inch ribbon up and through then down with a loop and two straps. Nice! It would give you a great and comfortable fit!
Stay well and happy! Mary🌺
girlinspired says
Thank you so much, Mary. I really appreciate your comment. The fit on this one is especially comfortable – particularly with the knit fabric tie. I think I almost prefer it to elastic. You stay well and happy, too. ❤️
Ann says
Ann says thanks for having both written and video instructions for face mask using a serger.
This is the best I have seen so far. I appreciate so much having step by step written info.
Since I am a senior, the added boost of instructions is so helpful!!!