


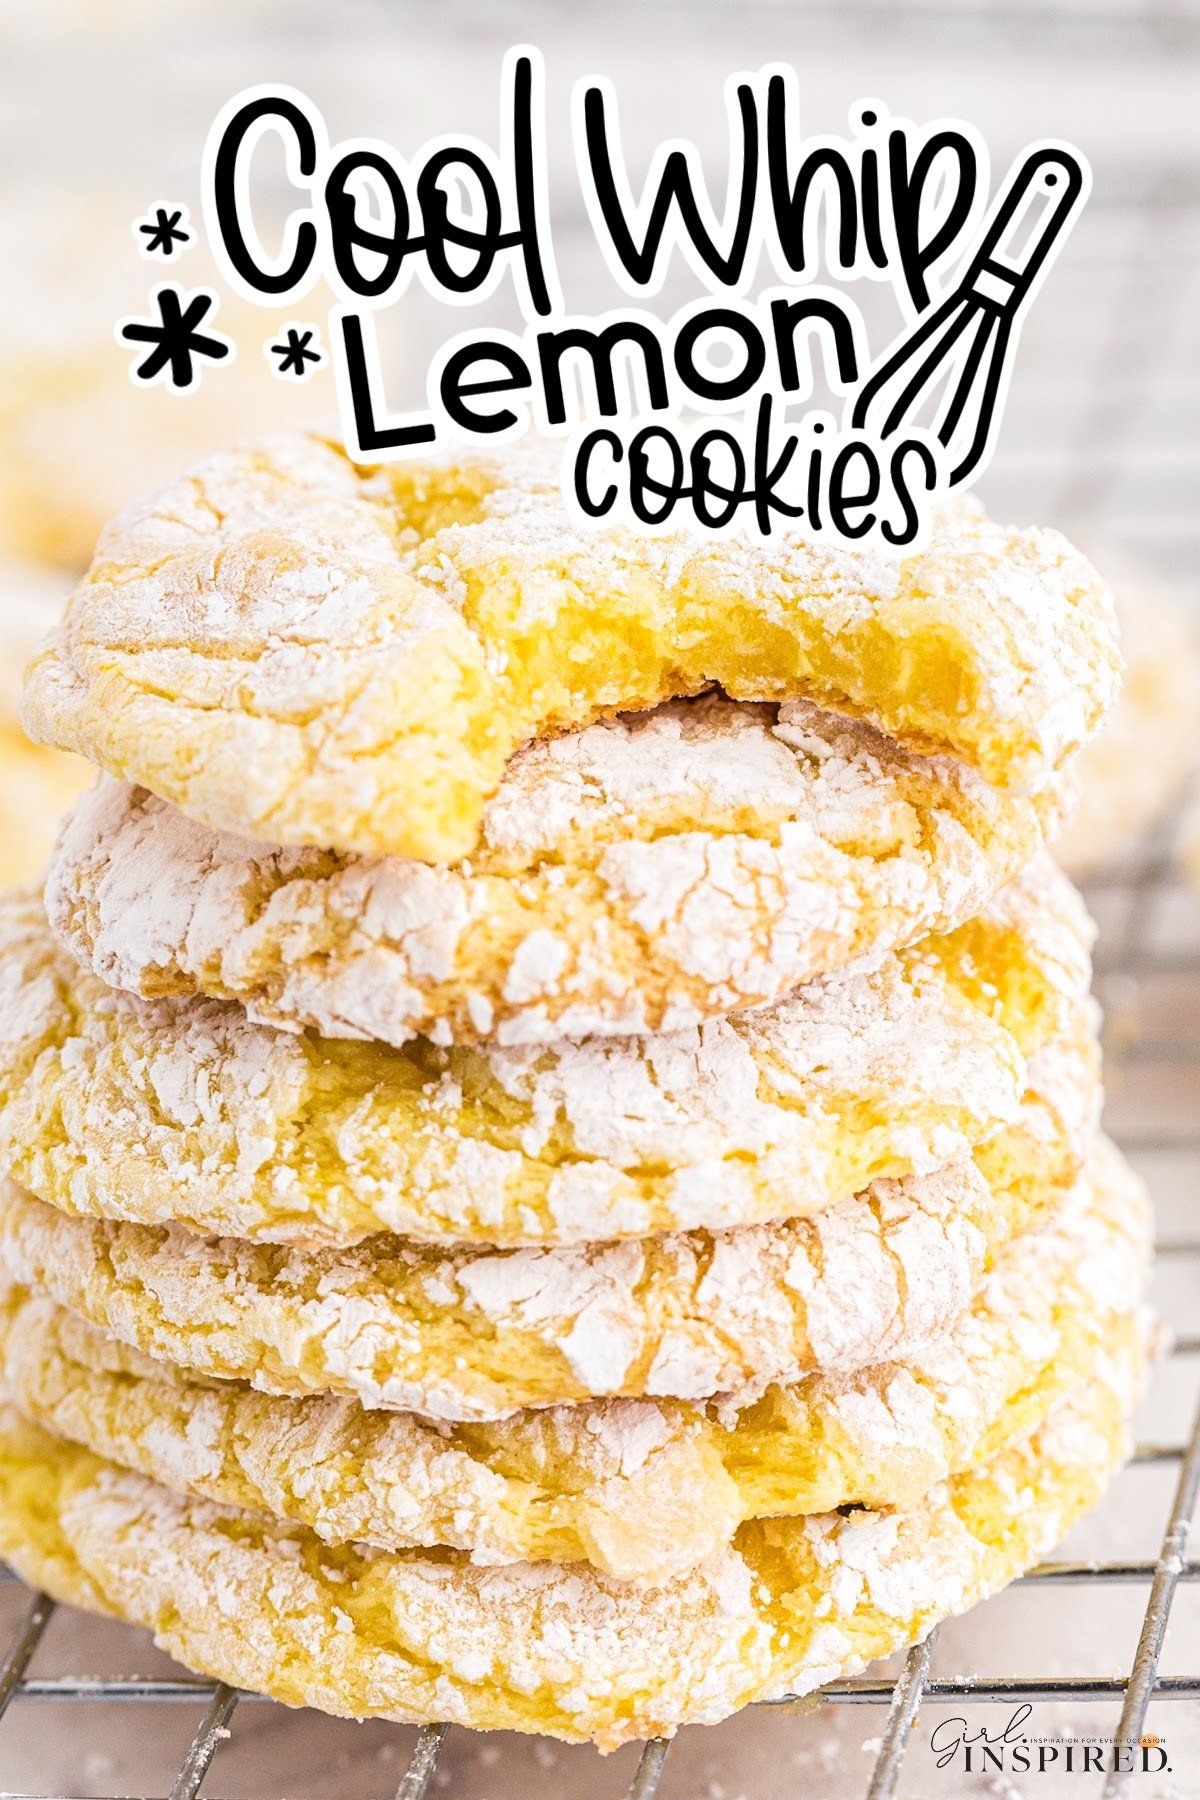
Cool whip cookies are a soft, chewy and ultra delicious cookie made with just 4 ingredients, no chill time, no food colorings, and less than 10 minutes in the oven. Easily adaptable for whatever cake mix flavors you choose!
The best part about this easy recipe is that you really cannot mess these tasty cookies up and you can use any flavor cake mix you would like, so the variations are endless!
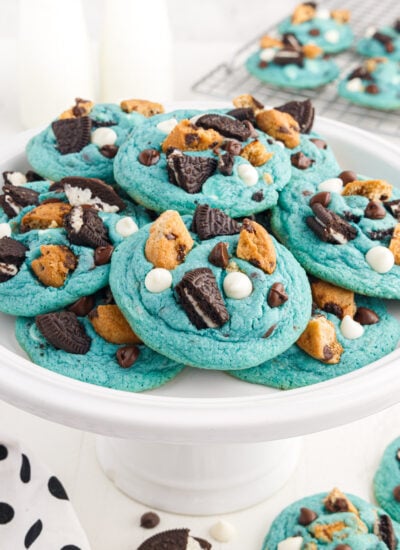
These are the easiest cookies to make when it comes to bake sales and a holiday cookie exchange. You can mix and match a variety of flavors based on the time of year and what color you want the cookies to be. We also love molasses crinkle cookies and Chocolate Blossom Cookies (in the winter, served with hot chocolate of course). In the past I have made confetti cake mix cookies and carrot cake cookies from cake mix, but have found that cool whip cookies are the easiest way to crank out multiple batches, in many flavors, fairly quickly using minimal ingredients.
If you are craving a fluffy and light cookie to accompany the Cool Whip Cookie on your dessert table, try our Orange Cookies. It has such great citrus flavor with the combination of both the fresh squeezed orange juice and zest.
Jump to:
🍪 Ingredients:

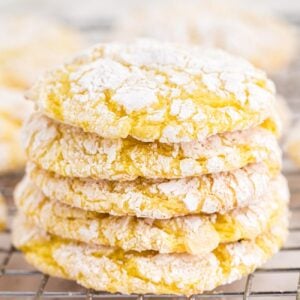
- Box of Cake mix – Any flavor but I love lemon and strawberry flavor.
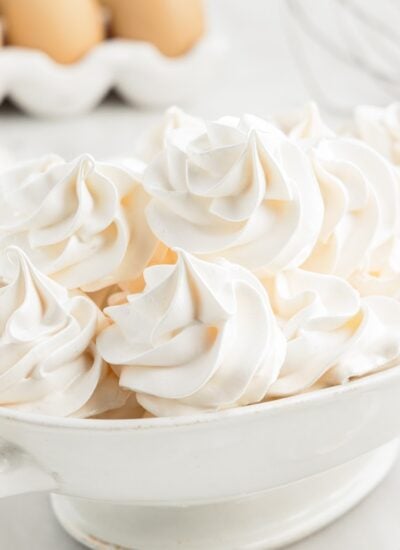
- tub of Cool whip – A thawed 8oz tub will do.
- An egg – Room temperature, if possible.
- Powdered sugar – For rolling and coating just before baking.
For a full list of ingredients and their measurements, 📋 please view my printable recipe card at the bottom of the post.
Optional Garnish:
Cool whip cake mix cookies are coated and baked covered in powdered sugar, so no garnish needed!
Substitutions and Variations
- Chocolate Crinkle Cookies – There’s never a wrong time to eat a chocolate cookie! Use a chocolate cake mix (like German chocolate or Devil’s Food) for everything from Christmas time, Valentine’s Day, a school bake sale, or as a Thanksgiving dessert.
- Red velvet Cookies– Valentine’s Day and Christmas is the perfect occasion for using red velvet cake mix.
- Orange Cake Mix – great for spring and summer, and looks really pretty next to strawberry and lemon crinkle cookies.
- Spice cake mix – great for the fall season.
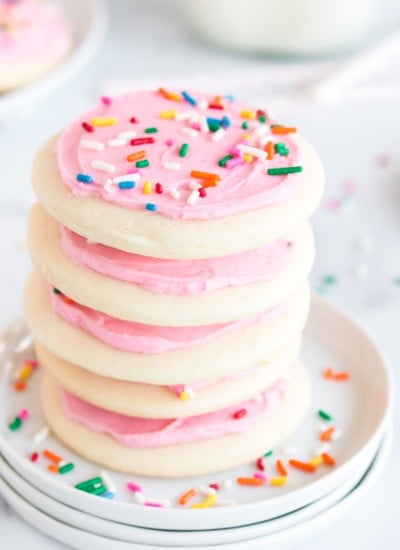
- Funfetti Cake Mix – A white cake mix with rainbow bits already mixed in! These would be great for a birthday party for the kids.
- Chocolate chips – Add a handful of chocolate chips to your cookies for added texture and taste.
- Thumbprint – Once your cookies have come out of the oven and sat for a few minutes they will still be warm enough to add a thumbprint in the middle. Then you can add a Hershey’s chocolate kiss or a drop of your favorite jam in the middle. You can follow the instructions in the chocolate turtle thumbprint cookies.
- Sprinkles – Festive sprinkles to match any occasion adds a little texture and fun!
- More lemon flavor – add lemon zest or lemon extract to the cookie dough.
🔪 Instructions:
PREP: Grease a baking sheet with non-stick cooking spray or line with parchment paper and preheat the oven to 350 degrees.
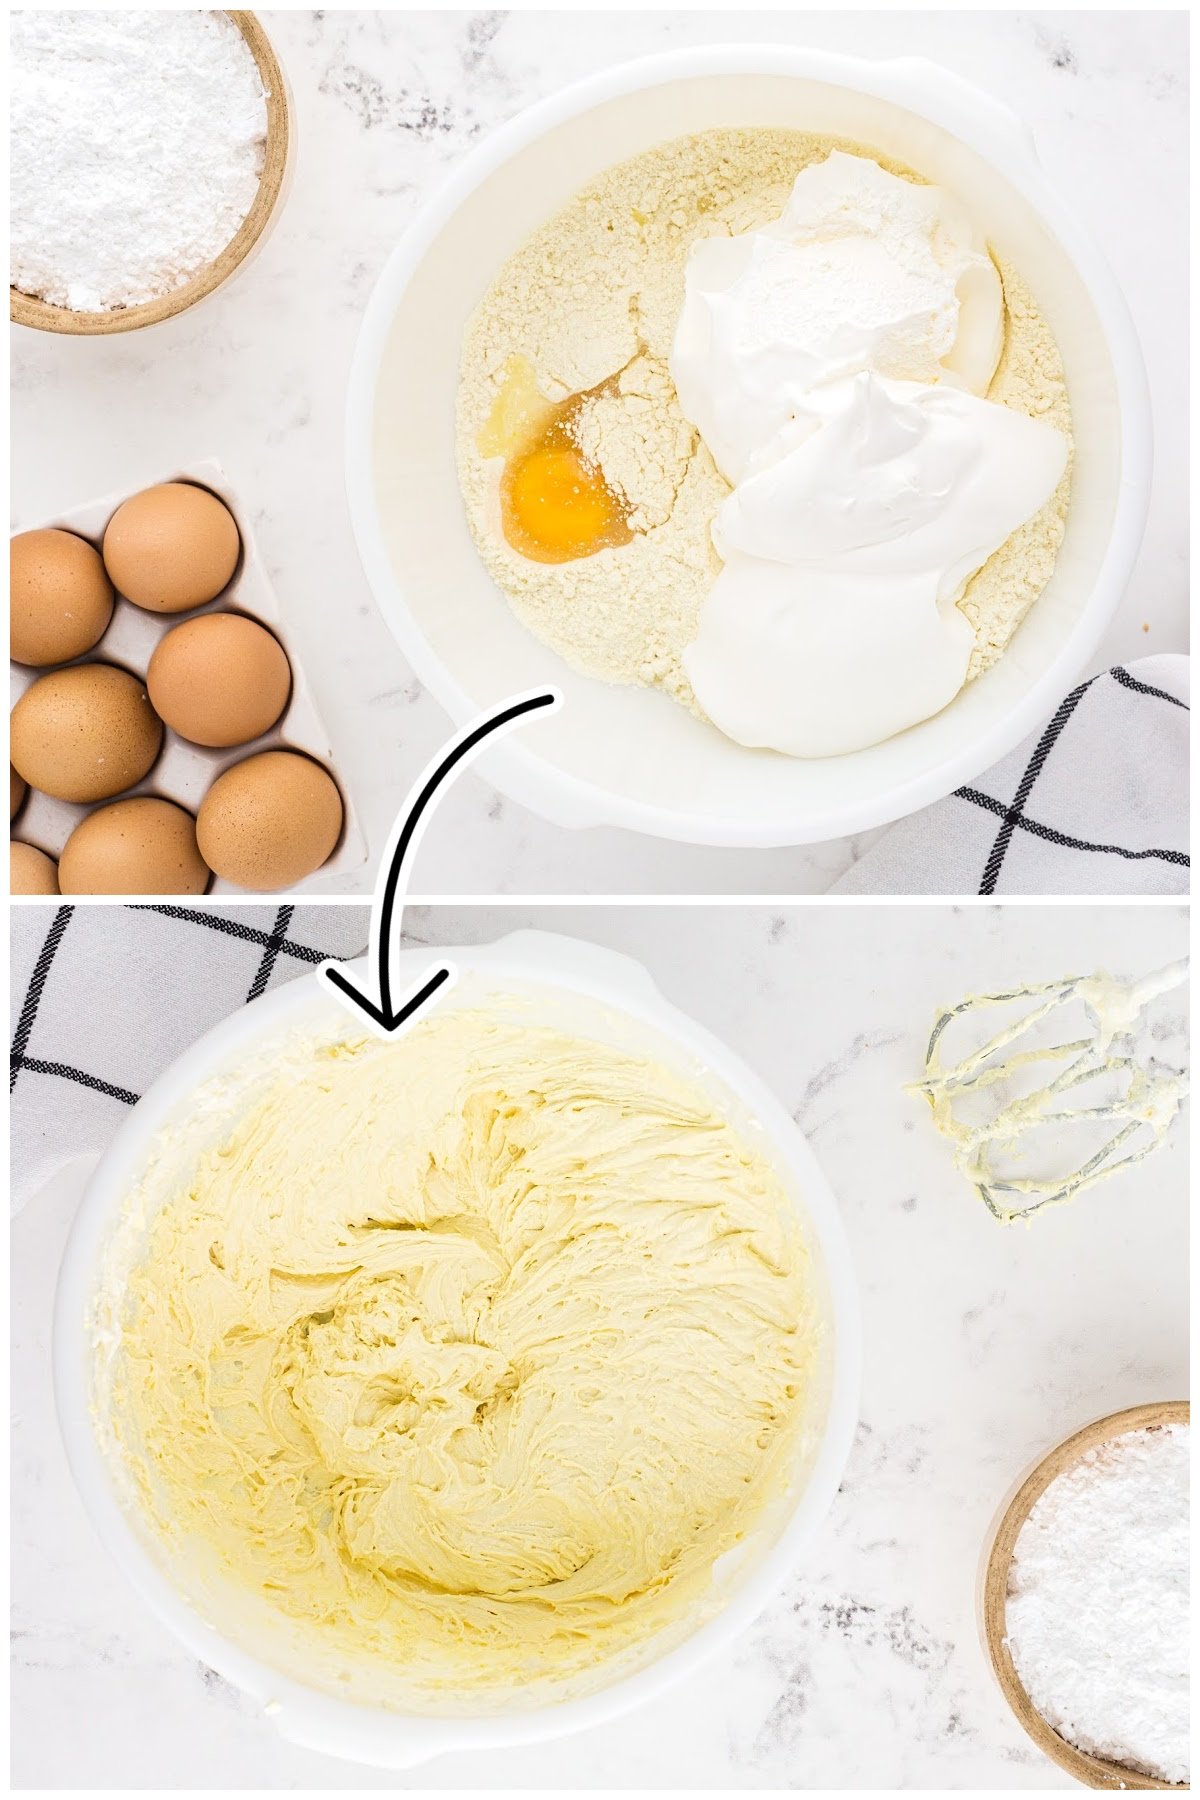
Step 1: Beat the lemon cake mix, Cool Whip, and egg in a large bowl using a hand mixer or in the bowl of your stand mixer.
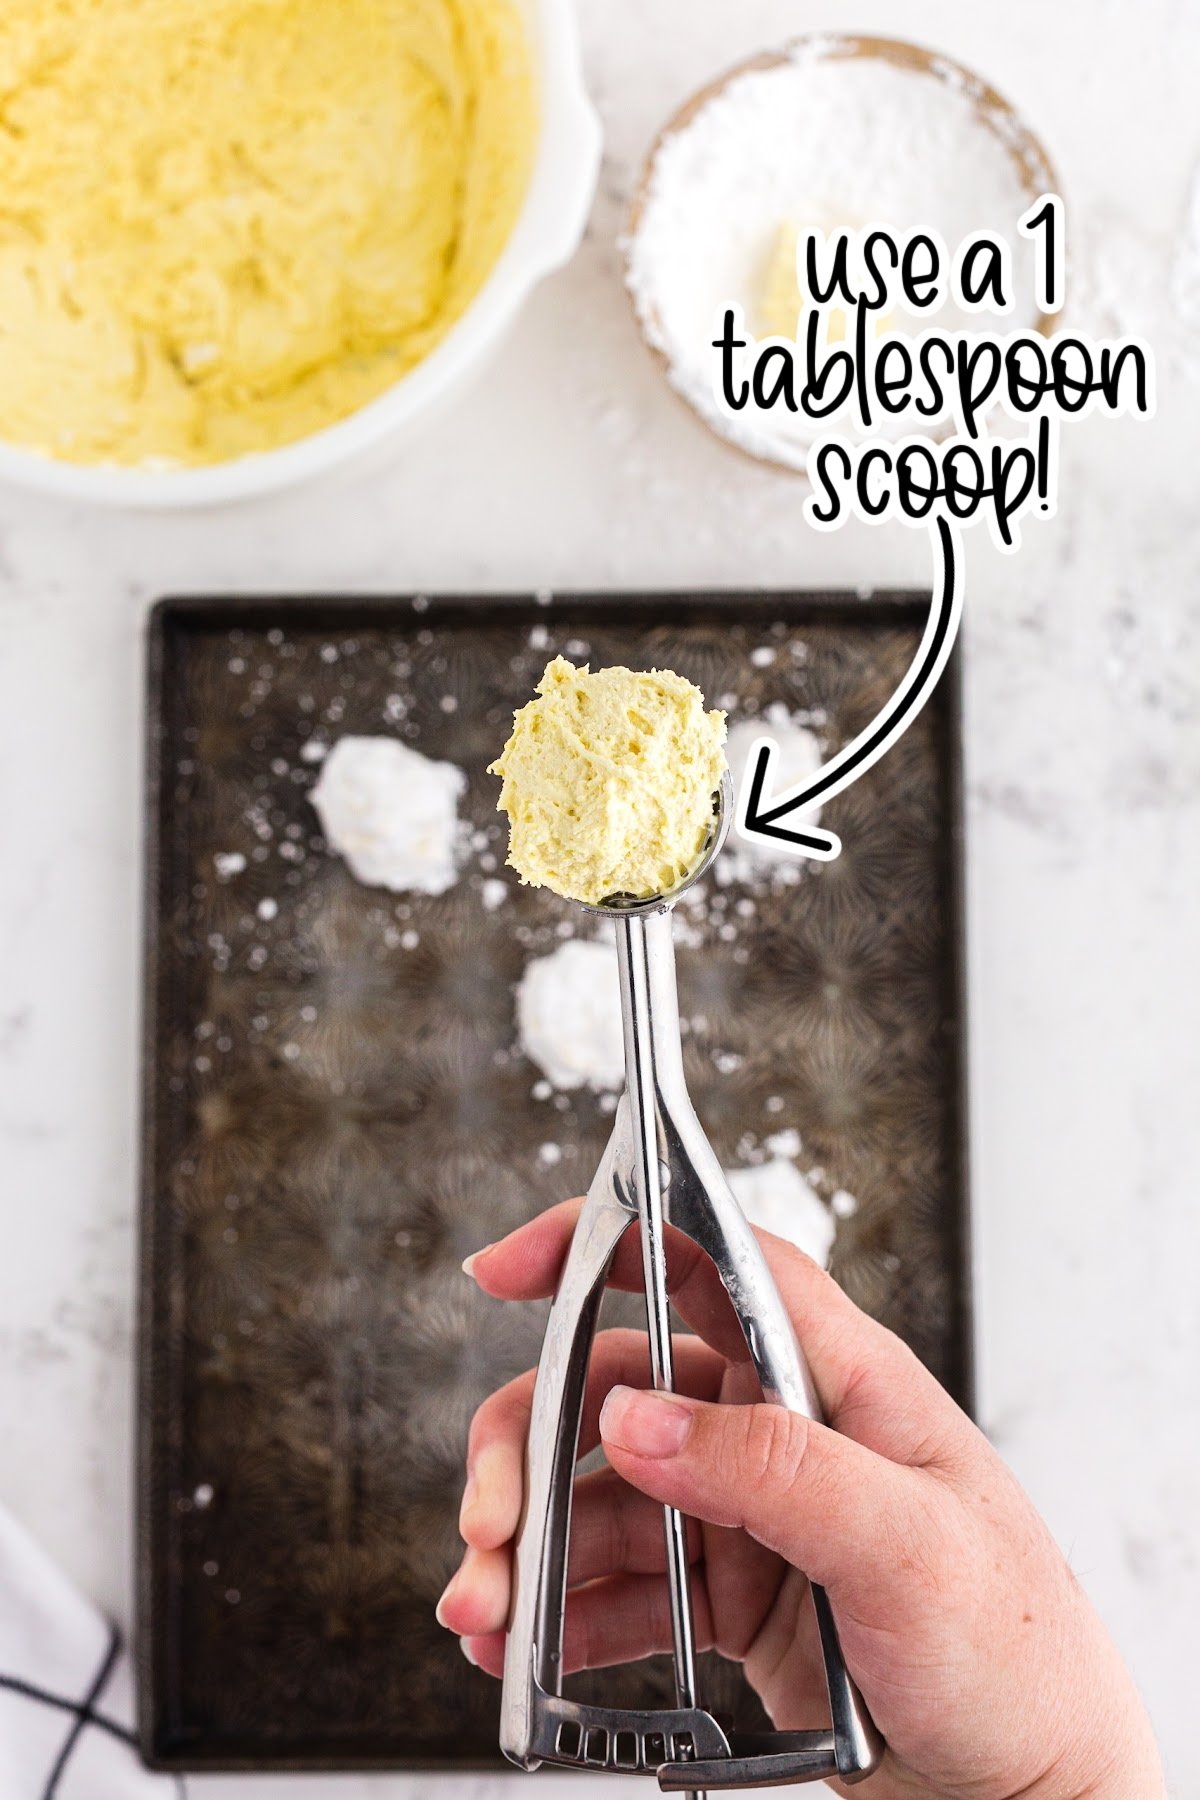
Step 2: Use a small cookie scoop to make cookie dough balls that are about 1 heaping tablespoon in size.
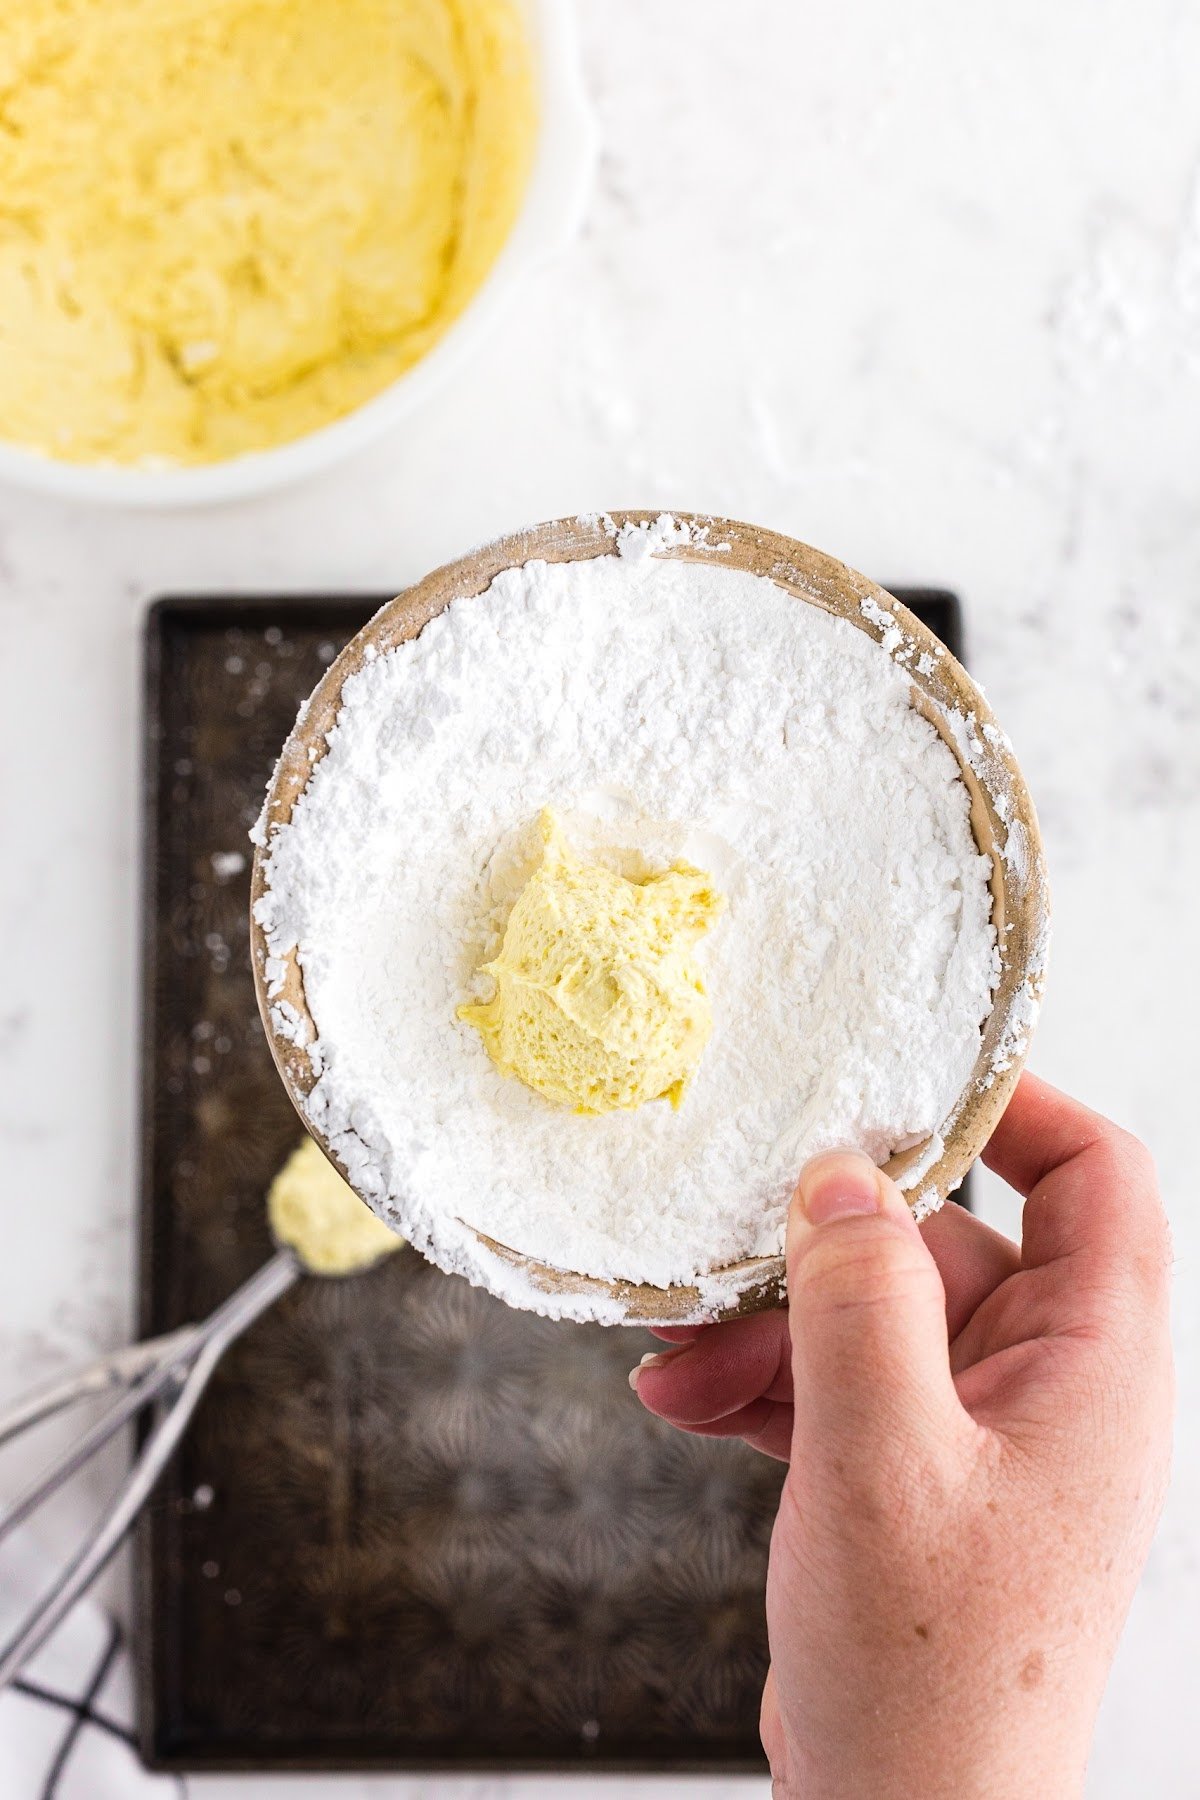
Step 3: Drop the balls of dough into the confectioners’ sugar. When each ball of dough is covered with sugar, use your hands to roll between the palms of your hand.
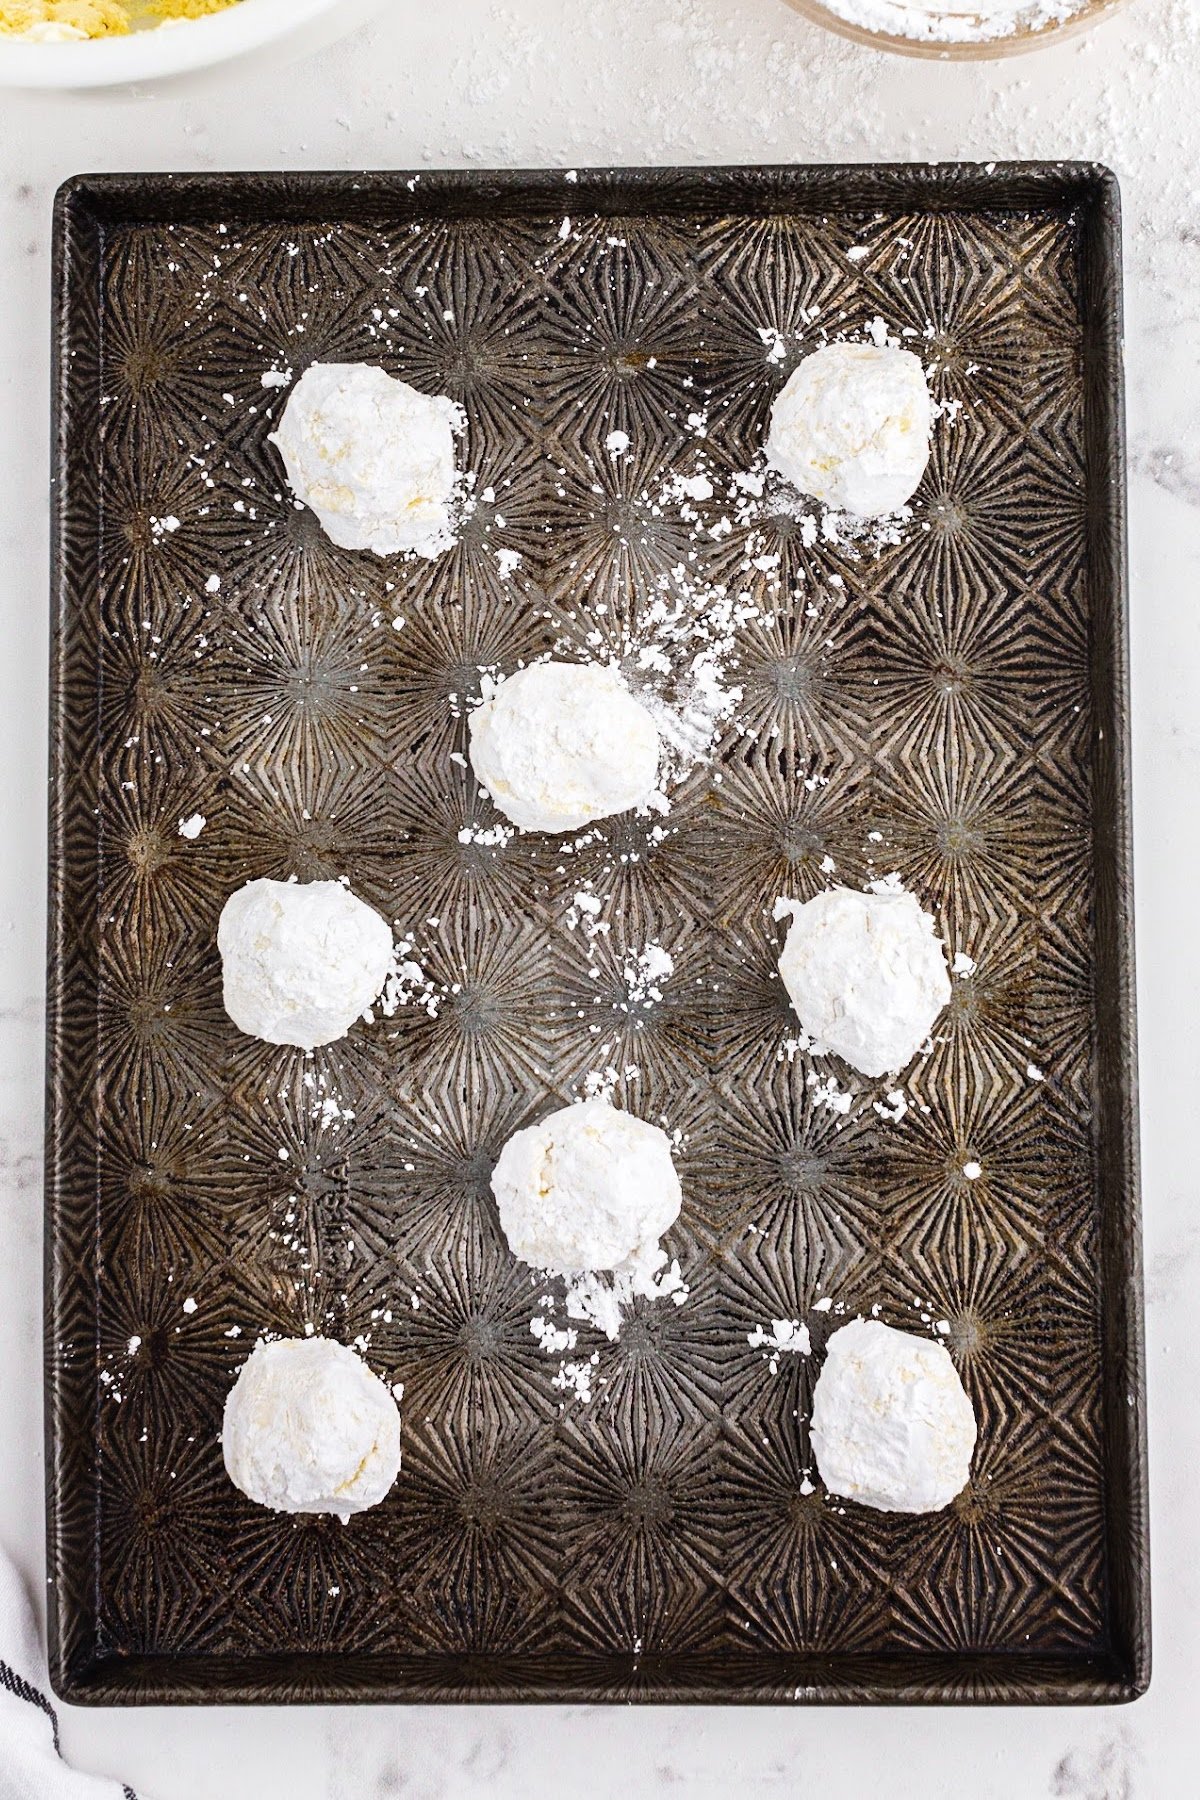
Step 4: Place the cookie balls on the prepared baking sheets so they are 1.5 inches apart.
Pro Tip: Rolling the cookie dough balls between your hands is easier once they have been coated with powdered sugar.
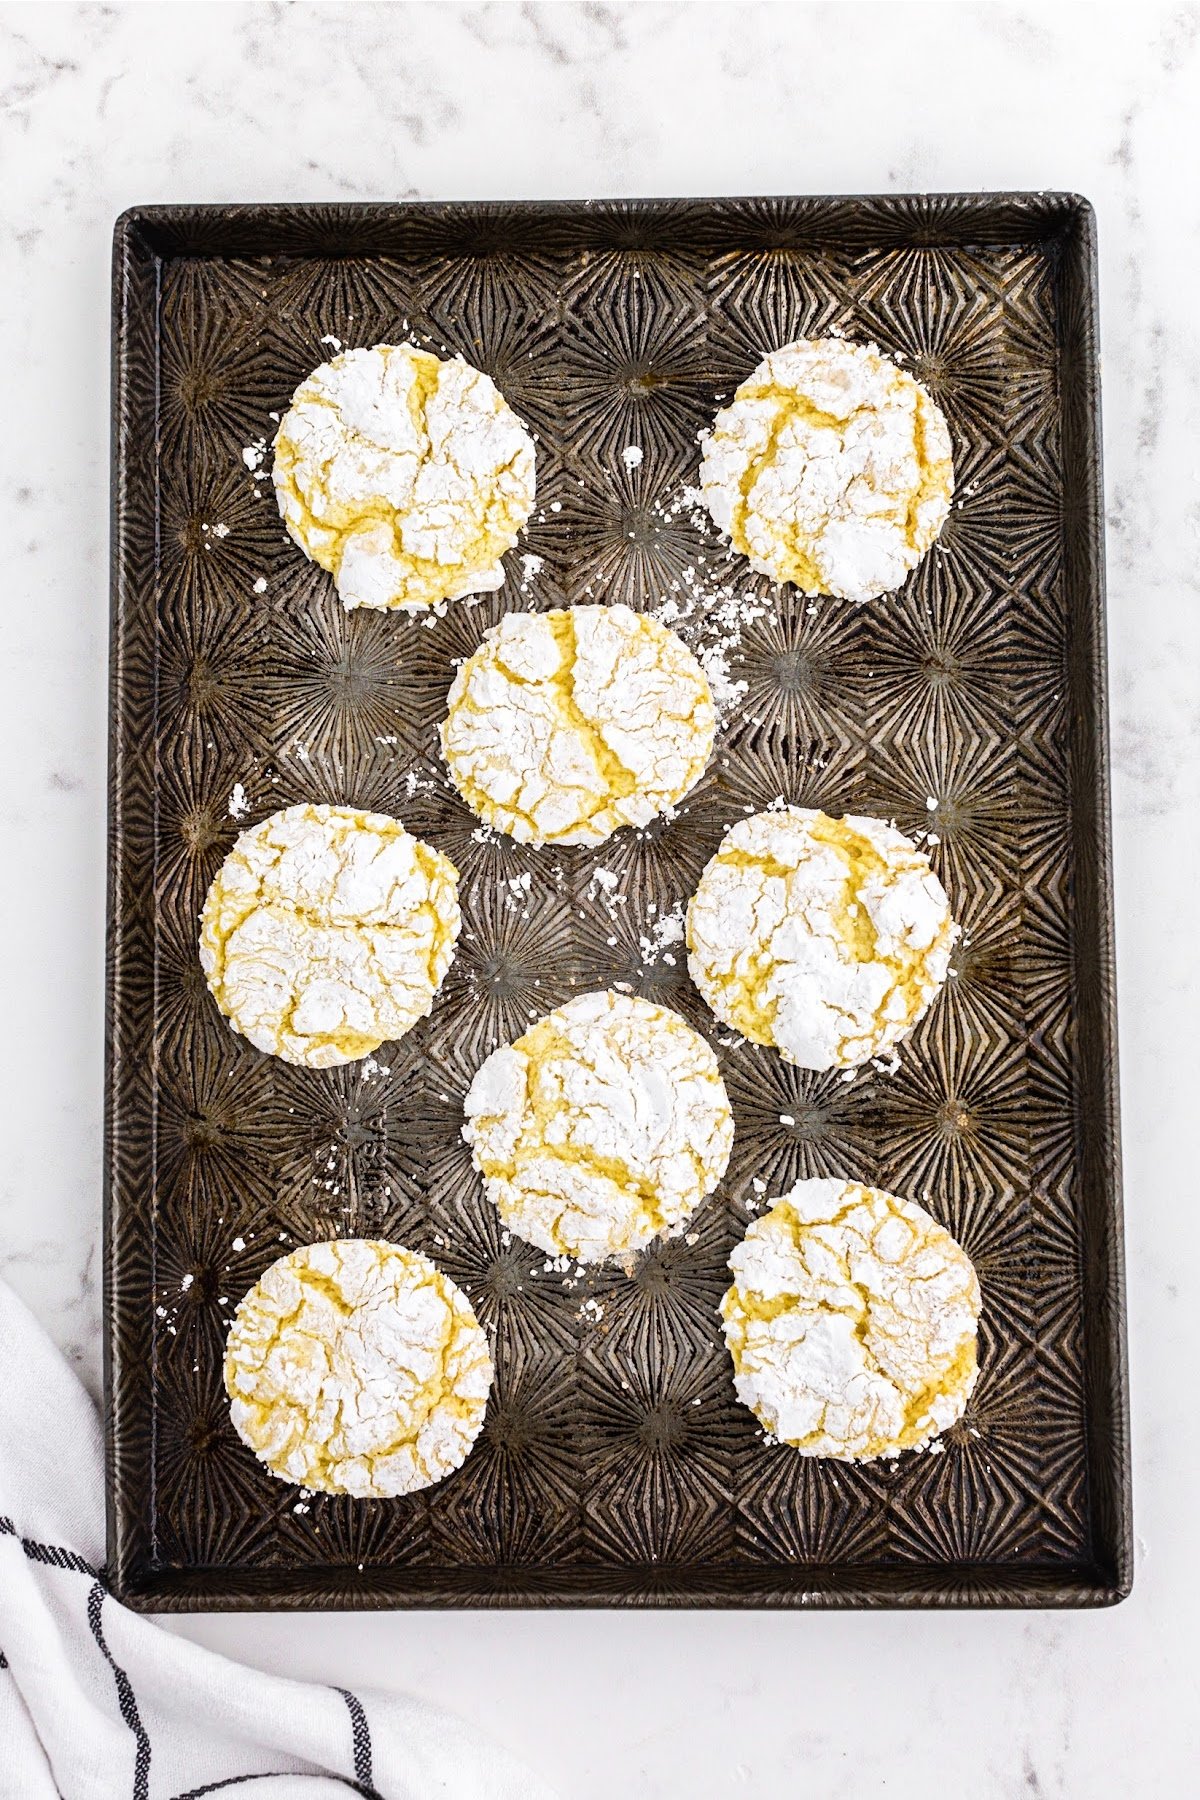
Step 5: Bake in the preheated oven for 8-9 minutes or until they are spread evenly. They should just be starting to brown around the edges and the bottom, but you do not want the tops to be golden brown.
SERVE: Remove the baked cookies from the oven. Cool for 2-3 minutes on the pan, then transfer to a cooling rack.
Recipe Tips for Cool Whip Cookies using Cake Mix
- The type of cake mix you use doesn’t affect the baking time or process, just the flavor.
- This easy cookie recipe will yield 20 cookies.
- Using a boxed cake mix as an entire ingredient in itself cuts the ingredients list way down, and makes these super simple decadent crinkle cookies even better.
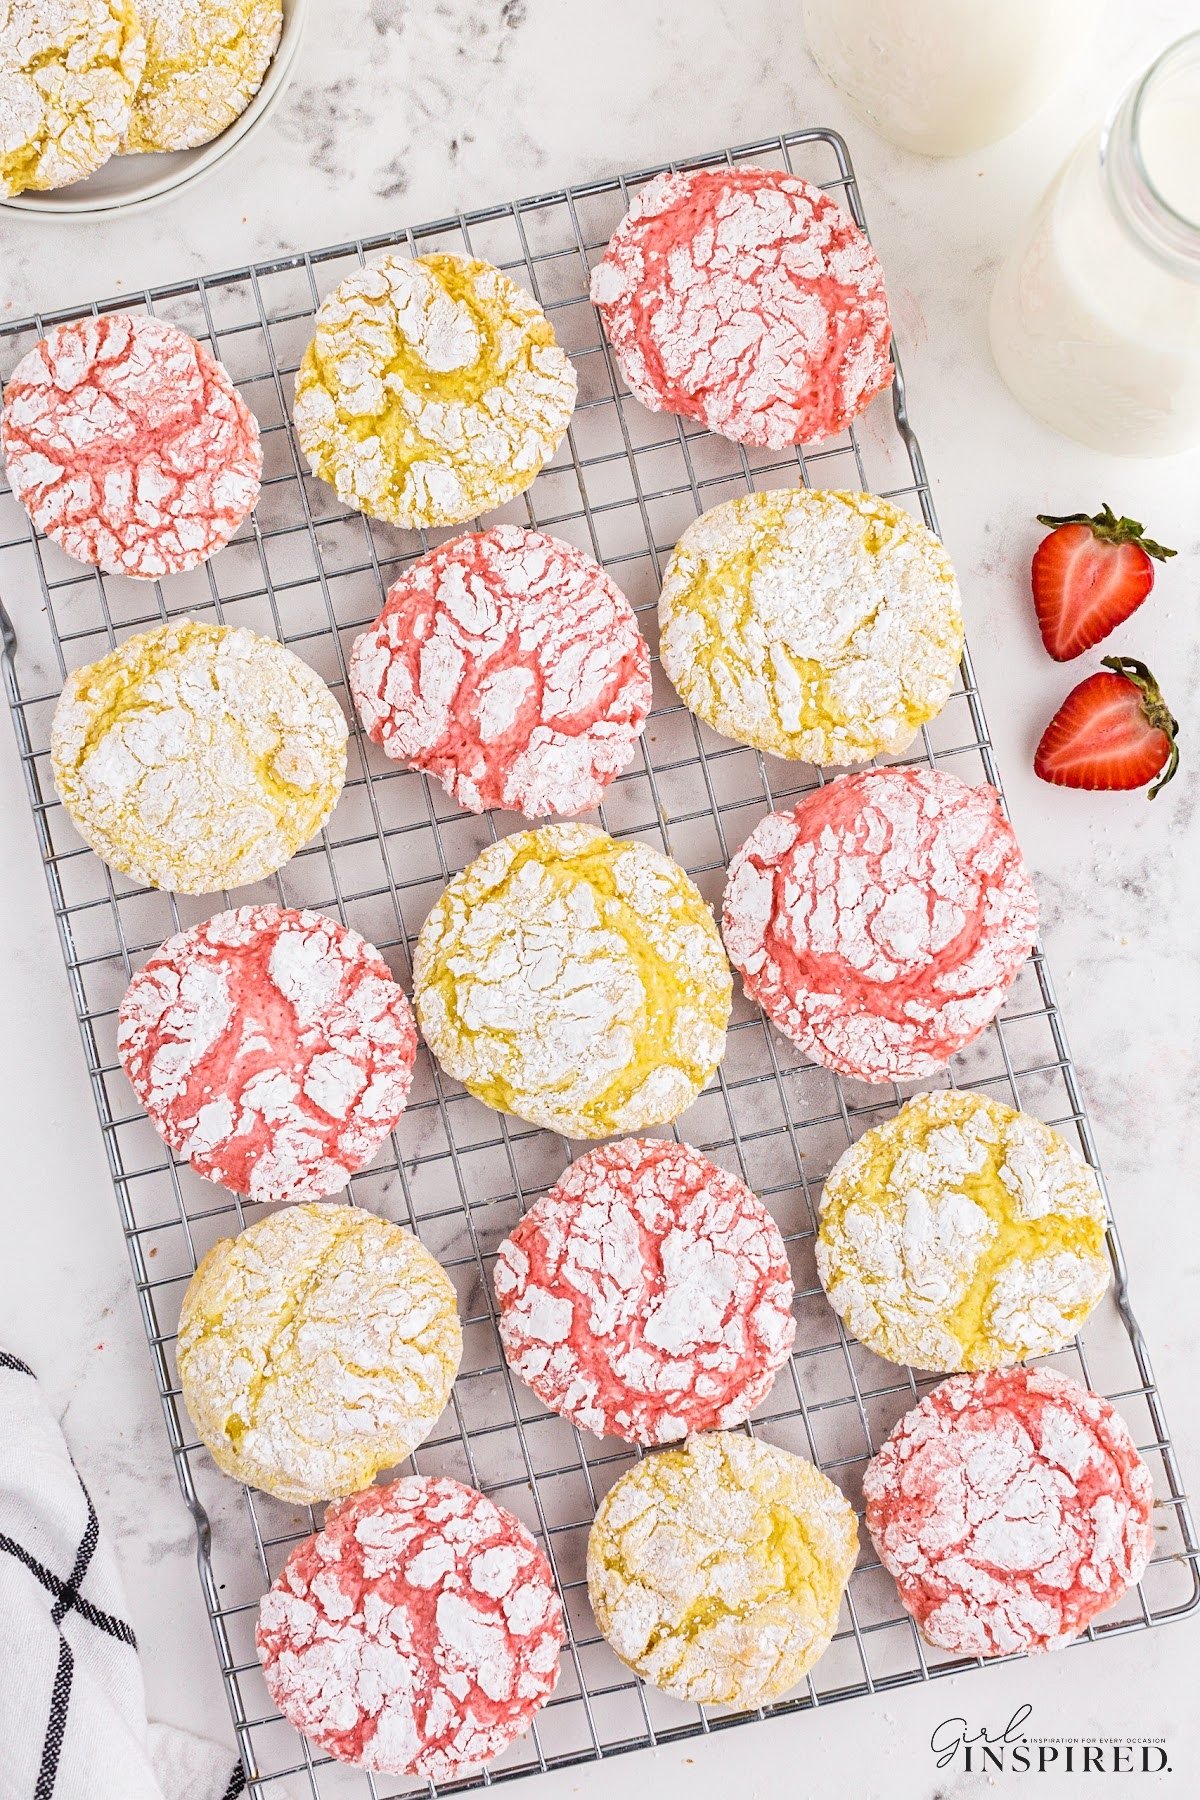
- Customizable depending on your favorite flavor of cake mix. In the spring and summer, I love to use lemon and strawberry cake mix which makes them pink and yellow. They look beautiful on a dessert tray for wedding showers, baby showers, Easter, and Mother’s day! Then in the cooler months around Christmas, I break out the red velvet and chocolate cake mix. But in all honesty, these are too delicious and too simple not to make them any way you want on any day you want.
Fun Fact
Did you know that the Cool Whip brand is the most consumed whipped topping on the market?
Recipe FAQs
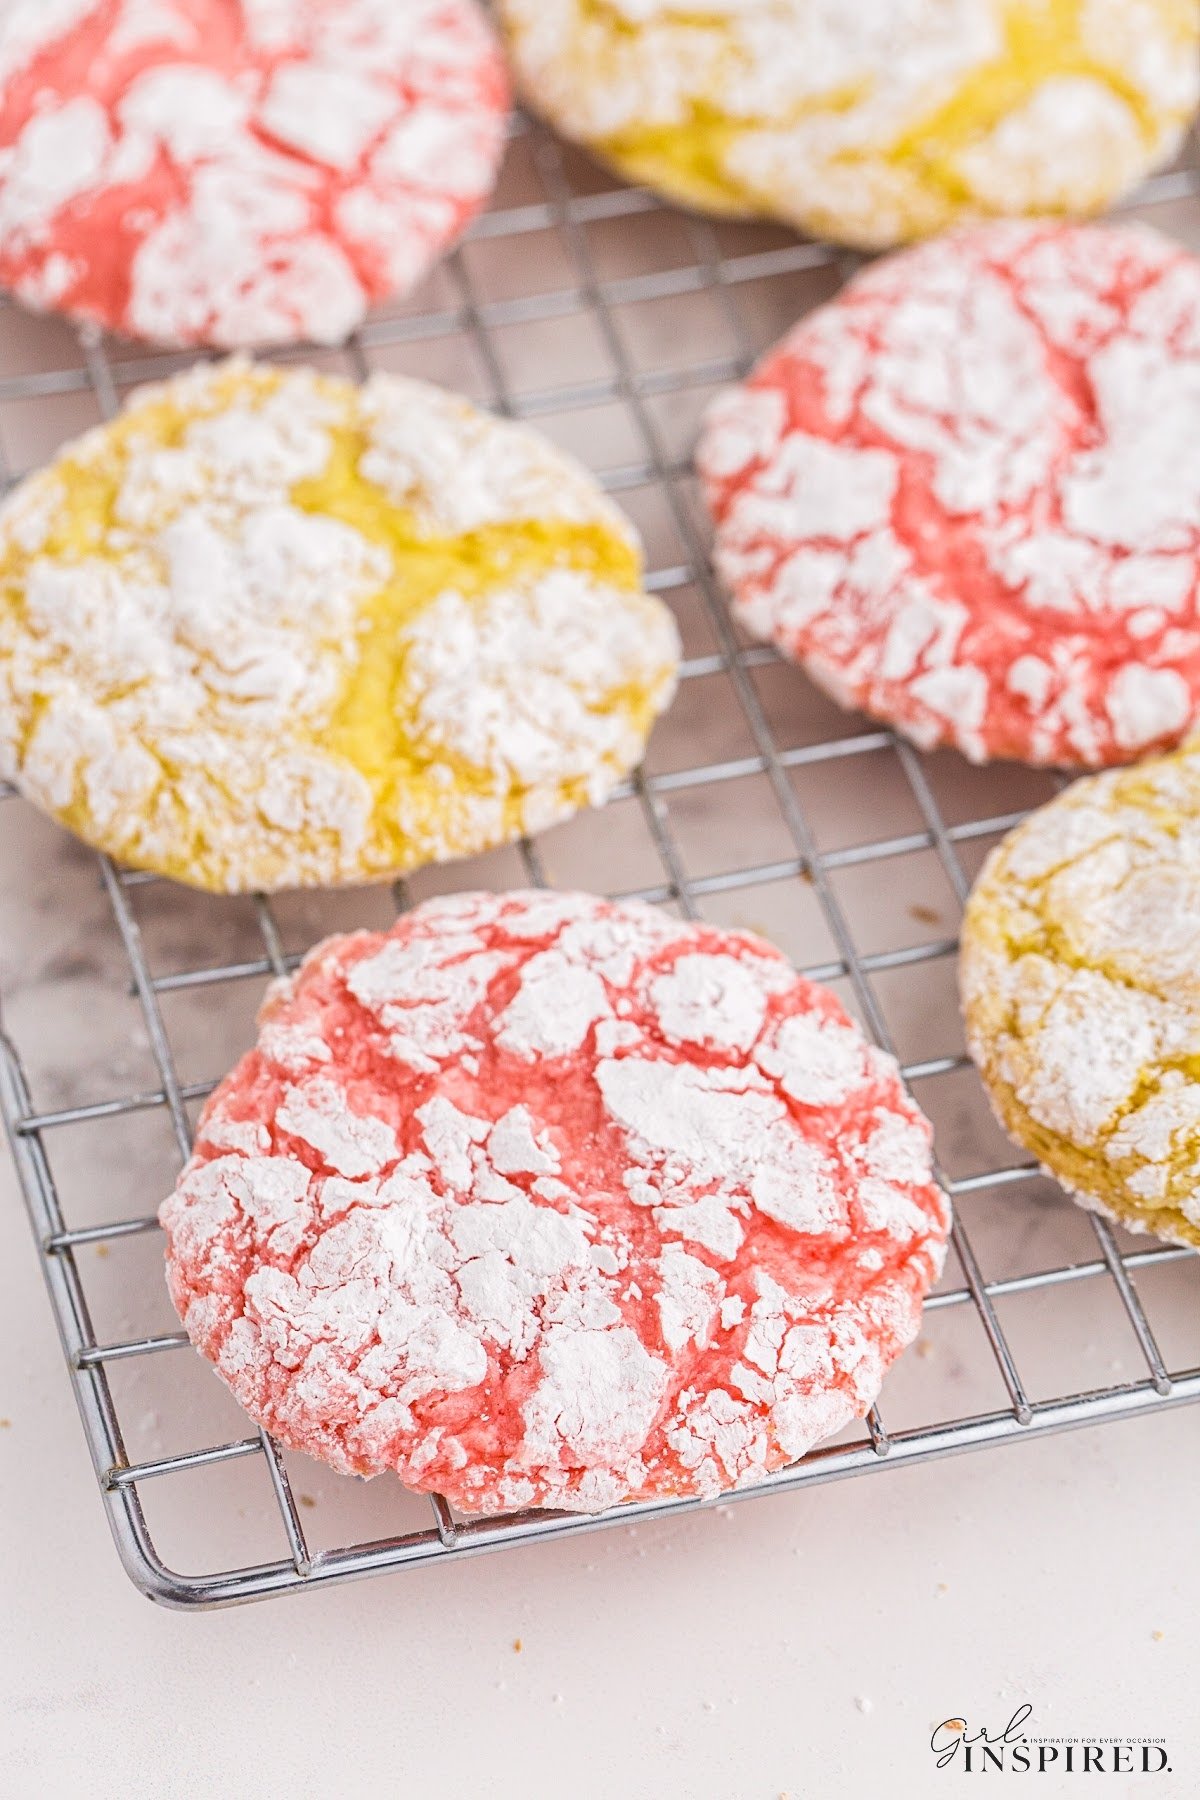
Cool whip is not just used as a topping anymore! Using it in your baking makes everything lighter and fluffier and adds a delicate sweetness. These cool whip version of a crinkle cookie recipe is just the beginning. Soft, chewy and almost brownie/cake like, these scrumptious cookies are only made better by that signature crinkle on top!
Both are very similar, cool whip cookies and crinkle cookies made the old fashioned way are basically the same thing. However, cool whip cookies take a clever short cut, which makes them great for quick and easy desserts on any occasion. They’re also perfect for whipping up just because you feel like enjoying your favorite cookie.
They are both made from cookie dough that has been coated in powdered sugar. When baked, they rise to a thick brownie-like consistency, which creates crinkles in the exterior exposing that inner deliciousness through the cracks in the powder sugar.
Traditionally, crinkle cookies are made with a number of other ingredients, and cool whip cookies are generally made with a cake mix and cool whip!
These two cookies have even less of a difference! It’s a simple swap of butter (or oil) for the cool whip. Butter and Cool Whip are both a fat which will give the delicious cookies a nice rich texture, but the cool whip adds a light airy texture to the cookies.
Leftover cookies will stay nice and moist if covered in an airtight container on the counter for 3-4 days. Don’t worry, they’ll be eaten way before then.
Yes, these fluffy cookies are very freezer-friendly! Once completely cooled, keep them wrapped in an airtight container or freezer bag in a single layer for up to 3 months.
You don’t! There is no chill time involved in these easy cake mix cookies. You could, if you’re not ready to bake them, but it won’t necessarily change the outcome of your cookies. If you are wondering about a thicker puffier cookie, what worked for me was making the dough balls a little bigger.
Otherwise known as whipped topping, it’s basically a manufactured version of whipped cream. Whipped cream is generally pure cream that gets whipped, while cool whip isn’t actually cream at all, but made with imitation ingredients that help give it a longer shelf life and more stability than whipped cream.
In a cool whip cookie? Not exactly. You could, however, go back to using butter and make these a lovely cake mix cookie just the same!
More Easy Cookie Recipes

If you tried this Cool Whip Cookie Recipe or any other recipe on my website, please please leave a 🌟 star rating and let me know how you liked it in the 📝 comments below.
Cool Whip Cookies
Ingredients
- 1 box lemon cake mix or any flavor
- 8 oz. tub Cool Whip thawed
- 1 large egg
- 1 cup powdered sugar
Instructions
- Preheat oven to 350°F. Spray a baking sheet with non-stick cooking spray and set aside.
- In a large mixing bowl, beat together strawberry cake mix, Cool Whip, and egg until mixed.
- Scoop even balls of dough (a heaping 1 tablespoon) using a cookie scoop or measuring spoon. Drop the balls into powdered sugar.
- Roll in the powdered sugar -it is easier to roll into balls with your hands once they have a coating of powdered sugar.
- Place the balls 1 ½ inches apart on prepared cookie sheet.
- Bake for 8-9 minutes or until the cookies are evenly spread. They may just be starting to brown on the bottom/edges, but you do not want too much color on the top.
- Allow cookies to cool for 2-3 minutes; then transfer to a cooling rack to cool the rest of the way.
- Store cookies in an airtight container for up to 5 days or freeze up to 3 months.
Would you like to save this?
Notes
Nutrition
Make this recipe?
Share it with me on Instagram @girlinspired1 and follow on Pinterest for more!


Comments & Reviews
JD says
can you make the cookies and not roll them in powdered sugar?
Stefanie says
Sure, you can! The look will be different, you won’t get the crackle effect, but it shouldn’t change the taste or texture.
Carol says
I love this recipe! It’s so easy and so good! I have made it a couple of times. This time I made German Chocolate, instead of rolling them in sugar, I rolled them in coconut and chopped nuts. GREAT!
Stefanie says
Oh, that sounds really good, Carol! Thank you!
Debbie says
It’s easy and very good everyone loves them!
Theresa Newman says
They turned out great! I used the 2 teaspoon method to drop into the powdered sugar and it worked great!! Thank you ☺️
Kenna Kast says
Simple good and affordlable
Diana Drache says
can you put fresh lemon juice and zest in it too?
Stefanie says
I would be cautious with the lemon juice for consistency – maybe just a teaspoon or so. But definitely try adding zest!