 Every year, December gets so busy. I pile up the crafts that I want to get to and then I spend the whole month running around town checking off a to-do list before I make my things. I finished my shopping early this year and I’m determined to finish some more of these super fun crafts that have been stacking up. Over the last couple weeks, I’ve sewn up a fresh set of Christmas pillows and seasonal pillow covers for my living room and front porch. I’ve made a couple out of buffalo check napkins (so easy!) and some with piping and specialty trims. And finally, I’ve been creating iron-on designs with my Cricut Explore to really bring out the holiday spirit! My holiday decor is looking fantastic! Whether you have a Cricut Explore or you’re trying to decide if it’s the perfect gift for under the tree (it is!!), I’m going to show you how I made good use of so many beautiful iron-on materials that are available for these machines.
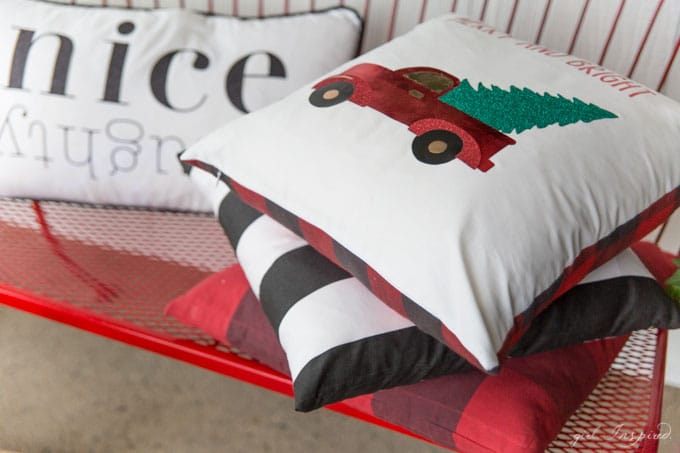
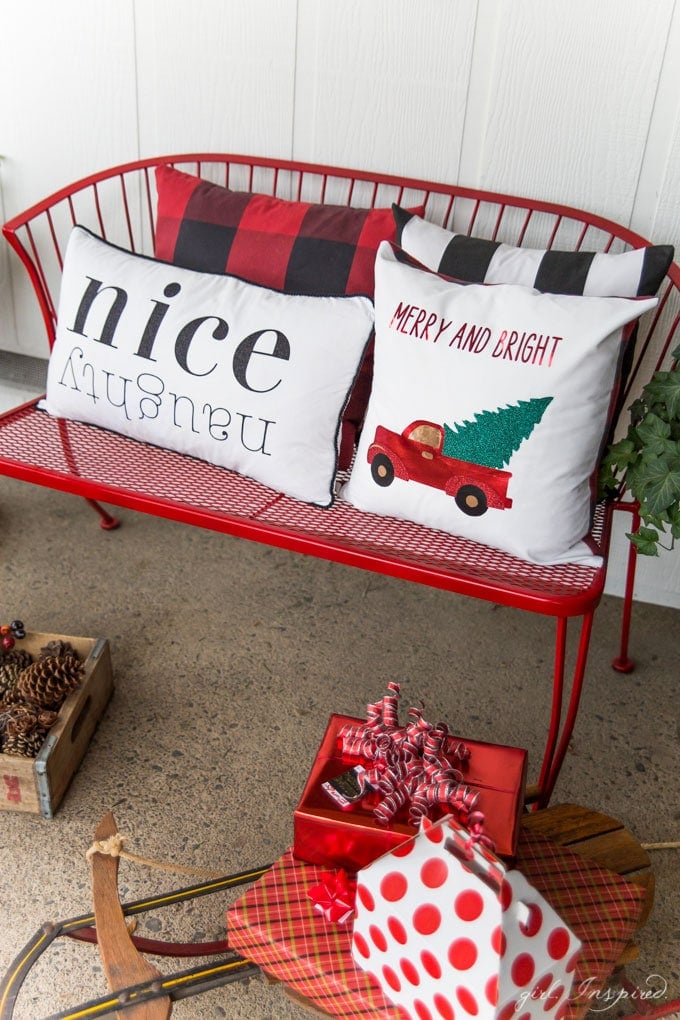
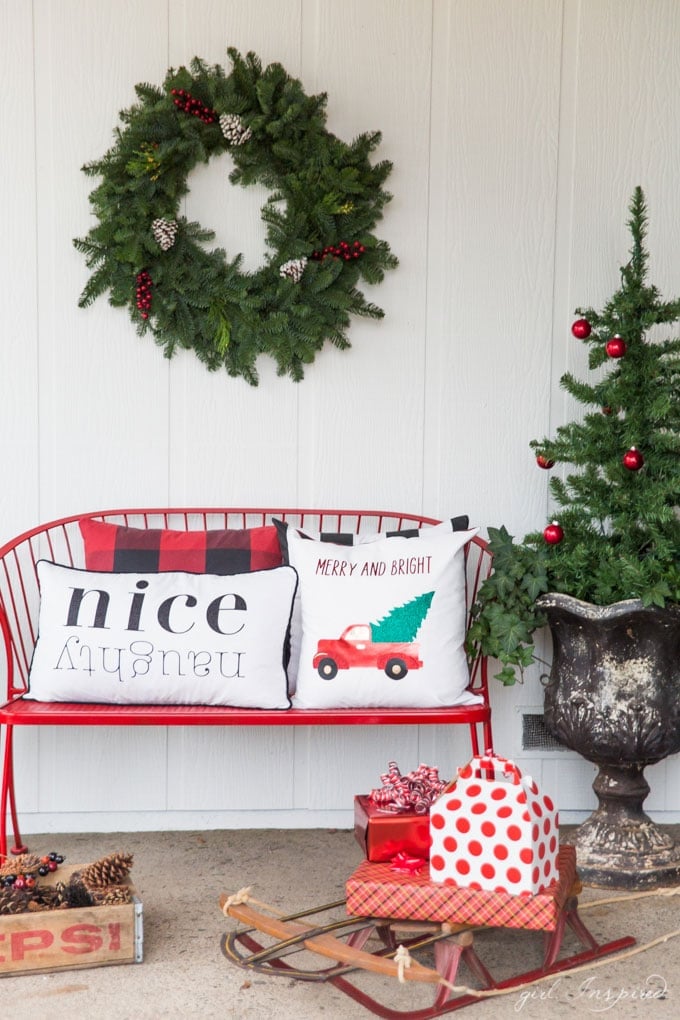
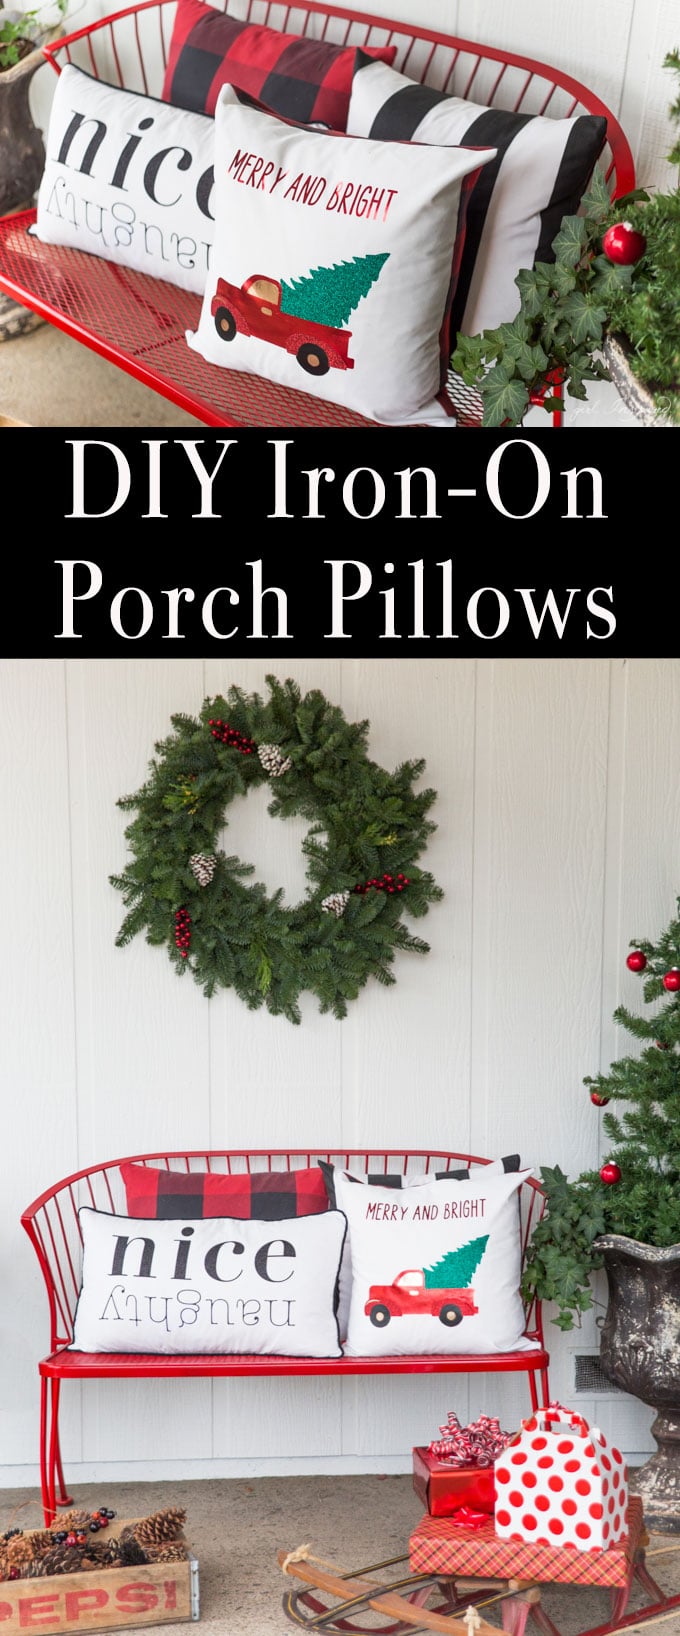
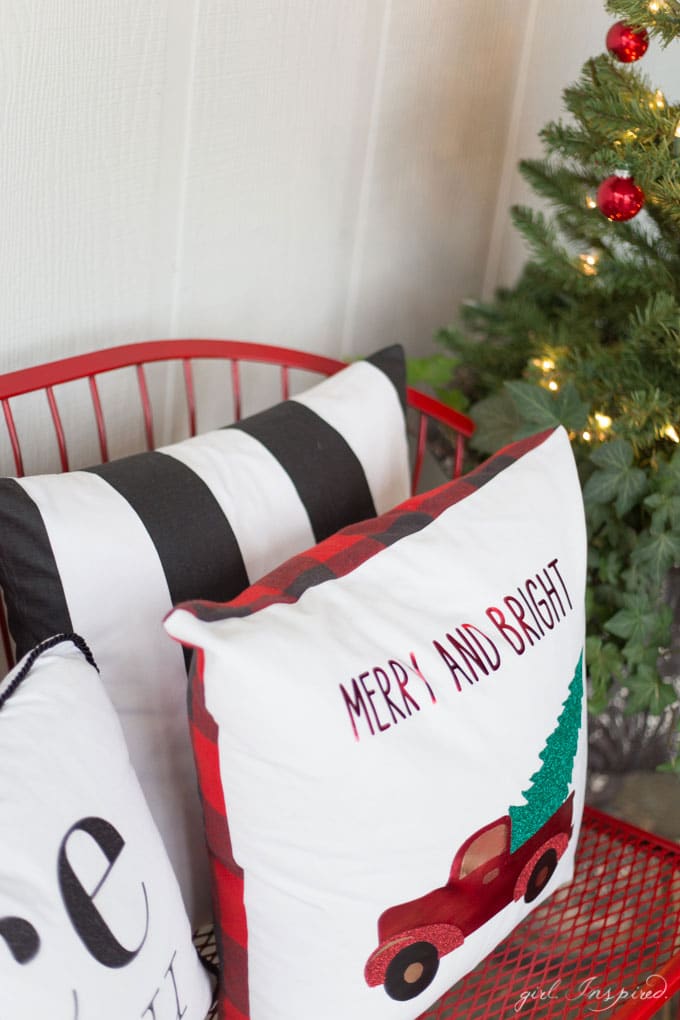
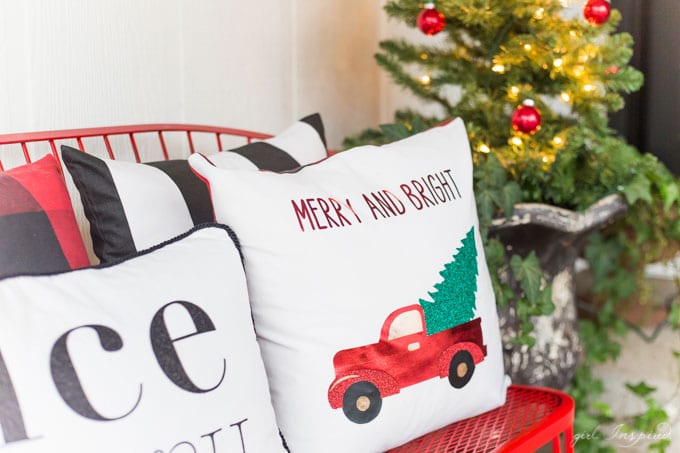
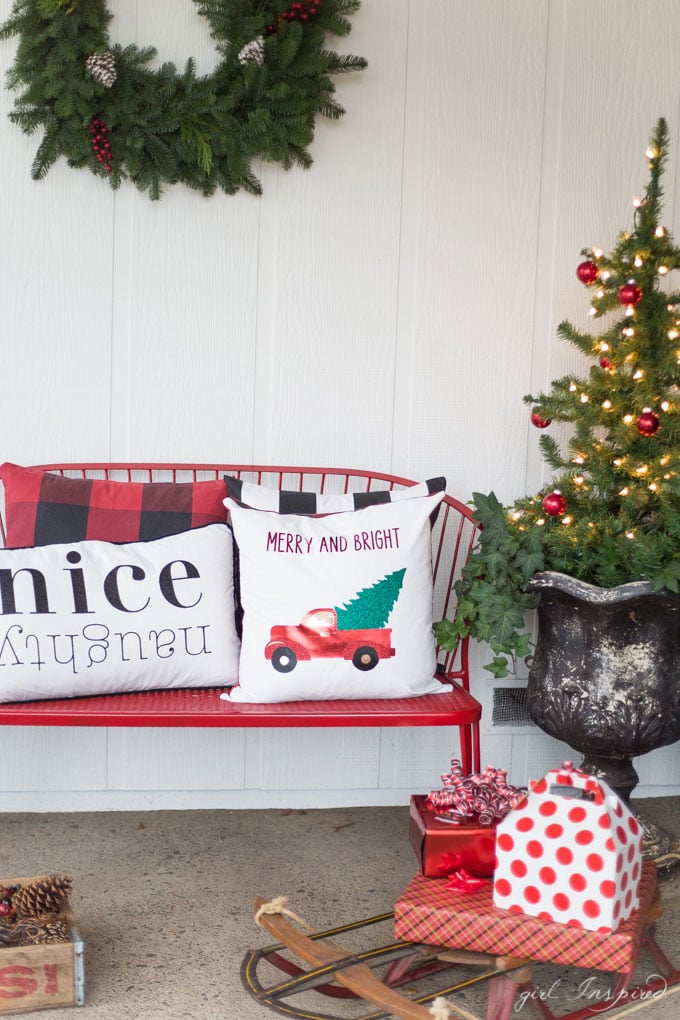 I have cut a lot of things with my Cricut – from fabric and leather, to vinyl, cardstock, and sticker paper, it can cut a whole lot of things. I haven’t used many of the iron-on materials, but this cold December is just screaming for some glittery red and sparkly black! In between bouts of pouring rain, I spruced up the front porch for Christmas. I spray painted my typically black bench a nice, glossy red to pop against the black and white paint on the house. I put a small pre-lit Christmas tree into my front urn and then loaded the porch with pillows and presents. It’s so cheery!!
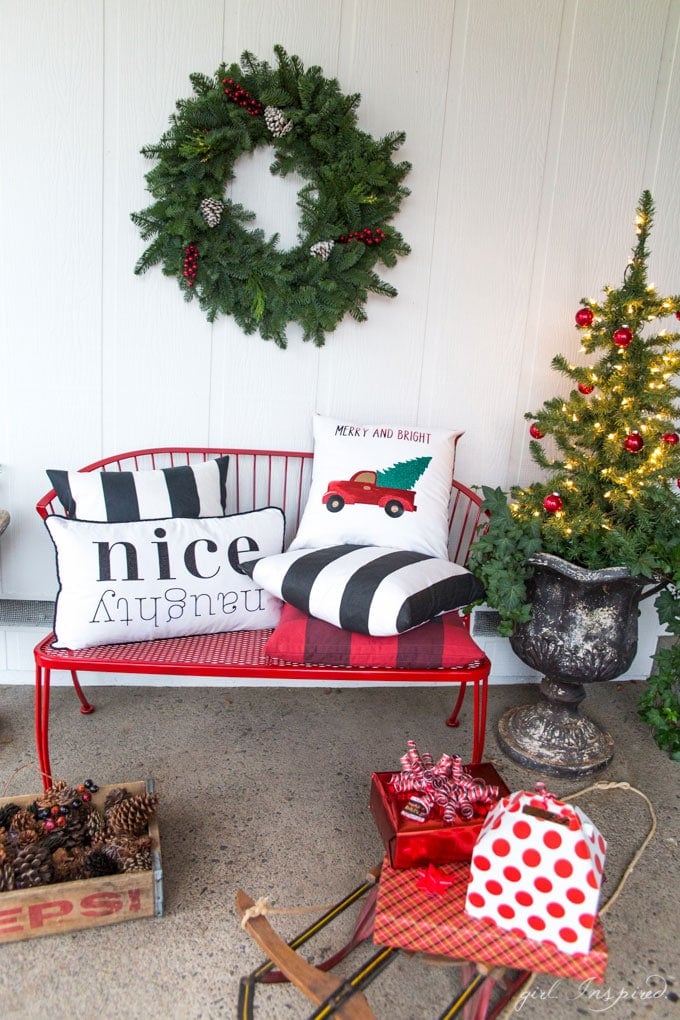
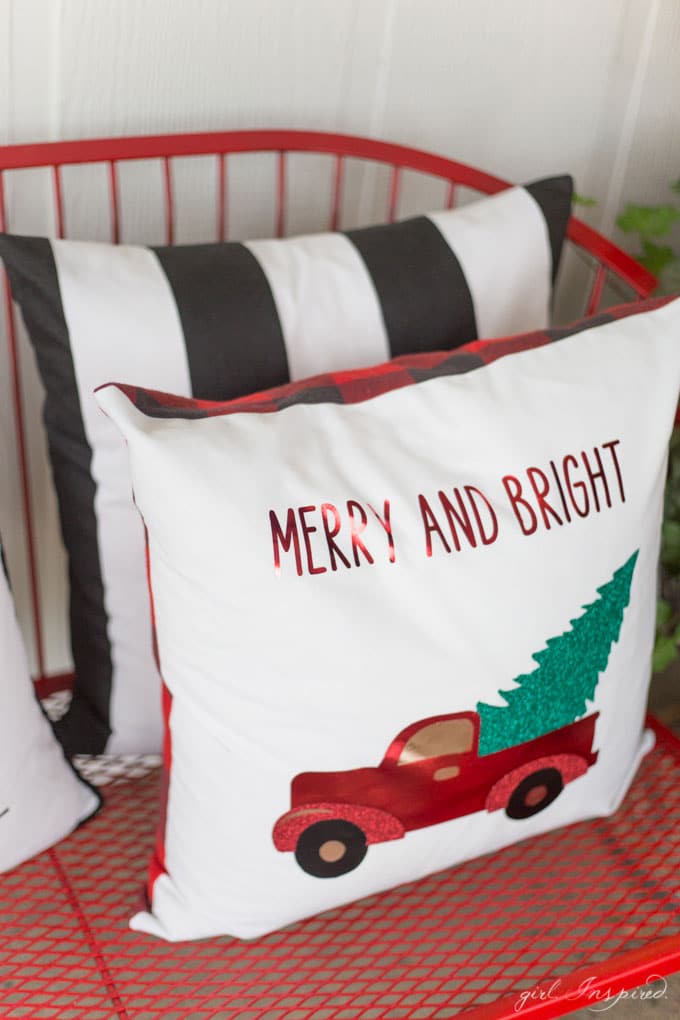 Let’s talk about the “Merry and Bright” pillow first. You saw how much I’m loving the truck/car with Christmas tree theme last week when I made those cheery miniature snow scenes in all my apothecary jars and cake stands! This week, I needed the truck with tree on a pillow. The front cover of the pillow is just a simple white cotton duck material from Hobby Lobby. It’s thick and inexpensive and works well as a background for some custom iron-on designs. I worked in Cricut Design Space™ to combine a vintage looking truck (search “vintage truck”) and a Christmas tree. I over-layed the two images and tilted the tree until it was positioned as if it were being taken home in the bed of the truck. I resized the two images to form an image about 13″ wide and since the tree and truck pieces would be cut on separate sheets of iron-on – I was able to cut everything on the 12″x12″ mat. I also adjusted the colors of each truck part so that I would have a better sense of how the finished product would look. I “synced” the text and the truck layers so that they would cut on the same mat.
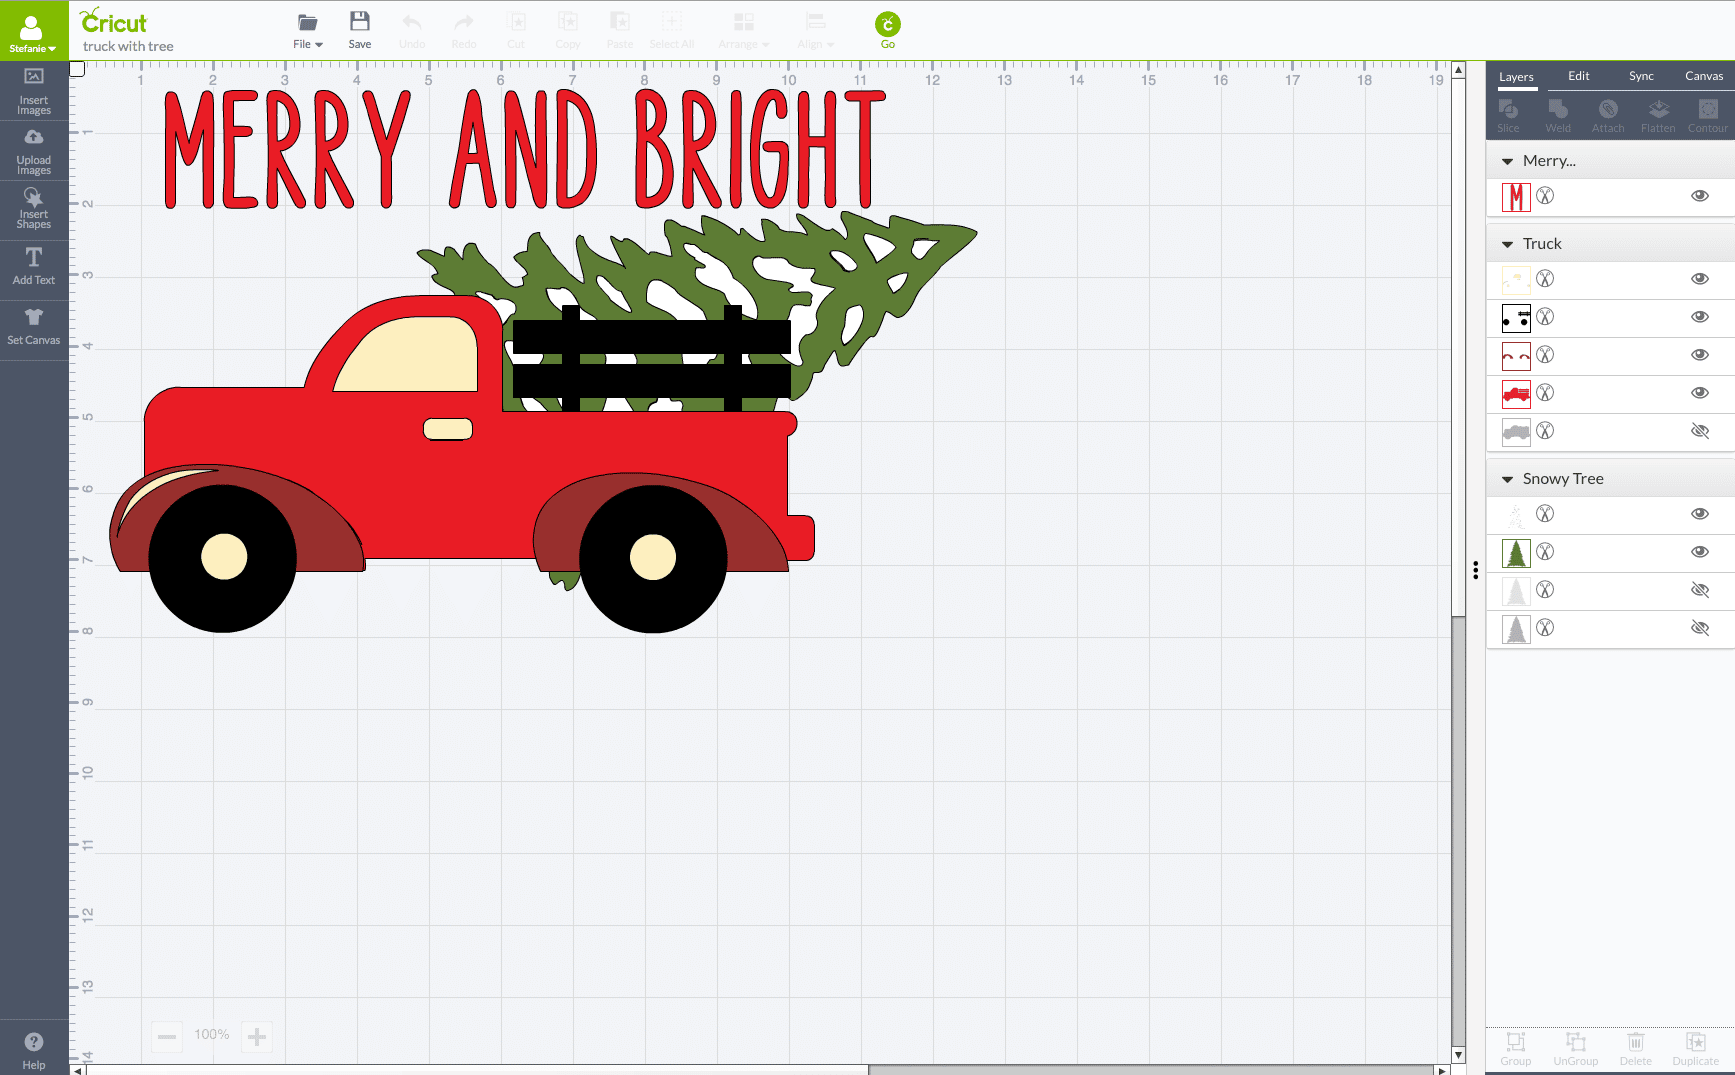 I “synced” the text and the truck layers so that they would cut on the same mat. Below is how the preview for the red iron-on layer looks. Please note that it is VERY IMPORTANT to check the “mirror image (for iron-on)” box in each layers preview menu before you begin cutting.
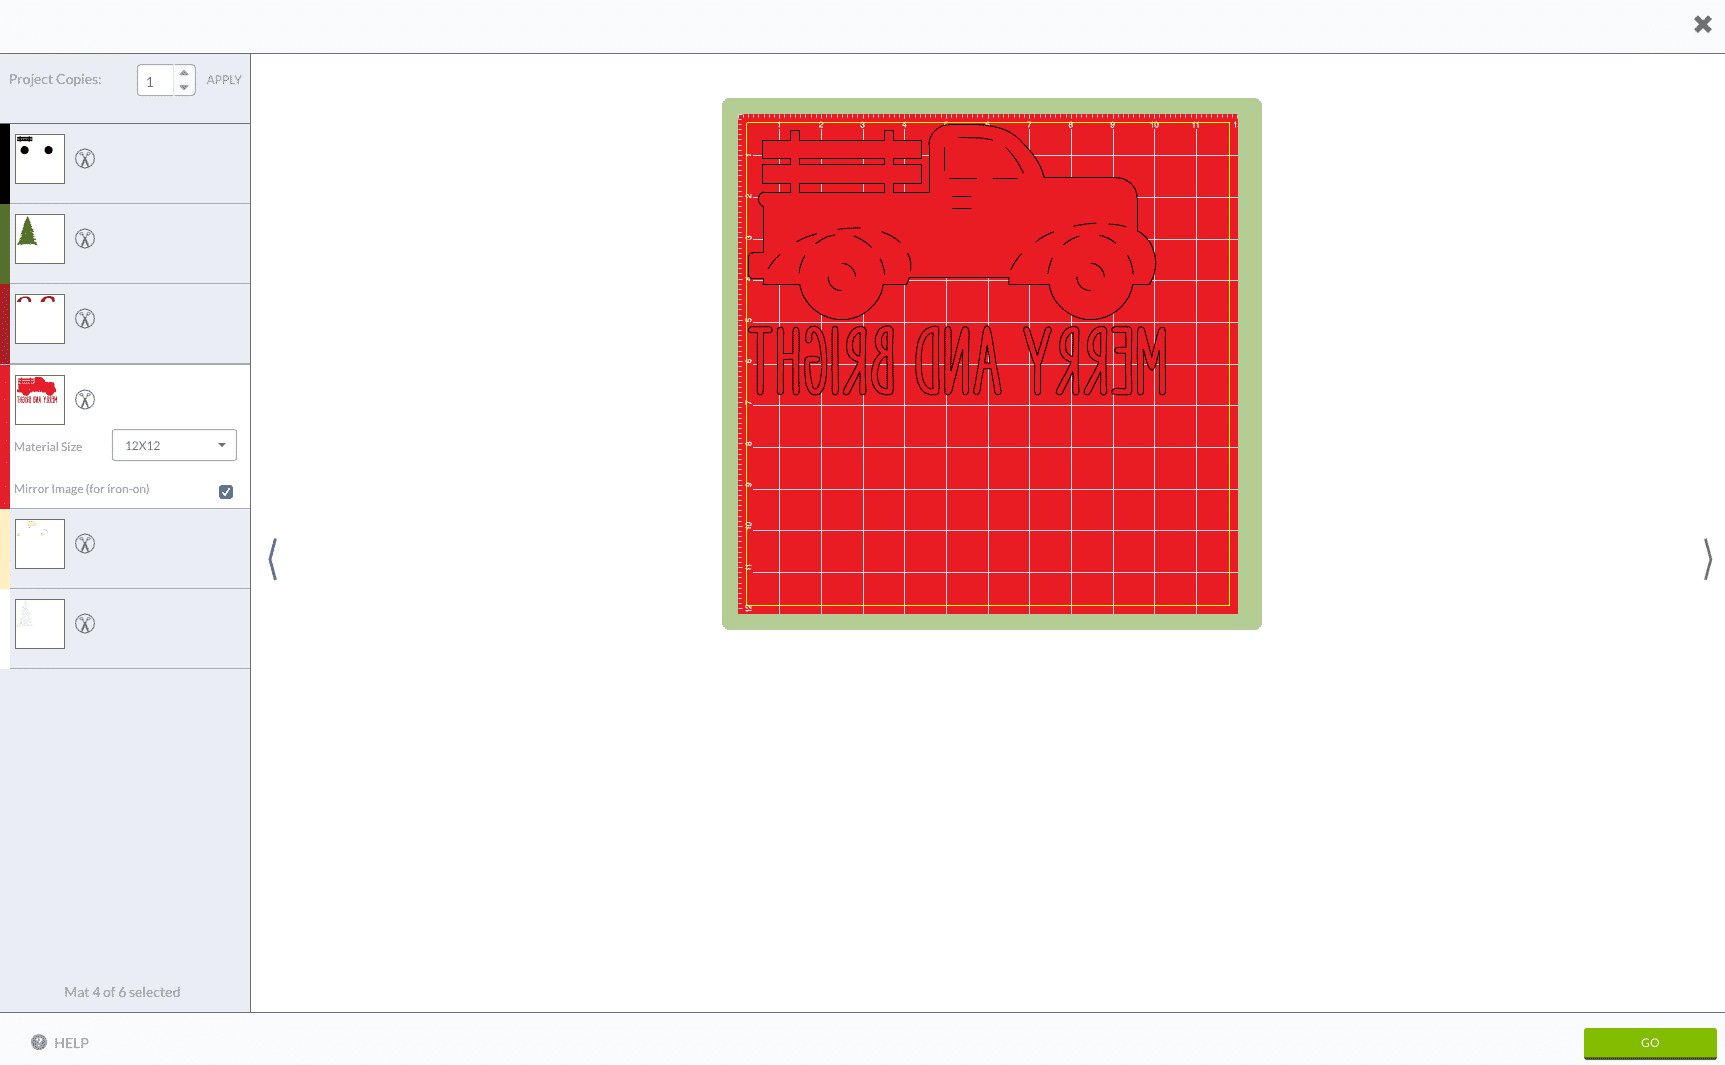
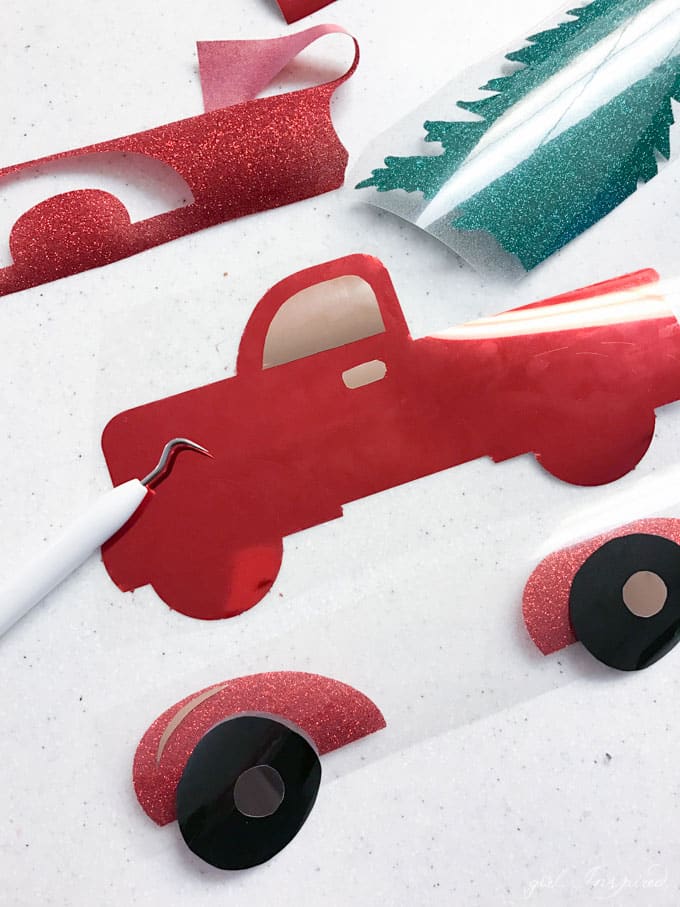 Here are my pieces after cutting them out from the variety of foil iron-on, matte iron-on, and glitter iron-on colors I chose. (Be sure that you use a fresh Cricut blade and follow the cutting guide instructions for EACH of the materials you use). Pick the negative material away from the design, leaving the pieces you’ll be using intact on the the protective film. Do a “dry-fit” to make sure you like the colors and shapes together.
 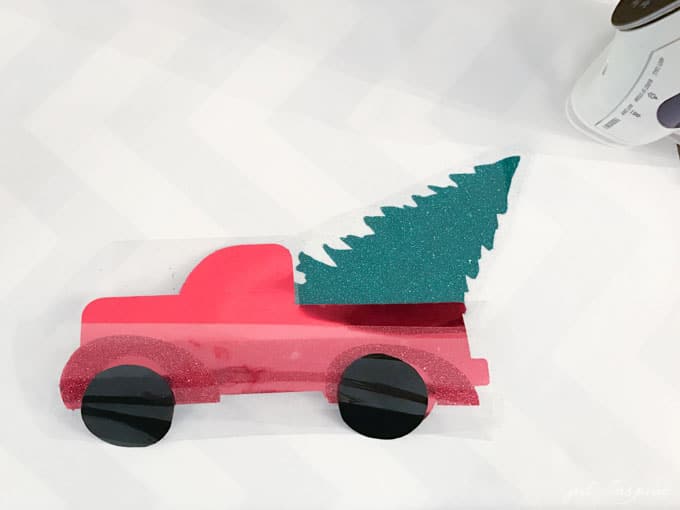 Once you have all your pieces ready to go, lay them onto your single layer of pillow cover fabric (I used a 19″ x 19″ square for this pillow). You will iron on from the bottom layer up. Set them out to plan your ironing order. Another IMPORTANT thing to remember is that you cannot iron on any materials OVER the glitter iron-on. It will look like it’s layering on fine, but when you remove the protective film, the material will show the shape of the glitter film below it and it also won’t adhere permanently in these places. Cut away (the tree bottom, in this case) any background glitter material before ironing it down.
 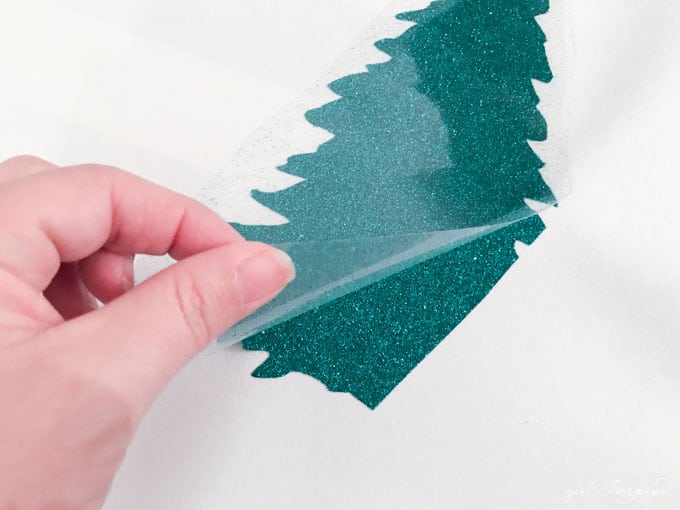 Now, start with that bottom layer and follow the package instructions to iron down the tree. If you have an Easy-Press, follow the instructions for your type of material for use with the Easy-Press. Wait for it to cool completely, then gently peel off the protective film and admire your work!
 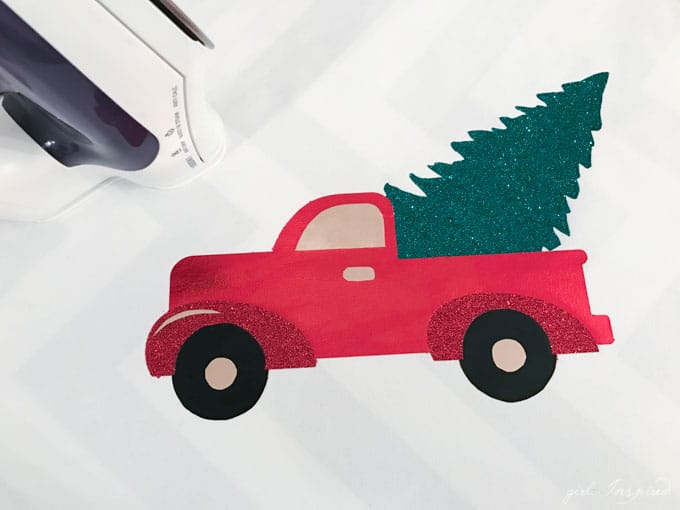 Continue ironing each layer on until you’ve completed your image! Then, go ahead and sew your pillow cover together and fluff the pillow inside. If you need help sewing the pillow, you can check out the detailed instructions in this decorative trims pillow post or this basic pillow post.
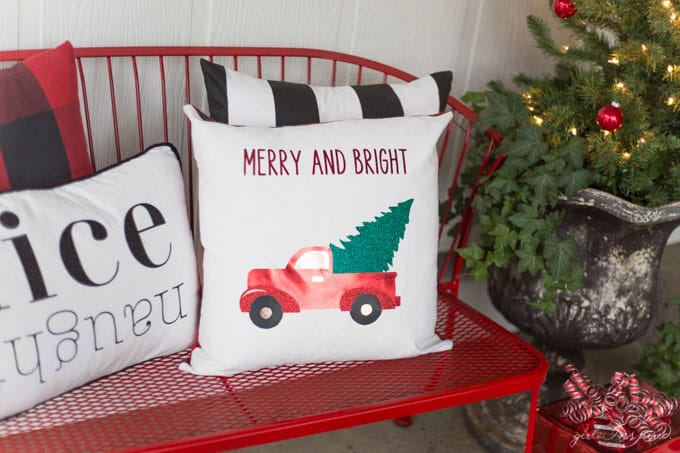
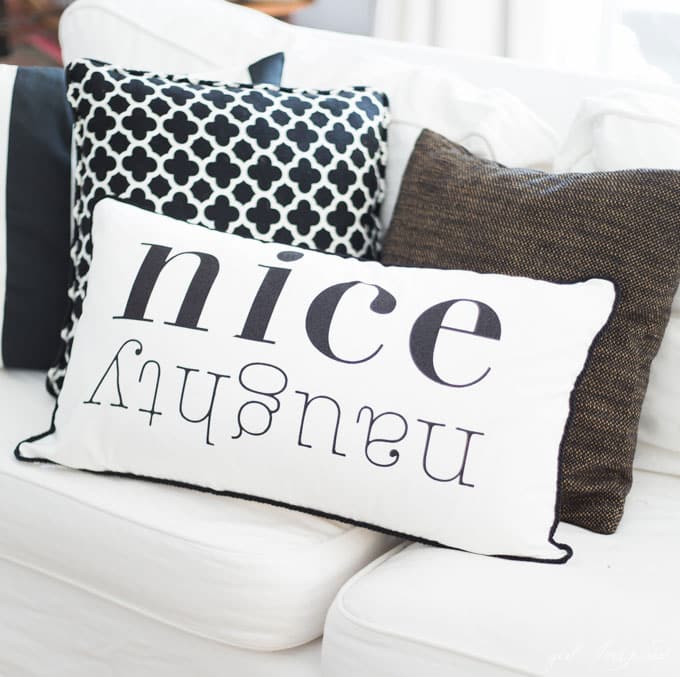
 Now, on to the “Naughty or Nice” pillow. This one was SUPER fun to make and quick, too. Since there wasn’t a pre-set design available for this iron-on in the Cricut design space, I created the custom text in Adobe Photoshop.
  It is SO easy to upload your own designs into the cutting software. You simply click the “upload image” button instead of Insert Image. Upload the .jpg file. Then, tell the software what kind of image you’ve uploaded. Mine was “simple.”
  After you click continue, you will tell the software which part of the image it’s going to cut out by clicking away the negative space (this text required a click on the main outer area, and then a click inside the enclosed bubbles of “g” “e” and “a” to tell the software to cut those spaces. See how the areas that have been clicked turn a transparent-like bluish? You can see how I haven’t clicked away the inside of the “e”, etc. Do that next, then hit continue.
 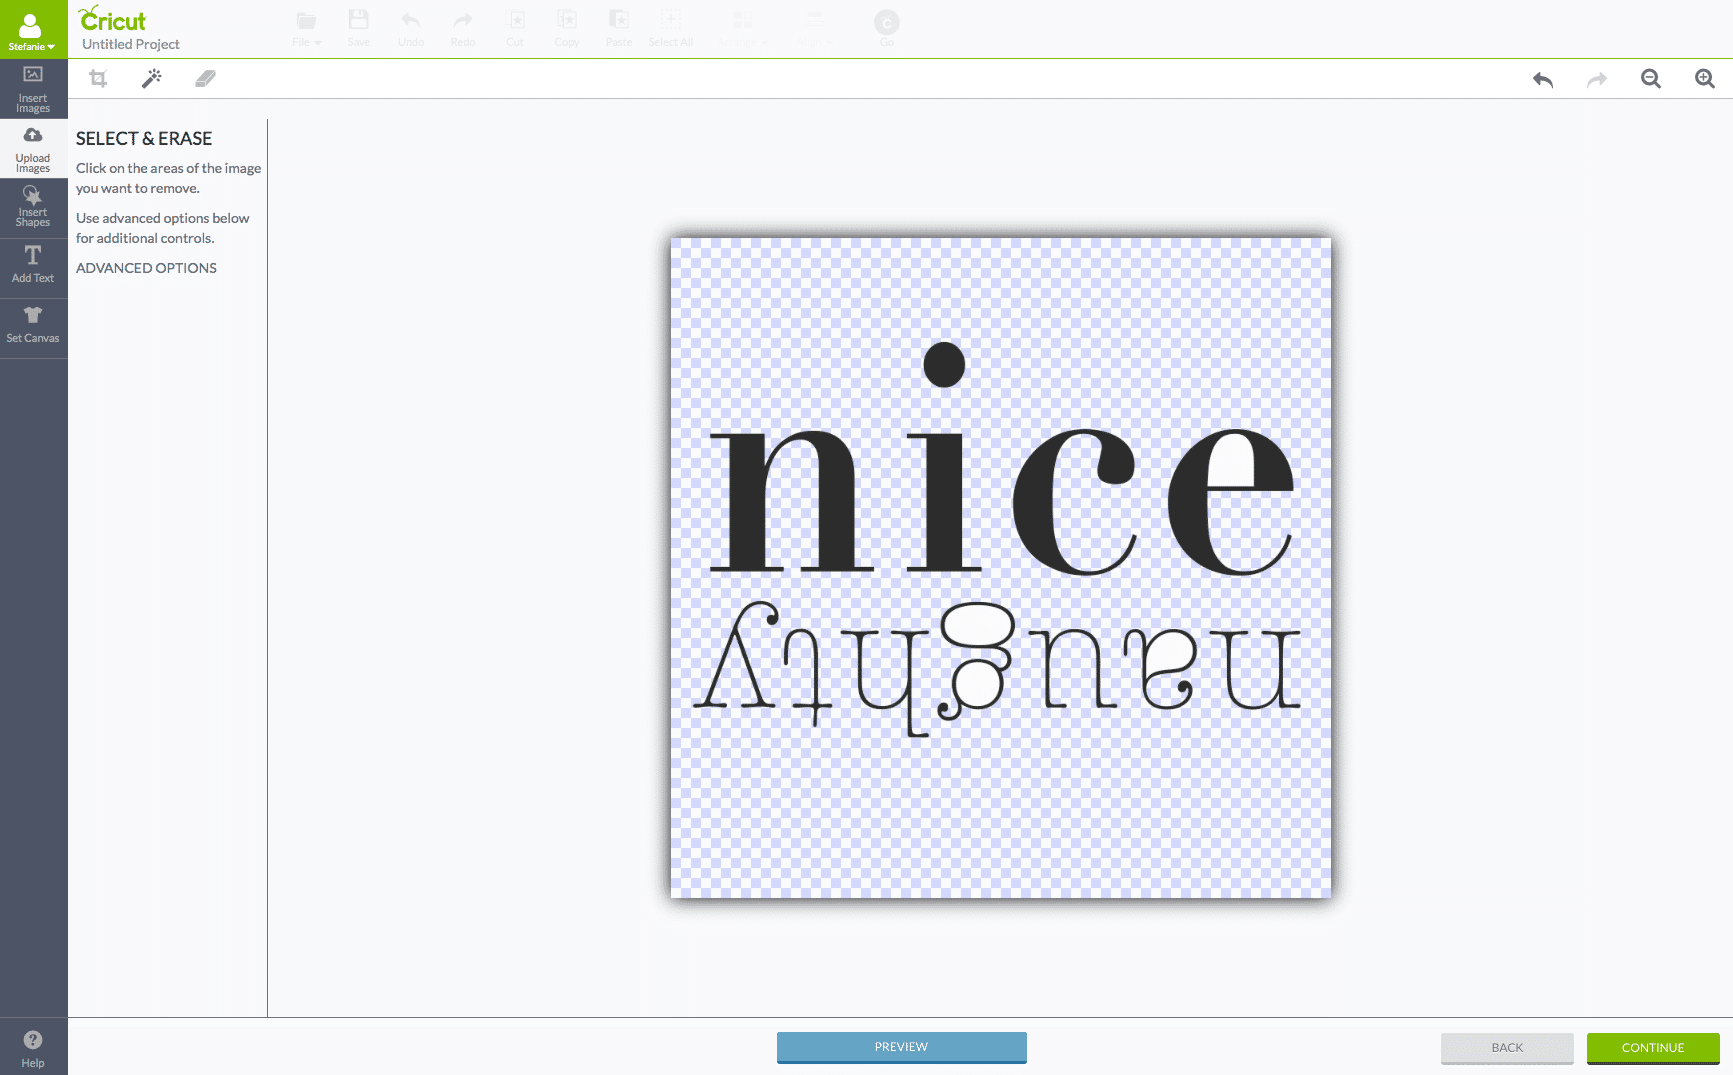 Then, the software will ask you if you want to save as a Print&Cut file or just a Cut file. This is a super cool option if you wanted to print out the text or a patterned image using your printer first, and then have the Cricut cut around it. In this case, I was cutting my text from the shimmery black iron-on material, so I just saved it as a cut file.
 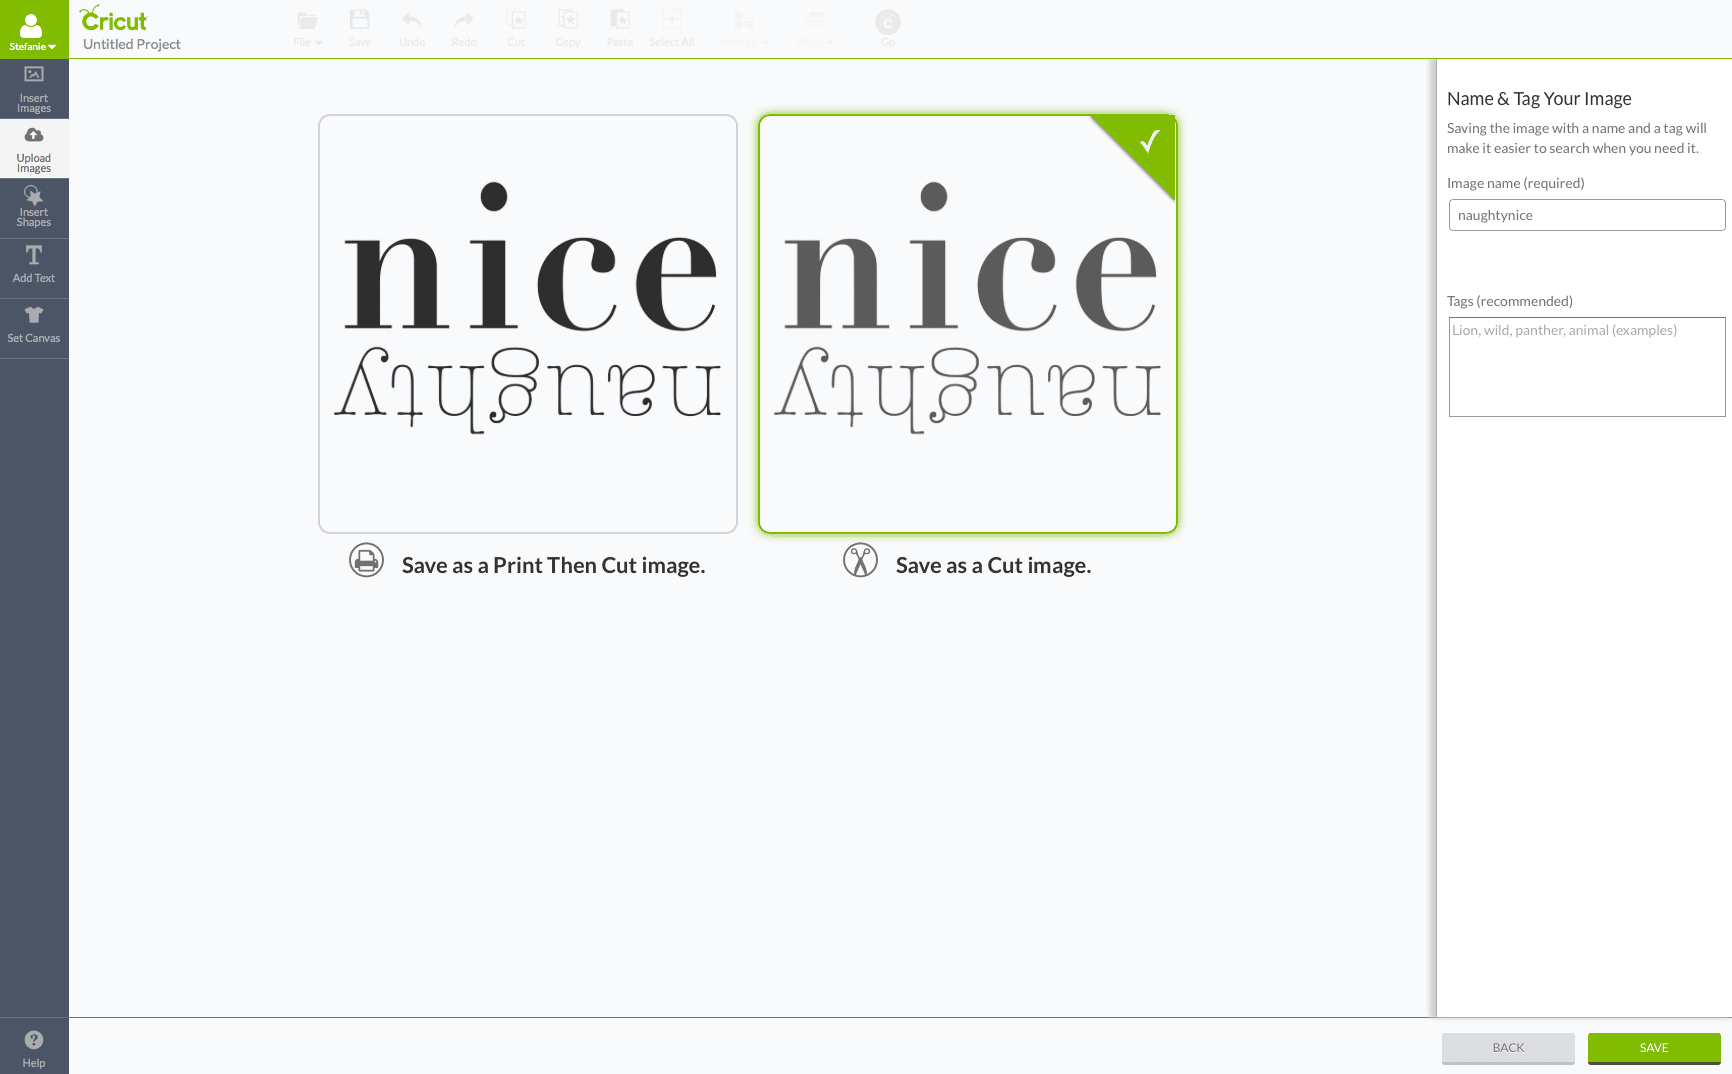 Now, you insert it into your design spread and proceed with sizing it for your pillow cover and cutting it out. I wanted to do a long 15″x25″ pillow, so I had to turn the text sideways and cut it on the 12″x24″ mat. That used my full sheet of iron-on material, but the resulting pillow is fantastic, so it was worth it!
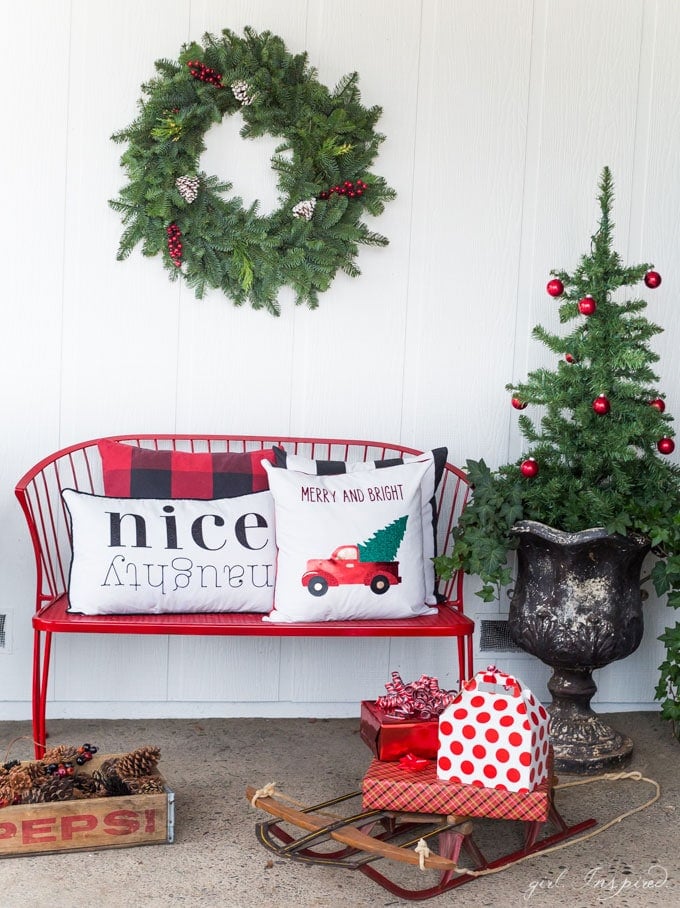
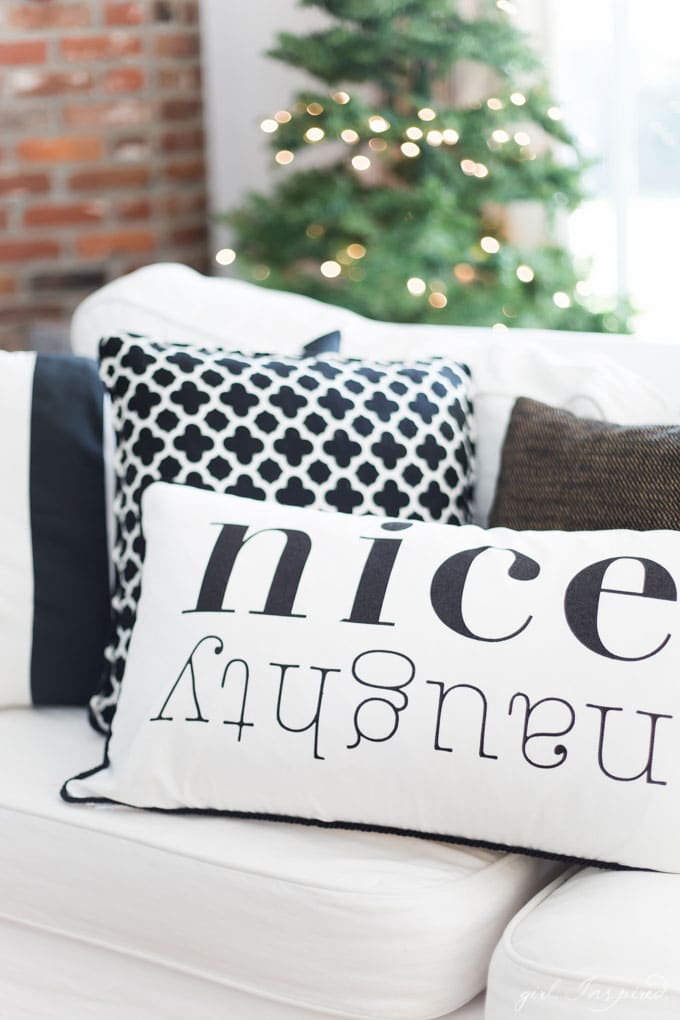
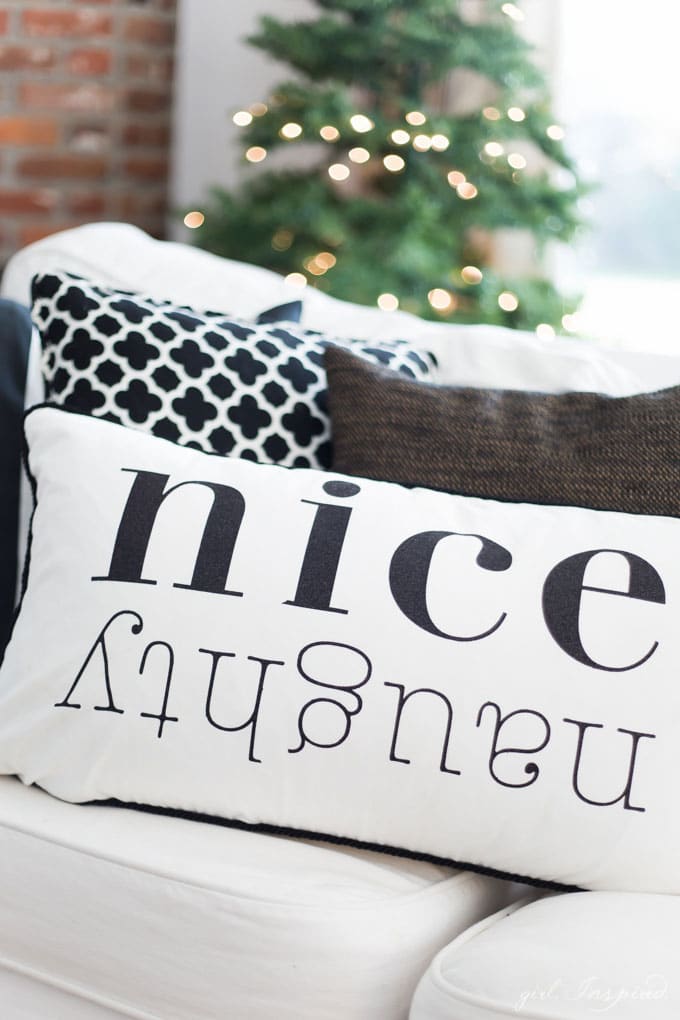 Here’s how the pillow was lookin’ in my family room until I moved it to the porch. I’ll take this opportunity to tell you that the pillow you’re viewing here has been through the wash machine four times + had bleach applied to the white portions, since my very sweet little puppy took a liking to the pillow as well. Within hours of finishing it and setting it on the couch, I found the dog tumbling with it out in the mud. So! Besides re-assigning it to the unreachable front porch, I had to wash and rewash this baby and I’m happy to report that the iron-on material has held up every bit as good as new!
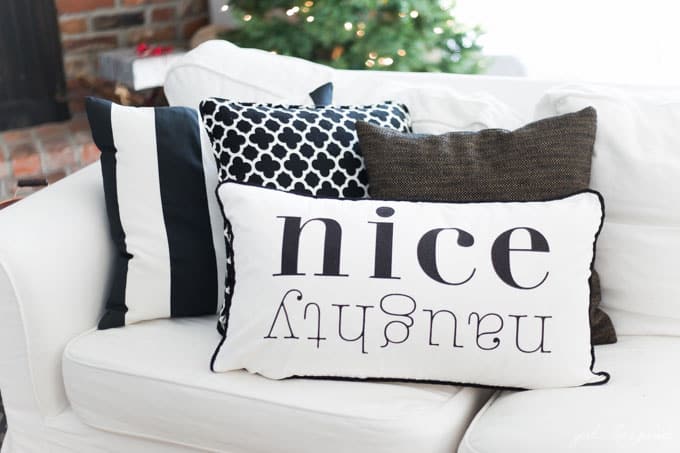


 Happy holiday crafting, friends!
This is a sponsored conversation written by me on behalf of Cricut. The opinions and text are all mine.


Comments & Reviews
Jennifer says
These pillows are so cute. Thanks for the step-by-step on how to add some character to them. Do you say in your write up where you got the actual pillow?
Jennifer @ Town and Country Living says
Cute pillows and cute porch! I saw this at Dwelling Gawker and had to click through to see more. Love it!
Charity says
Oh how cute! I really love the little vintage truck!
Avellia Anwar says
great stuff
enjoy reading ur post
Regards,
Mrs. A