Q: What type of Mod Podge do you use? Can you use spray acrylic to seal the picture?
A: I use MATTE Mod Podge. I haven’t tried it with glossy, but some readers have. I think it comes down to personal preference. Some suggest making your own mod podge formula by mixing white glue and water – I’m not gutsy enough to try it, plus I used a coupon and bought a lifetime supply of Mod Podge. As far as sealing the Mod Podge or sealing the picture for humid climates, I’m not sure. I’m really curious to hear if anyone has tried this and what the results were?
Q: My photo bubbles up/the ink on my photo smears/what kind of paper do you print your photos on?
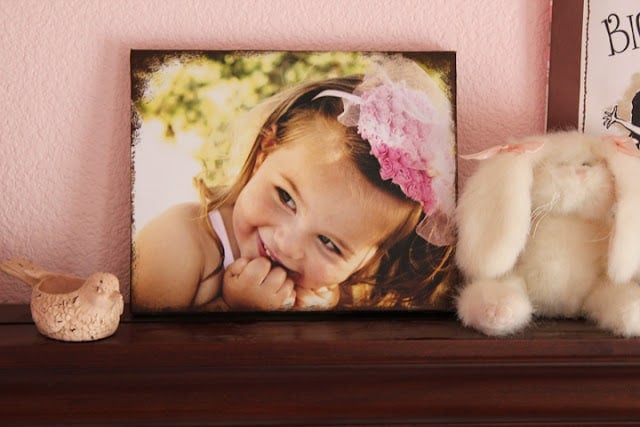
A: DO NOT USE photographs printed from your home computer. For the best results, get your pictures printed up at a photo processing center. I like Costco. I always get my photos printed in a MATTE finish. Also, when you glue the photo on the canvas, be sure to lay it face down on a clean work surface and smooth out the photo from the back of the canvas in addition to smoothing it down well from the top side.
Q: The paper around the edges bubbles up while it’s drying/doesn’t lay flat.
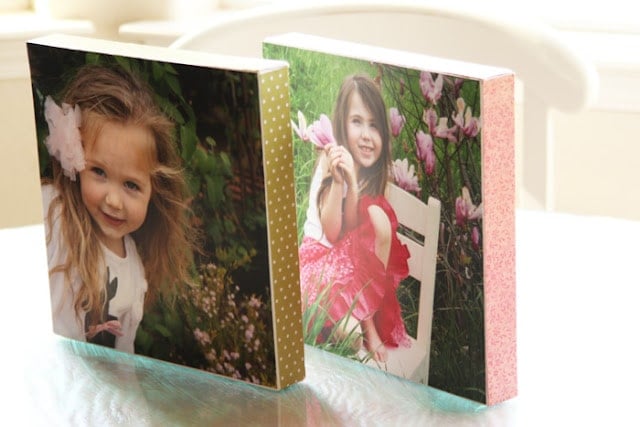
A: First of all, use a heavy cardstock/scrapbook paper. My favorite brands are Basic Grey, American Crafts, and My Mind’s Eye. A good quality paper will make all the difference in your mod podge projects. It smoothes out nicer, doesn’t crumble or bleed or deteriorate while you’re smoothing it down on the sides of the canvas. Also, cut your paper pieces just a hair smaller than the surface; it’s much more difficult to get the paper to smooth out if you have to press it around a curve. Use a better quality canvas. I really like the canvases from Joann’s. The brand that is sold at Michael’s seems to be a lot bumpier where it’s folded at the corners; I did not like the results of my canvas photos when I used the bumpy canvases. Finally, let the paper dry and most of the bubbles/bumps will likely smooth out. I walk past my drying projects every now and then and just press out any bubbles/bumps.
Q: Have you done a larger photo and how did it turn out?
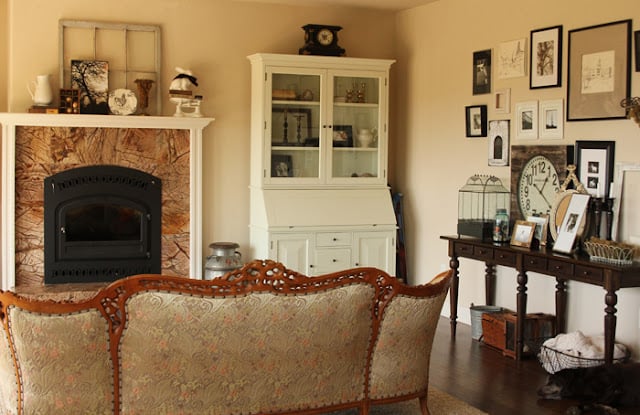
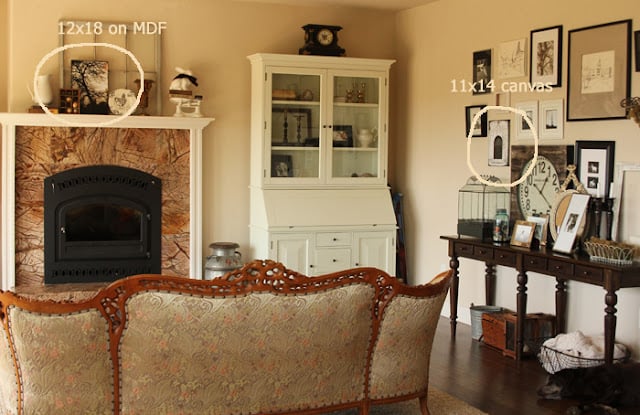
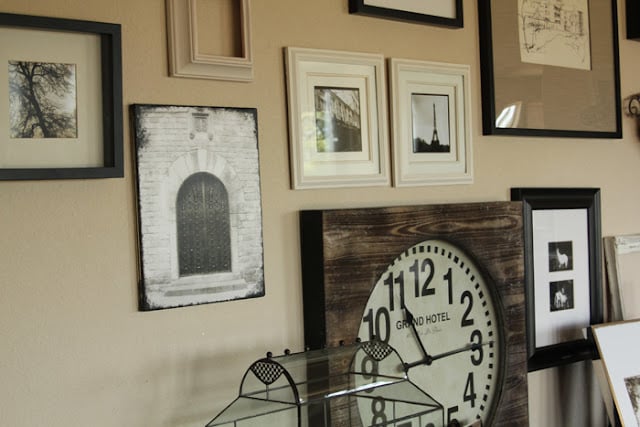
A: I have only put up to an 11×14 photo on a canvas – it turned out awesome. I did a bit of a larger photo (12×18) on a slab of MDF and it was more difficult to work the bubbles out – though it did dry without any bubbling under the picture. I sort of rolled the picture out onto the base, smoothing out the bubbles little by little.
Q: I can see lines in my finished canvas. Is this right?
A: I use a wide foam brush to reduce the number of overlapping brush strokes as much as possible, BUT the finished product will have visible lines. I LOVE this effect – it gives the canvas some texture and character.
Q: Can you use this technique on wood or other bases?
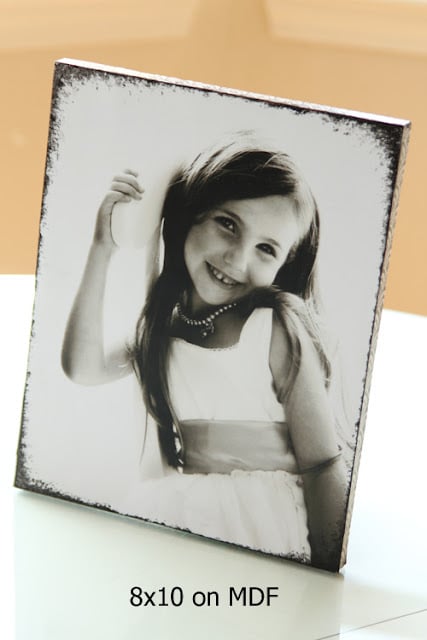
A: Why not!! I used some scrap ½″ MDF, sealed it with Mod Podge, and did all the steps exactly the same, and it turned out perfect! Actually, the paper smoothed out around the edges even EASIER. I did NOT sand the edges at all before gluing everything down. Makes the project even cheaper if you have scrap wood/wood-like product in your garage!!
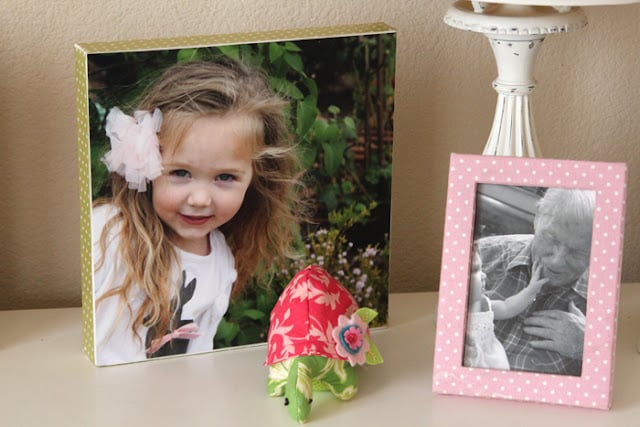
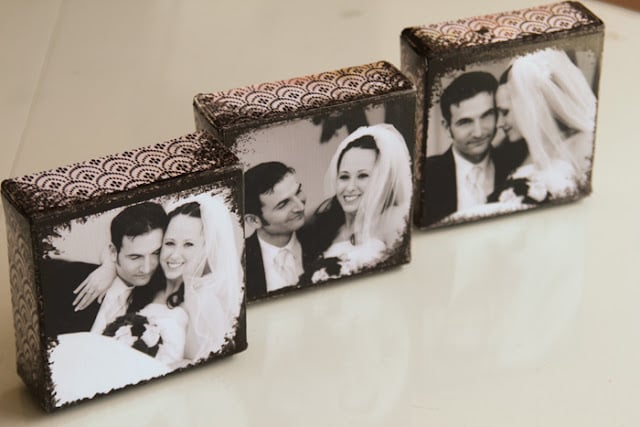
So let’s look at some more examples.


Comments & Reviews
laura@printing-instagram says
Hey, My name is Laura and I blog about tips for displaying printed Instagram photos. I have been doing lots of looking around to find unique ideas and I just want to let you know I love this idea! I love seeing the crafty ideas that people create to display photos! thank you for the inspiration and thank you for sharing.
Canvas Photos says
Excellent DIY tutorial, I love the collage concept. Have you tried printing your photo on canvas across multiple pieces. Basically you use the same steps here but you splice the photo into multiple sections and then prep the other canvases. Its easier if you use a solid color border, like black/white and apply paint.
Ronnie says
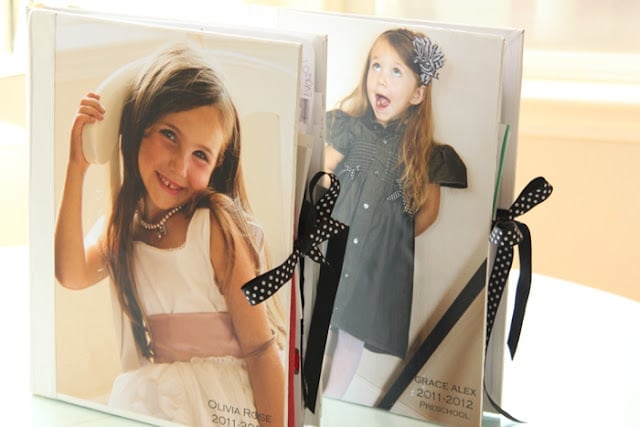
Thank you for sharing. I love the portfolio idea, however, I was wondering if you added anything on the inside to keep the items from falling out or is there anything that you recommend doing to keep items from falling out the bottom?
Julie says
Love this idea. But would it work for poster prints of art work? Would the process be the same as the photos?
Shannon says
I LOVE this idea and got a pack of 10 8×10 canvases on sale for $14 the other day so I cant wait to try it. Have been researching to find the best way to do it and so far I like this method the best. There was one other that I liked that the person used tissue paper and printed the photos on that then mod podged it down so it would keep the texture of the canvas and look more “authentic”. Guess I’ll be trying both. THANKS! 🙂
Anonymous says
Hi stef, i love ur work! I was wondering if i could use claudine hellmuth studio multi medium in matte to seal the photo instead of mod podge?.. im really excited to try this project but where Im living now, its difficult to find mod podge! Thanks!
Anonymous says
I’m going to try the MDF way and was wondering how you got the edge of the photo to look so cool and is the MDF painted first? Thanks so much!
Stef says
You’re right, you’re not transferring the photo, you’re simply just pasting it on top of the canvas or mdf or other surface. Put the photo face up onto the surface and just seal with the mod podge over the top. No rubbing or tricky manipulations necessary. Have fun!!
Anonymous says
OMG so much easier – thanks! Going to start this weekend!!!!! 😀
Anonymous says
OK I so wanna do this…but I have a silly question…i watched utube videos for photo transferring on mdf…but when you mod podge the mdf or canvas then apply pic ture on top and reapply mod podge then let dry – is the picture face up on turn upside down…videos ive seen say turn pic face down ( so will be reversed when done) then when dry you take wet cloth and rub onto dry canvas/mdf until all the paper comes off….so with this project when you use actaul matte photo im just laying it face up and know peeling off so to speak – i know stupid question..perfectionist dont wanna assume – thanks
missmarquisha says
I read your original post, got all excited and started it before reading the FAQ’s! Silly me! I used a photo that I printed at home. As I was putting the top coat of Modge Podge on it, the picture (black and white) started to turn a faint color of pink. But that’s ok. Otherwise it’s holding up well. It’s drying right now! I used ribbon around the sides instead of paper. We’ll see how it turns out in about 30 minutes! Thanks so much!
Anonymous says
Love the Idea. But what is MDF?
Anisha says
These are SO GREAT!!! I love the idea, they way you did them, and the finished product as well. Thanks so much for sharing!!! The only bad side I can think of to this is I am probably going to run out of wall space from making so many lol =)
michael ann says
What a great idea! I just found some canvas panels in my stash and was wondering what I should do with them, I think I know now!
Also this is my first time on your site and I just had to tell you that I think your girls are darling! It must be a sewers dream to have such cute little girls to sew ruffle colorful dresses all day, haha 🙂
Traci says
I’ve done several of these and they turn out so beautiful. I have tried the Mod Podge alternative before (watered down Elmers glue) and it looks way better on the top of a picture than Mod Podge. I actually have done the canvases with no Mod Podge on top of the picture. I only put it under the photo. Also chose to paint the sides the same brown so it’s more seemless, but might try the scrapbook paper sometime too. Thanks for sharing the portfolio option.
Julie says
What proportions do you use of water and glue? I just tried it with a water/glue solution, but I wasn’t really happy with it. Thanks
Lemon Lane Cottage says
Whar perfect timing. I am working on canvas photos as Mother’s Day gifts based on your original tutorial and this Q and A is perfect. You are one very clever girl and I would certainly watch your TV show. 🙂 Thanks for sharing, Patty